It’s a classic. Having a dollhouse as a young child allows kids to play out scenarios of home and family life on a miniature scale. It’s part fantasy mixed with real life experiences. Let’s give them a simple two story dollhouse with space to imagine and play. Ana White and I are back again with this week’s Handbuilt Holiday project, a DIY dollhouse.
A DIY tutorial to build a simple two story dollhouse. Make imaginary play amazing with this charming DIY dollhouse for that little one on your list.
In case you’re new here Ana and I have been sharing holiday gift ideas every Friday leading up to Christmas. This is our 7th year doing this series and we’ve catalogued all our gift projects here. You’re sure to find something to build for all the people on your list.
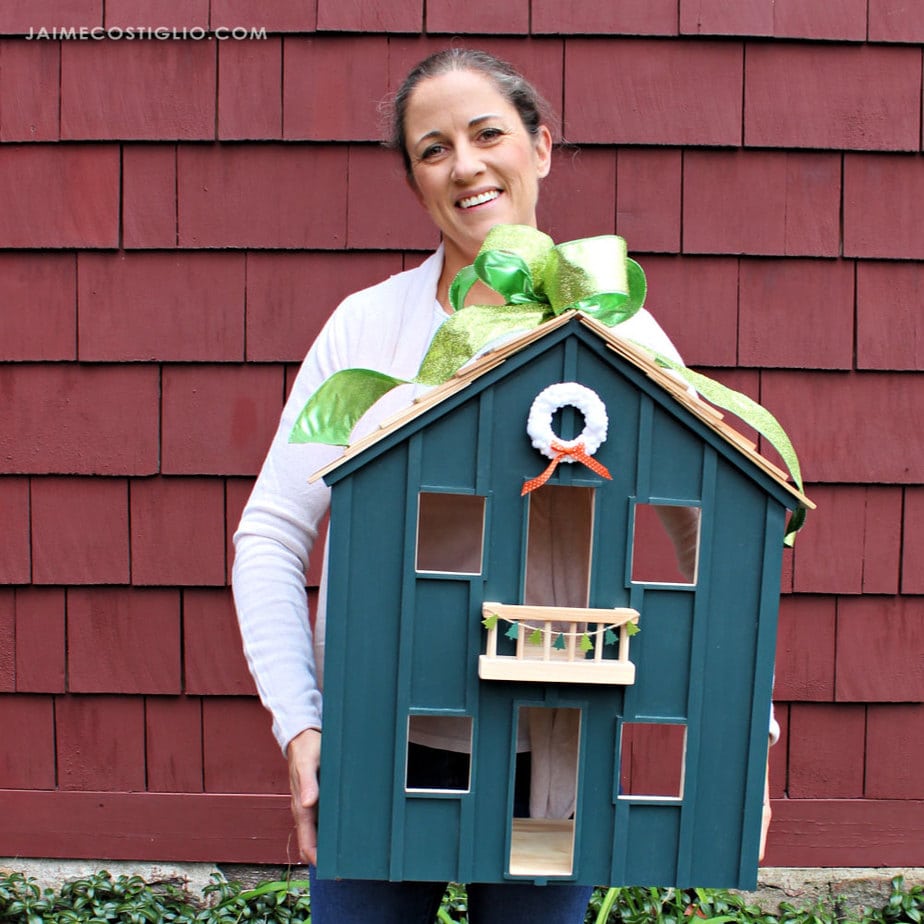
Today is a beautiful, functional DIY dollhouse that any little one is sure to enjoy. We’ve posted a few dollhouse versions in the past years:
- A frame dollhouse
- modular dollhouse with furniture
- Barbie size tiny house dollhouse
- dollhouse wall shelf
- dollhouse shelf (Playmobile size)
But I’ve never built a classic dollhouse like this one today. It’s a very simple build and extremely easy to customize as you like.
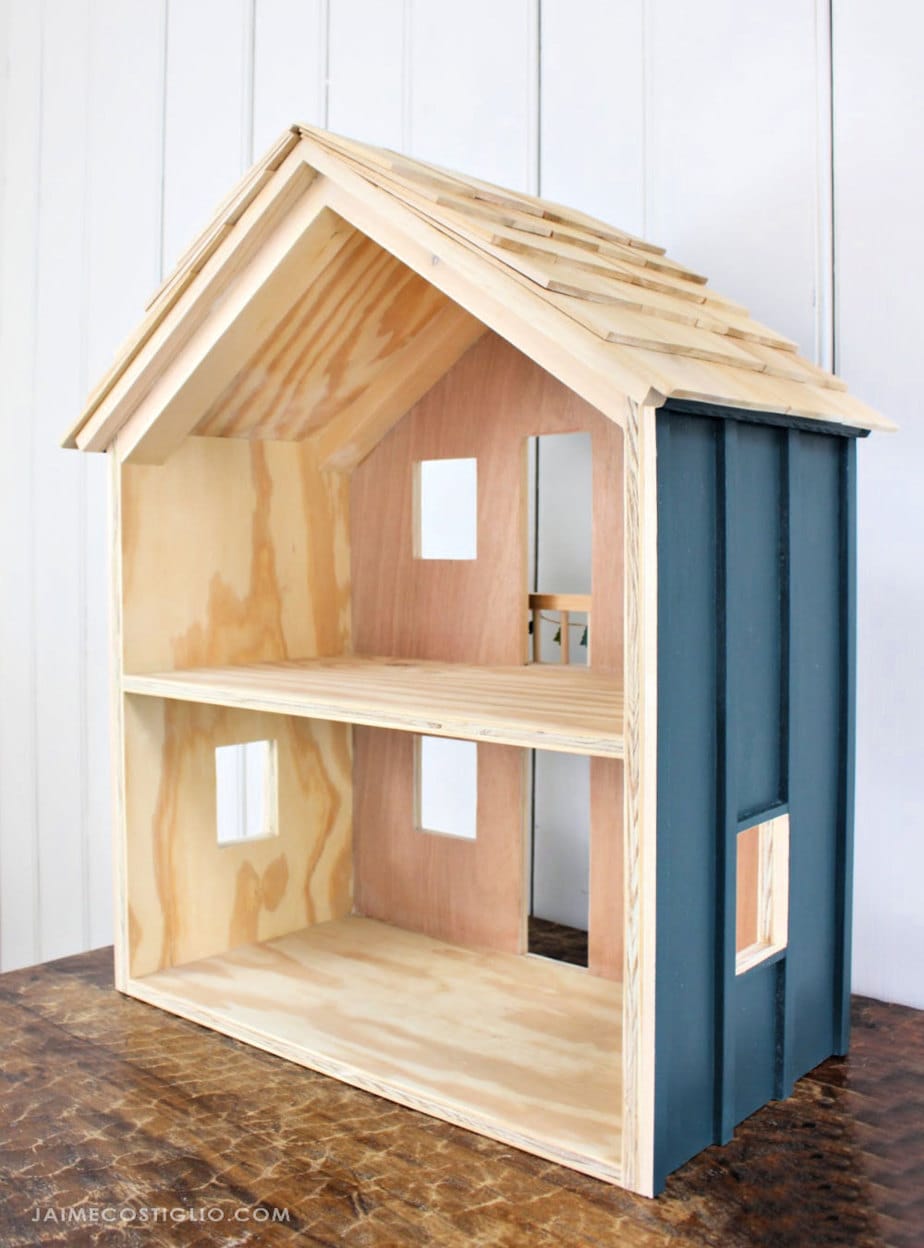
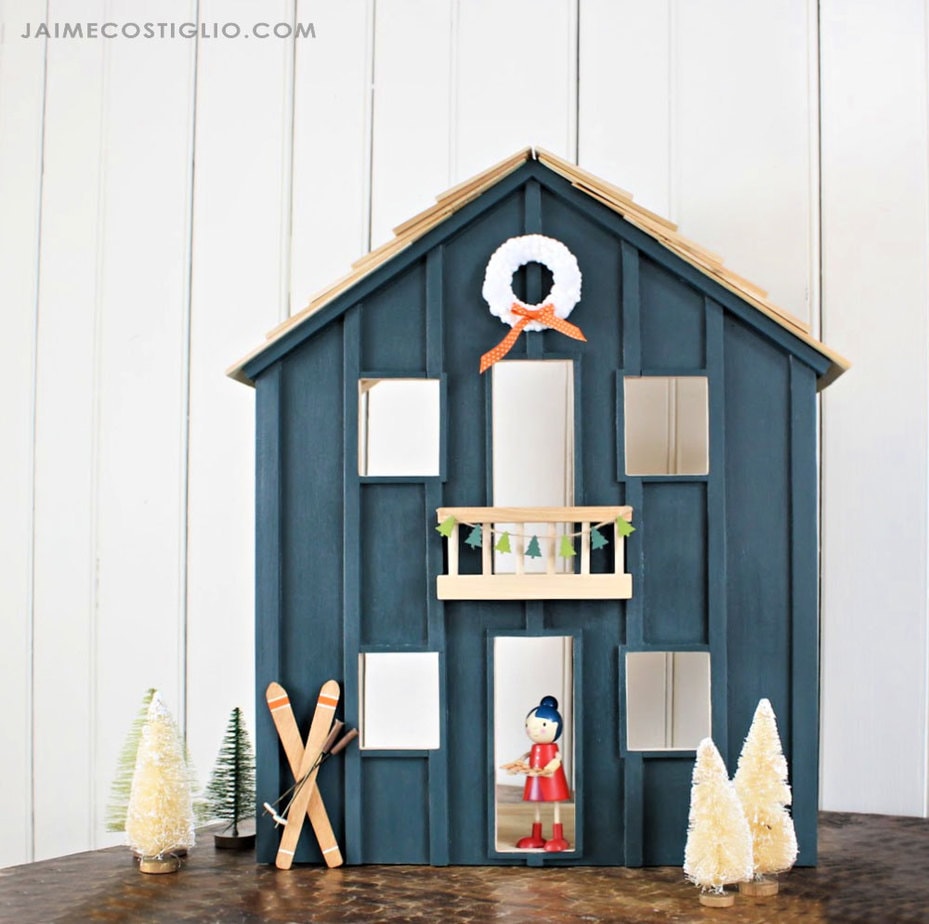
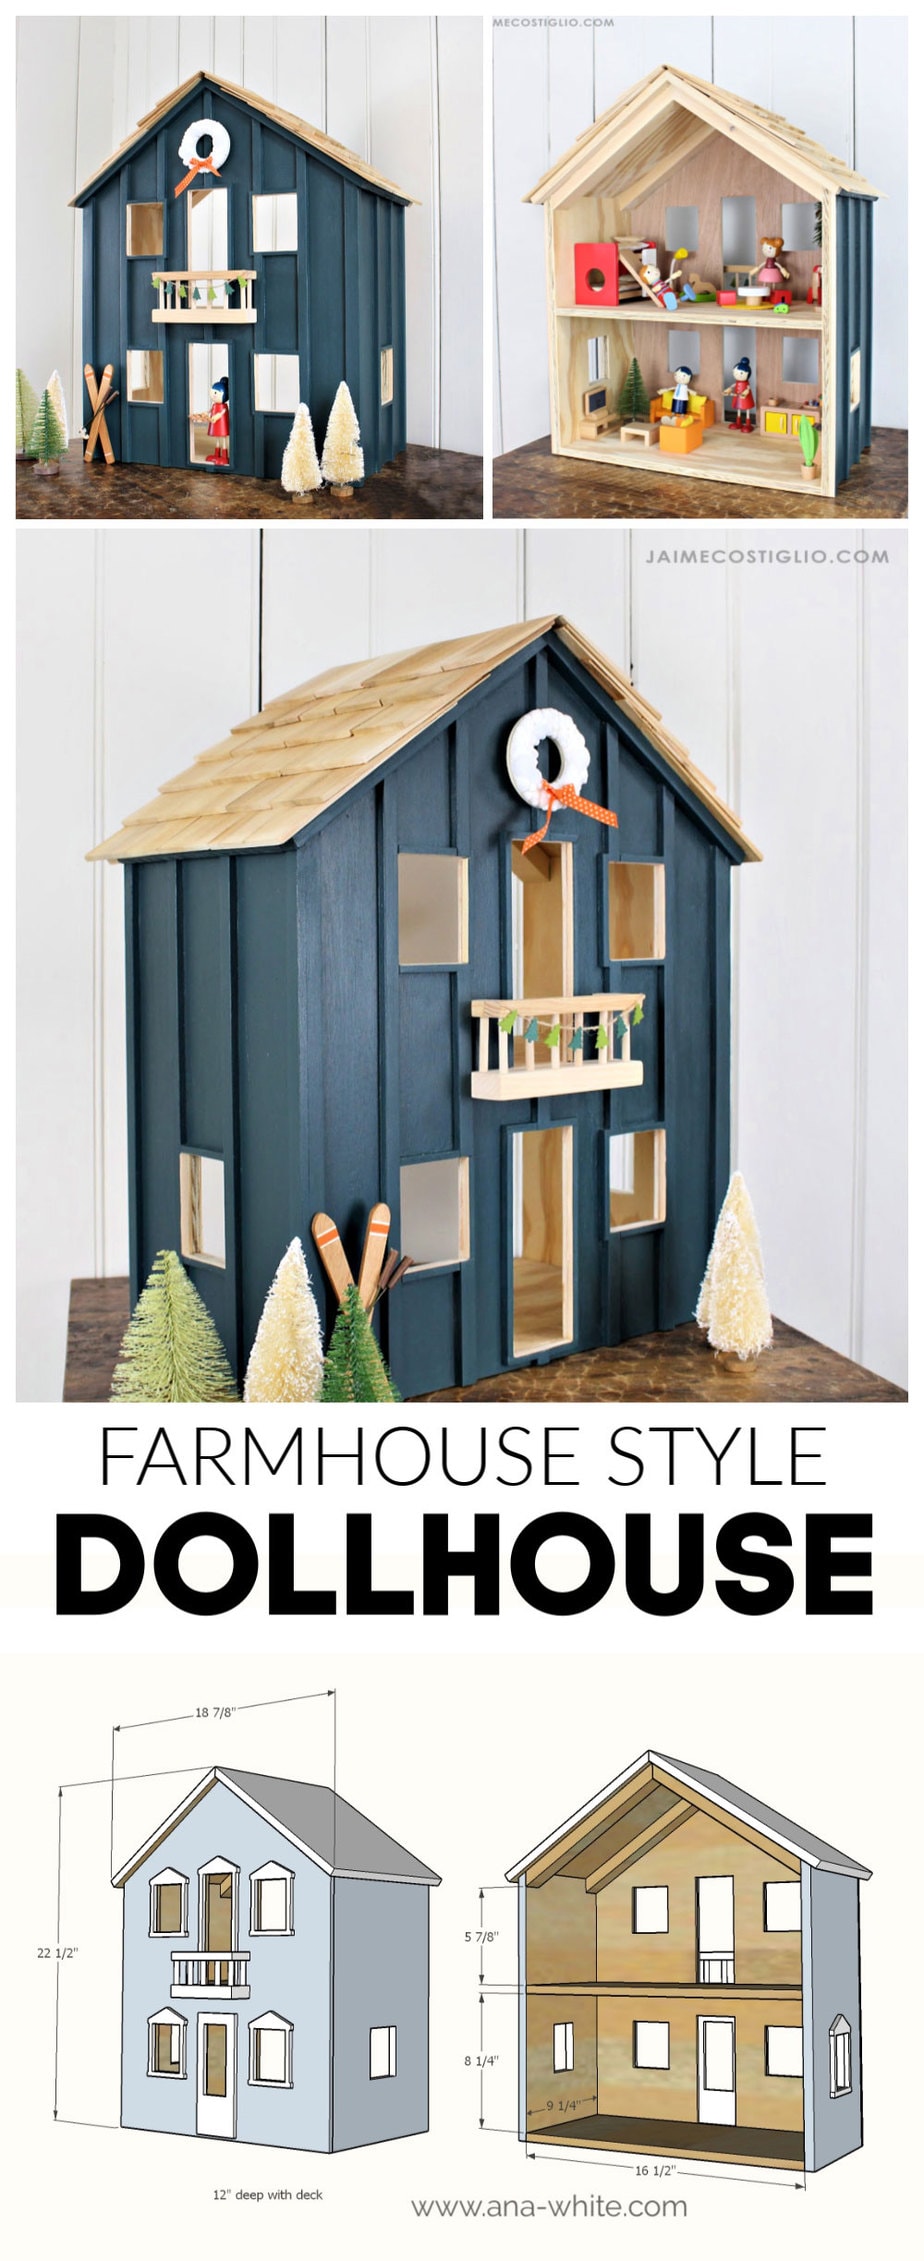
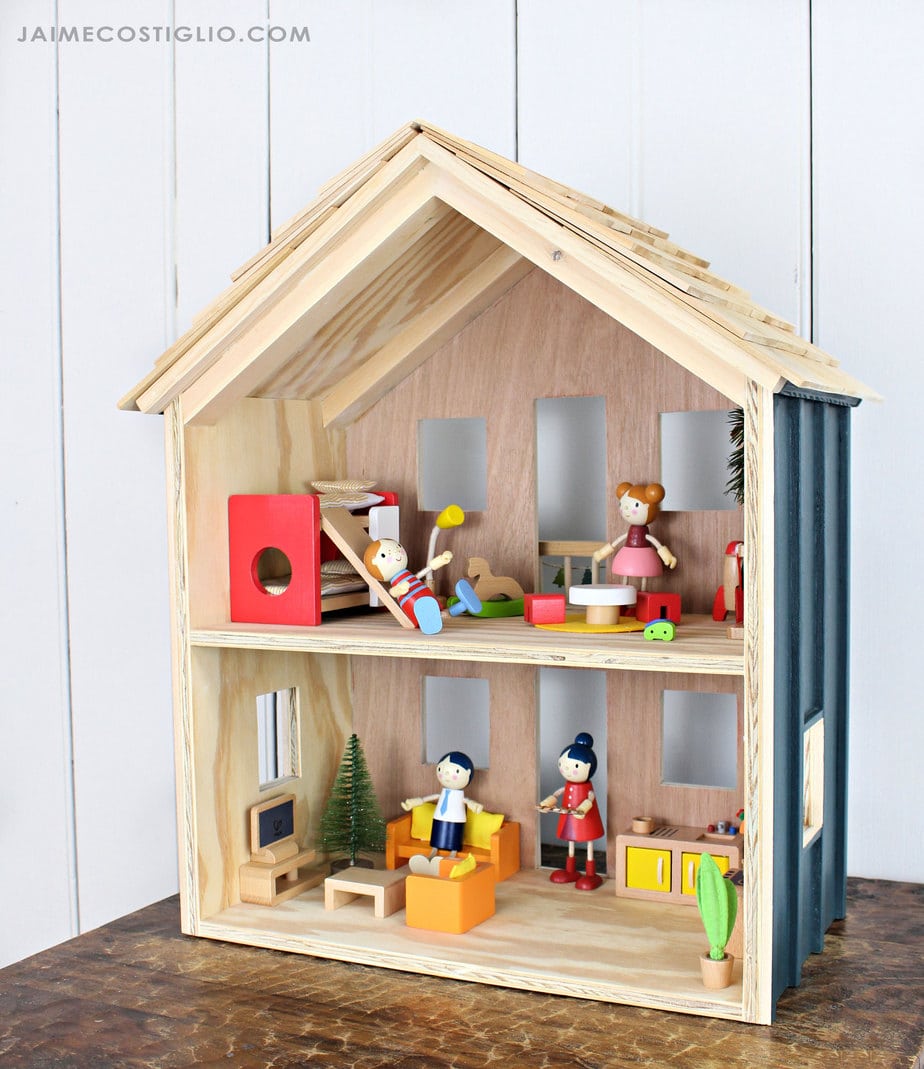
Ana designed this dollhouse with two stories of open living and a few fun details:
- six windows
- two doors
- balcony
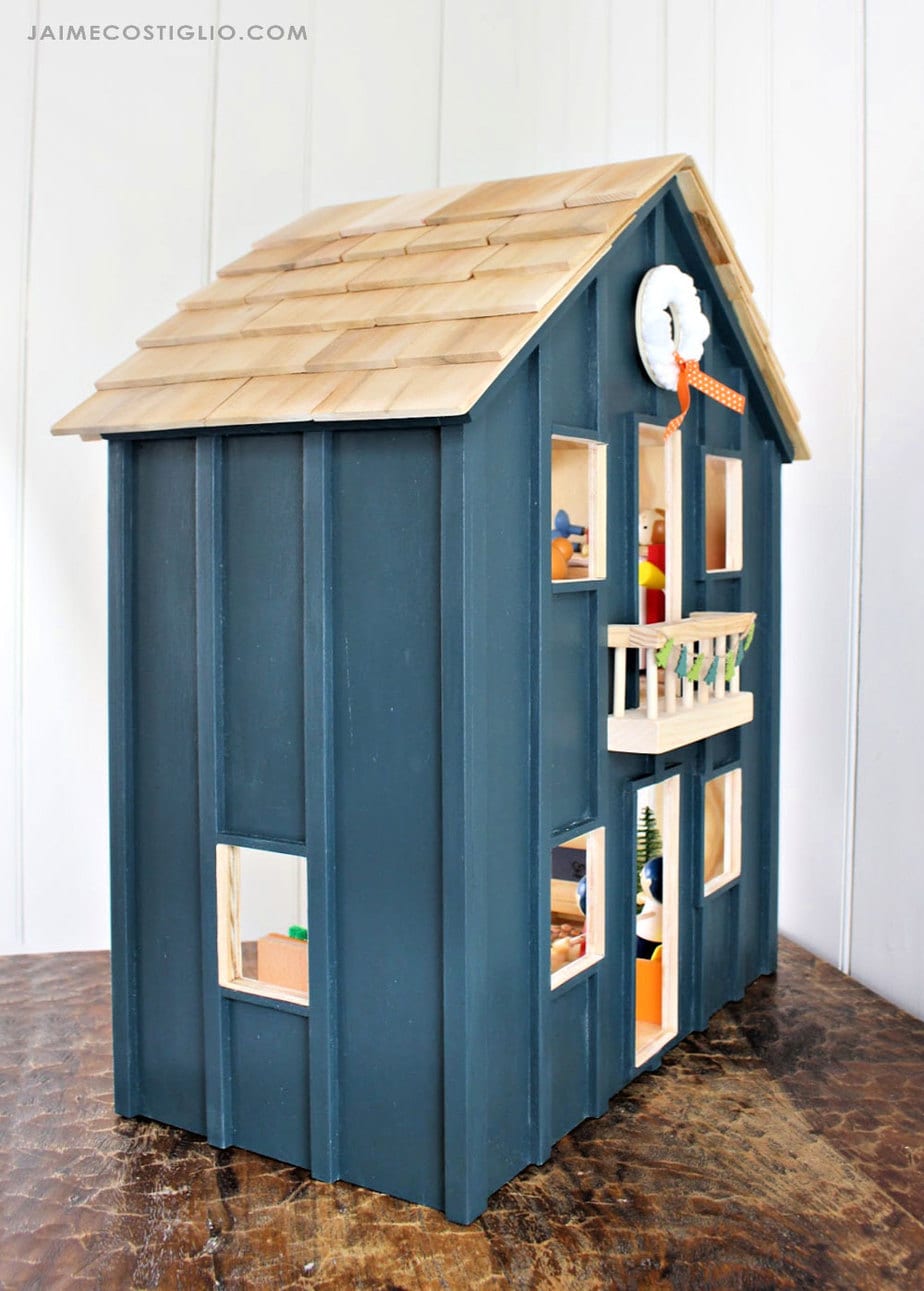
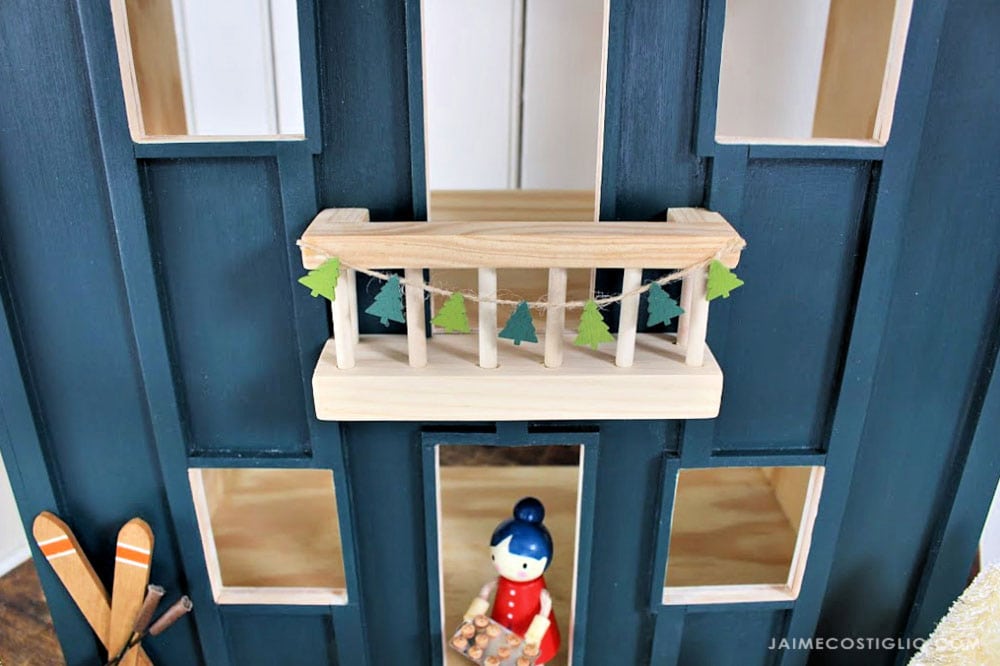
I added vertical battens and trim along with a cedar shake roof. The balcony is one of my favorite details especially when decorated with holiday garland!
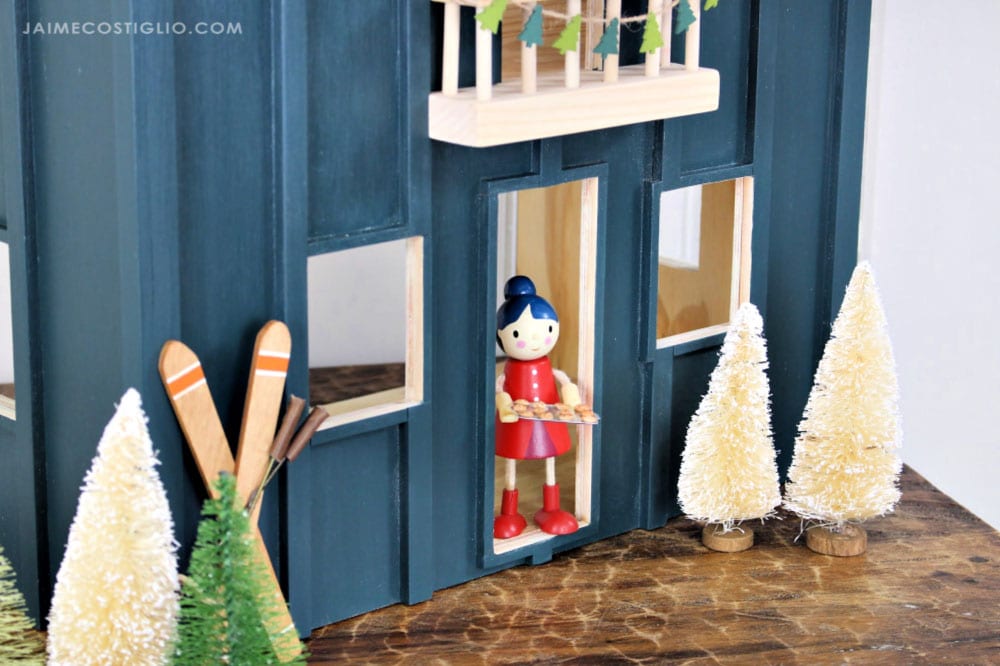
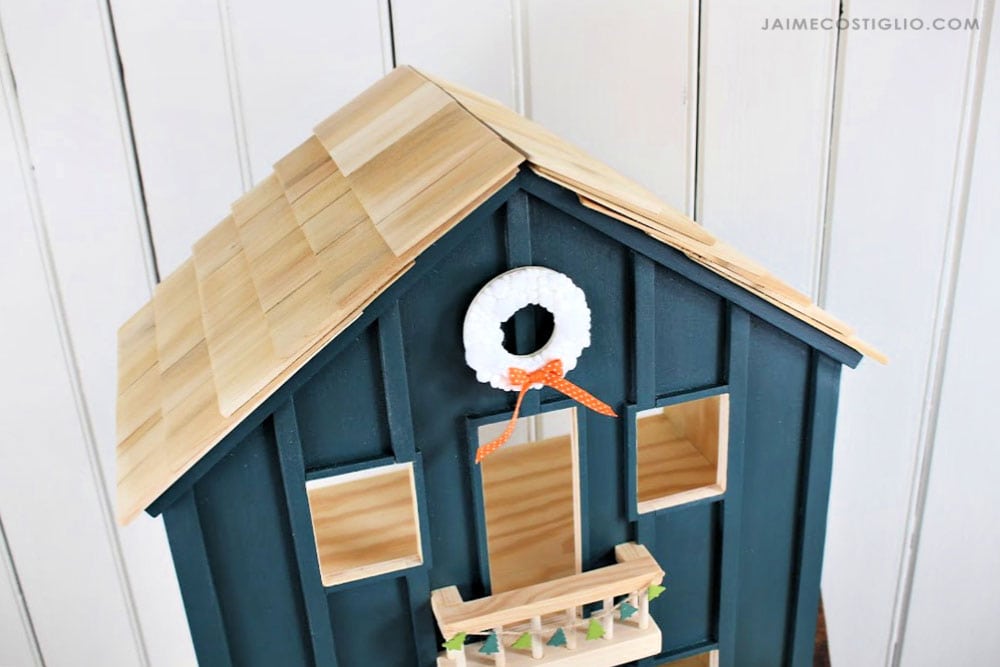
A huge thank you to Ana for designing the plans to build this dollhouse. She has hundreds of build plans for almost type of furniture you could ever need. And I’m tickled that we get to share these fun gift project ideas with you all every year. It’s truly a joy to create these items and gift them as well.
Interior
While I do love the exterior I think most kids will appreciate the interior space. With two floors of open concept living kids can arrange the dollhouse however they desire. And you know I would’ve loved to create the furniture and accessories I just ran out of time. Plus the accessory packs are relatively inexpensive and worth the cost for the quality and detail you get.
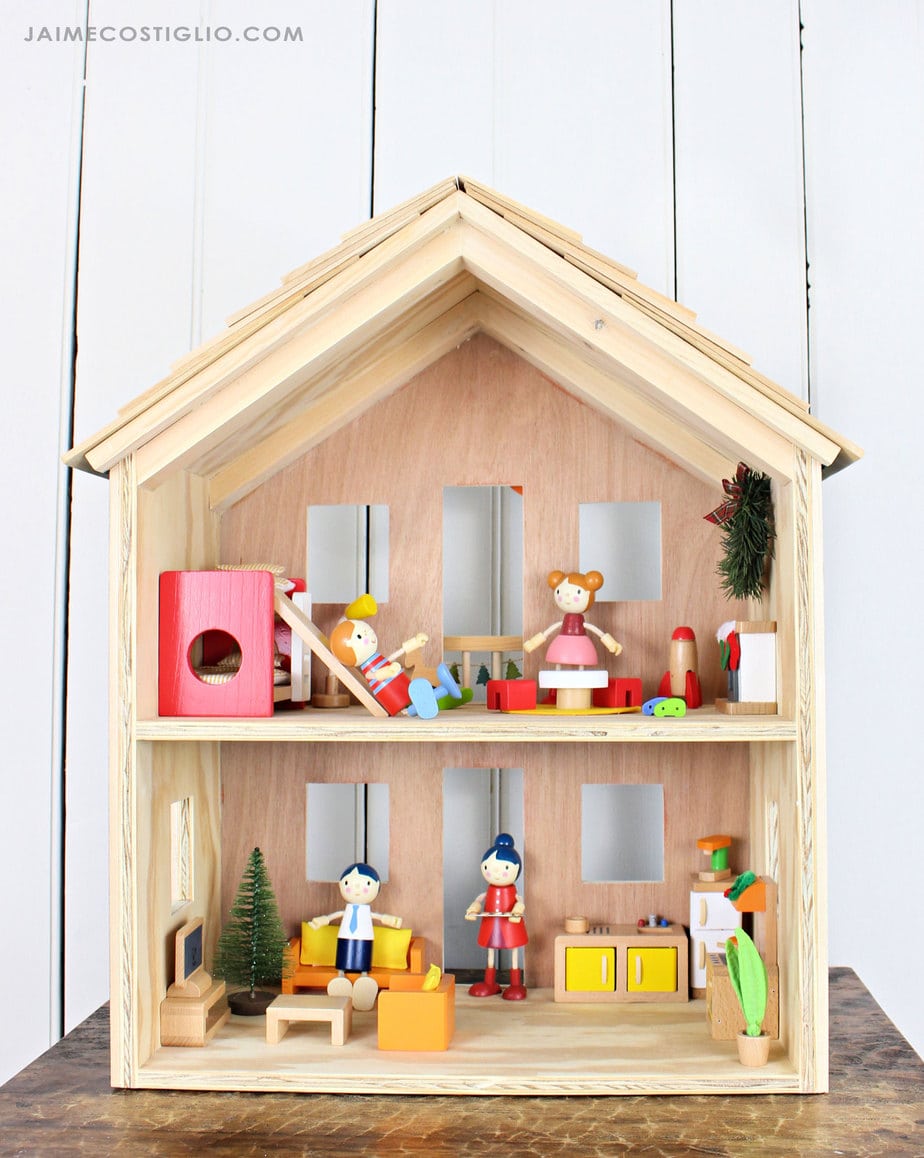
Dollhouse Furniture Sets
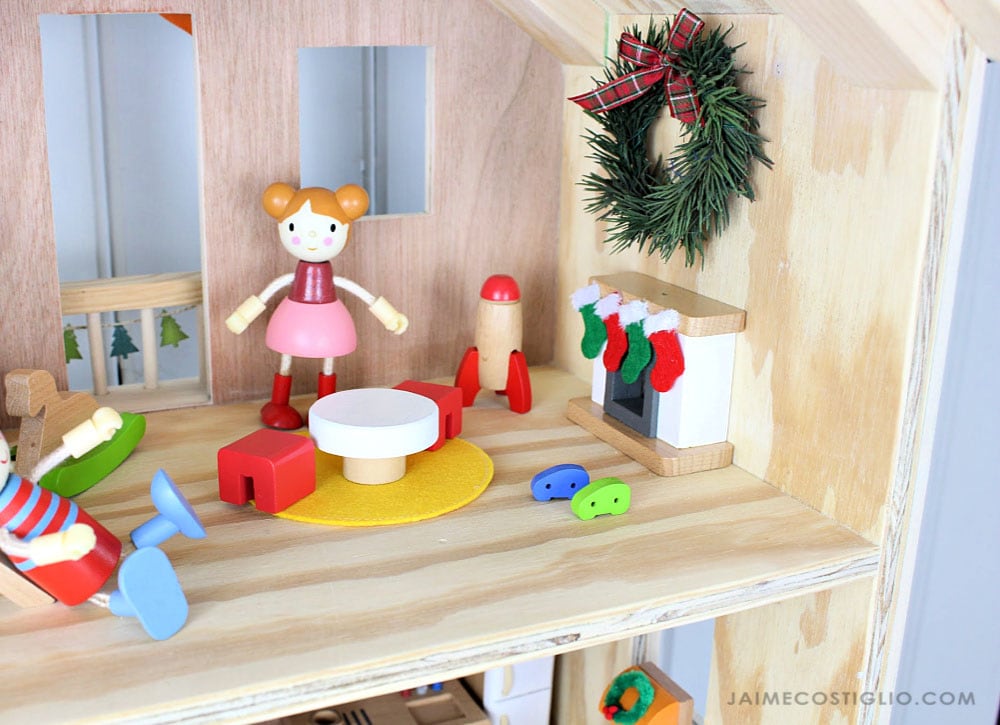
I did add a touch of holiday decor with a few stockings, a handmade wreath above the fireplace, a wreath on the stove hood and a Christmas tree downstairs.
For the complete plans to build this dollhouse check out Ana’s site here.
Supplies:
- miter saw
- measuring tape
- sander
- pneumatic nail gun
- wood glue
- jig saw or scroll saw
- clear quilting ruler
- cedar shakes
- flat molding
- 1/4″ square dowels
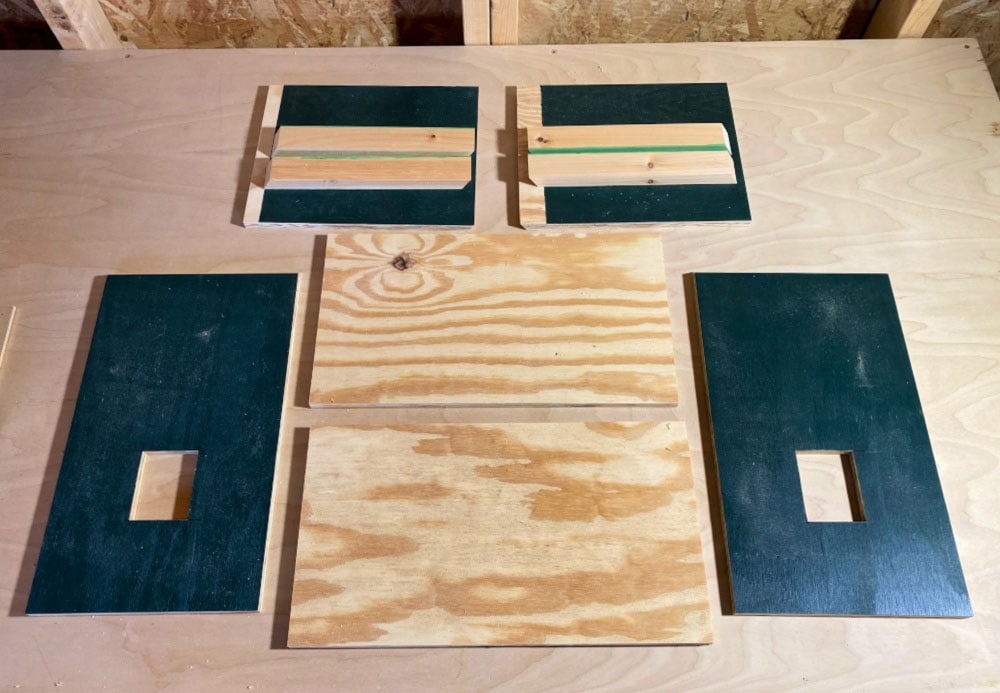
To begin use Ana’s plans and cut the wood pieces. I reused some scrap 1/2″ plywood for this project that was already painted dark green.
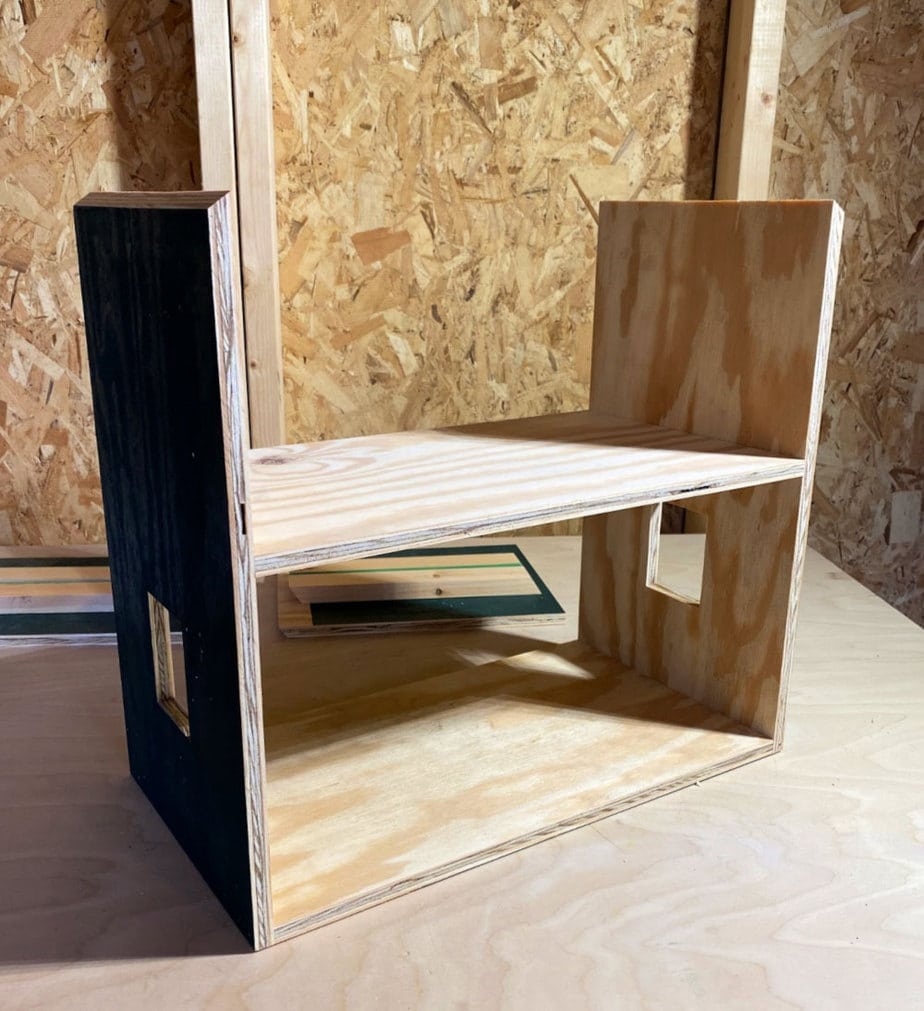
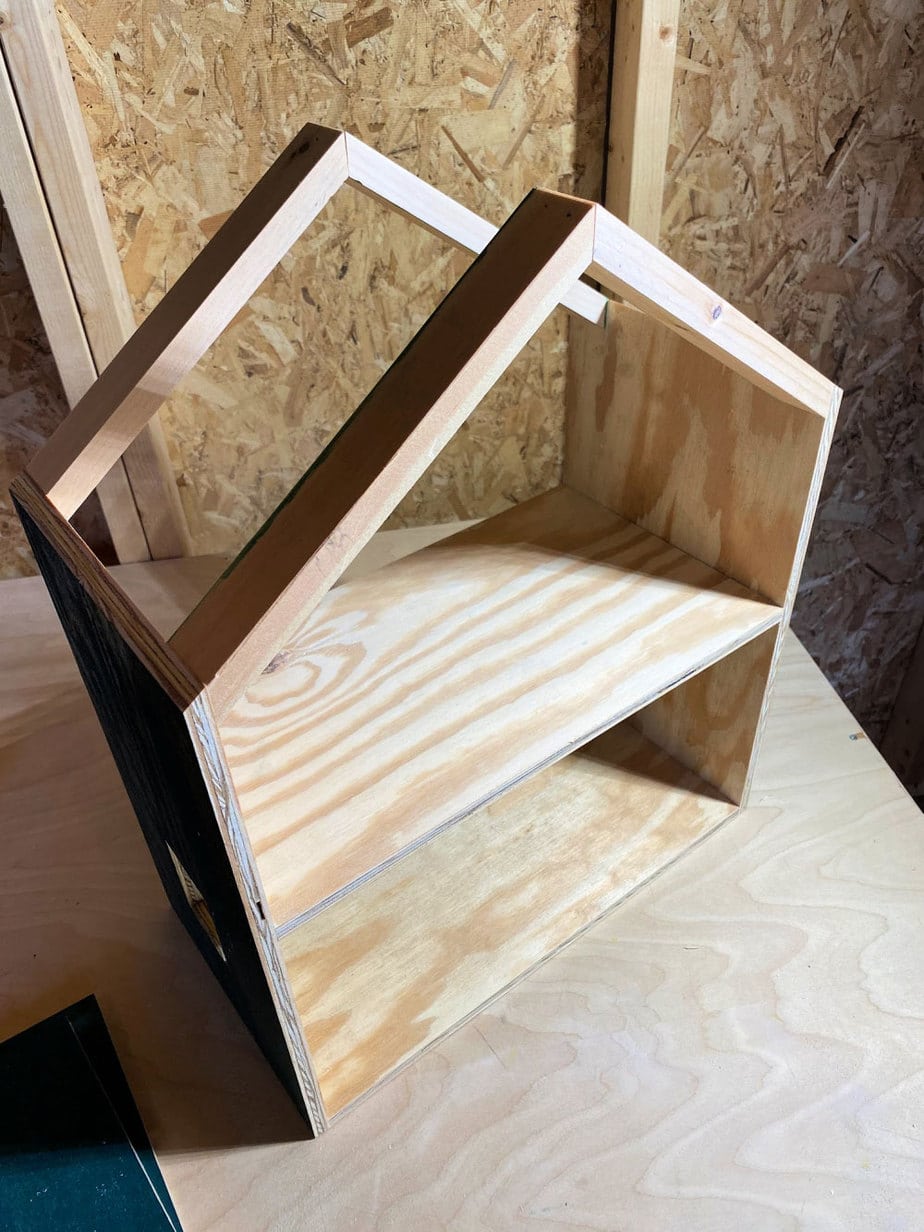
The construction is fairly straight forward. Ana recommends using 1 1/2″ wood screws, I definitely would use #6 and predrill. I opted for wood glue and brad nails throughout.
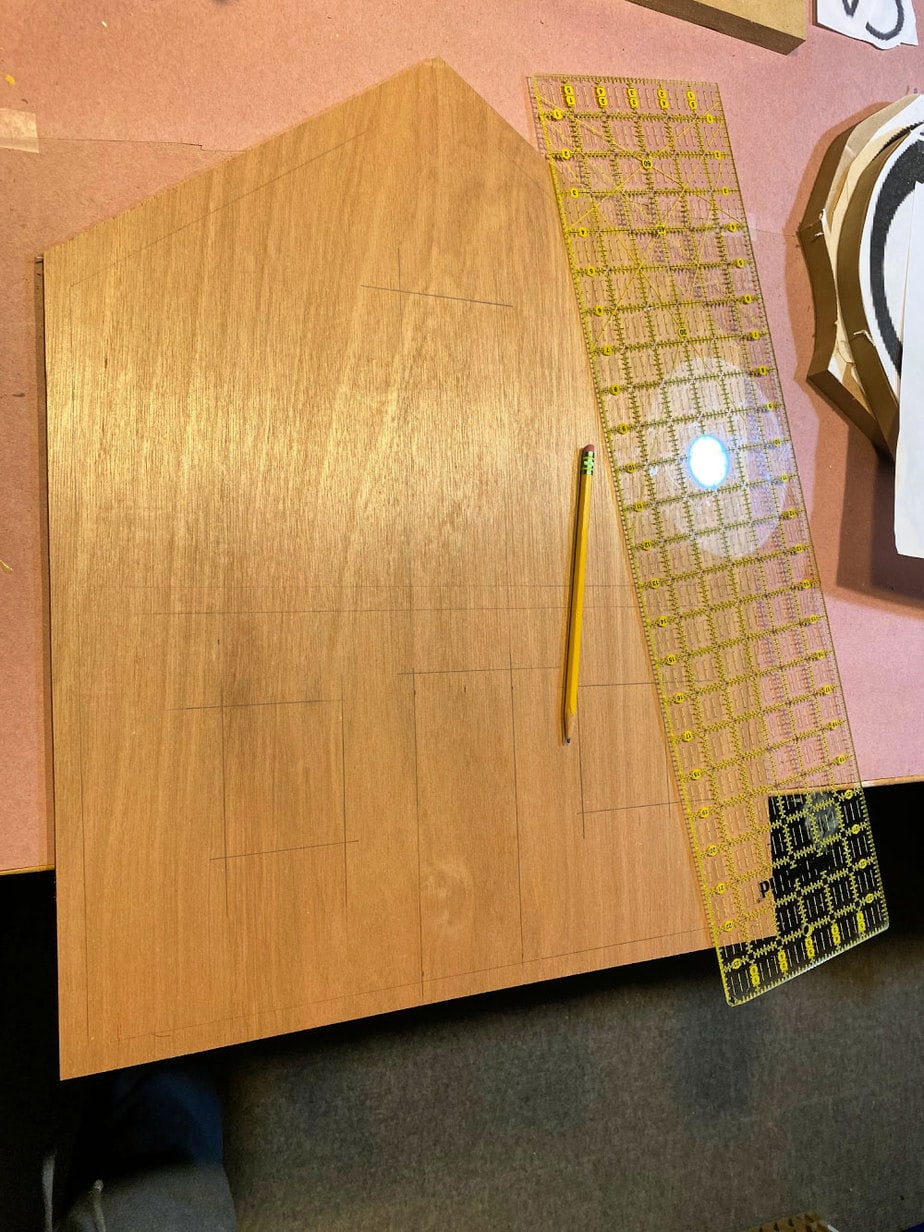
Tip
When marking out the windows and doors I highly recommend using a clear quilting ruler. Because the ruler is see-through you can easily mark out the cut lines relative to one another.
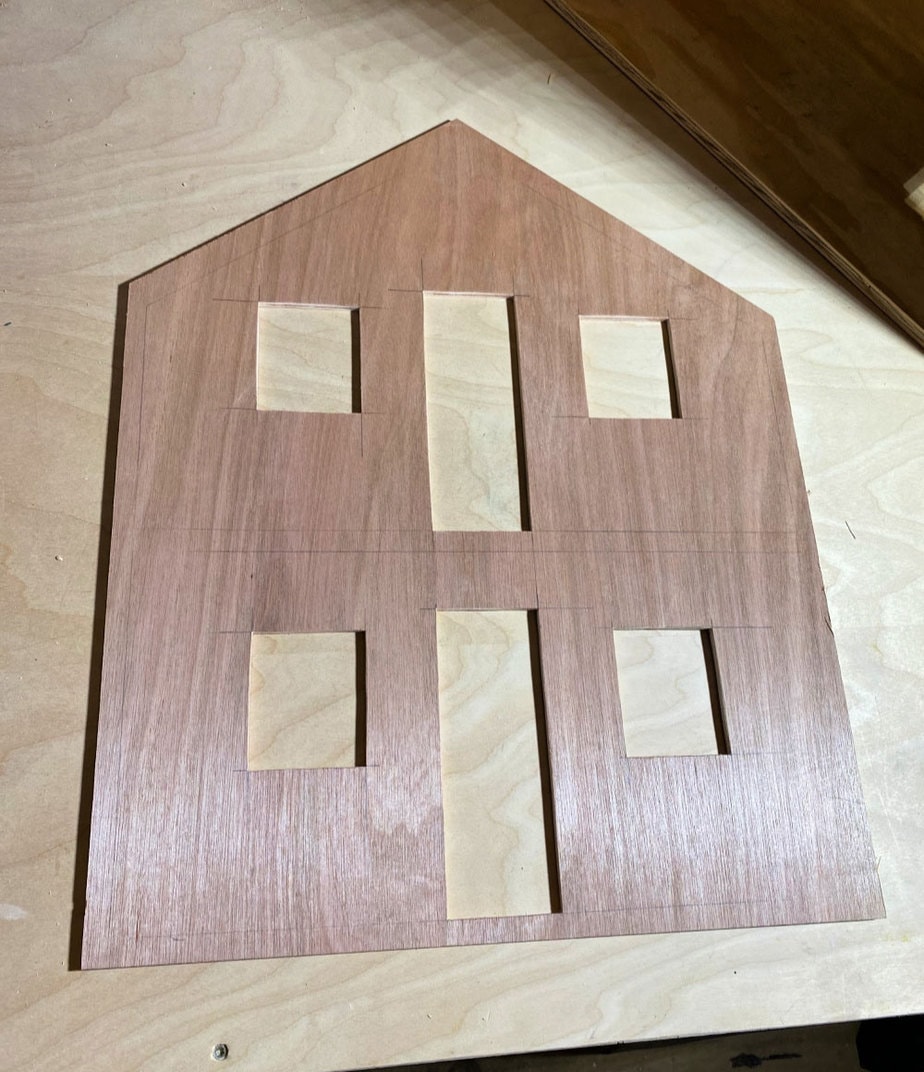
Then predrill a starting hole and use your jig saw or scroll saw to cut out the windows and doors. Now you can attach the front to the dollhouse frame using wood glue and 3/4″ brad nails.
Roof
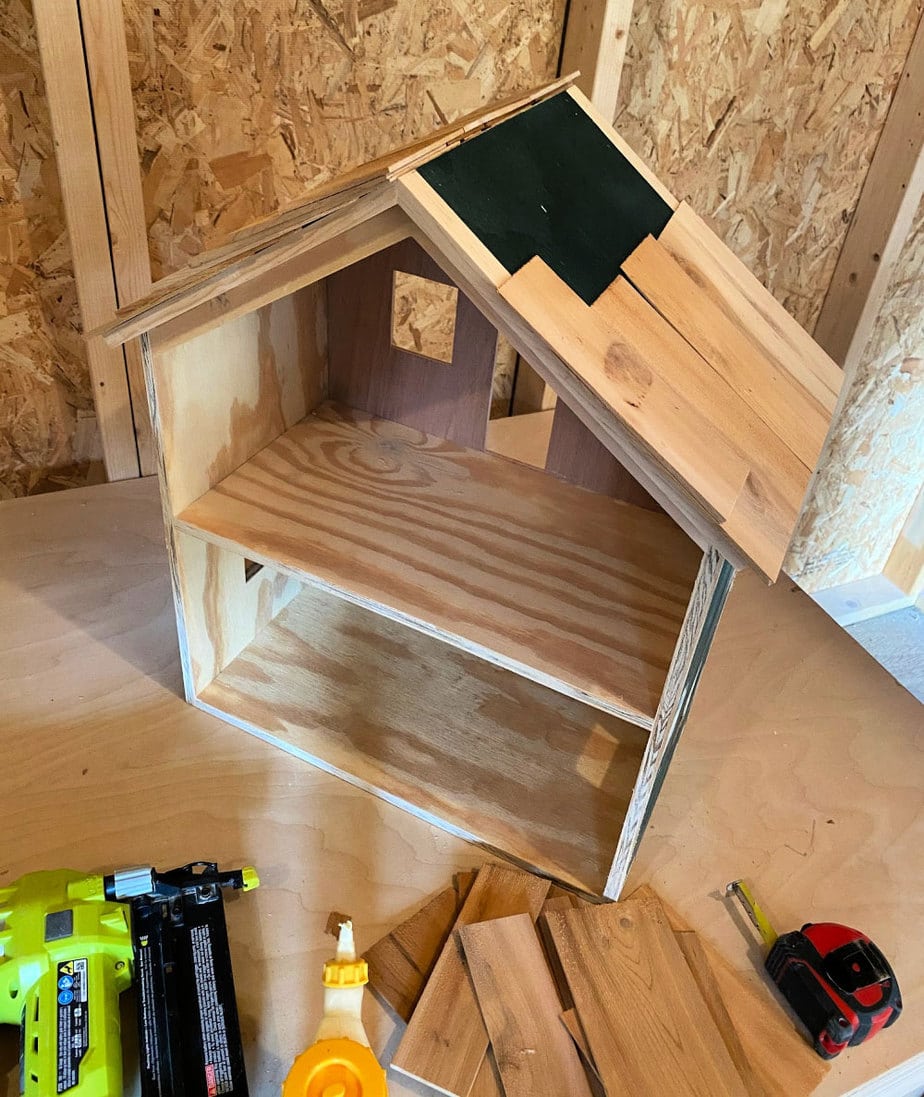
To fancy up the roof I added a layer of cedar shakes. Each shake is about 6″ long with a 1 3/4″ reveal. To attach to the roof I used wood glue and 5/8″ brad nails.
Batten Detail
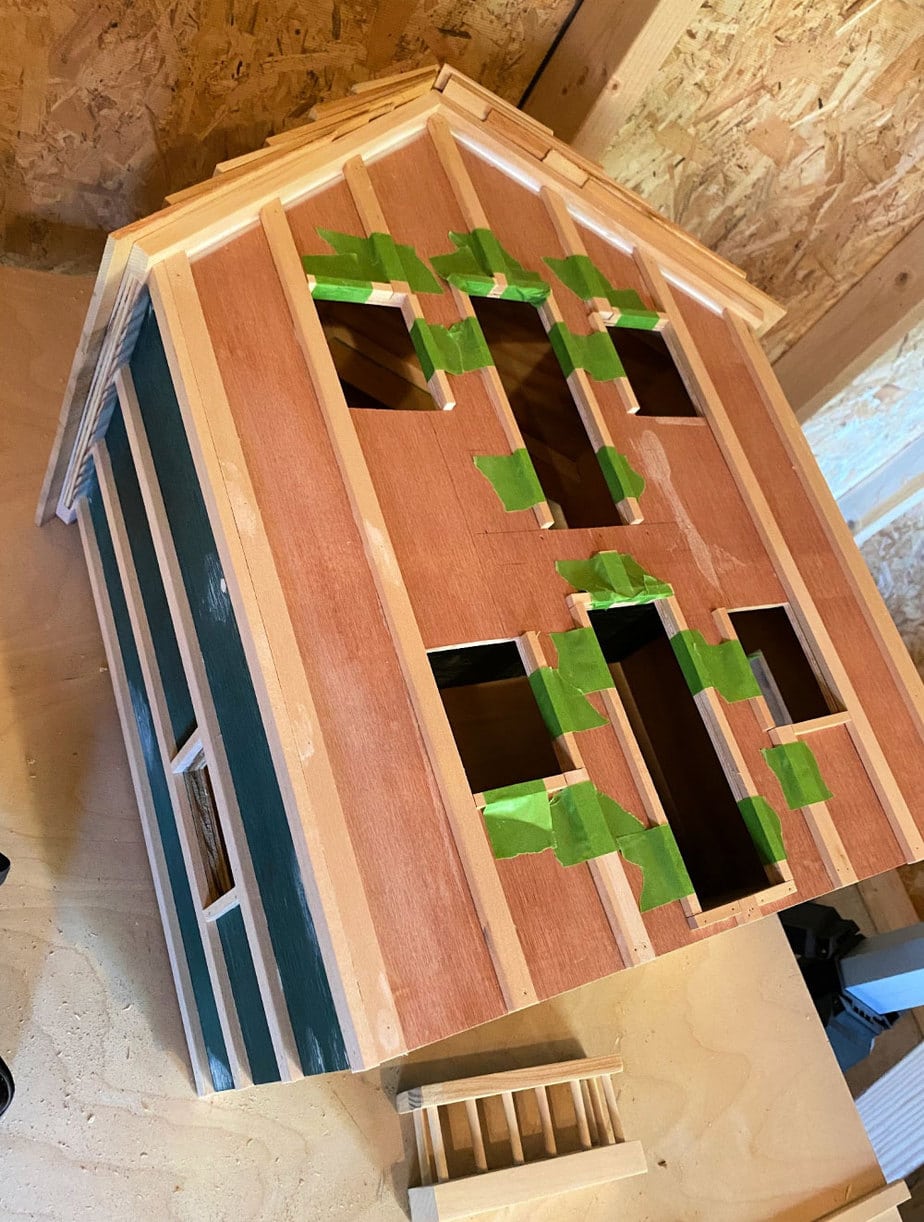
For the vertical battens I used 1/4″ x 1/2″ flat molding. Cut the angle at the roof line the same 35 degrees as everything else. Be sure to leave a spot for the balcony to attach later after paint. For the trim around the windows and doors I used 1/4″ square dowel. I attached all the trim to the dollhouse using wood glue and 3/4″ pin nails when possible.
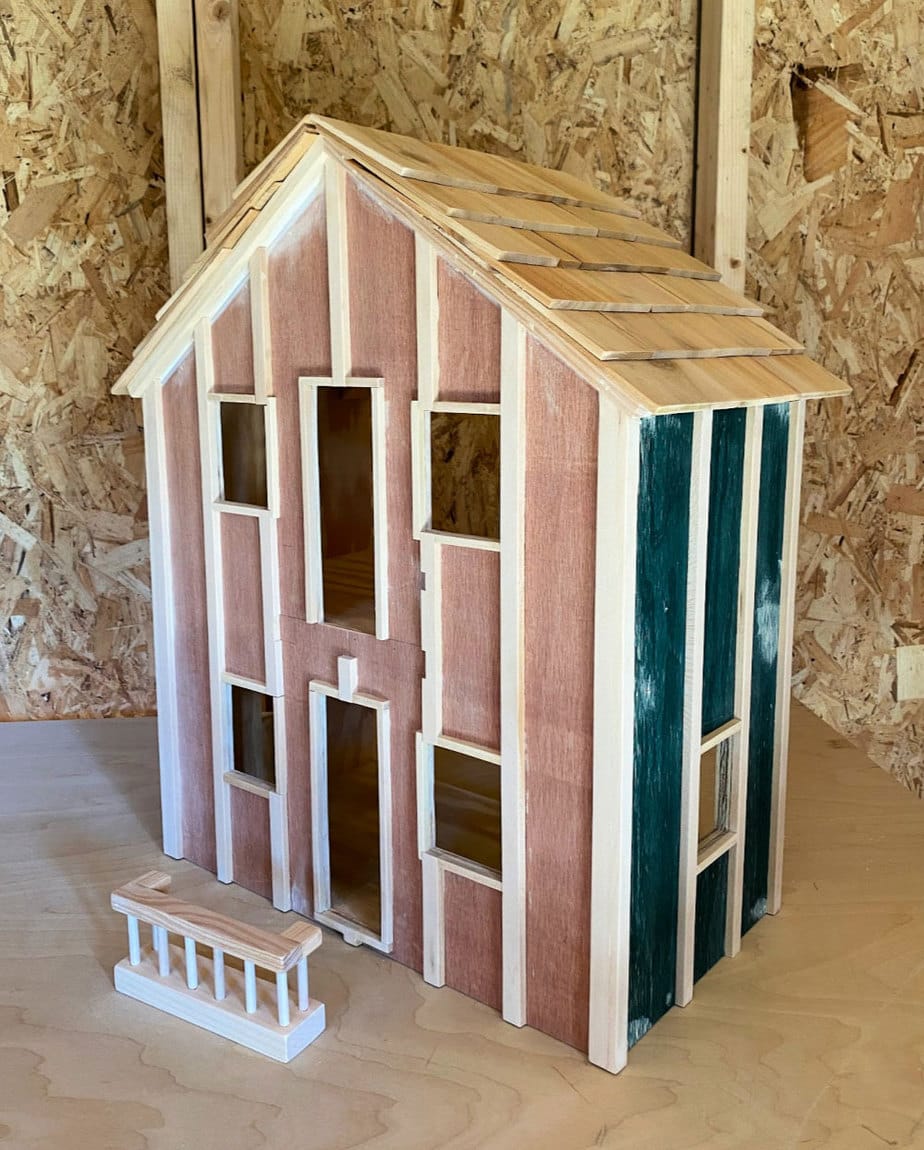
Lastly fill any nail holes with wood putty and sand everything smooth. Now you are ready to paint.
Accessories
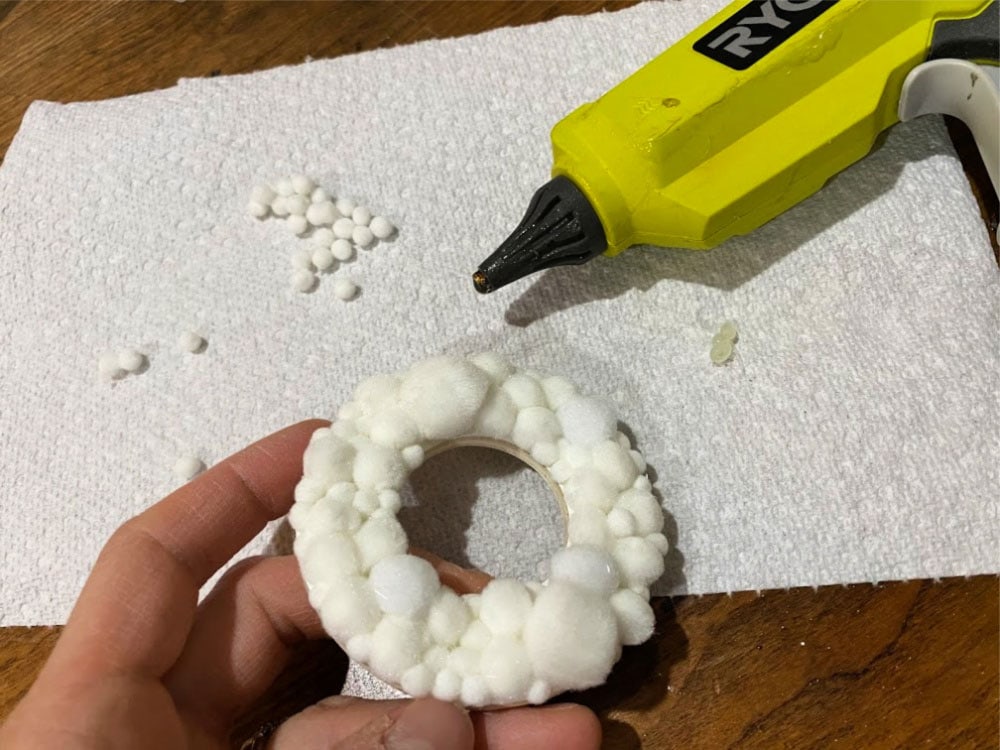
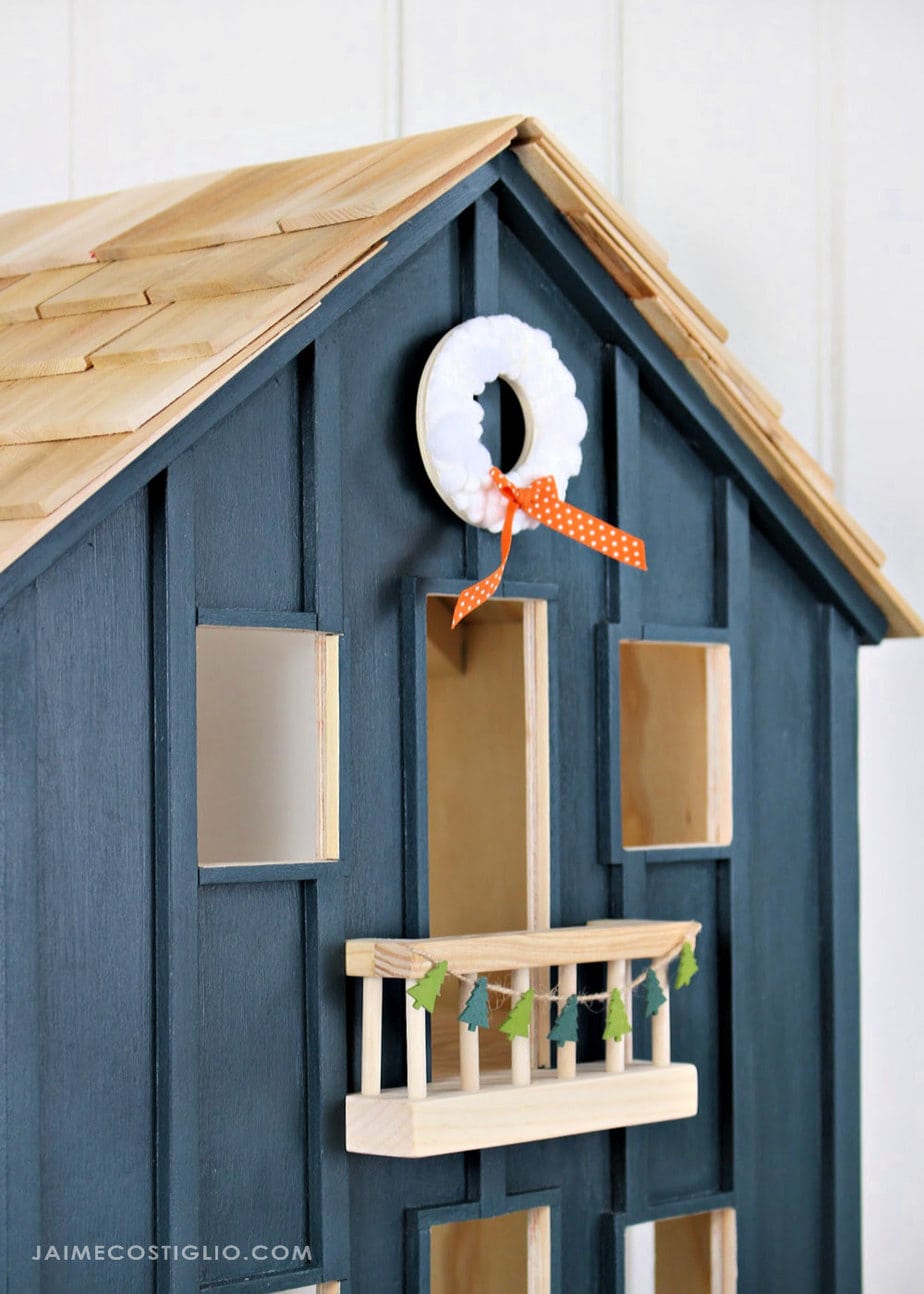
To decorate the dollhouse for Christmas I made a quick pom pom wreath with hot glue and mini pom poms. Then attached the wreath to the dollhouse using double sided tape.
The garland is little wood tree cut outs glued onto jute string. Just a little holiday decor for fun!
Thanks for joining me for this handmade wood dollhouse project. Please leave any questions in the comments below and be sure to follow me on social media for sneak peeks, tools and project inspiration:
Instagram / Pinterest / Facebook / Youtube / Twitter
SHOP THIS PROJECT:



This is beautiful! I would make a very cute little Free Library too! Perhaps we could see plans for one of those in the future….. Now that would be a gift that keeps on giving! I love seeing your work.
Beautiful project as usual!!!
Thank you Rachel, I had the most fun making it and decorating for Christmas.
Where does one purchase the cute family of dolls who live in your wonderful doll house? Thank you!!
Hi Linda, the wood doll family and accessories are linked above in the post.