Now that Halloween has passed I bet you have a few more costumes to add to the dress up stash. Why not build a dress up wardrobe to store all the costumes, hats, shoes and accessories in one easily accessible location?
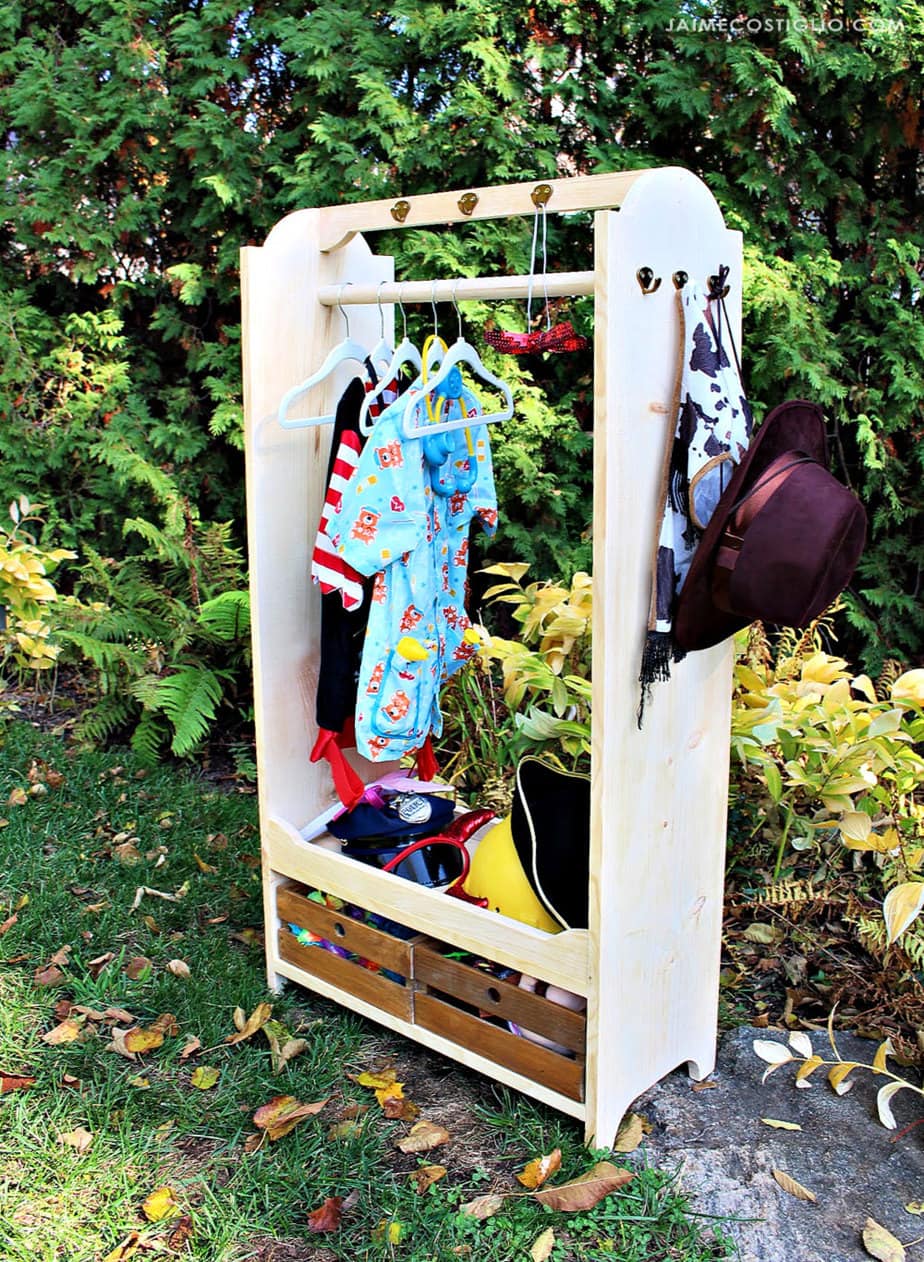
A DIY tutorial to build a dress up wardrobe. Corral all the dress up clothes, shoes and accessories in one location with lots of storage.
Encourage dress up play all year long with a beautiful wood wardrobe sized just right for younger kids. As part of the Handbuilt Holiday series Ana White and I are sharing a new holiday gift build project every Friday leading up to Christmas. Today is this simple, sturdy and useful dress up wardrobe.
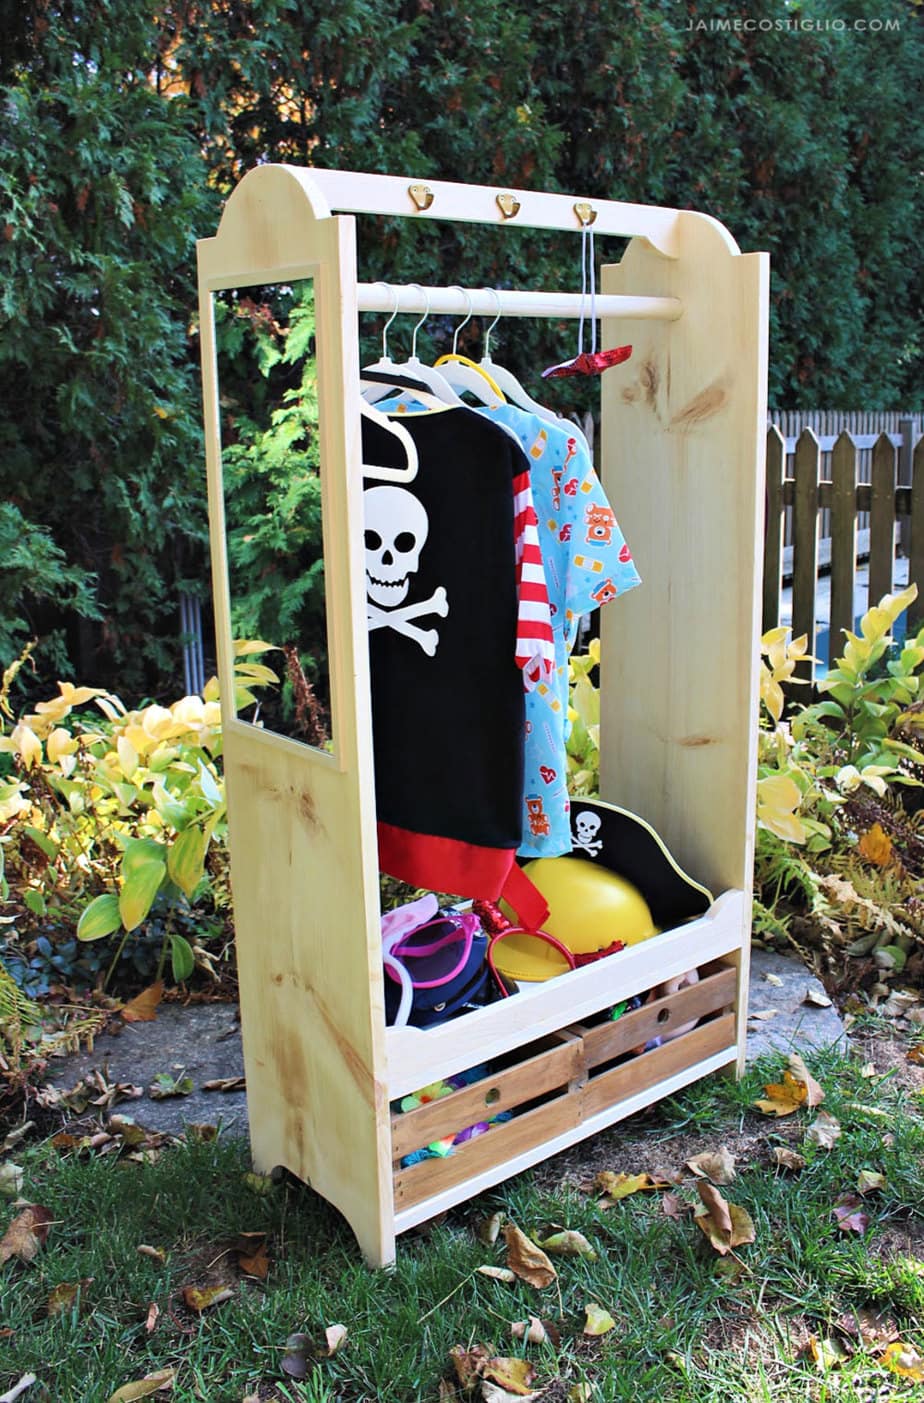
Tired of that pile of dress up clothes laying around the playroom floor? Or maybe you are storing them in a cardboard box like I was and then the kids rifle through making a huge mess of the box? Clearly the cardboard box is not a good solution. Build this wood wardrobe with lots of hanging space, hooks, an open shelf, storage bins and even a mirror using plans from Ana White.
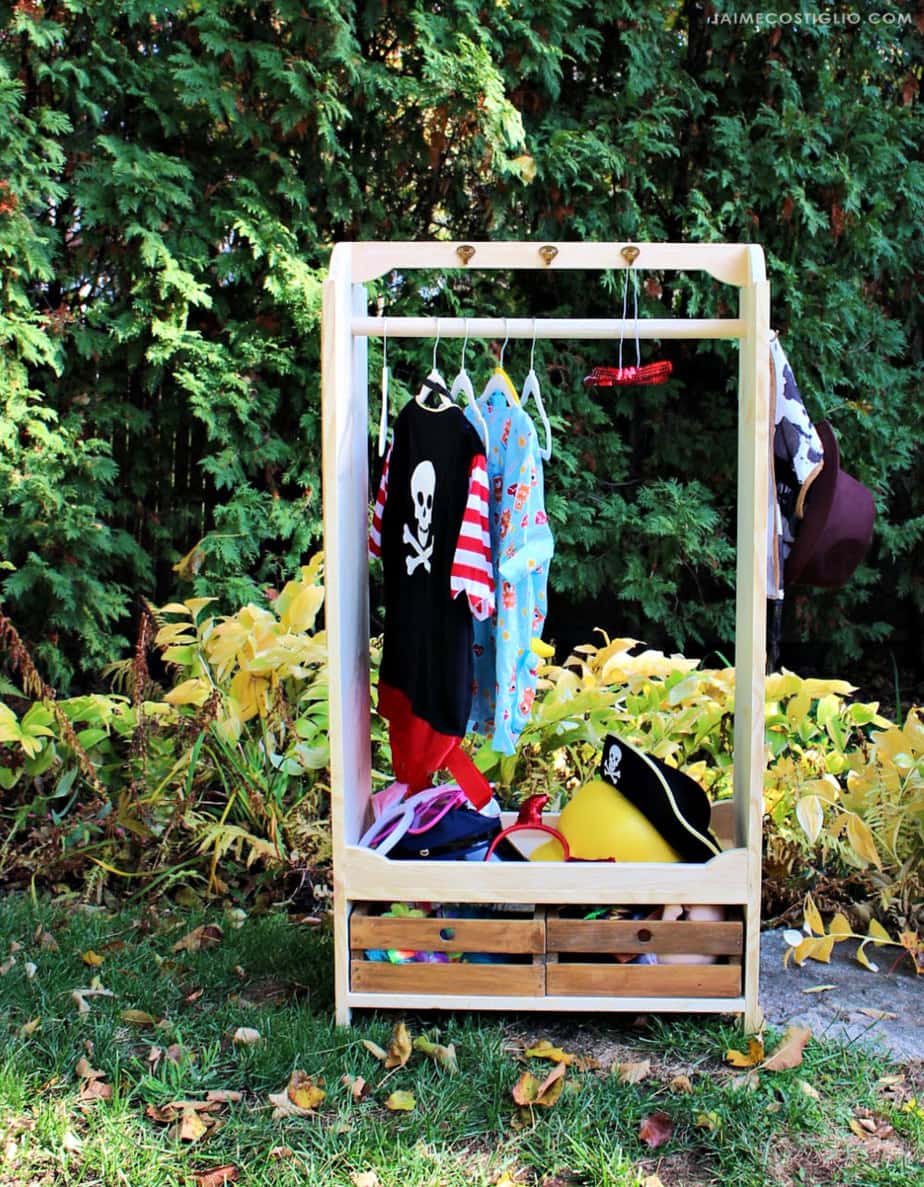
We used 1×12 boards for this project and you can purchase them in 4 foot lengths. You need three boards for the main body of this dress up wardrobe and you’re nearly finished. So simple but still functional and with a few 1×3 detailed trim pieces you have a very nice, finished looking piece of furniture.
Details:
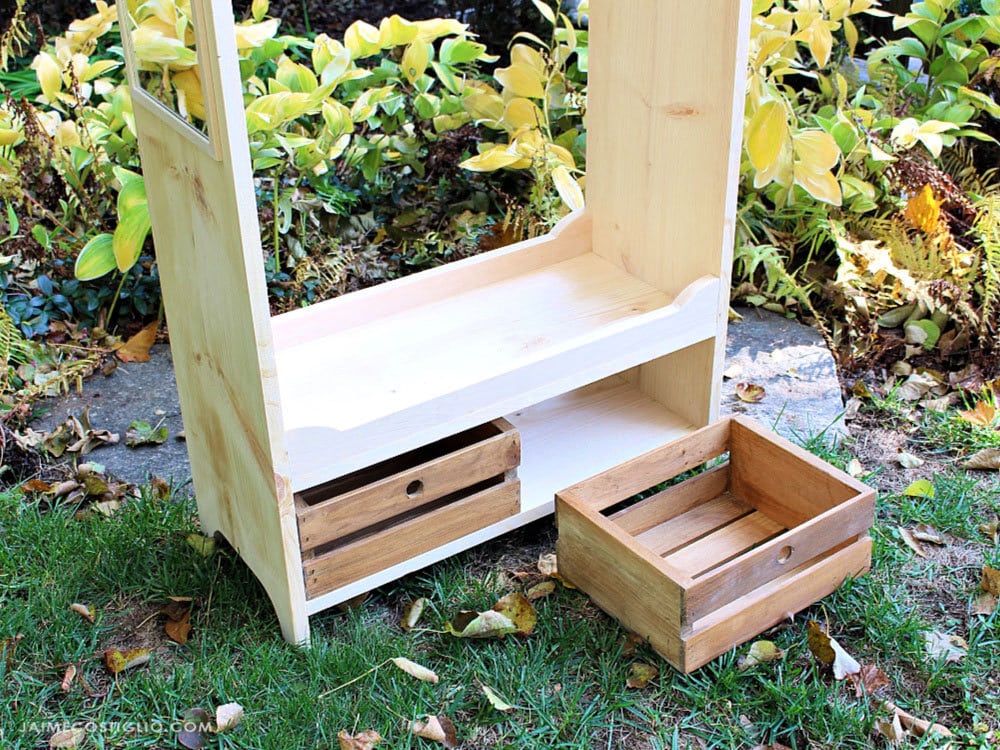
Ana designed this dress up wardrobe to fit two bins or baskets below and I happen to have two small wood crates on hand which fit perfectly! A circle cut out at center front makes an easy pull.
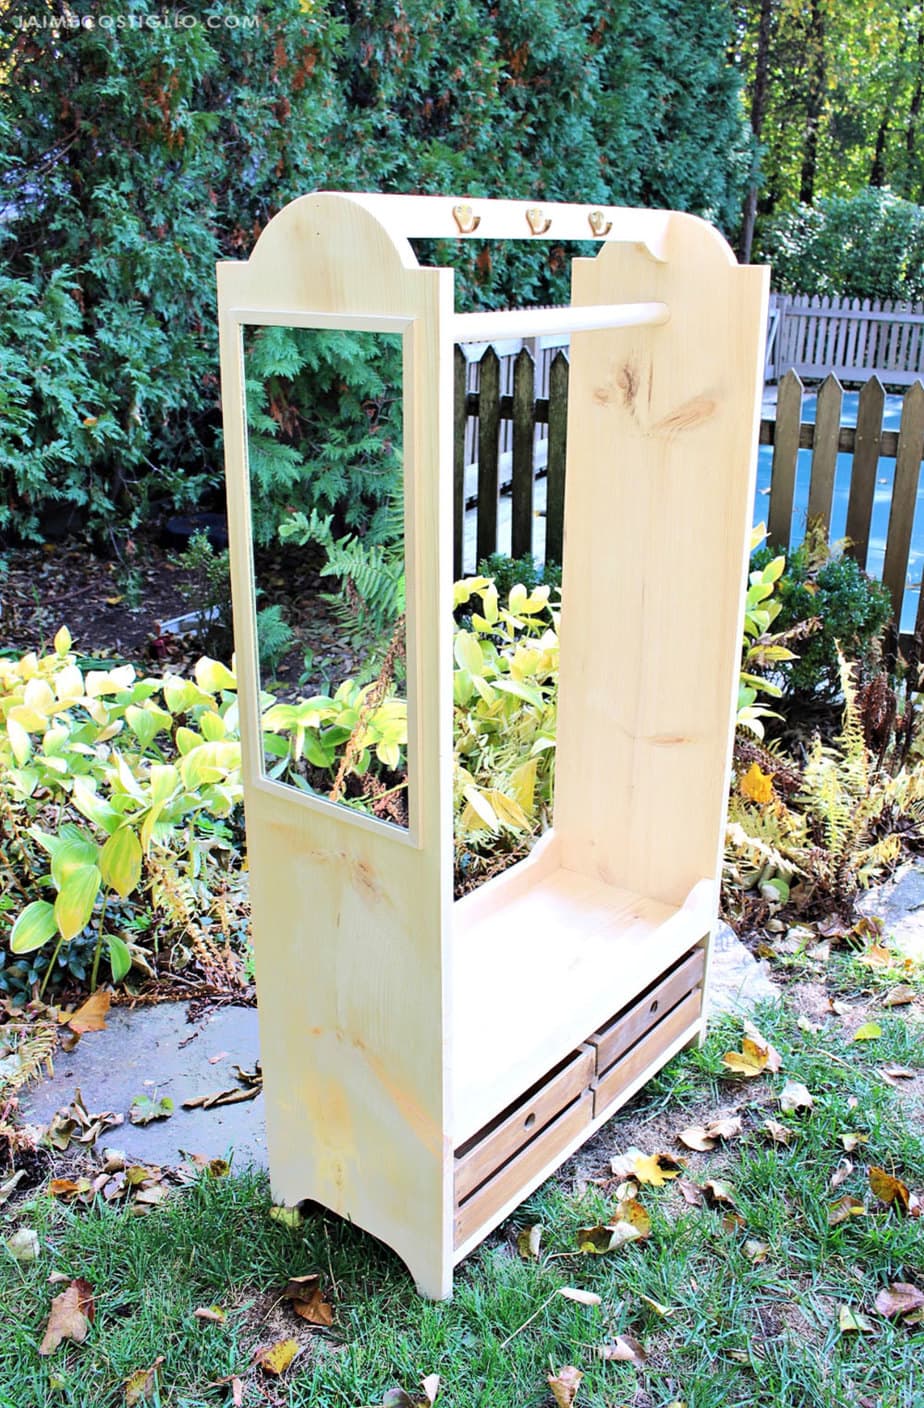
No wardrobe is complete without a mirror. I found this small 9″ x 20″ mirror at Homegoods then used construction adhesive to attach it and added flat moulding to trim out the edges.
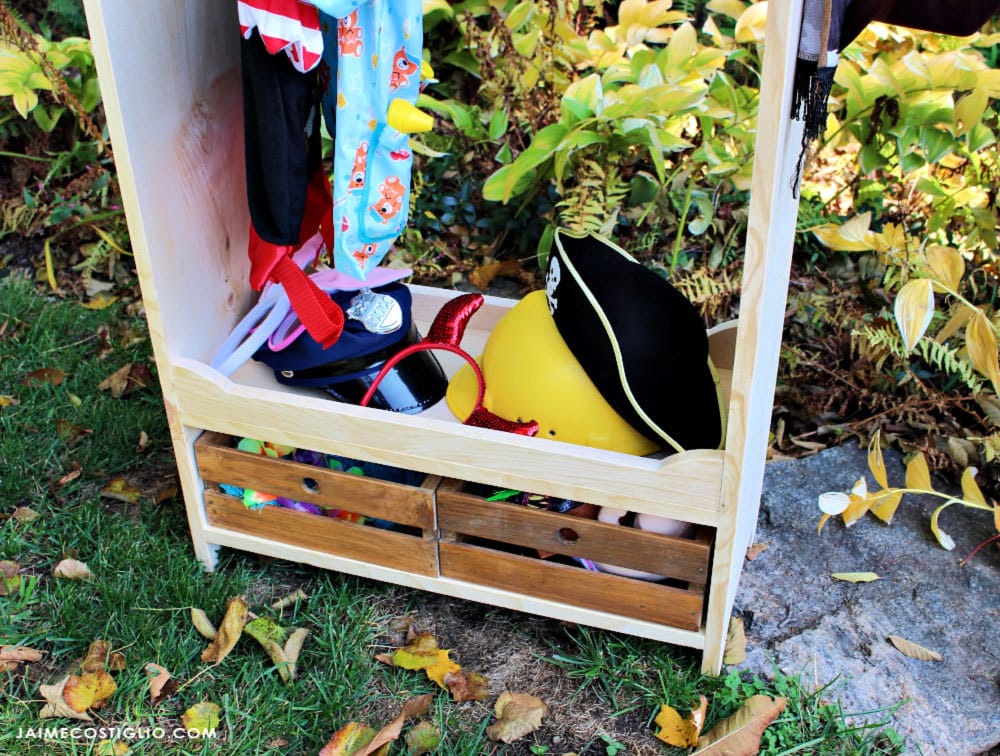
There’s plenty of space on the open shelf for all the loose costume bits and pieces – hats, headbands, swords, glasses, etc. And all the dress up shoes can go in the bins below.
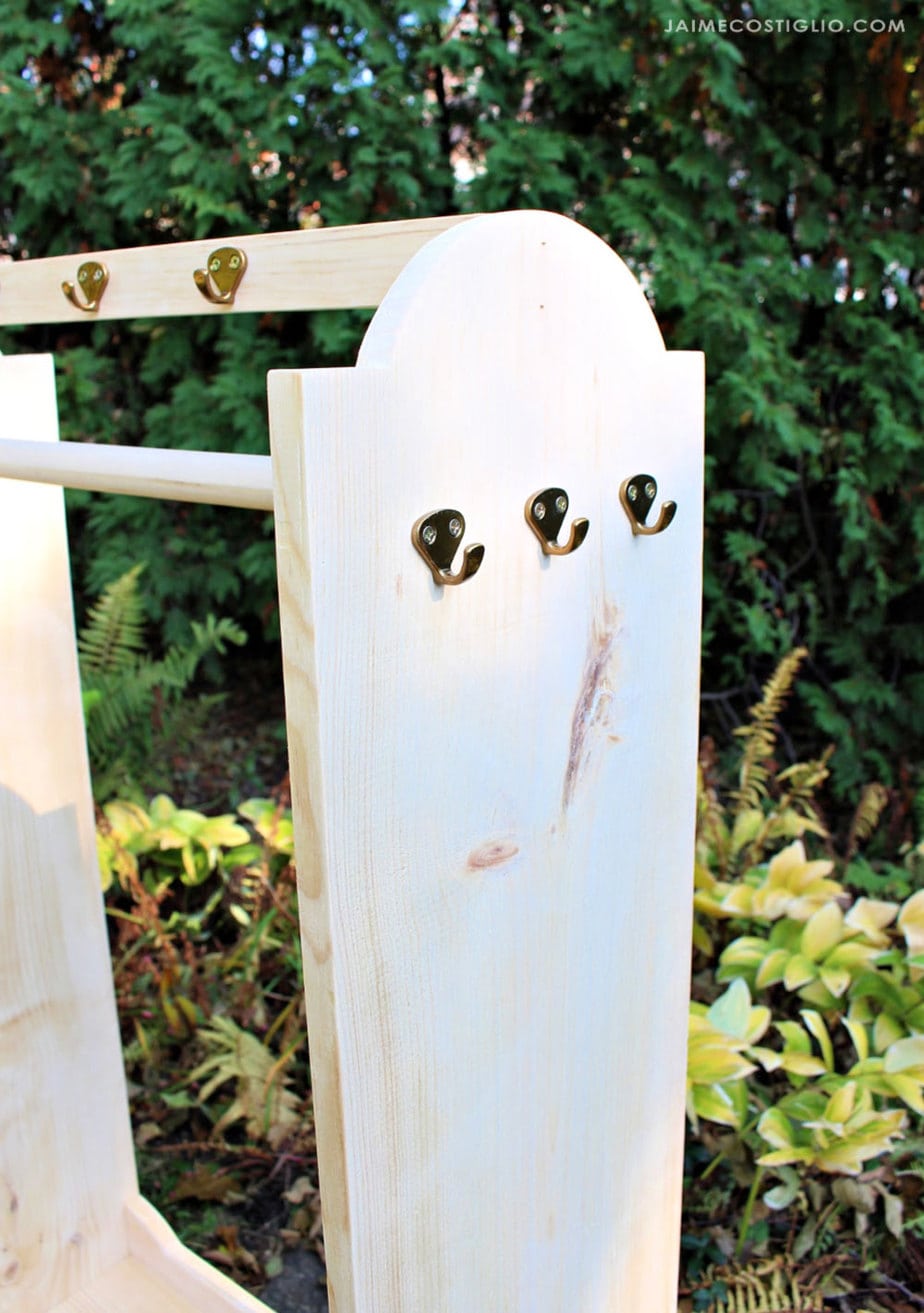
We all know kids shy away from hangers as much as we try to teach them so why not use hooks instead? I used these pretty brass looking hooks from Ikea both on the top cross support and the exterior side without the mirror. Kids can definitely manage hooks and it makes for a more organized and accessible dress up center.
Ana has the complete plans here including a cut list and step by step instructions. Be sure to read through entirely before beginning.
Supplies:
- 3 – 1x12x4 pine boards
- 1 – 1x3x8
- 1 – 1 1/8″ dowel
- 2 – small wood crates
- jig saw
- hooks
- mirror (approx. 10″ x 22″)
- miter saw
- pocket hole jig
- 1 1/4″ wood screws
- wood glue
- drill & drill bits
- nail gun & 1 1/4″ nails
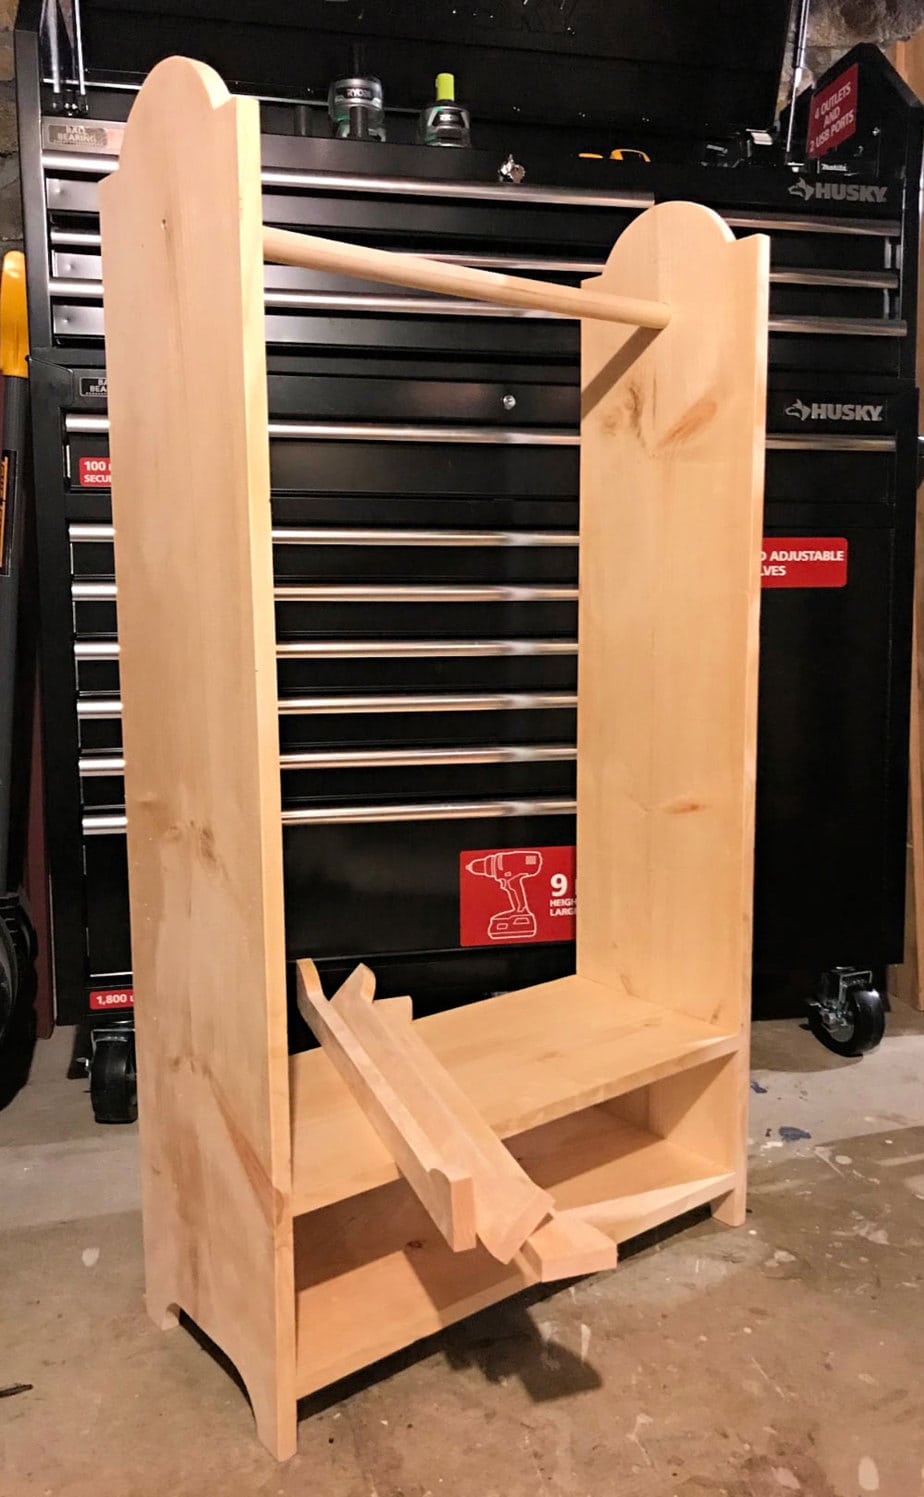
Complete the main structure and then add the trim pieces using wood glue and finish nails. This is a quick build and makes a great gift idea for kids who love dress up.
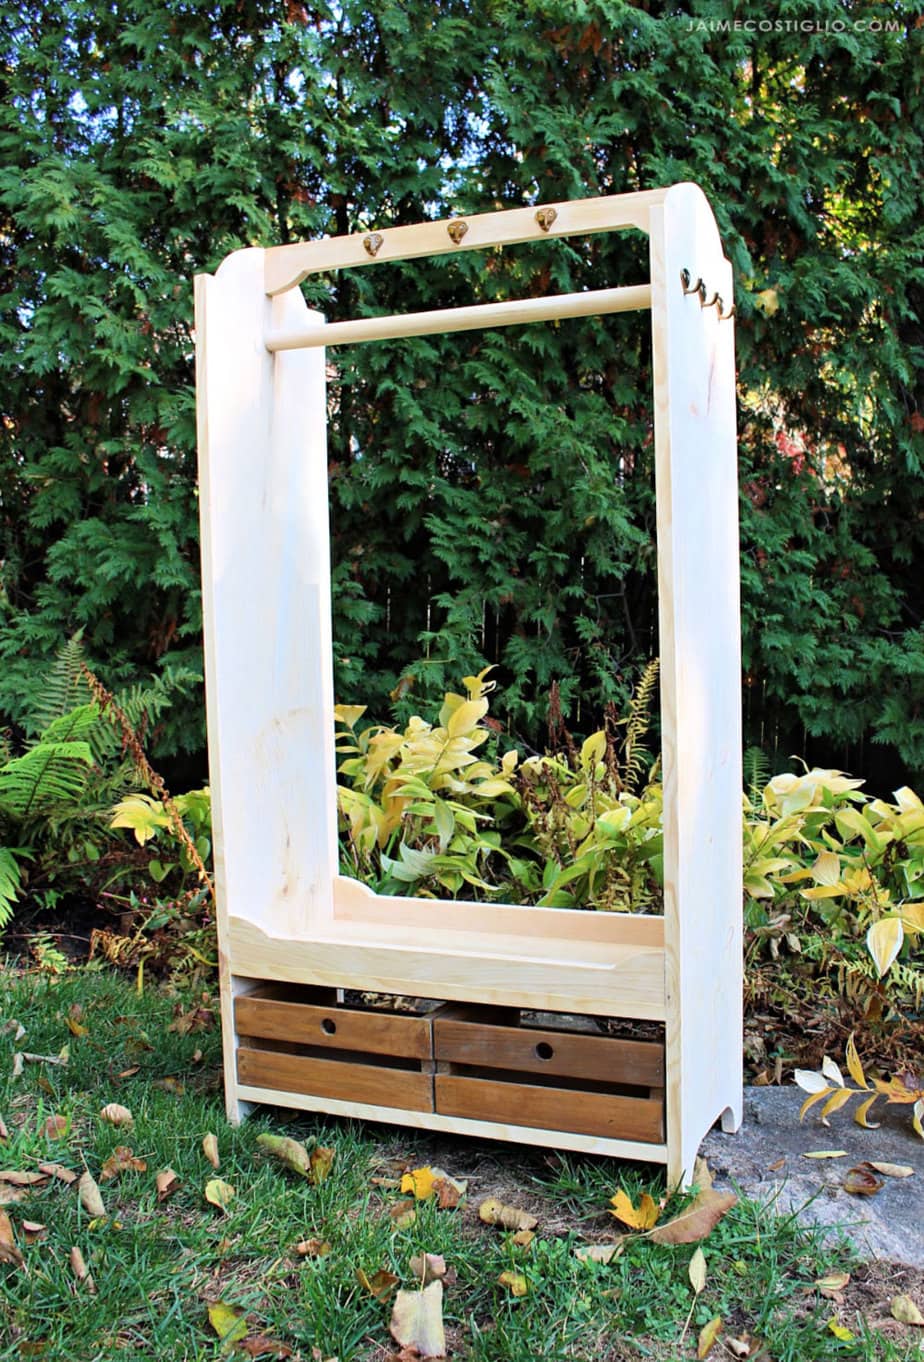
Be sure to check back every Friday for a new gift build idea for all those friends and family on your list!
SHOP THIS PROJECT:
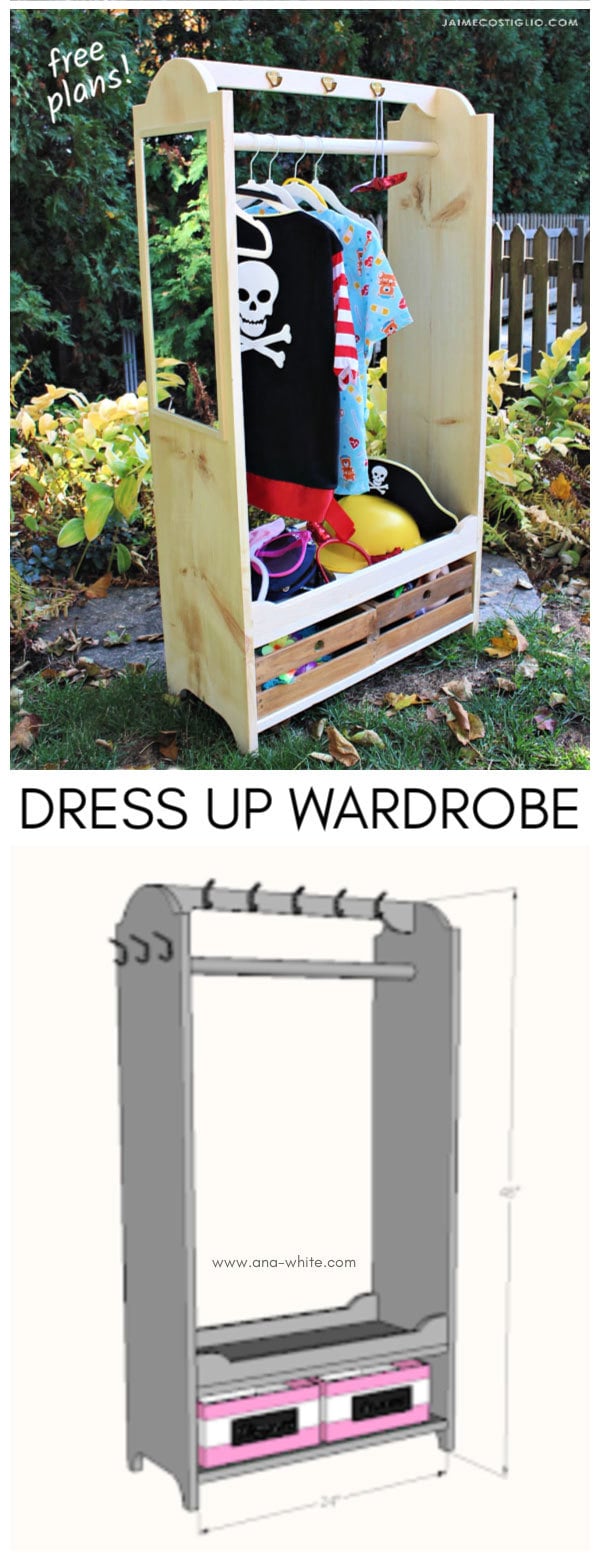



Great for a school’s Lost & Found Center as well!
Great idea Angie. Our lost and found is a big box and kids can’t see what’s in there so barely anything gets claimed ever. Such a wonderful idea to hang up the items and make them visible.
Where are the plans for the wardrobe?
Thank you
Donna
Hi Donna, the link to the plans is up above the list of supplies. I will leave it here also: http://www.ana-white.com/2018/11/free_plans/dress-wardrobe