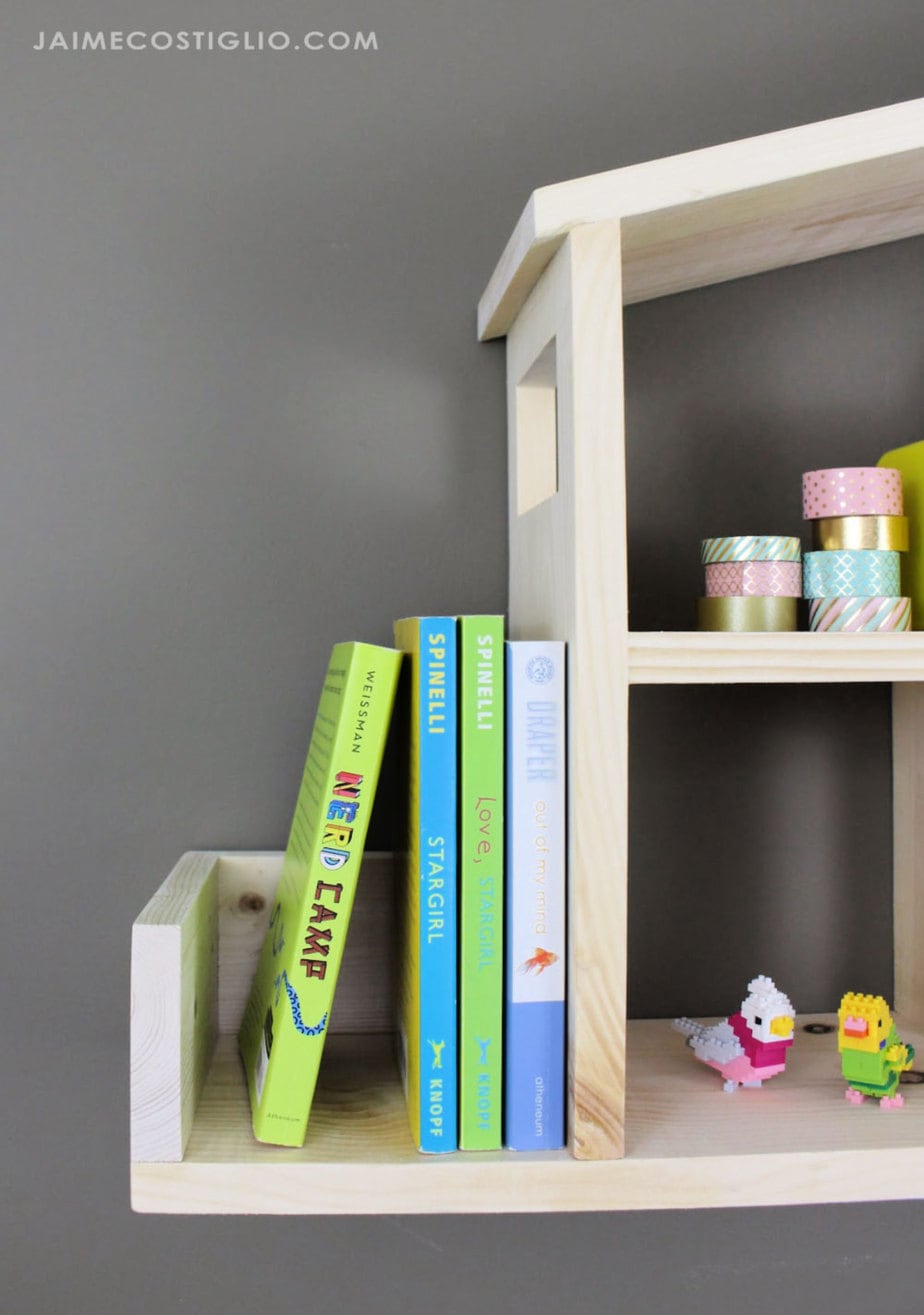
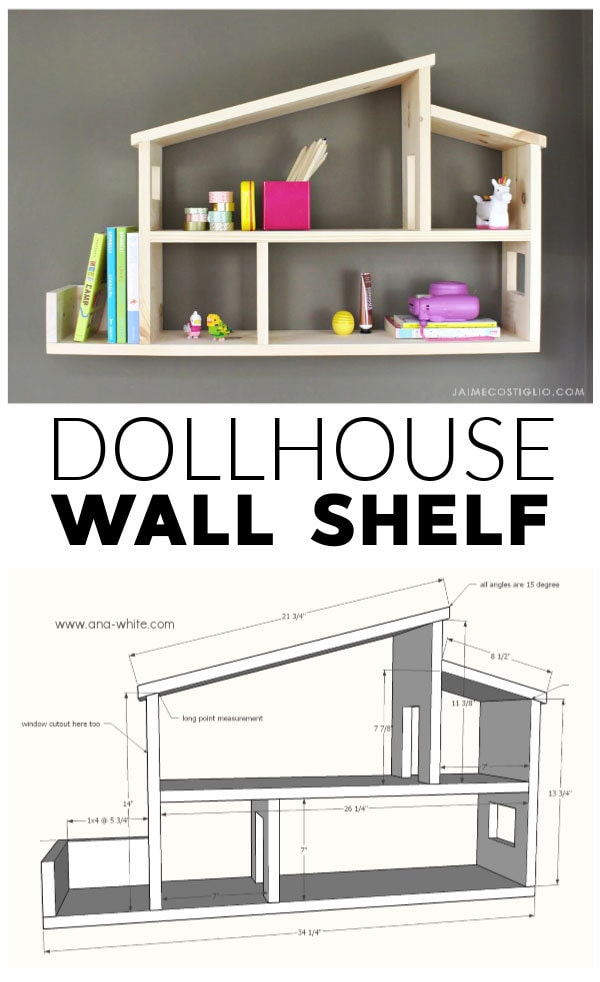
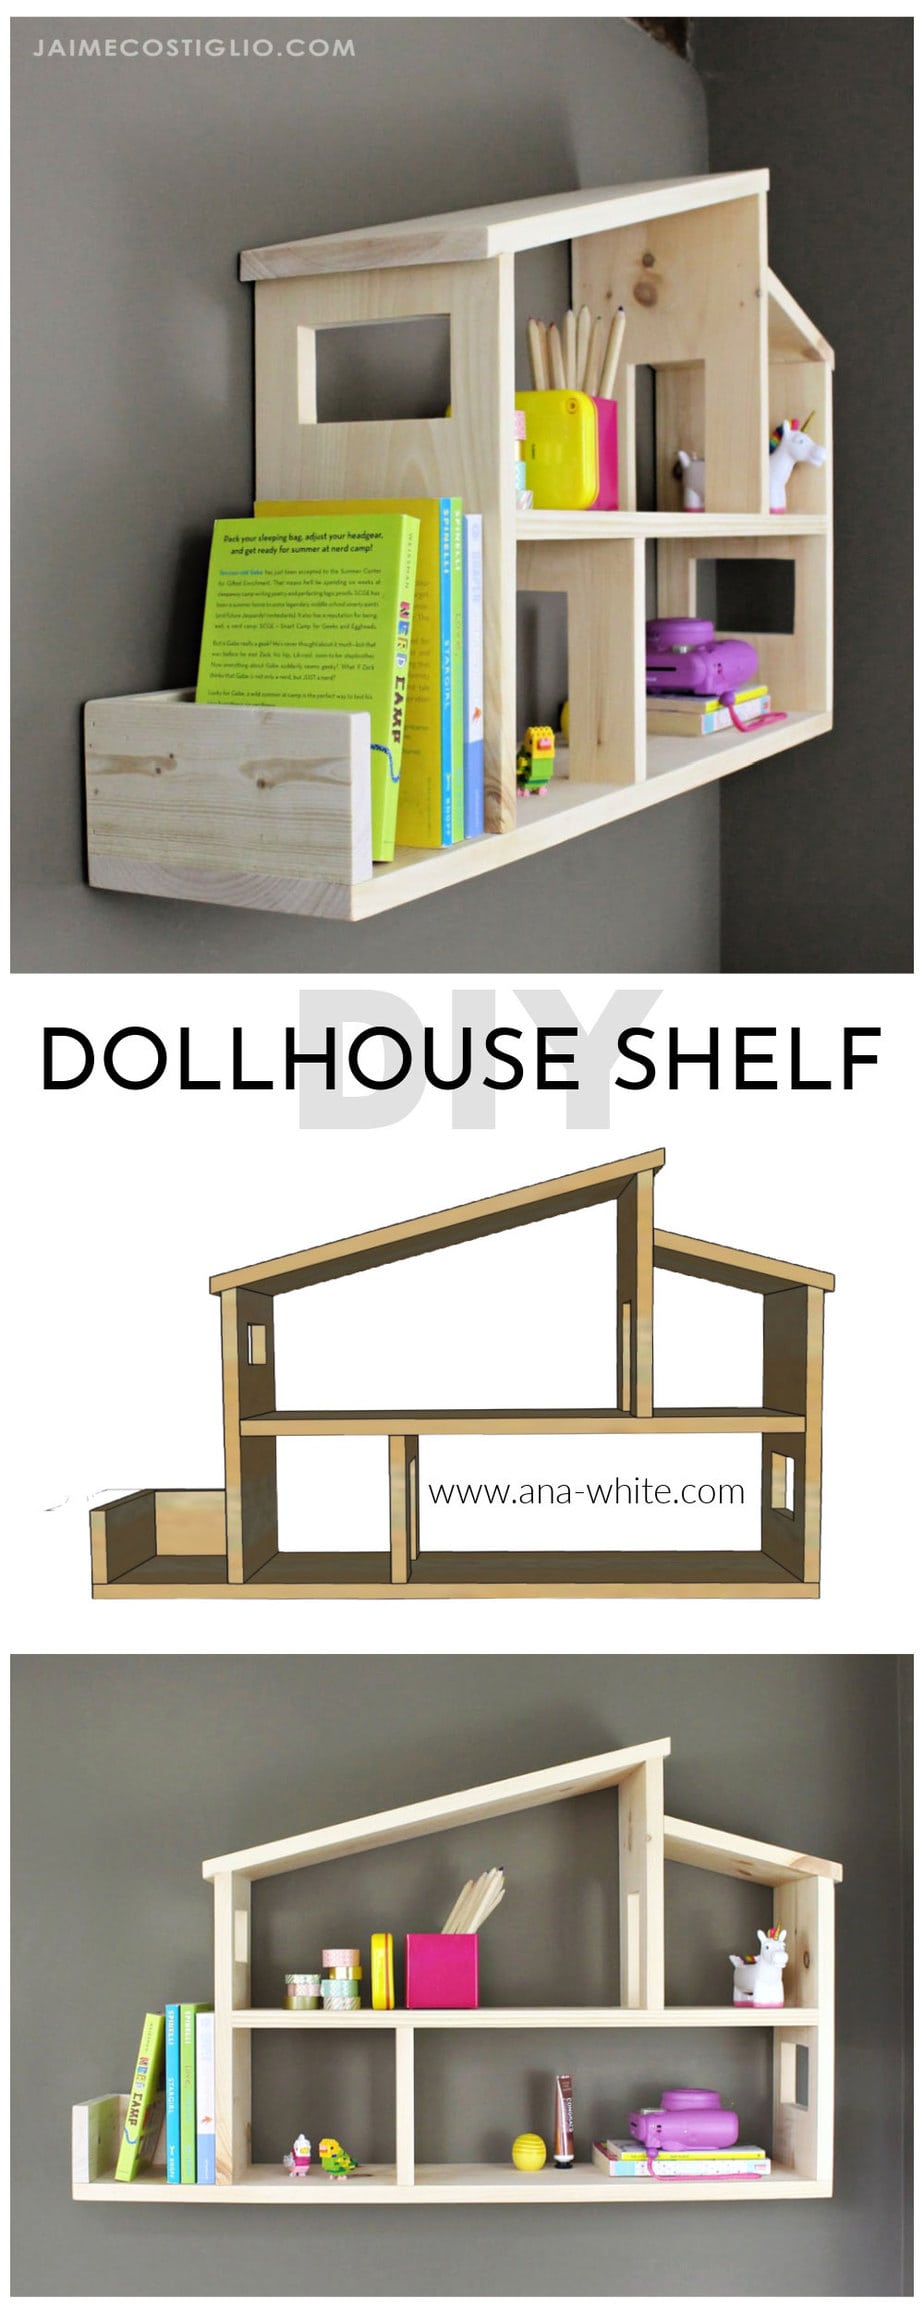
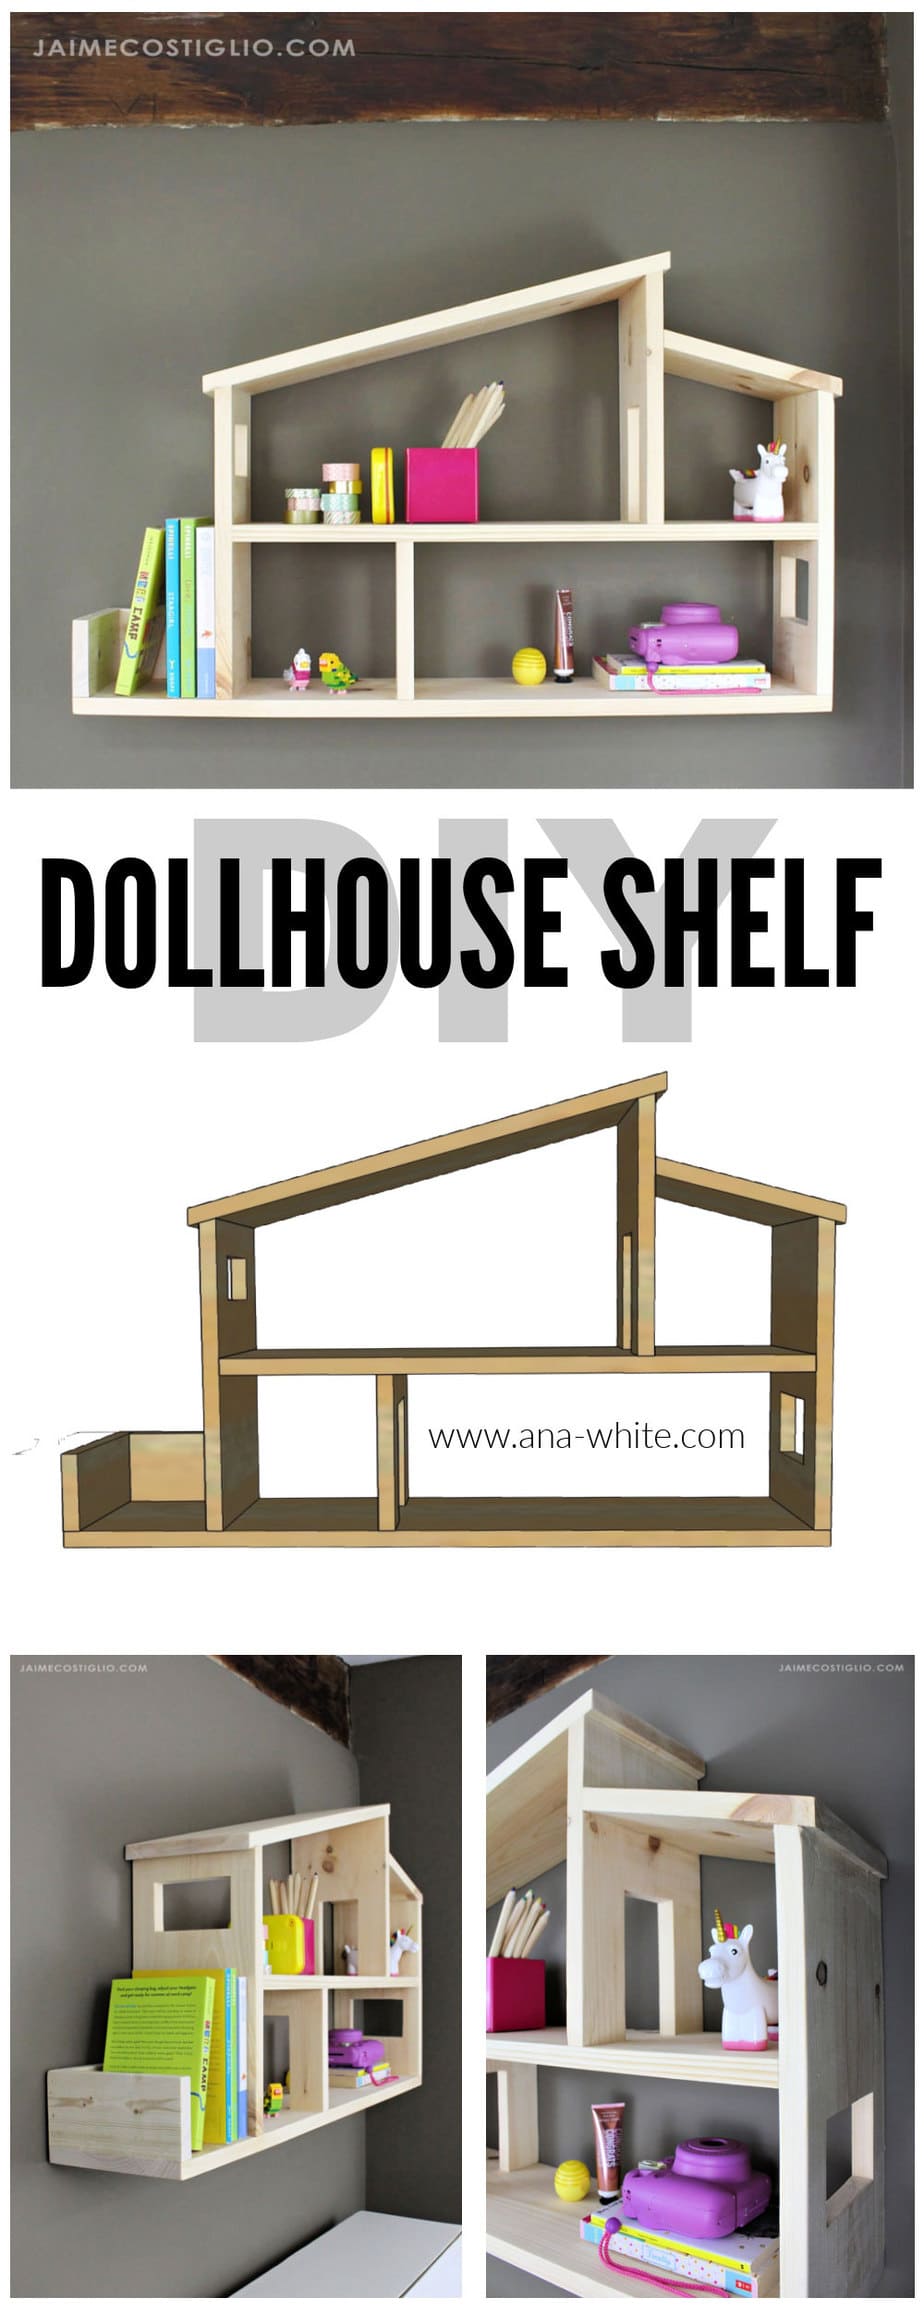
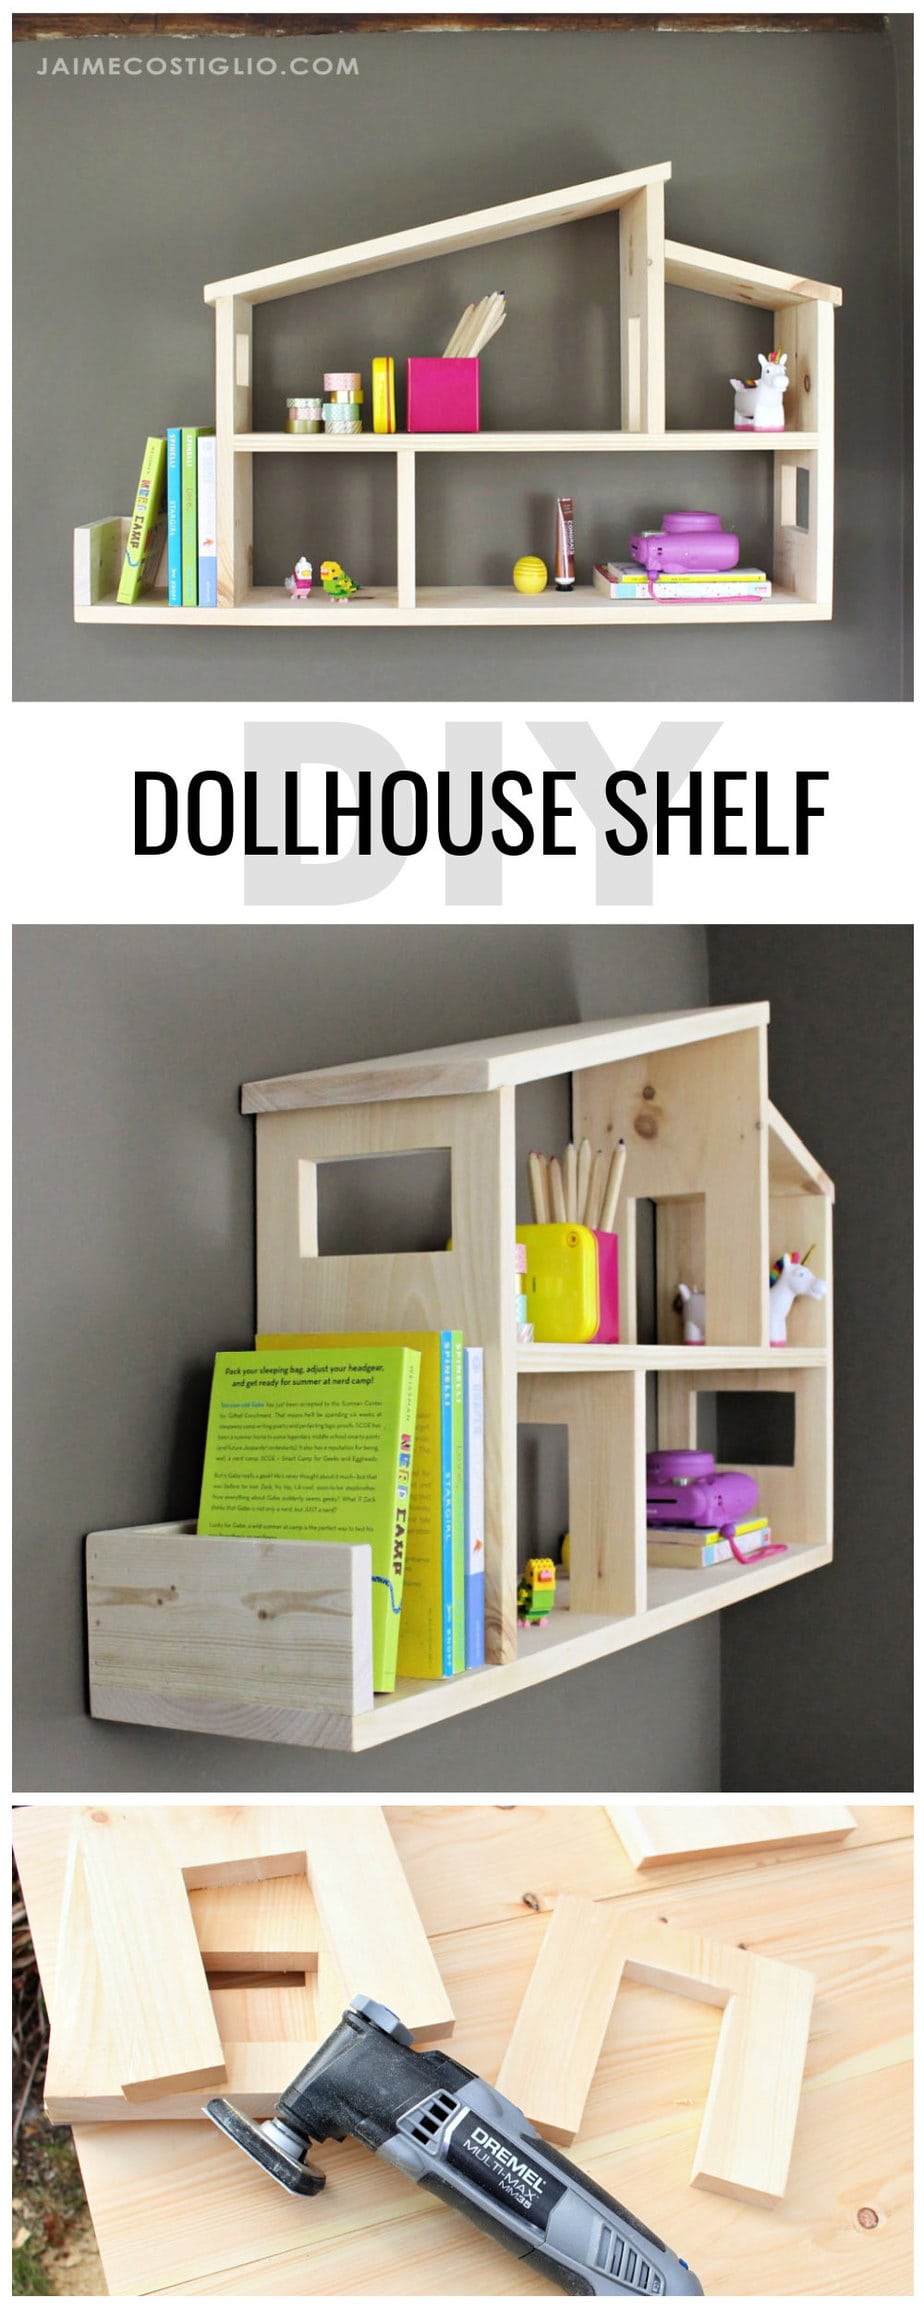
Perhaps the most perfect gift for anyone who loves home design, modern house shaped wall shelves that do double duty. This dollhouse style wall shelf can stand alone as a dollhouse or hang on the wall as shelves. I’m guessing you have someone on your list who could use this beauty and Ana White and I are here to share how you can build it yourself.
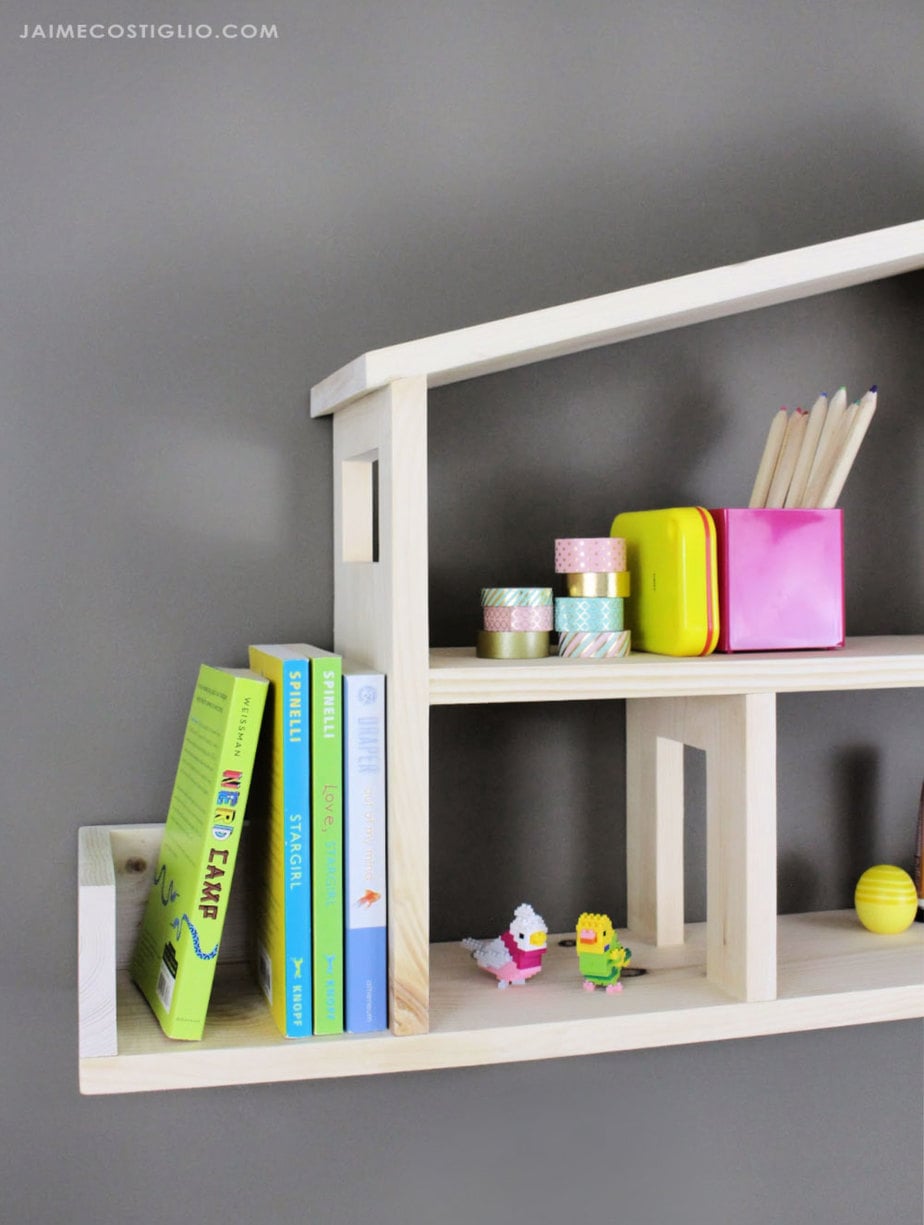
A DIY tutorial to build a dollhouse style wall shelf. Two boards to make this modern dollhouse that can be used on a surface or as a wall shelf.
Every Friday leading up to Christmas we share a new gift build project idea with free plans and today is this super functional and cute house shaped wall shelf. We’ve got tons of gift ideas from years past cataloged here if you’re looking to make a gift for that special someone.
This dollhouse wall shelf is exceptionally brilliant thanks to Ana’s genius plans. All you need is two boards (about $20) and a few tools to get the job done. It’s a fast build (and even faster if you omit the windows and doorways) that comes together quickly and is ready for gift giving.
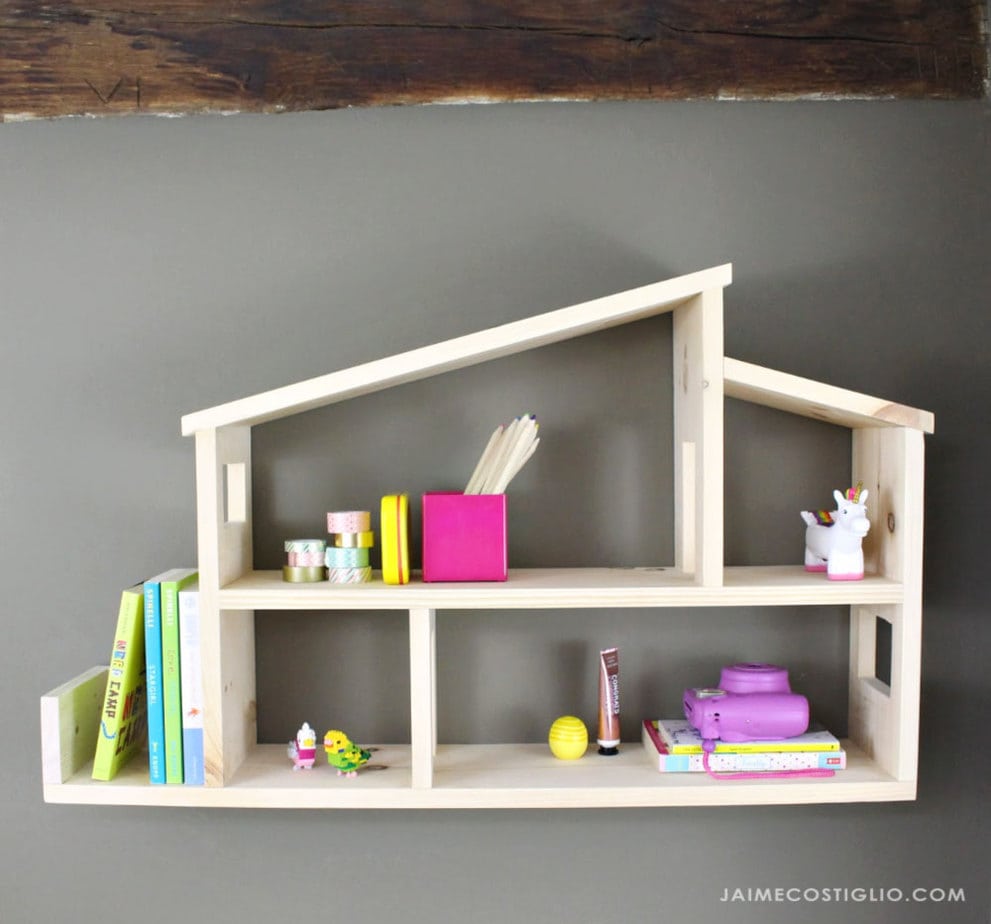
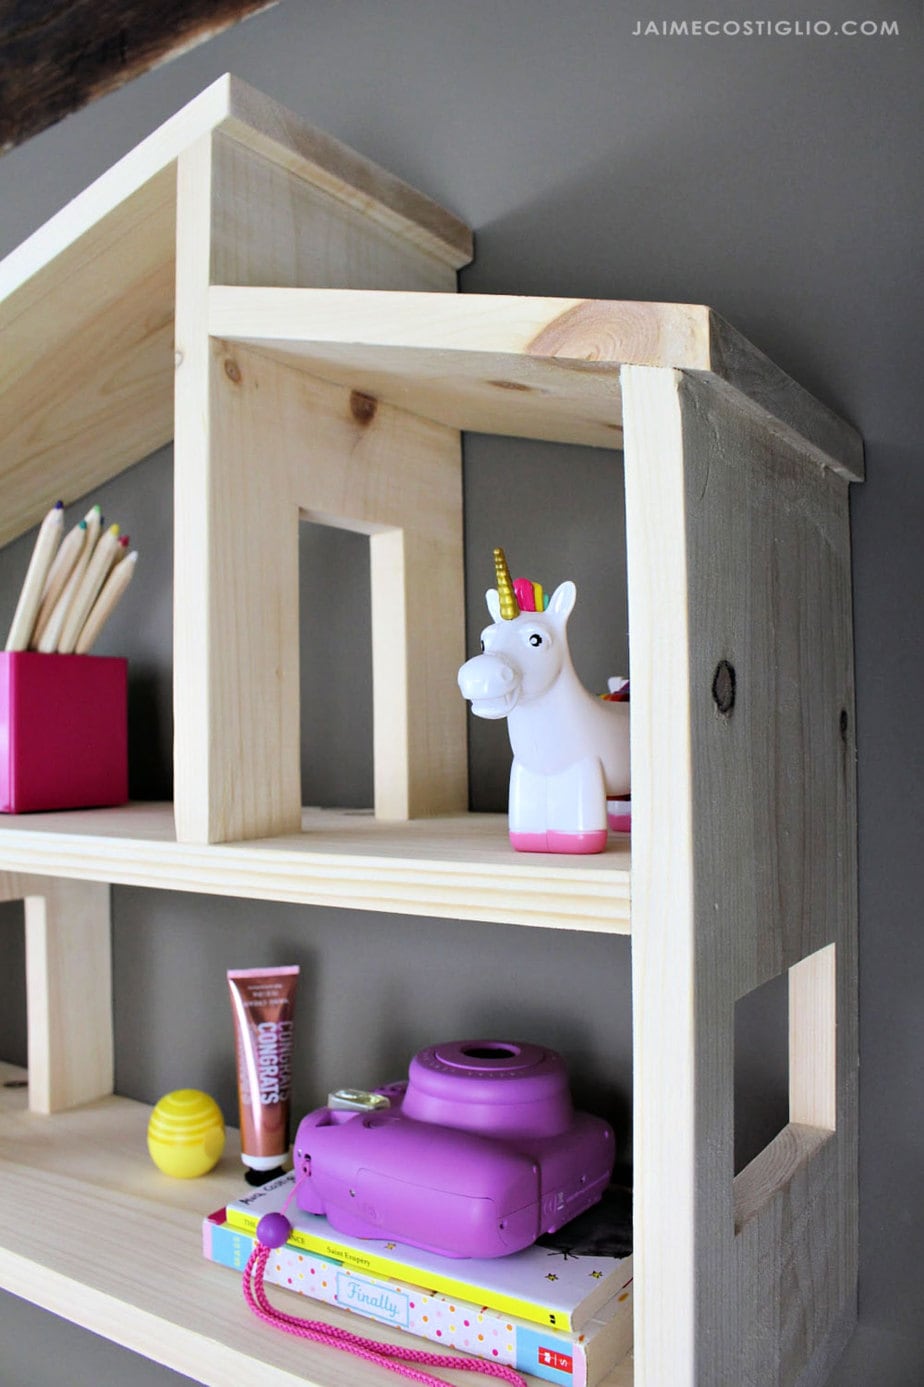
All the beveled cuts use the same angle so there’s no fussing with your saw. I left the wood raw and natural but you could apply a pretty finish to make this even more special.
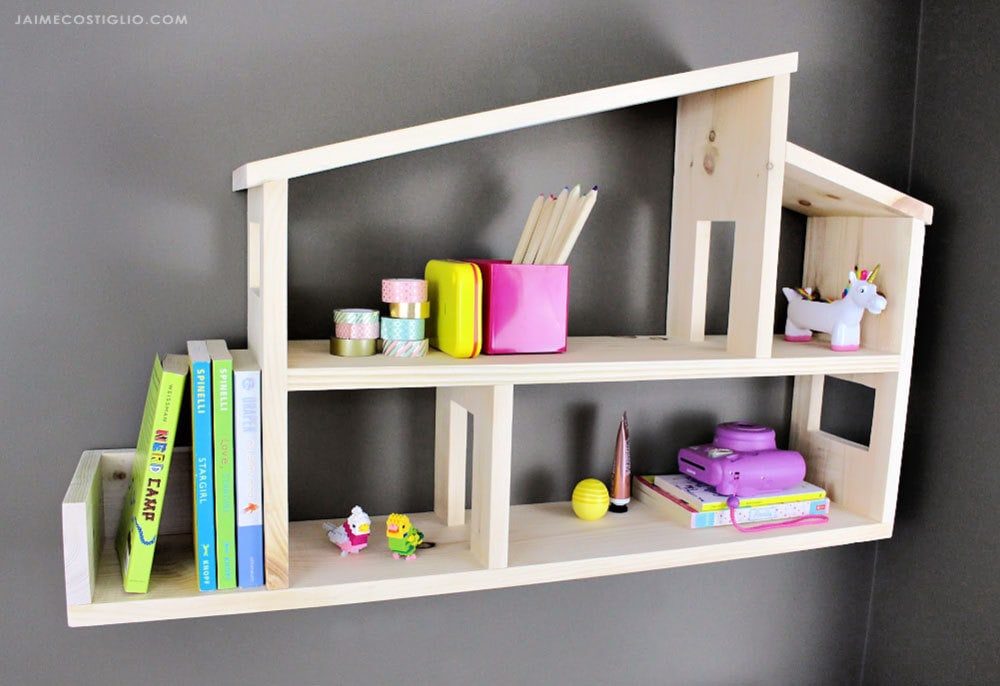
Inspired by Crate and Barrel’s wooden house shelf below: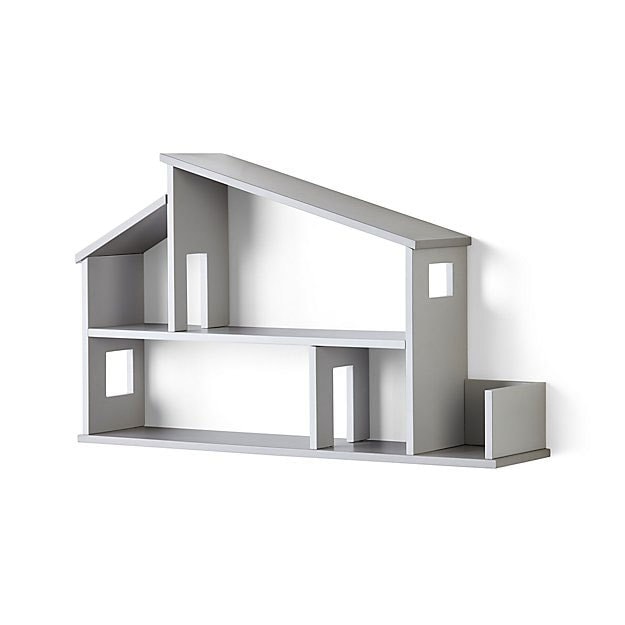 Our version is a fraction of the retail price plus you won’t have to pay for shipping (or wait for shipping either). Grab two 1x8x6 boards and your tools and get building today!
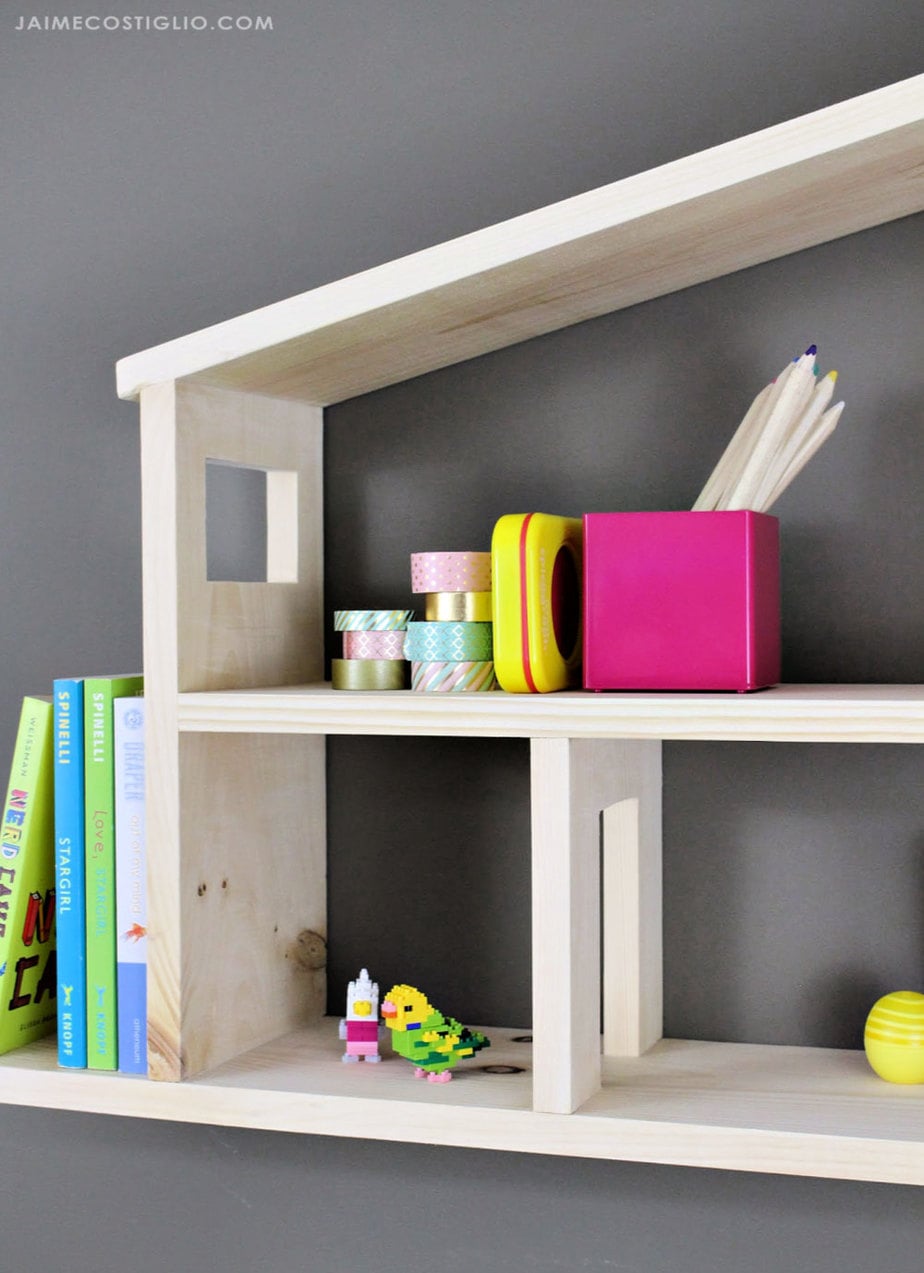
I’m loving all the little rooms and spots for kids knick knacks and things. Secretly I want to make a wood family and furniture to coordinate with this dollhouse but that will have to wait until after the holidays.
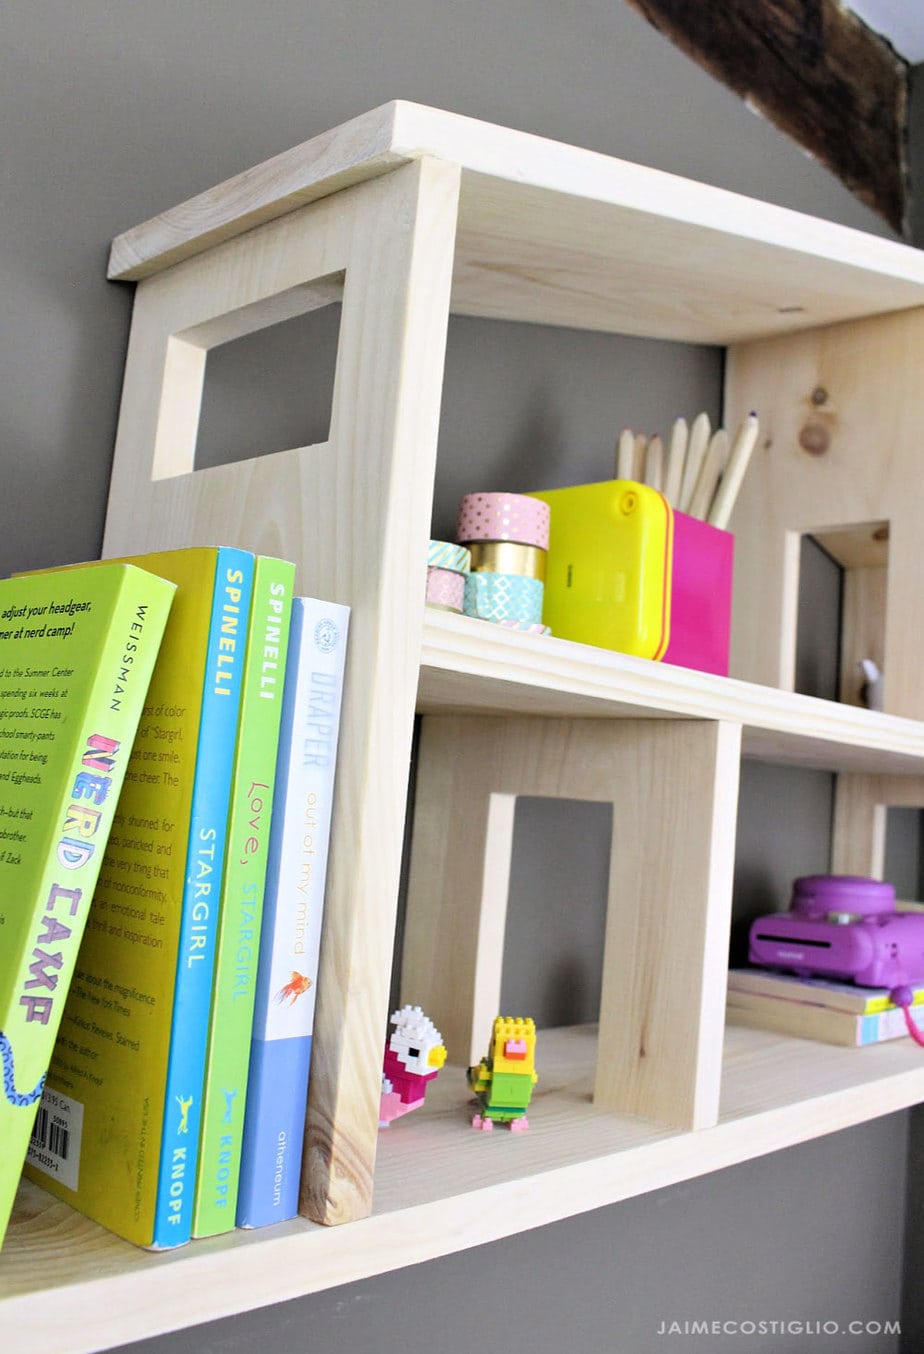
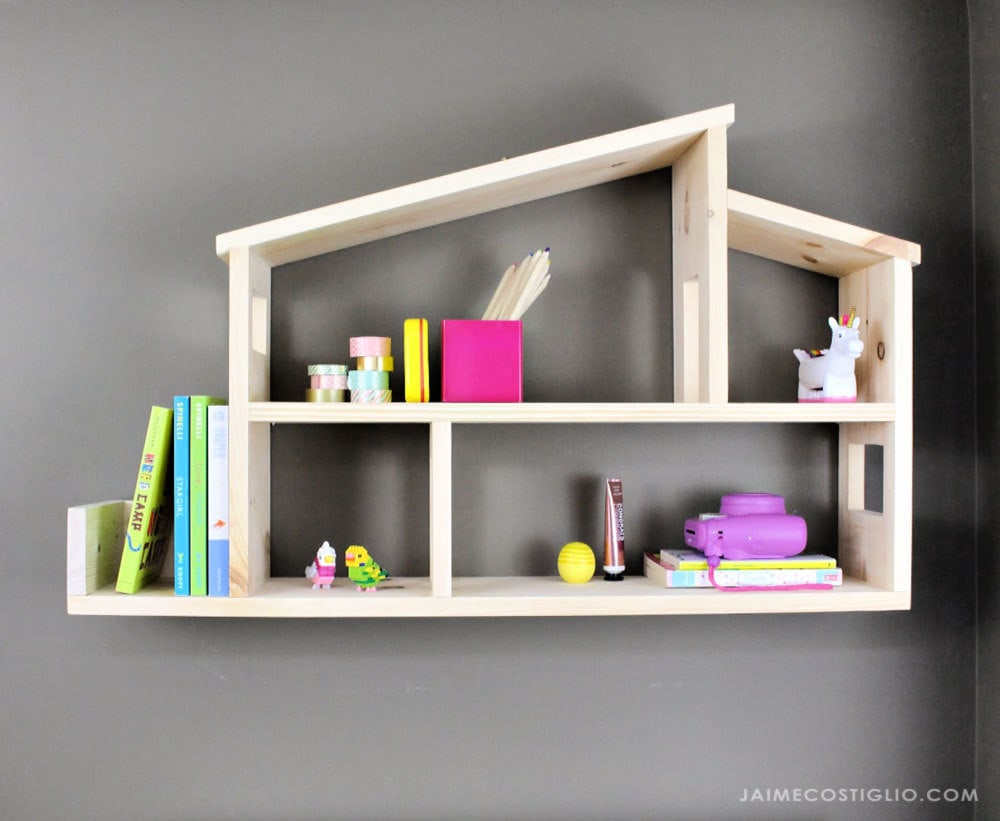
Ana has the free plans for you here. Be sure to read through entirely before beginning and take note of the beveled cuts.
Supplies:
- 2 – 1x8x6 pine boards
- 2″ wood screws
- 1 1/4″ finish nails
- wood glue
- miter saw
- drill & drill bits
- jig saw
- sandpaper
- measuring tape, pencil & square
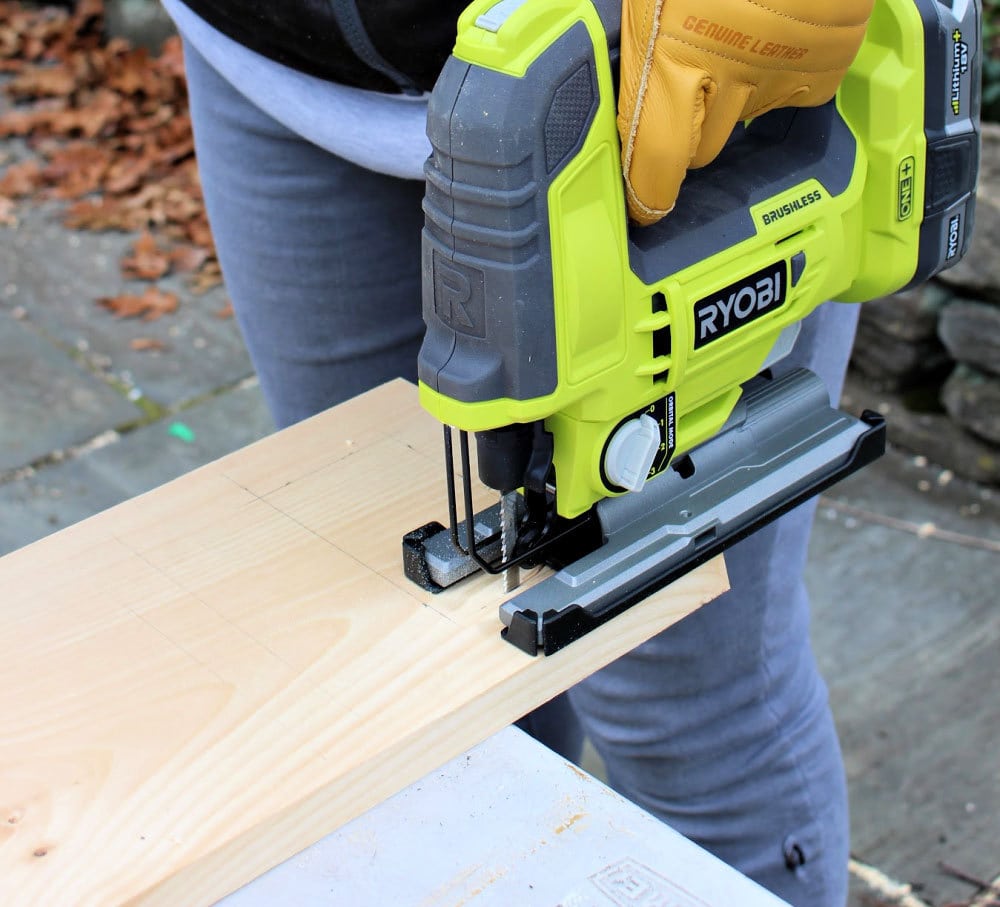
To make the windows and doorways first draw the space with a square and pencil. Then drill a hole inside the window area large enough for the jigsaw blade and use a jigsaw to cut out the area.
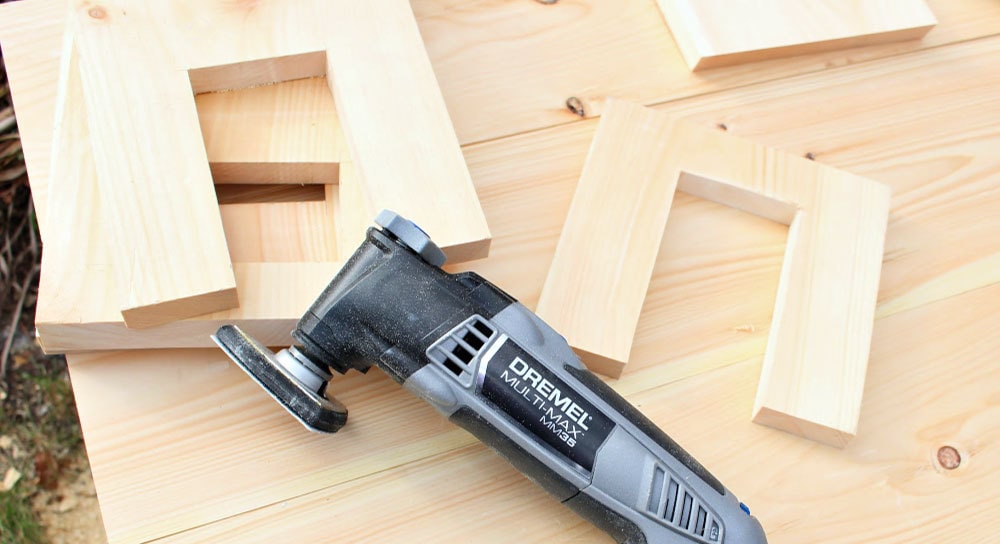
For sanding the interior cut out portions I used a Dremel Multi-Max oscillating tool with the sanding pad attachment.
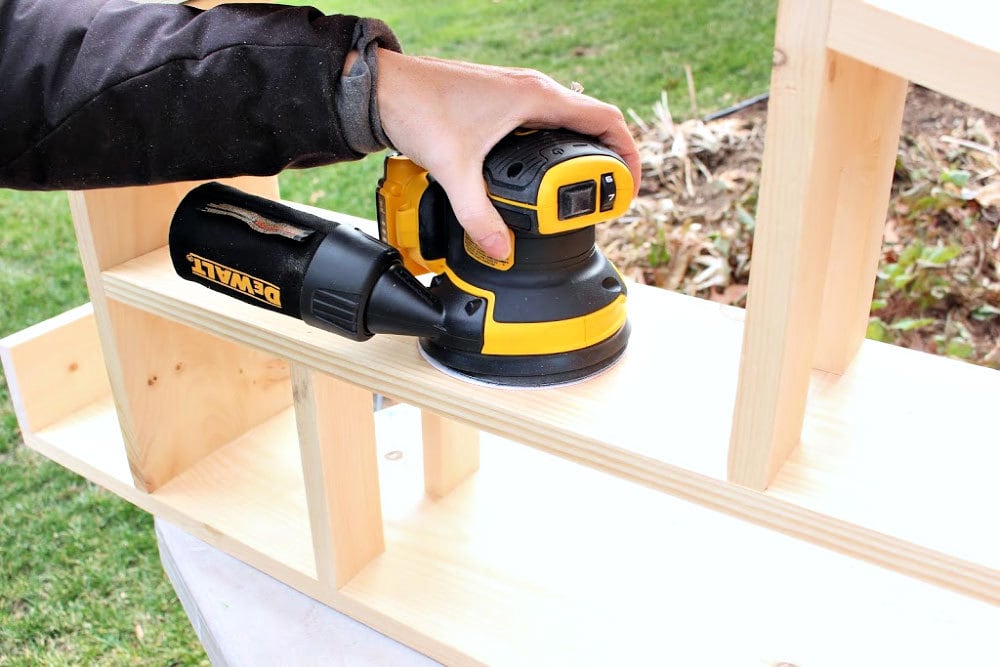
Assemble the pieces from the bottom going up. Use wood glue and 2″ countersunk wood screws on the underside for strength and on the roof line. Otherwise use 1 1/4″ finish nails for other non-essential pieces (room divider, fence area, etc.). Finally give the entire shelf a good sanding and finish as desired.
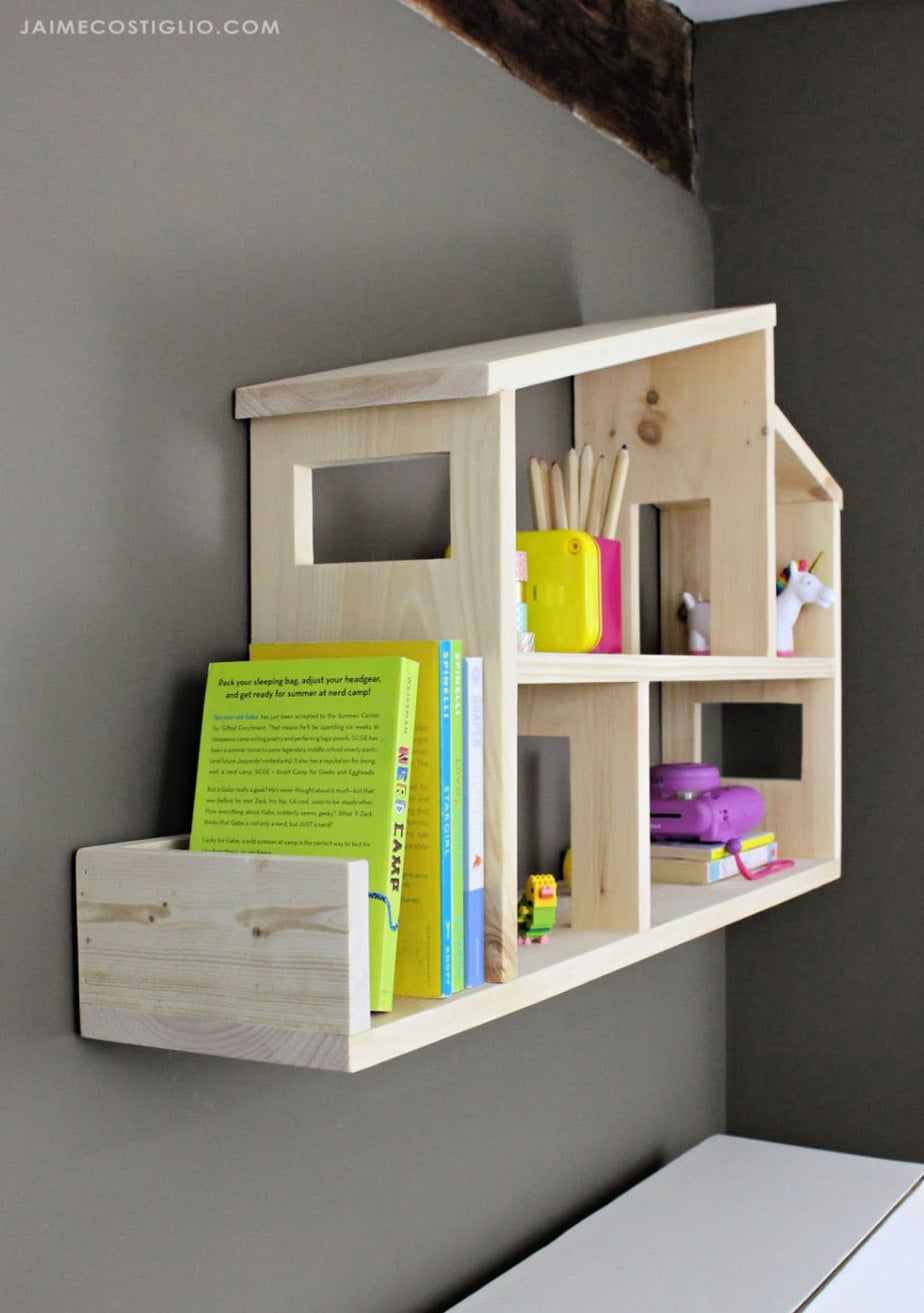
Hang on the wall or use as a stand alone dollhouse, either way it’s the perfect play space and you built it! Be sure to follow along on social media for project updates and sneak peeks:
Instagram / Pinterest / Facebook / Youtube / Twitter
SHOP THIS PROJECT:



I don’t see the tutorial or a link to it anywhere. Am I missing something here?
Okay, i figured out why i coildnt see the tutorial. My tablet didnt want to display it unless i used “desktop mode”. Oops!