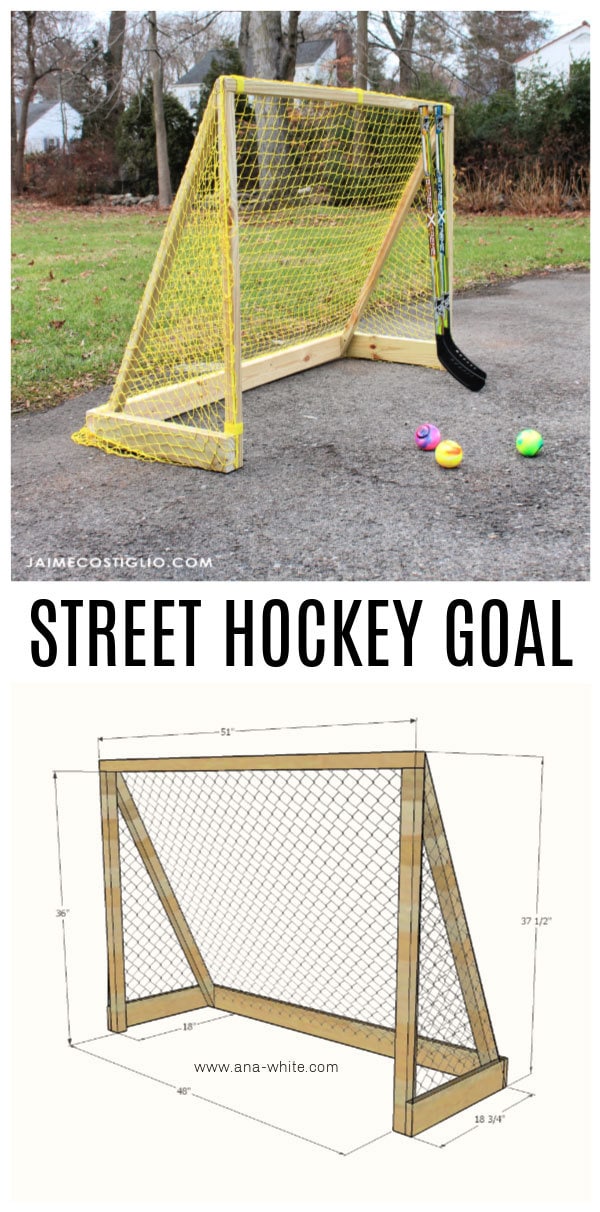
Let the kids entertain themselves for hours playing street hockey once you build this DIY goal. Your kids will be thanking you and you’ll be wondering why you didn’t make this sooner.
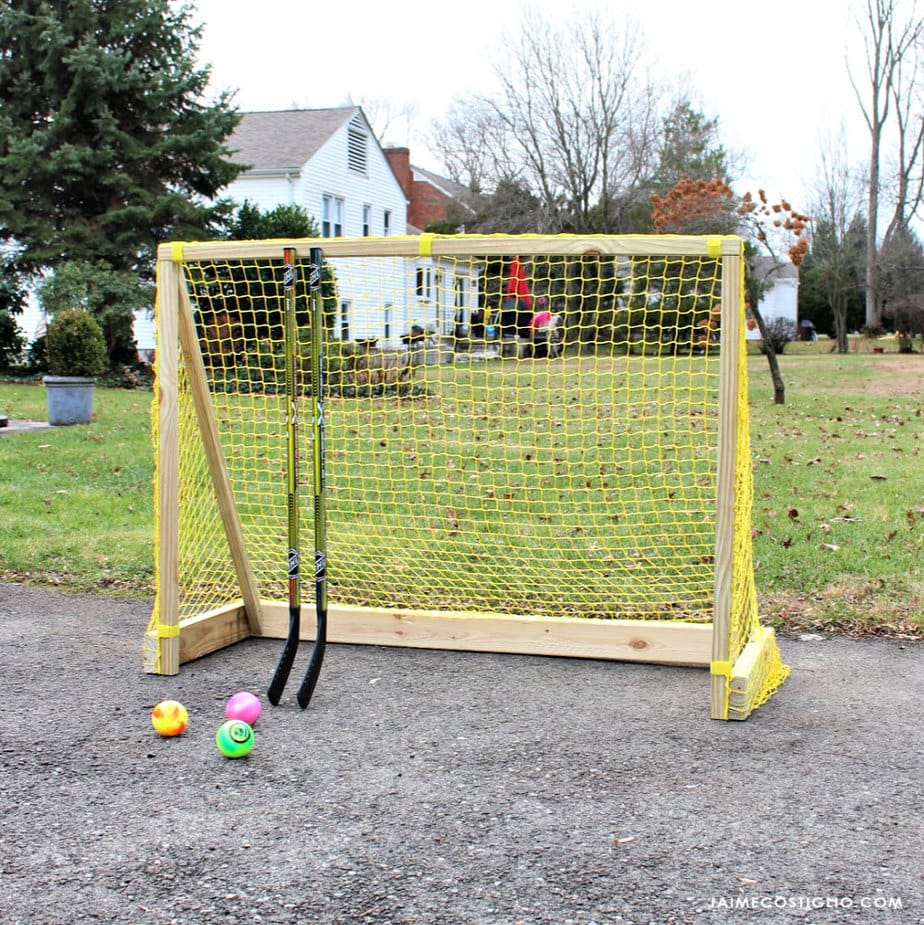
A DIY tutorial to build a street hockey size goal net. Make a sturdy wood goal and let those kids play street hockey for hours! Free plans from Ana White.
We’re back with another Handbuilt Holiday gift idea and today is truly a gift that keeps on giving. Did you miss any of the gift project ideas from the series? We’ve posted 9 builds so far this year – check them out here.

Today’s hockey goal is a fairly simple project to build and assemble. I highly recommend using pressure treated lumber for this goal if you plan to keep it outdoors. Of course it would be great indoors as well if you have a big playroom or unfinished basement space.
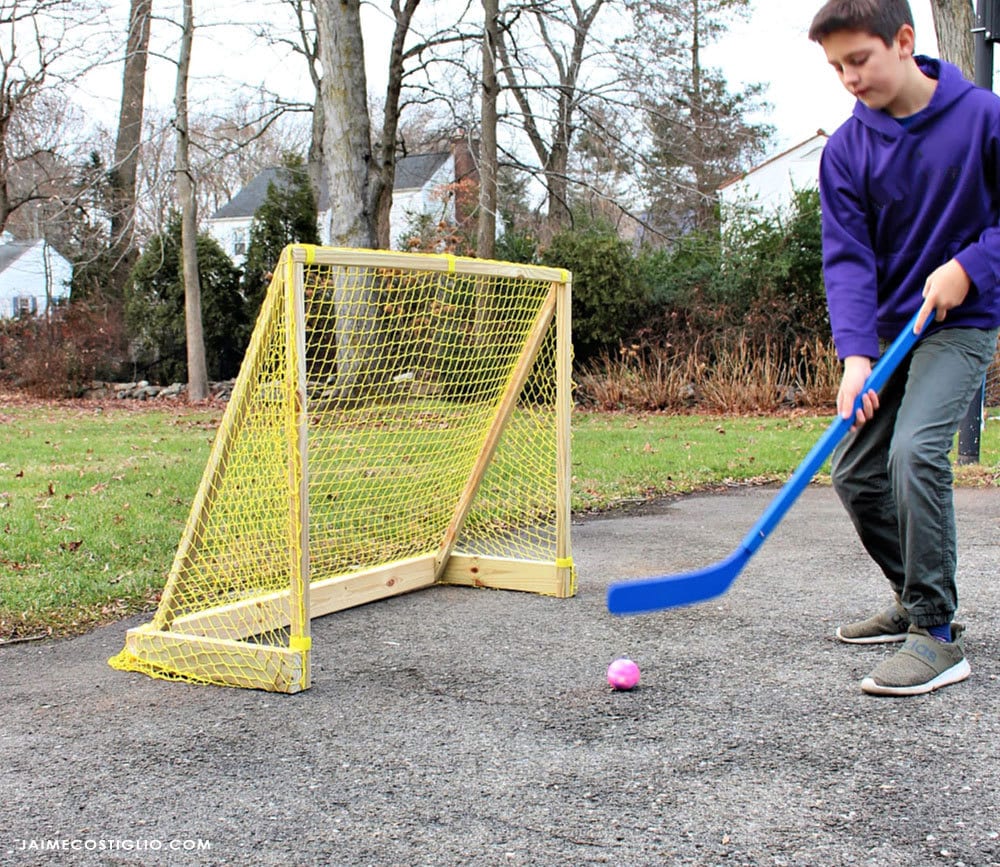
My son really enjoyed playing with the new hockey goal. For perspective he is 5’4″ and this street hockey goal works just fine for him.
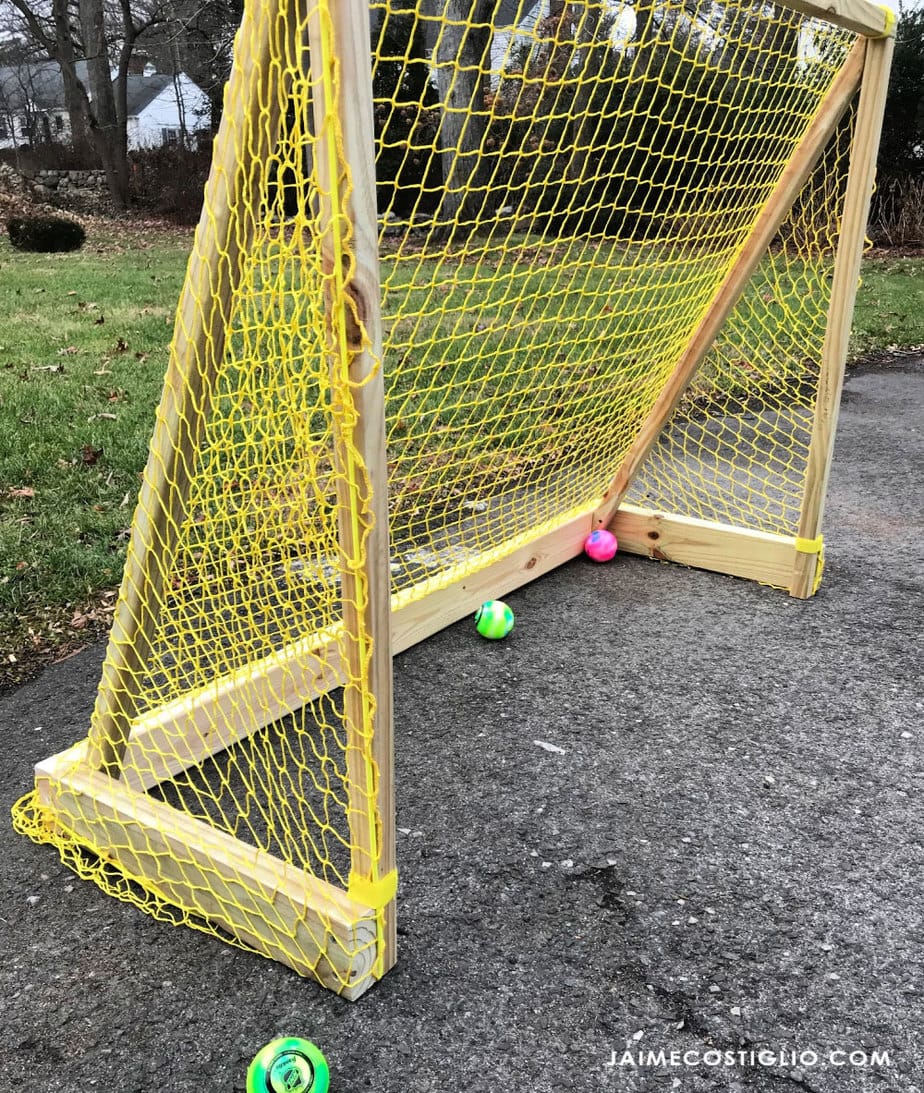
Ana designed this hockey goal with simple clean lines and easy assembly. It’s very study as is but if you wanted extra strength, since kids can be rough, you could build the upright frame portion out of 2×4 (instead of 2×2 as I did) or even add angled braces in the upper corners.
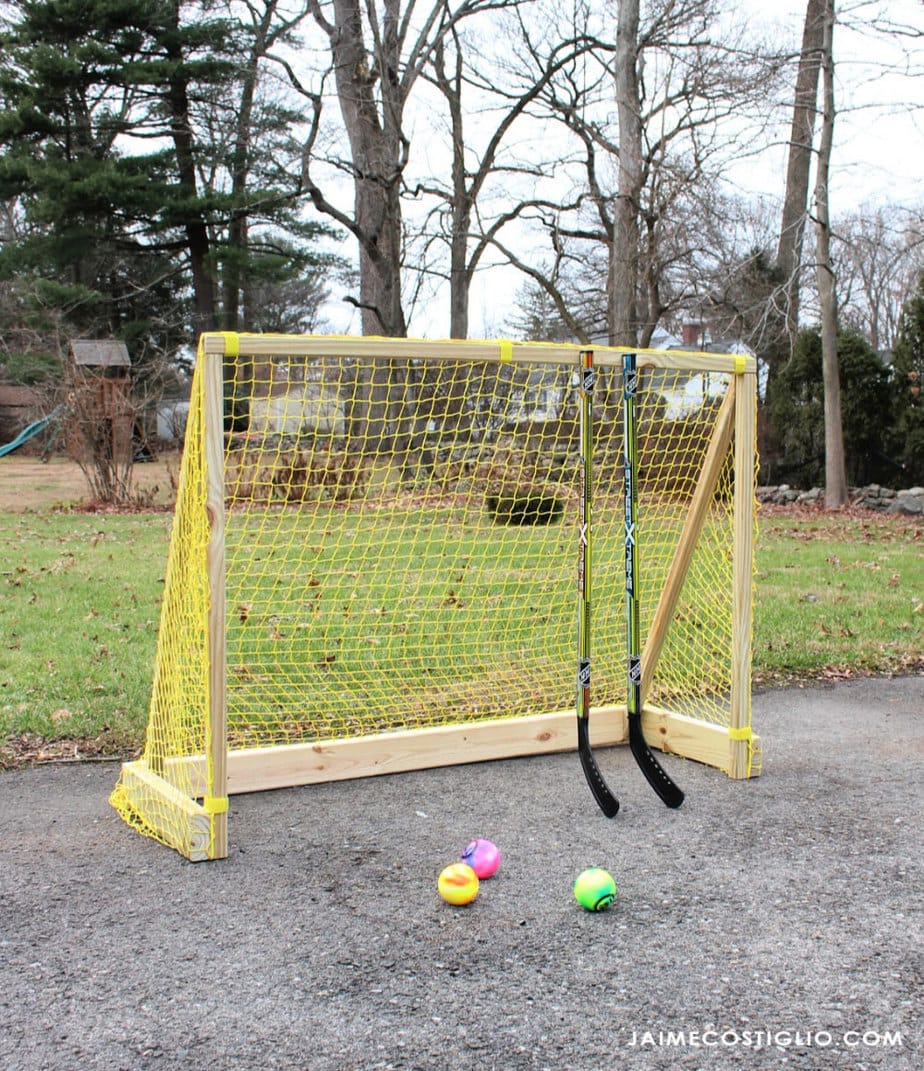
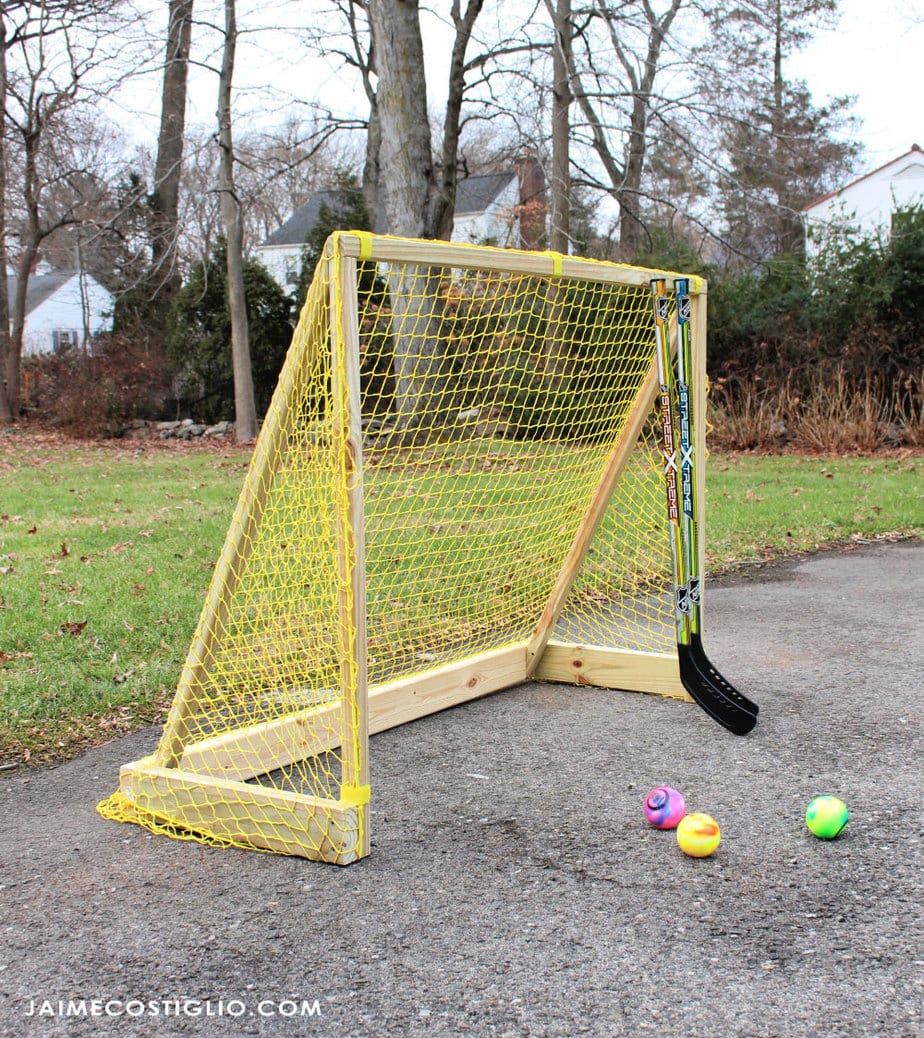
Follow Ana’s plans here for the cut list and assembly instructions.
For additional supplies I used the following:
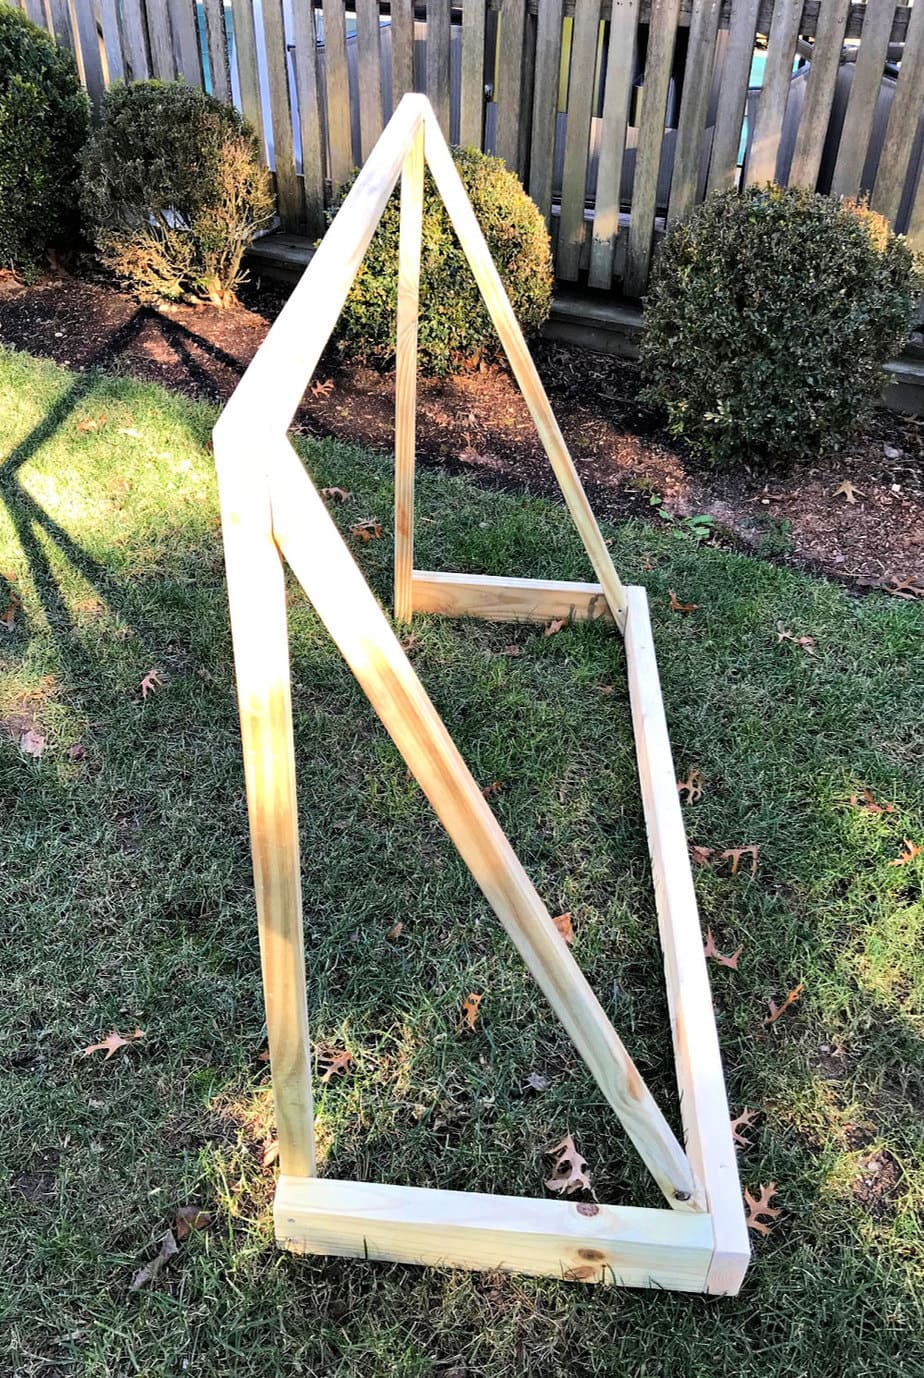
Build the frame according to Ana’s plans. Sand well before attaching the net.
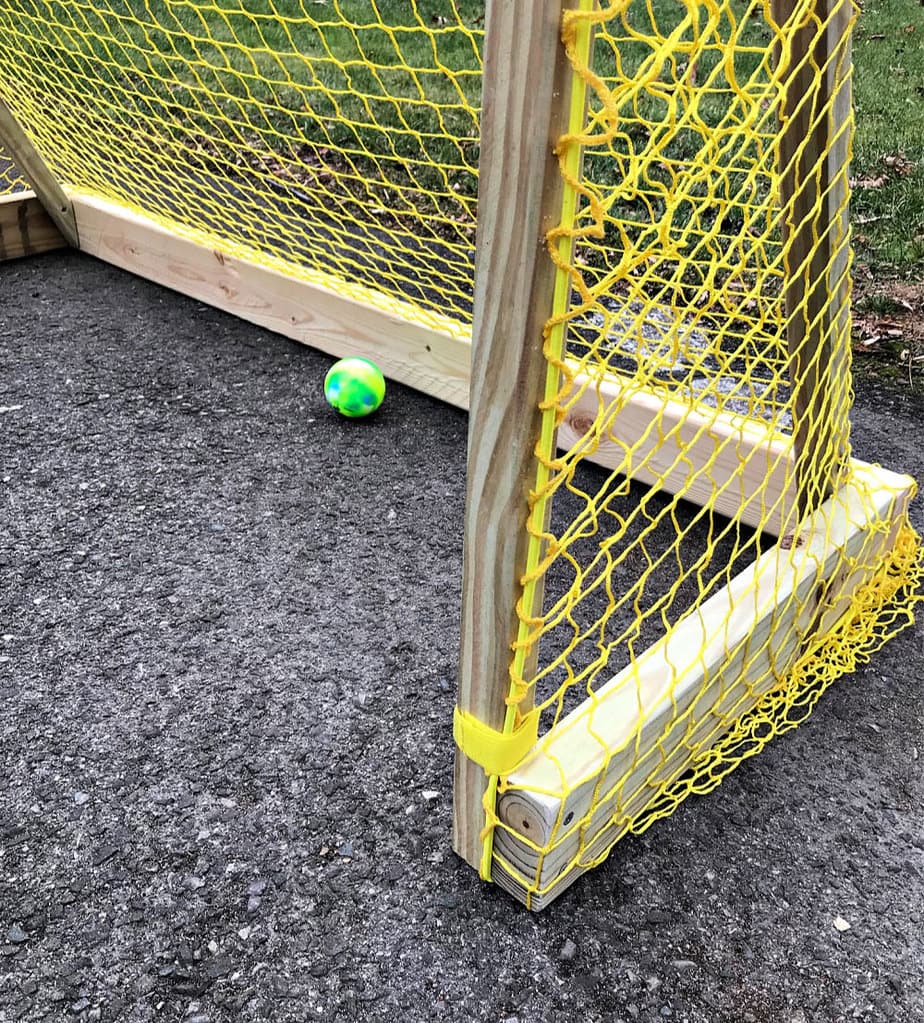
The top center of the net is marked. Line up the top center with the top center of the goal and pull the bungee around the frame. Use the enclosed velcro straps to secure the net to the wood frame. And now you’re ready to give as a gift! Be sure to check back next Friday as we continue to share new gift project ideas up until Christmas.
SHOP THIS PROJECT:
Follow along on social media for up to date projects and sneak peeks:
Instagram / Pinterest / Facebook / Youtube / Twitter


Leave a Reply