What little girl wouldn’t love a wardrobe rack sized just right for her? My 6 year old self would have died for something this cute. Thankfully Ana White and I are sharing this diy kids wardrobe rack so you can build it for all those deserving little ones in your life.
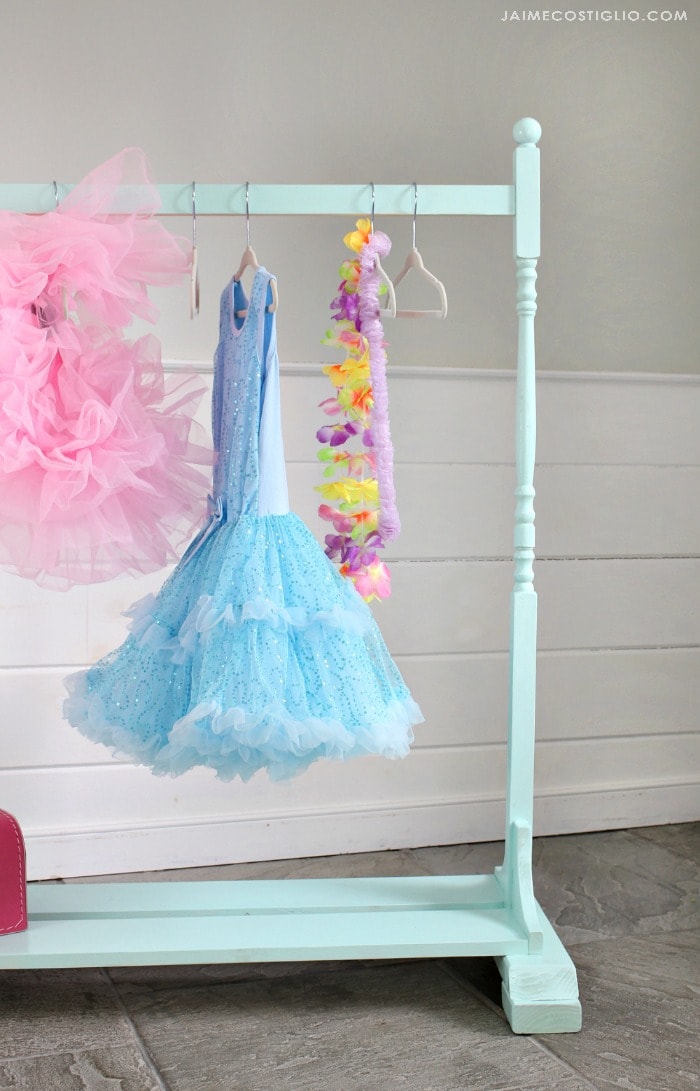
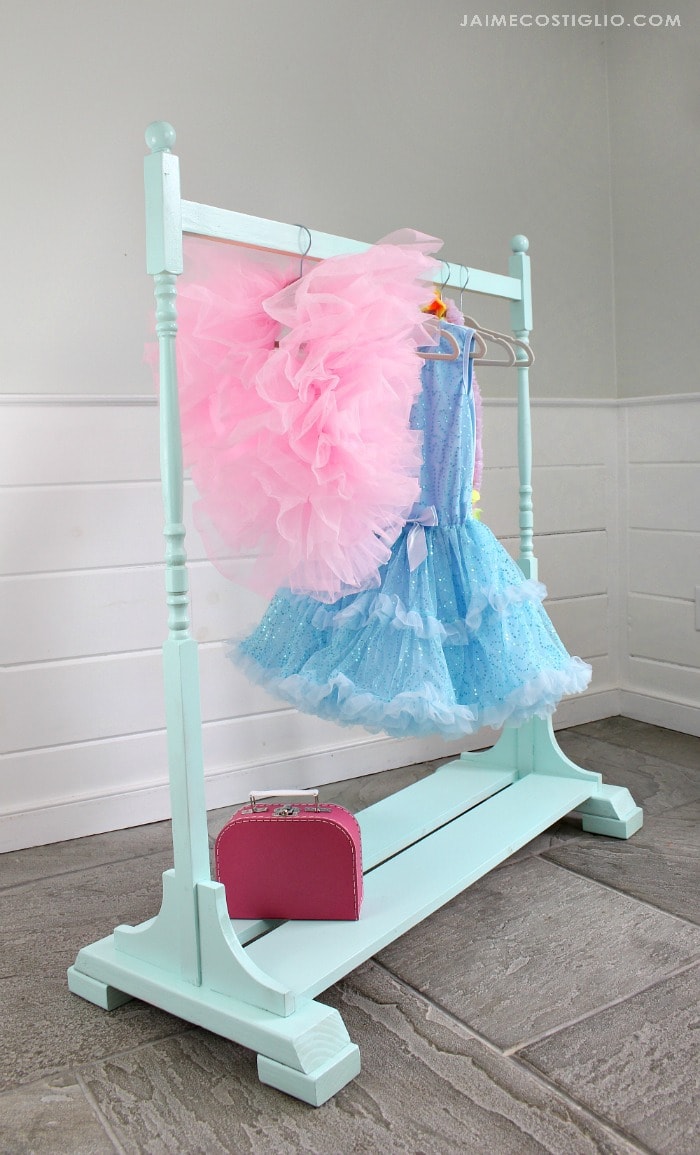
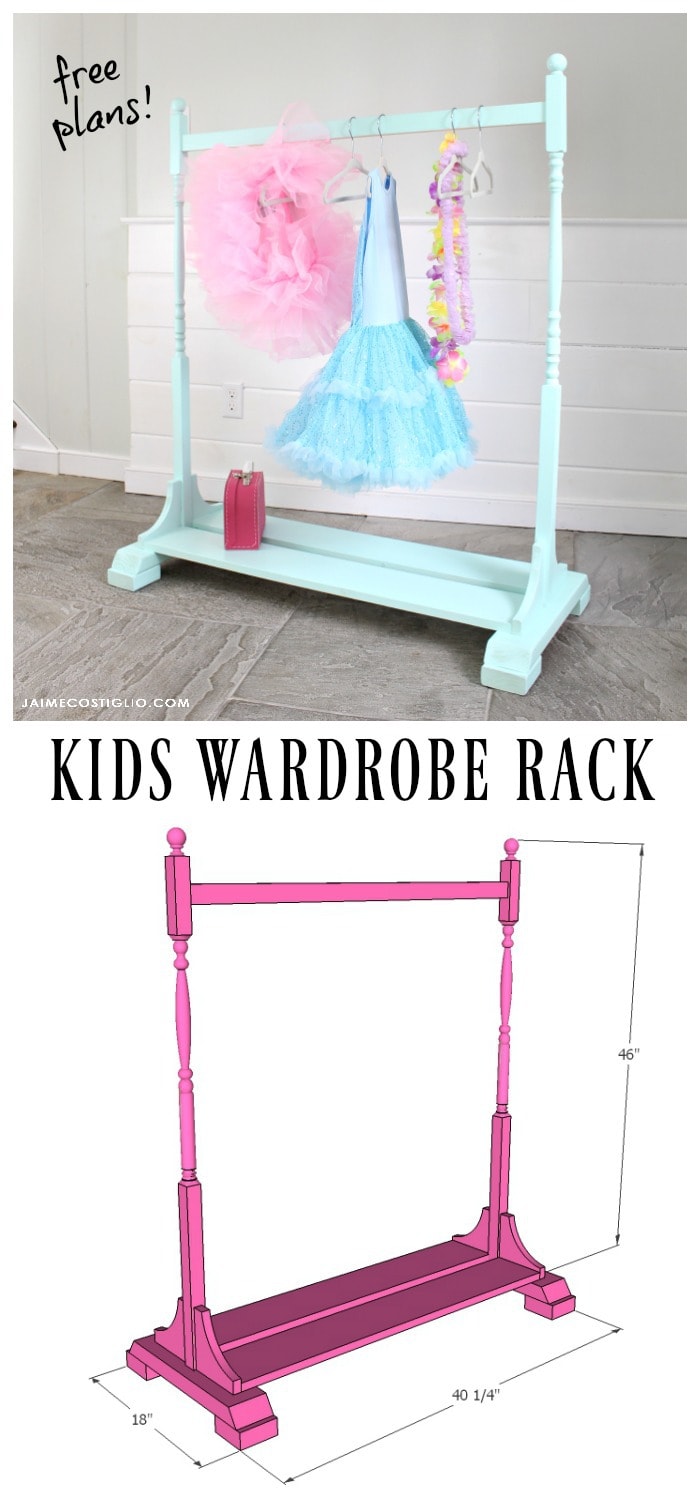
A DIY tutorial to build a kids wardrobe rack with free plans. A beautiful storage place for both dress up and every day kids clothes.
Made from simple off the shelf lumber and balusters this wardrobe rack has plenty of storage space for all the dress up cloths, shoes and accessories.
As part of the Handbuilt Holiday series Ana and I come up with fun and purposeful gift project builds each week leading up to Christmas. We still have five more weeks to go before the big day which is plenty of time to get building friends!
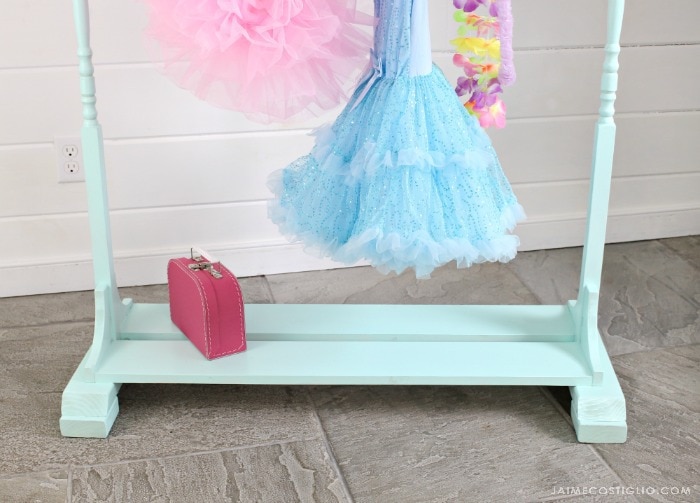
This wardrobe rack is the perfect place for all those dress up clothes or even everyday clothes too. And the bottom shelf ledge would be a great spot for all the sparkly dress up shoes and accessories.
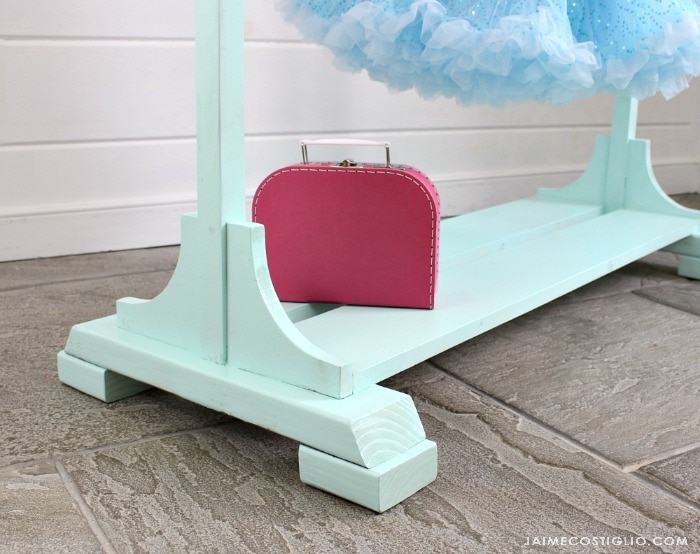
Ana designed this kids wardrobe rack to be super sturdy with a solid base made from 2×4’s to give added weight. The curved corbels add both structural support for the balusters and a pretty design detail plus they are easy to make yourself with a jigsaw.

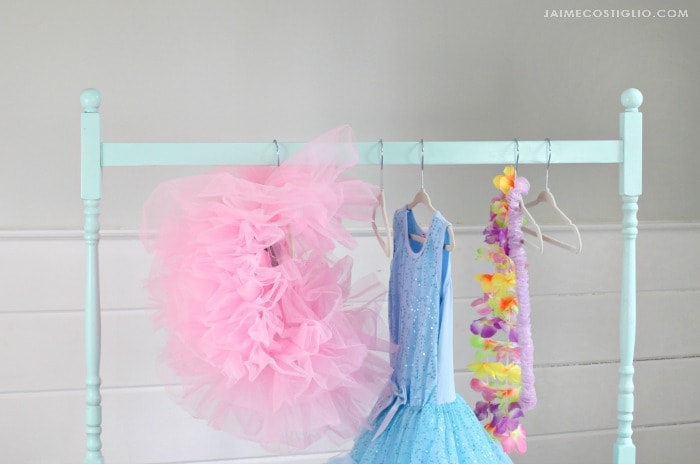
The upright portion of the wardrobe rack is made from two stair balusters. We used a 1×2 for the hanging rod, it works great. You could opt for a circular dowel if you prefer the round shape but the stair balusters don’t leave much space for a circular dowel at the top portion.
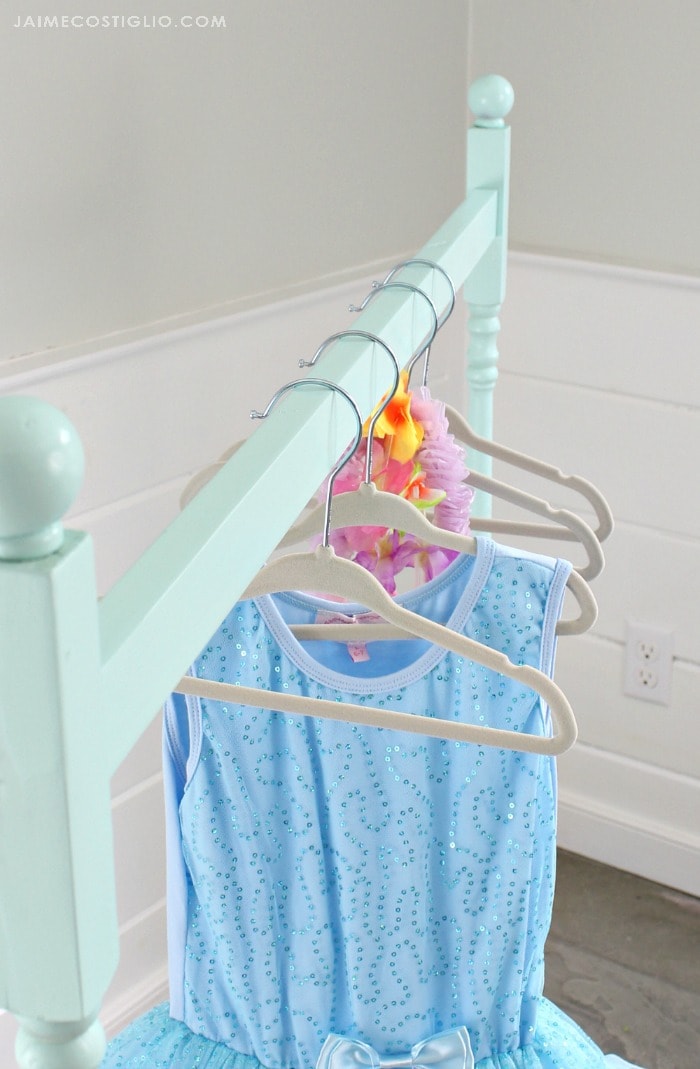
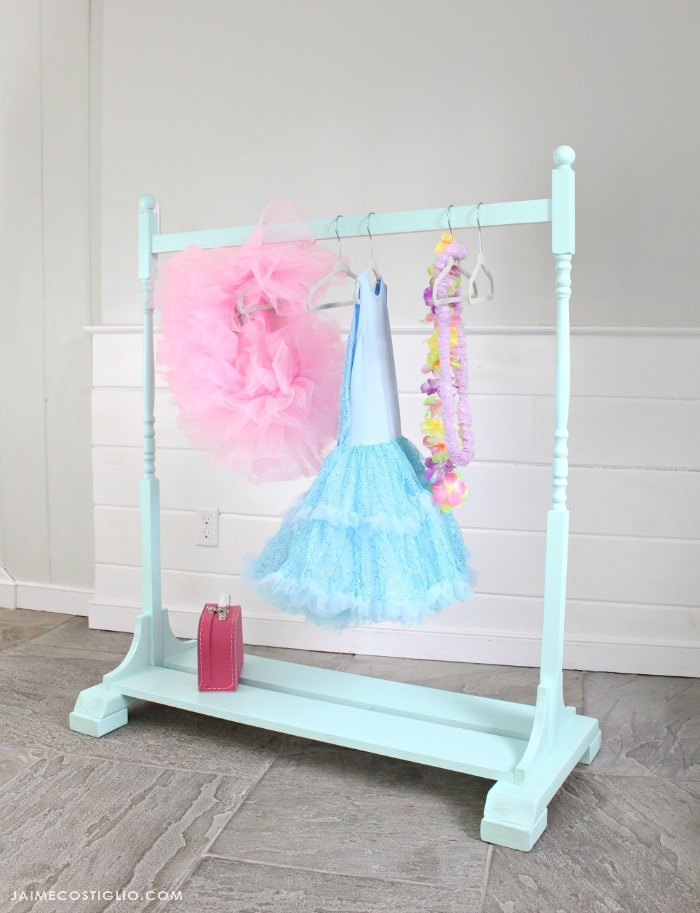
Ana has the free plans here complete with cut list and shopping list. Be sure to read my construction notes below before beginning.
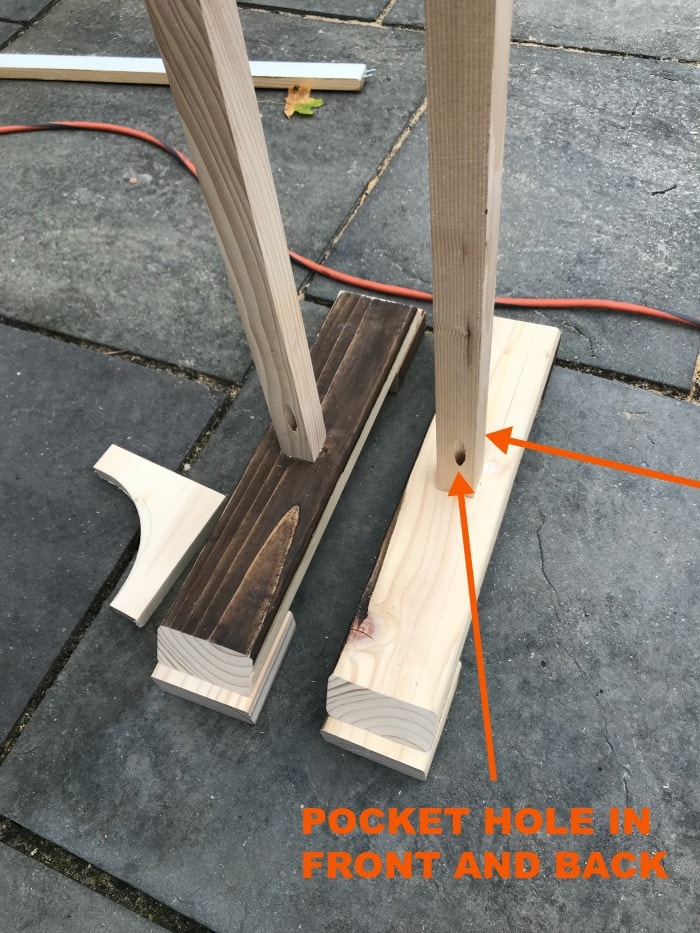
When attaching the balusters to the base drill a pocket hole both on the front side and the back side. Having 2 pocket holes adds security and by keeping them on the front and back they will be hidden when you go to attach the corbel. Alternatively you could screw from below the stud up into the baluster using at least a 3″ countersunk screw.
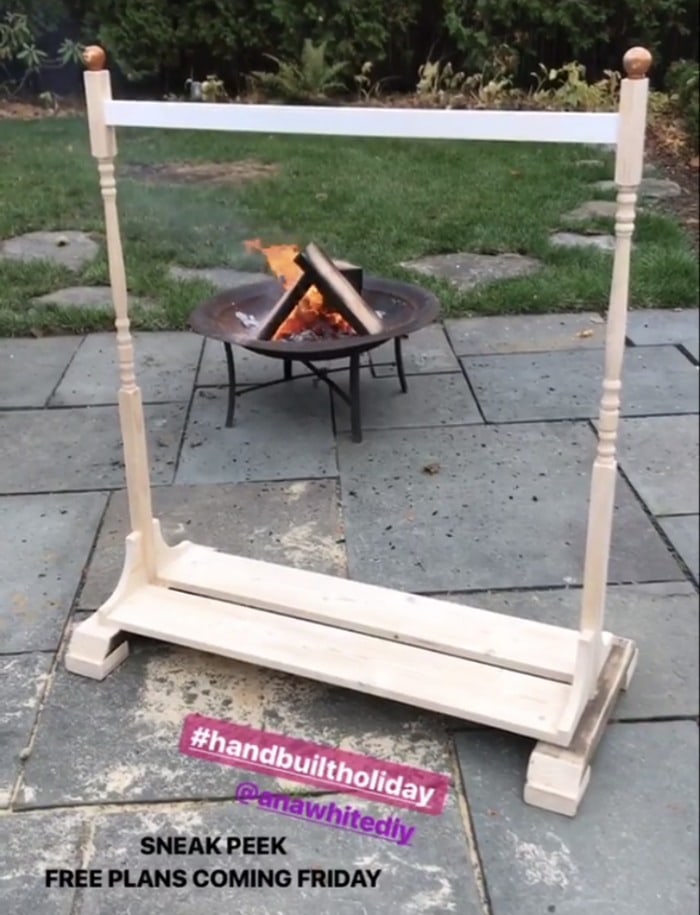
I shared the completed build over on my Instagram stories (follow me there for sneak peeks!). To finish I used Rustoleum Ocean Mist spray paint in a gloss finish.
Be sure to stop back every Friday before Christmas to get free plans for a new gift build, we have some really fun and cute projects coming down the pike.

That is so adorable ! I don’t have any little ones right now to build it for but I’ll keep it in mind if I get any grand babies in the future! Y’all have the best build it plans. Next week my husband and I are going to make the Vintage shelf unit (like MMS) from your plans. Can’t wait to get started.