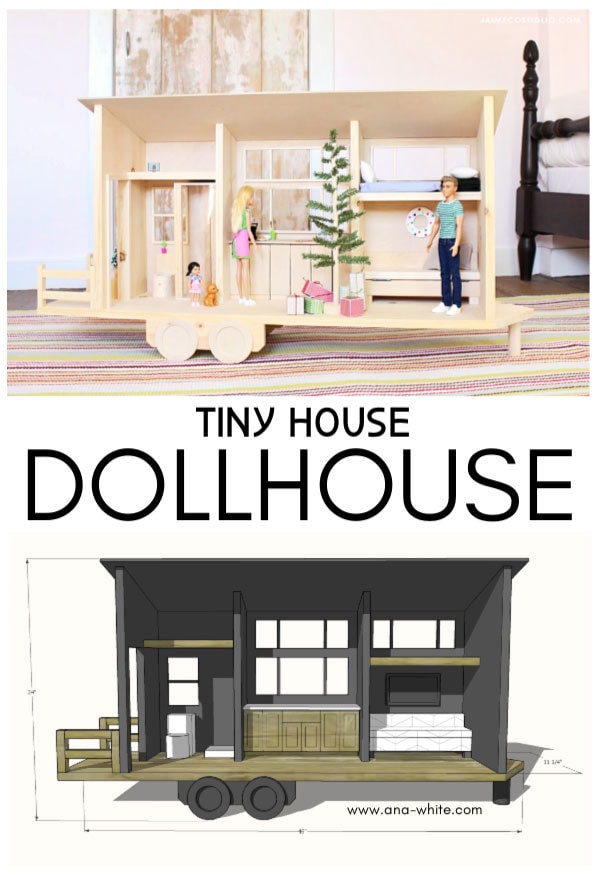
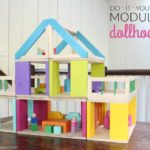
Forget the mansion, Barbie needs a tiny house. Just enough space for all the essentials and plenty of convertible furniture for a fully functioning home. It’s Friday and Ana White and I are here to share this Barbie size tiny house dollhouse that just might go down as my favorite kids build project ever.
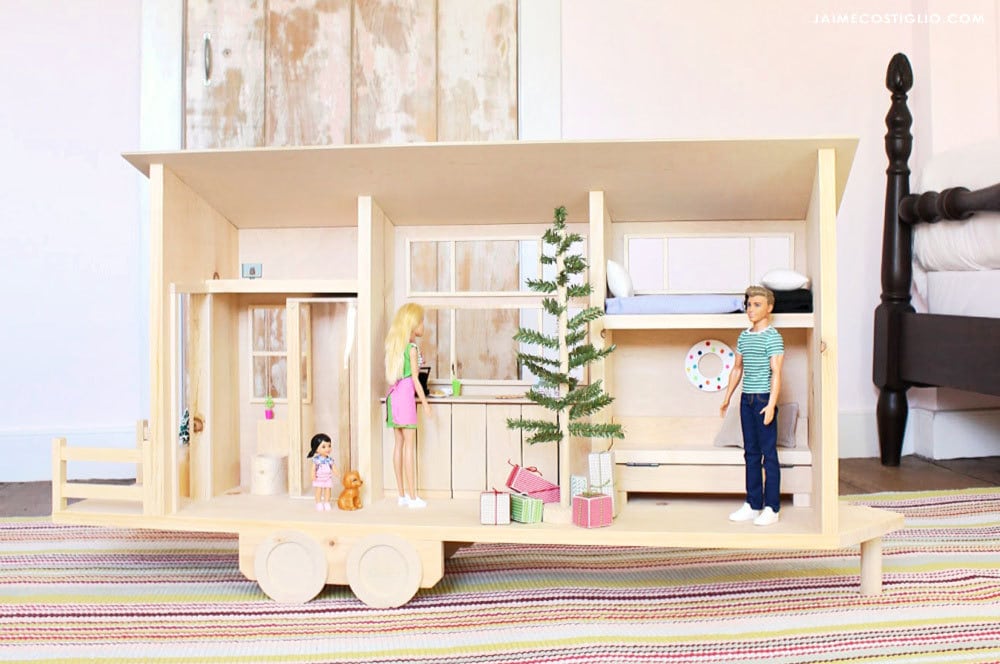
Build a Barbie size tiny house dollhouse complete with convertible furniture. Free plans from Ana White for this fun tiny house any child will love!
Thanks for joining us each and every Friday leading up to Christmas for the Handbuilt Holiday series. We have compiled a catalog of gift build ideas so you can make gifts for almost anyone on your list this year.
This tiny house Barbie dollhouse really is something you dream about. My 10 year old self would have died seeing this under the tree on Christmas morning. or receiving this as a gift anytime of the year. It’s compact but still substantial, has all the basic rooms (bathroom, kitchen, living room plus lofts) and we’ve added convertible furniture as the icing on the cake.
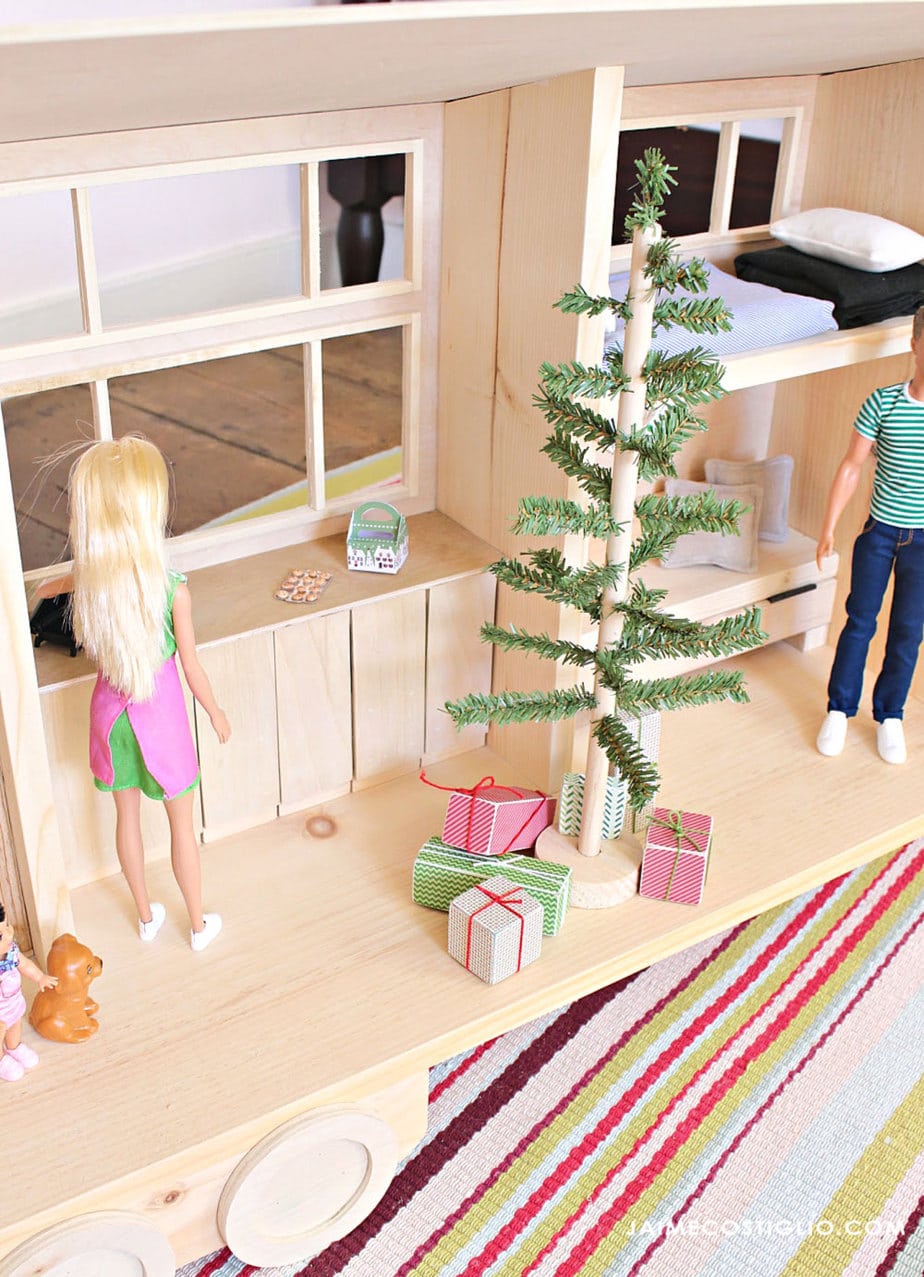
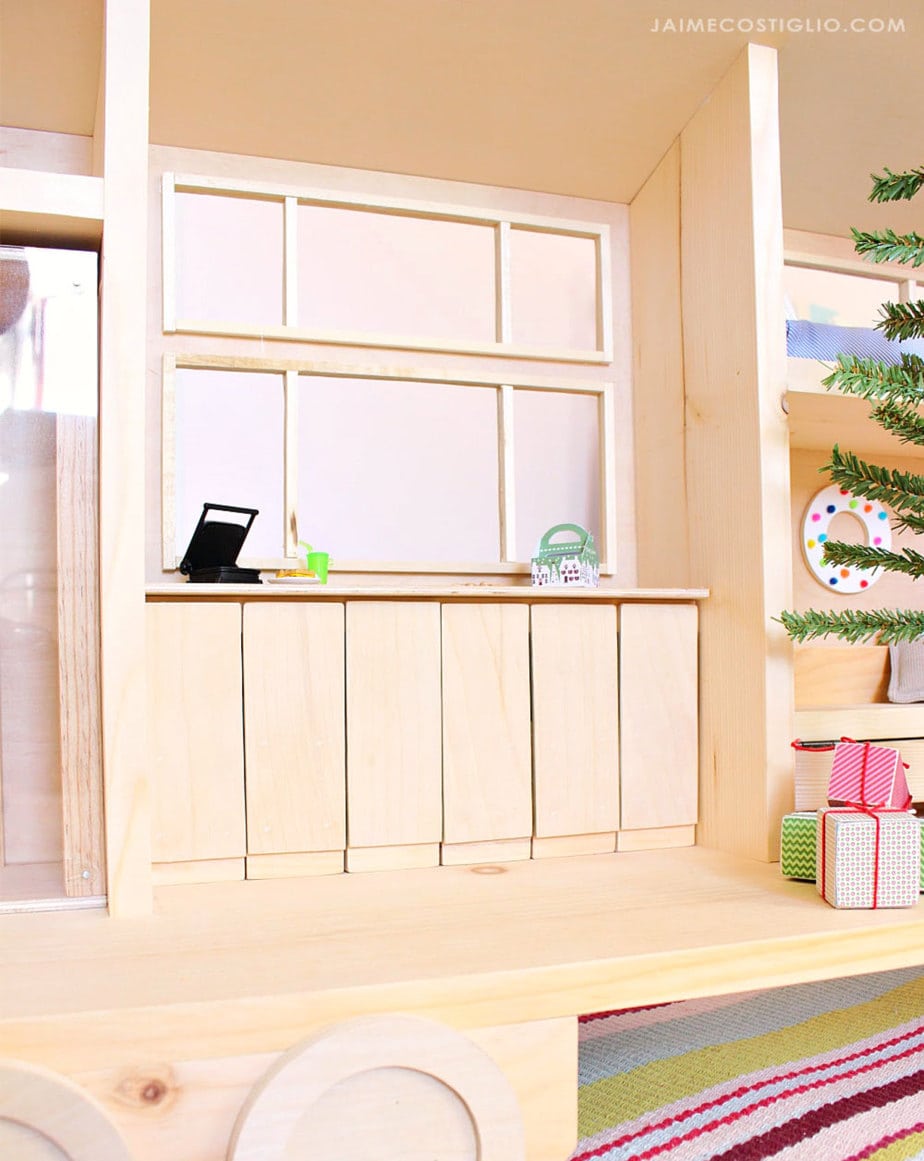
Of course it’s Christmas at Barbie’s tiny house so I made a simple tree from a wood dowel and added a few gifts underneath. The middle kitchen area has beautiful, big open windows with a built-in counter space and tons of cabinets below. If you wanted to add wall shelves simply omit one of the windows and add a few horizontal boards for more storage.
I opted to trim out the windows using 1/4″ square dowels. They are cut to size and hot glued in position then sand all the edges smooth. I think the trim really makes the windows complete and adds the finishing touch on the build itself.
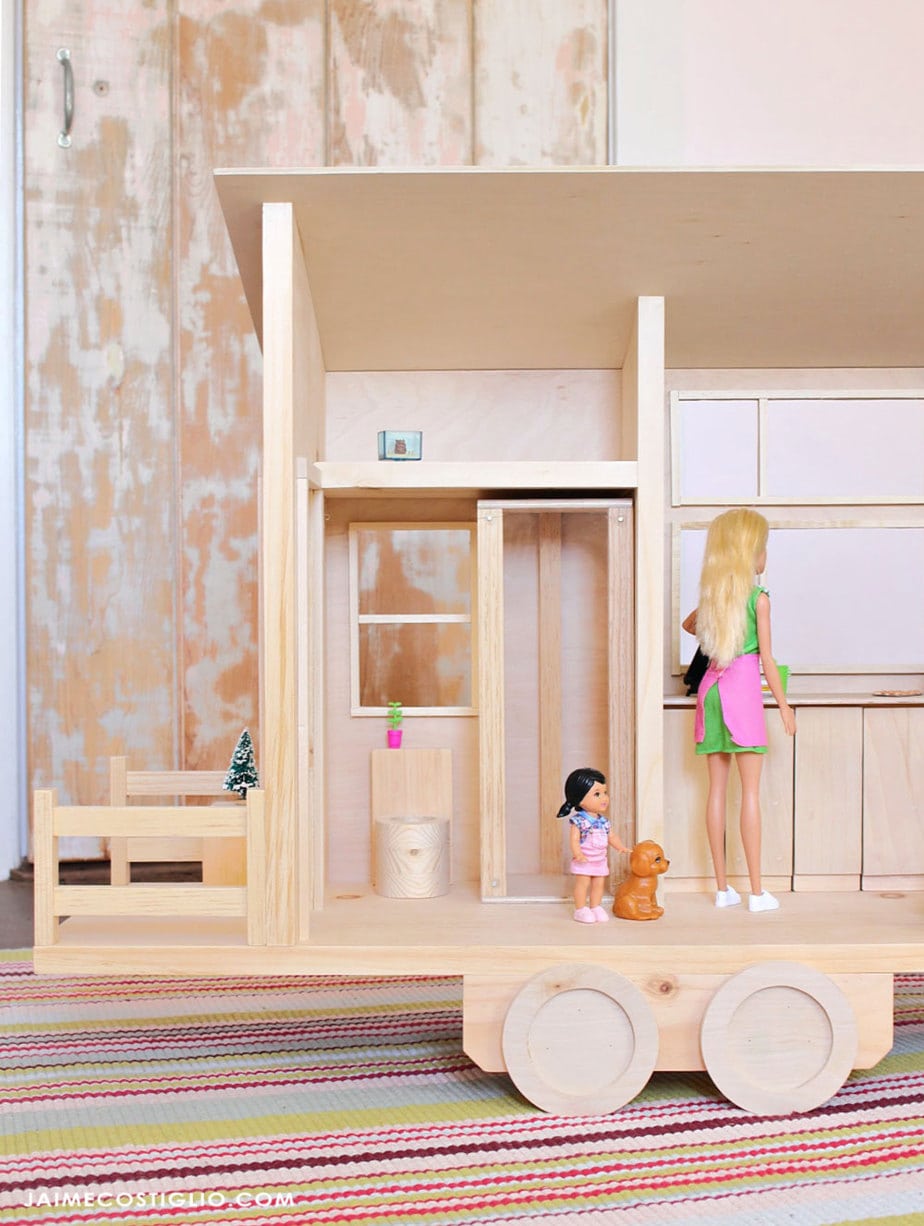
The bathroom space is plenty roomy for a toilet and shower or you could opt for a sink / toilet combo. Again plenty of storage space above the bathroom.
Sofa / Bed:
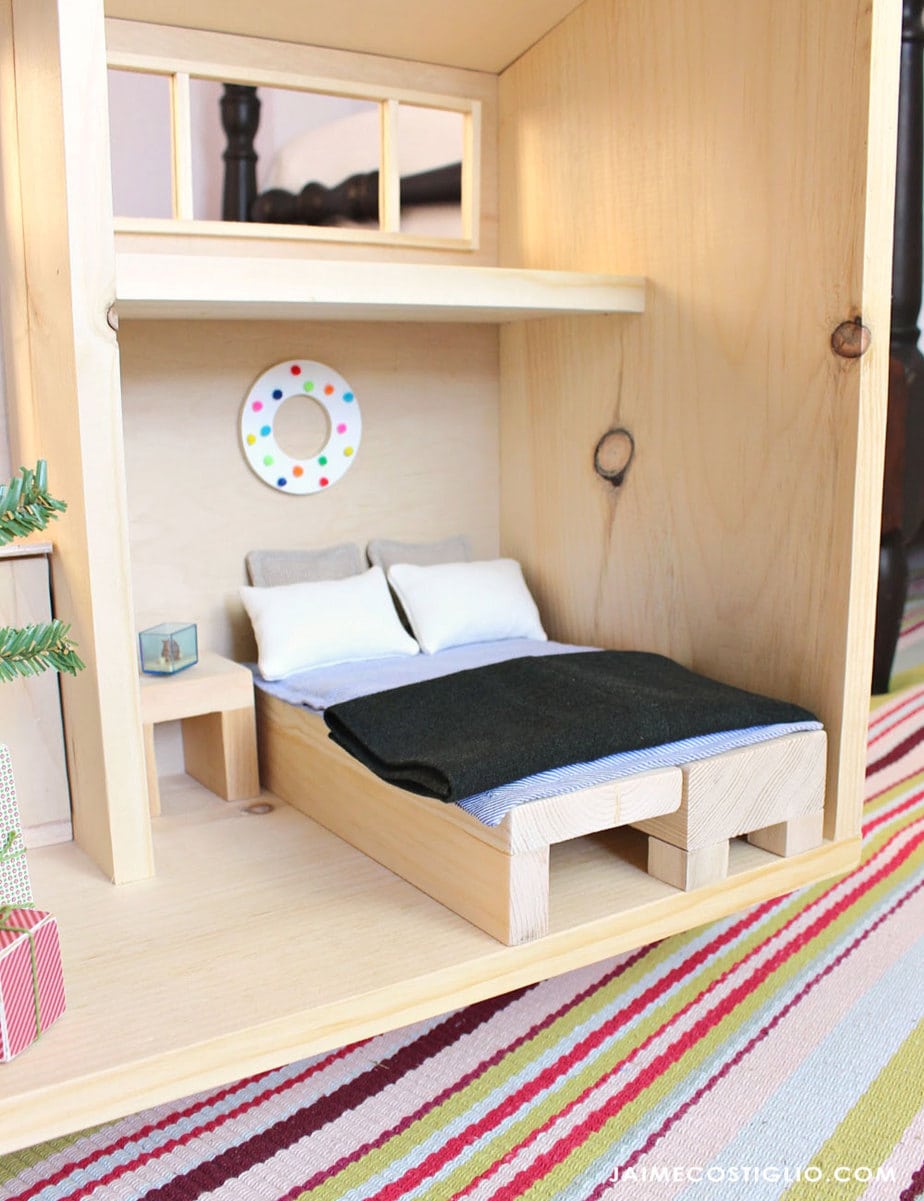
Ana deserves all the credit for this design and creating the plans, she is a genius! On the far end of the tiny house is the living room / bedroom and loft area. The sofa is convertible and becomes a bed and the loft area is perfect for storage or a kids play area.
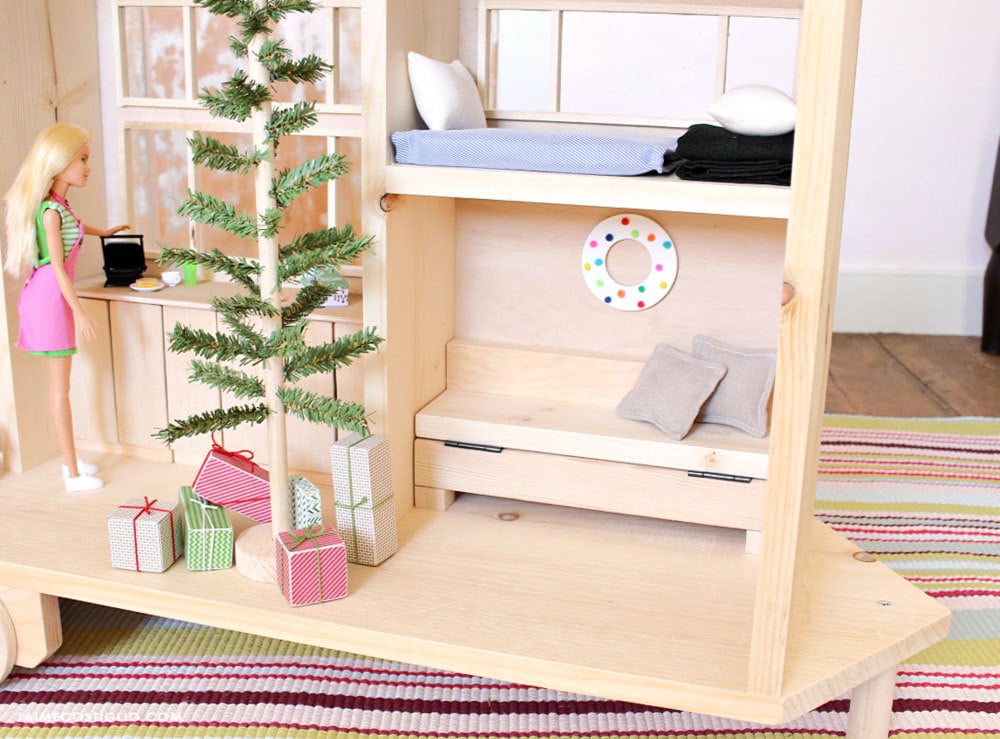
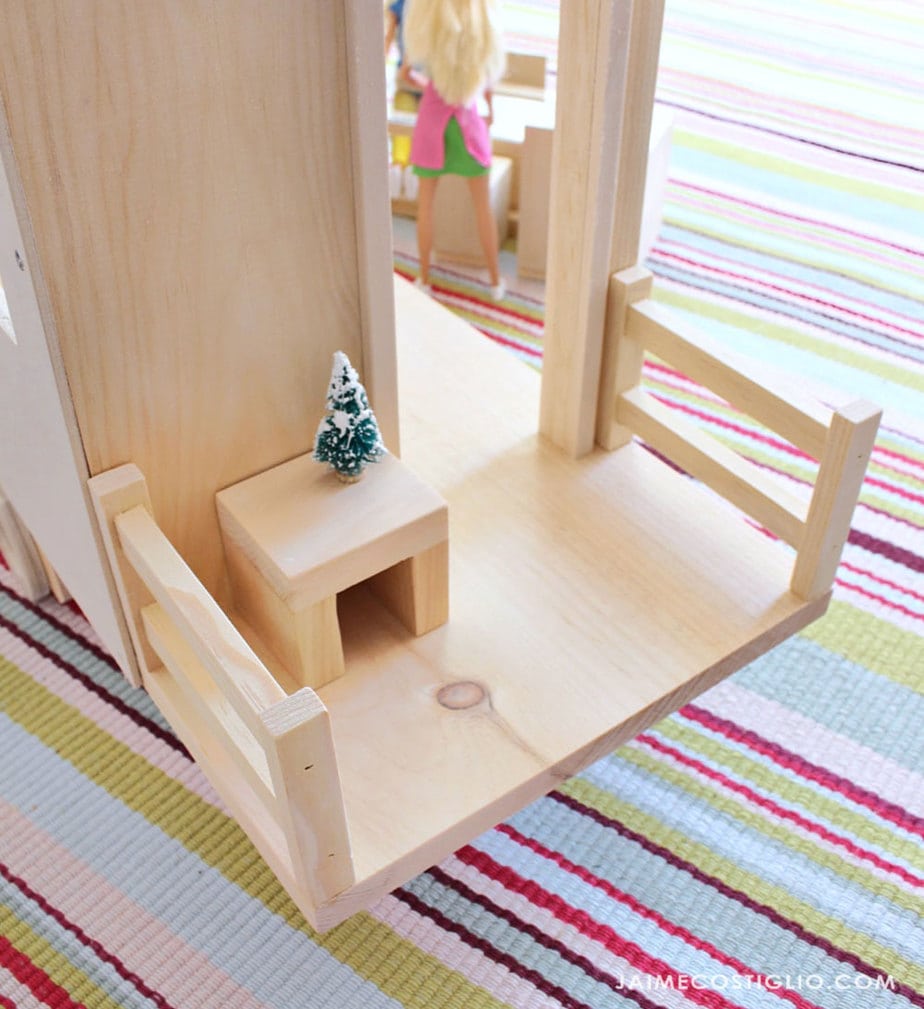
When the sofa is open as a bed be sure to turn the piece like the photo below so Barbie and Ken fit properly. There’s even space for a nightstand (which also doubles as a bench on the front porch).
Shower / Dining Table:
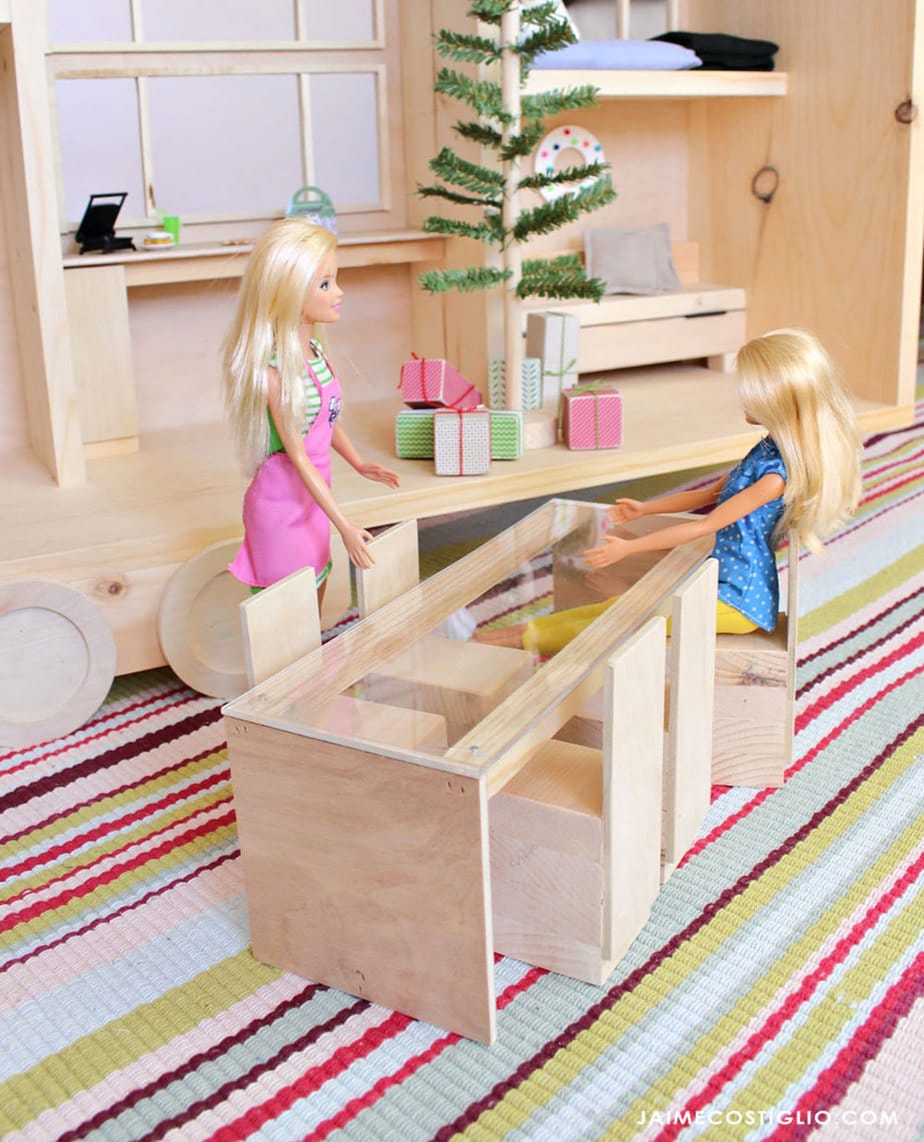
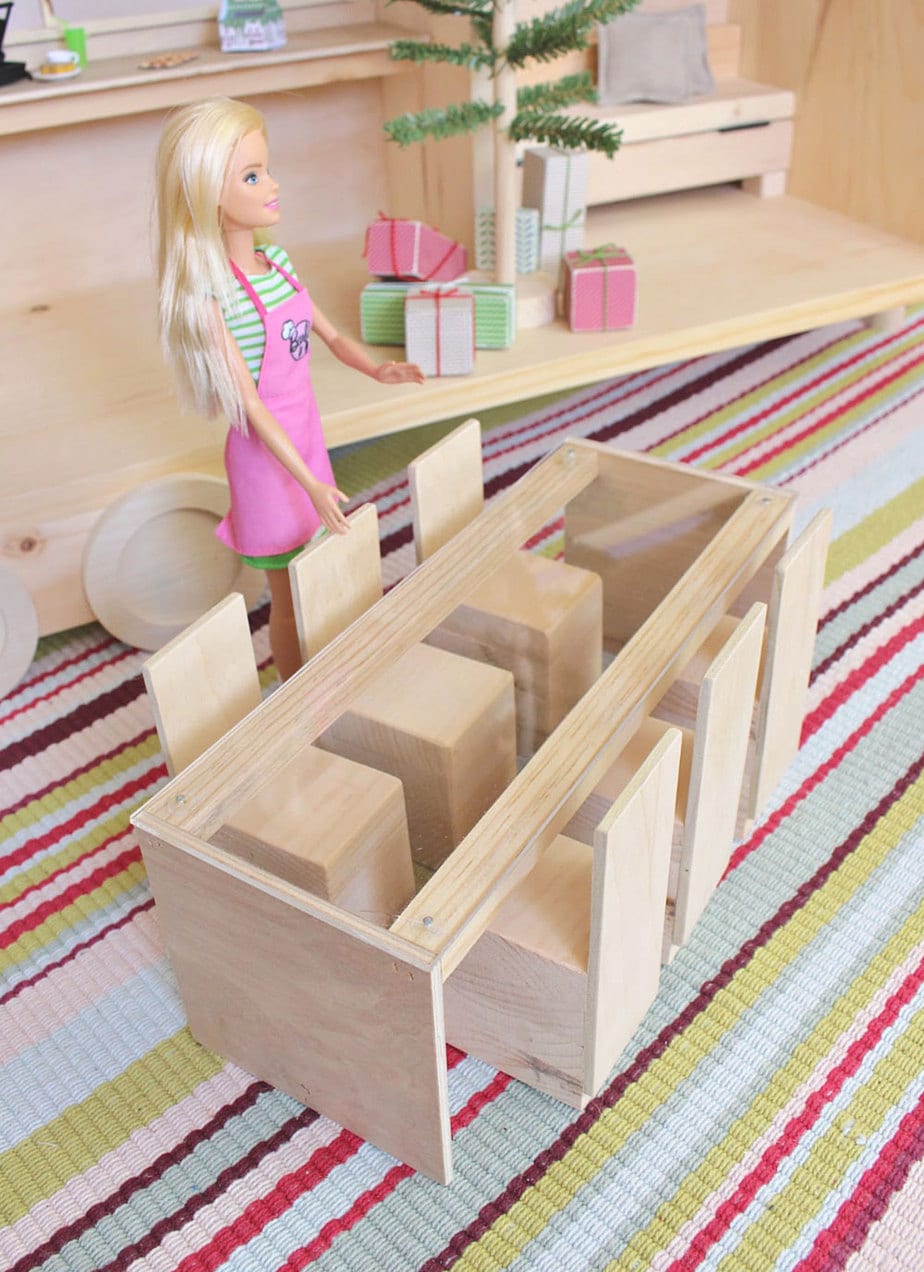
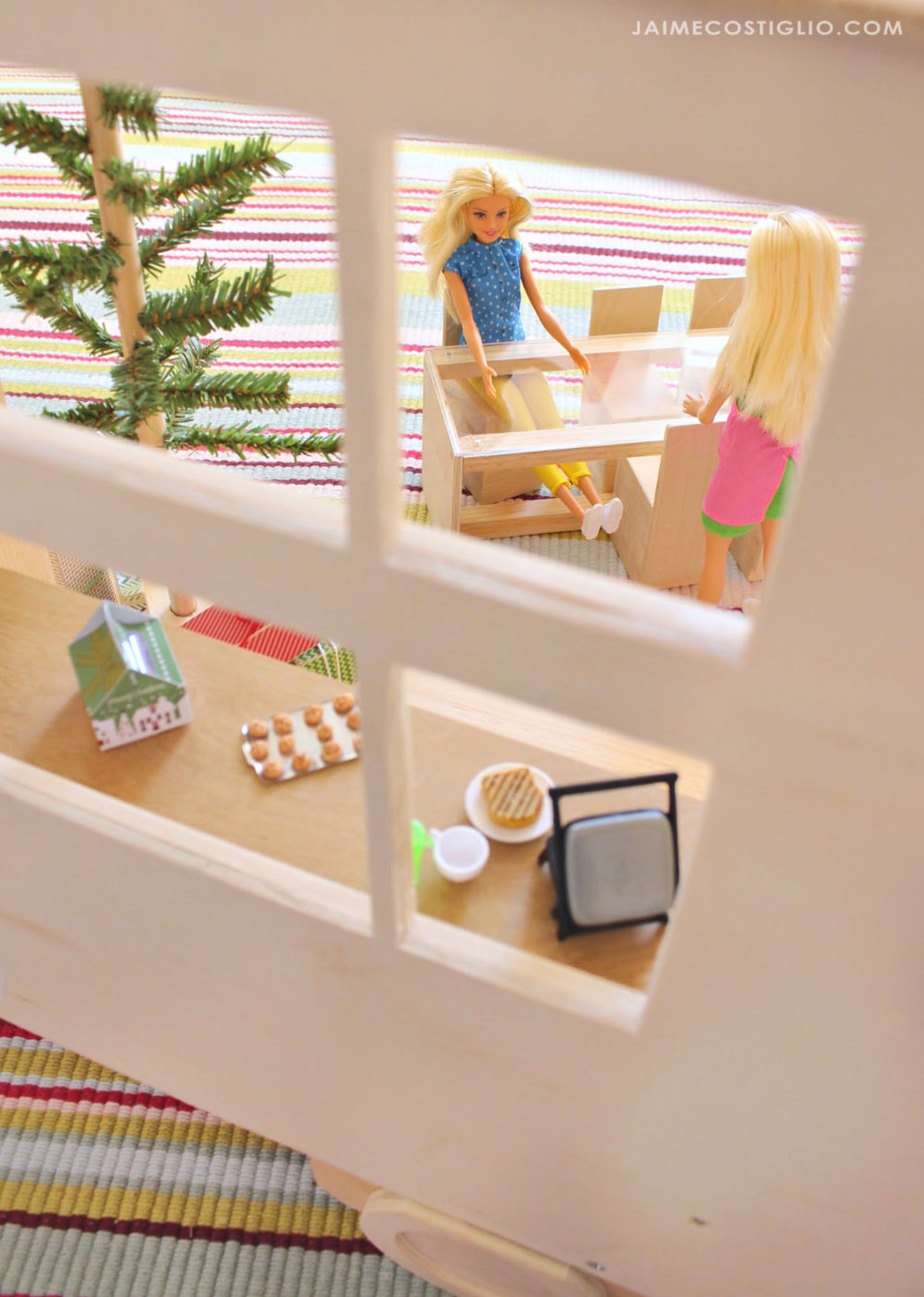
More convertible furniture fun – the shower placed on its side becomes a dining table. The kitchen cabinets are actually dining chairs. These ladies are ready for Christmas dinner minus the place settings and food!
Dining Chairs / Kitchen Cabinets:
When the dining chairs are not in use you can slide them back under the kitchen counter to act as cabinets.
Wheels:
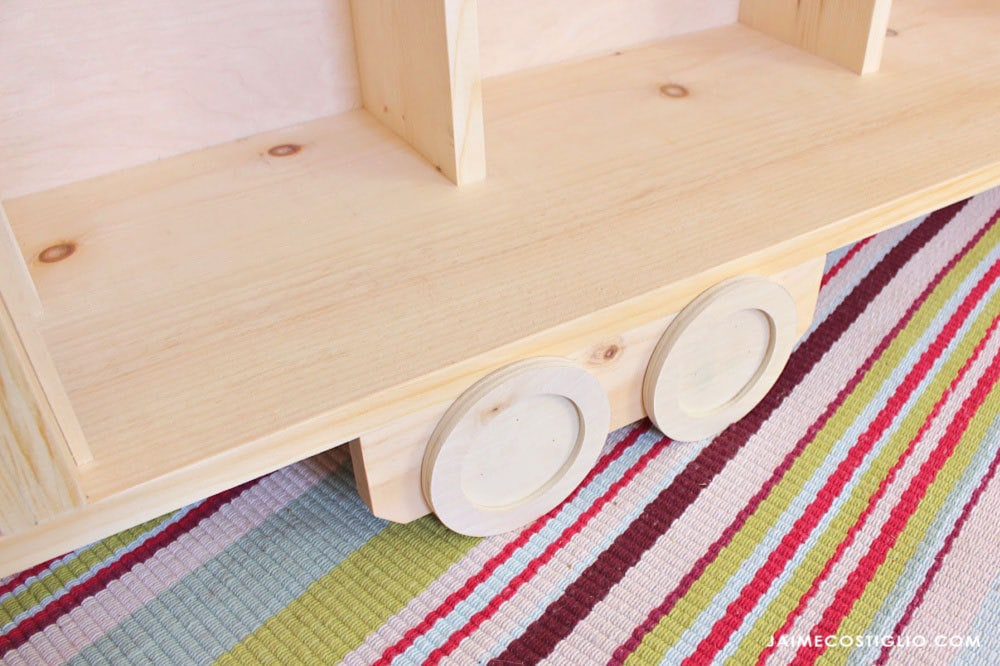
Ana recommends at least a 1/2″ thick wheel because the tiny house is resting on the wheels. I cut two circular pieces from 1/4″ plywood and then cut out the center from the outer piece. Apply wood glue and clamp until dry and then sand edges smooth on the belt sander. Then glue and attach to the wheel well using 3/4″ finish nails.
On the porch I added a simple bench and the railings are made from 1/2″ x 3/4″ flat moulding. Be sure to glue the railings and secure from the underside.
I caught this glimpse from the backside of the tiny house and thought it was too cute not to share. Just two gals chatting in the kitchen.
Ana has the complete plans for this tiny house dollhouse build here. Be sure to read through all the steps before beginning. Use wood glue and screws where you can, nails otherwise. Please leave any questions in the comments and I will be sure to respond.
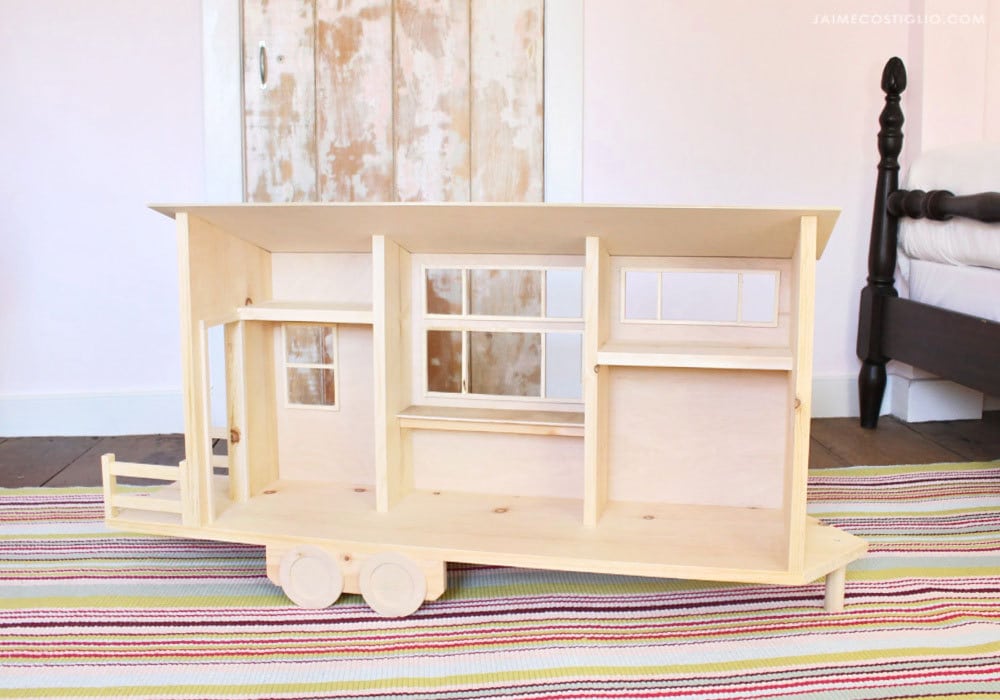
I hope you enjoy making this Barbie dollhouse tiny house. It’s truly a very fun project for adults and kids alike and worth every minute I spent making it come to life.

This is awesome! One quick question, do you have any for sale? I’m not that good at woodwork and I’d rather just purchase one instead of trying to do it myself. Thanks!
Thank you Anne, I’m sorry I don’t have any for sale. I made this one last year and gifted it. Hopefully you can find someone local to build it for you. Good luck!
Hi from London, UK! I would love to make this for my girls for Christmas! (Personally, I want the full size version but I’ll have to settle on a Barbie version!)
2 questions! I cannot find 1×12 or 1/4 inch plywood here. Could I use 18mm ply for the base instead of 1×12?
For the plywood, we have 3mm or 5.5mm. Should I layer up 2 3mm boards and glue or use the 5.5? I’m worried it would mess up the measurements!
Thanks! Looking forward to making this!!
Hi Becky, Great to hear from a UK reader! My apologies but I don’t know the conversions to metric but the base thickness won’t throw off anything. Same with the plywood backing, thicker or thinner won’t affect anything. I would have the plans printed out and measure as you go to be sure everything lines up. Good luck!
Hello, love it!!! Why don’t I see the plans for the sofa?
Thanks Marisela, the plans for the convertible sofa are included in Ana’s Tiny House plans at the very end. https://www.ana-white.com/woodworking-projects/tiny-house-dollhouse-barbies-or-12-dolls
I can’t believe how detailed and imaginative this tiny house is. It looks amazing. Any child would have great fun playing with it. You are both so talented and creative. You are really kind offering such fantastic useful plans, for free.
From Ireland .
Thanks Sandra, it’s the most fun and we love sharing these gift ideas.