Build: diy dollhouse shelf
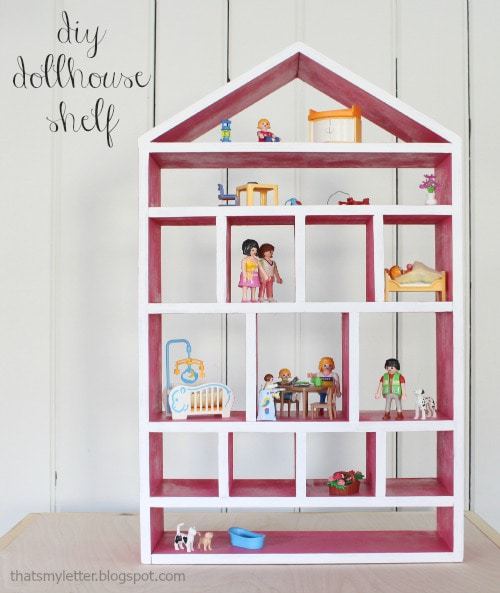
It’s Friday and that means another Handmade Holiday gift build from Ana White and me! Today we are sharing the most perfect dollhouse shelf that any little one is guaranteed to love.
Hang on the wall or make it portable, any which way this dollhouse shelf will be a favorite gift.
Ana’s got the plans here but first see all the details below.
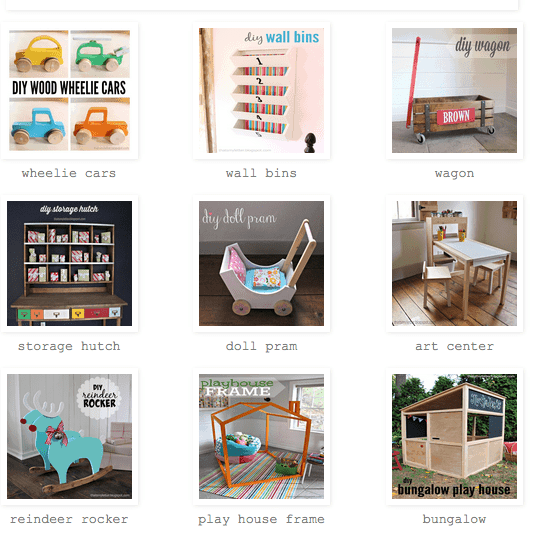
Ana and I have been busy these past few weeks making handmade holiday gifts. There’s still plenty of time to build any of these awesome gifts below:
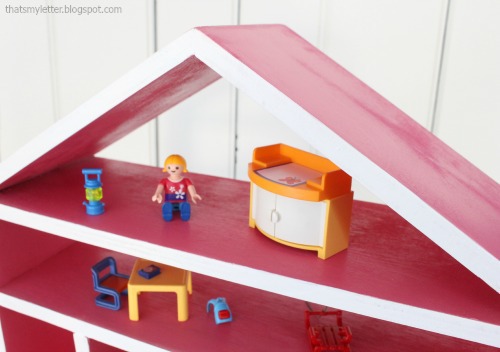
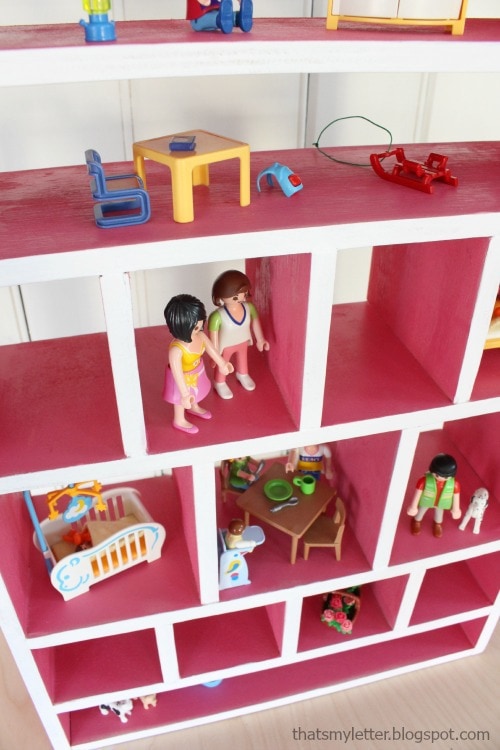
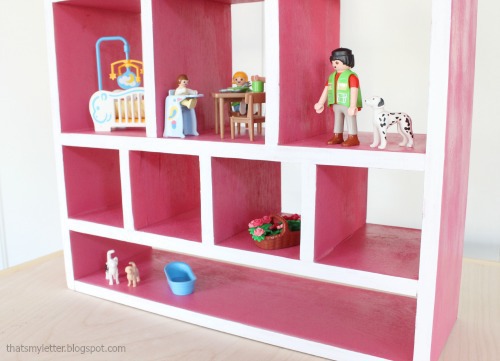
I filled up the dollhouse shelves with playmobile people but any doll figurines would fit:
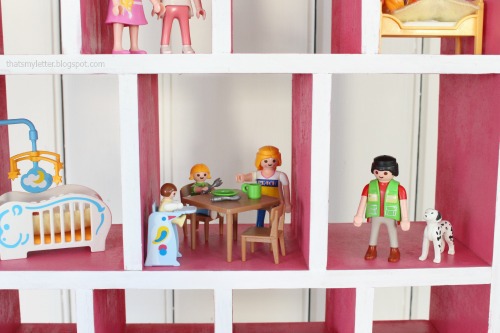
There’s so many shelves!!!!
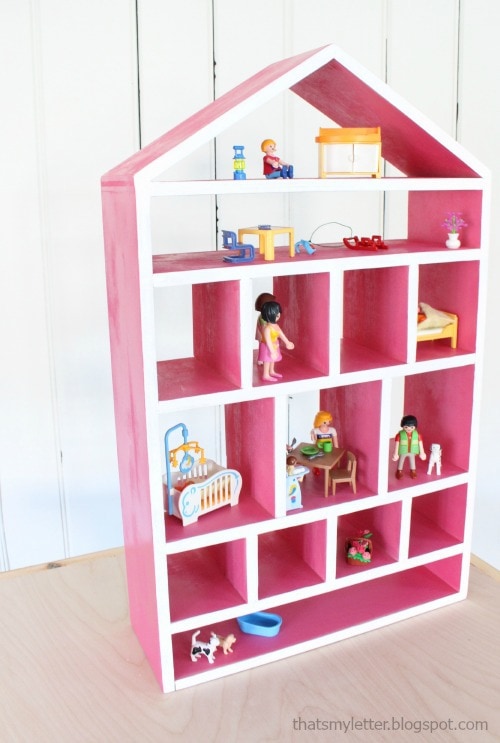
We modeled this dollhouse shelf after the Land of Nod Four Story Wall Shelf:
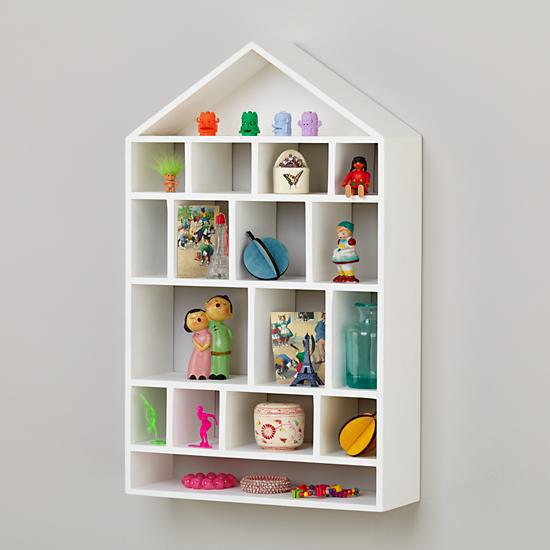
The retail version sells for $150 plus shipping – ouch! when you consider I used a portion of a 2′ x 4′ handy panel that costs $18.
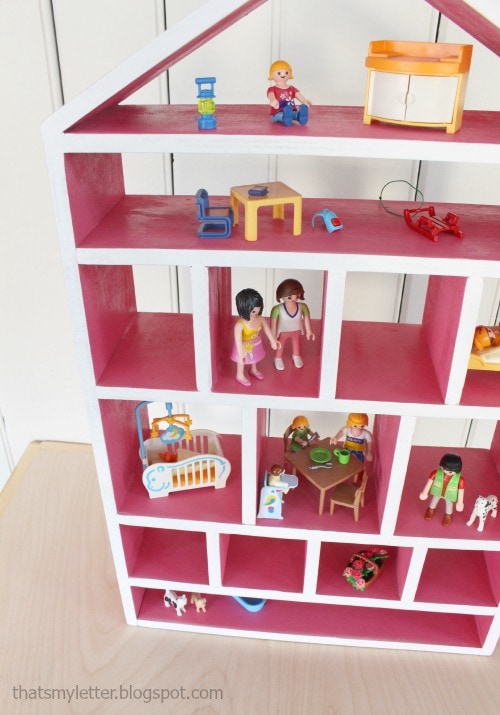
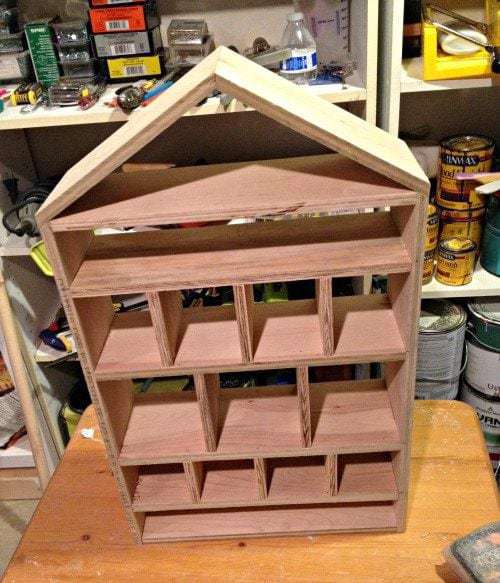
I choose to leave any plywood backing off in order that the shelves are accessible from both sides. You could easily add 1/4″ plywood for a finished back.
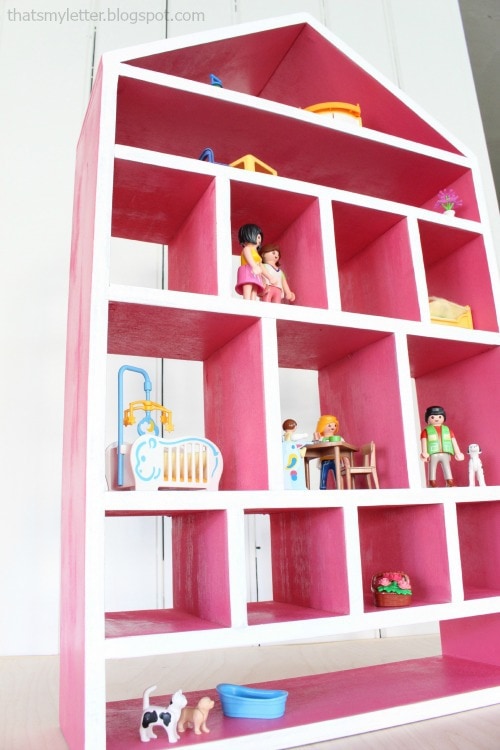
Ana’s plans make it easy to construct the multiple levels and cubbies. And with 5″ of depth this dollhouse stands on it’s own with plenty of display space.
How to make a dollhouse shelf:
1. Follow Ana’s plans here for cuts.

2. Using 1/2″ plywood rip 5″ widths, I used my Kreg rip cut to make repeated 5″ rips.
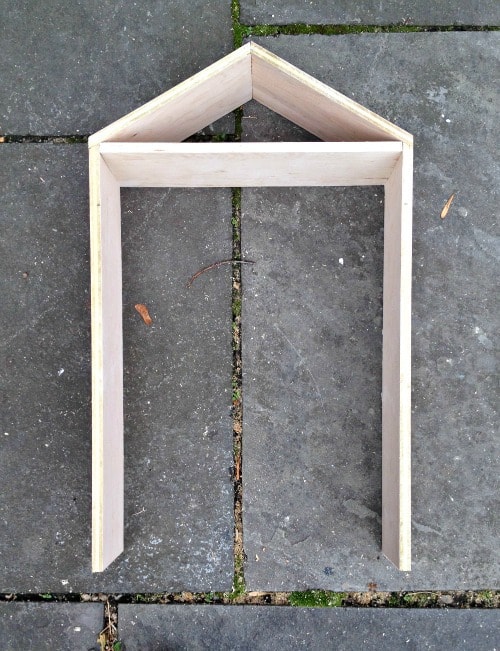
3. Cut boards to length then start assembly.
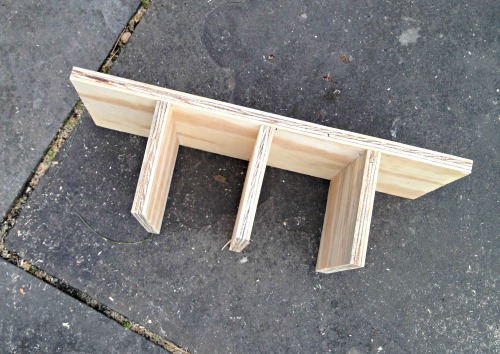
4. When adding shelves I attached the dividers first to the shelf.
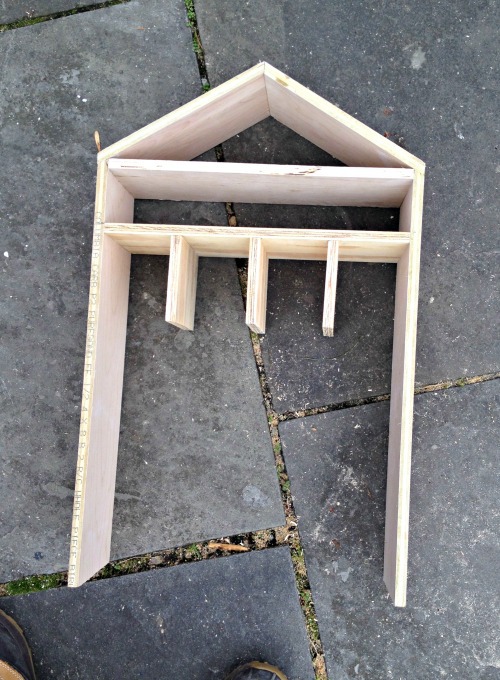
5. Then attach the shelf to the walls. Repeat this process for each shelf and once the shelf below is in place you can finish nail the previous shelf dividers.
6. Sand and putty.
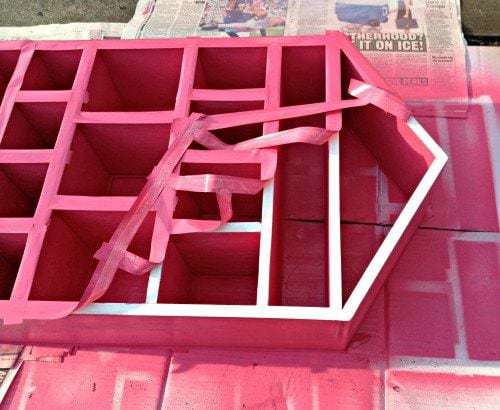
7. Spray primer focusing on edges (both front and back). Let dry thoroughly then sand well. Cover primed edges with scotch tape then spray pink gloss. Remove tape and reveal white primer then paint white high gloss using small brush only on edges.
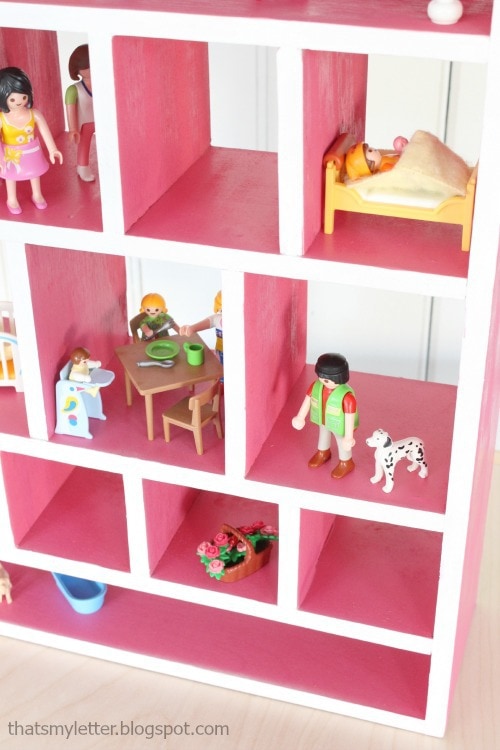
Let the kids fill with their favorite dollhouse people or any small trinkets.
Thank you Ana for making these fun dollhouse plans. For more Handmade Holiday gift build ideas click here.
I’m linking up to:

Creative Collection @ Lolly Jane
That DIY Party @ The DIY Showoff
Tutorials & Tips Tuesday @ Home Stories A to Z
Share Awesomeness Thur @ The 36th Avenue
Pretty Things Thursday @ Scissors & Spatulas
Flaunt it Friday @ Chic on a Shoestring
Frugal Friday @ The Shabby Nest
Furniture Feature Friday @ Miss Mustard Seed
SAS @ Just a Girl
Remodelaholics Anonymous @ Remodelaholic
inspiration board @ Carolyns Homework
Sunday Showcase Party @ Under the Table & Dreaming


I love it! That will be a hit, for sure!
This is so adorable, Jaime! My daughter saw it on the computer screen and yelled, "I want that for Christmas!" I guess I know what I'm building her for Christmas this year. Thanks for sharing!
So cute! The plans call for a full sheet of plywood. How much did you use?
So sweet! Love the color too.