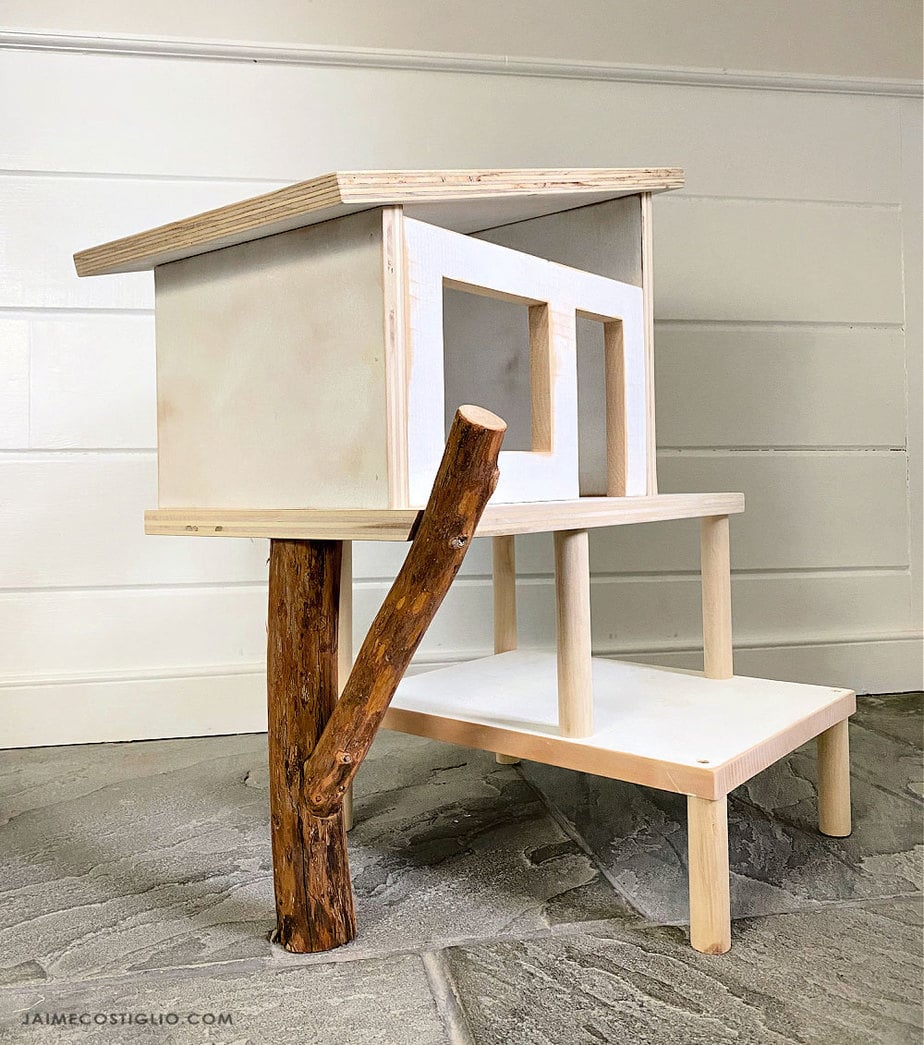
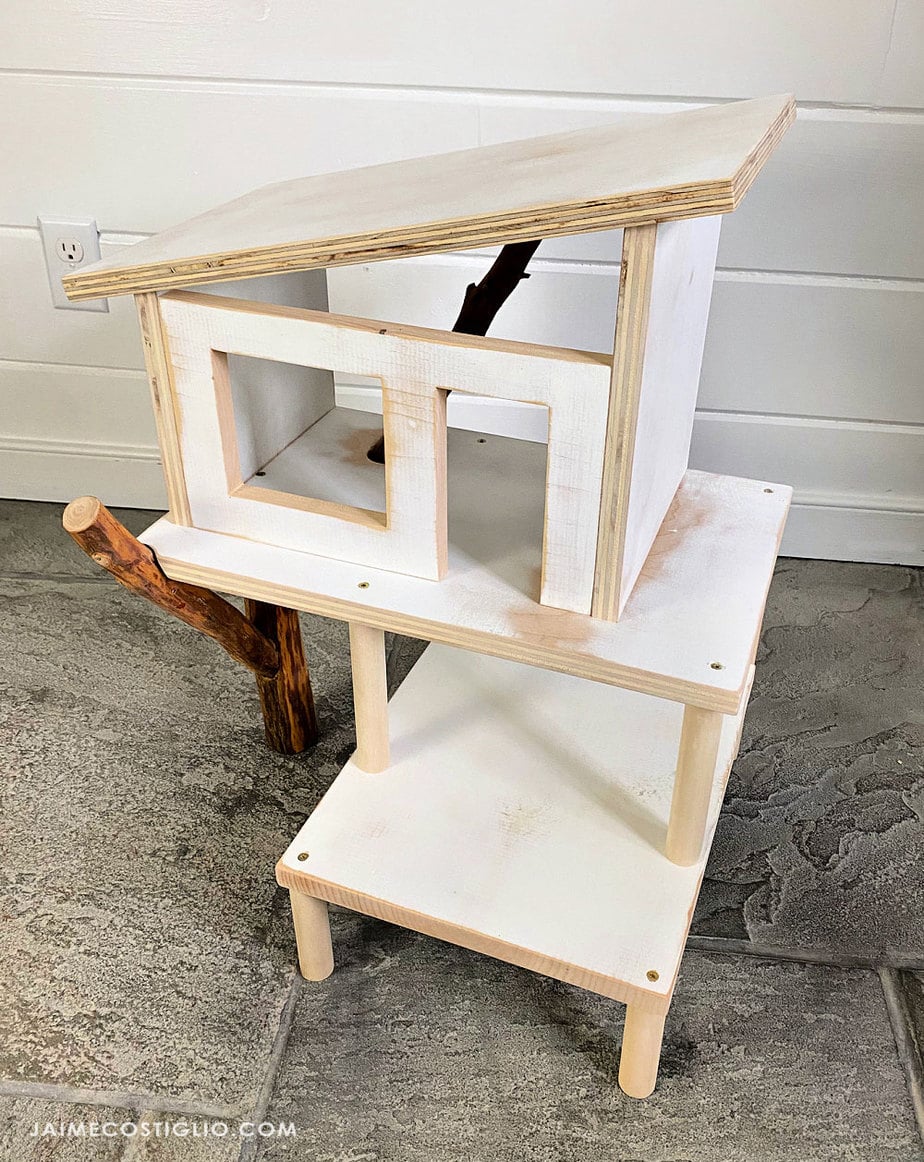
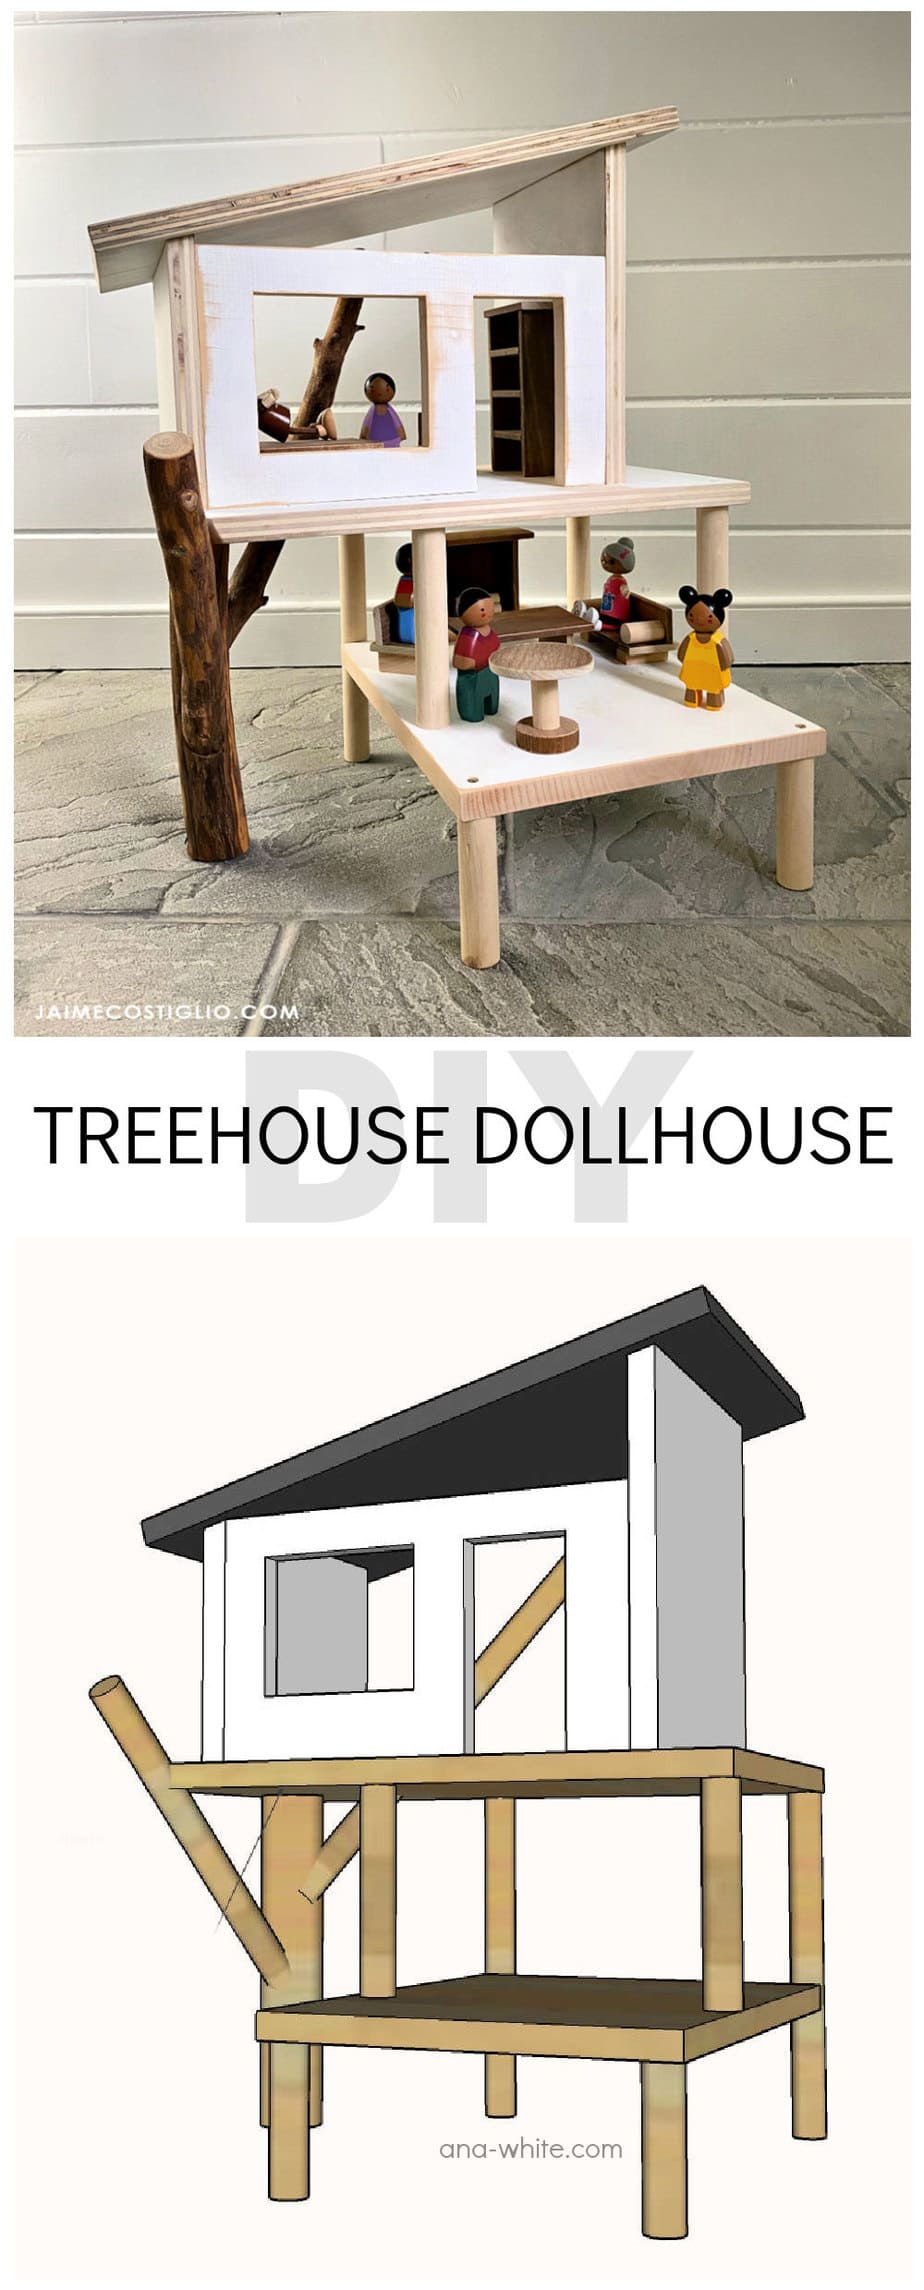
Not just a regular dollhouse but a treehouse dollhouse of course! It’s week 3 of the Handbuilt Holiday series and we’re sharing this treehouse dollhouse complete with plans for the doll furniture too.
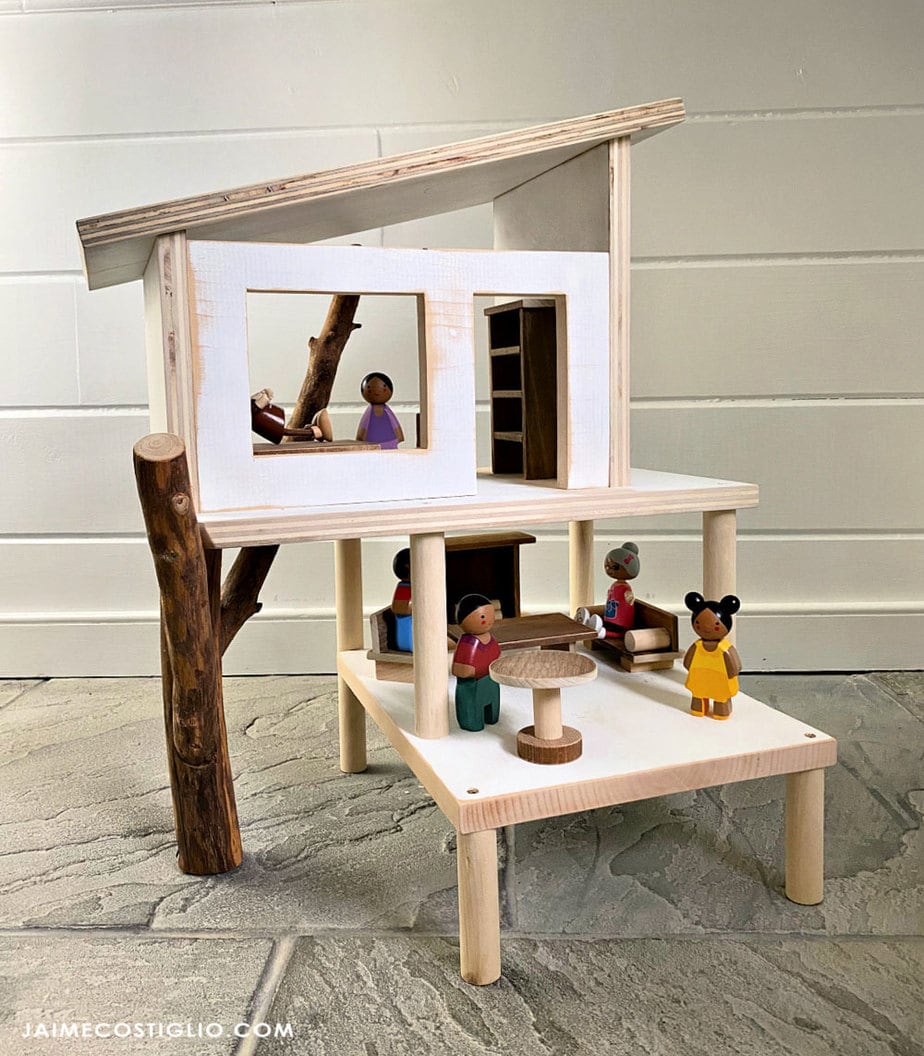
A DIY tutorial to build a treehouse style dollhouse complete with doll furniture. Make this dollhouse and the doll furniture using my plans.
What could be more fun than a treehouse for your dolls? We are happy to present this version of a modern dollhouse perfect for kids of all ages.
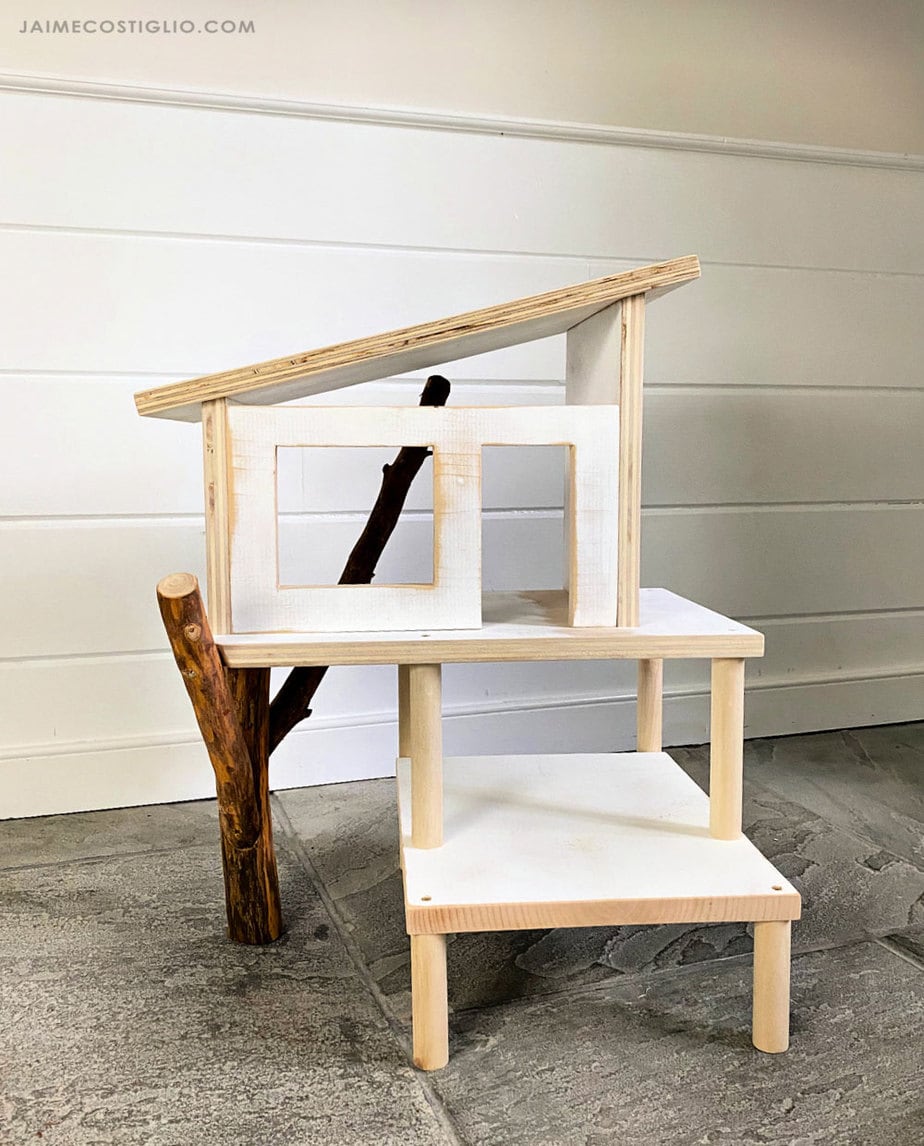
1:12 Scale Dollhouse
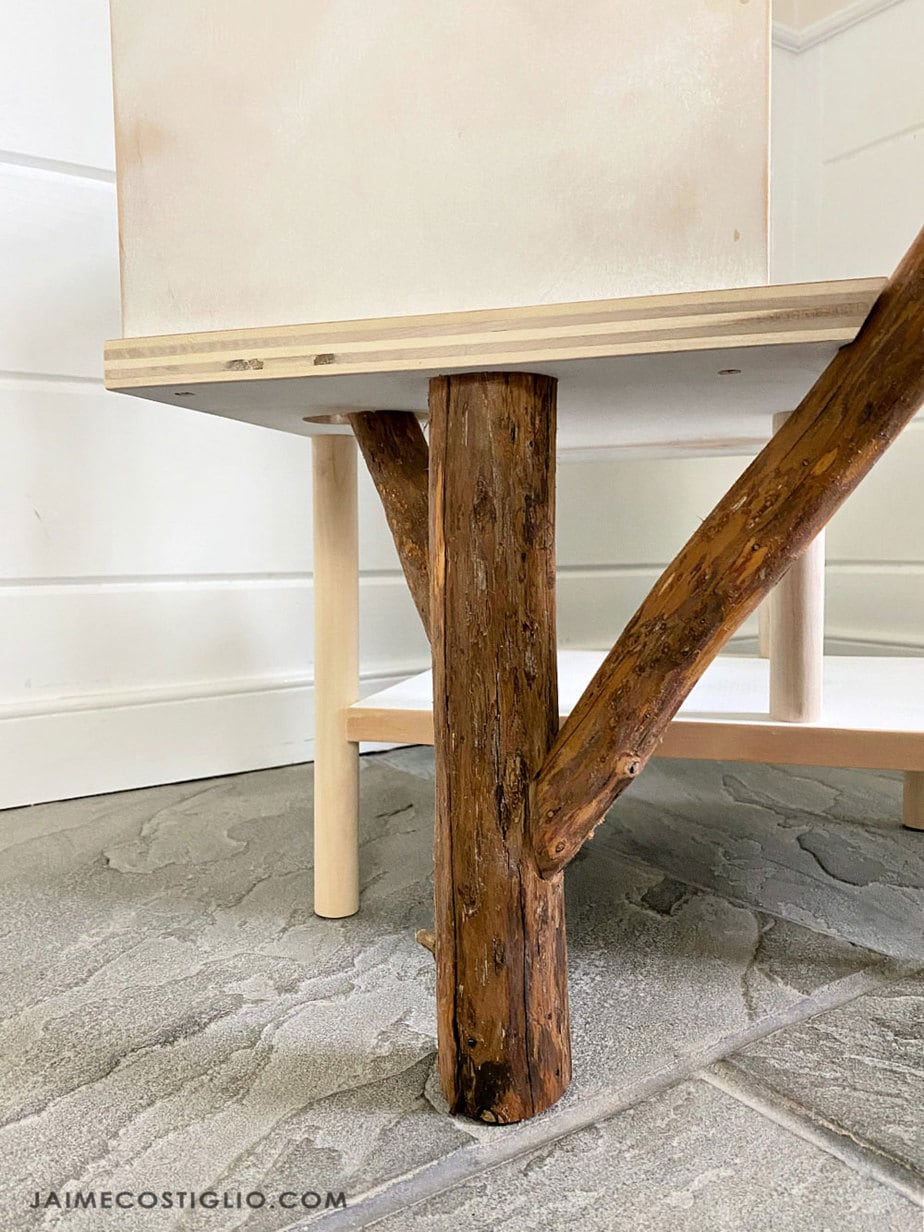
Ana designed the plans for this treehouse to make it easy for you to build. As you can see I used real tree logs for the tree portion but you could definitely just use a store bought dowel.
This dollhouse fits most kinds of 1:12 scale dolls:
- Plan Toys
- Calico Critters
- Hape
- Tender Leaf
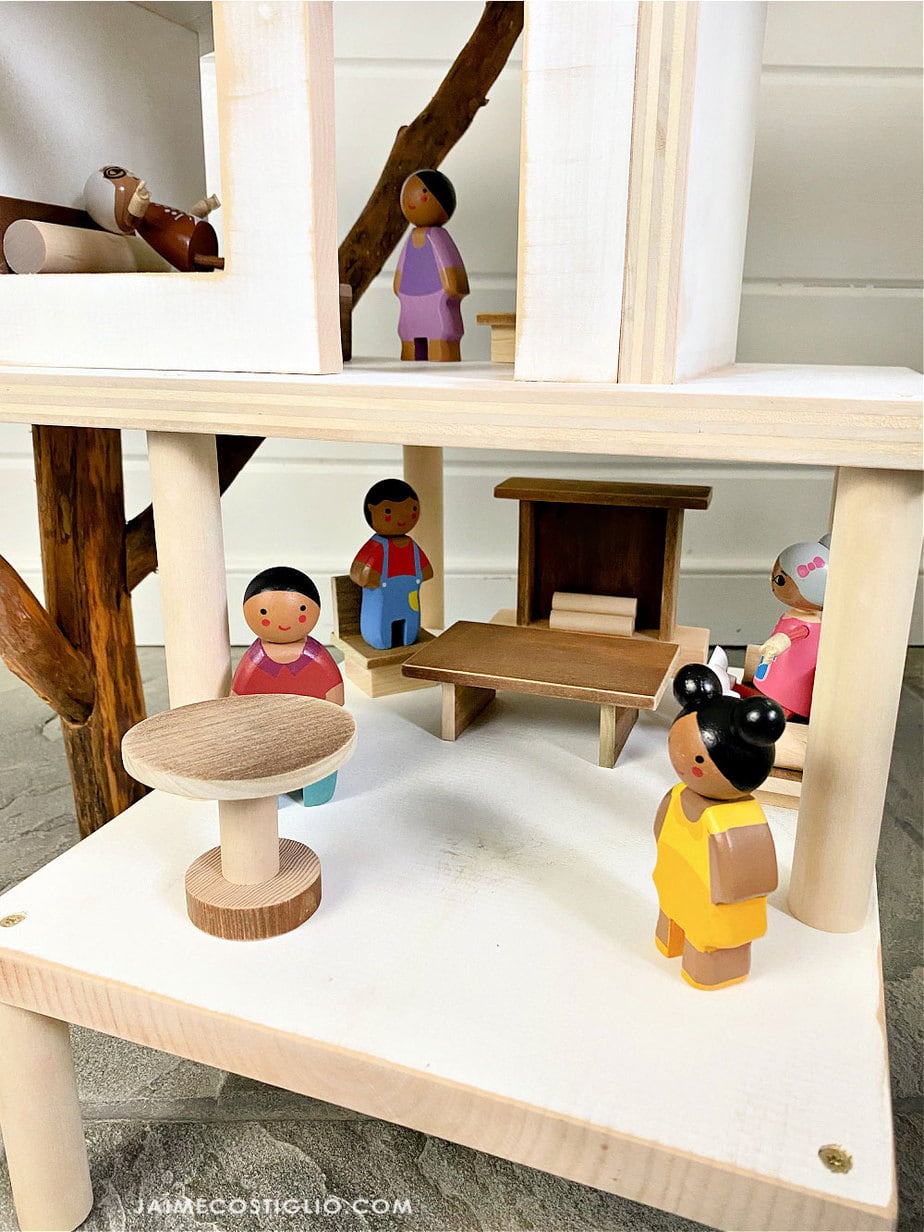
Doll Furniture
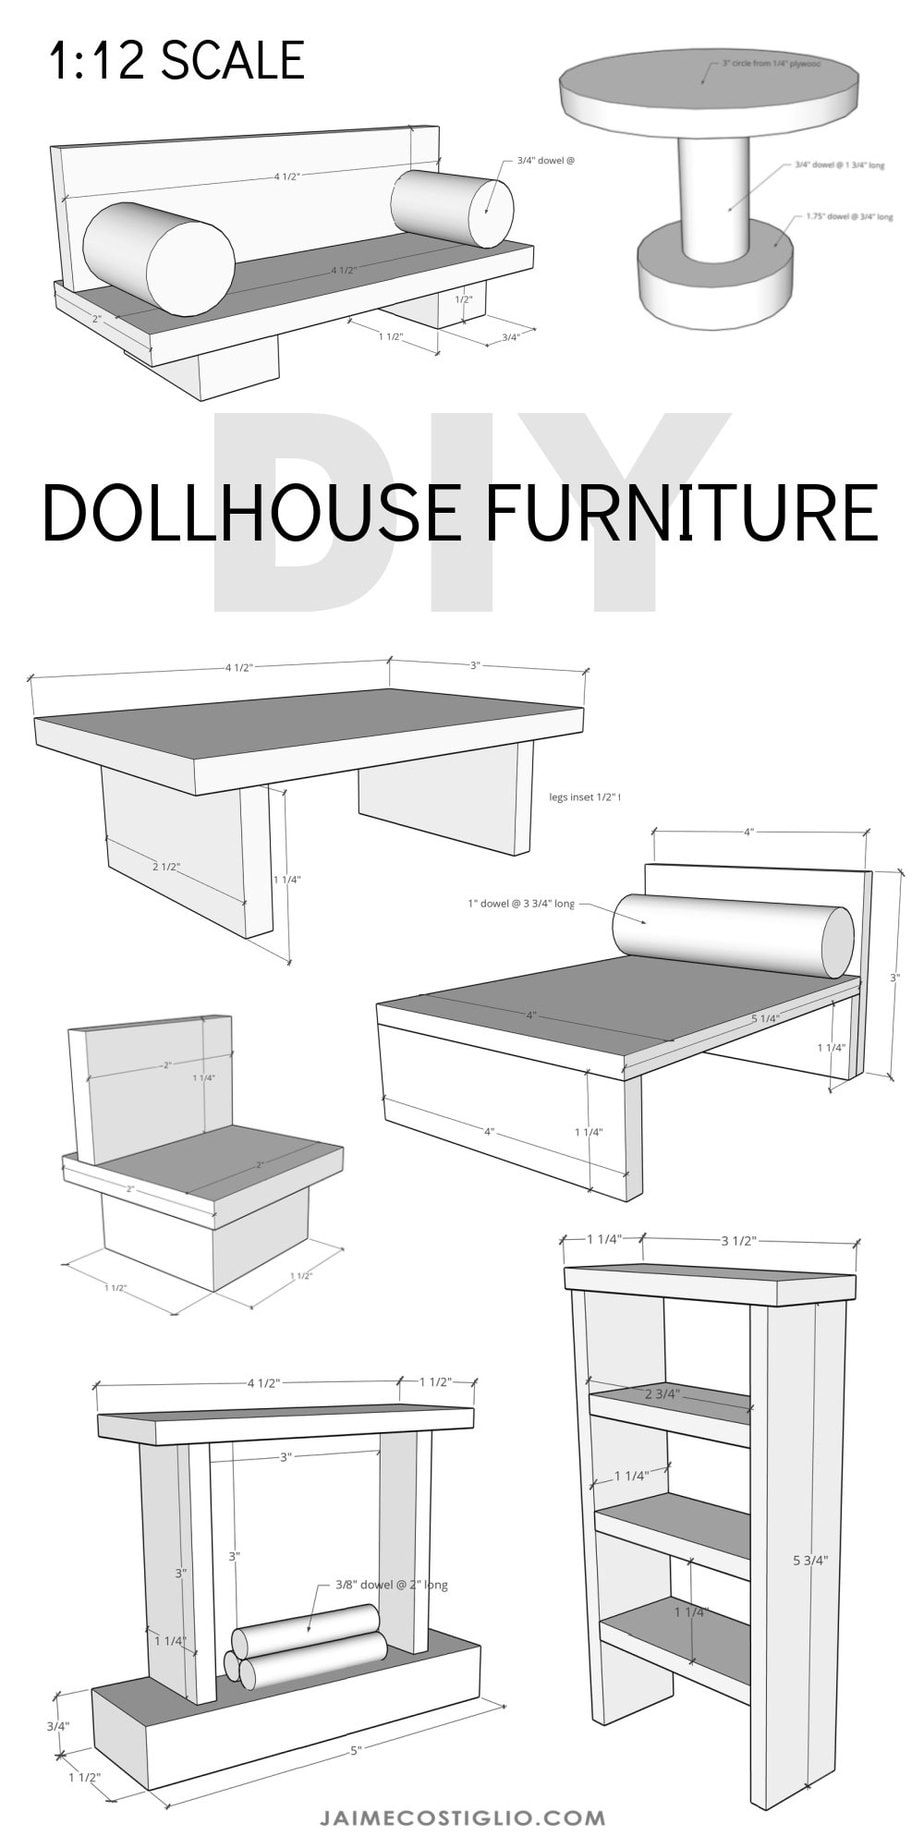
And don’t forget about the doll furniture! I put together some simple pieces using 1/4″ boards and some scrap pieces. Be sure to scroll down for the plans and details on the 1:12 scale furniture.
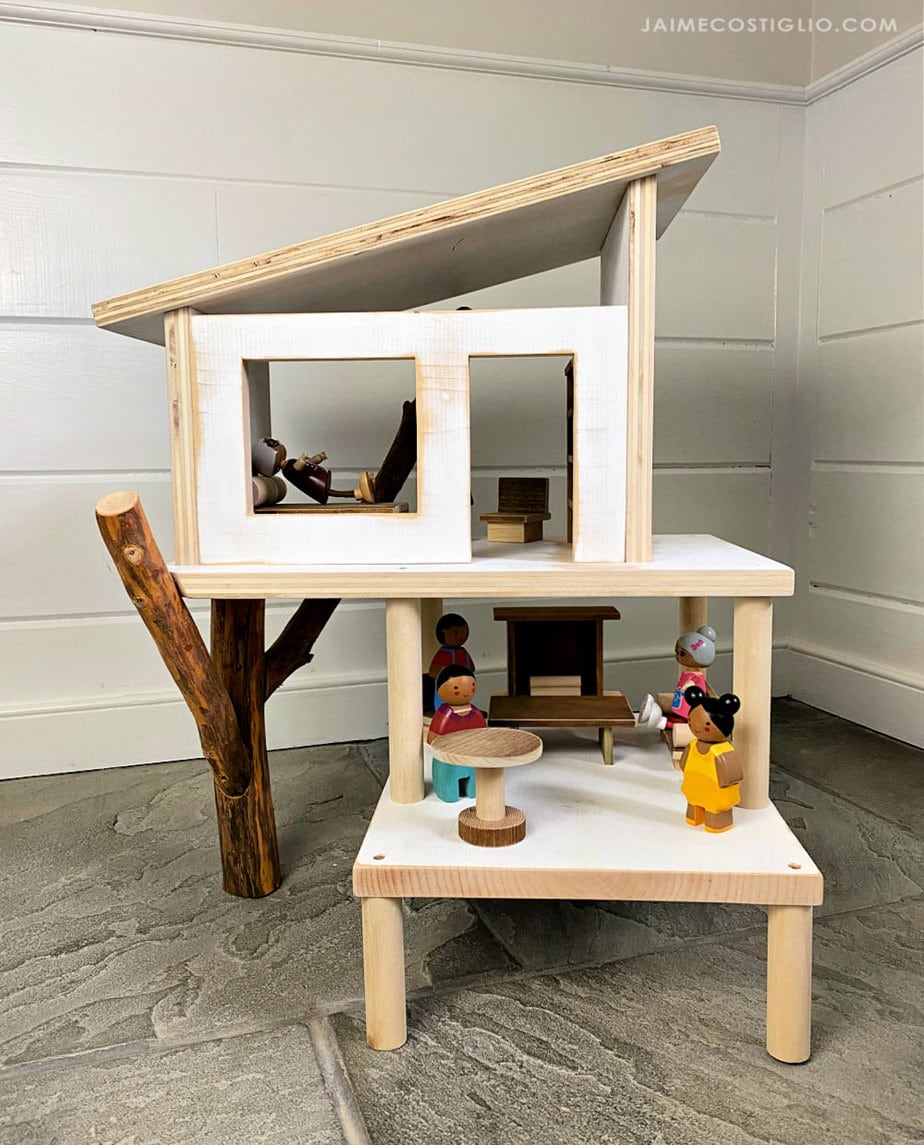
Ana has the step by step plans to build this treehouse dollhouse here.
And if you’re looking for other dollhouse versions:
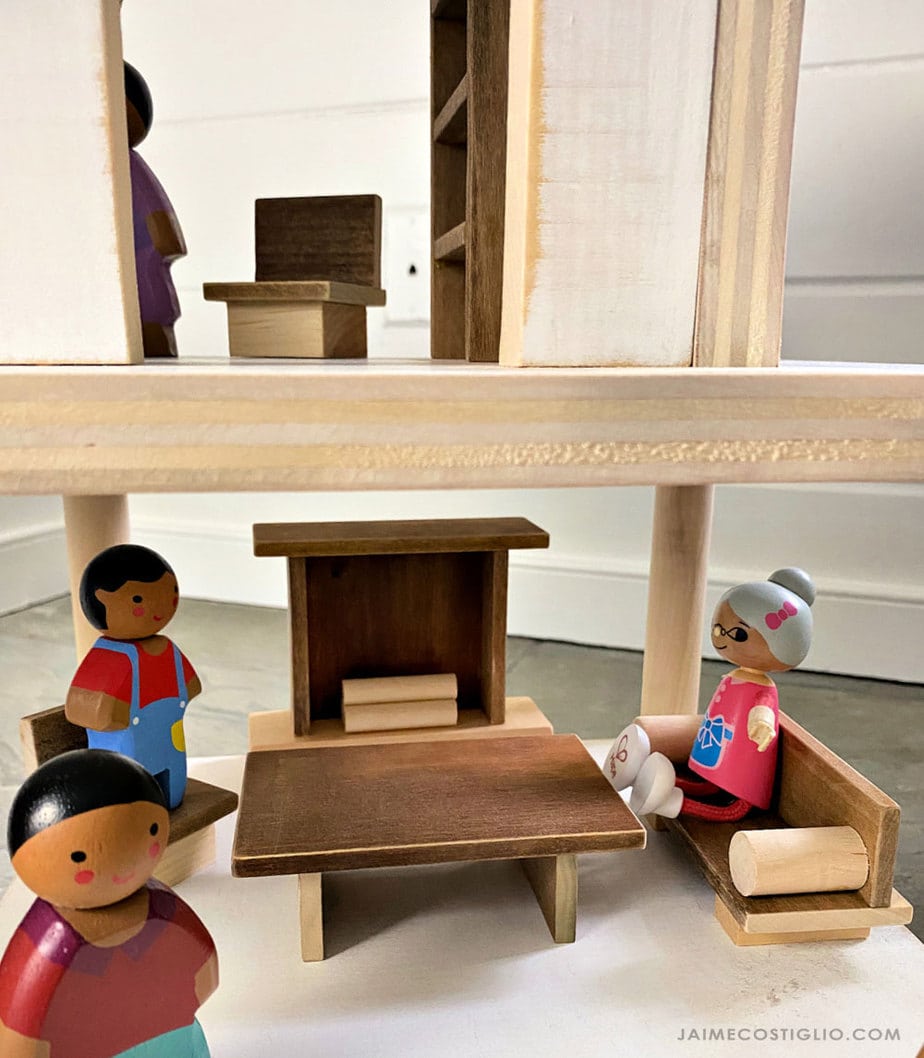
Let’s build the treehouse dollhouse structure first and then we will get to the cutie doll furniture.
Treehouse Dollhouse Build
Follow Ana’s plans here step by step to build the dollhouse.
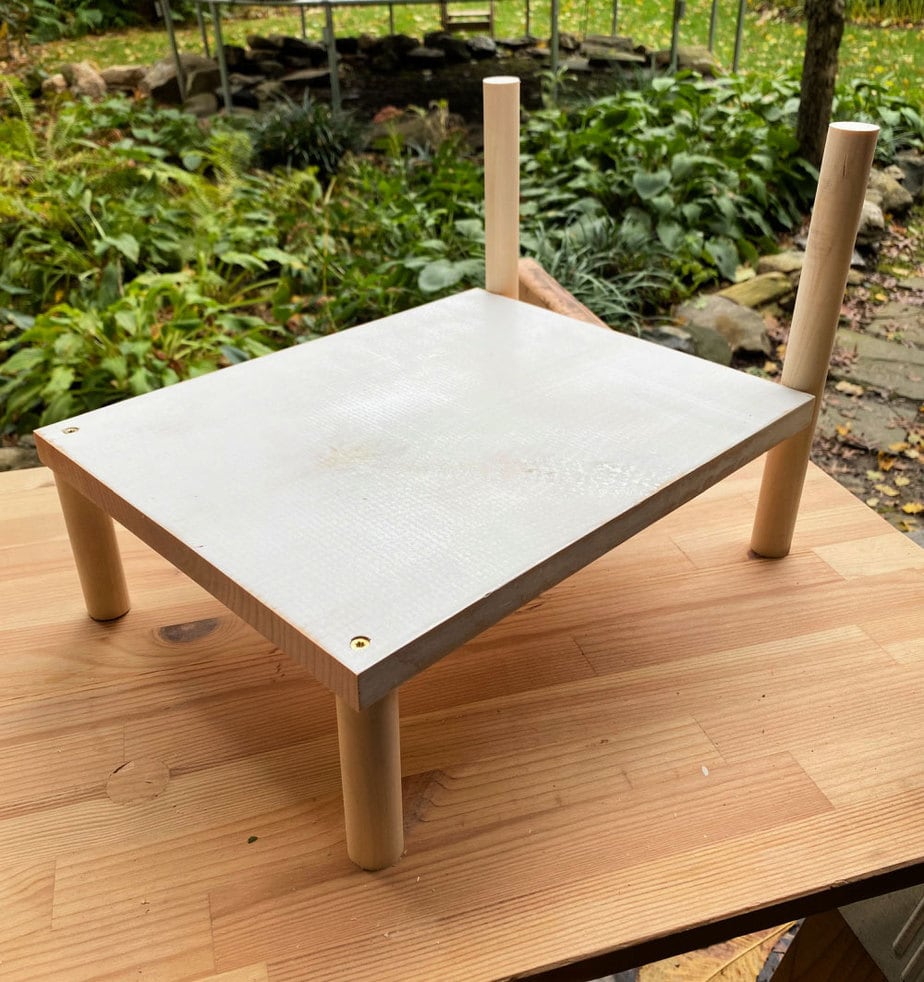
I recommend using Spax self tapping screws and wood glue. I used 2 1/2″ screws but I think you would be fine with 2″ screws.
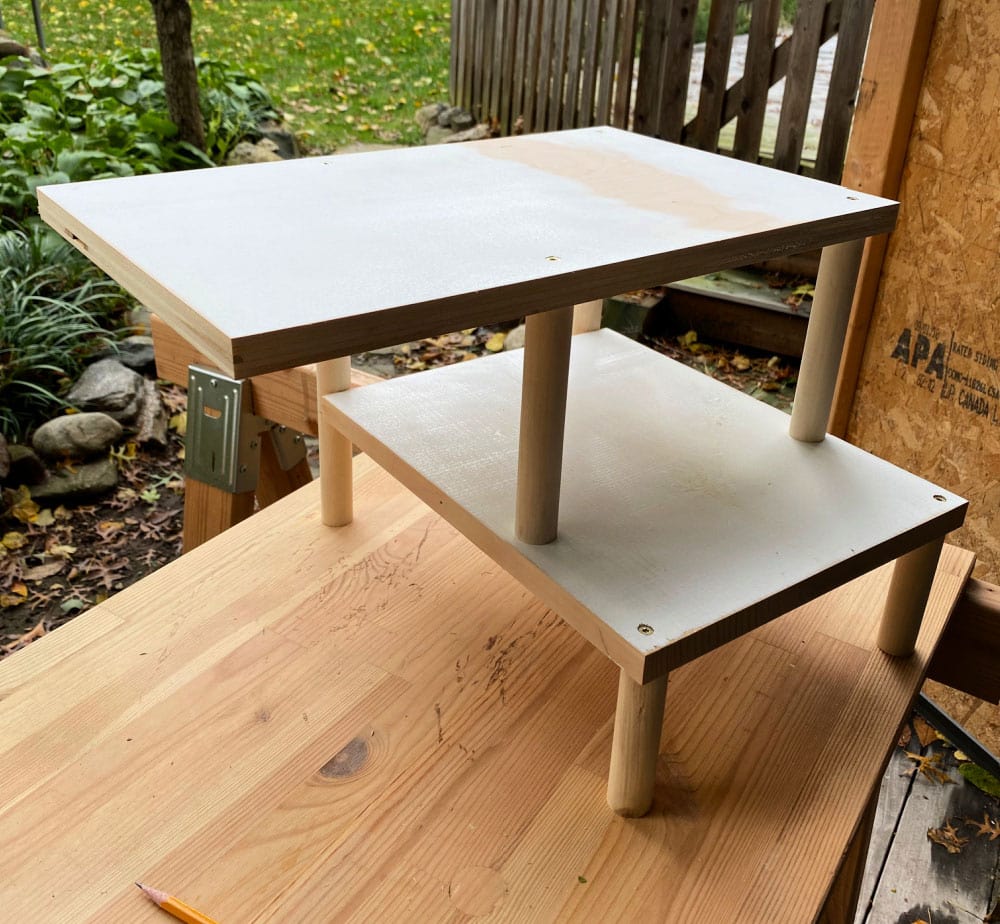
Wood Tree Structure
The next step is to collect the wood logs for the tree portion. I recommend drying the logs prior to assembly. To do so place them in a 200 degree oven on a piece of foil for a couple hours. The longer the better and leave them in the oven once you shut it off.
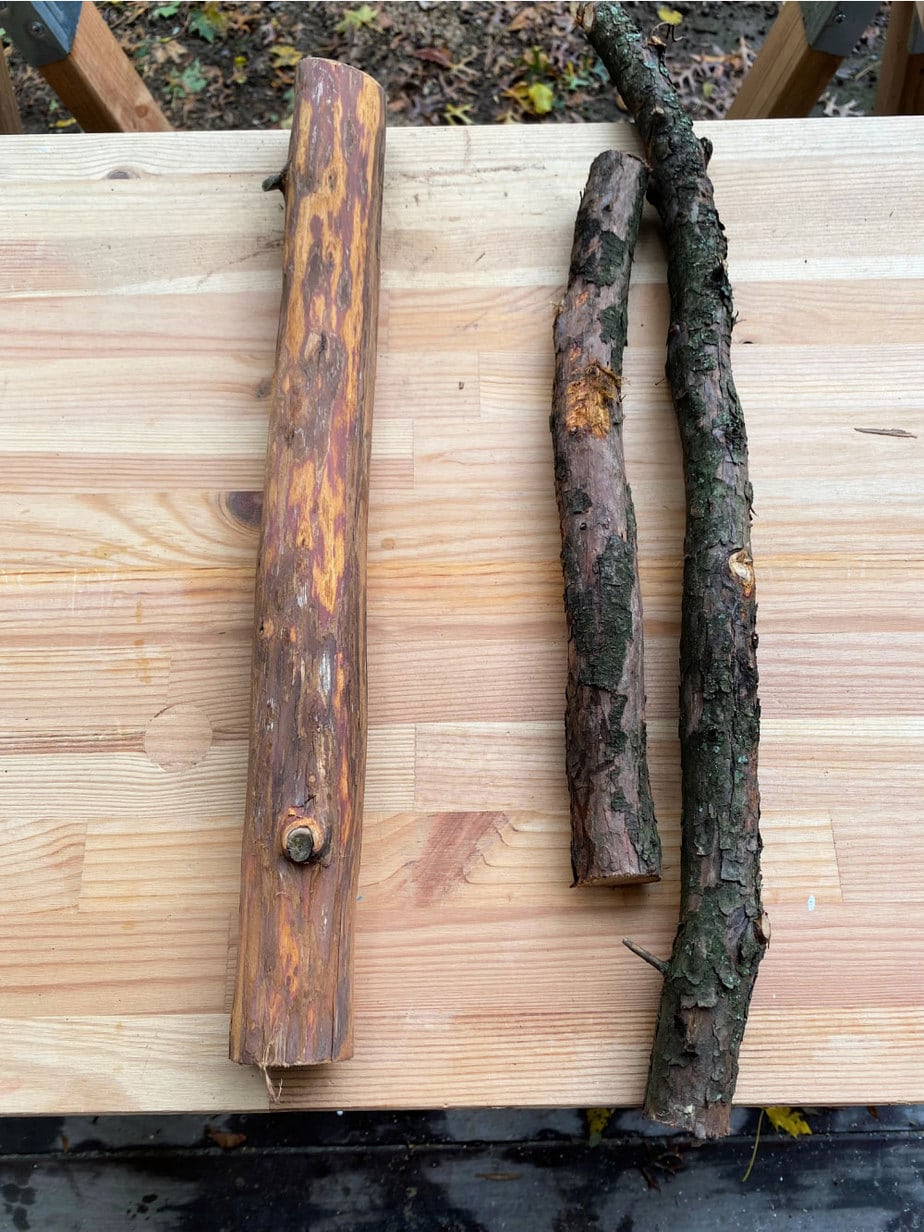
Above you can see the log on the left has been stripped of the bark and sanded which makes for a cleaner treehouse. But if you like the bark look then leave it on 🙂
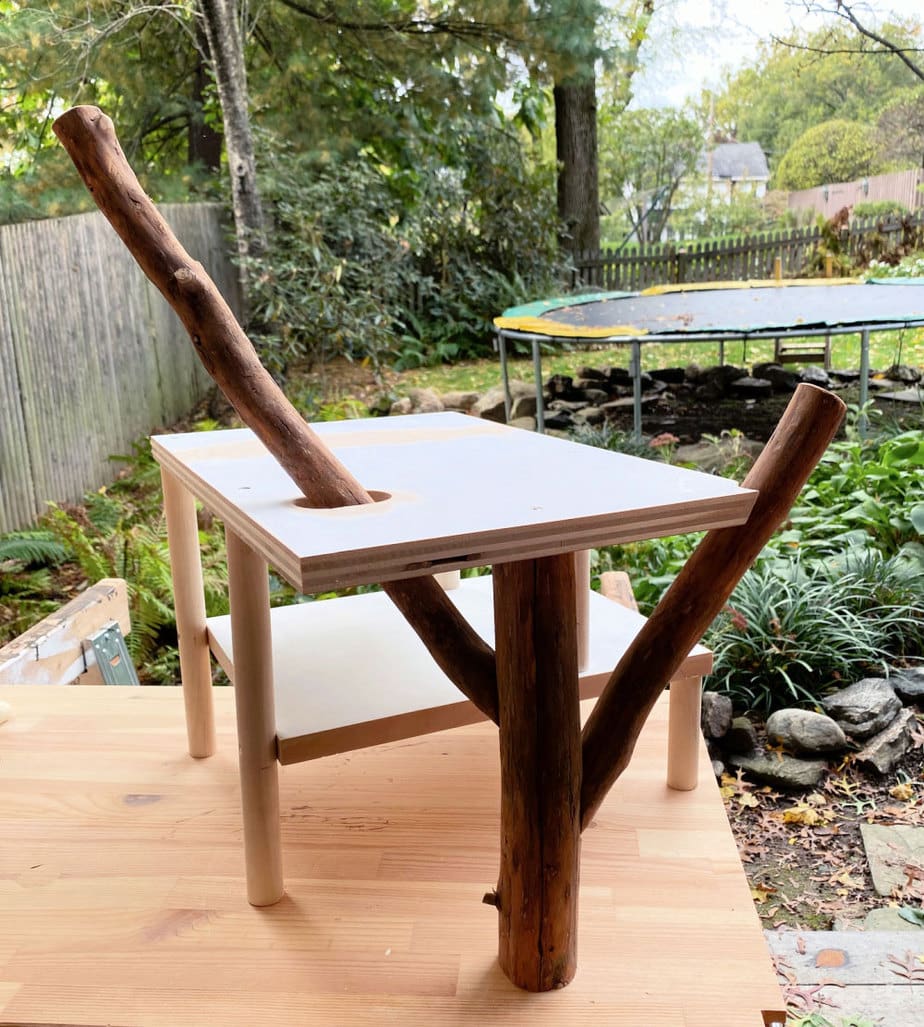
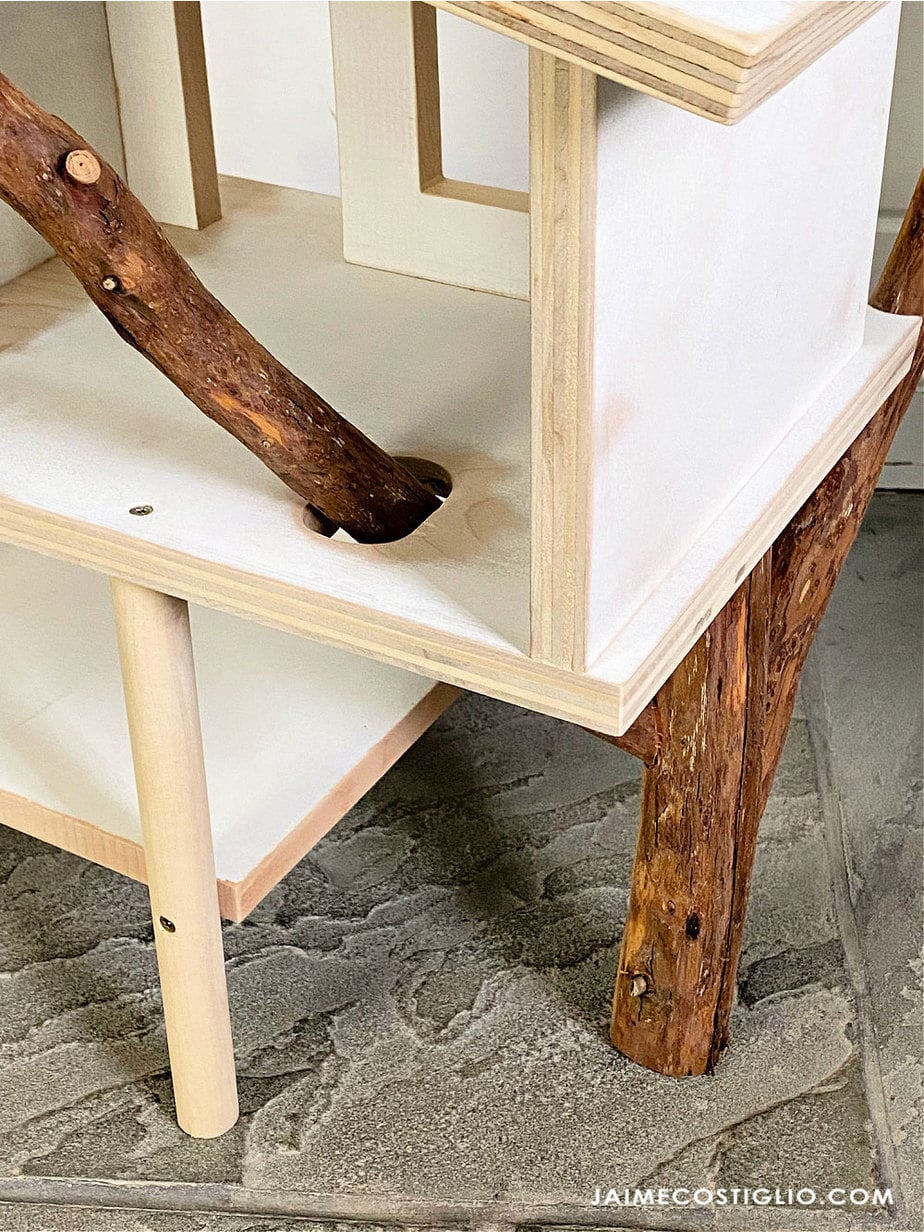
Start with the thick main log vertical portion. Then add the side structures. It’s a little bit finicky since the logs are organic. And I recommend making more of an oval hole in the second floor board to accommodate the angle of the log.
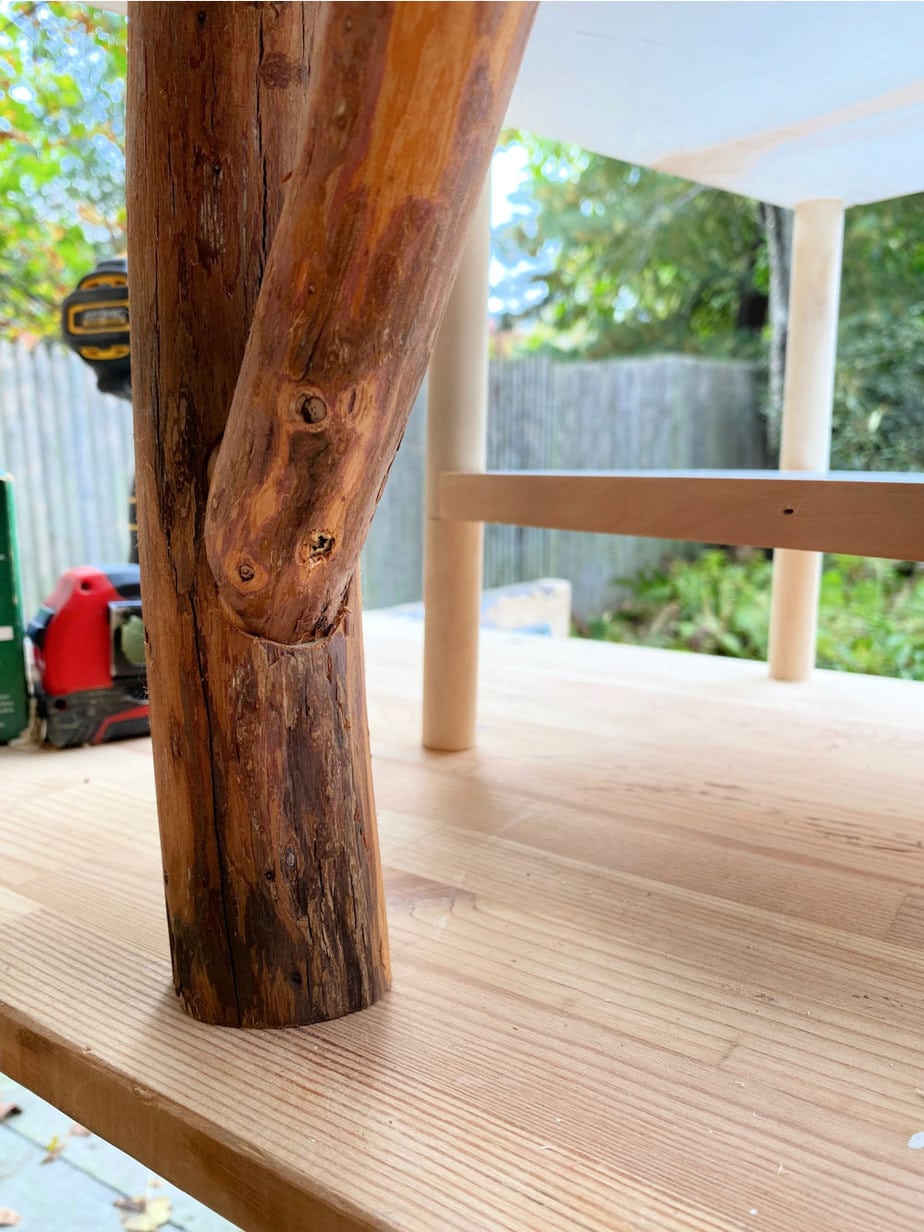
Once the logs are in position secure them, again using 2″ Spax screws.
House Structure
Now that the tree structure is in position you can continue with the dollhouse.
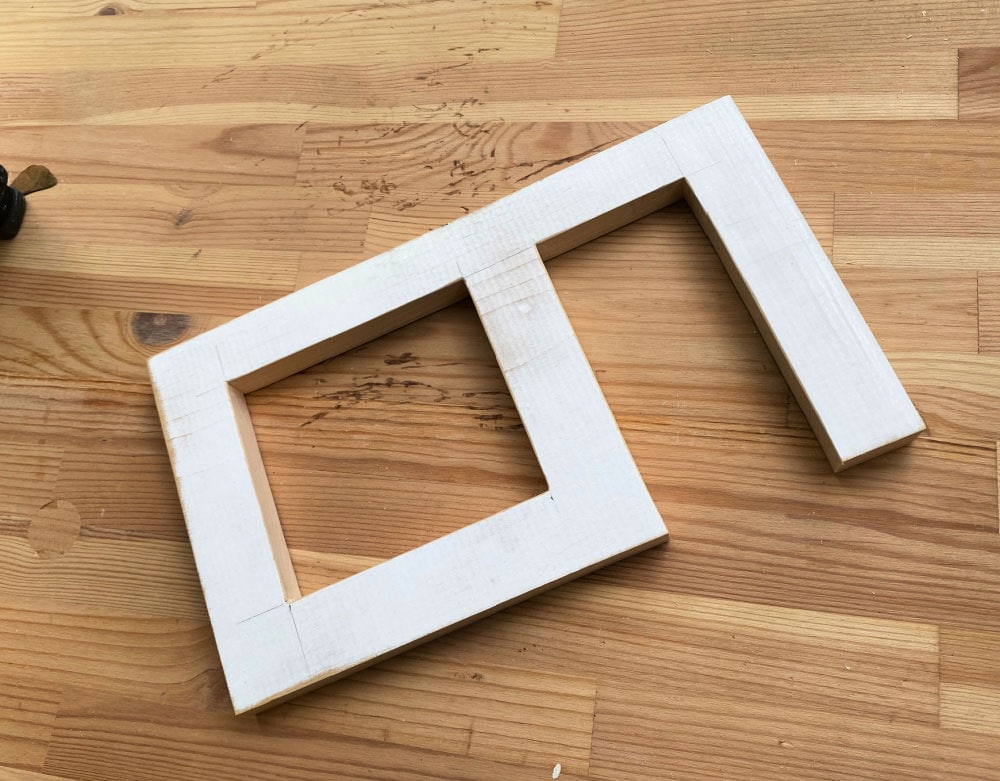
For the front facade make your cut outs prior to assembly.
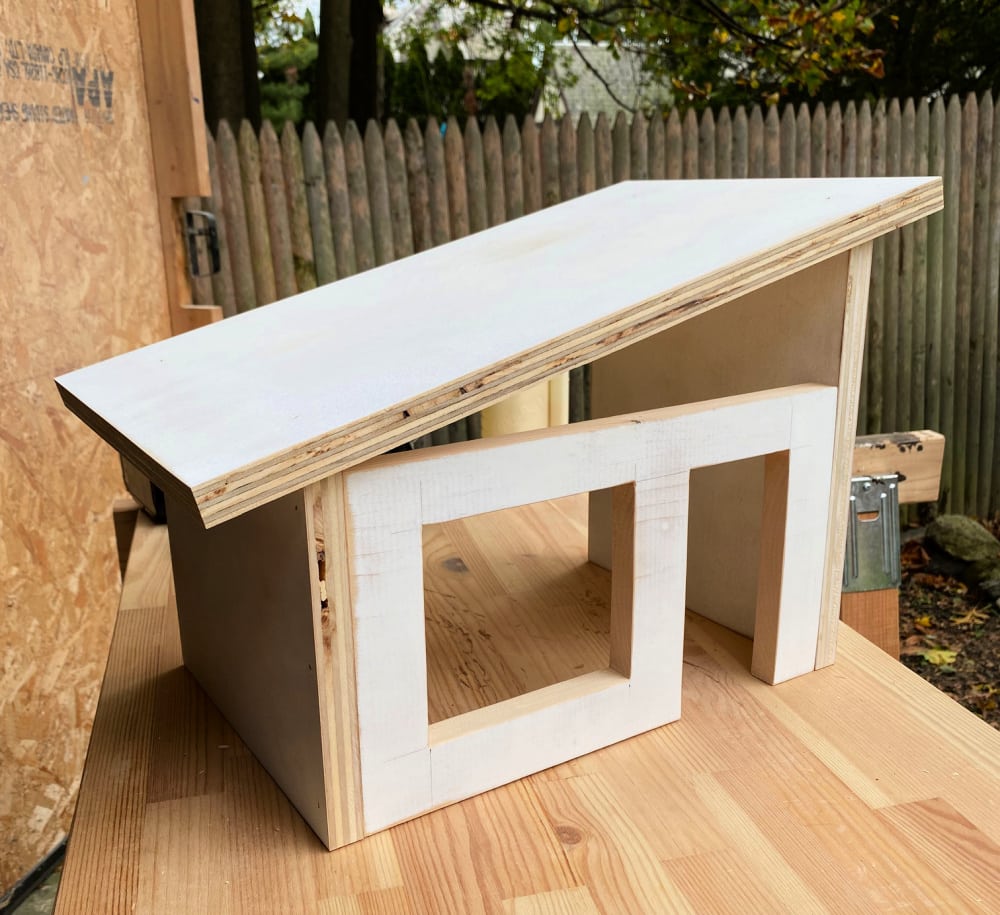
For the house structure I used wood glue and 1 1/4″ brad nails and then secured the whole piece to the treehouse using 2 1/2″ Spax from the underside.
Now let’s move on to the doll furniture.
Dollhouse Furniture
Tips:
- Use 1/4″ boards throughout.
- Apply wood glue on every joint.
- Use 23 gauge brad nails to secure.
To see the furniture in real life I saved the video in my Instagram highlights here.
Click here for a printable PDF version of the dollhouse furniture plans.
Thanks for joining me for this dollhouse build. Please leave any questions in the comments below and be sure to follow me on social media for sneak peeks, tools and project inspiration:

Leave a Reply