The never ending task of organizing all the closets. I actually really enjoy the challenge but even more so I love the end results. So today I’m sharing how to make DIY closet shoe trays which make visibility and access to your shoes a bazillion times better. Do you have a closet in need of some organization?

A DIY tutorial to build closet shoe trays. How to add pull out shoe trays to your closet including step by step details and free plans.
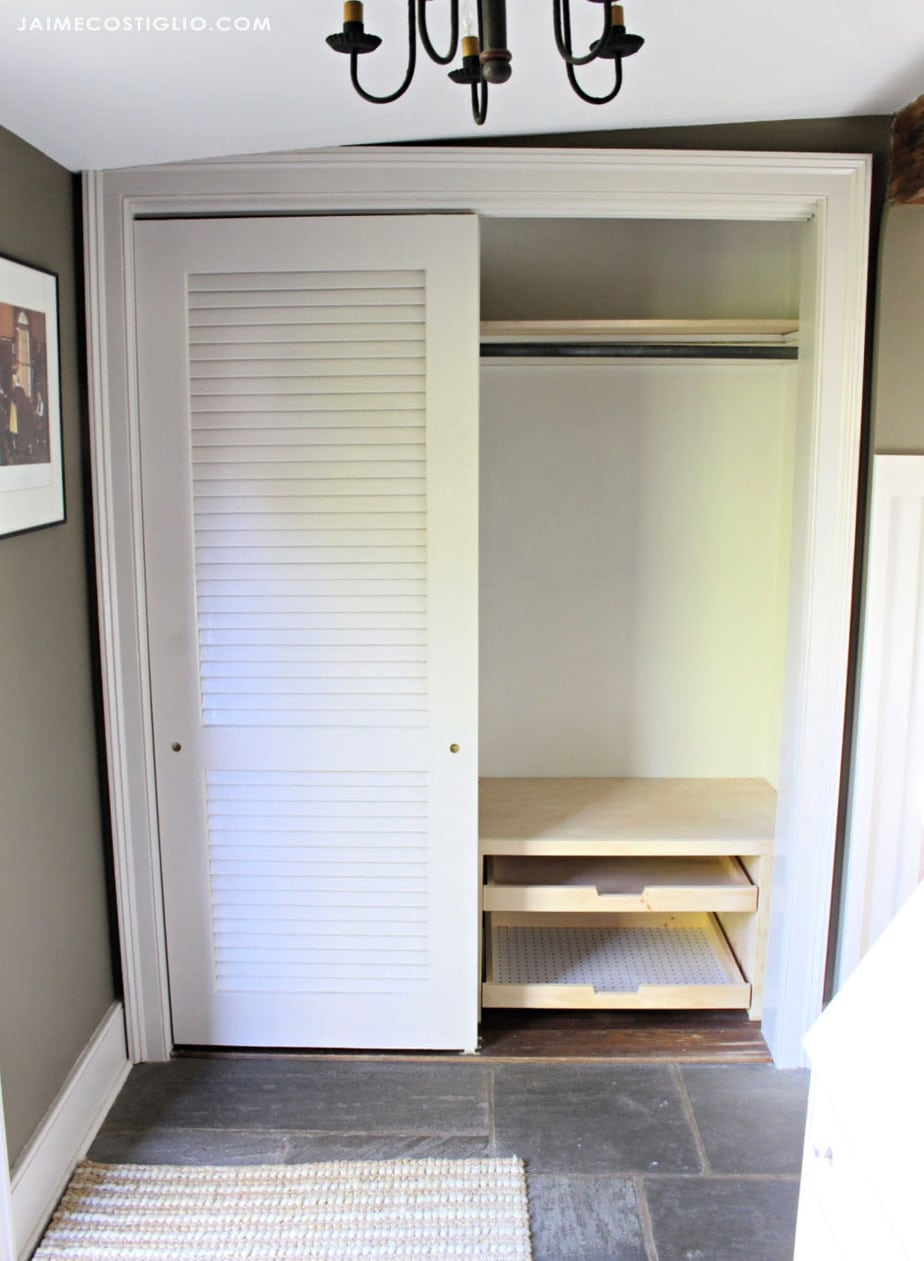
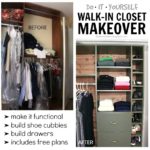
We all have one – the closet where things just go to live in mismanaged piles. Sure you may know what’s in there, it’s definitely in there somewhere under all that stuff. And yes while closets are intended for storage I think it should be accessible storage. Especially in this situation where we have a foyer hall closet that gets used nearly every day. Brace yourself for the ‘BEFORE’ photo below, it’s mildly organized but still a little cringy.
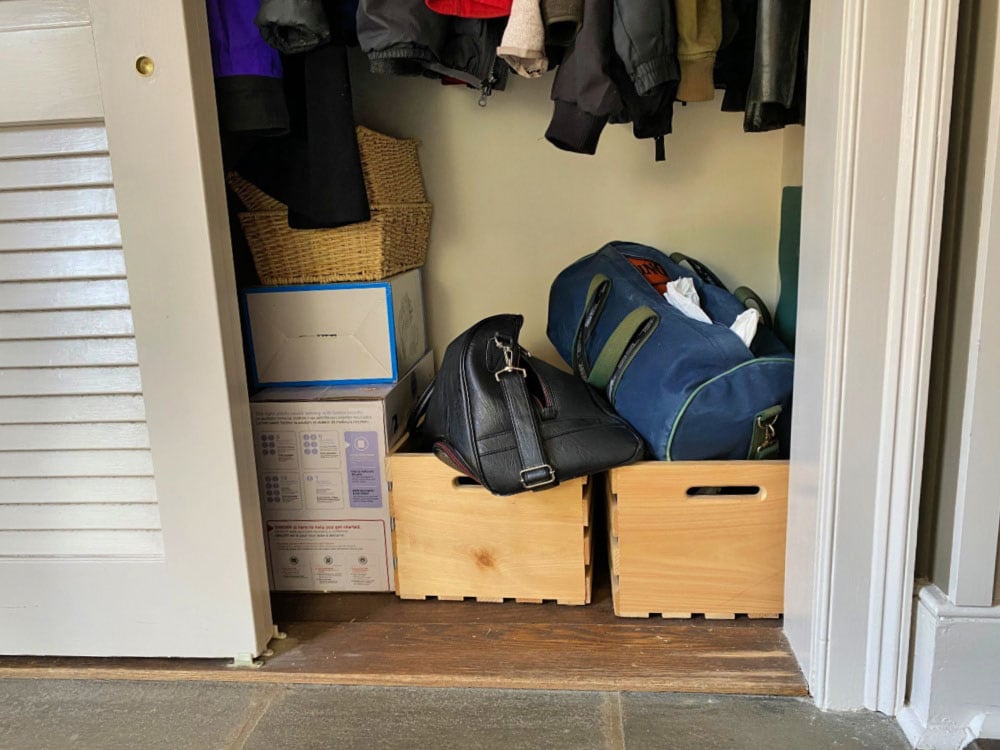
The crates are helpful at containing the shoes but then the bags are just thrown on top. And look at all the empty space between the bags and the jackets! I decided to implement a storage solution and build a shelf ledge with pull-out shoe trays below.
Ta-da!!
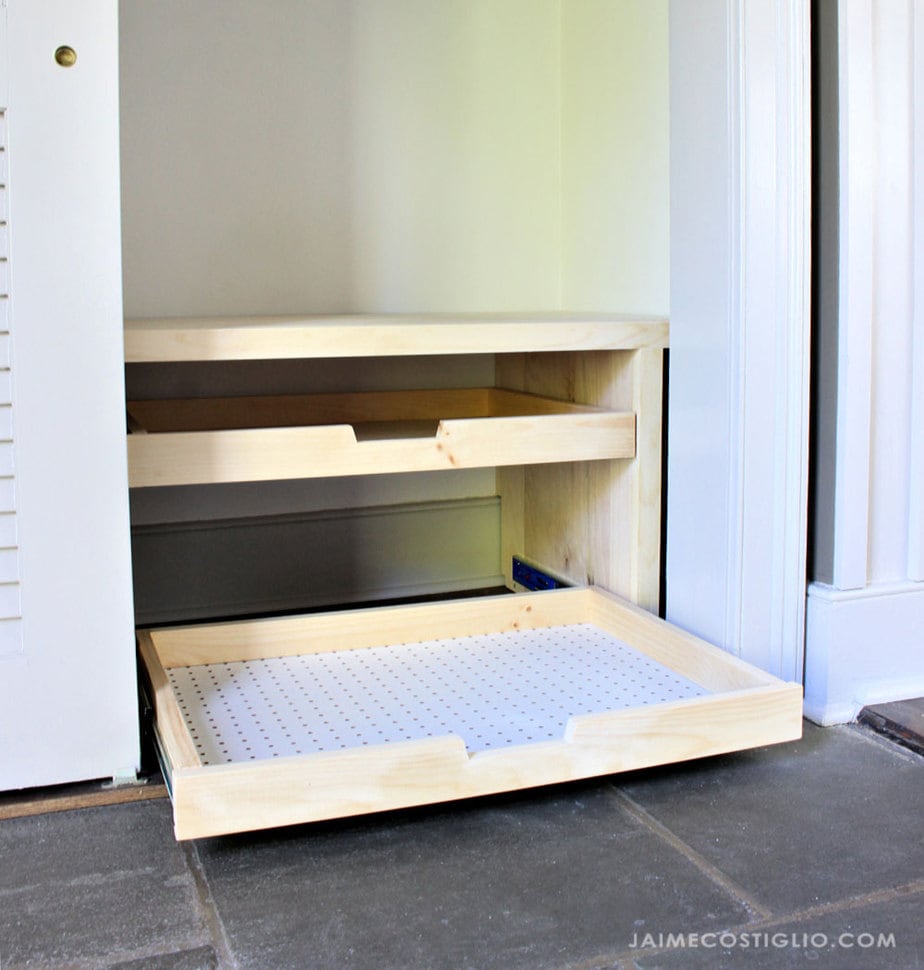
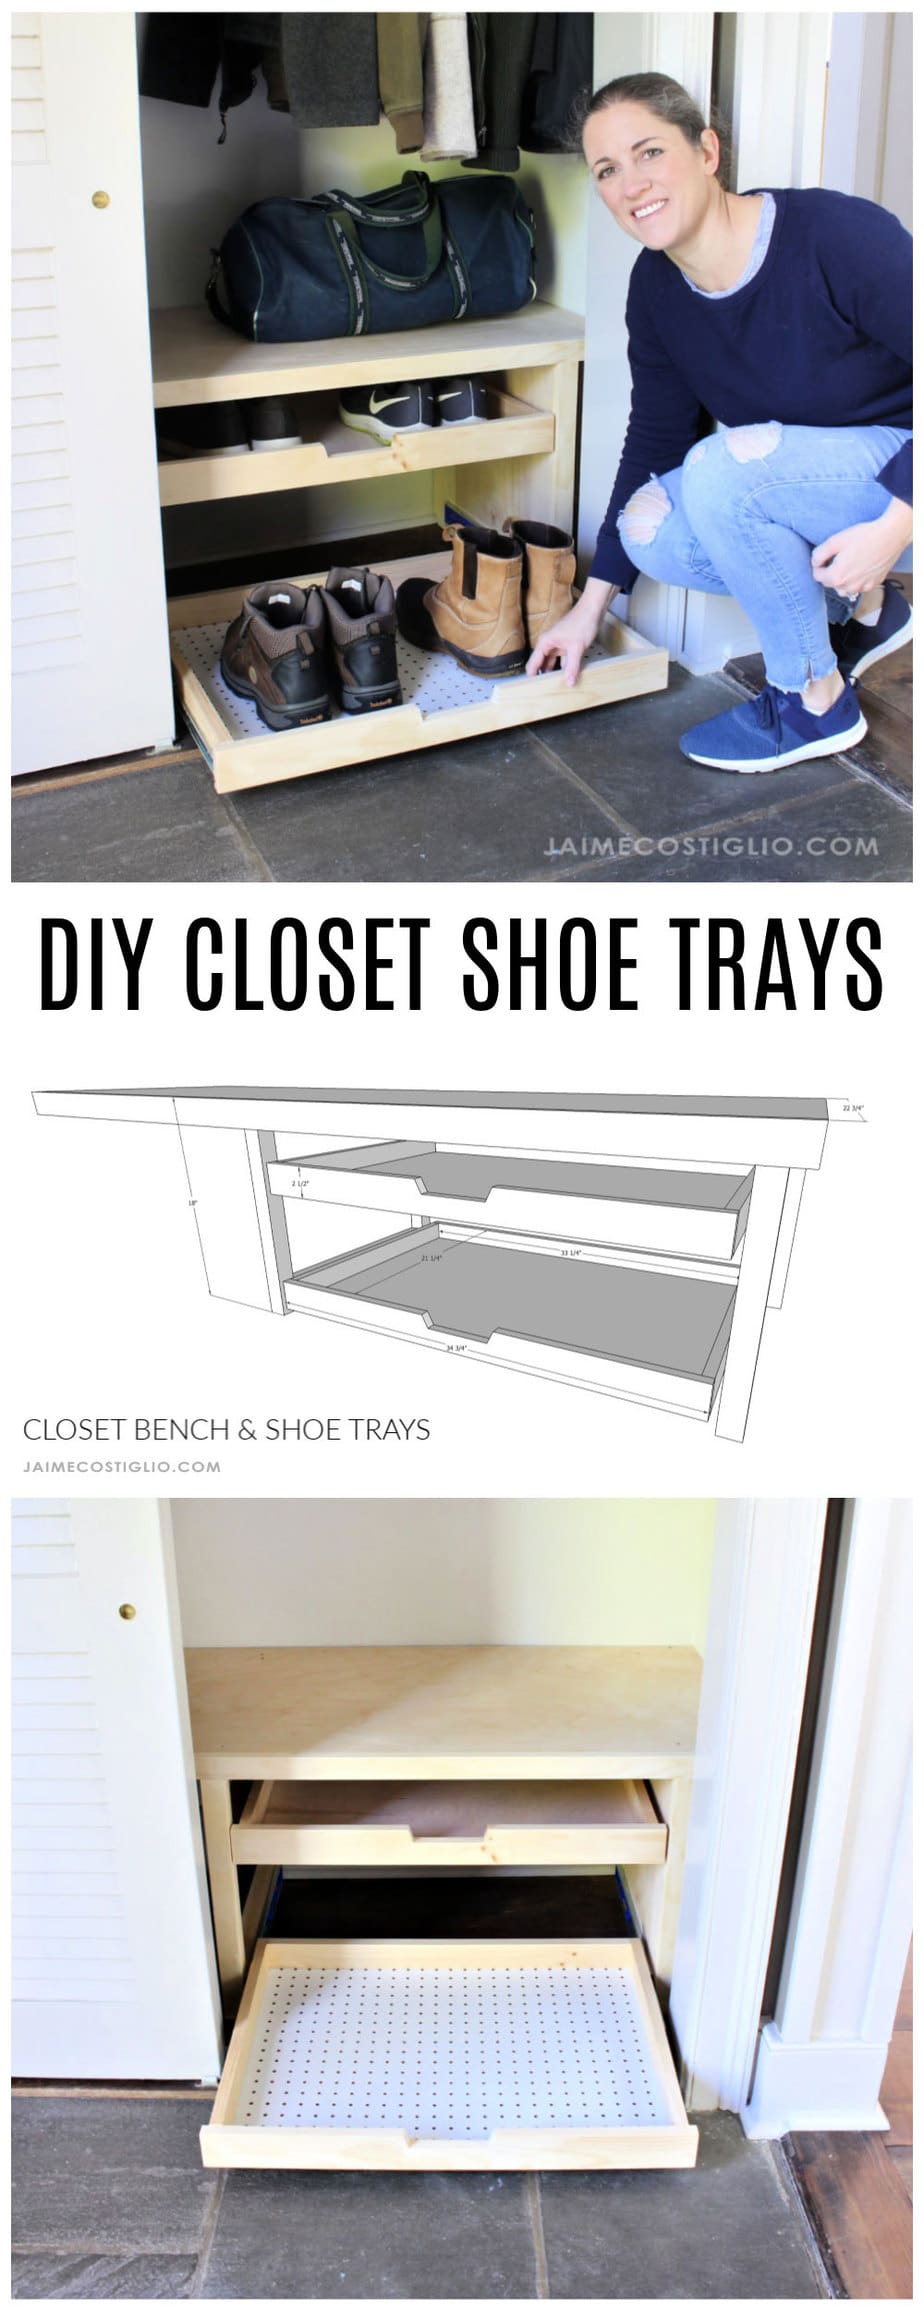
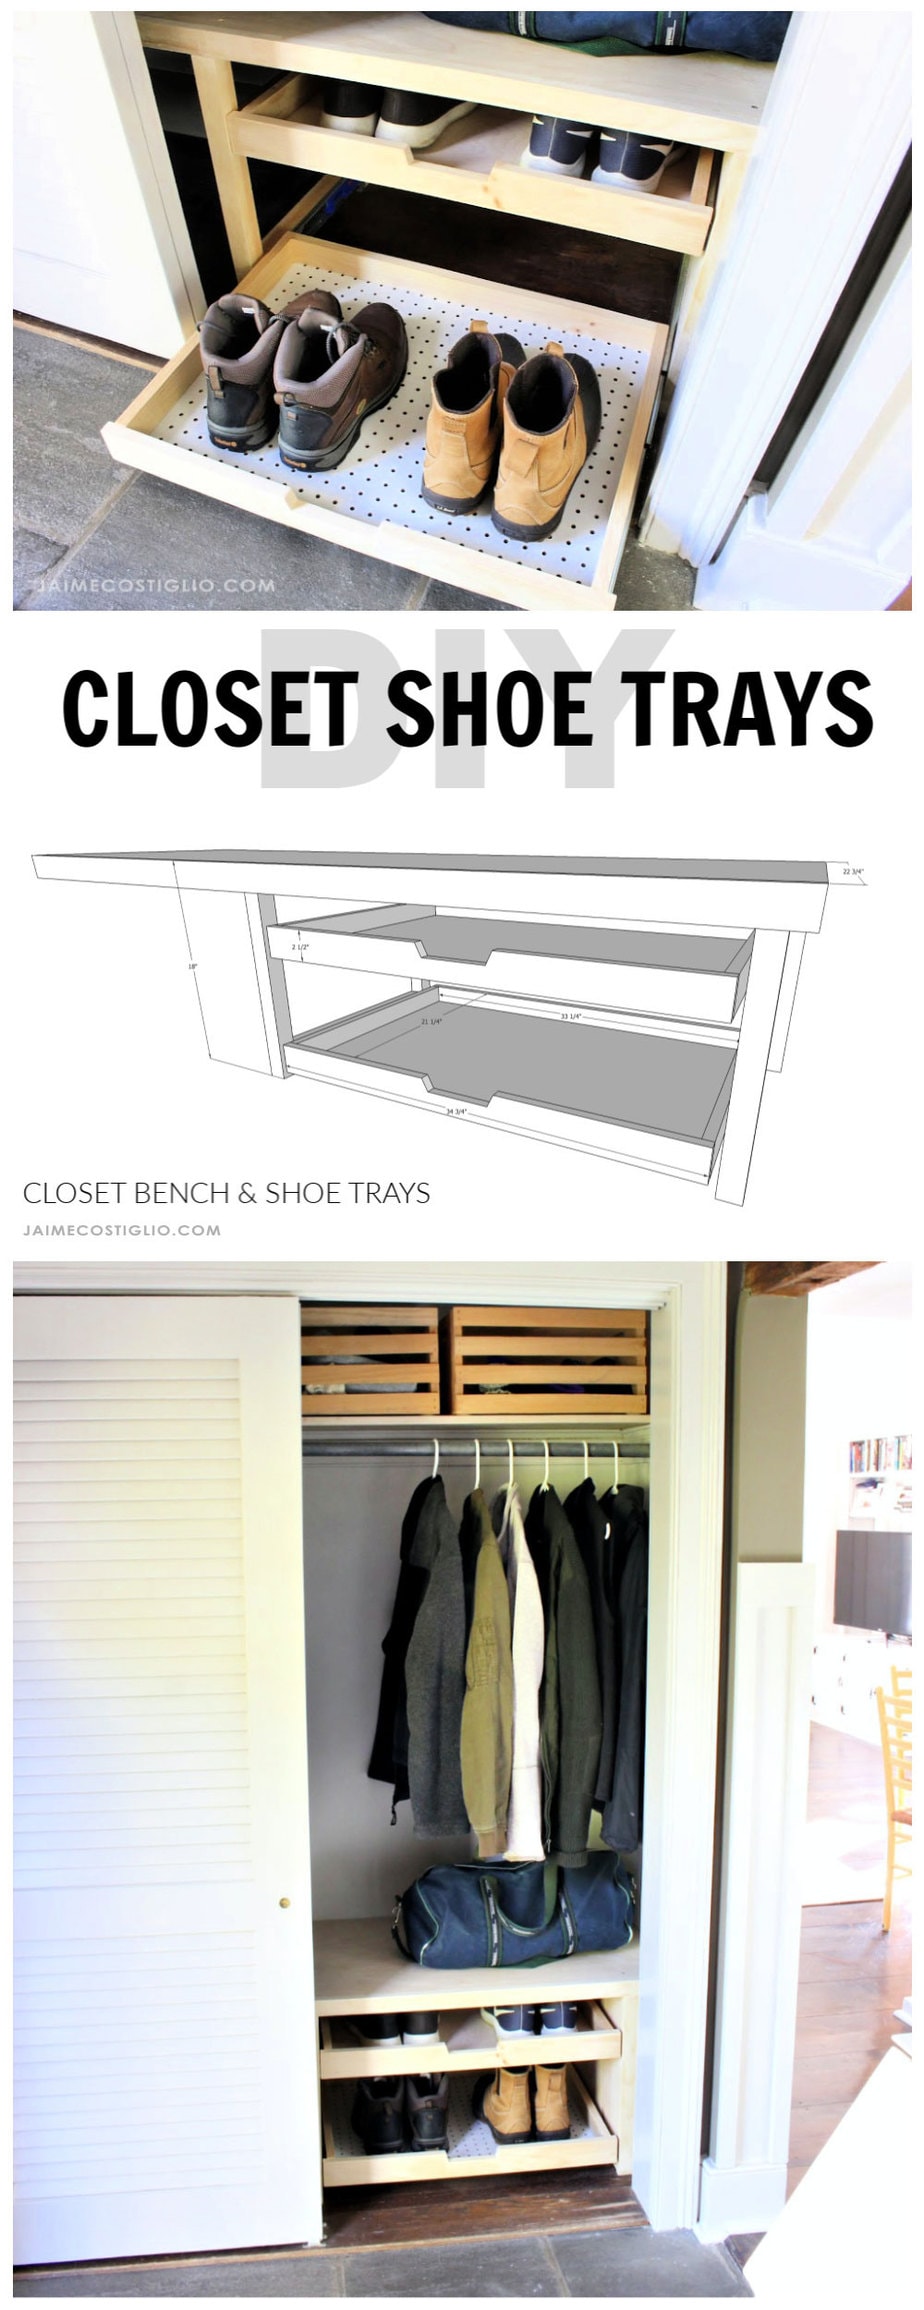
Pull Out Shoe Trays:
- easily accessible
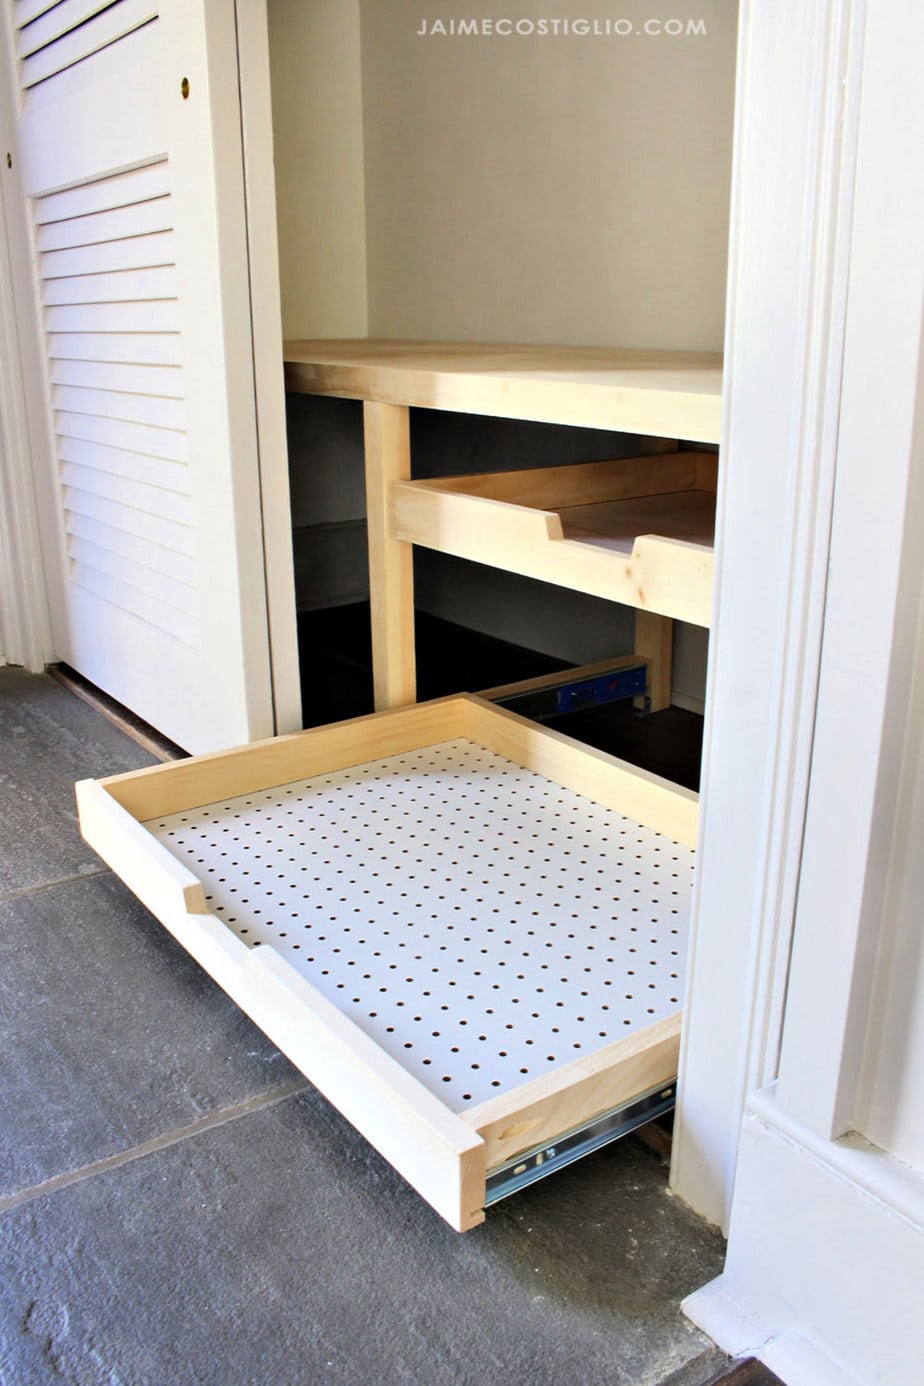
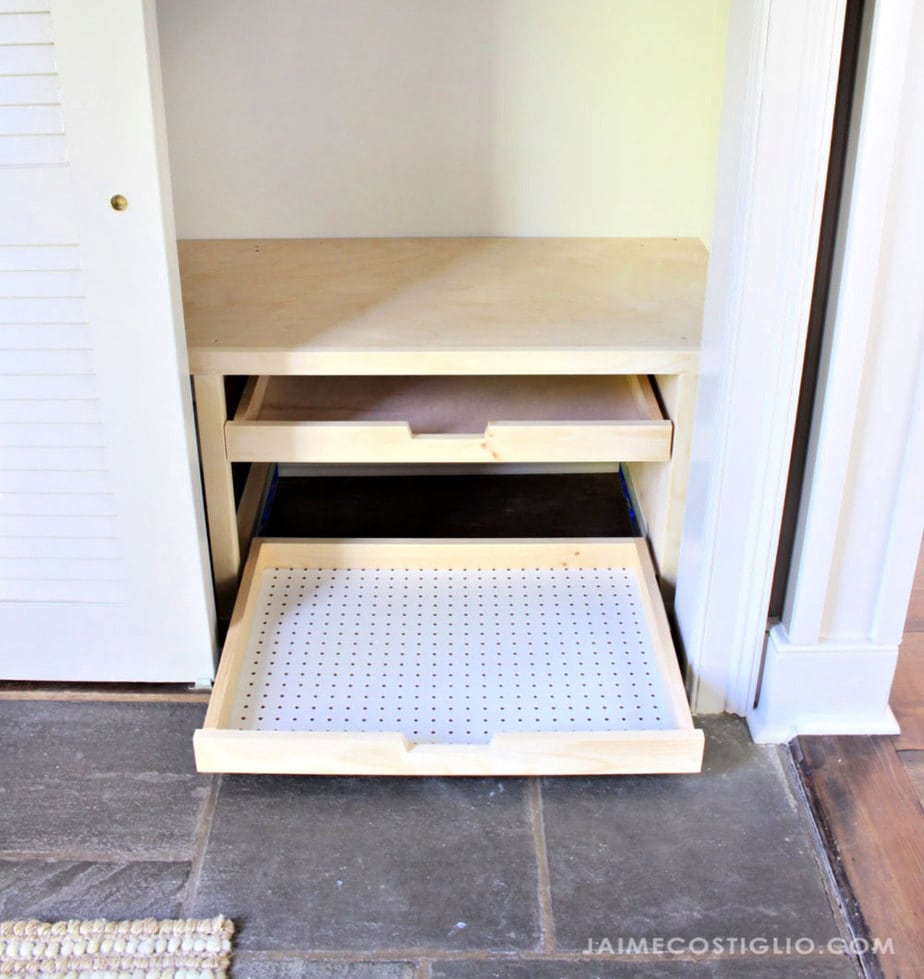
- notched handle pull out
- shoes and boots are clearly visible
- peg board tray bottom
- soft close drawer glides
- holds up to 8 pairs of shoes
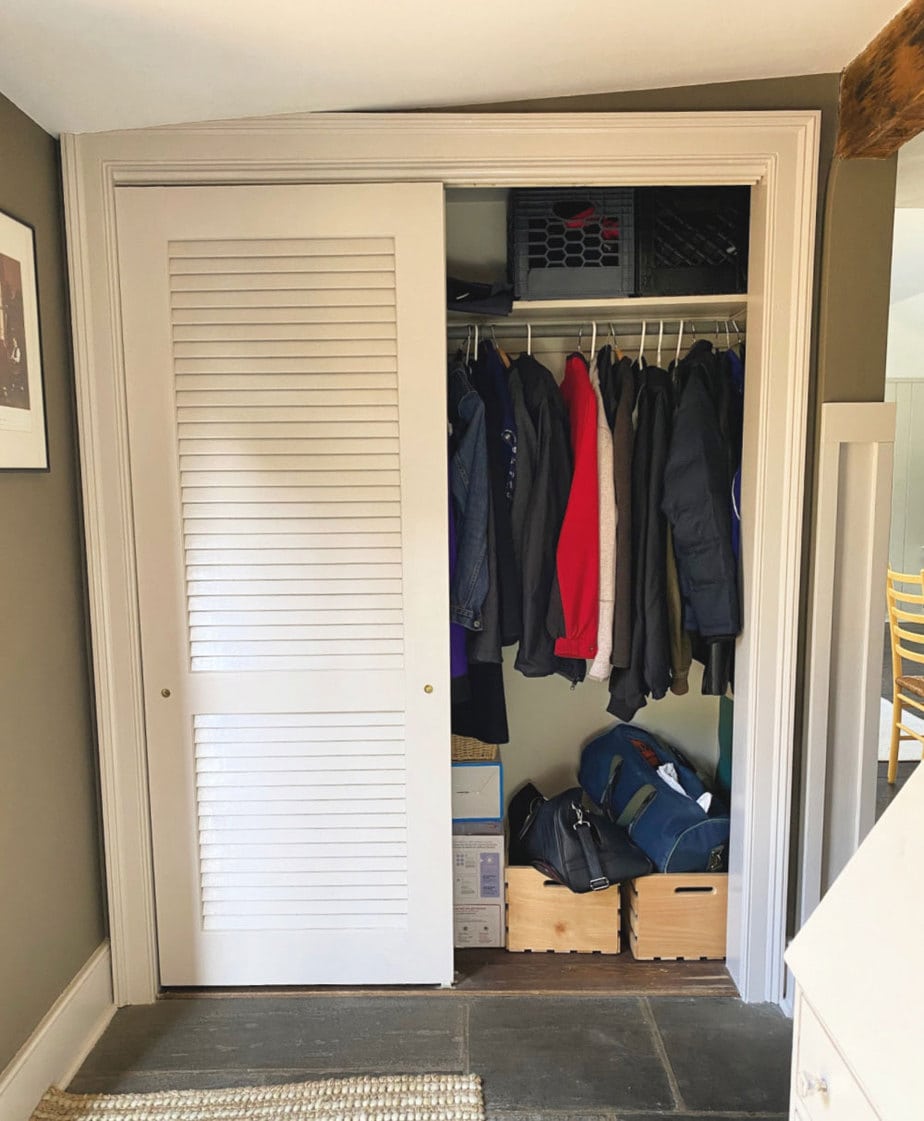
Let’s revisit the BEFORE photo again. Look down below and you can see exactly how disorganized this closet was.
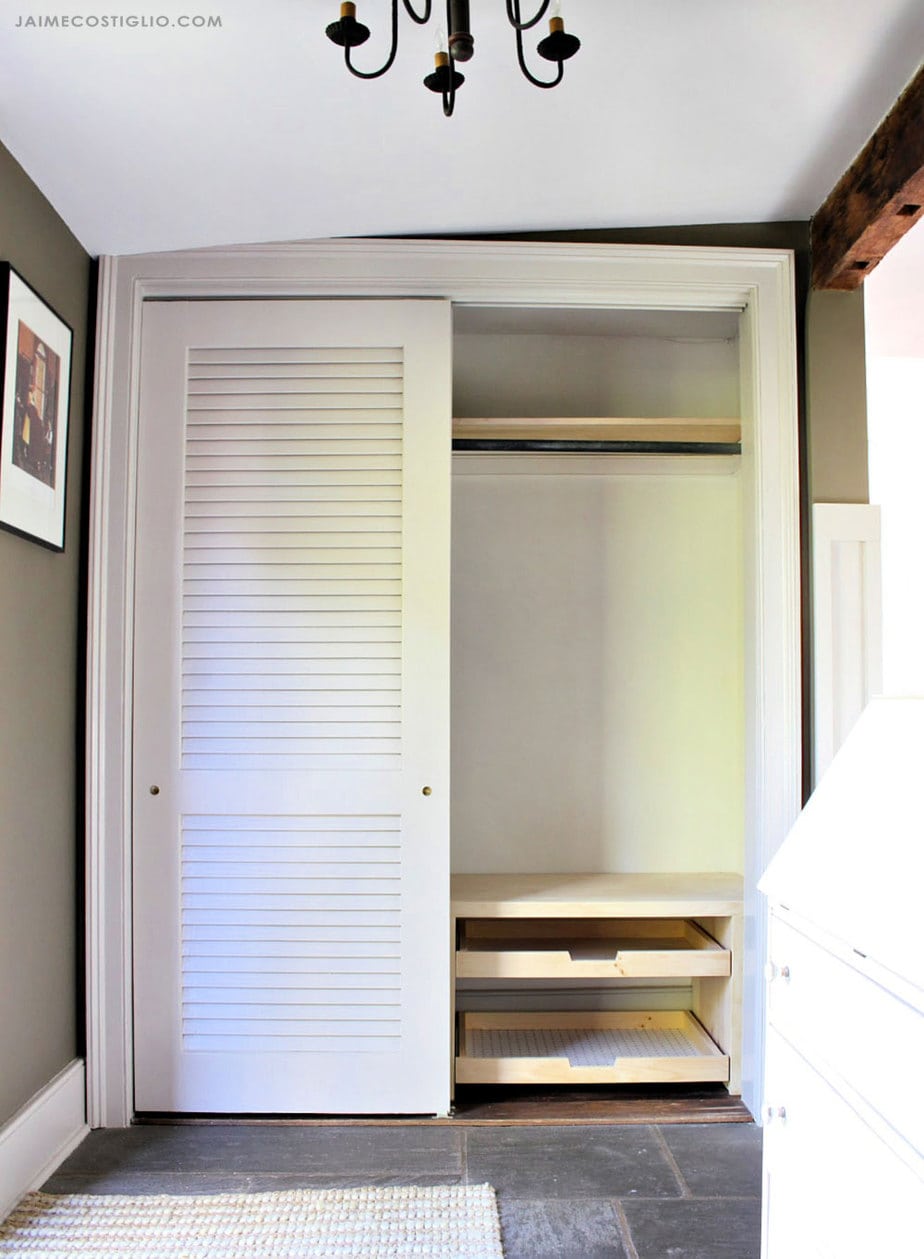
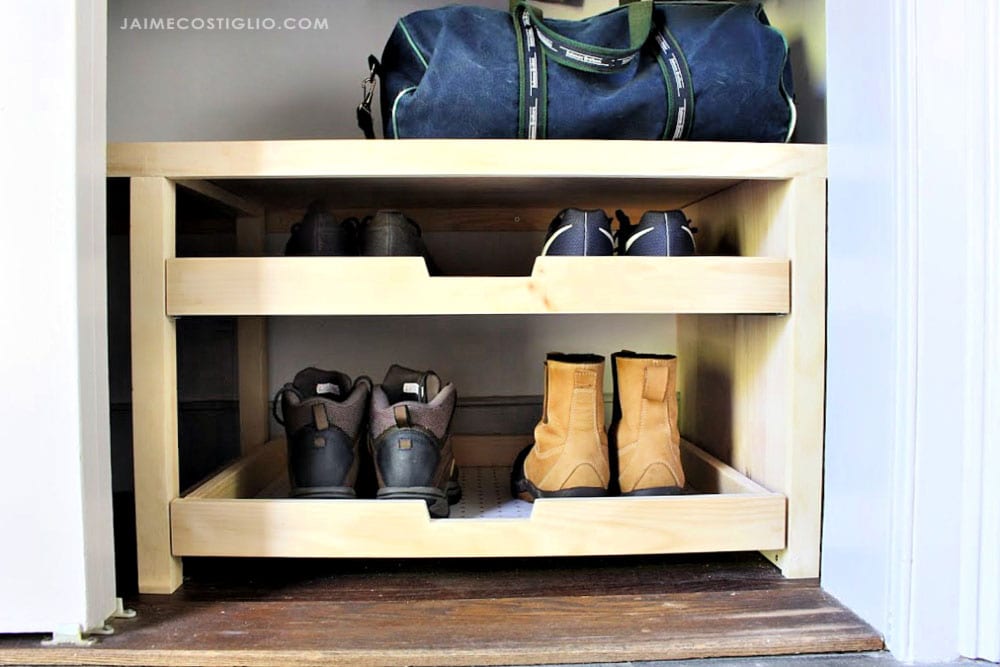
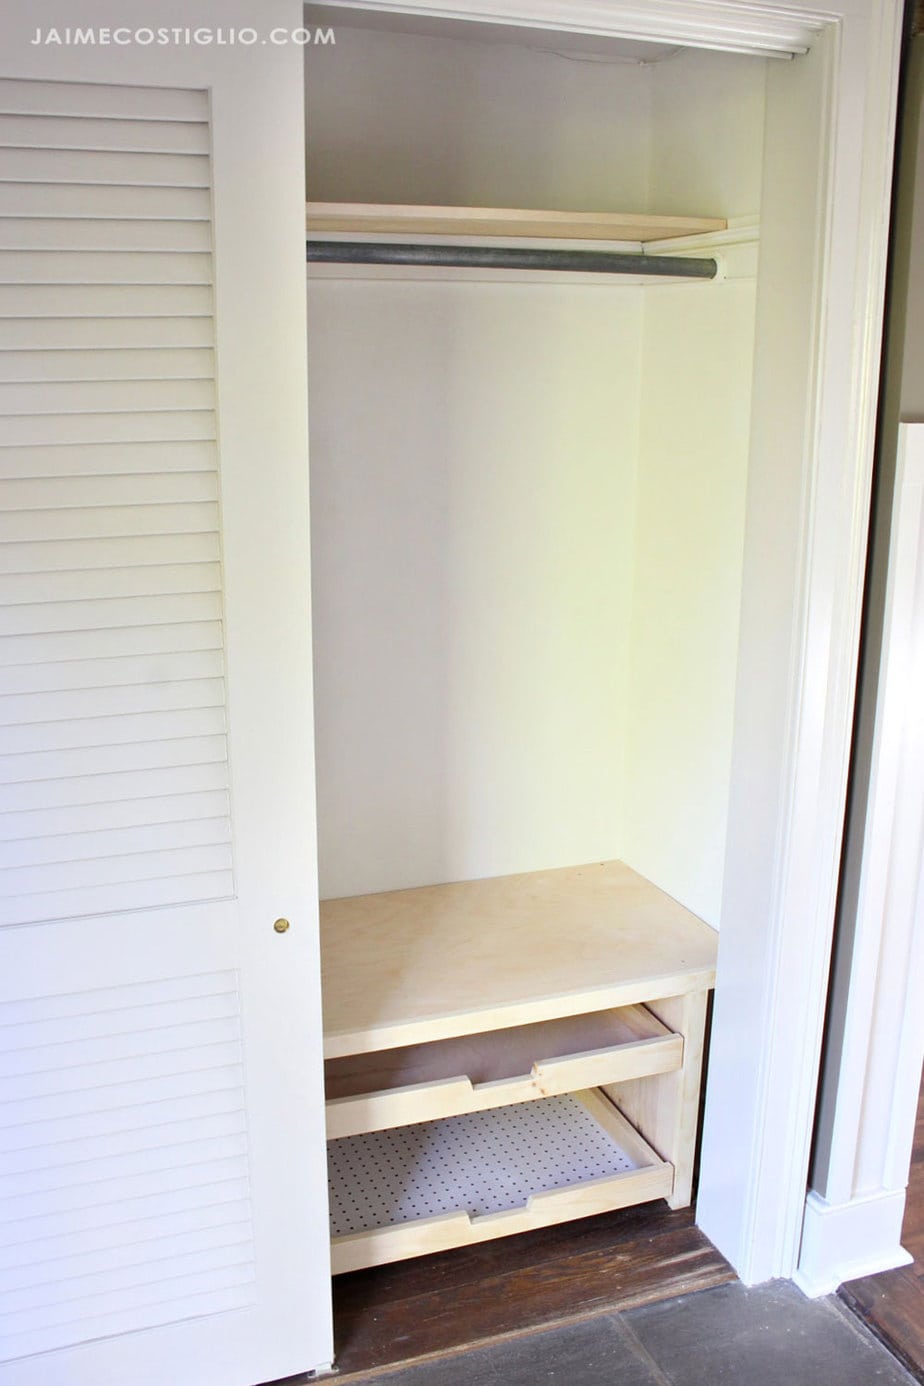
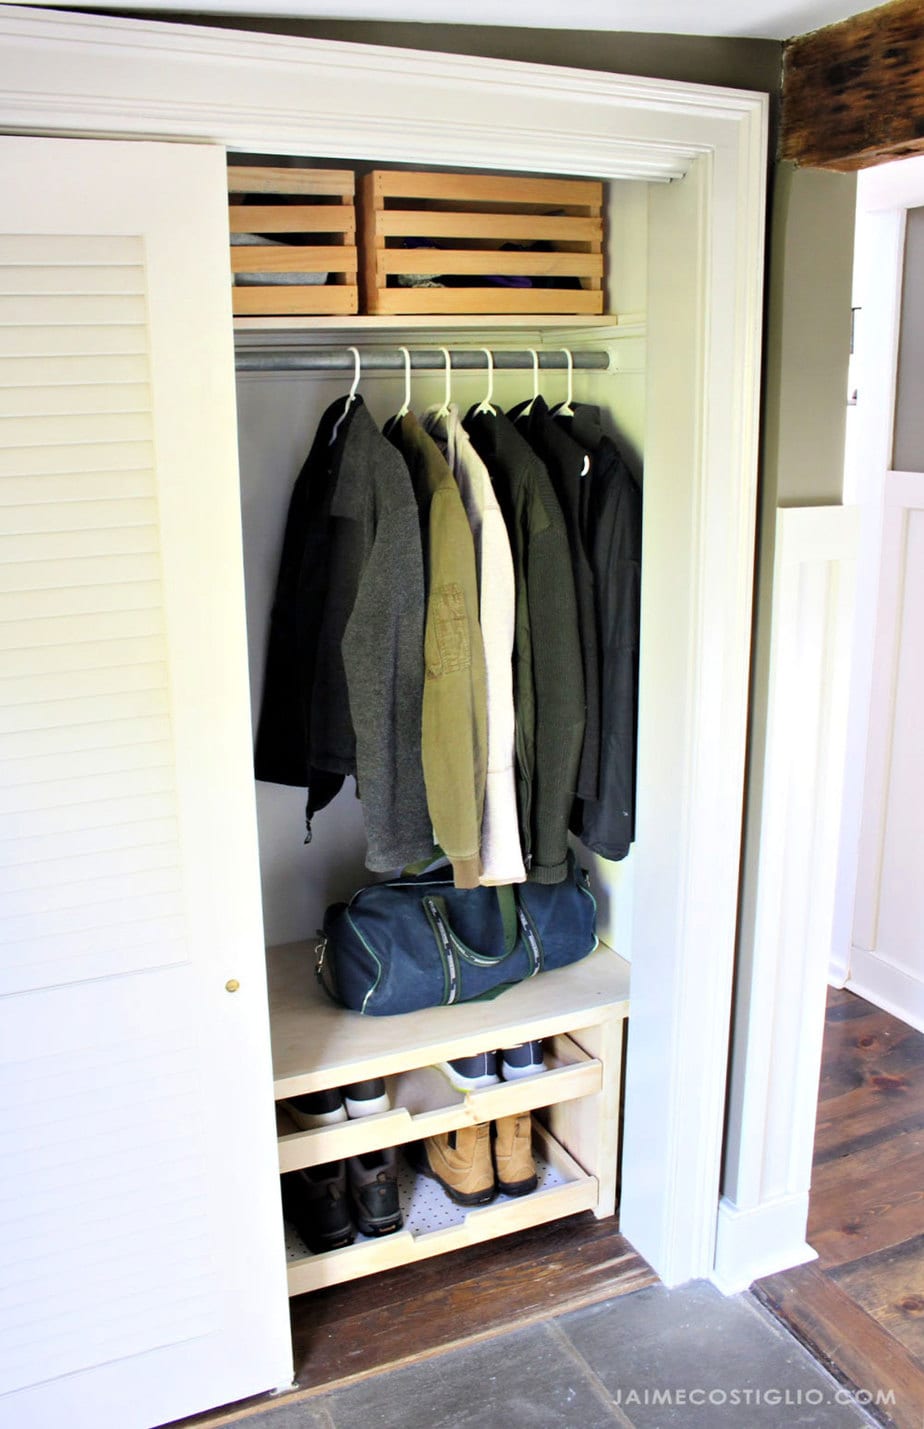
And now it’s a little slice of organized heaven with the addition of a full shelf ledge and two custom pull out shoe trays.
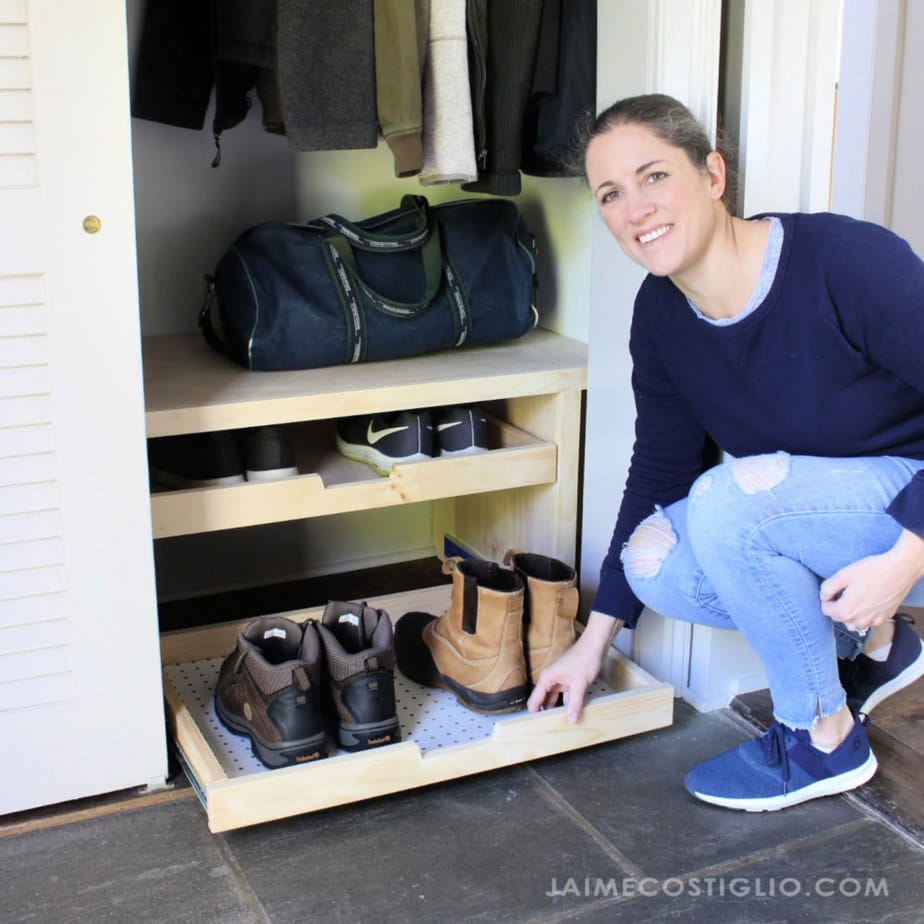
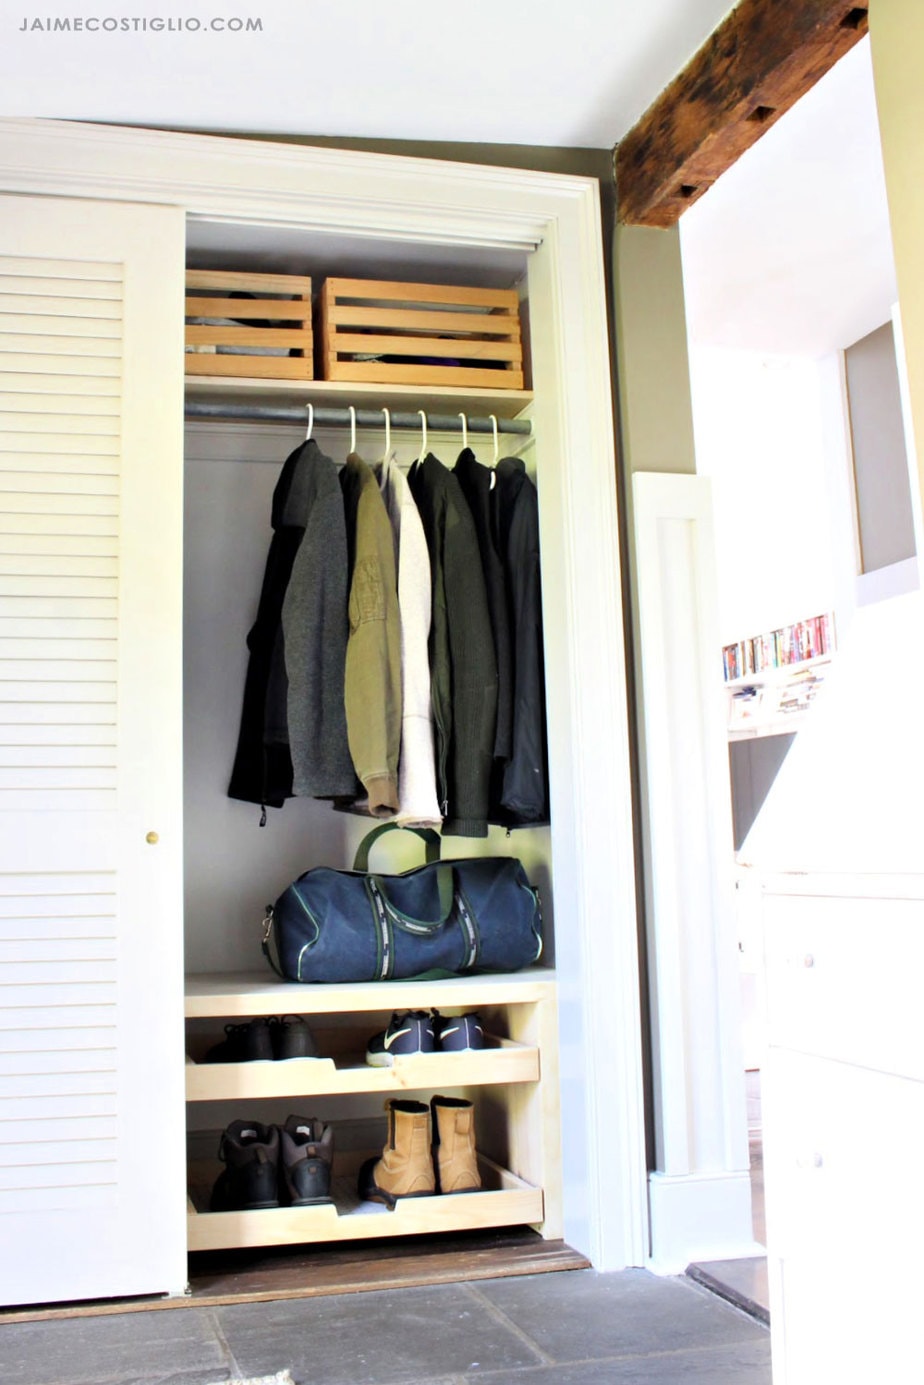
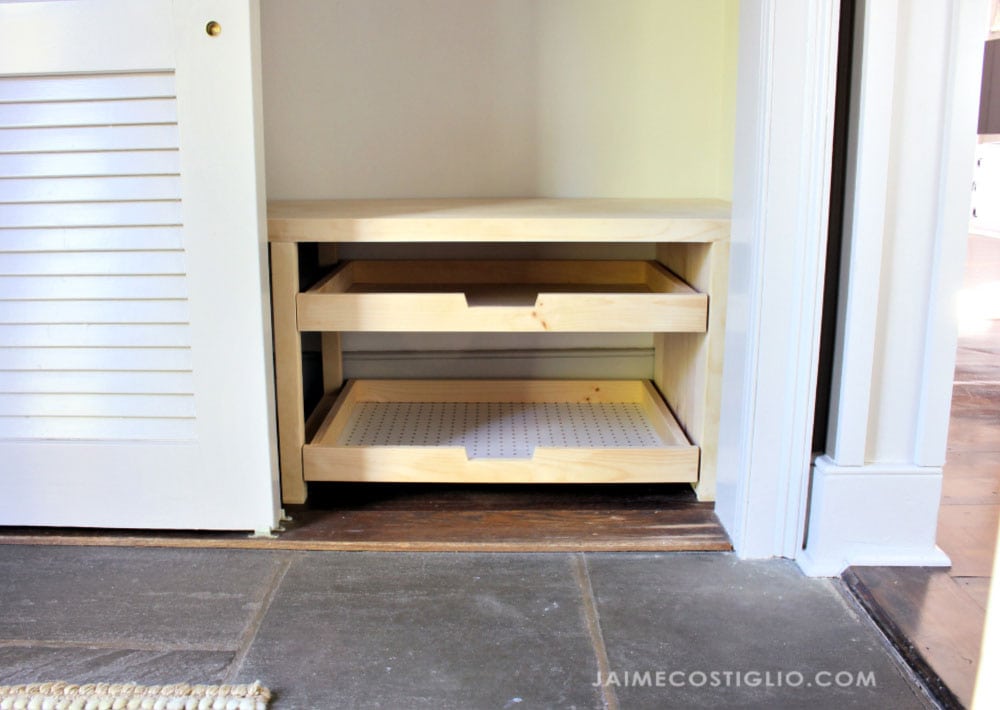
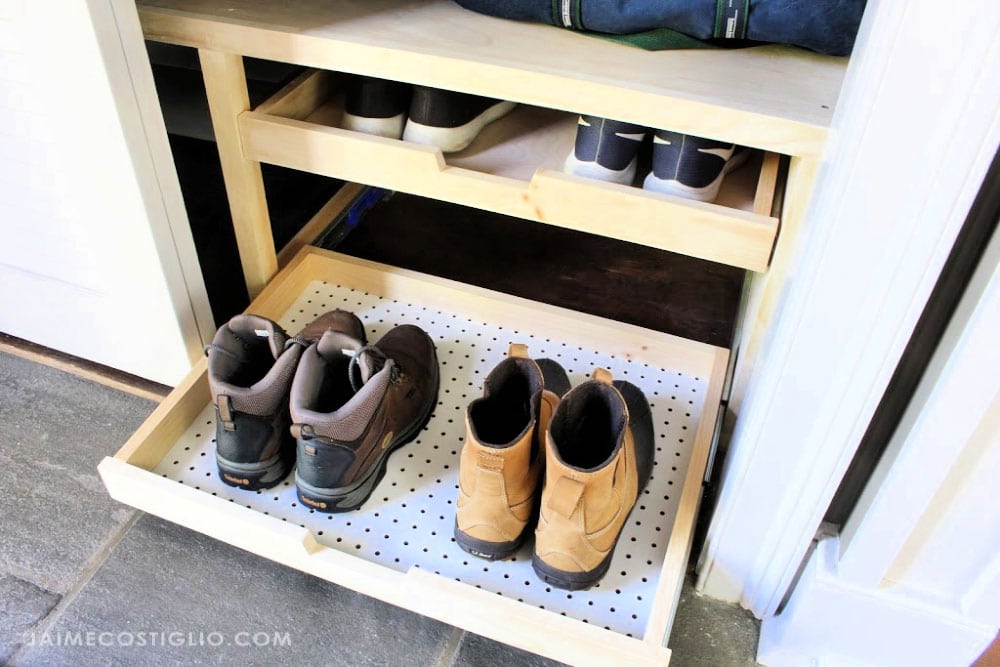
You can see the pull out shoe trays are slightly narrower than the sliding louvered door opening. And the top tray is set higher for sneaker or low shoes which allows for taller shoes and boots to fit on the bottom tray.
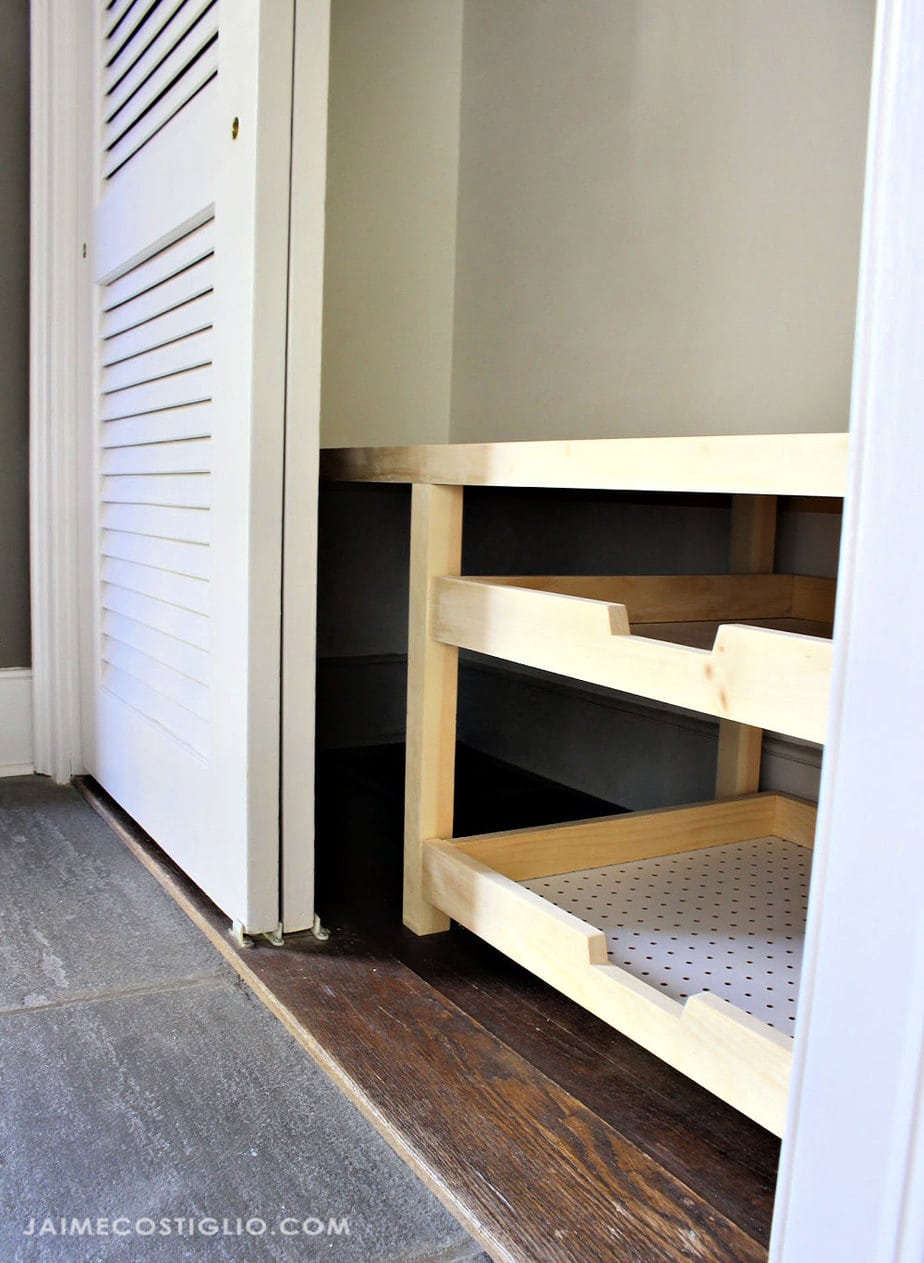

Shoe Storage Considerations:
- determine your closet width and depth
- how high do you want the shelf ledge?
- ideally how many shoe trays can you fit in your space?
While I only show two pairs of shoes on each tray in my photos these pull out shelves actually hold 4 pairs of shoes each. I didn’t want to crowd the trays for the photos but in real life we fill these trays up to make to most use of the space.
Supplies:
- step by step plans
- table saw (or circular saw and straight edge)
- miter saw
- pocket hole jig
- jig saw
- sander
- drill
- level
- measuring tape
- stud finder
- 2 sets soft close 18″ full extension drawer glides
Click here for printable PDF version of plans.
Please remember every closet is slightly different and yours won’t necessarily match up with my plans. Adjust the plans accordingly to make it work for your space.
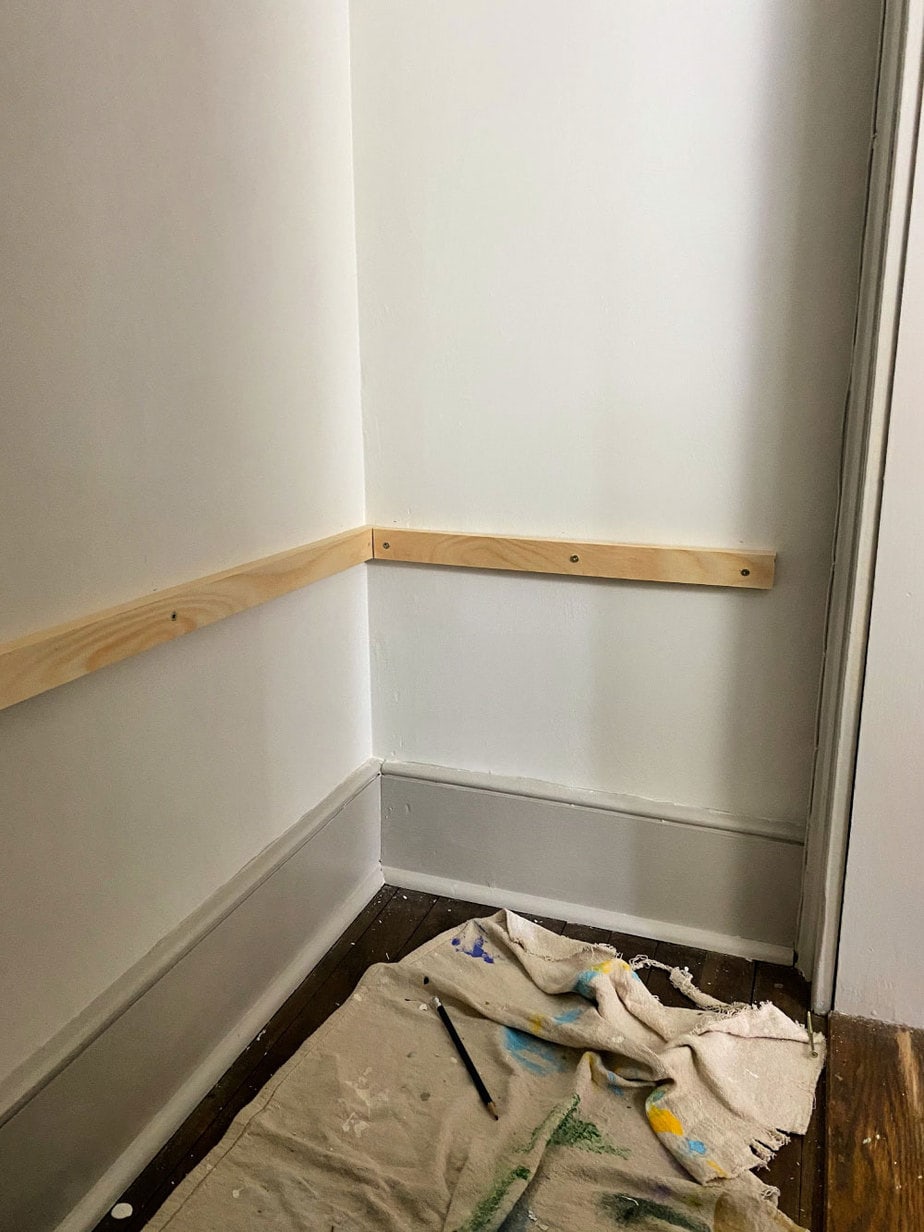
Begin by attaching the 1×2 cleat to the studs. This is absolutely necessary to provide a secure shelf ledge and hold the weight of items (and possibly a human).
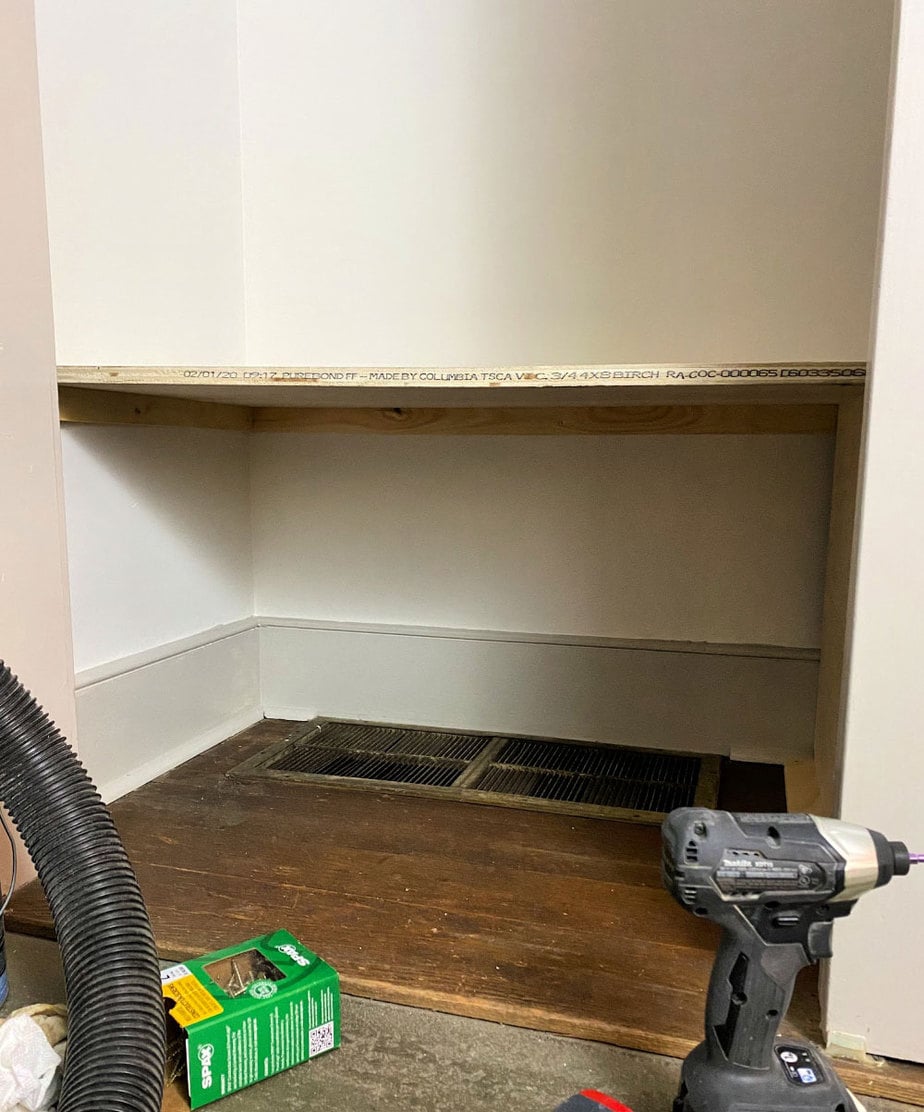
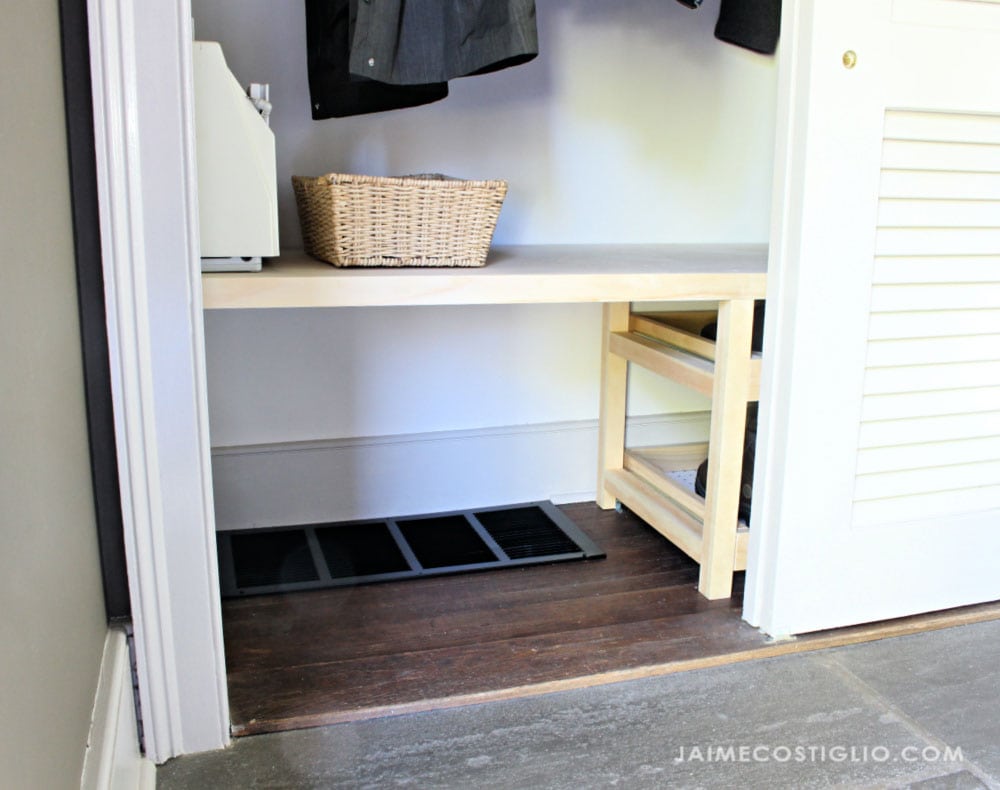
Next you will cut the 3/4″ plywood ledge to fit your closet. You can see here that I have an air vent intake in one side of the closet so we need to leave this space open for air flow.
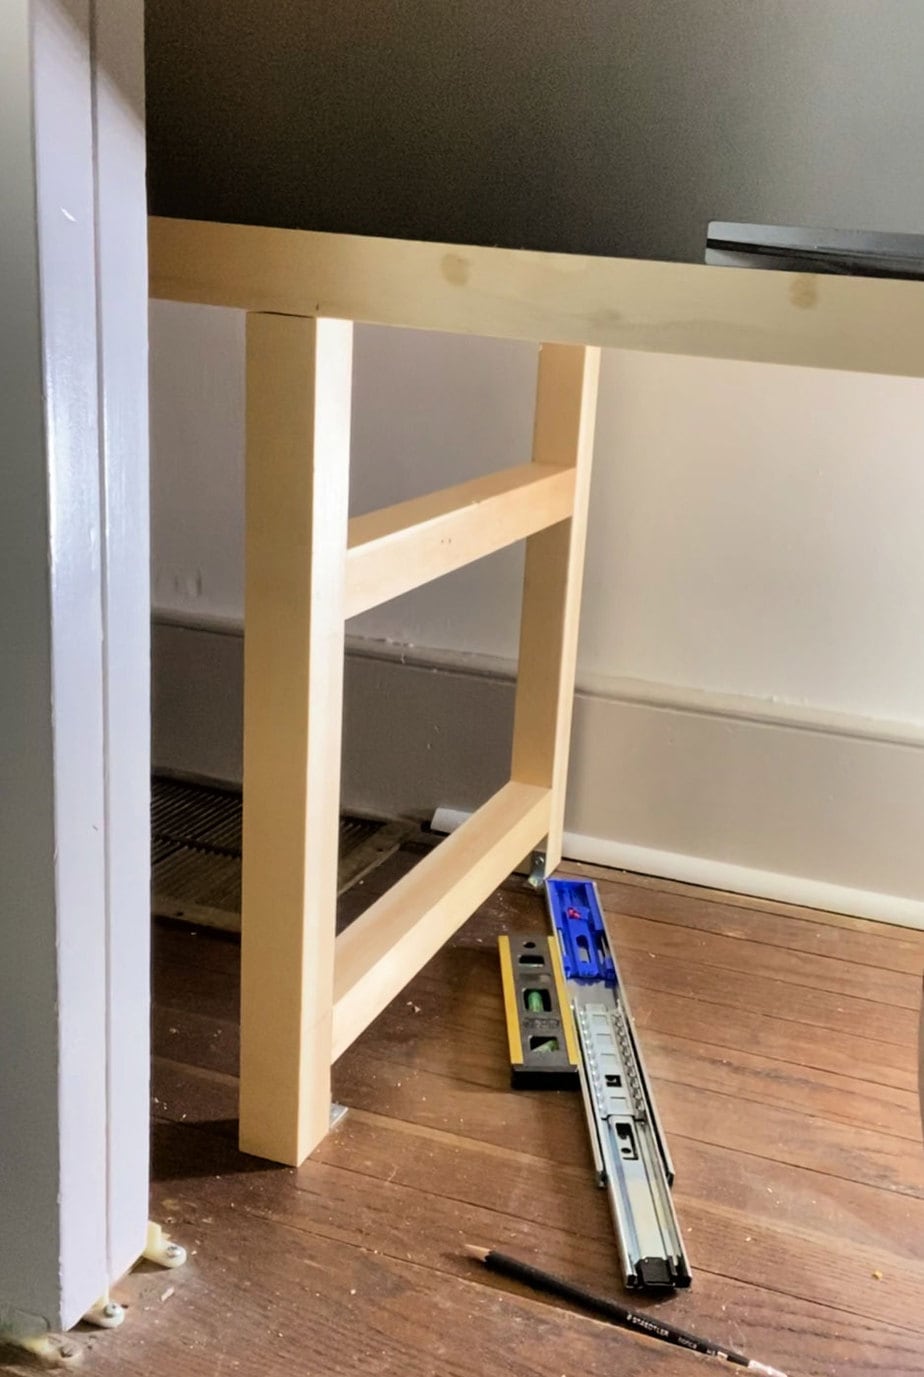
In my plans above I made the center support using 2×2 boards in order to allow for more airflow. Alternatively you could use a piece of 3/4″ plywood.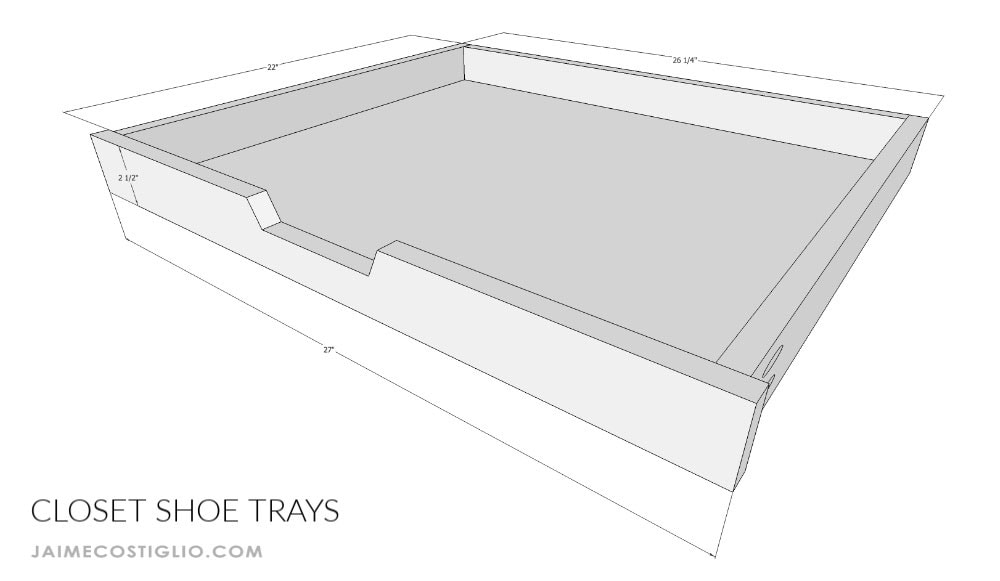
Click here for printable PDF version of the plans.
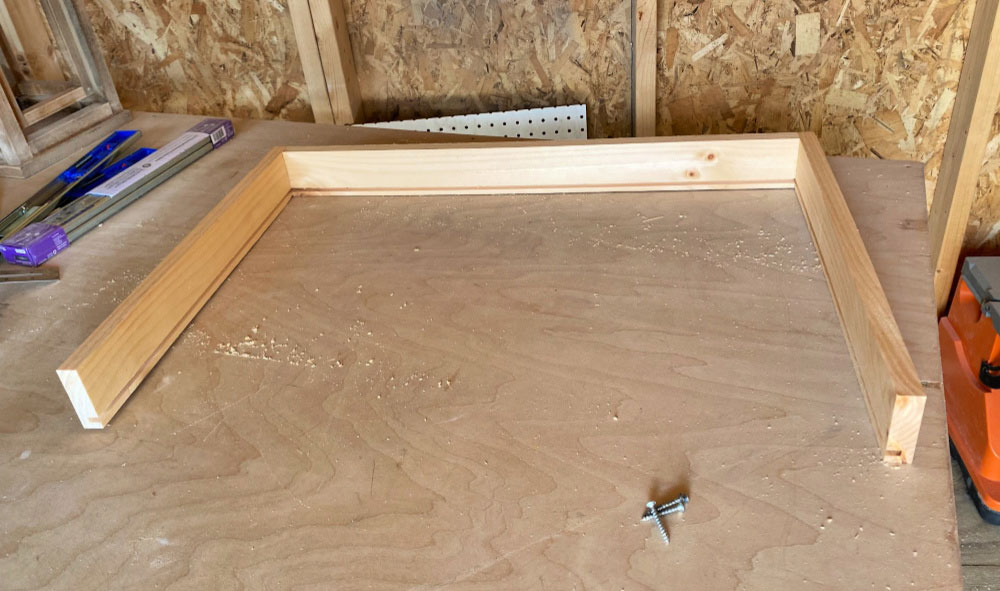
Once the shelf ledge is installed it’s time to make the pull out shoe trays. Before you assemble the trays run the 1×3 pieces through the table saw to create a channel for the pegboard. I did this for all 4 sides of each shoe tray. Alternatively you can secure the pegboard to the underside of the shoe tray using wood glue and brad nails or 3/4″ countersunk screws.
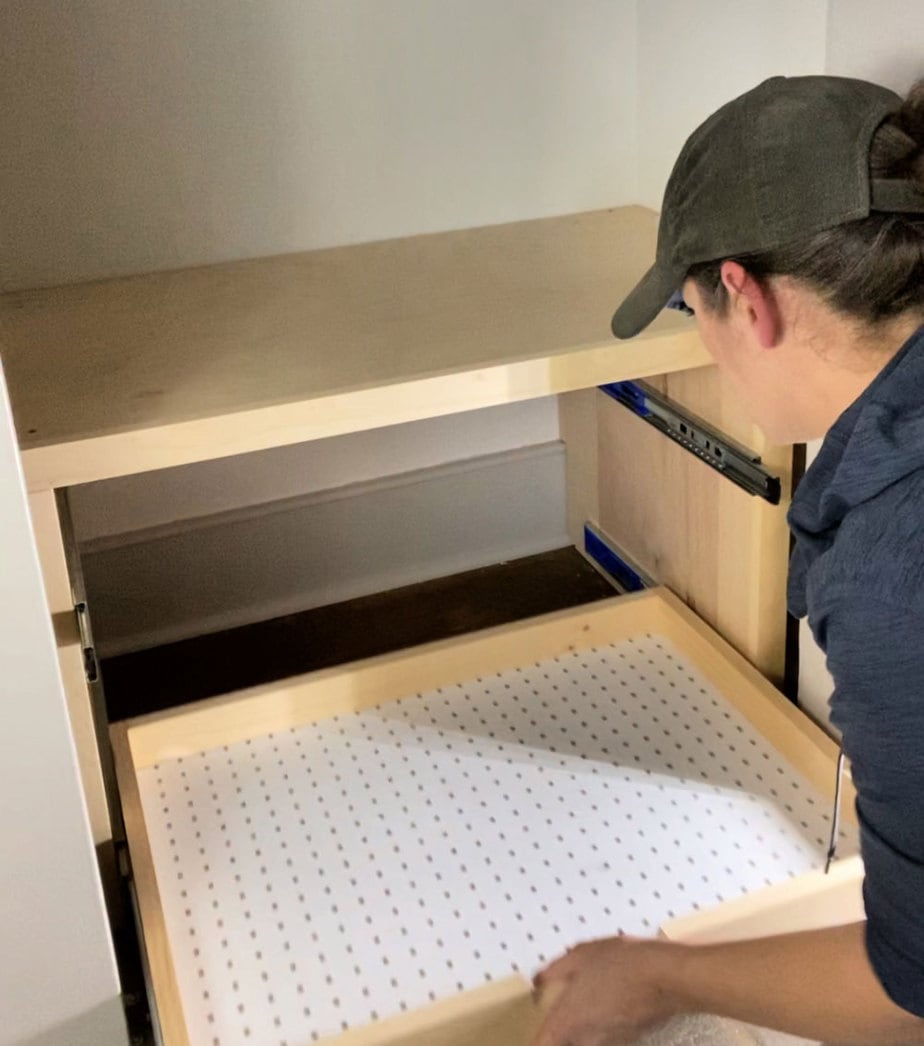
Lastly install the drawer glides and you’re in business!

DIY Closet Storage Solutions:
Thanks for joining me for this closet shoe tray project. Please leave any questions in the comments below and be sure to follow me on social media for sneak peeks, tools and project inspiration:
Instagram / Pinterest / Facebook / Youtube / Twitter
SHOP THIS PROJECT:




Leave a Reply