This post about plywood shelves is sponsored by Build Something. Most homeowners dream of beautifully organized closets with easy access. Let’s make those dreams come true with simple plywood shelves. It’s easier than you think and completely customizable for your closet space.
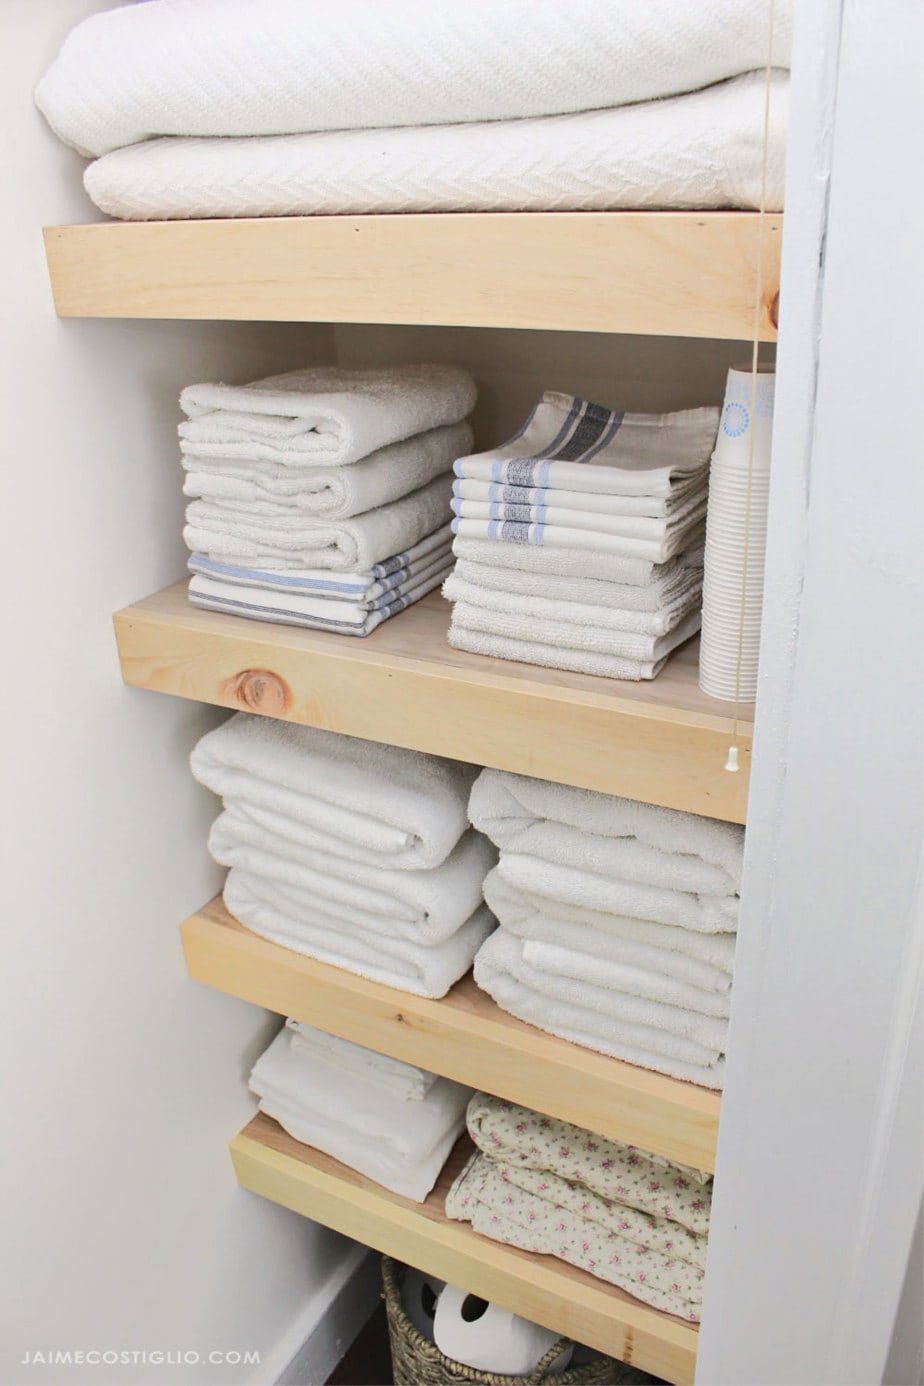
A DIY tutorial for making easy and pretty plywood shelves for your linen closet. Make your closet organized, functional and user friendly with shelves.
I’m honestly giddy over this project because it brings me such joy and happiness seeing my linen closet looking so good. I haven’t done a closet makeover since I tackled my girls walk-in closet a few years back. I sure hope you have a closet that needs some love and attention so you too can benefit from these easy plywood shelves.
I’ve partnered with Build Something to create this project. If you enjoy building and working with wood you should check out their site here. It’s full of free step-by-step project plans with lots of DIY building projects. They have a large library of certified plans and plans submitted by woodworkers and hobbyists. Definitely worth a visit if you’re looking for free plans in a wide variety of categories.
But first a few more details on these plywood shelves – like how they are removable if you want to store something taller.
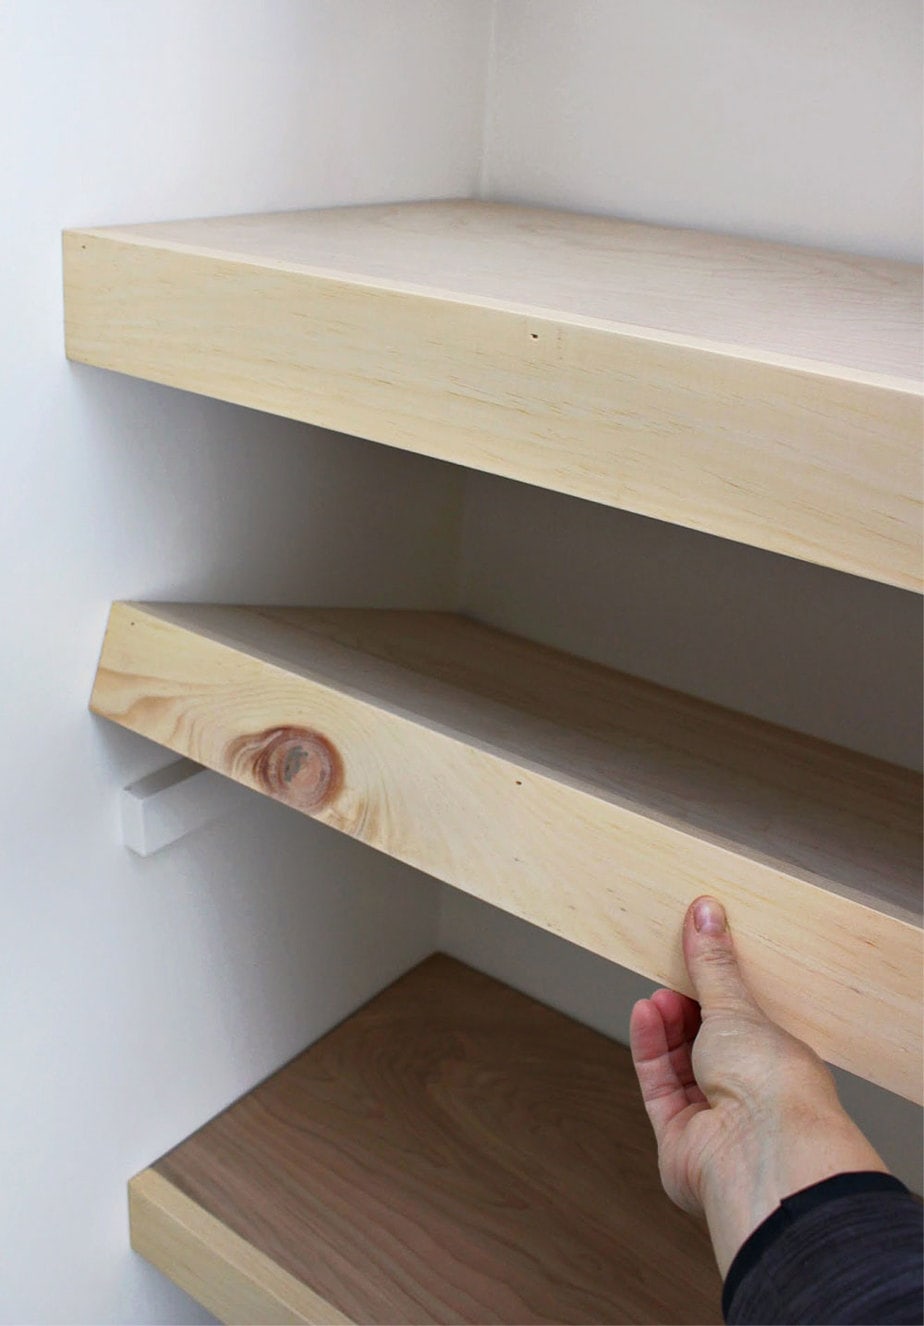
Because what you store may change over time and you don’t want to be completely locked in. You can simply lift up the shelf and remove it to make space for taller items.
Construction Process:
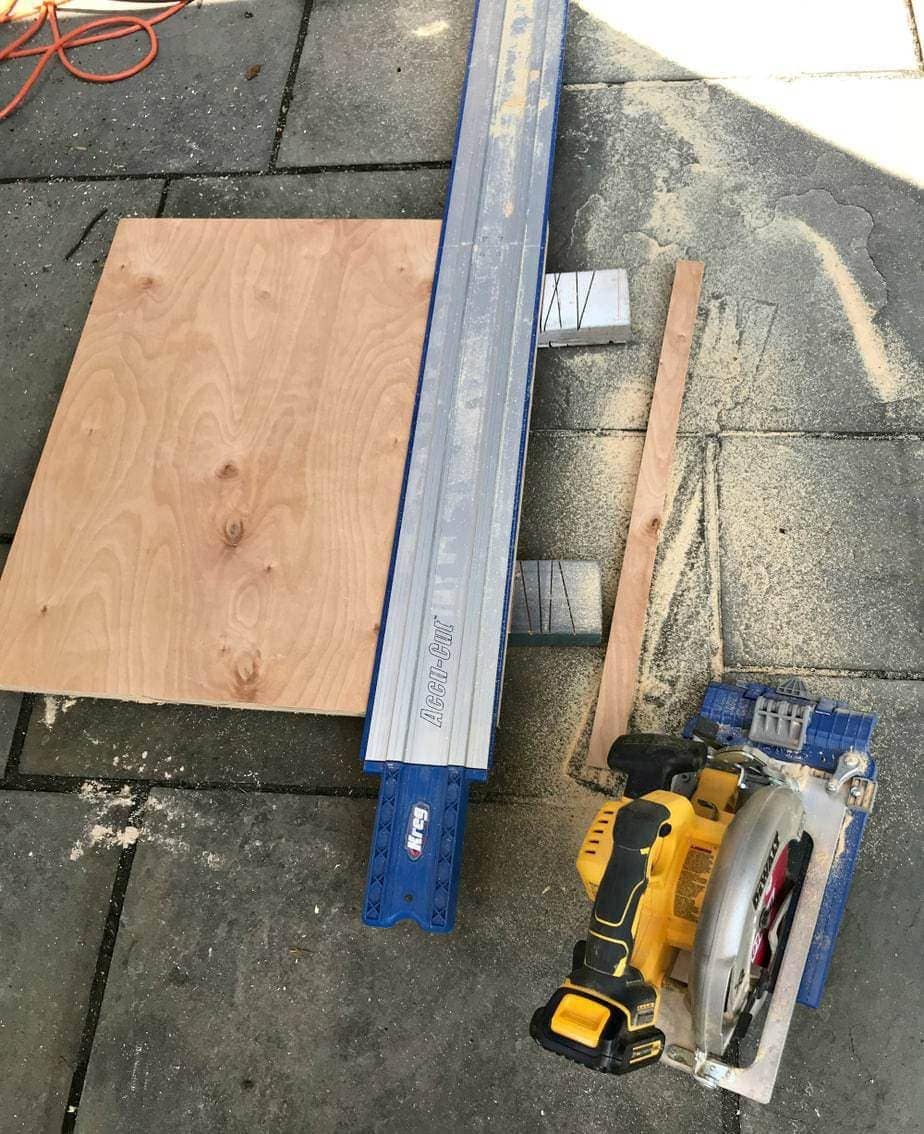
For this project I used the Kreg Accu-Cut guide track to rip and cut plywood shelves. The Kreg Accu-Cut is a great tool and works in place of a table saw:
- rip and cut plywood (up to 48″ long)
- track stays in place with anti-slip strips attached to underside
- uses a universal sled mounted to circular saw
I use my Kreg Accu-Cut when cutting down large to handle pieces that would be unsafe on the table saw.
Ready for a scene from real life? We moved into this house six years ago and I have not touched this closet except to throw things inside. Look at the mess!
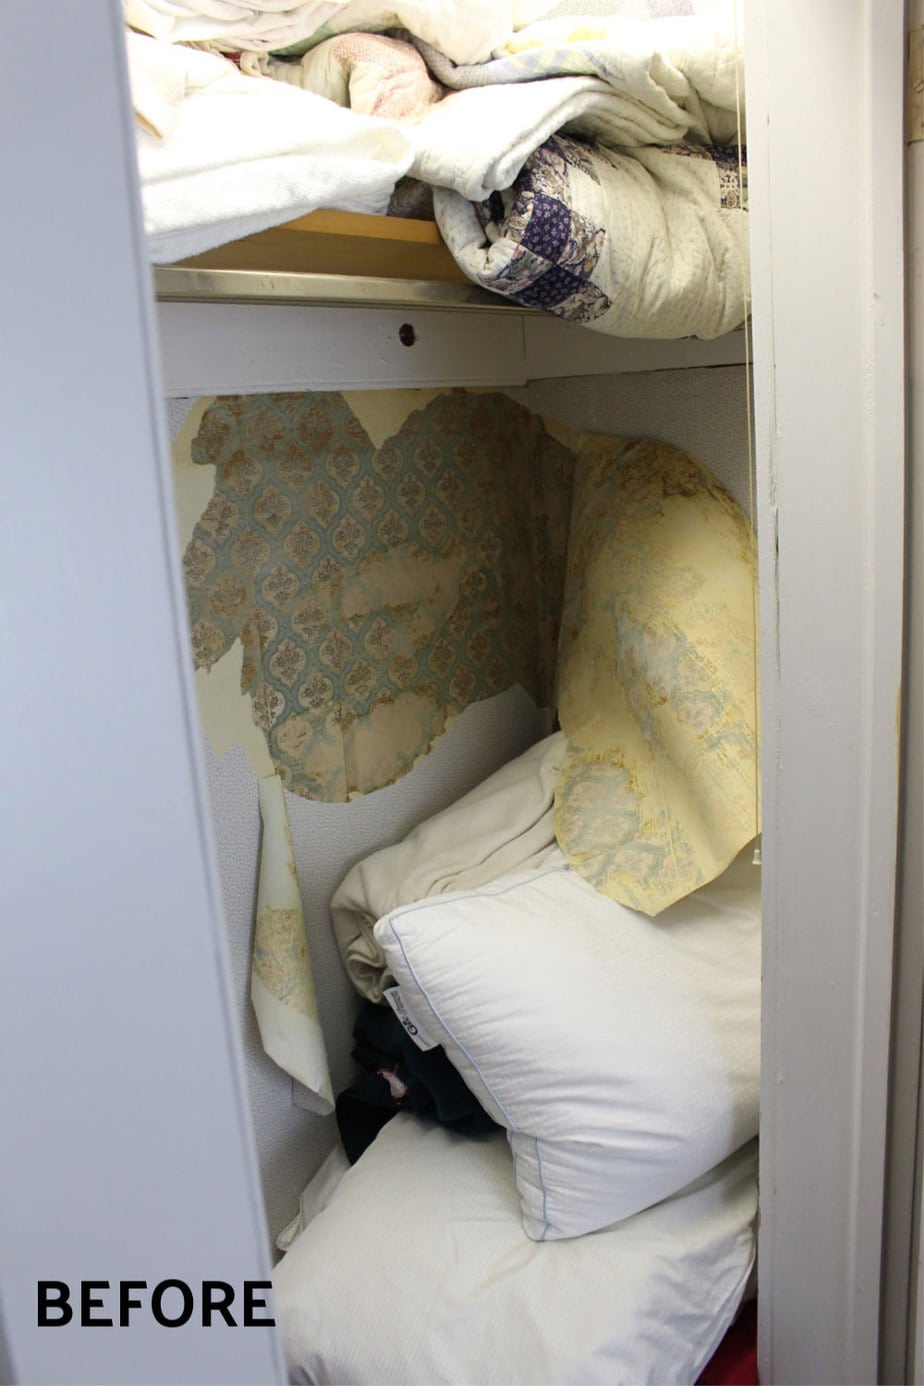
I’m almost too embarrassed to share how gross and slovenly we appear. That poor linen closet was severely neglected mostly because there were no shelves. I finally took control of the situation and installed these pretty plywood shelves.

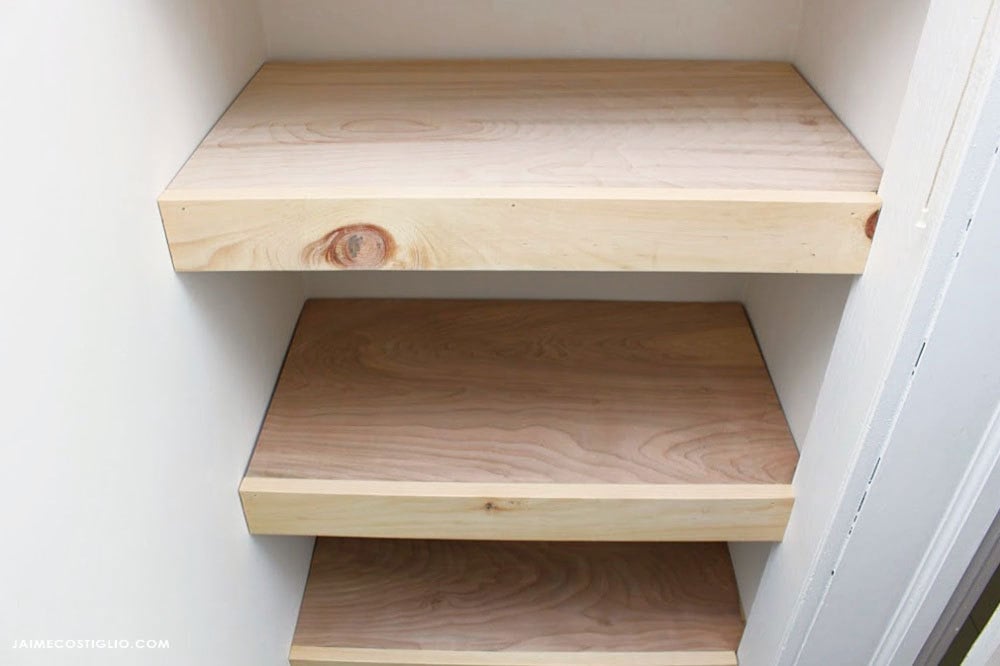
There was quite a bit of prep work to be done before the shelves could go in but it was worth all the effort. Removing wallpaper and old hanging bars, repairing trim, spackling and caulk and finally everything was painted white. You cannot go wrong with white paint especially in a closet and I absolutely love the contrast of the white against the warm wood tones.
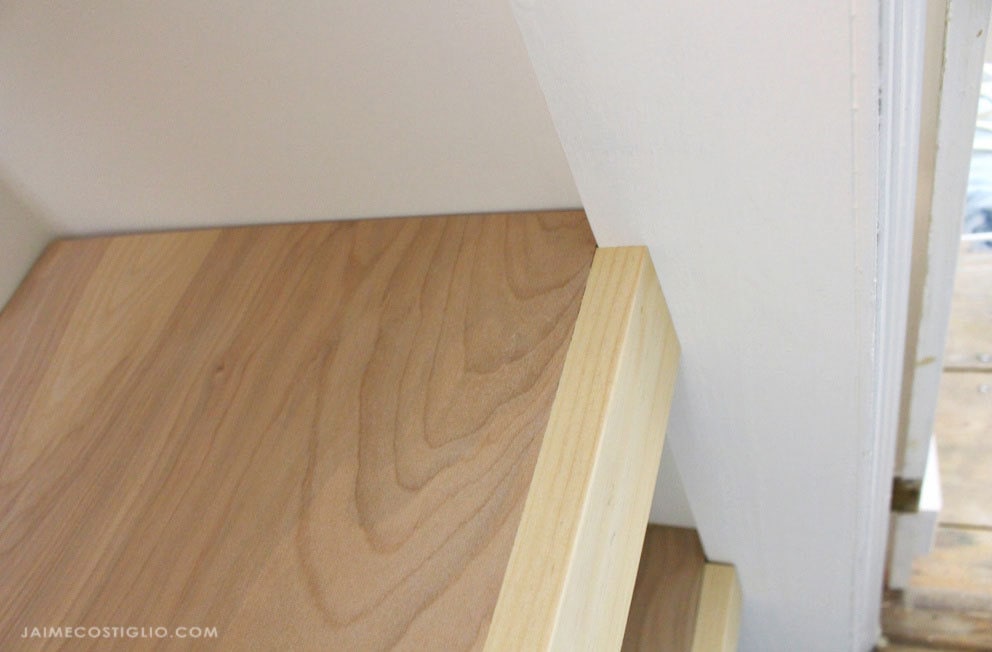
Look how beautifully they fit into place and no notching or any fancy cuts required. I’m sharing the details over at Build Something here so you can make these shelves too. Cheers to all the organized, beautiful and functional linen closets!
Thanks for joining me for this pretty plywood shelf project. Please leave any questions in the comments below and be sure to follow me on social media for sneak peeks, tools and project inspiration:
Instagram / Pinterest / Facebook / Youtube / Twitter
SHOP THIS PROJECT:




That turned out really great! Looks so much better!
I see a cord hanging – is this closet closed by a blind? I’m interested to see what it looks like in full. I have a similar linen closet nook in a half bath and no place for a door. Thx!
Hi Liz, the cord hanging is for the ceiling light. I will be sharing this full closet makeover in January but there is a door. You could hang a curtain on a rod above to cover your shelves? Or a sliding barn door if there’s space to slide? Good luck!
Hi Jaime!
Thanks for posting this! It’s a huge help! I’m looking to remove old wire shelves from an open linen closet in my bathroom and put in these shelves. My husband mentioned that plywood warps easily and we do not have a fan in our bathroom. Do you anticipate that being a problem? Any recommendations on a seal that could help prevent this? Or could I use solid wood instead?
Hi Alexis, So happy to hear you’re making wood shelves for your bathroom. It depends on how large (wide) your shelves are but in my experience plywood is much more stable than solid wood and won’t expand / contract with the humidity changes as much. If your shelves are narrow (less than 24″ wide) I would go with plywood. If you’re really worried try using a laminated plywood like melamine. It comes white and doesn’t accept paint well but it wipes easily and is probably your best option in a bathroom without a fan. Hope that helps.
I am in love with this idea! I cant wait to do this in our linen closest. I have tribed to find the tutorial but I am having difficulties. Is there something I’m missing perhaps! Thanks so much and again what a fantastic idea-and to think I was going to spend several hundred dollars trying to make floating shelves
Thanks Jessica, the tutorial is linked above but I will leave it here too: https://www.buildsomething.com/plans/PDC9EDB86A390621E/Plywood-Shelves-for-Closet Good luck with your linen closet!
Thank you so much for the diy for these! Just made closet 1000 times nicer!!!
Thanks for leaving the link here Jamie I couldn’t find it either
Looks great and creates a nice showcase! If I did something like this, my suggestion is to put a thin bead of caulk to fill in any gaps in and around doorframe.
Thanks Kim. Theses shelves aren’t attached to the cleats in the event I want to remove a shelf for taller / larger items (vacuum cleaner etc) so no caulk for me but certainly a good idea.
You seriously have just saved my pocket book! I’m saying this because I’ve been going crazy trying to find a “cap” or a cheap alternative for covering my pressed wood stairs that are 5 feet wide. I think the cheapest we found is around $800 and that was for something we didn’t really even care for. I never thought about using plywood. I saw your shelves and a light bulb went off for me. This tutorial will apply wonderfully for a stair tread cap. I luv it!
Love hearing this and so clever of you to think about applying it to stairs. I bet they will come out beautiful! Good luck
I like this idea. I’ve been racking my brain on the best design for converting our coat closet into a combination storage closet and A/V closet for the amp, internet, speaker wires, etc. I think I’ll use your idea here to place the A/V receiver, etc. in the 24″ corner area. I just wish I could come up with a way to make at least one of the shelves pull out to access wires more easily if needed. Maybe bottom mounted drawer slides with a pull out shelf? I think I’ll make the shelves thinner to lose less storage. It’s weird to consider that (4) 3-inch thick shelves take up 12 inches of shortage space height.
Hi Jaime love how the closet turned out. We are doing the same to our tiny linen closet. Could you tell me the spacing you used between shelves. Thanks in advance
Hi Dawn, Thank you and so happy to hear you’re tackling your linen closet. It makes such a huge difference. My shelves have 11″ between them and that’s only because I determined where the bottom and top shelf would be and then divided the space by the number of shelves to get equal spacing. I think 11″ is good unless you need clearance for big fluffy comforters or large storage baskets to slide out. Good luck!
Thank youuuu!! This tutorial is so simple but i LOVE IT. Putting these sort of shelves into our freshly renovated laundry room ASAP.
Thank you Kale, good luck with your laundry room shelves!
Love this. I have to span 27.5” across however. Any suggestions? Perhaps a cleat along the back wall? Also any thoughts to going to an 18” depth?
Thanks so much!
Hi Jeff, Yes definitely add a cleat along the back wall and 18″ is fine. If you’re loading it heavy (books, etc) I would consider a frame with more short supports throughout, front and back cleats and definitely screw into studs. Good luck!
Hi, I totally love this project idea. What thickness of wood did you use for the shelves and for the shelf supports?
Thanks !
Hi Rochelle, The shelves are 3/4″ plywood and the supports are 1×2 pine. Details are in the plans.
Hi Jaime!
I have had this post and the how-to link open for MONTHS anticipating my husband and I building these shelves! We are so excited, and thankful for your tutorial! In your post and in the tutorial, it doesn’t mention how you attach the front trim (as far as I can see.) I do see parts listed as finishing nails, is that what you did to secure the front trim? So excited to do this!
Thank you!
Hi Abbey, Thanks for your nice note – I love hearing from readers who appreciate an organized closet as much as me! So glad to hear you’re going to tackle the shelves, it will be worth it 100%. Yes the front trim is attached using wood glue and finish nails (or brad nails) depending on your nail gun (or you can just use a hammer as well). I have another version of this project here that has a few other photos that may help: https://jaimecostiglio.com/easy-closet-shelves/
Best of luck!!
You did a GREAT Job..a sigh of Accomplishment….. Thanks for sharing and showing the “REAL” side.
How do you get the plywood to look smooth and “finished”? Sanding, stain?
Hi MaryAnn, I used Purebond birch (I believe). Make sure to purchase a cabinet grade plywood and it will be fairly smooth already. Then yes I sanded a little but that’s it.