Staying organized often starts with a space that functions well for the intended use. Five years ago we moved into our home with a non-functioning linen closet and it’s time to conquer that disorganization!
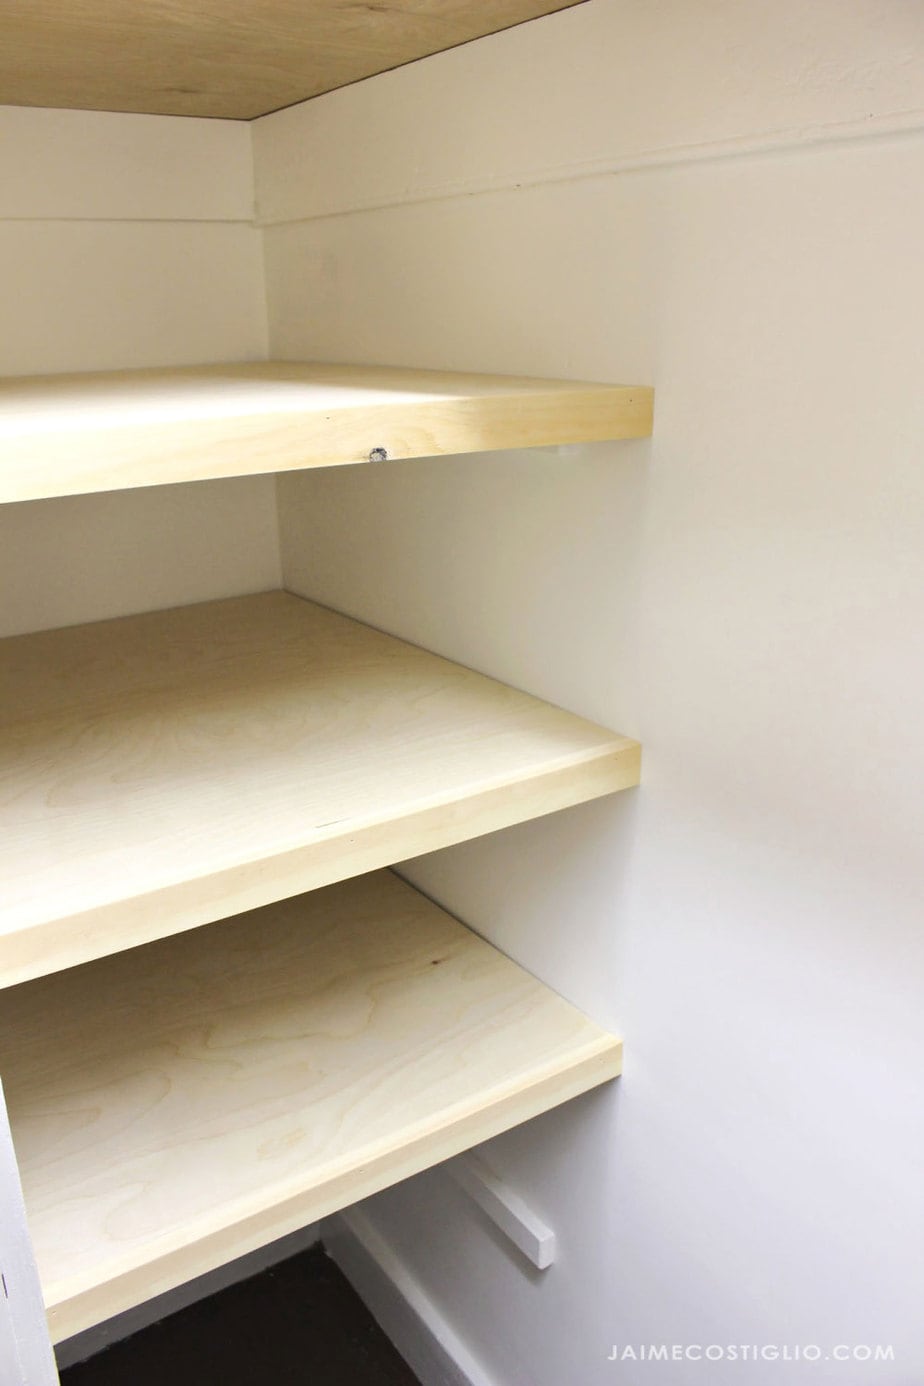
A DIY tutorial to build shelves in a hall linen closet. Tackle that messy, disorganized space with fresh paint and new shelves.
I’ve decided that even the unseen spaces, where only a select few will ever lay eyes, are more deserving of my attention when it comes to making them organized and functional. There’s something about tidying what lies behind closed doors that makes me feel so good inside and I think I’m not alone in that feeling.
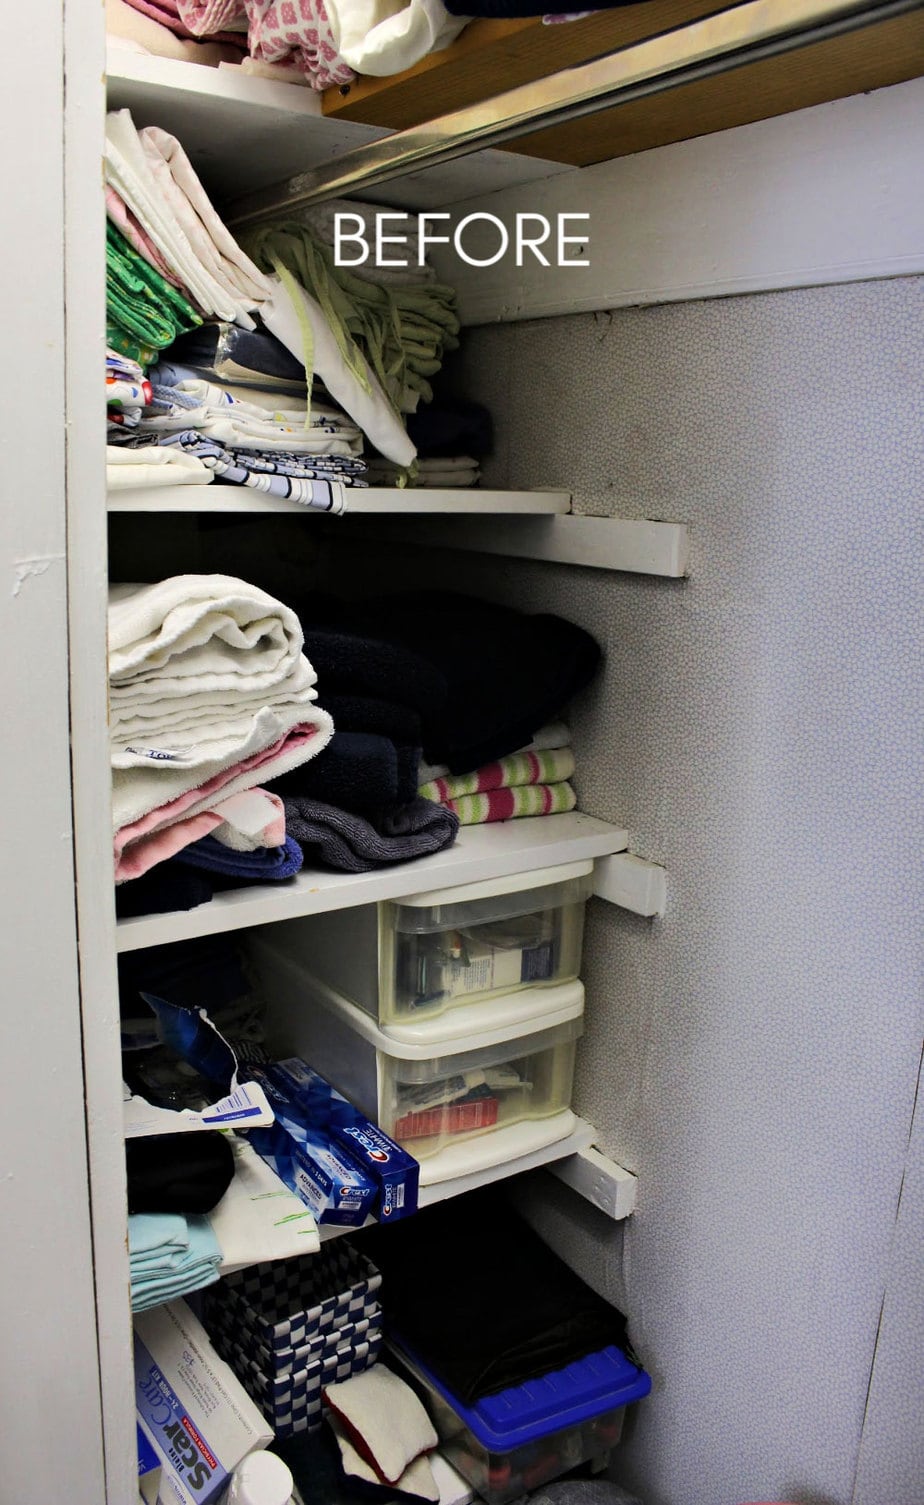
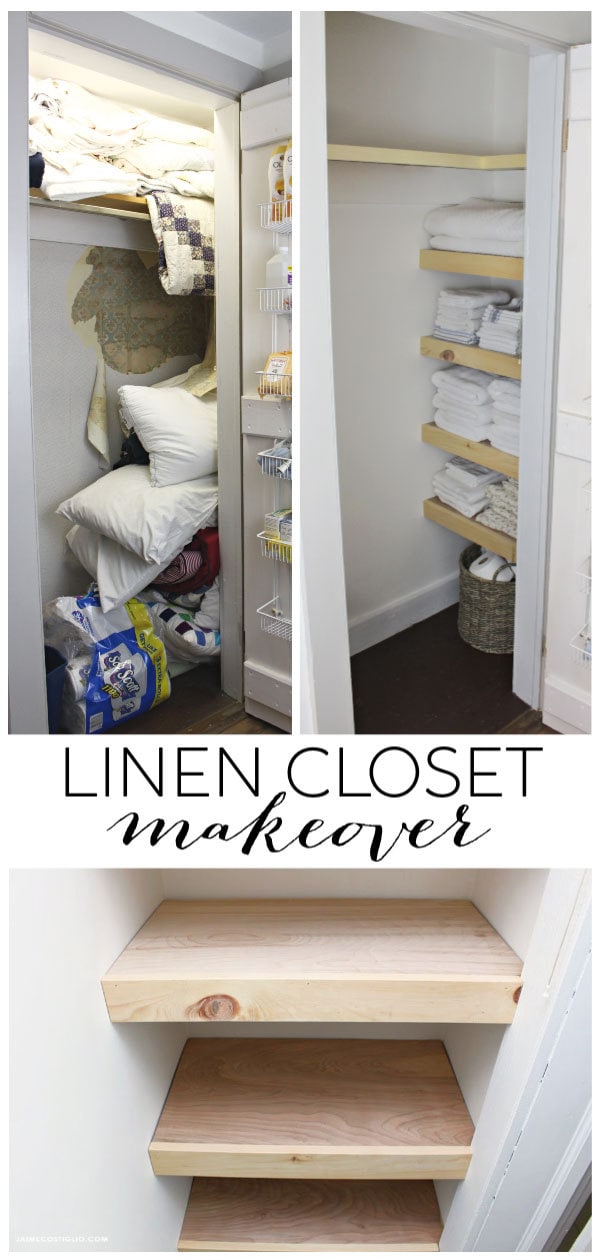
The classic BEFORE photo above looks sort of organized. Yes there’s shelving and some linens in piles but the overall aesthetic is dingy and gross and this is only one side of the closet. The other side looked like this:

Notice the lack of shelving so pillows and blankets are just thrown in a heap. The wallpaper is peeling off and there’s also a junky metal hanging bar that we never use. Time for an overhaul.
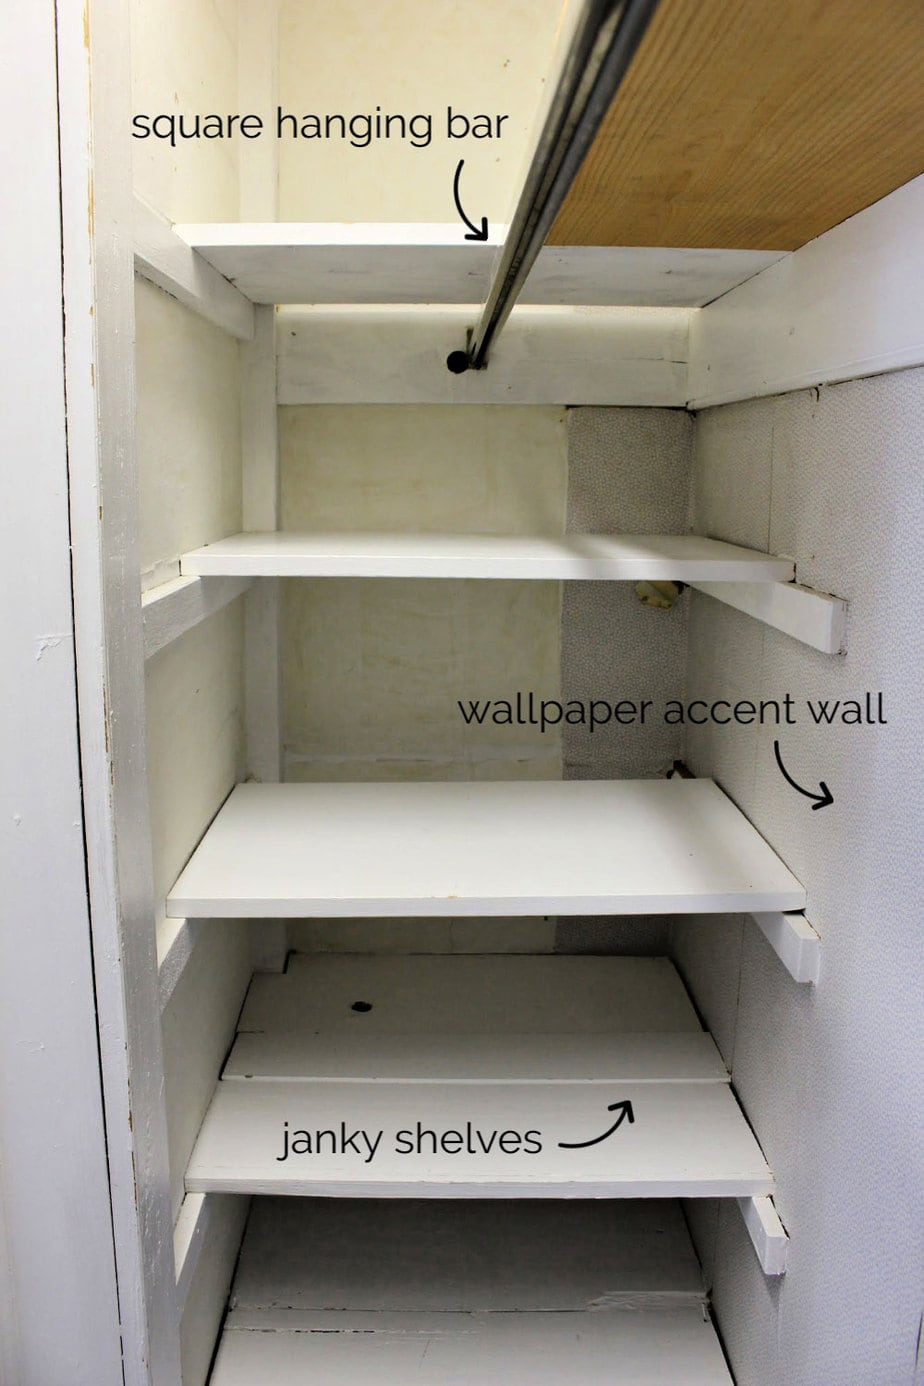
The first step is always to remove all of the items and toss, keep and donate.
Now that the space is empty let’s address the issues:
- janky shelving that doesn’t fit the space
- wallpaper ‘accent wall’ peeling off
- square metal hanging bar (not user friendly)
As is the case with most renovation projects things will get worse before they get better.
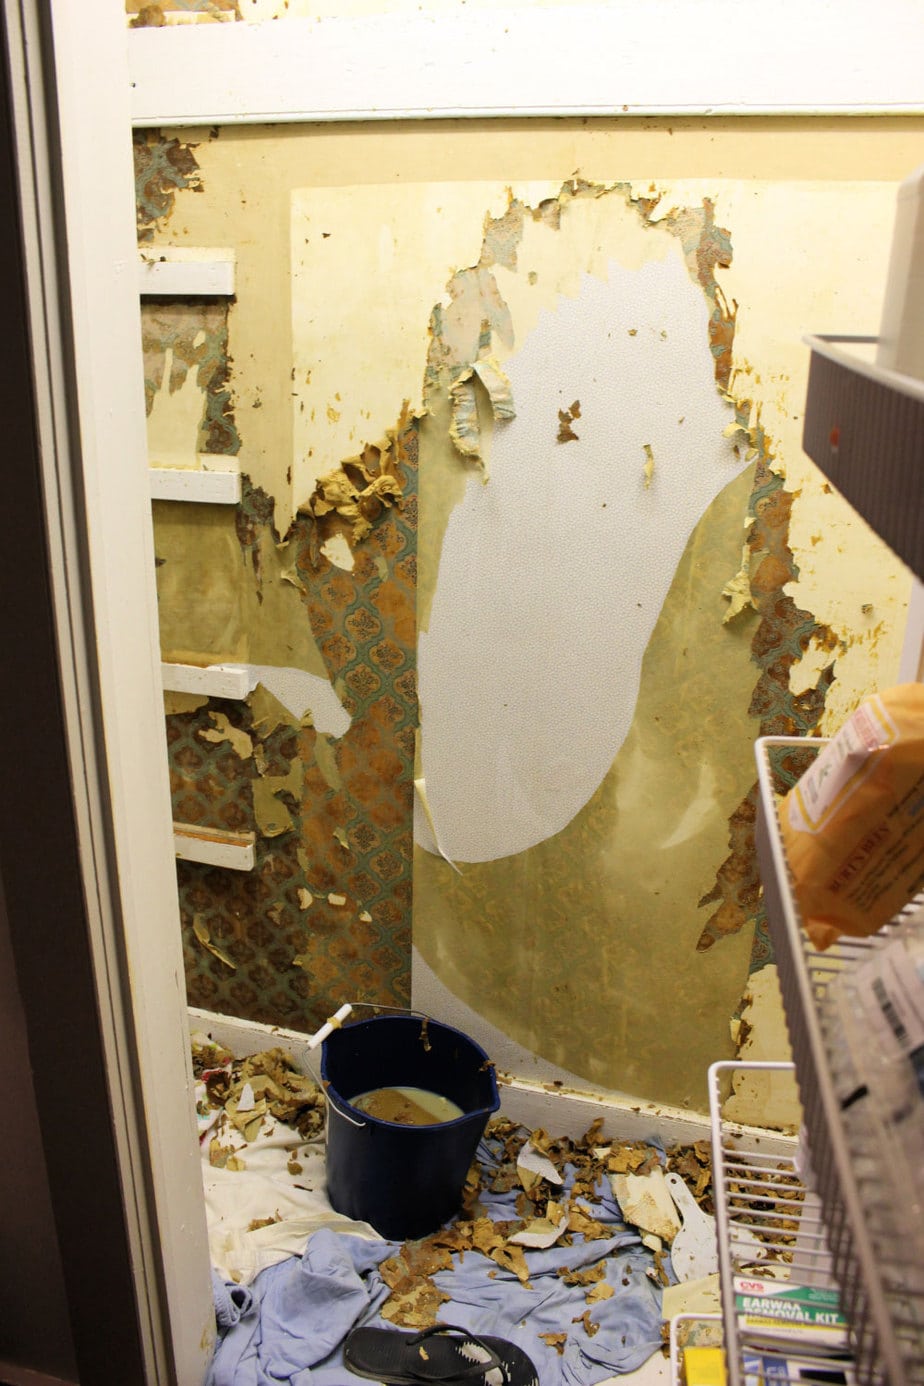
Step 1: Remove wallpaper. The Laura Ashley wallpaper pulled off pretty easily to reveal another paper underneath. I prefer the soak method where you use a water drenched sponge to repeatedly soak the paper (and paste) then scrap off with a plastic scraper.
Step 2: Paint everything white. I reused the existing wall cleats on the left side and installed new cleats on the right side.
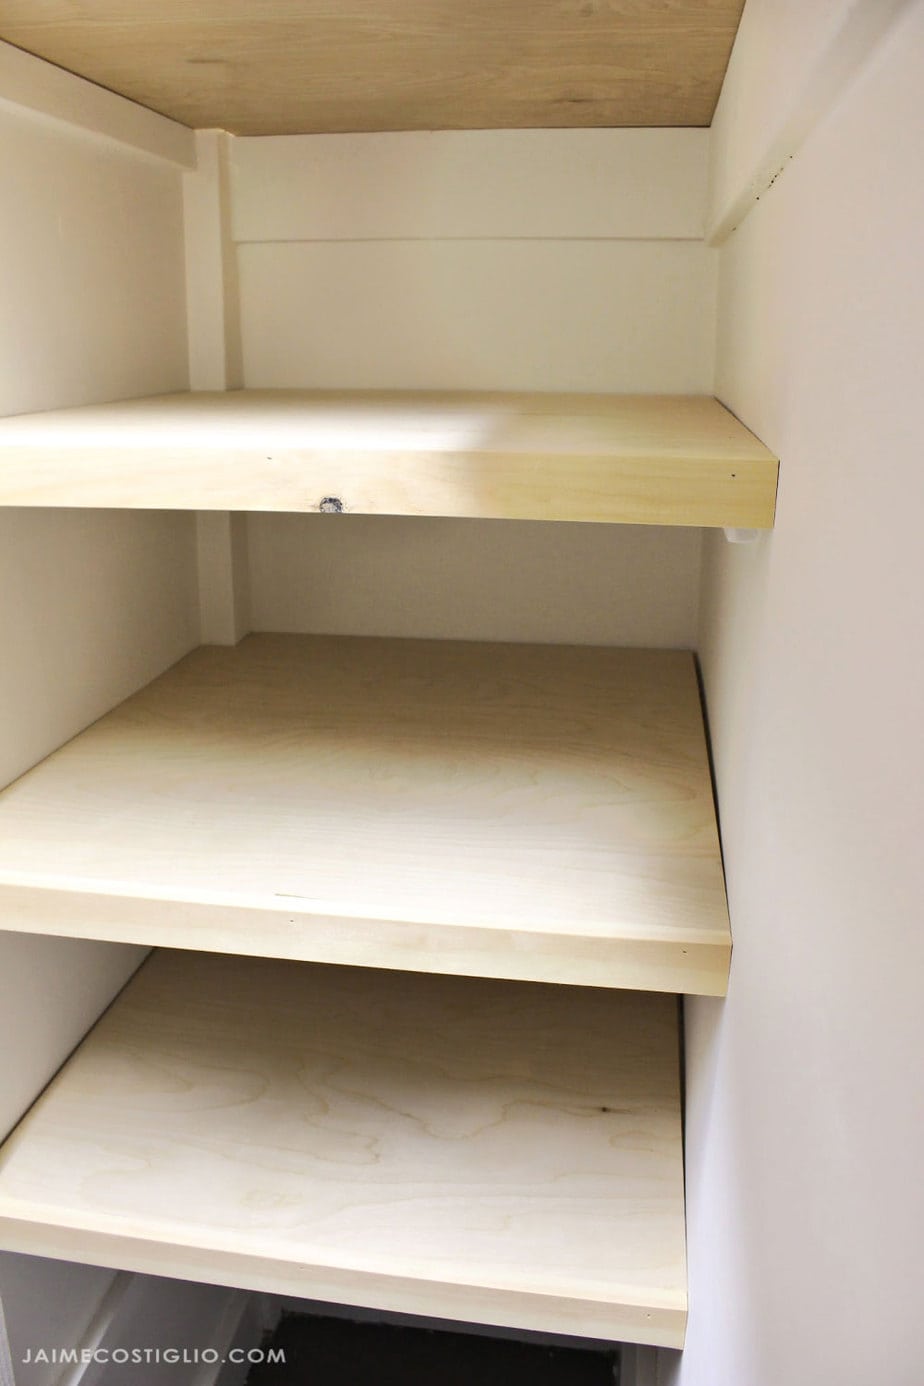
Step 3: Cut 3/4″ plywood pieces to fit shelf space. Notice my walls are not square plus I had to jig saw around the vertical corner beam. Cut 1×2 trim and attach to front raw edge using wood glue and 1 1/4″ finish nails. For more details on how to make plywood shelving see my tutorial here.
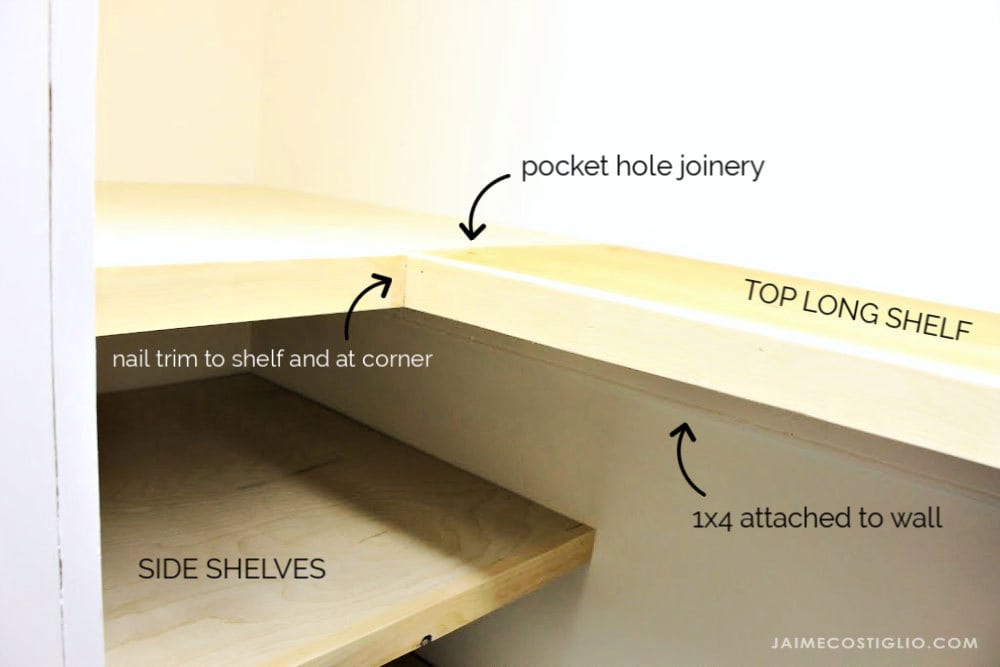
I was able to reuse the very top long shelf by trimming to fit the space because the new side shelves were deeper. Then I attached the top shelf using pocket hole joinery and added trim at the front.
My favorite aspect of this linen closet makeover is the creation of shelves were there was nothing before. It’s so beautiful seeing the space organized and functional.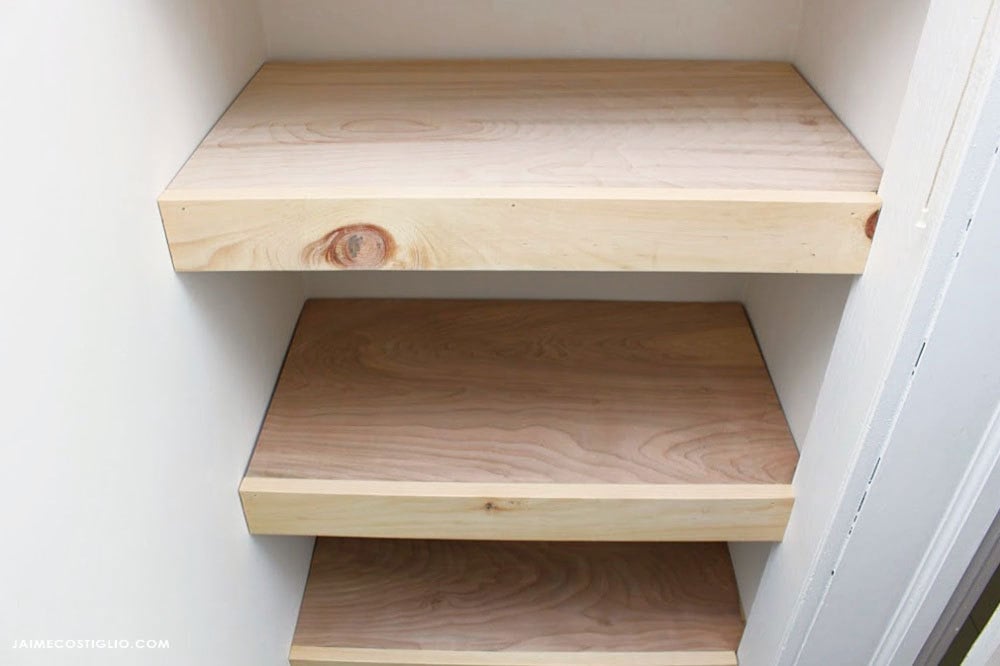
Do you have an empty closet space that could benefit from shelving? This linen closet makeover was not a hard project but because the space is hidden from sight I was ignoring it for years. I feel terrible for not giving the attention it deserves and after a little bit of elbow grease and new shelves it’s fresh and alive.
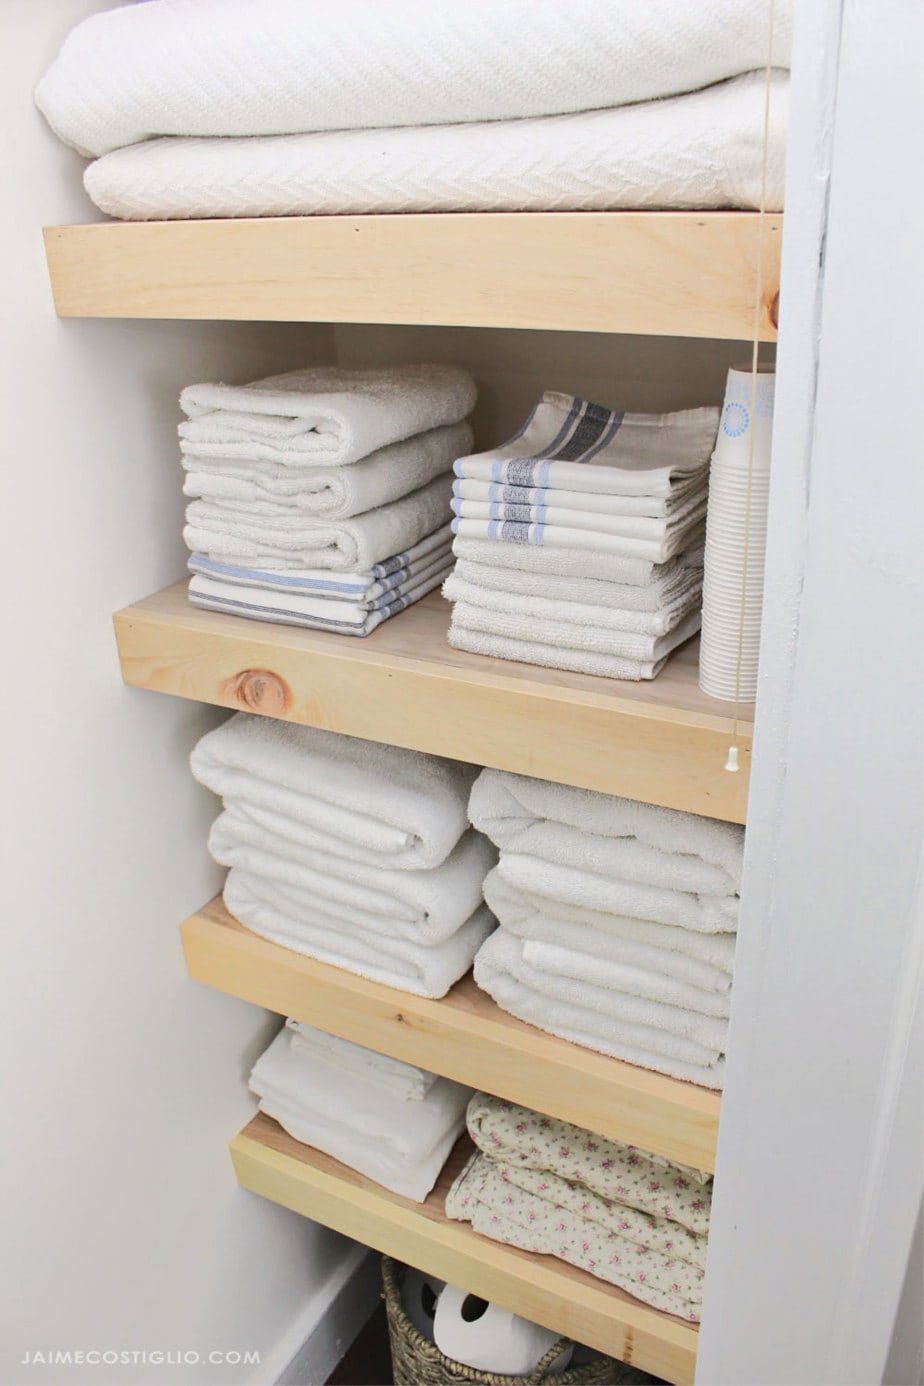
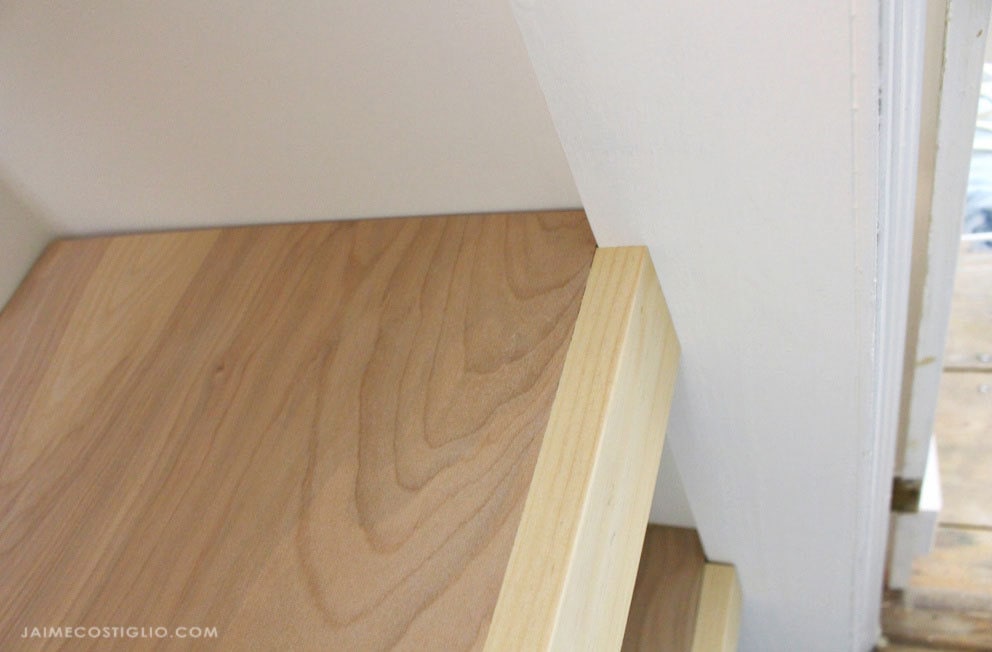
Why I waited five years to complete this project is a very good question and going forward I will use this success story to ensure I never wait so long to organize a space again.
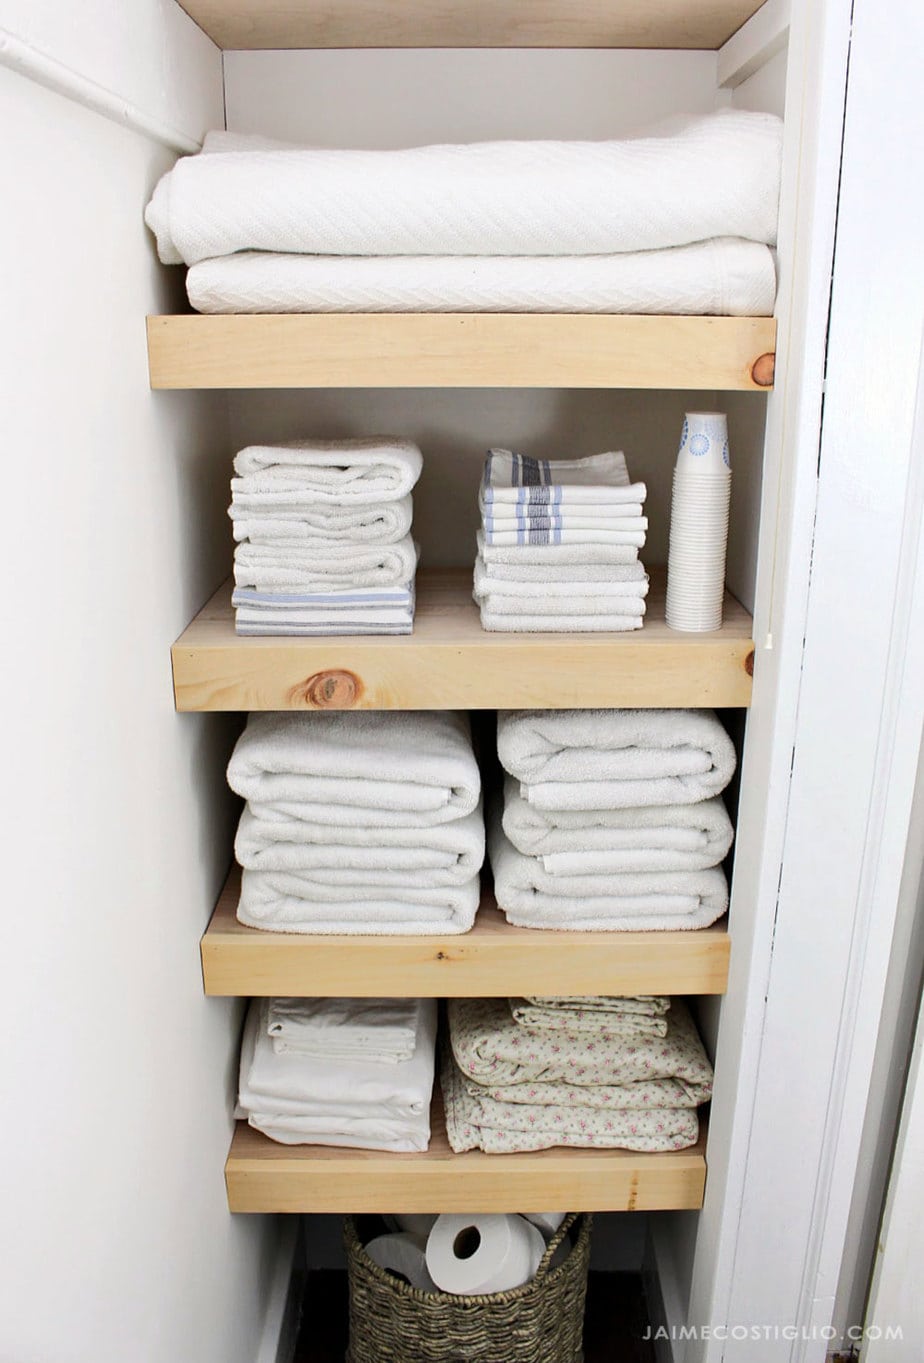
Get after it and tackle those unsightly, disorganized spaces now! You will feel 1000% better knowing your linen closet is amazing even though the door is usually closed.
SHOP THIS PROJECT:


Leave a Reply