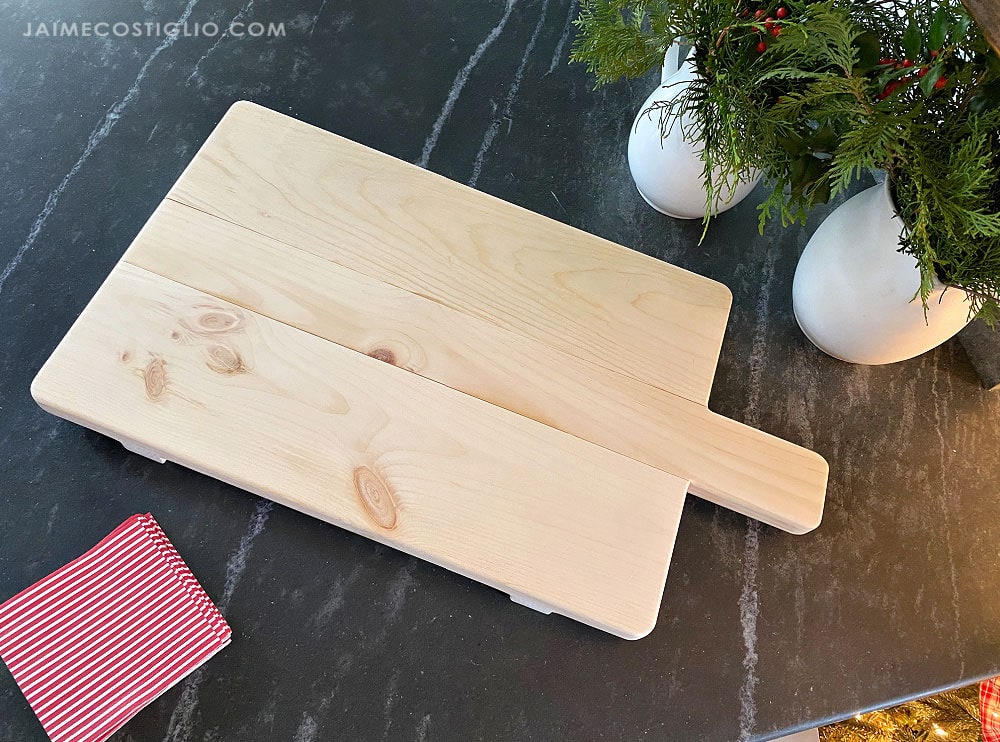
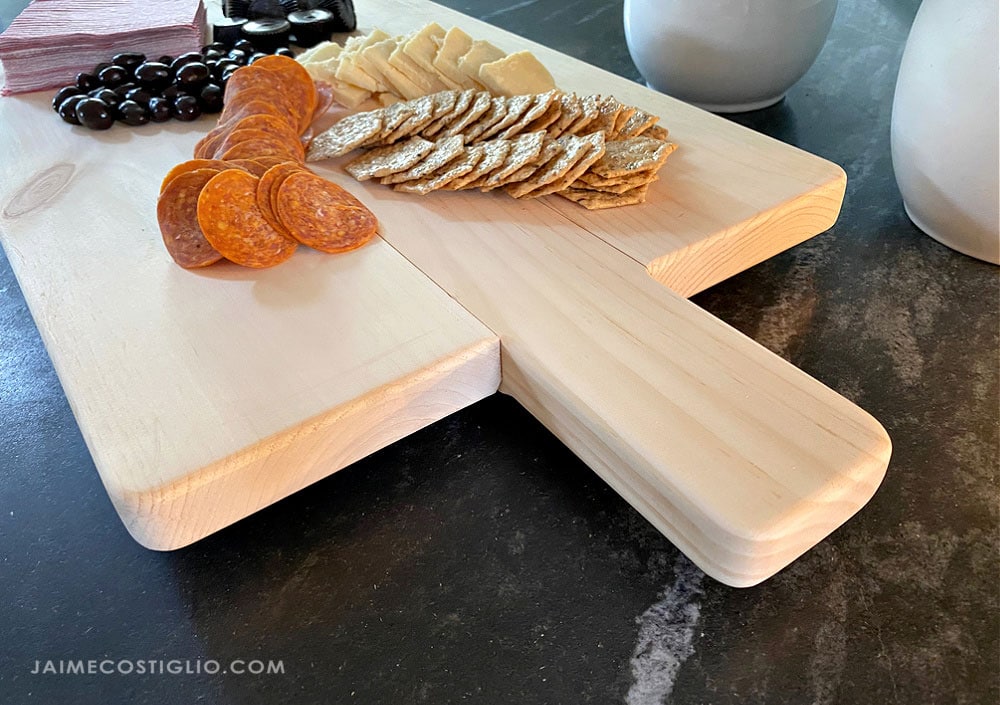
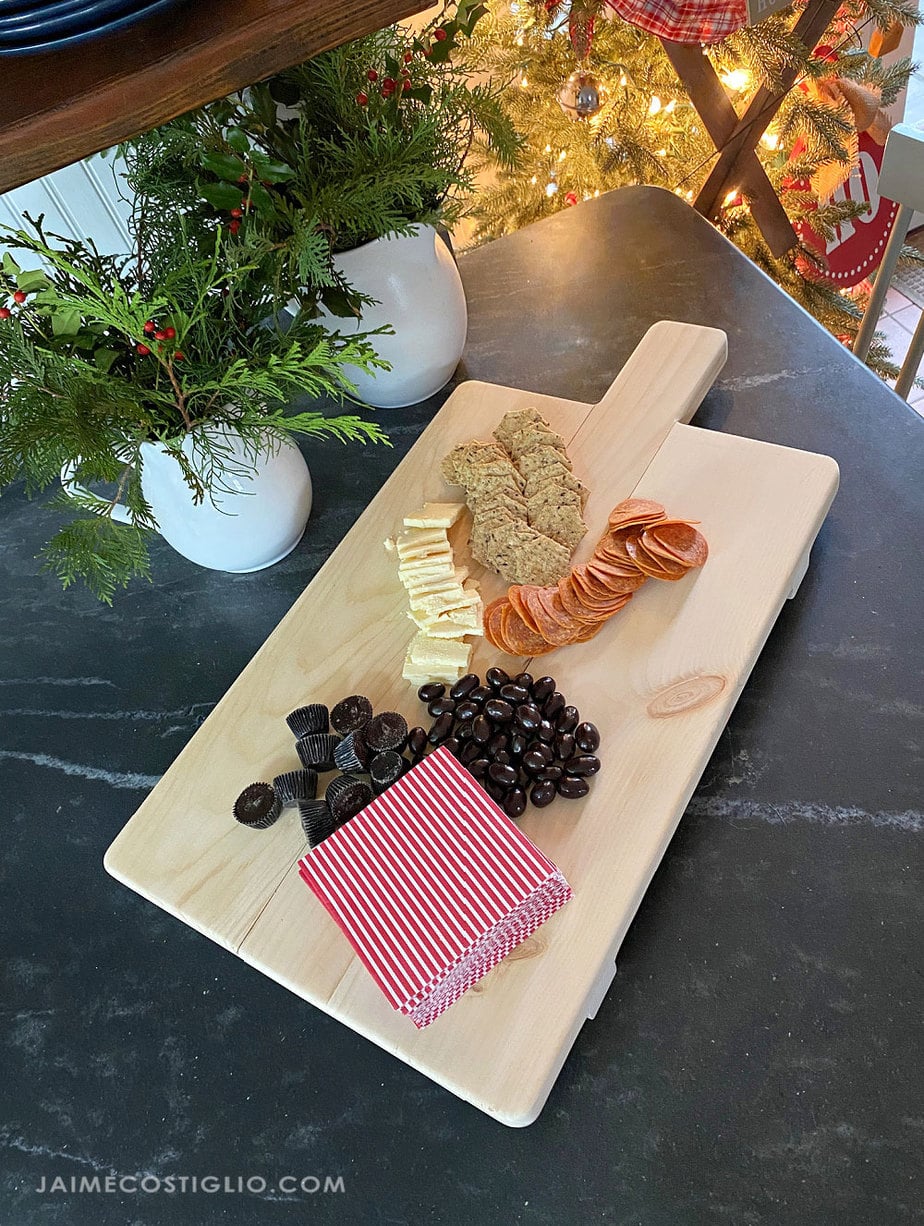
Give me all the meat and cheese please! I love a good charcuterie board so naturally I loved making this DIY charcuterie board. So simple, so refined and very useful.
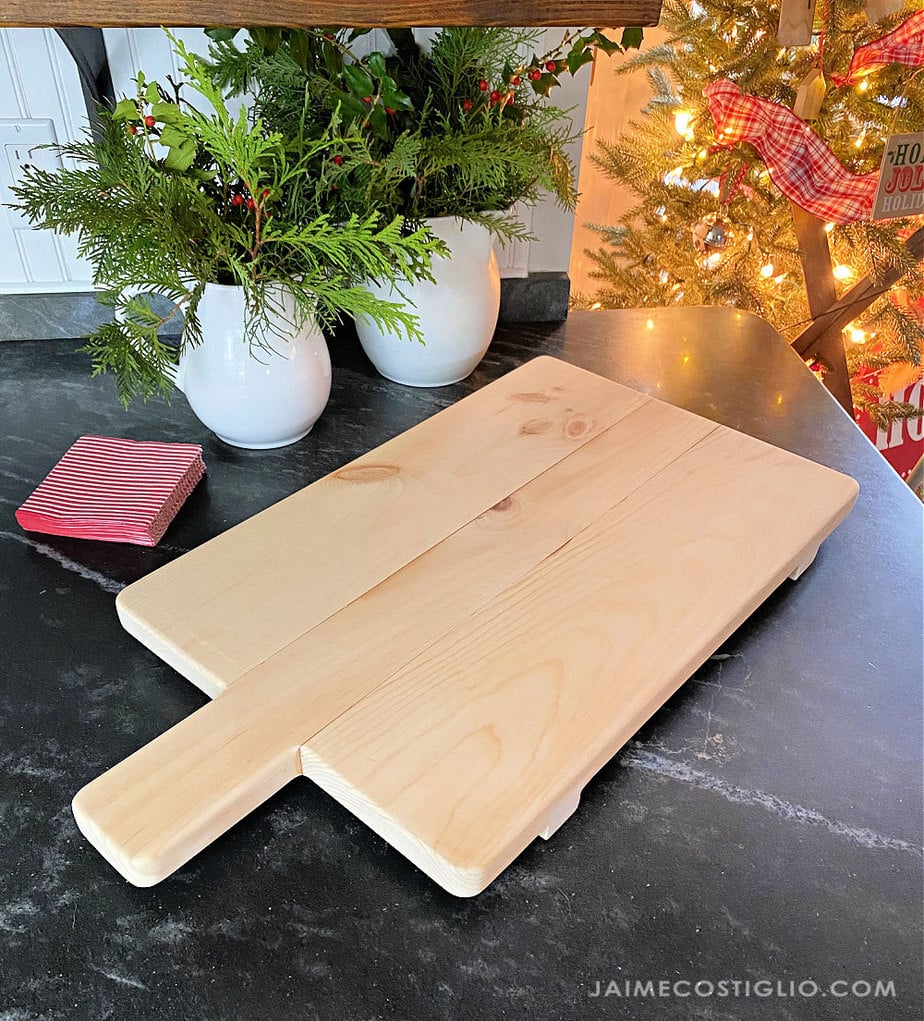
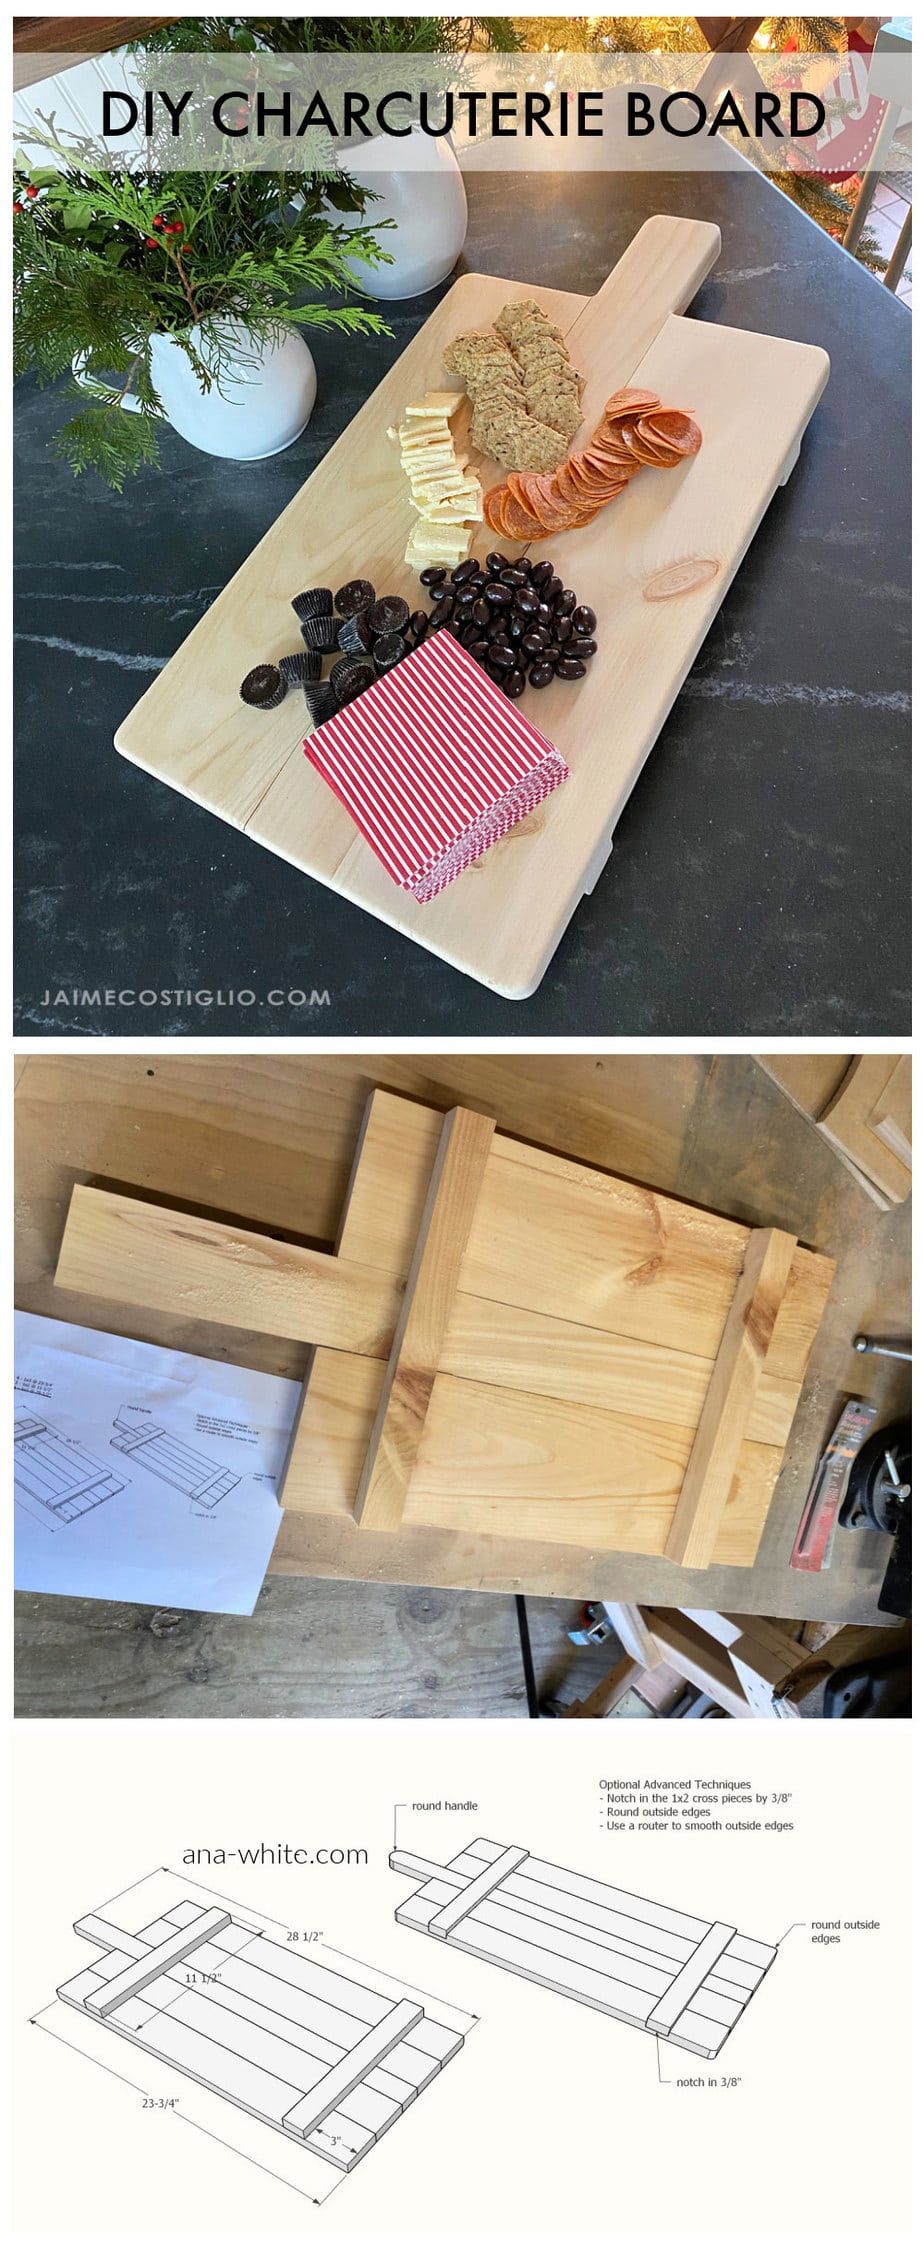
A DIY tutorial to build a simple charcuterie board. Make this wood serving board with elevated feet using basic plans.
Today is the final project in the 2021 Handbuilt Holiday series with Ana White. And we wanted to close out the year with an easy project that you can make from your scrap bin in under an hour. We’ve got lots of last minute easy gift ideas you can build, check them out here.
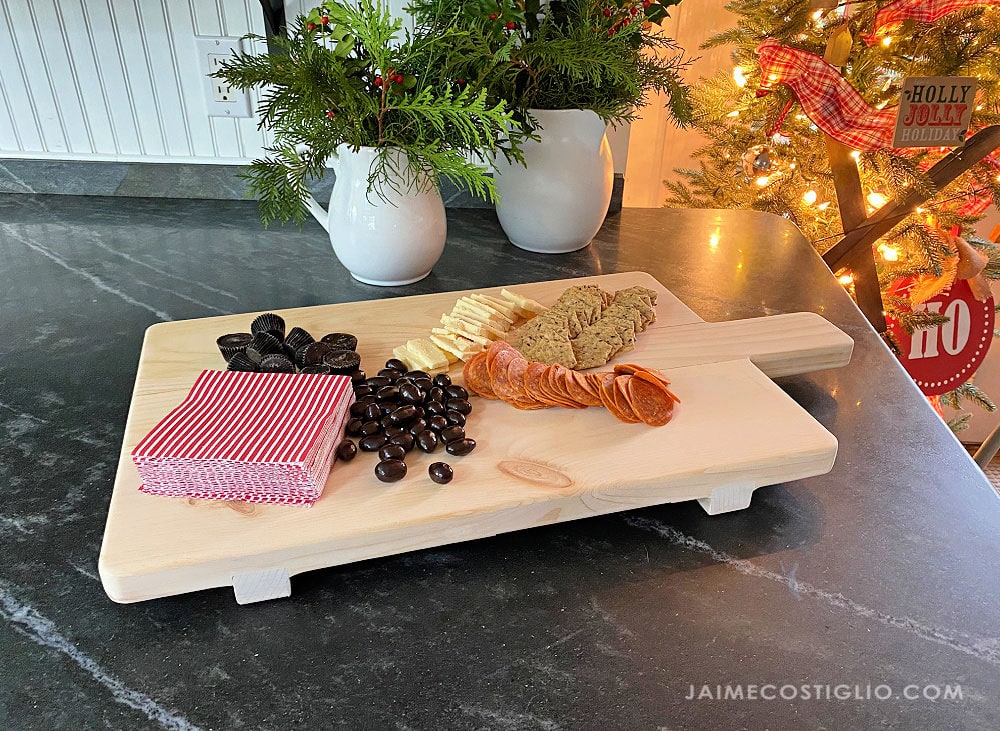
Wood Serving Board
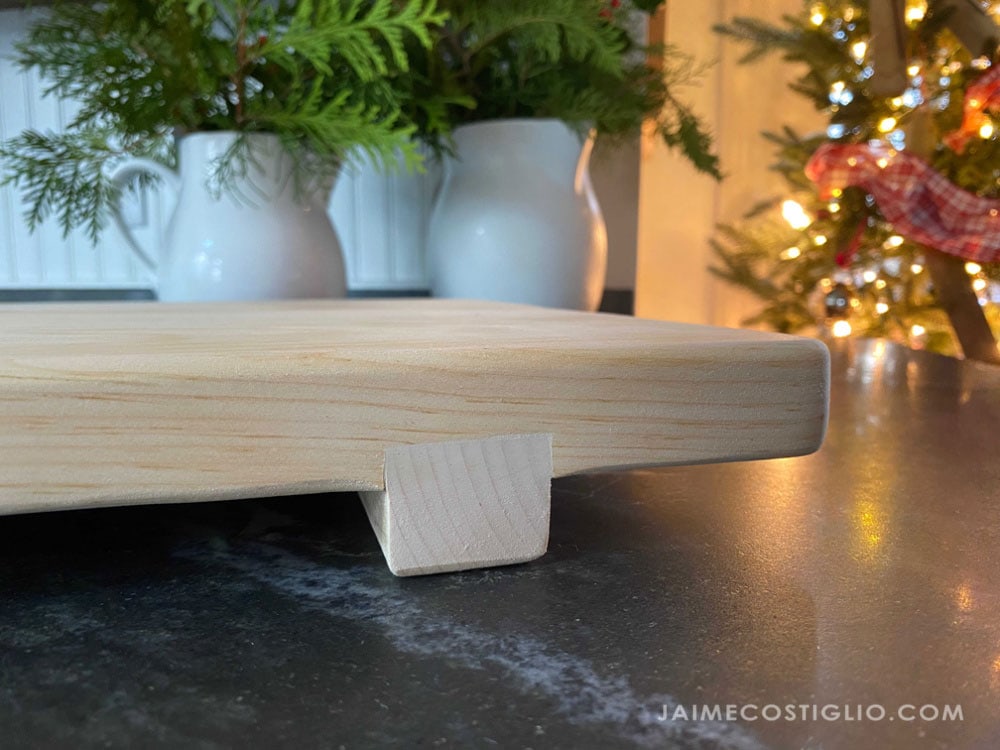
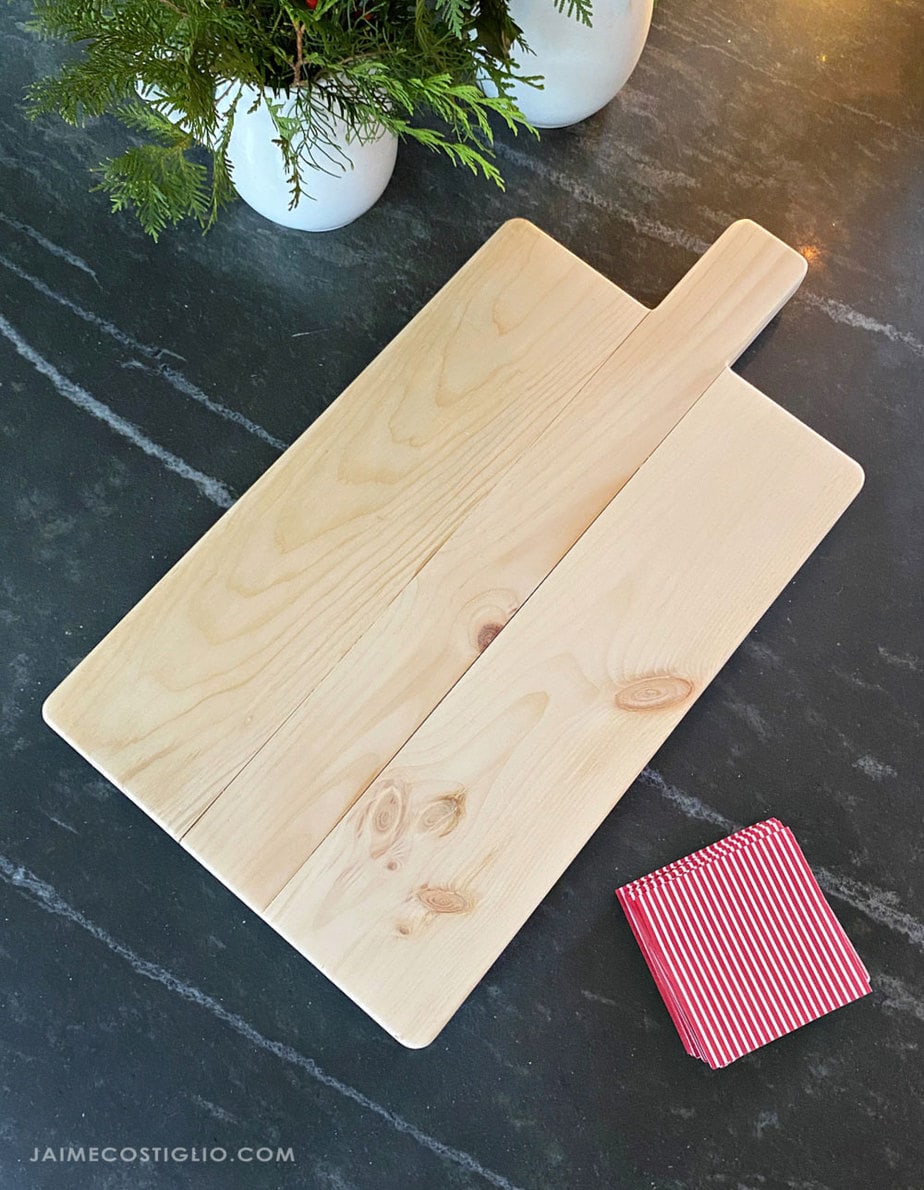
Isn’t she lovely? The clever addition of the cross supports underneath the serving boards raises the piece off the counter just enough, it elevates it’s purpose with a touch of fancy.
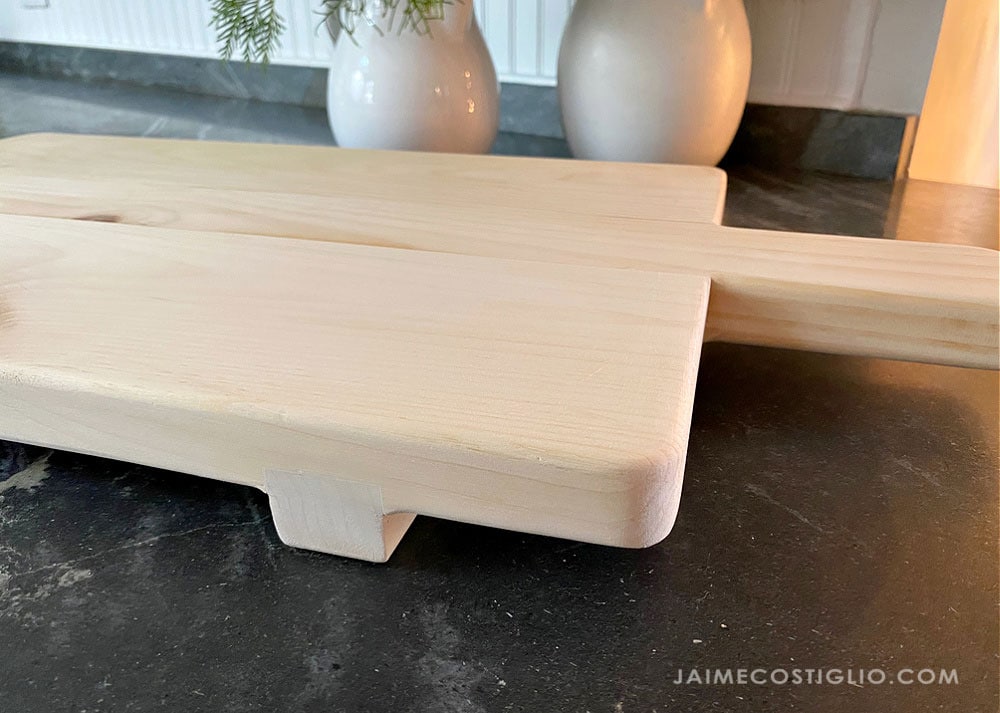
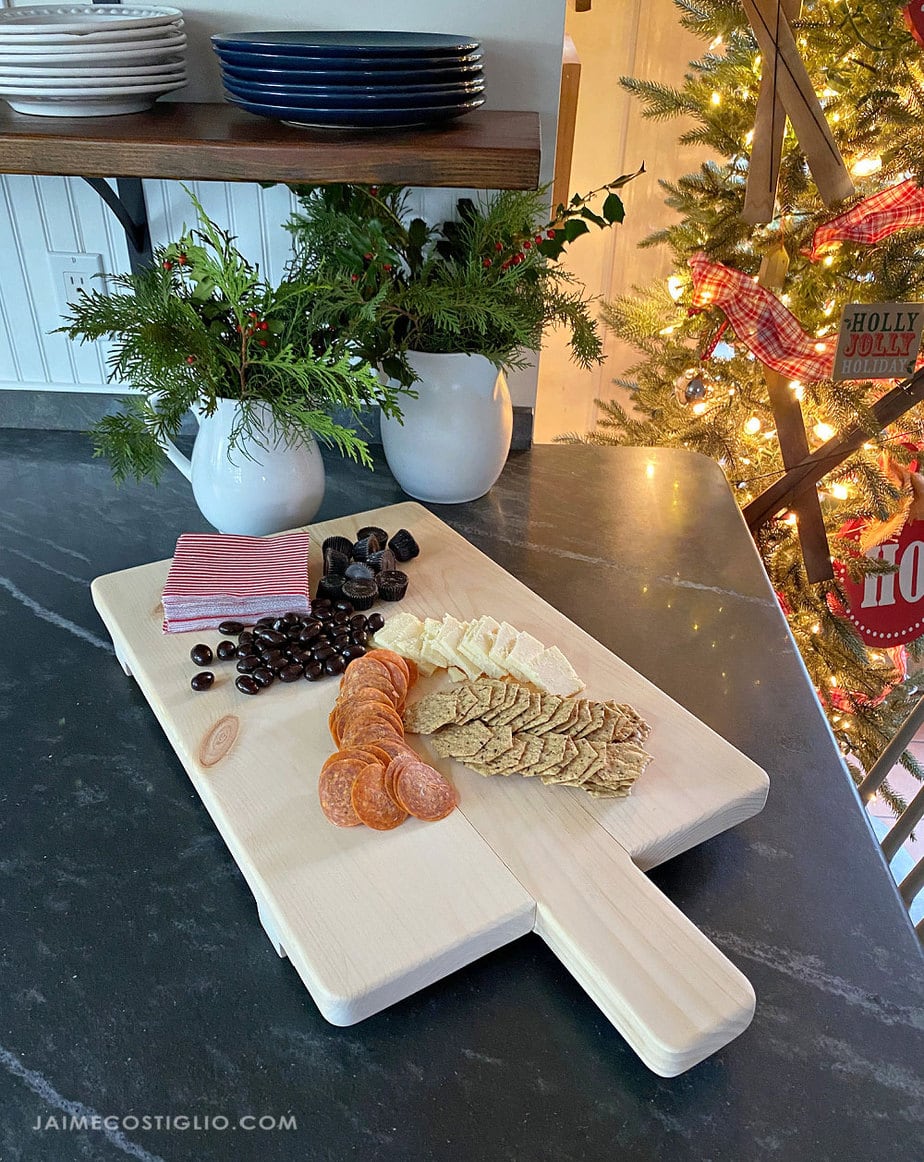
Ana designed this charcuterie board for anyone from beginner to advance builders. I absolutely love the handle and wide board proportions. There’s so many options for personalization here. You could make the handle many different shapes or even drill a hole in the handle as well.
Charcuterie Boards
Ana and I have shared a few serving board projects in the past:
Below are some building process photos. Be sure to follow Ana’s plans here and take note of your board widths to adjust cuts as needed.
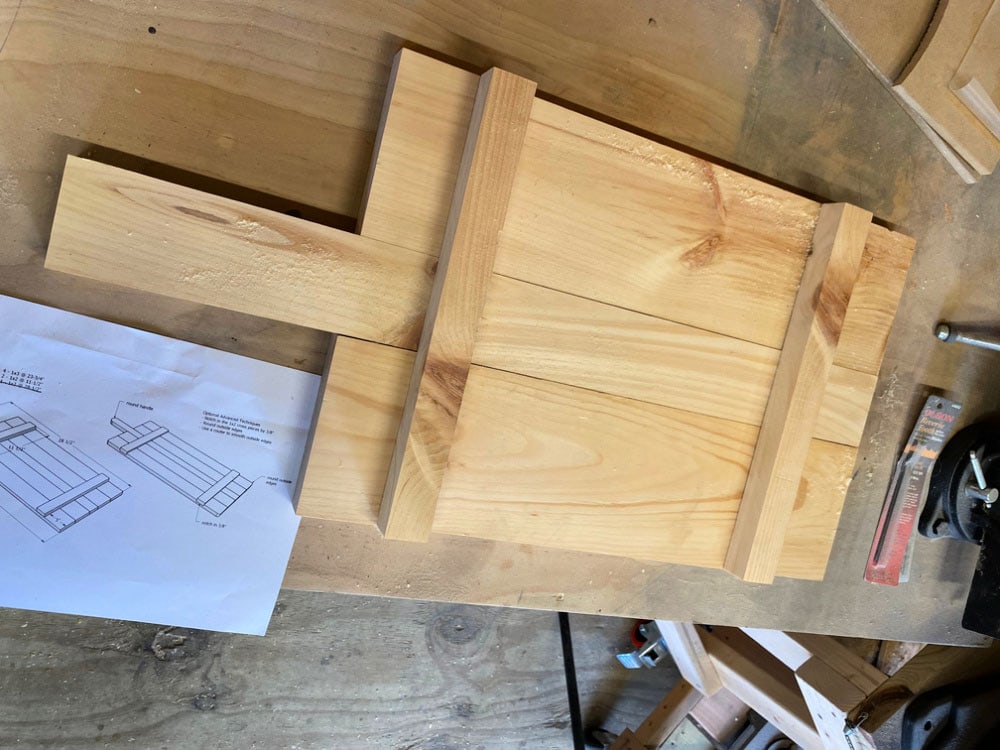
Above is the basic charcuterie board pieces cut and laid out. I used 5/4 boards I had on hand.
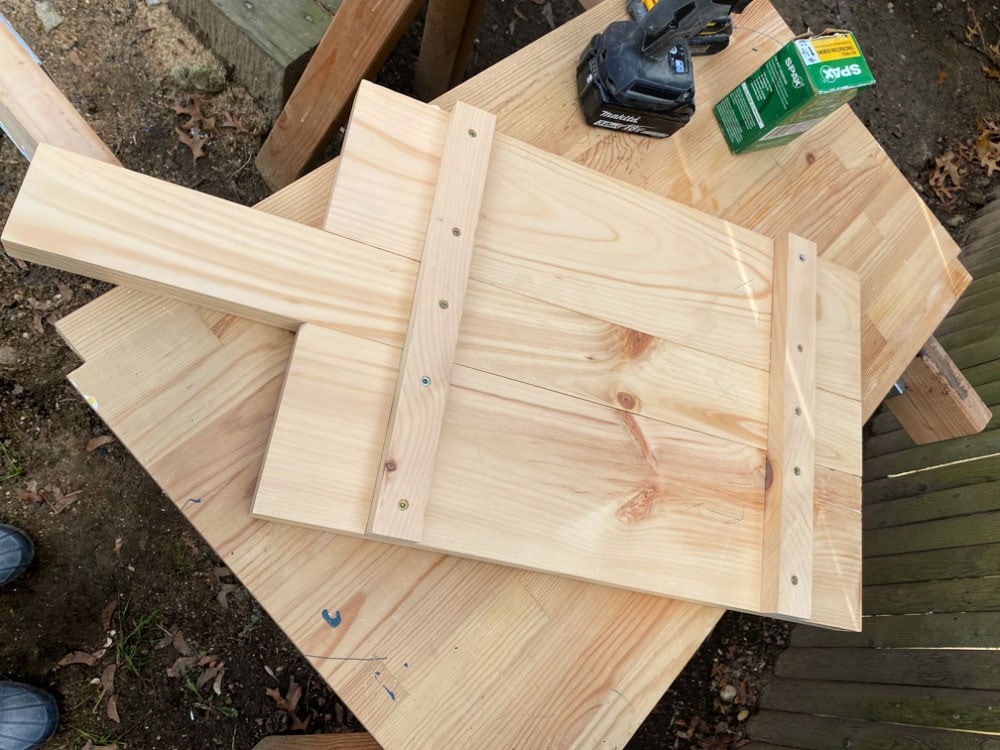
You can opt to inset the cross supports down into the top boards about 3/8″. I ran the boards through my table saw but you could also use a router. Then secure the cross supports to the top boards using 1 1/2″ wood screws.
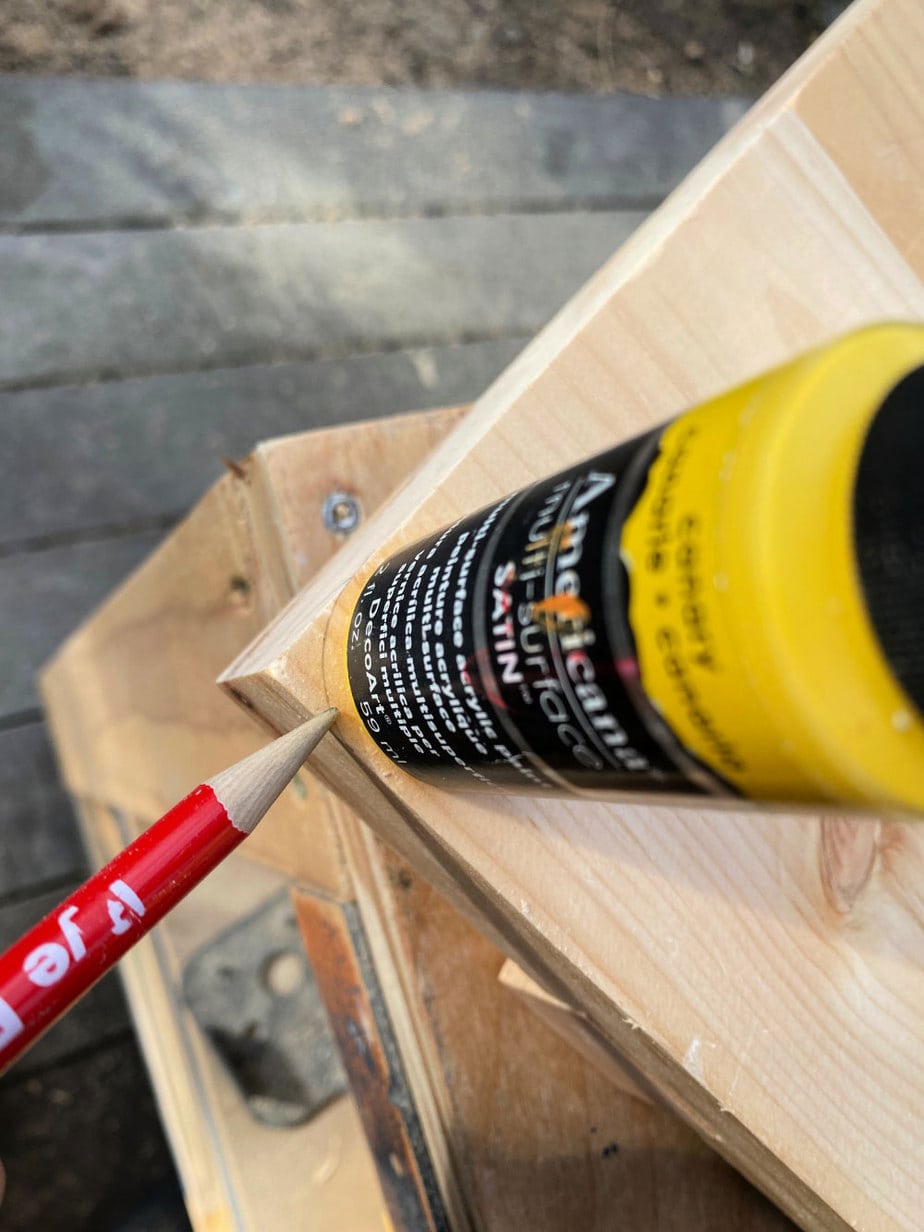
To make the rounded edges I traced a small paint container then cut the curve with a jig saw. And lastly I used my router with a roundover bit on all the edges to create that super smooth soft edge.
Thanks for joining me for this charcuterie board project. Please leave any questions in the comments below and be sure to follow me on social media for sneak peeks, tools and project inspiration:


Leave a Reply