A useful and purposeful project that makes a great gift as well. As part of the Handbuilt Holiday series Ana White and I are back with another gift project idea today. We are sharing this DIY tabletop lazy susan than is extremely appropriate for this time of year but also wonderful for any time as well.
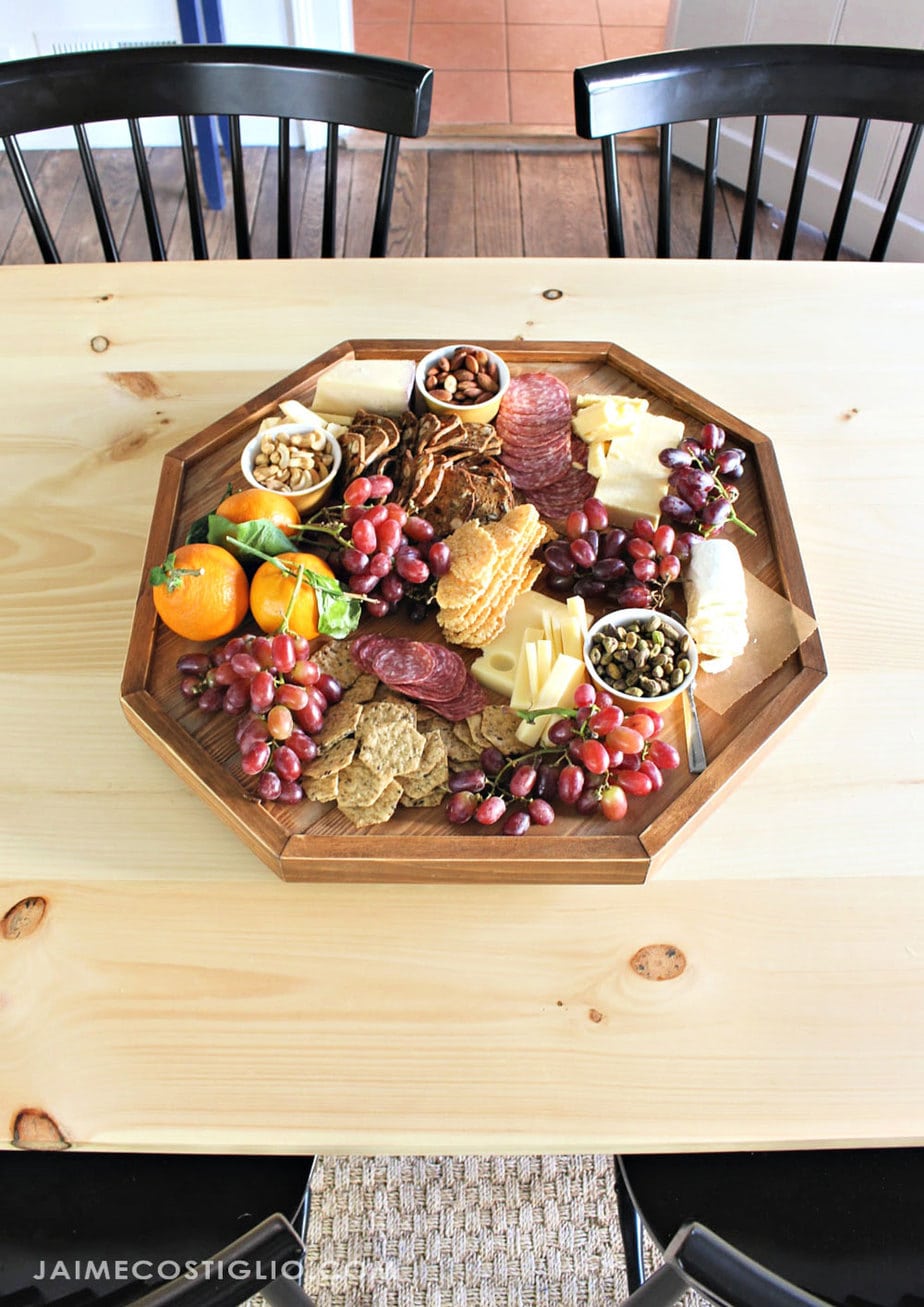
A DIY tutorial to build a modern tabletop lazy susan. Serve your friends and family using this elegant and fresh shaped wood lazy susan.
You can make this modern wood lazy susan, pile it high with amazing goodies and then bring it to your next holiday party as a hostess gift. Or make it for yourself and give your family a fun charcuterie style meal. Any which way you use this tabletop lazy susan is fine by me.
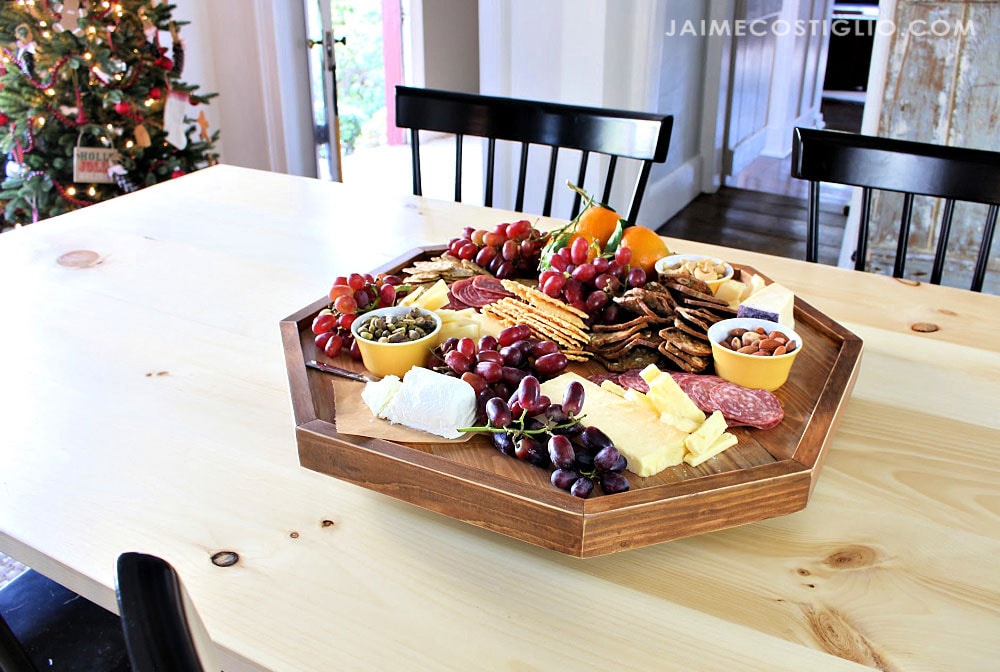
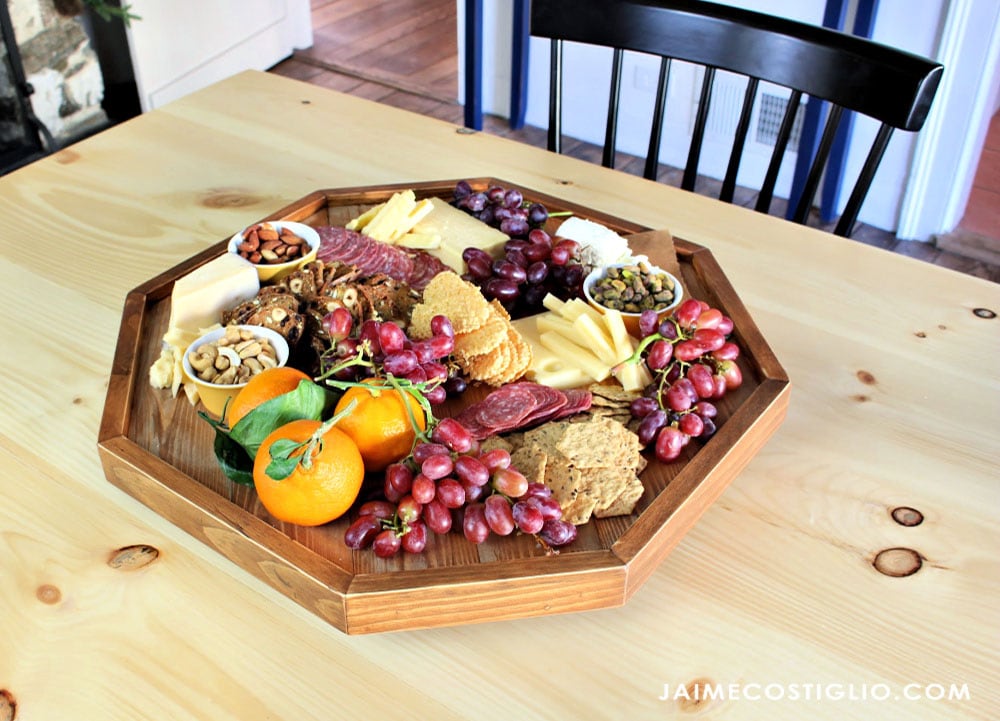
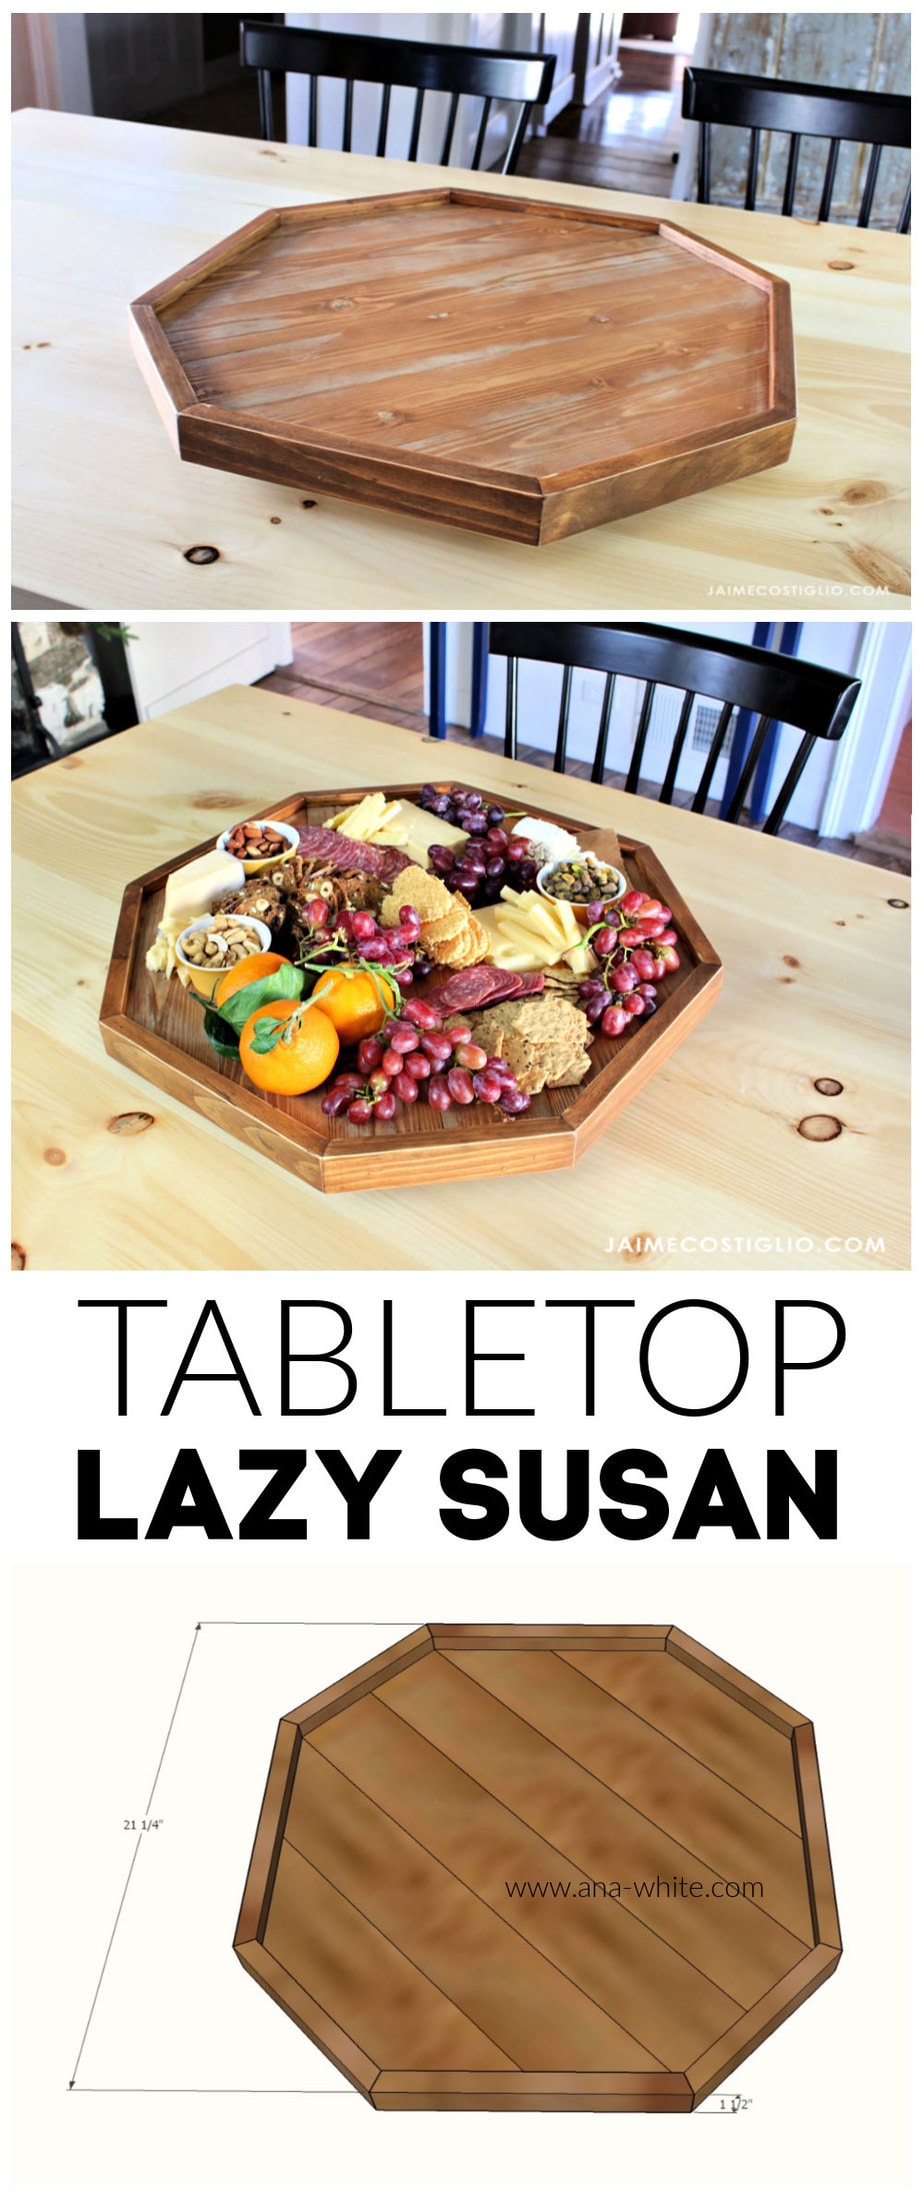
I’m loving the modern octagon shape with the lip edge on this lazy susan. We don’t want any food flying off the edge 😉 It’s the perfect serving tray that rotates so you can have a bit of everything without having to reach over.
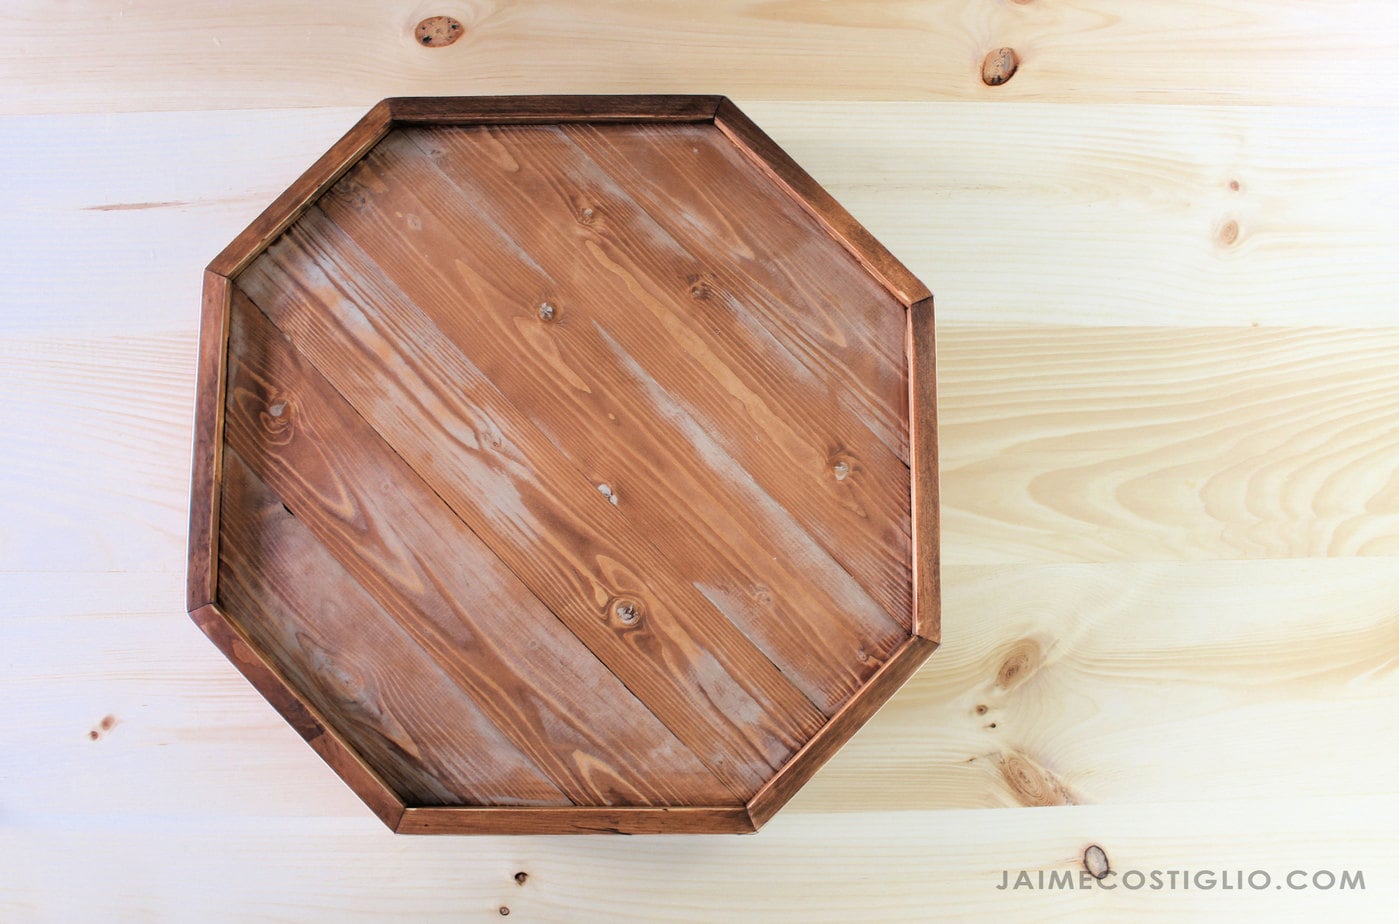
Modern Lazy Susan Features:
- octagon shape with planked serving area
- 1/2″ lip edge to contain items
- rotating turntable underneath
- solid and sturdy base
This year for the Handbuilt Holiday series Ana White and I have been focusing a bit more on hostess style gift ideas or adult gifts. We’ve done so many build projects for kids in the past we decided to add a few more adult themed gift ideas.
Adult Gift Ideas:
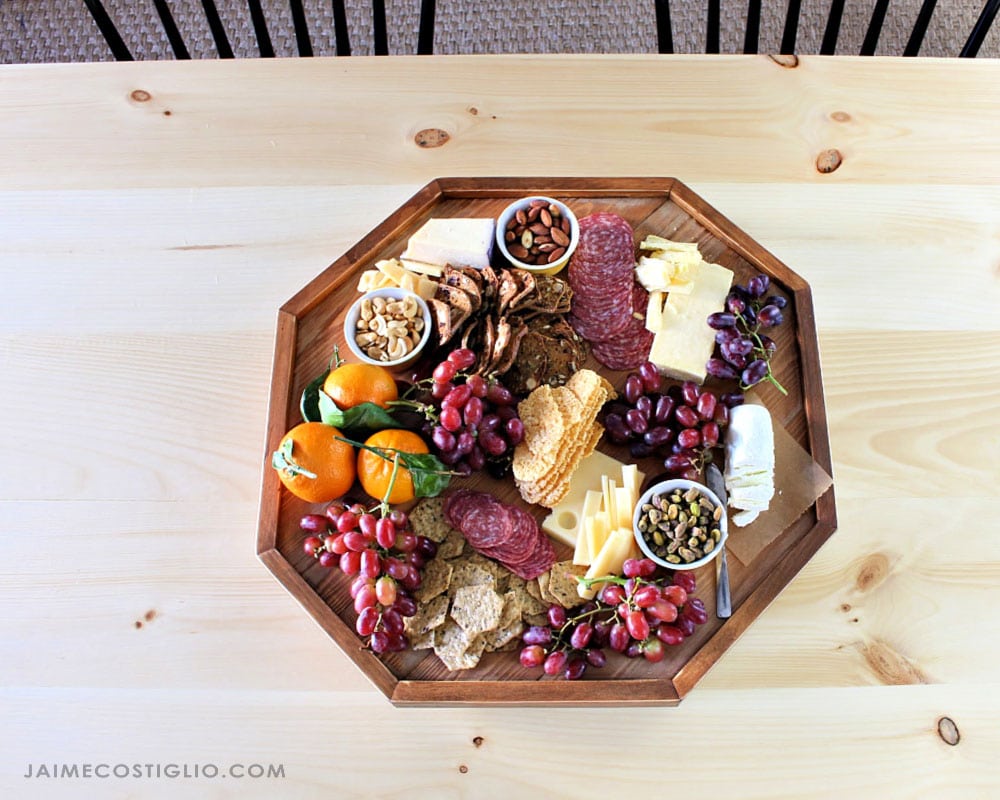
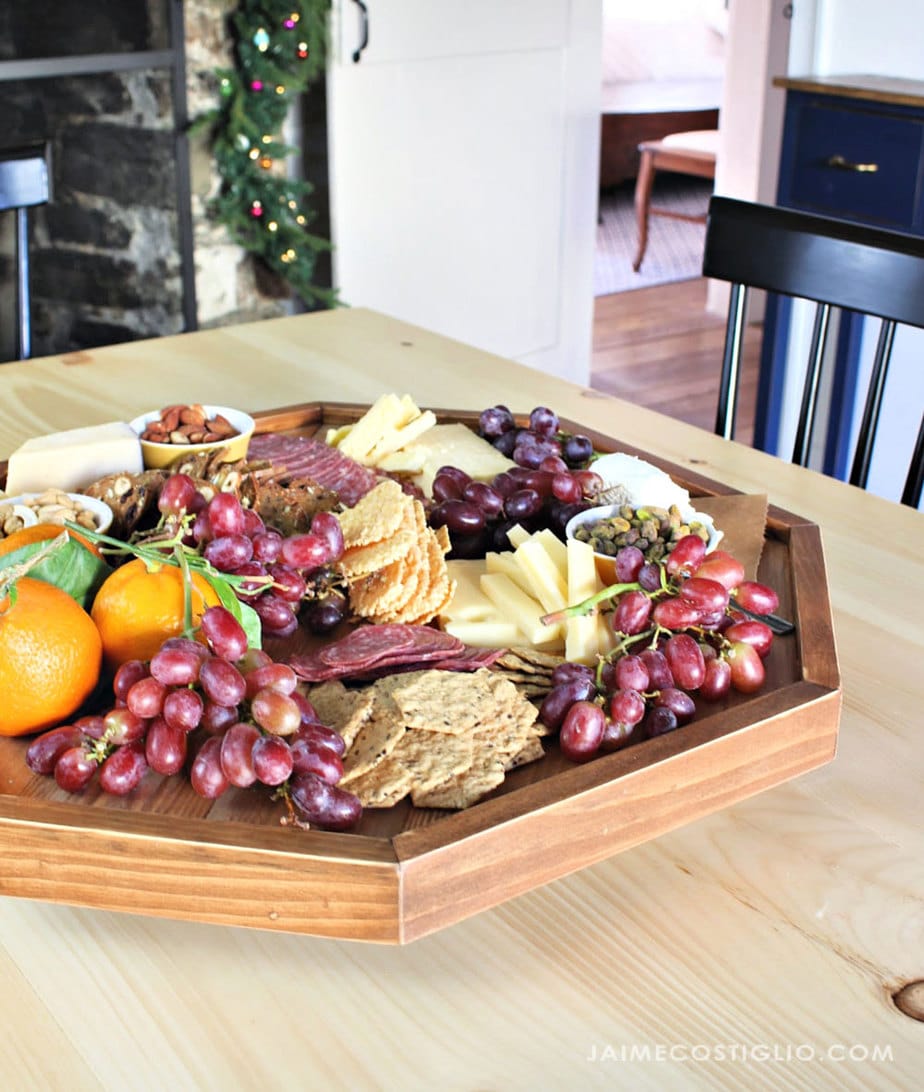
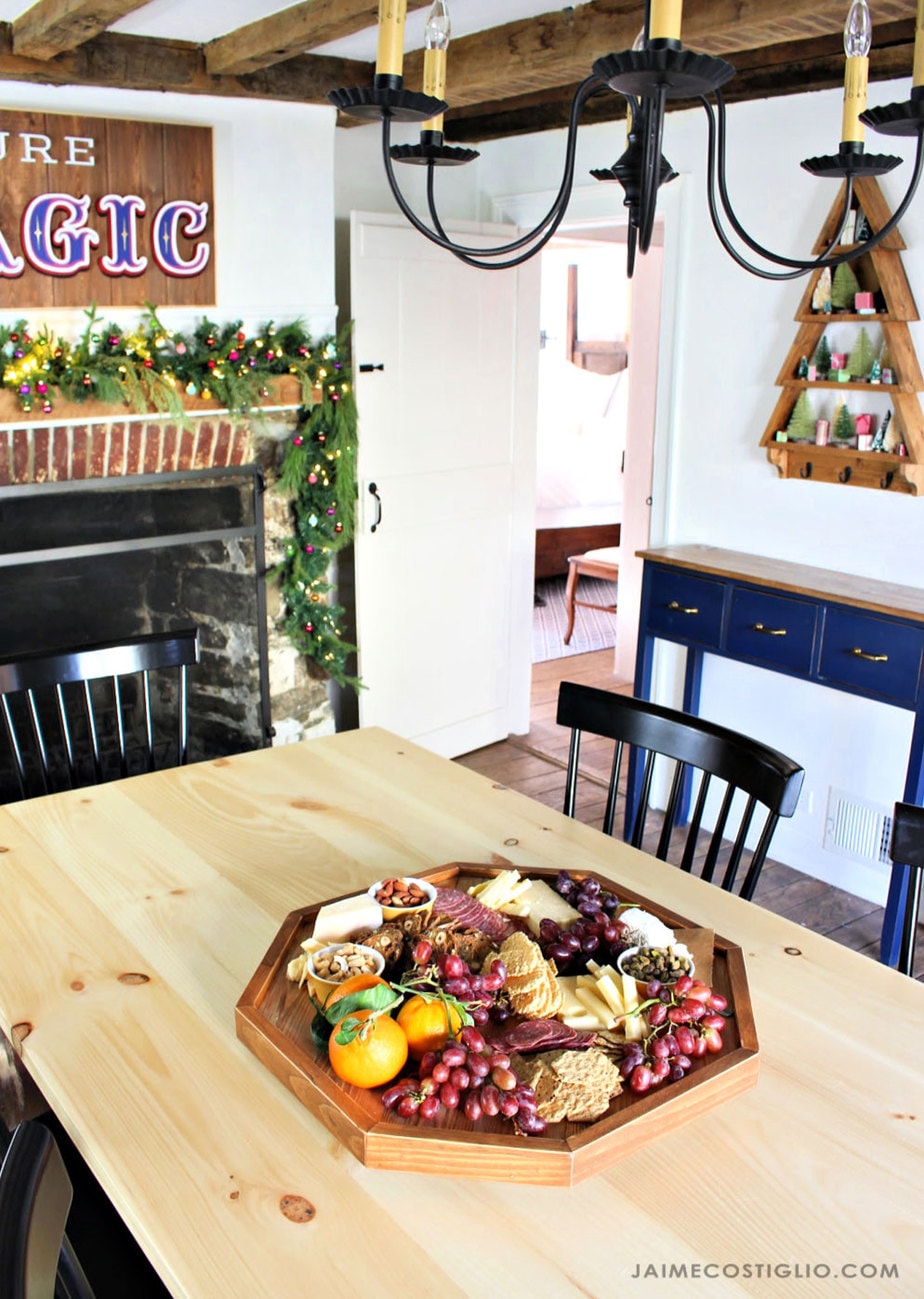
I just love how the modern shape filled with colorful goodies adds so much life and texture to my dining room table. You could place this lazy susan on any flat surface and it will work just fine.
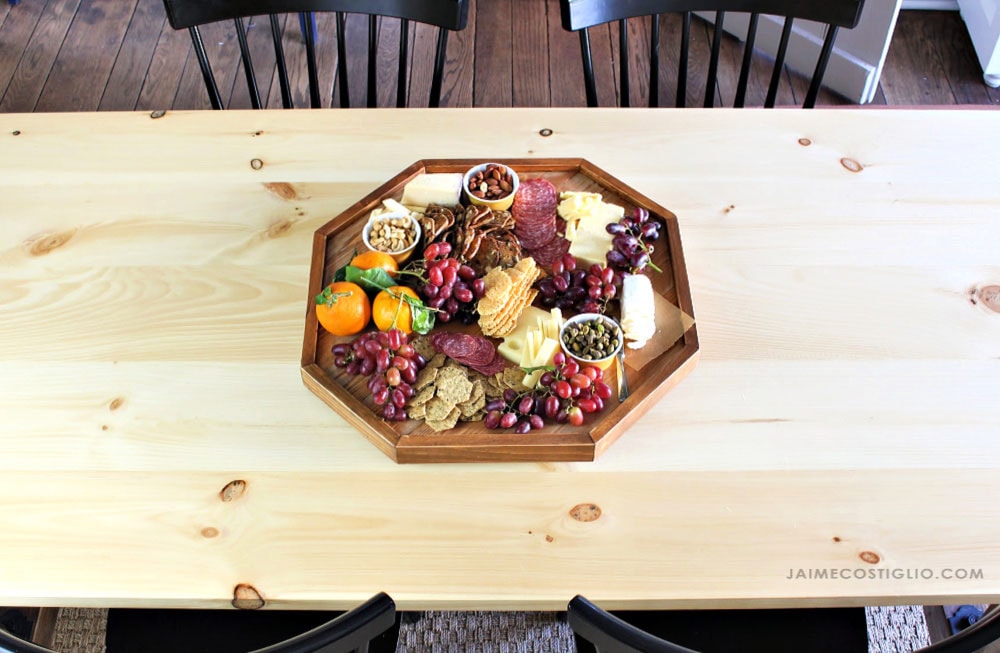
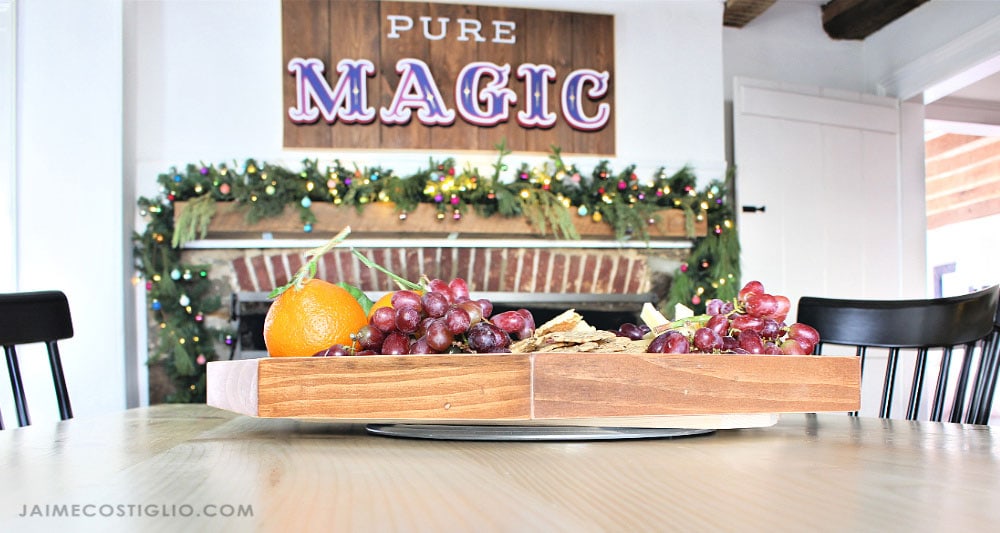
You can see in the photo above there is plenty of clearance between the table and the underside of the lazy susan. There is almost a 3/4″ gap between the tabletop and the bottom edge of the lazy susan so it can spin freely.
Be sure to stop over at Ana’s site here for the free plans and cut list. And scroll down below for a few build details and finishing notes.
Supplies:
- 12″ lazy susan turntable
- clear CA wood gap filler
- instant set accelerator
- Varathane early american stain
- Varathane clear satin polyurethane
- felt pads
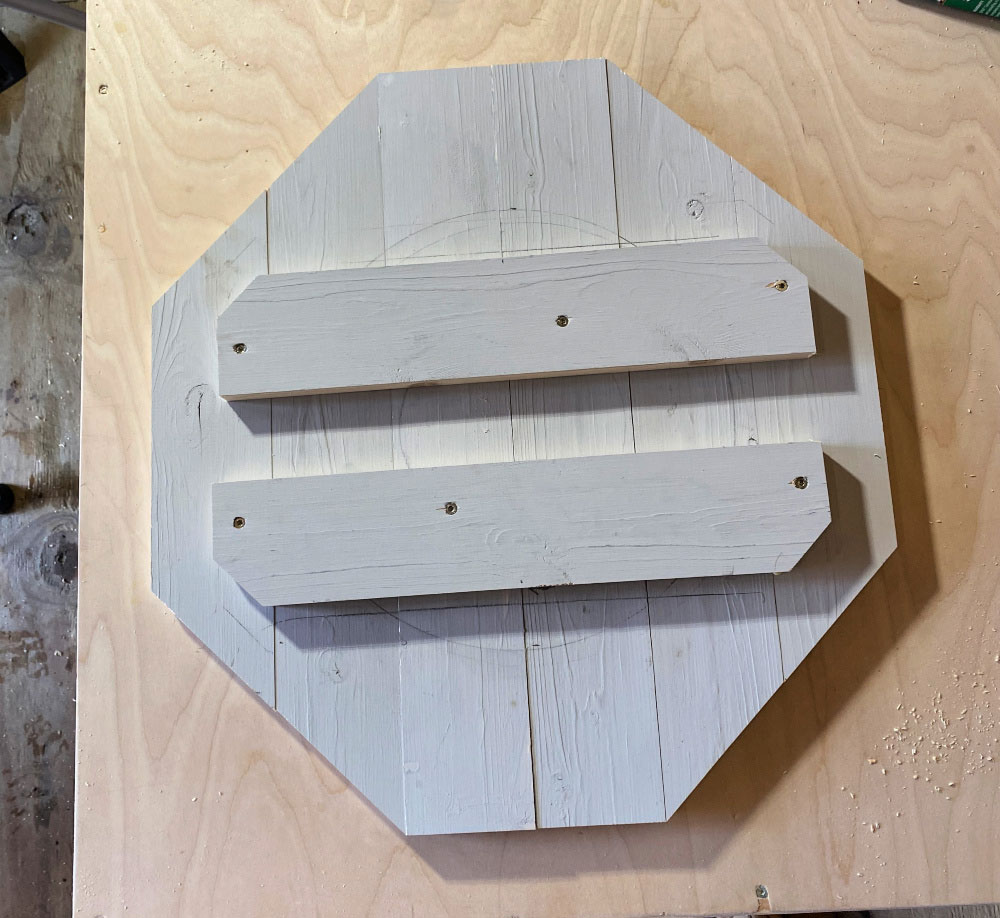
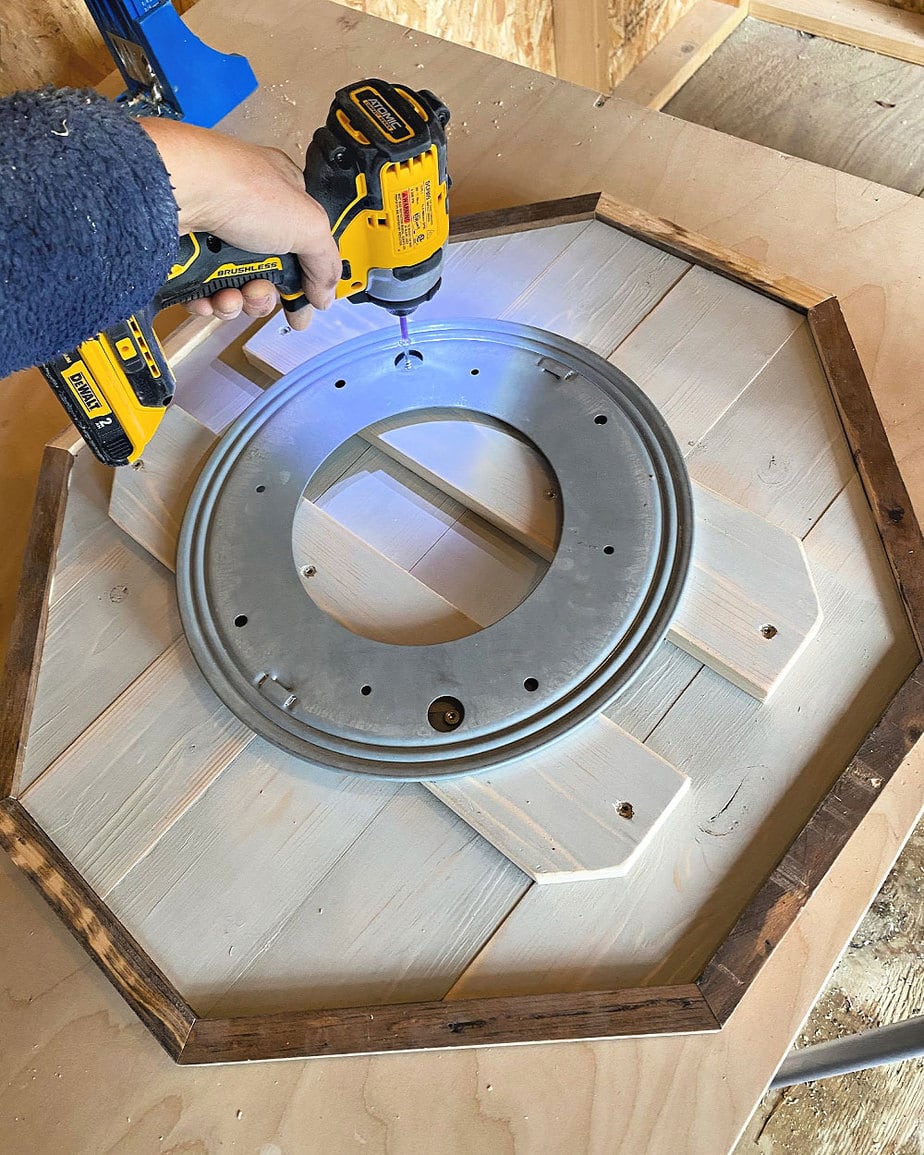
As per Ana’s plans here attach the underside supports to the top planks using wood glue and 1 1/4″ countersunk screws. Then cut the trim pieces and attach. I opted to keep a 1/2″ reveal on the top side.
The essential and only piece of hardware you need for this project is the lazy susan mechanism. I used a 12″ lazy susan turntable from Amazon here. Given the large size of this modern octagon shape I opted for a larger 12″ turntable. You could probably use the standard 6″ turntable and be fine but I felt the wider base would give more stability.
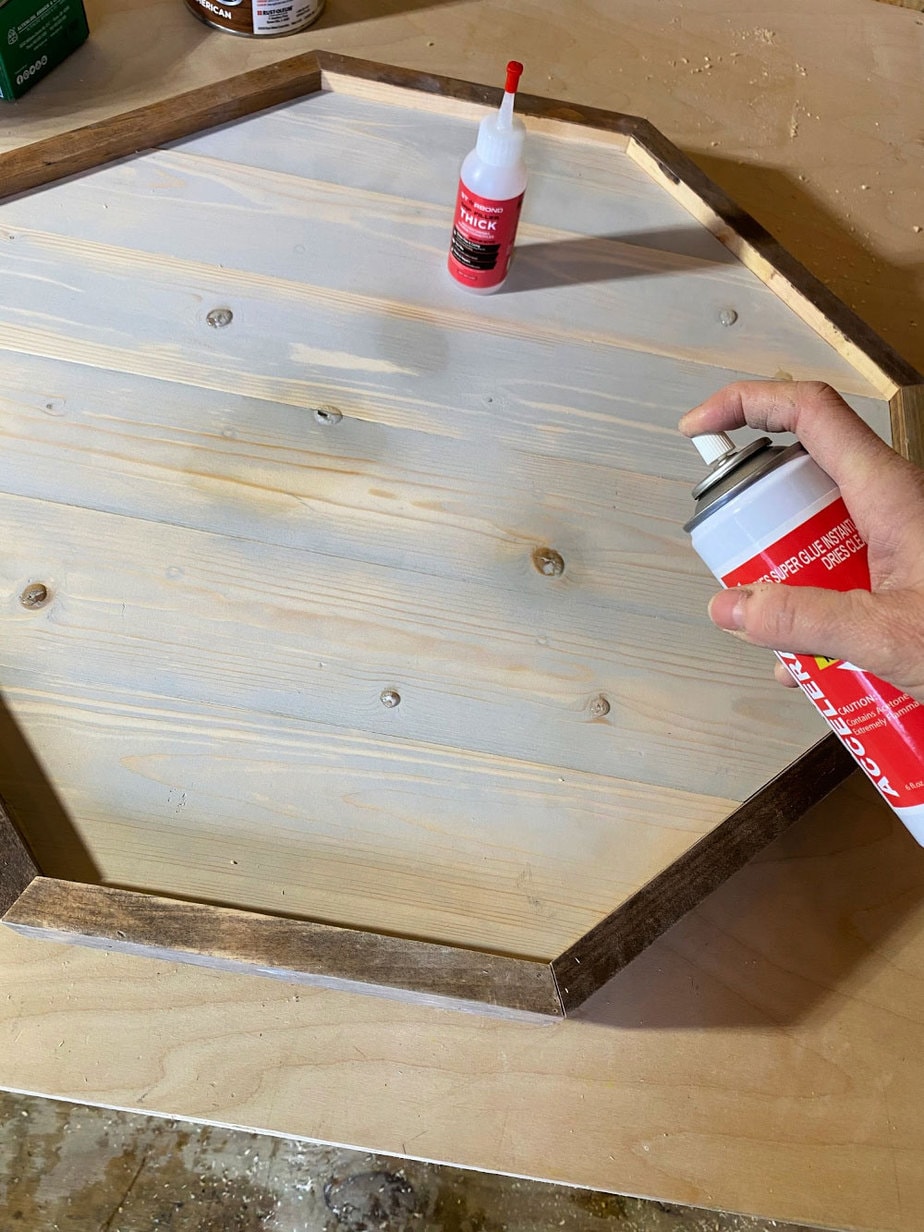
To finish this modern tray I filled the knots and voids with clear CA glue and then sprayed with accelerator for fast dry. Then sand everything smooth, stain with Varathane early american and seal with two coats of clear satin polyurethane. Also be sure to attach adhesive felt pads to the turntable hardware so it won’t scratch the table.
Thanks for joining me for this modern tabletop lazy susan project. Please leave any questions in the comments below and be sure to follow me on social media for sneak peeks, tools and project inspiration:
Instagram / Pinterest / Facebook / Youtube / Twitter
SHOP THIS PROJECT:





This is a great project. I like to use lazy susan attachments. Will try to make a couple of these and give one as gift.
Thanks again for a great project Jaime. I always check out what you have posted and do not have enough time toi make all. Keep up the great work.
I love this idea, thank you for sharing the plans! My only question is if you know if the stain and polyurethane are safe for something food will be served off of? Hoping to make this for our Christmas dinner in two weeks but wanted to double check. 🙂
Thanks Casey. All finishes are food safe once cured. Curing time varies depending on what finish you choose but it will say in the instructions. And if you’re still unsure you can always put down parchment or wax paper as a barrier. Good luck!