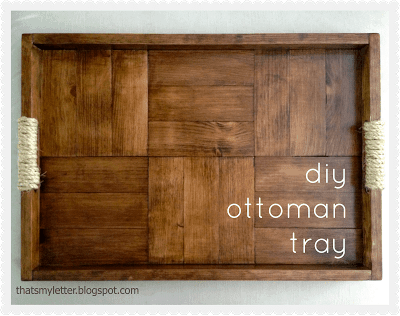
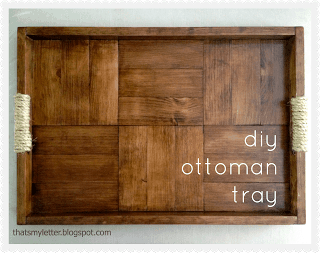
Build your own parquet patterned ottoman tray with handles using my free plans down below.
A DIY tutorial to build an ottoman tray with a parquet pattern. Gather up your scrap wood because this tray is super easy and useful.
Ottoman Tray
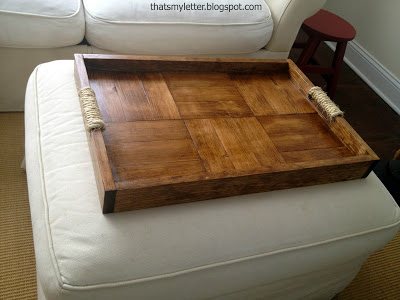
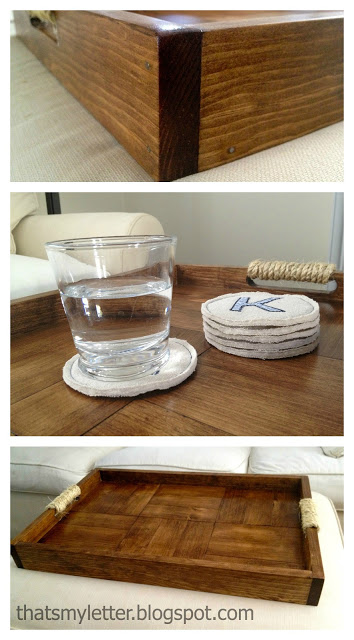
I built this tray for my neighbors who have a large ottoman in their family room (bigger than the one in these pictures) which serves as a coffee table. The tray is really meant for one thing – drinks – a hard surface to place your drink on while watching the game or relaxing.
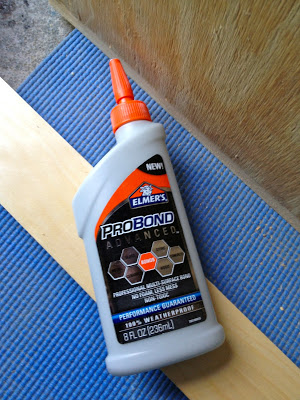
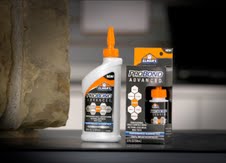
For this project I had the chance to try this new Elmer’s product: ProBond Advanced™.
And I love it!!!
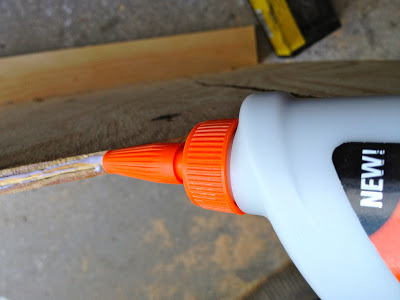
It’s a multi-surface glue which means you can use it on nearly everything from wood to metal and concrete but the best part is that it dries virtually clear. Another great feature is the narrow nozzle which allows you to control exactly where the glue is going.
Elmer’s ProBond Advanced™ is available at most home improvement and hardware stores and it even comes it the cutest 2oz bottle that would be perfect for a build-it party or craft event where each person needs their own personal size bottle:
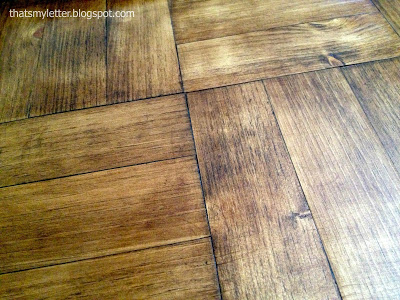
Parquet Pattern
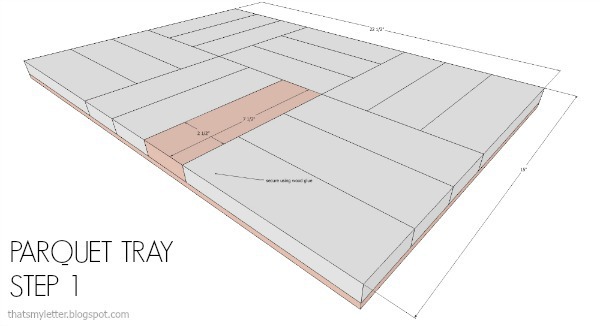
I used the Elmer’s ProBond Advanced™ all over this project but most importantly to glue down the 1×3 pine boards onto the plywood which makes up the parquet pattern.
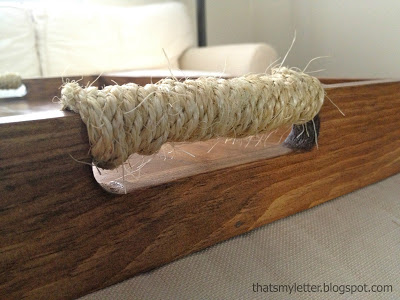
And I added rope to the handles for a little visual interest and to provide more support.
Below are step by step instructions to build this ottoman tray. Always follow all safety precautions when using power tools.
Supplies:
- 3 – 1x3x8 pine board
- 1 – ¼” plywood handy panel 2’ x 4’
- 1 ¼” finish nails
- ¾” finish nails
- wood glue
Cut List:
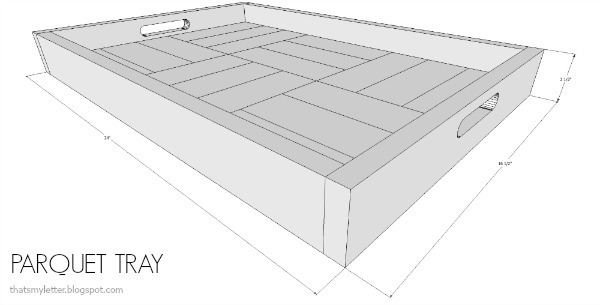
- 18 – 1×3 @ 7 ½” pine board (parquet design)
- 1 – ¼” plywood @ 22 ½” x 15” (base)
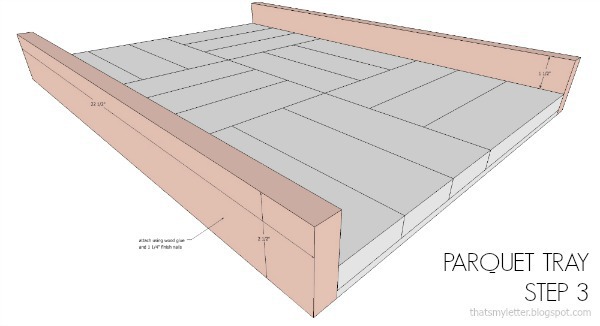
- 2 – 1×3 @22 ½” pine board (long sides)
- 2 – 1×3 @ 16 1/2” pine board (short sides)
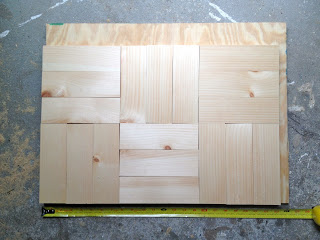
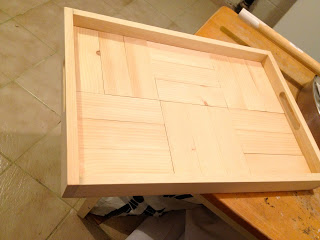
Step 1: Align the parquet pattern pieces onto the plywood base and glue. Use weights (heavy books, paint cans) to keep boards in place while glue dries.
I suggest laying out the pattern pieces first and then cutting plywood base to fit.
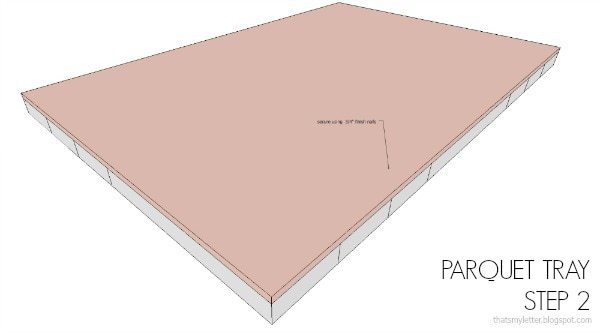
Step 2: Once the glue is dry flip the plywood over and secure the base to parquet pieces using ¾” finish nails.
Step 3: Attach the long sides using 1 ¼” finish nails.
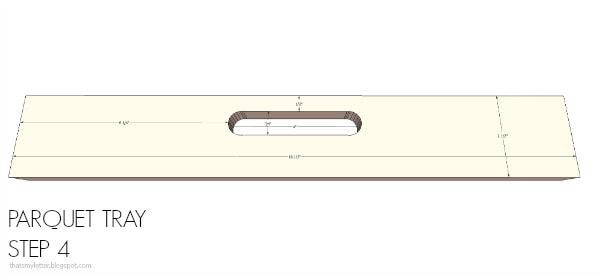
Step 4: Cut out the handle slot in the short sides. Use spade bit at corners then jigsaw the middle portion. Make 2.
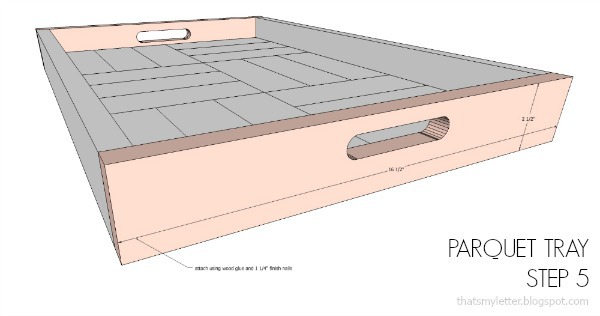
Step 5: Attach short sides using wood glue and 1 ¼” finish nails.
Finish
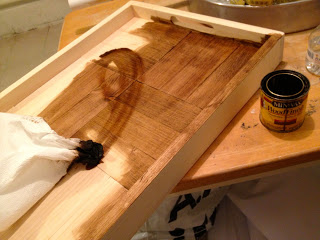
Sand well and apply Minwax provincial stain:
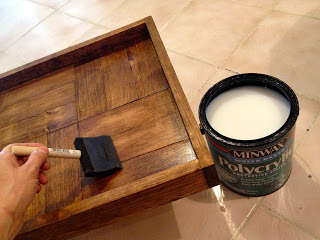
Seal with 2 coats Minwax polycrylic clear satin, sanding in between coats.
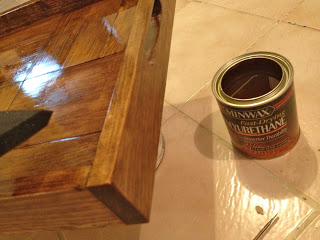
To give a little shine and protect from water rings use one coat oil-based Minwax polyurethane semi-gloss.
Rope Handle
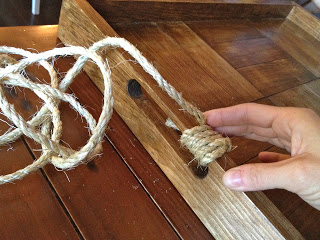
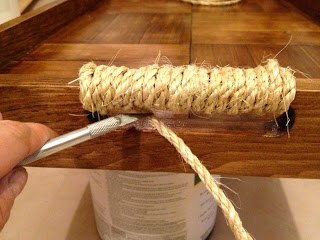
To add rope to the handle begin with cut end on the underside of the wood handle and wrap the rope tight over and around handle.
Continue to the end and use a skewer to thread the end of the rope under the last 3 loops. Then pull the loops and end of rope tight for a secure hold. Lastly trim the end of rope with exacto knife.


That is so pretty Jaime:)
Another wonderful project and the possibilites are endless. You can create so many different finishes, I keep imagining silver leaf on the tray. I love the rope handles, really nice 🙂
What a beautiful tray! Love the rope handles.
Nice weekend project idea, Jaime. The Provincial stain looks perfect with that lighter colored rope. Great choice.
-Bruce
Beautiful!! I love power tool projects. Thank you for sharing.
I'd like to ask my dad to make this. Can you tell me what the finished dimensions are?