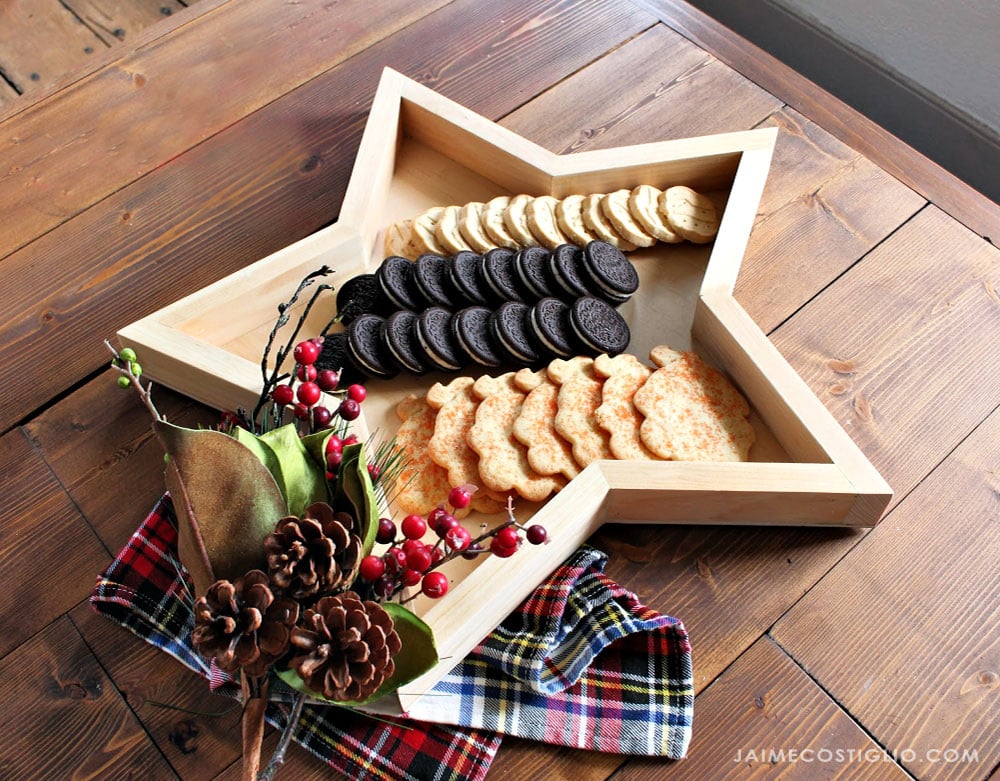
It’s all about the gift giving and boy that feels good right? Even better when you make the gift! How about a handmade star tray for a beautiful hostess gift? Bring this DIY wood star serving tray filled with yummies to your next holiday party and the hosts will be forever grateful.
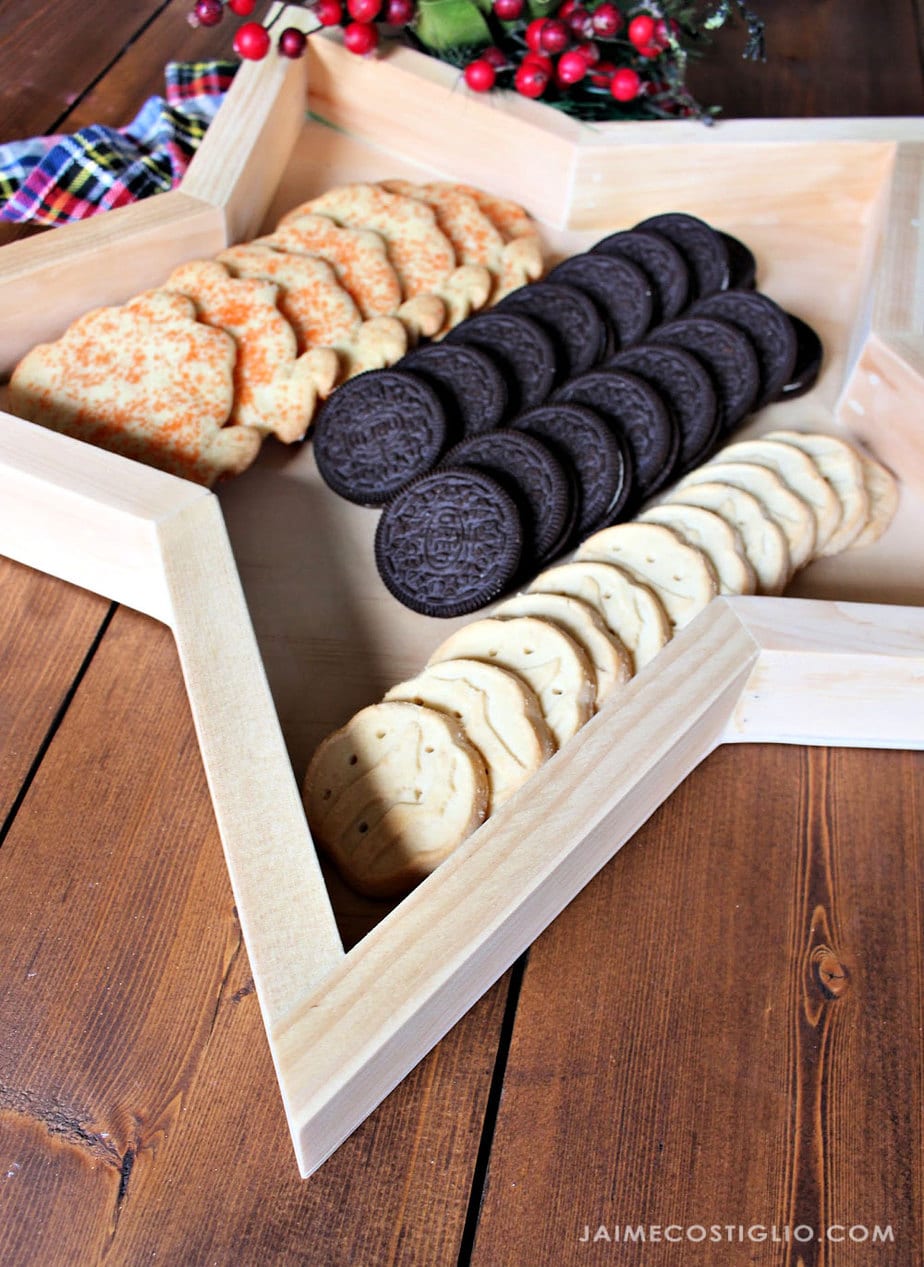
A DIY tutorial to build a wood star tray. Make this star shaped serving tray for your holiday party or even better the perfect hostess gift!
Ana White and I are back with another Handbuilt Holiday gift project idea. This time it’s a home decor gift that’s beautiful and useful especially during this festive season. And best of all you can make it rather quickly using just a few supplies.
Star Serving Tray
- beautiful five pointed star shape
- plenty of space for goodies
- make it savory or sweet
- perfect 1 1/2″ depth
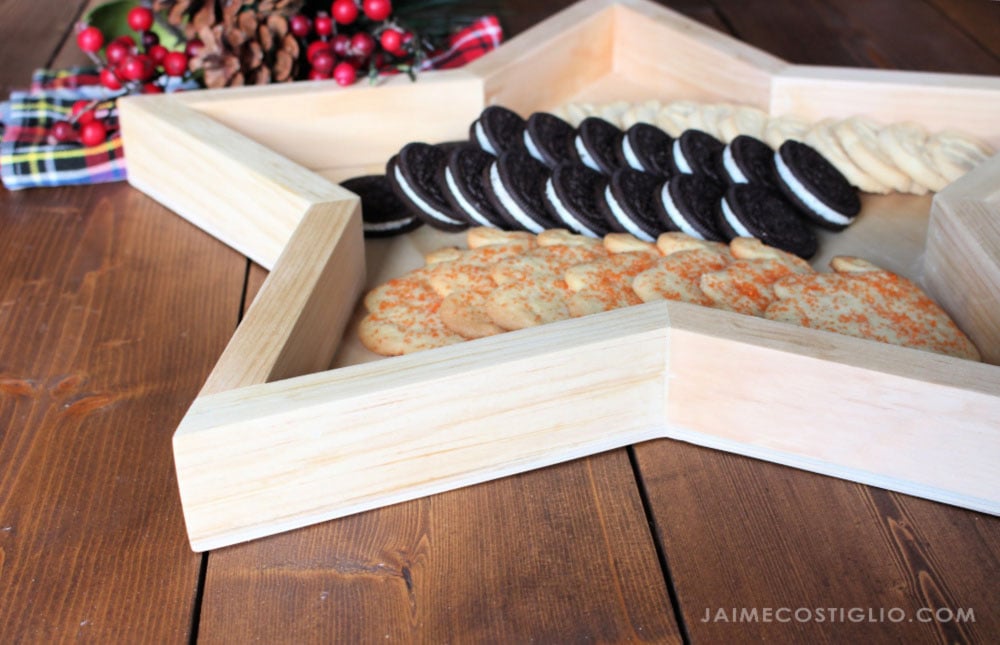
Ana designed this star tray with easy mitered angles you can cut on any miter saw. And with five repeated cuts it’s a super quick project that you can put together in less than an hour.
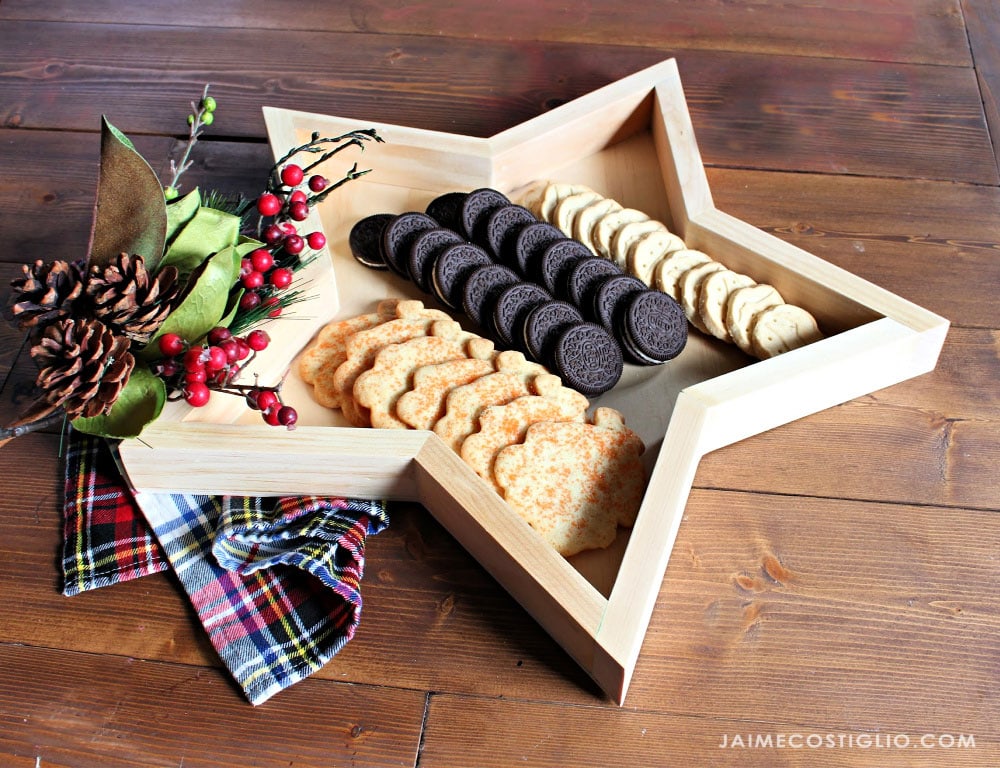
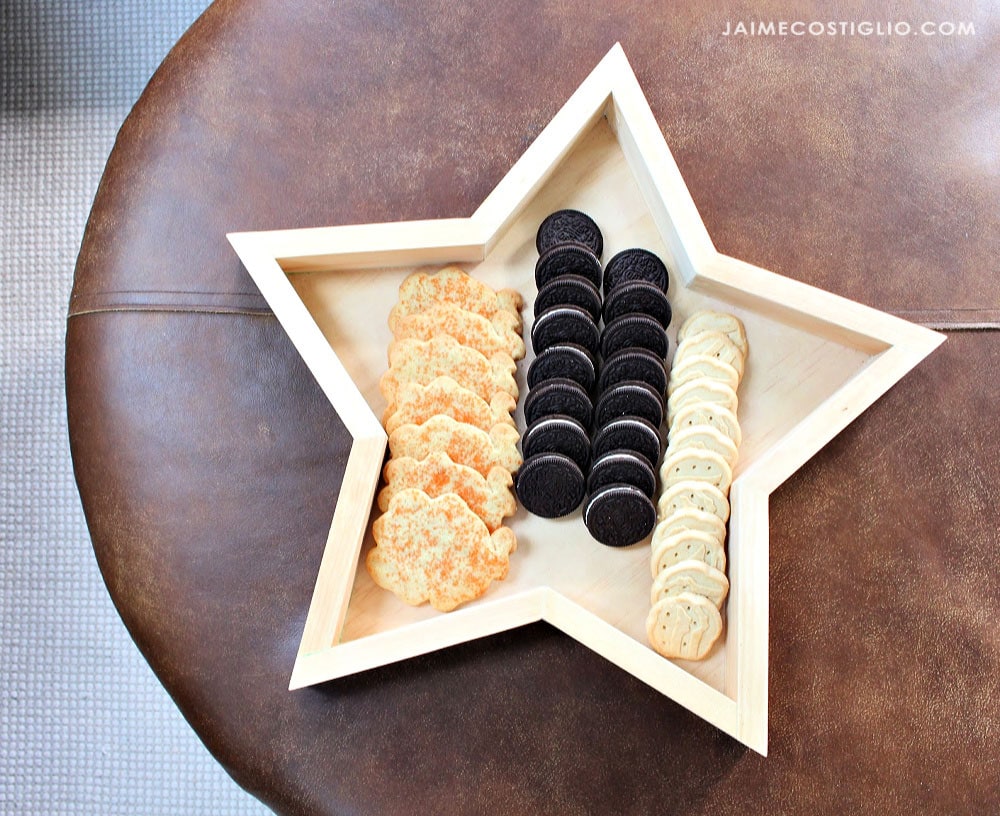
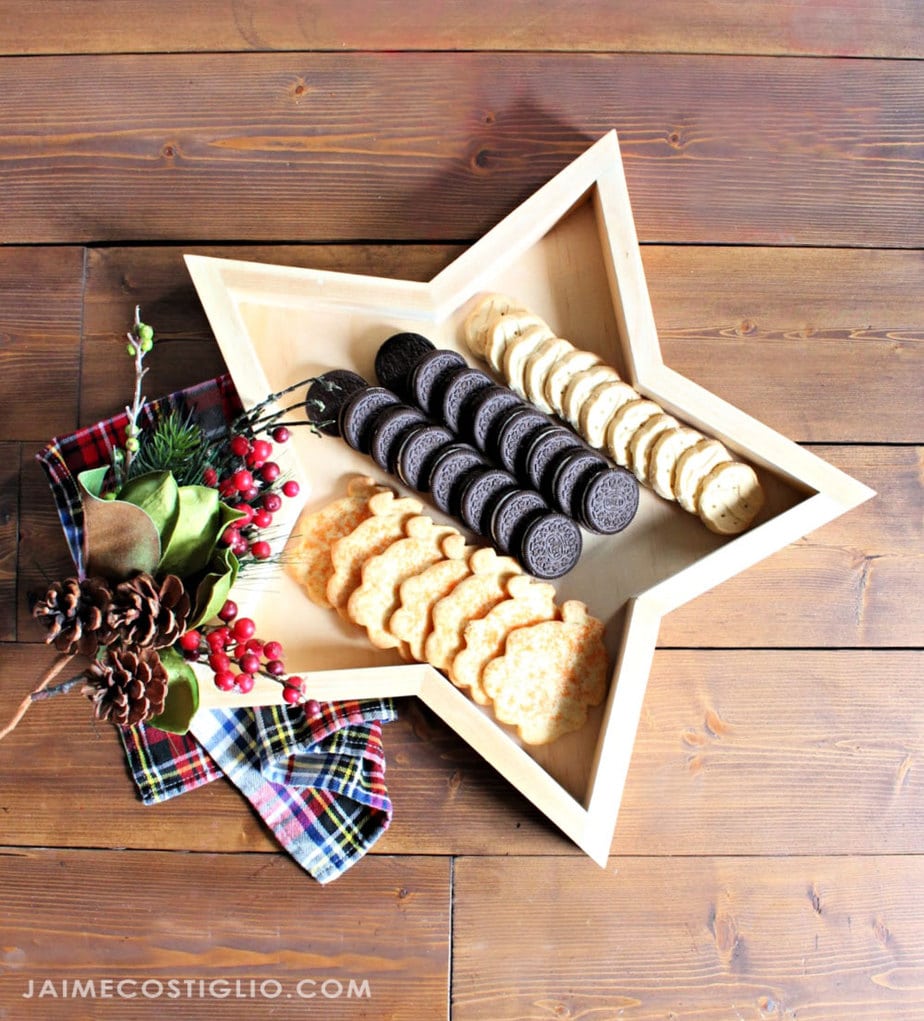
I choose to go with a clear satin poly spray finish. I just love the natural wood tone and honestly I didn’t have time to wait for stain to dry. If you do choose to finish the star tray with stain be sure it is completely dry and you must seal it with a polyurethane. Once the poly is cured it is food safe. And if you’re still hesitant about placing food on the wood just put down a piece of wax paper.
Ana has the plans to make this star tray here. Be sure to read through the steps first and check my notes down below before beginning.
Supplies:
- miter saw
- measuring tape
- pencil
- pneumatic nail gun
- 1″ and 3/4″ brad nails
- wood glue
- jig saw
- sander
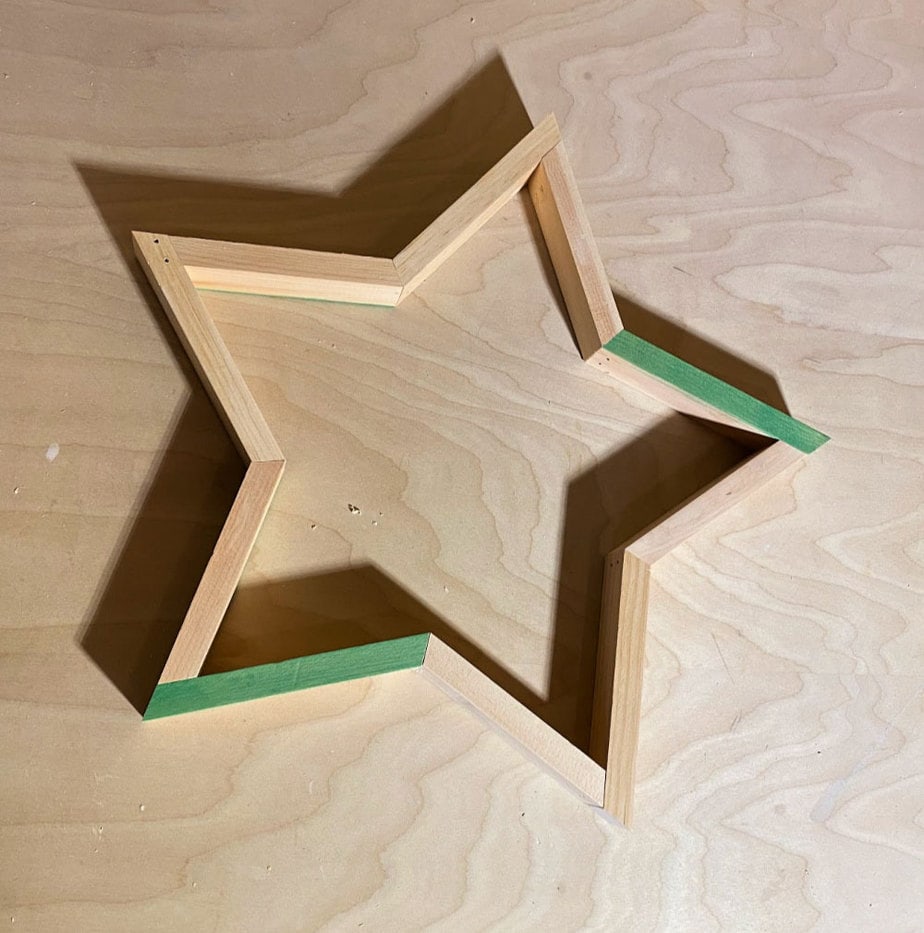
Join the 5 angled side portions first and then dry fit the whole star shape to be sure it looks proper. When attaching the angled pieces clamp each piece to the table and then nail in position. This helps the keep the angled joint secure while driving the brad nails.
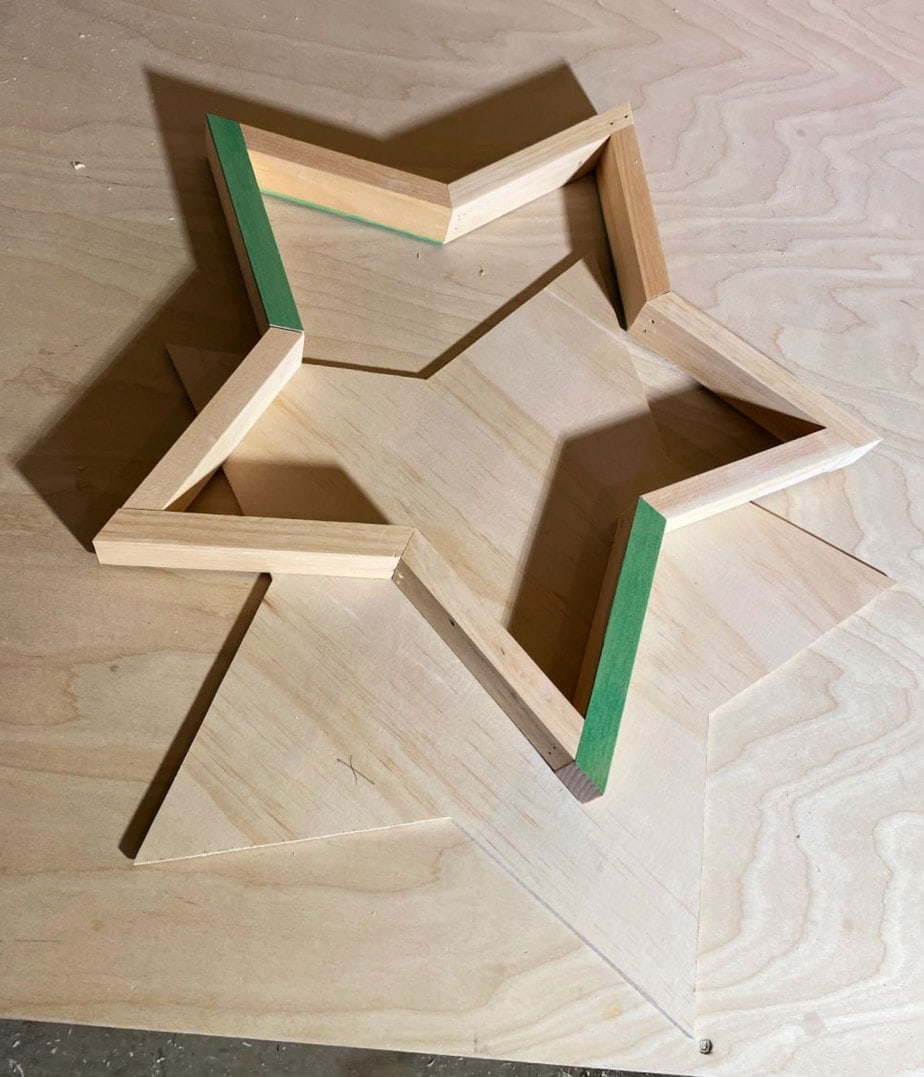
For the backing I placed the star shape on top of the 1/4″ plywood and then traced around the edge. Be sure to make an x on the backing and a corresponding x on the star to match up the shape. Although technically all the sides should be equal that doesn’t always happen and it will save frustration when you try to attach the back and it matches up perfectly.
More Star Projects
If you love the star shape be sure to check out my open wood wall stars. The shape is slightly more pointy with a different look you may be interested in here.
Thanks for joining me for this star tray project. Please leave any questions in the comments below and be sure to follow me on social media for sneak peeks, tools and project inspiration:
Instagram / Pinterest / Facebook / Youtube / Twitter
SHOP THIS PROJECT:




Do you make this star tray for purchase, I would need 15 of them and what do you charge if you do
Hi Selena, thanks for asking. I don’t make this tray for purchase but we have the plans available if you can find someone local. Good luck!
This is my first attempt at woodworking. I don’t understand in the plans how I can take a 13″ piece of wood and cutting it at a length of 6 1/2 ” leaving you with 5 1/2″ per the drawing. 6 1/2 + 5 1/2 equals 12. Add the thickness of the blade for that 1 cut of the 13″ piece and I don’t get even close to 13″. Please help!! Very frustrating for my first attempt.
Hi Ken, the 13″ measurement is from the long point to the short point – both ends are cut with a 30 bevel. Then you make the middle cut at 24 degrees. You need the angled cuts in order to make the points and pits of the star.
I am so confused as well. Really excited to make these, but I have started from scratch twice and the star is not lining up!! I can’t figure out what I am doing wrong. I have a total of five 6.5 inch pieces (long to short) and five 5.5 inch pieces (long to short) I have measured, cut and tried to also wrap my head around how 6.5 + 5.5 equals 13. I get the bevel cuts, but even if you lay a 6.5 piece next to a 5.5 it is 12″. Is there a video or anything? It’s driving me insane.