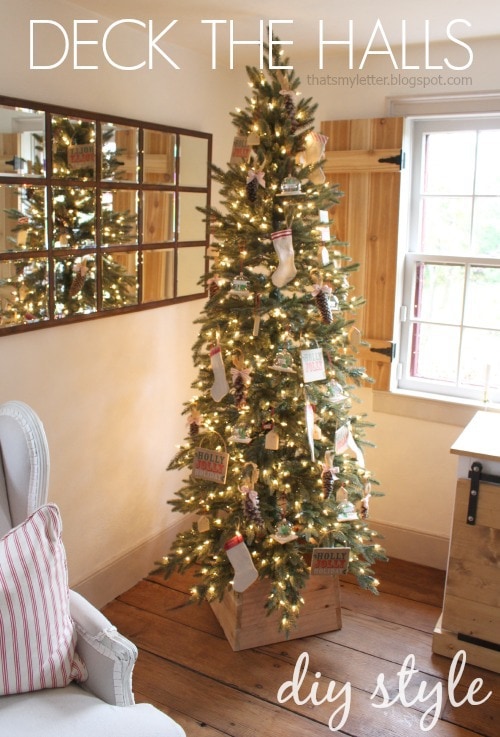
Decking the halls with all things DIY. Make your Christmas decor come to life exactly how you want with these DIY Christmas projects. I’m sharing my DIY decorated tree with handmade ornaments and a simple cedar wood tree collar.
Deck the halls with these DIY Christmas projects including a wood tree collar and handmade ornaments. DIY your Christmas decor just the way you want.
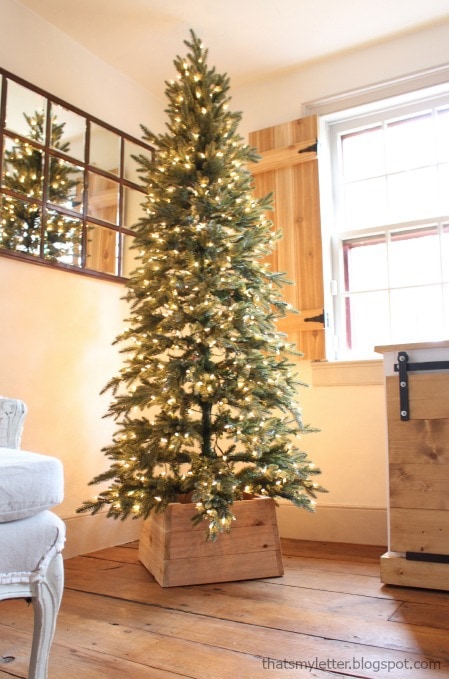
Of course it all starts with the tree and this one is a beauty. Tree Classics sent me this lovely 7 foot pre-lit slim Christmas tree and I am smitten! It arrives in 3 pieces, I set it up in minutes, plugged it in and magic. But the best part is the size – it’s perfectly slender and fits this corner with room to spare and plenty of space for gifts underneath!
Slim Christmas Tree
- Oregonian slim Christmas tree available in 7′ and 9′ heights
- combination of realistic-looking needles on the outside and classic PVC needles towards the inside for fullness
- slim profile doesn’t take up much space in your home
- hinged branches make set up a breeze
- flame-proof
- includes metal stand
While the metal tree stand is functional and unobtrusive I wanted a finishing touch to hide the metal stand. So I built this wood tree collar box cover from cedar boards. The box is open at top and bottom so it acts as a collar. And I love the mitered edges that create the slimming angled sides.
Wood Tree Collar
Step 1:
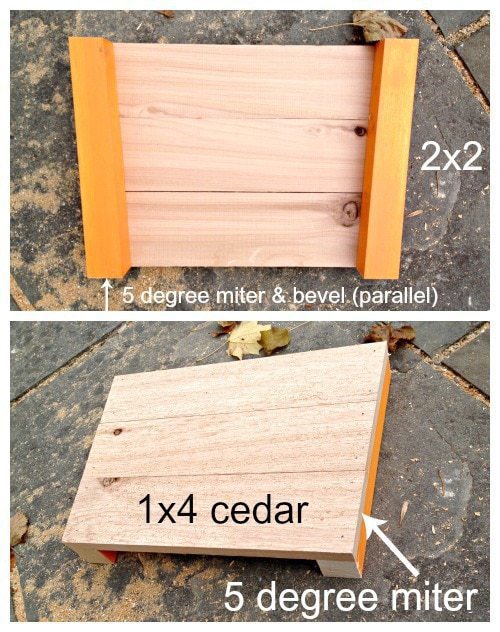
To construct the wood tree collar box cover measure the metal stand. The longest measurement will become the distance between the 2×2 corner posts (orange boards). Start with the 2×2 corner posts and cut at a 5 degree bevel and miter. Note you could build this box without the corner 2×2 posts and just attach the cedar boards to each other but the corner posts add lots of stability.
Step 2:
The length of the 2×2 posts should equal the width of 3 – 1×4 cedar boards. Cut the 1×4 cedar boards to your desired length (equal to distance between 2×2 posts plus 3″) with a 5 degree miter on both ends not parallel. Use brad nails and glue to make 2 sides like above and then cut the other side boards and nail everything together.
Handmade Ornaments
Drop Cloth Mini Stockings
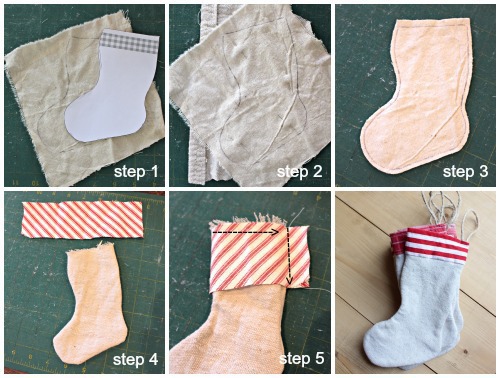
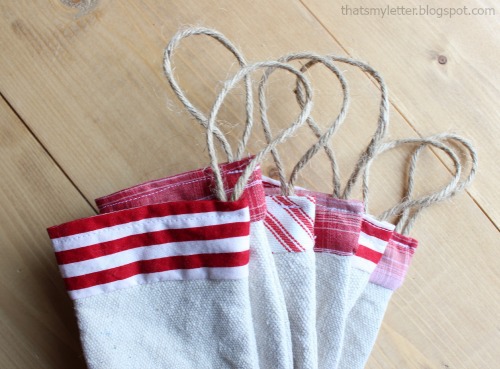
These mini stockings are super quick to sew up and make a quick DIY Christmas project that could also be used as a gift tag. I used scrap pieces of drop cloth for the body. Then trim out the top edge with varying red cotton fabrics and add a jute string hanger.
Step 1:
Trace the mini stocking pattern (source here) onto a drop cloth scrap.
Step 2:
Stack a second piece of drop cloth behind the front piece and pin together.
Step 3:
Sew a straight stitch along traced line and then trim the excess leaving a 1/8″ seam allowance.
Step 4:
Turn the stocking right side out. Cut 2″ x 8″ cuff piece.
Step 5:
Sew the cuff right sides together at top edge all around the stocking opening and then sew the open ends together. Trim the excess. Flip the cuff right side up then fold partially down into stocking. Lastly top stitch around edge of cuff and add jute rope hanger.
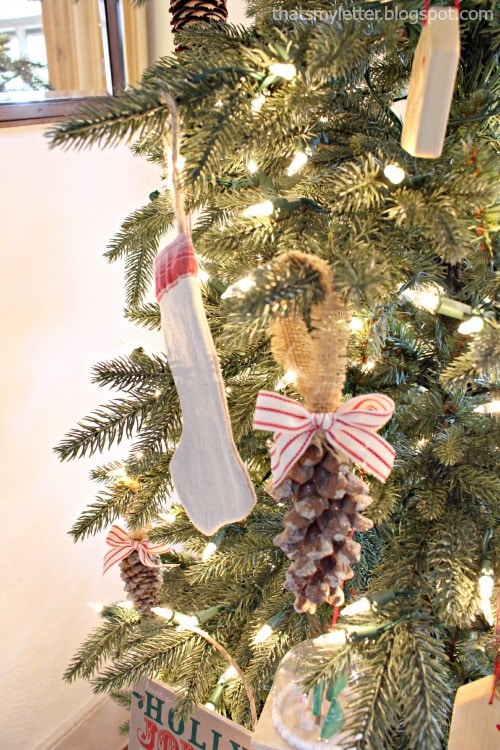
I love how the softness of the fabric adds a layer of texture against the bristle branches.
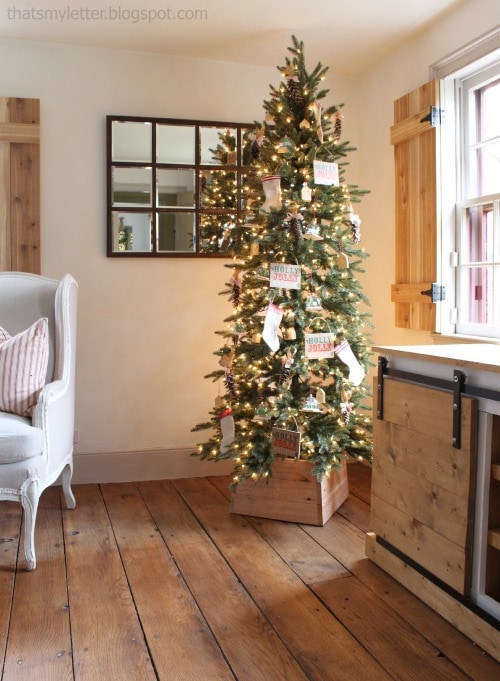
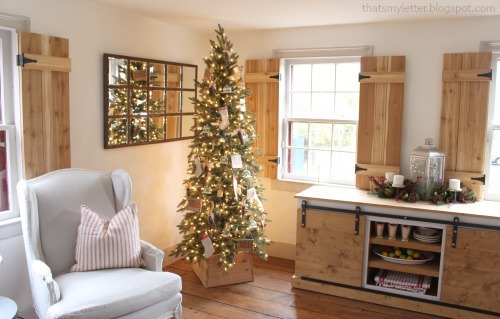
Taking a step back into the living room. Not only does the tree have lots of DIY Christmas projects on it but all of the other furniture pieces in this photo are DIY as well.
Living Room DIY Projects:
Pinecone Ornaments
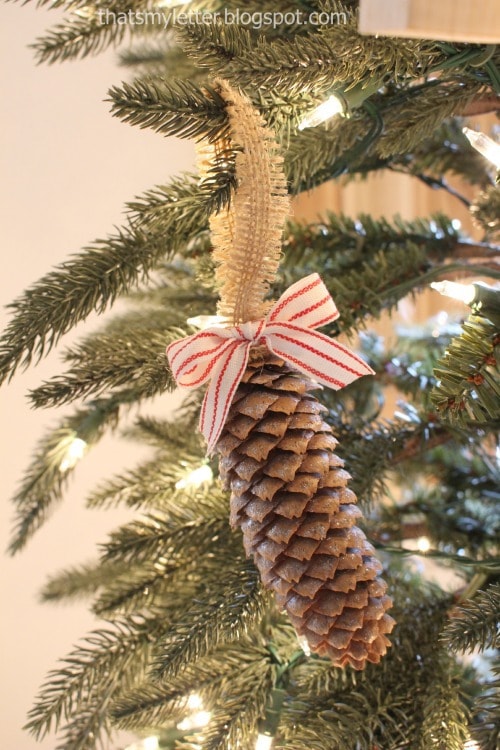
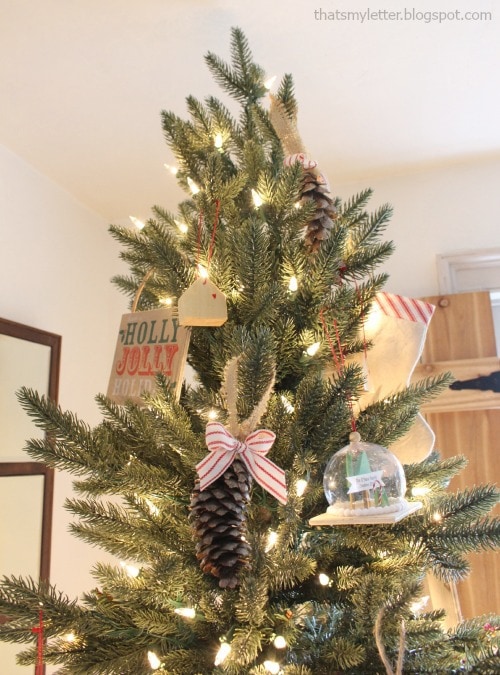
Perhaps the easiest of ornaments to make is this pinecone with a burlap hanger and ribbon bow. Just hot glue the burlap at top and then add the bow.
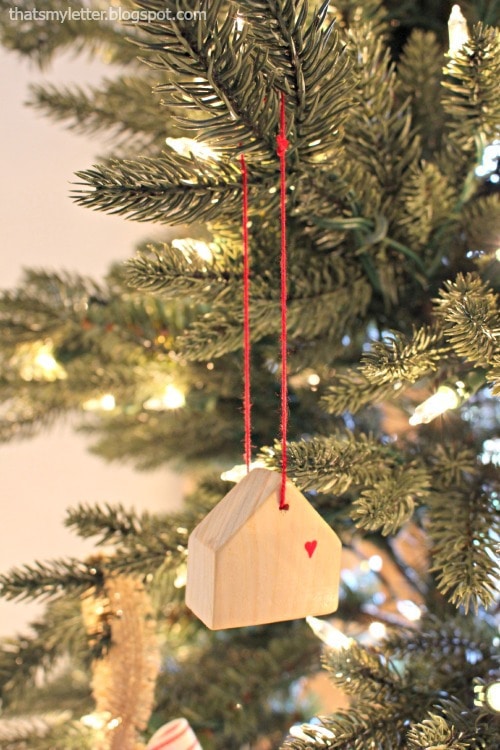
Mini Wood House Ornaments
Save your wood scraps folks to make these mini house ornaments.
DIY Christmas Projects Decorating Tip
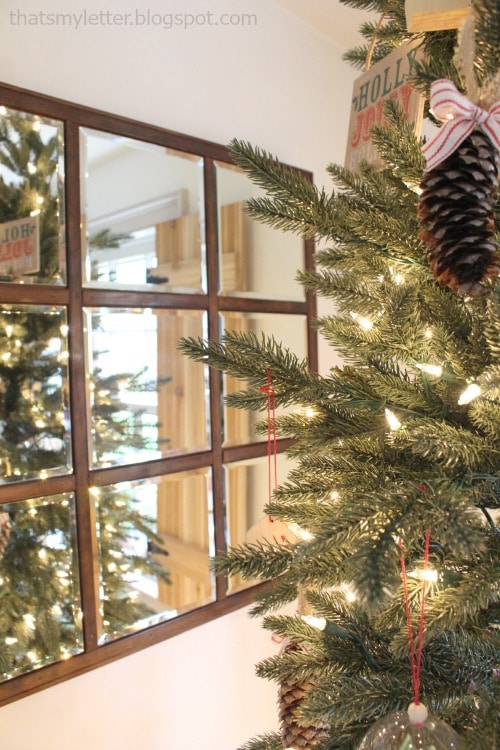
Here’s an easy decorating tip: hang a mirror behind your tree and you’ll get double the effect from the twinkle lights! And one of my favorite parts about this tree is the branches have a bendable wire inside so you can position every branch exactly as you want it. Also it helps to provide a strong arm with those heavy ornaments that want to bend the branch.
Paper Bag Ornaments
Save those holiday shopping bags and you can make easy paper bag ornaments. The best sources for printed paper bags I’ve found: Trader Joes, Whole Foods and Chipotle. Simply cut a 1/4″ plywood backer to the size of your paper print. Attach the paper with mod podge on front and back. Once dry sand the edges smooth. Then use hot glue to attach a string hanger.
I must admit I do love real trees but this Oregonian slim Christmas tree has changed my mind. I can’t say enough good things about this faux tree.
Thanks for joining me for this DIY Christmas projects post. Please leave any questions in the comments below and be sure to follow me on social media for sneak peeks, tools and project inspiration:
Disclaimer: I was provided the faux tree from Tree Classics featured in this post however all opinions and thoughts are my own.









All your ornaments are so cute. And I would loooove to have a slim tree!
I love everything about this!!!! You have such wonderful and creative ideas and I thank you for sharing them. The slim Christmas trees are just a great idea. ^^
Jaime, I see you've also been very busy Christmas crafting and decorating, I love the house and stocking ornaments! Common, the whole tree is adorable, I need one of those slim trees, they fit anywhere!
Those house ornaments are still one of my favorites. And that tree stand box? Awesome!