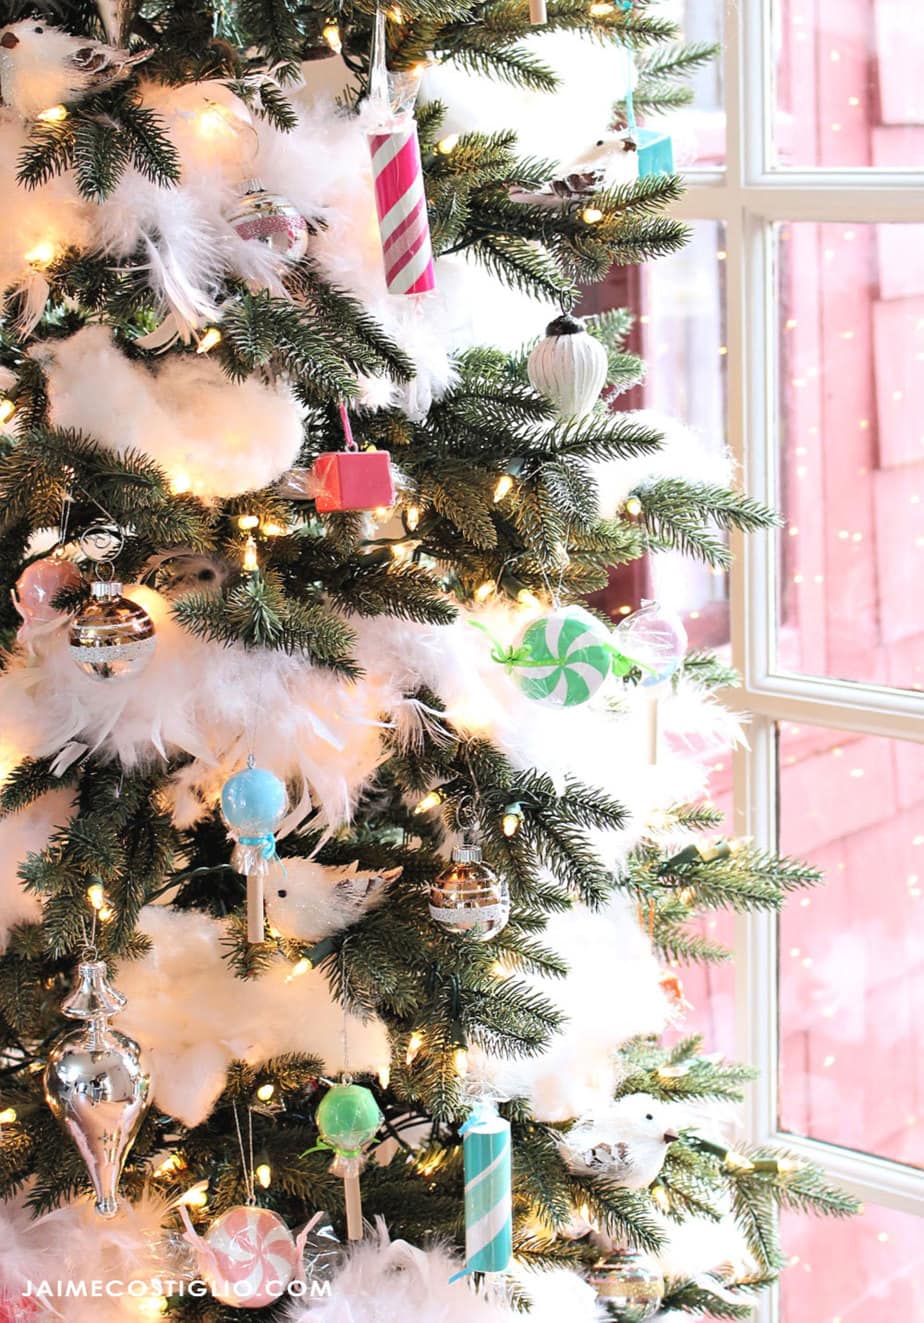
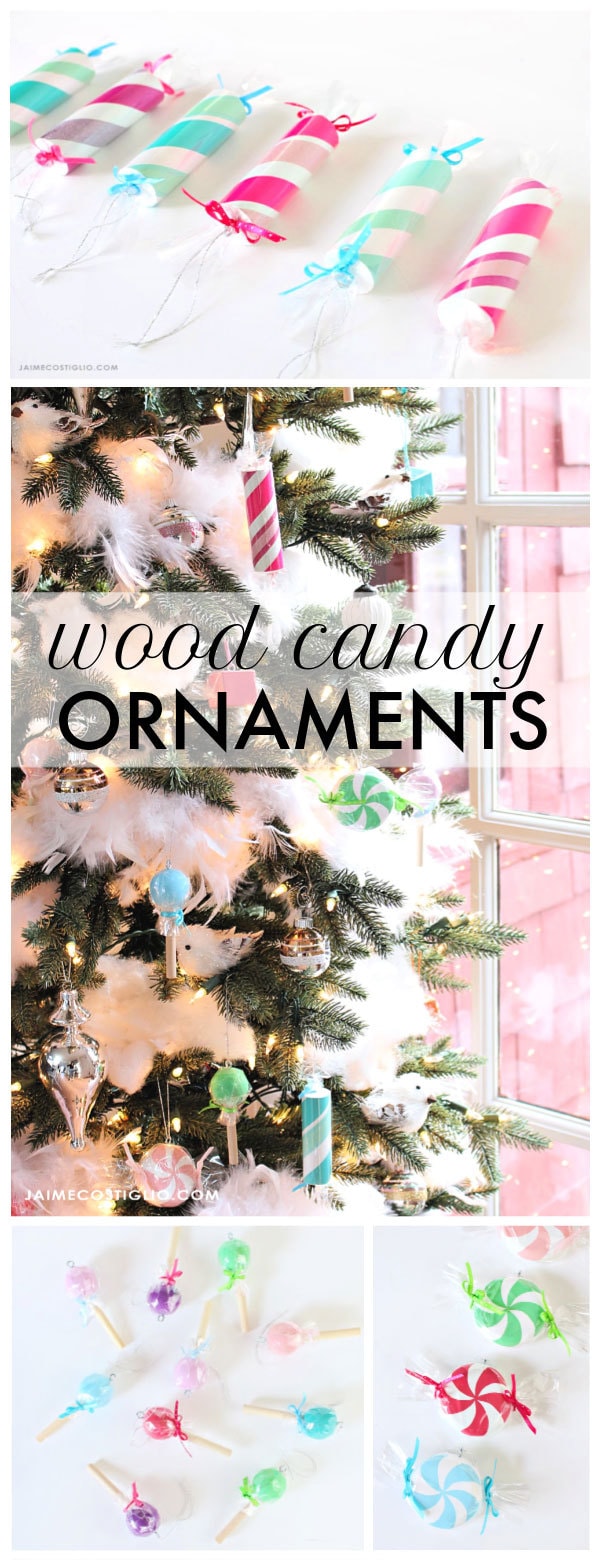
Forever on a quest to use those scrap wood pieces and make beautiful small projects I came up with these scrap wood candy ornaments. Basically free candy that is too good to eat, extremely colorful and so much fun to hang on your Christmas tree.
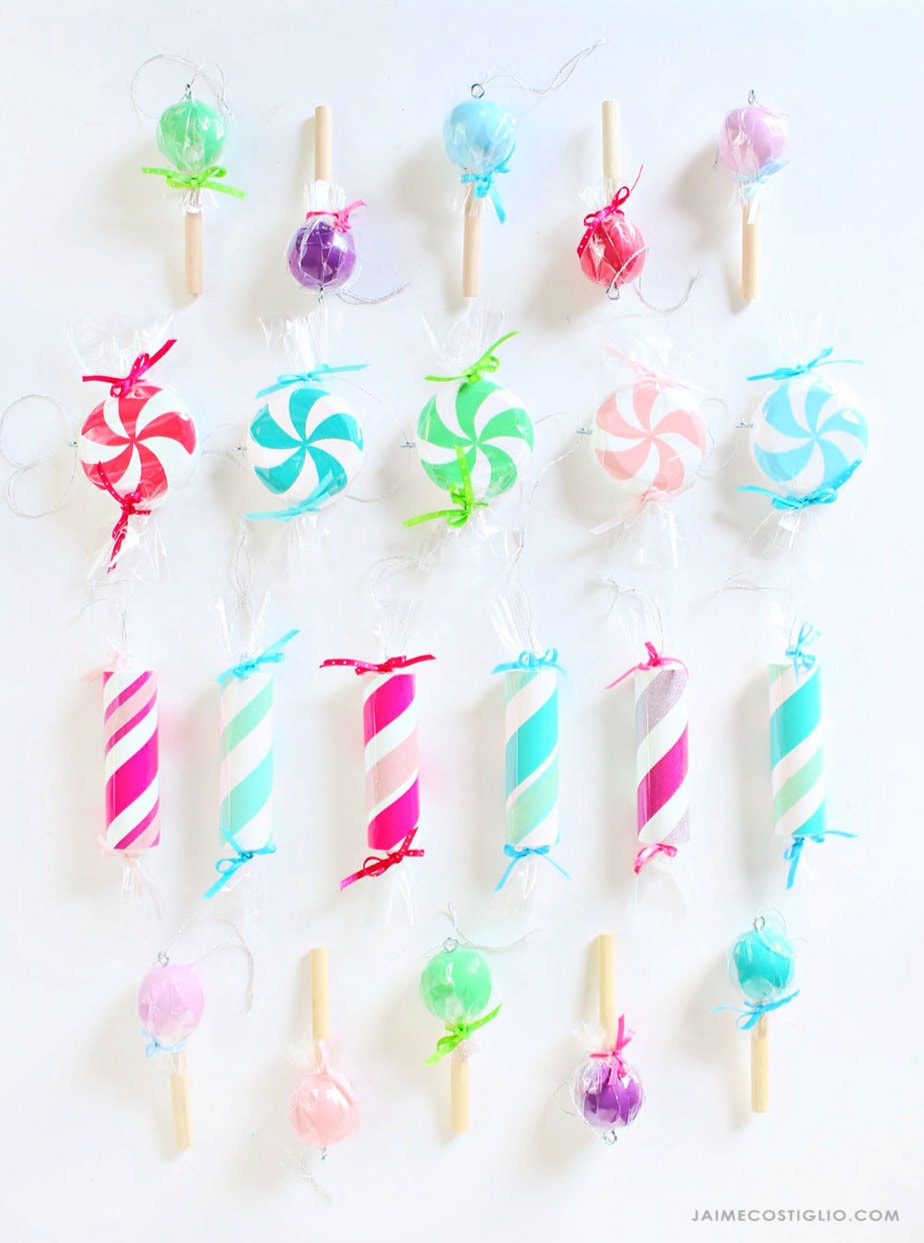
A DIY tutorial to make wood candy ornaments using scrap wood pieces. Decorate your tree with sweet and colorful candy that looks yummy enough to eat!
Honestly I could probably make wood candy (and wood food) out of all my scrap wood and be one very happy camper because it’s so fun and lasts forever.
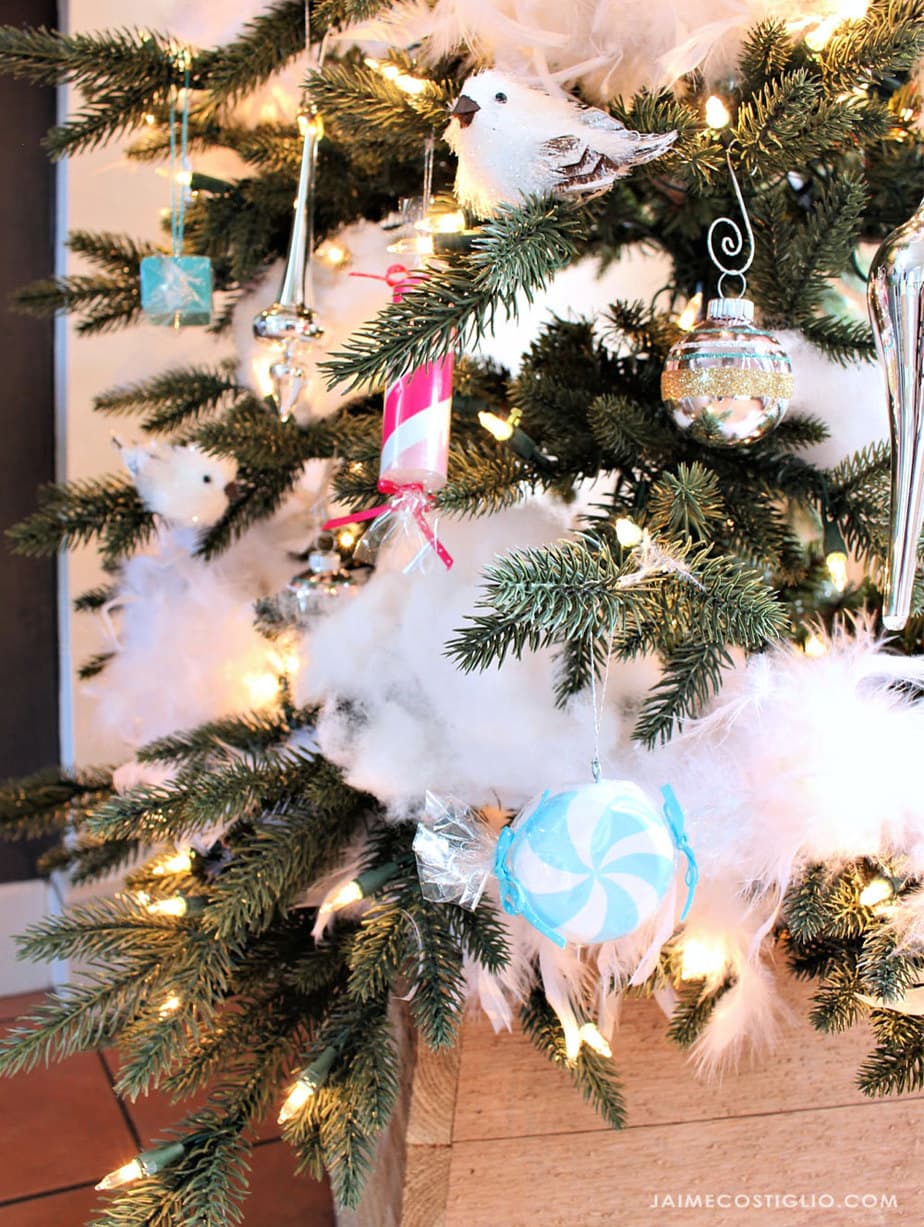
I’ll be honest, I made these candy ornaments last Christmas and used them on my sugary sweet flocked tree but ran out of time to share the tutorial back then. Fast forward a year later and I decided the wood candy ornaments would look great on my narrow kitchen tree along with lots of feathery snow.
I bet you have just the perfect spot for candy ornaments and you can make them in any color combinations to suite your decor.
Tips:
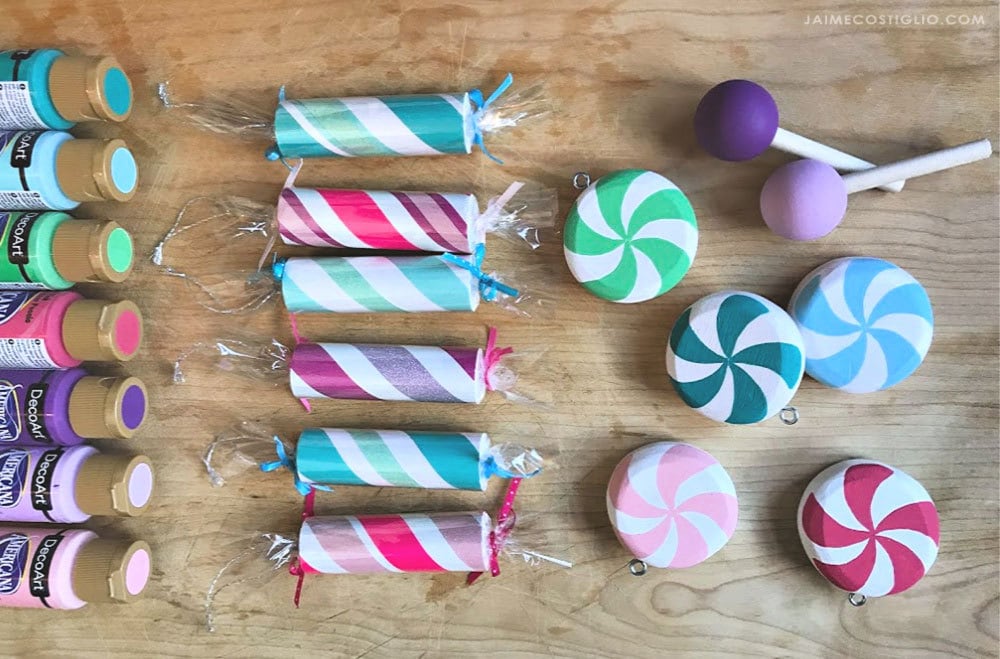
I pulled together our collection of washi tape for the long stick ornaments and then picked paint colors to coordinate. I actually don’t use washi tape all that often but my daughters love adding it to their notebooks and accessories. (TIP: Washi tape works especially great on phone cords, charger heads and headsets to claim yours using your favorite color / pattern tape.)
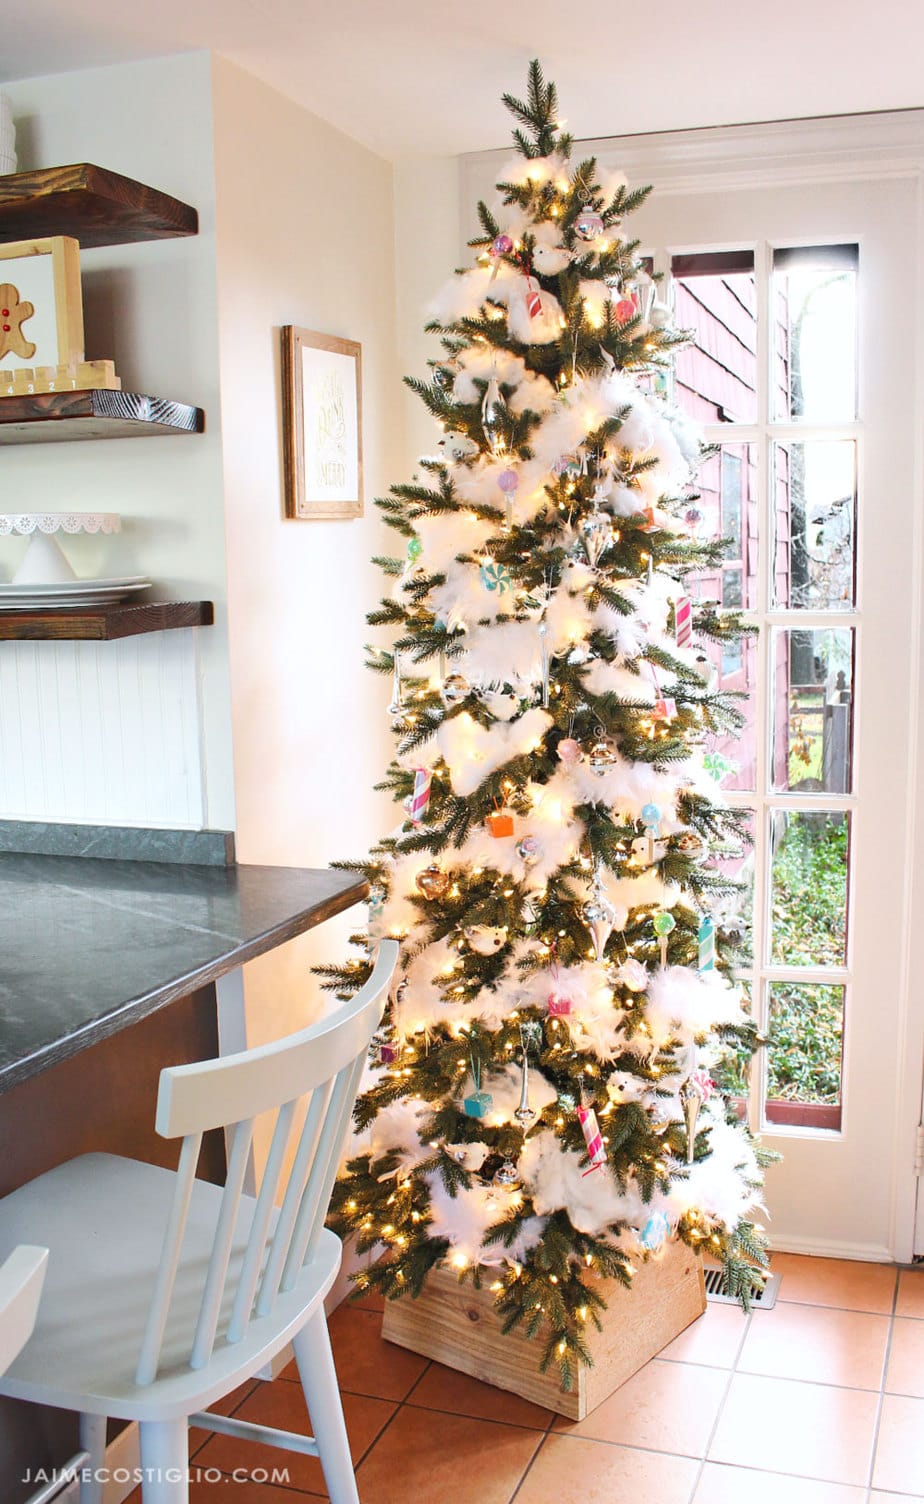
This tree may just become a permanent fixture in our kitchen and I’m not mad about it at all. We had it up and decorated for Thanksgiving and I simply swapped out ornaments and added white feather boas and fluffy loose polyfil to act as snow.
The Ornament Collection:
- mini feathery snow bird ornaments
- silver finials
- wood candy ornaments
- vintage inspired glass ornaments
- white feather boas
- polyfil loose stuffing
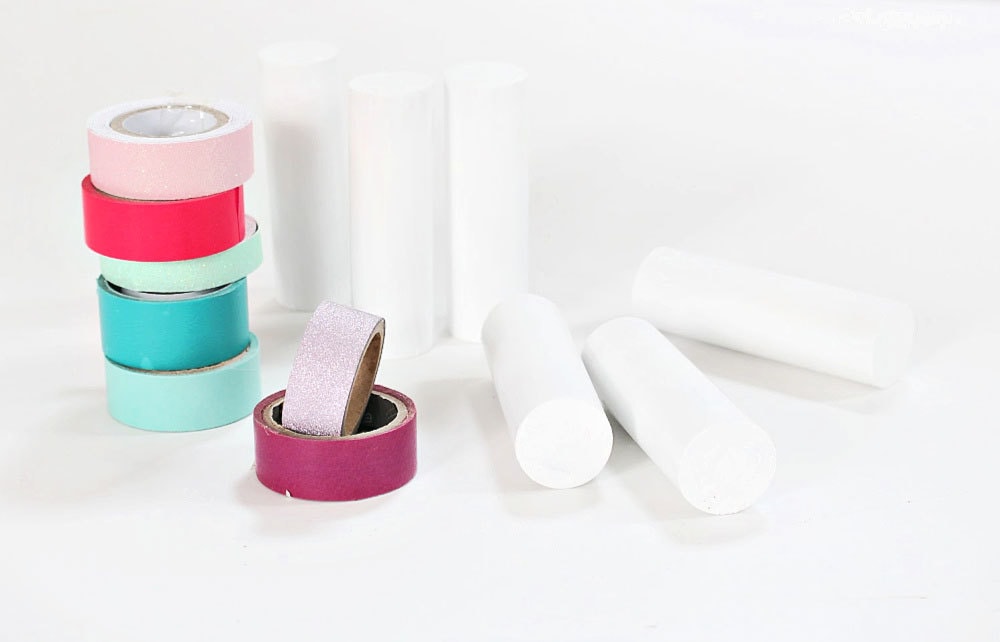
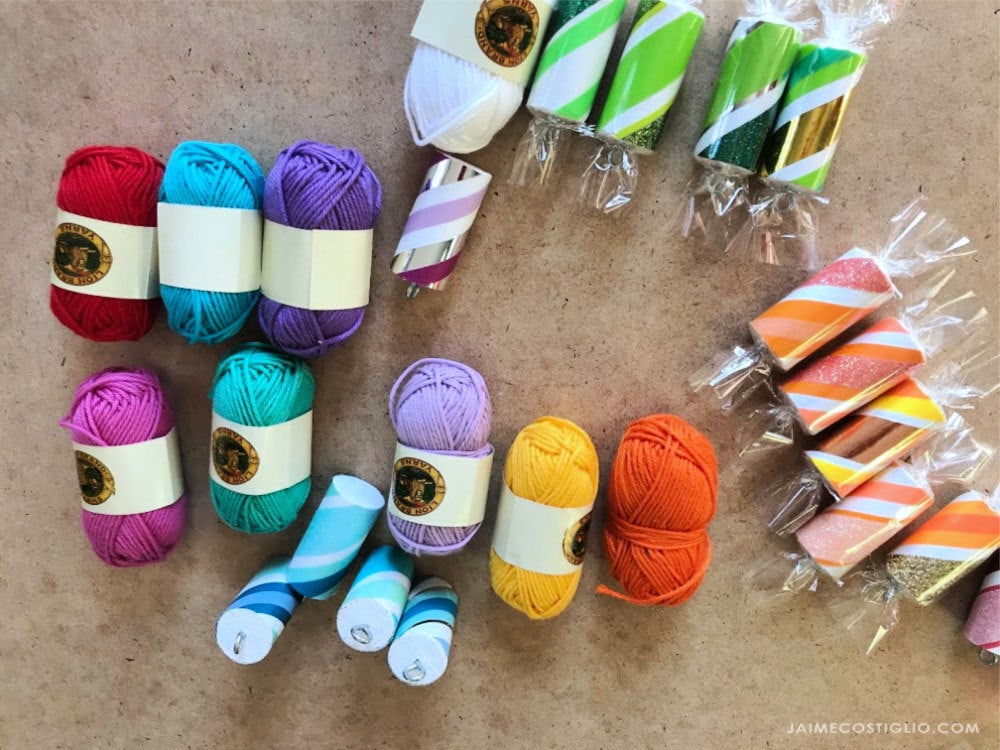
Gather all your scrap wood dowels to make the twisted candy ornaments. I used 1″ circular dowels for this ornament and solid and glitter washi tape. You can vary the size of your dowels and you can trim the tape to be skinnier if you want a more defined line.
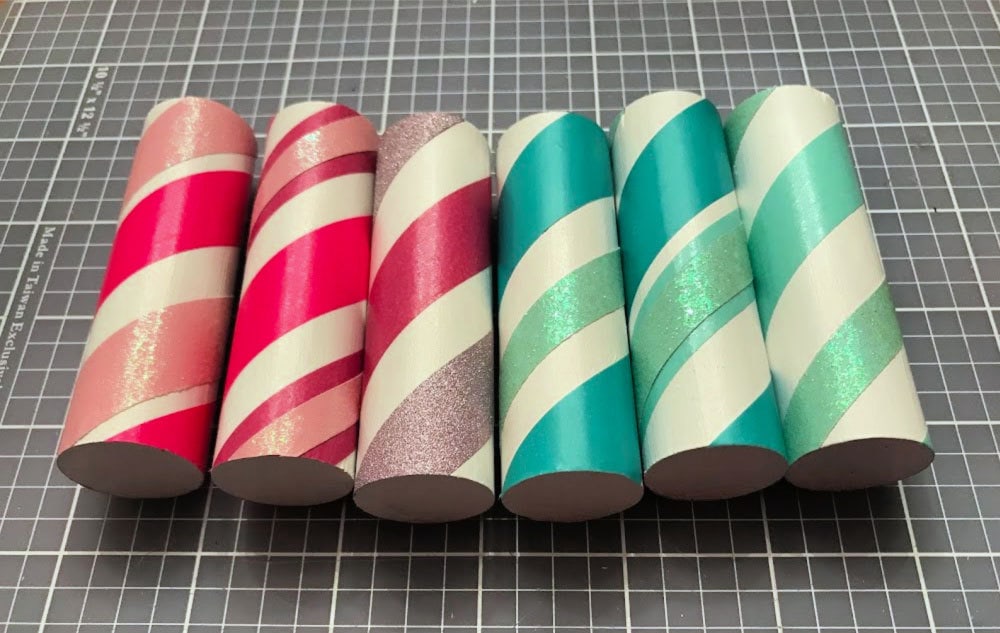
Wrap and twist the tape in various combinations to make each ornament unique. Layer the tapes of various thicknesses and alter the spacing between tapes to create interest.
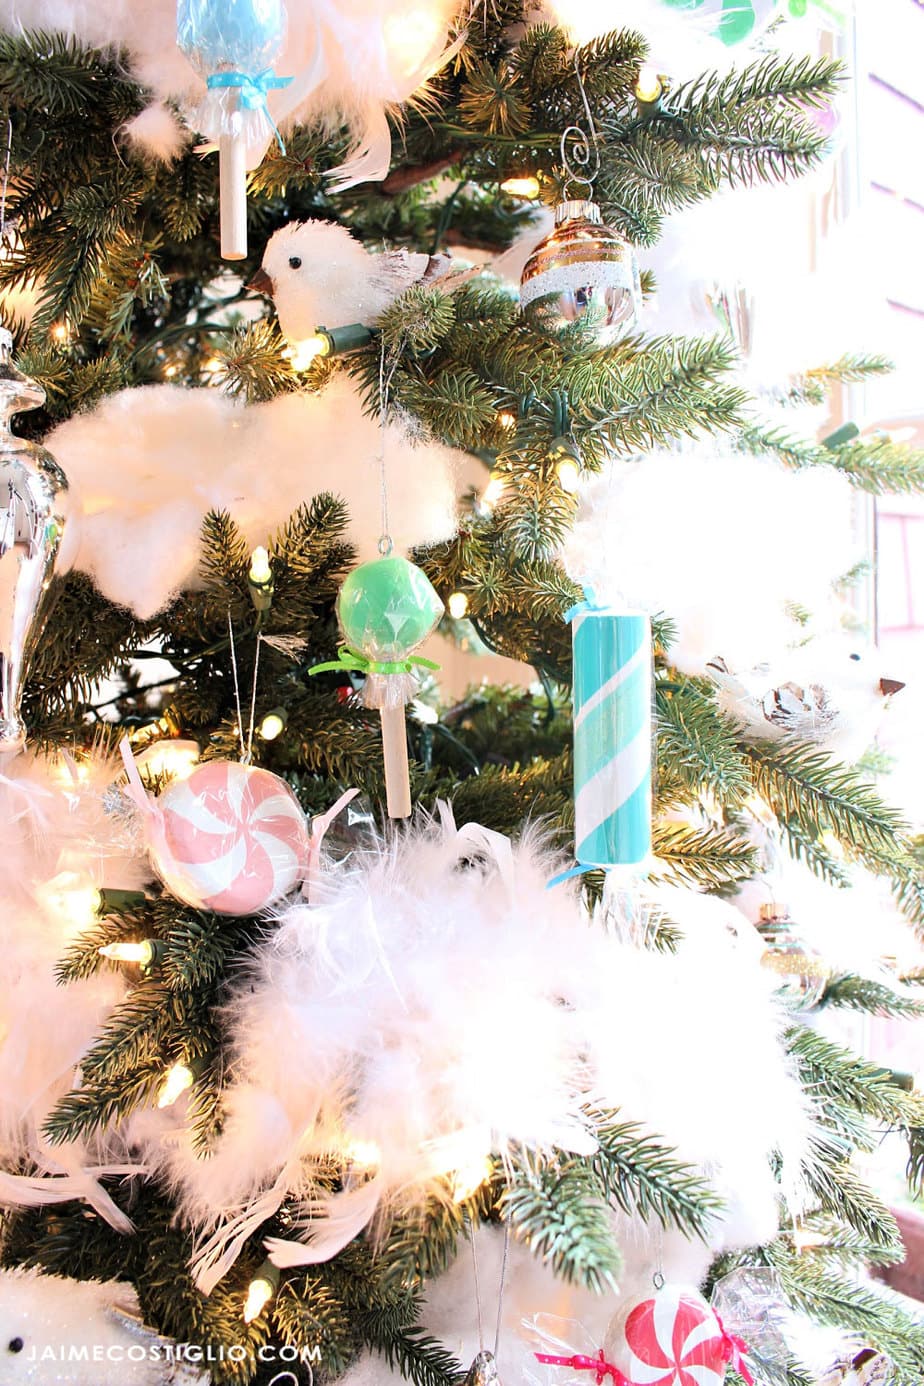
Wrapping the wood candy ornaments in cellophane is truly the finishing touch that takes your craft over the top. It makes the candy come to life and adds a bit of shine.
Down below are the instructions for each style of wood candy and how to create the ornament.
Basic supplies:
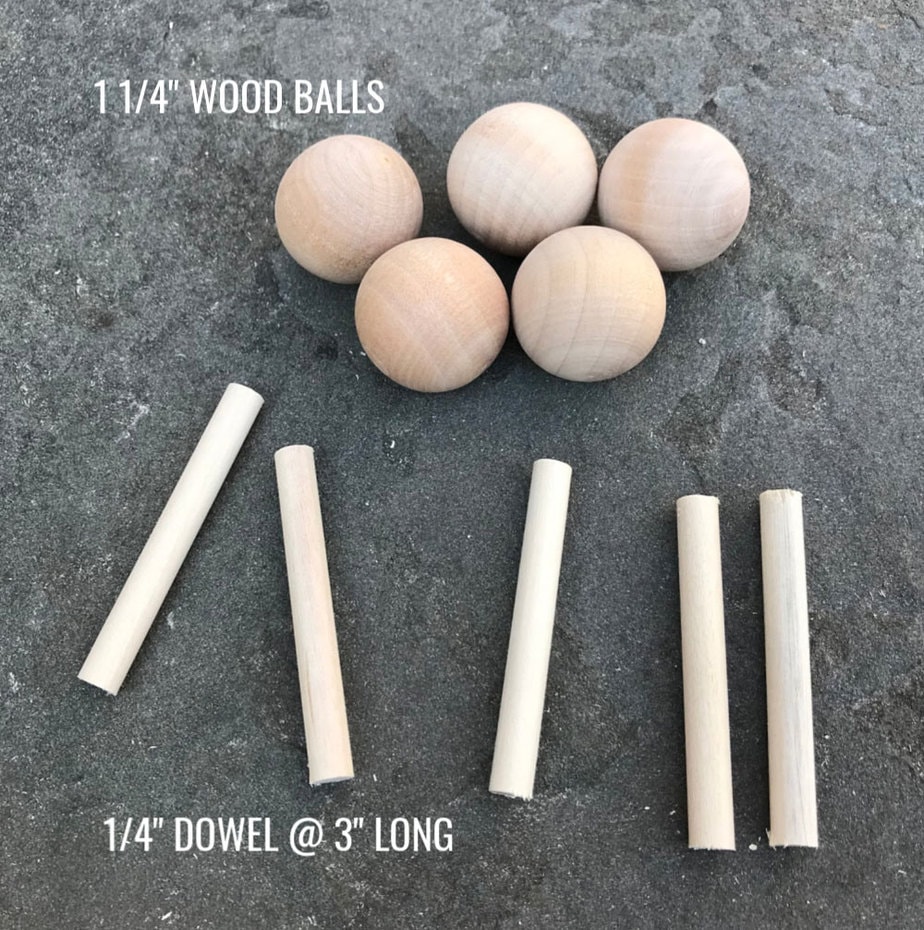
- 1 1/4″ wood balls
- 1/4″ wood dowels
- wood glue
- drill & drill bits
- acrylic craft paints
- paintbrushes
- screw eyes
- washi tape
- xacto knife
- cellophane
- narrow grosgrain ribbon
- silver string
The lollipop ornaments are a combination of wood balls and dowels. Use what you have on hand and put pieces together that work good.
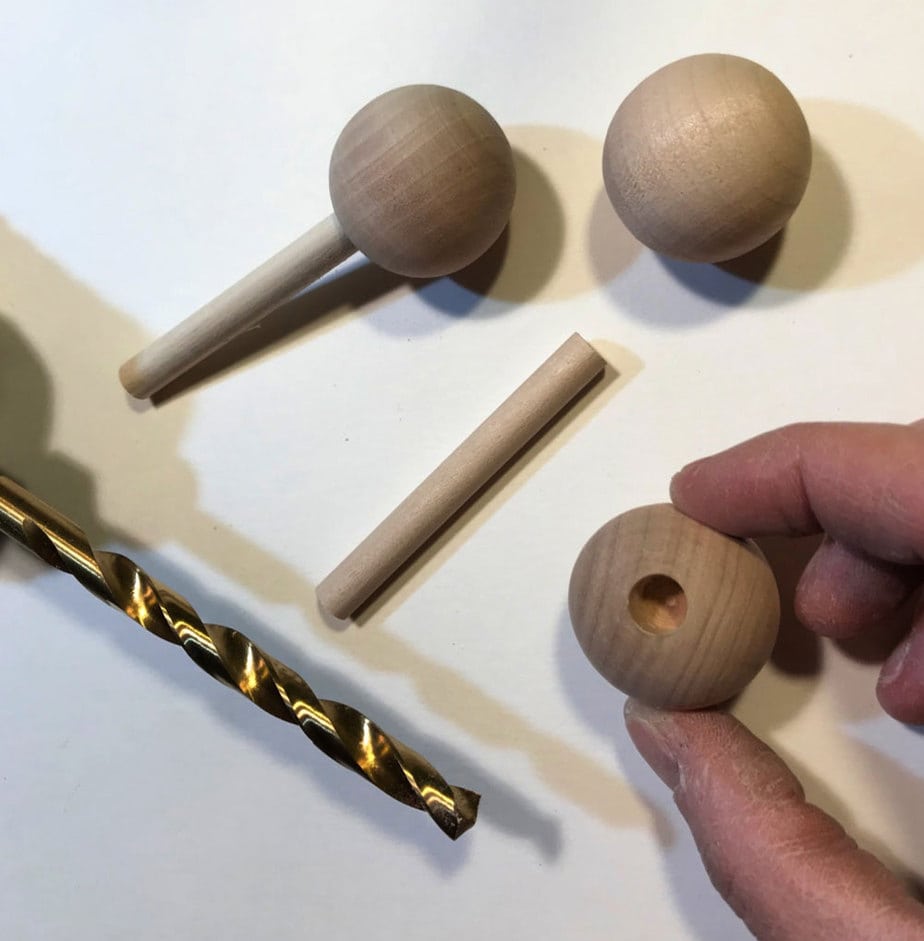
Predrill a 1/4″ hole in the center of the wood ball about 3/4″ deep. Paint the balls first and then glue the wood dowel stick into position.
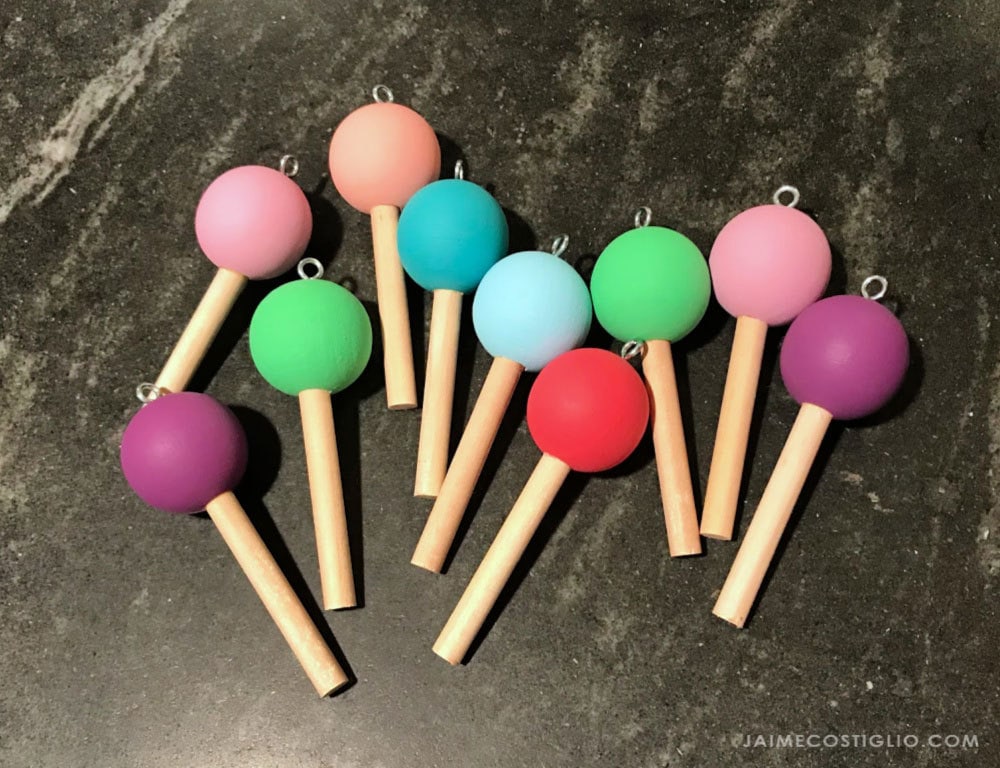
Don’t they look so yummy!!! I added a small screw eye to the top center as a hanging hook. To wrap in cellophane make a tiny hole in the center of the cellophane piece and slide the screw eye through the hole then wrap a piece of ribbon around all of the cellophane at the neck of the lollipop where the stick meets the ball.
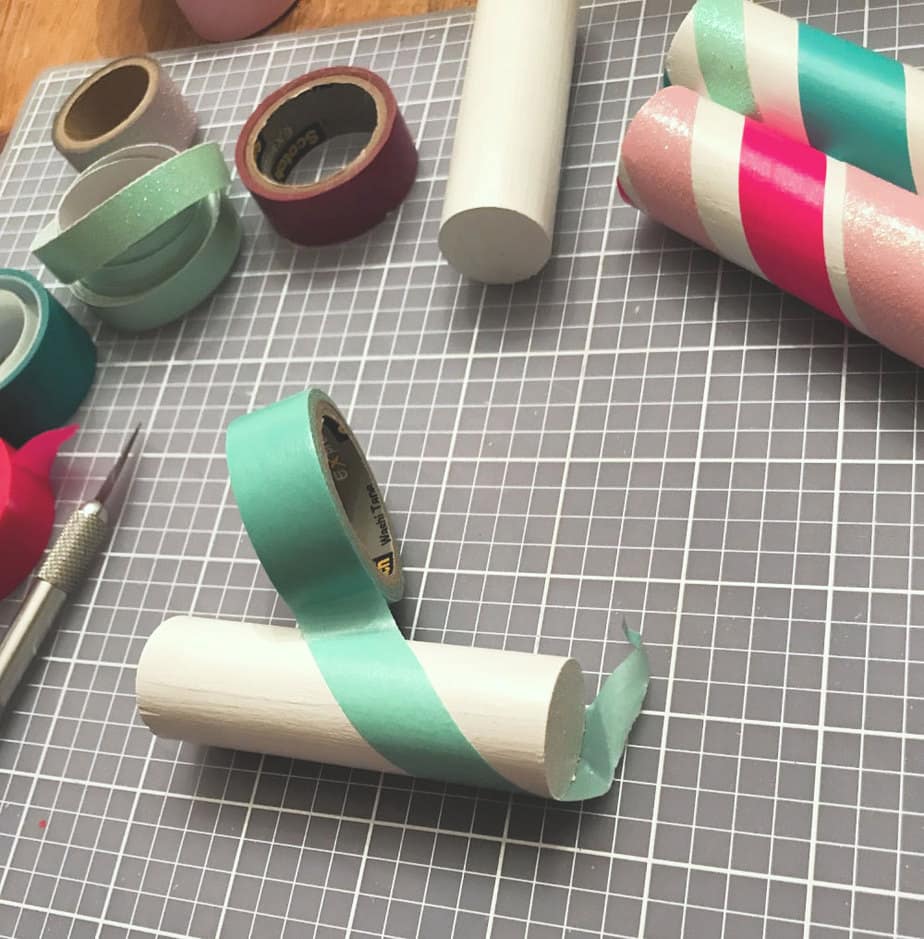
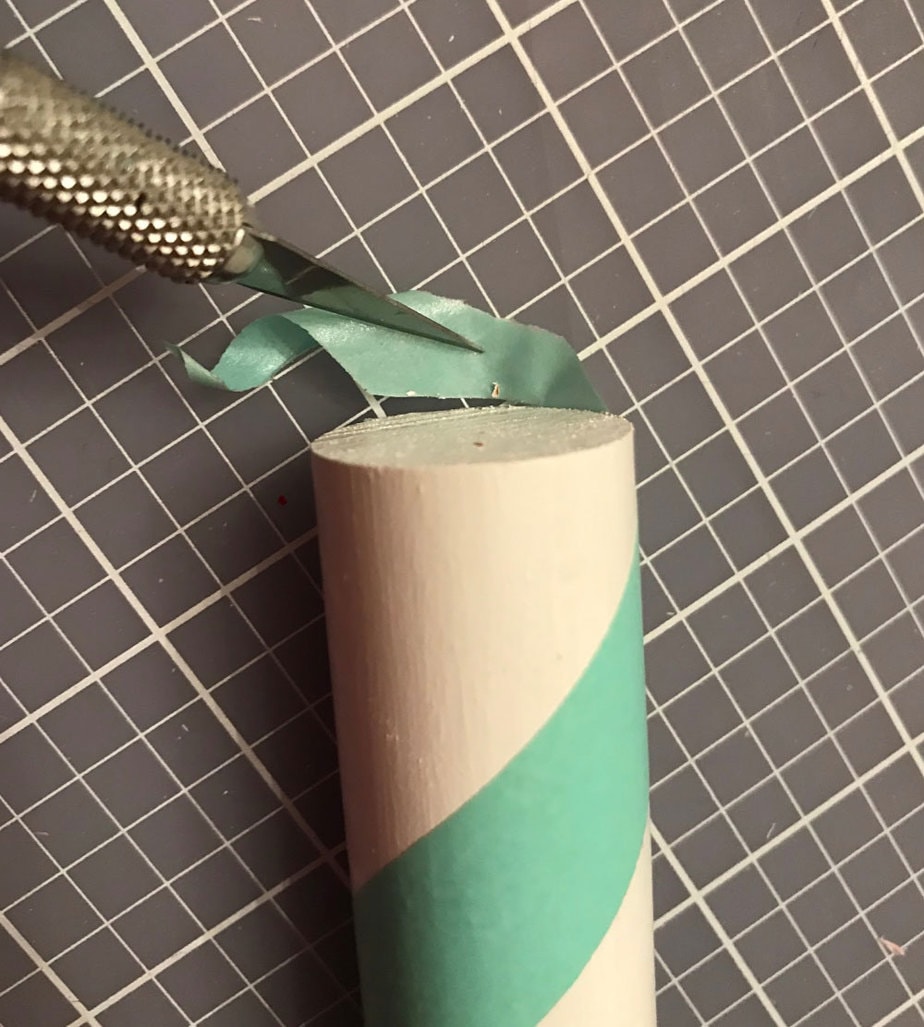
For the twisted candy sticks use a 1″ wood dowel cut into 3″ lengths and paint white. Wrap the washi tape around the dowel at a 45 degree angle.
Use an exacto knife to cut off the excess washi tape and make a super clean edge. Keep wrapping different tapes at various intervals on the dowel to create a twisted candy piece.
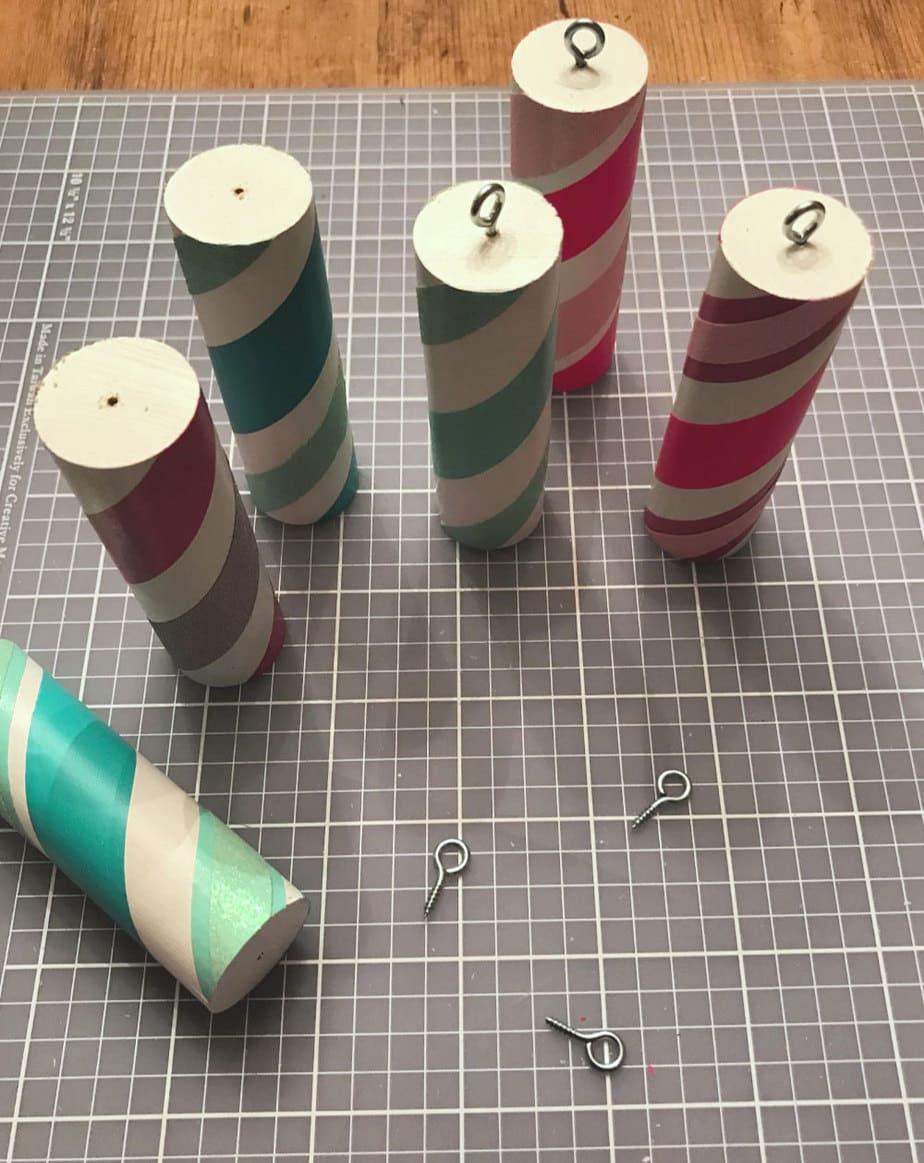
Predrill and insert a small screw eye into one cut end.
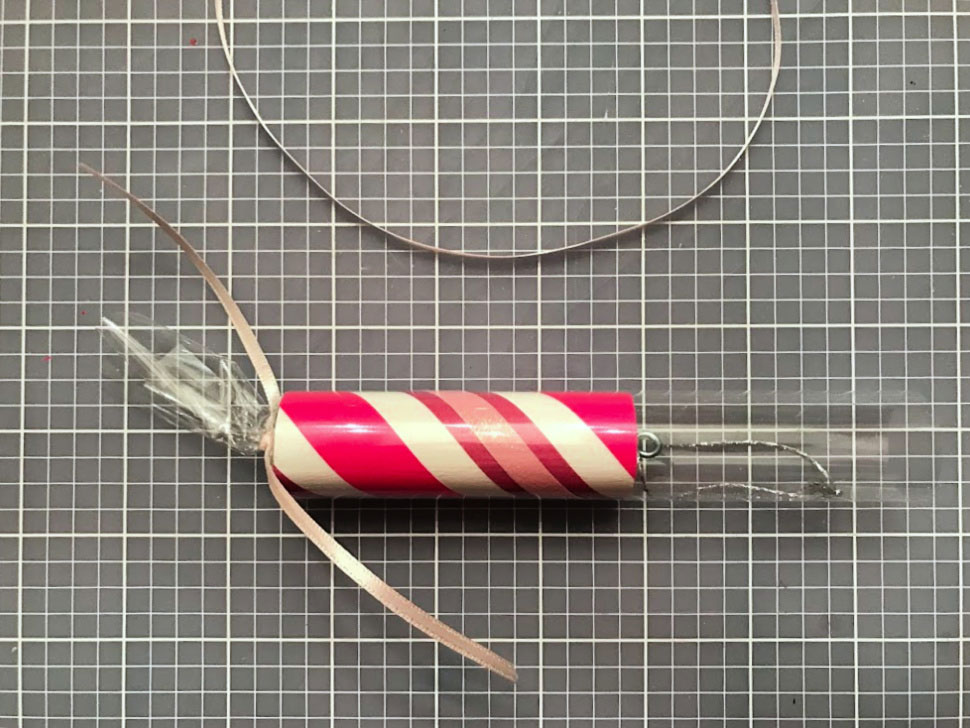
Wrap the long dowel in cellophane and tie the ends closed using ribbon.
Add a coordinating colorful string hanger using colorful floss or string.
Disc Shape Peppermint Wood Candies:
Next up are the disc shaped peppermint wood candies.
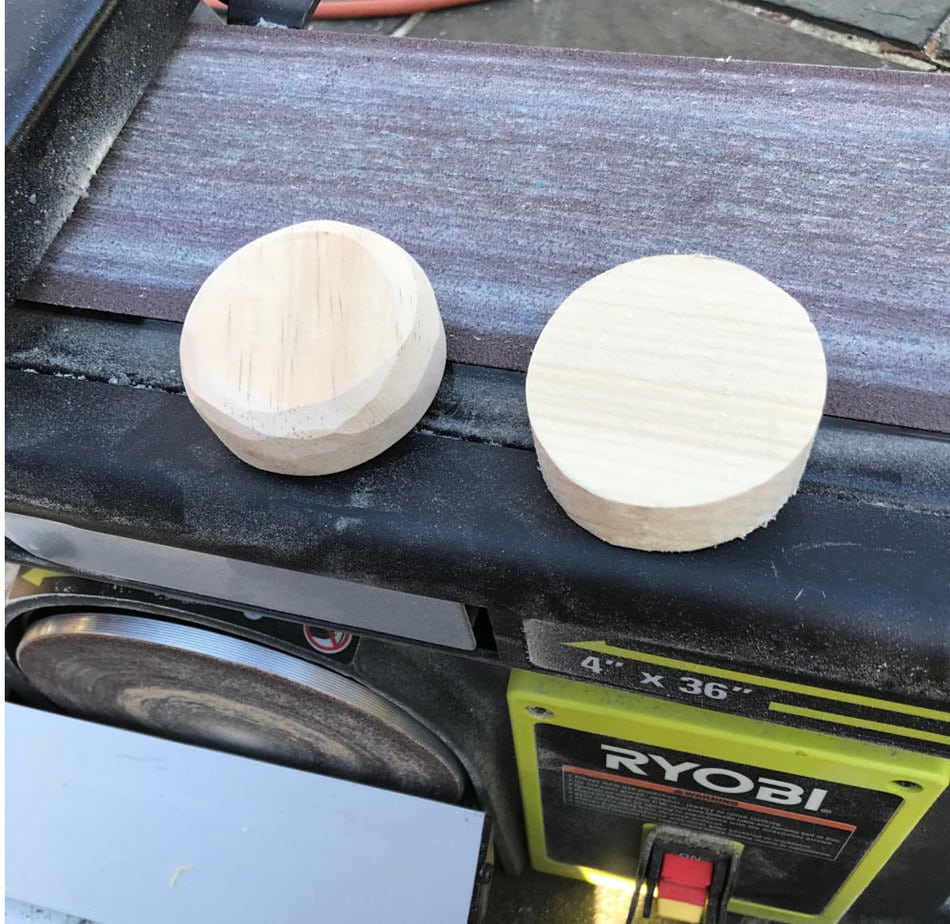
I cut a 2 1/2″ circle from 3/4″ pine wood and sanded off the harsh sharp edges using a belt sander.
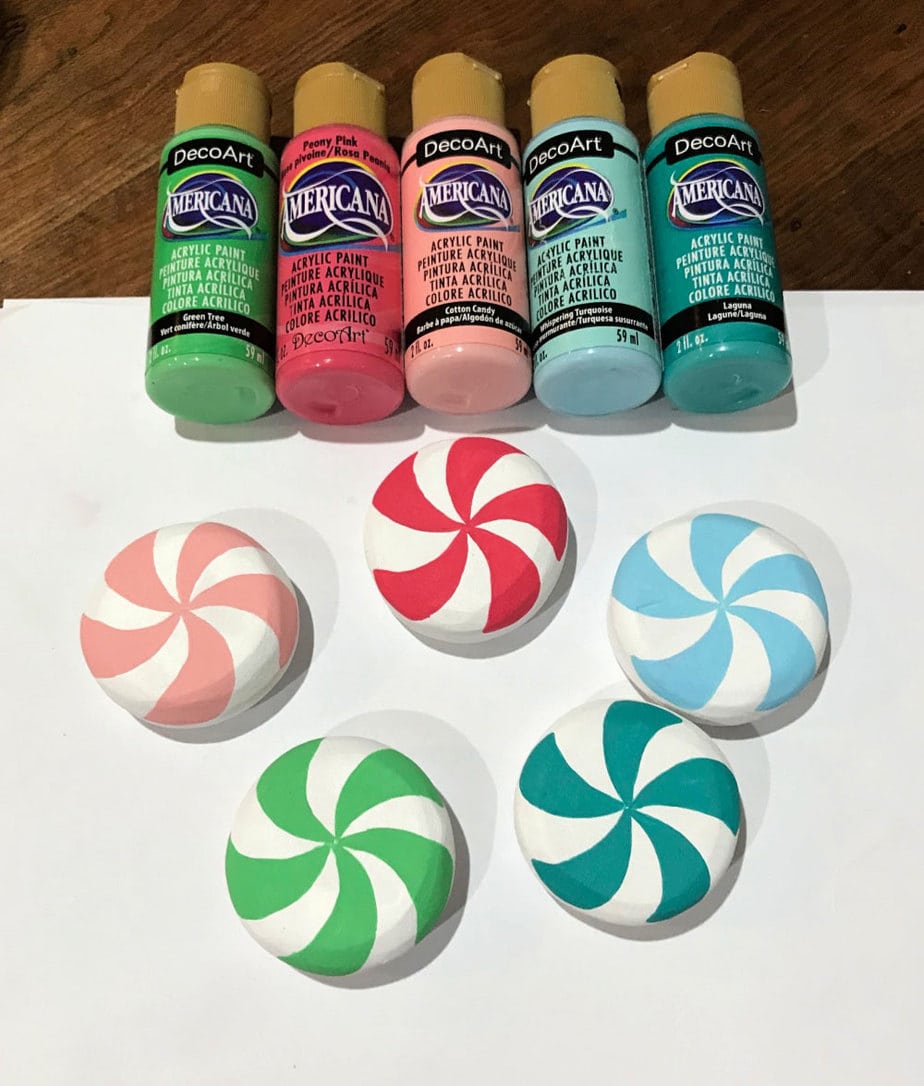
Paint the base white and then add swirls using colored acrylic paint. Insert a screw eye into one side and then wrap the candies in cellophane and tie with string.
I hope you enjoyed this fun and easy project. There are so many variations and different combinations of scrap wood and tape or paint that can achieve a similar wood candy ornament. Use what your have and make the most of it! Be sure to follow me on social media for sneak peeks and instant notification of new projects:
Instagram / Pinterest / Facebook / Youtube / Twitter
SHOP THIS PROJECT:


Leave a Reply