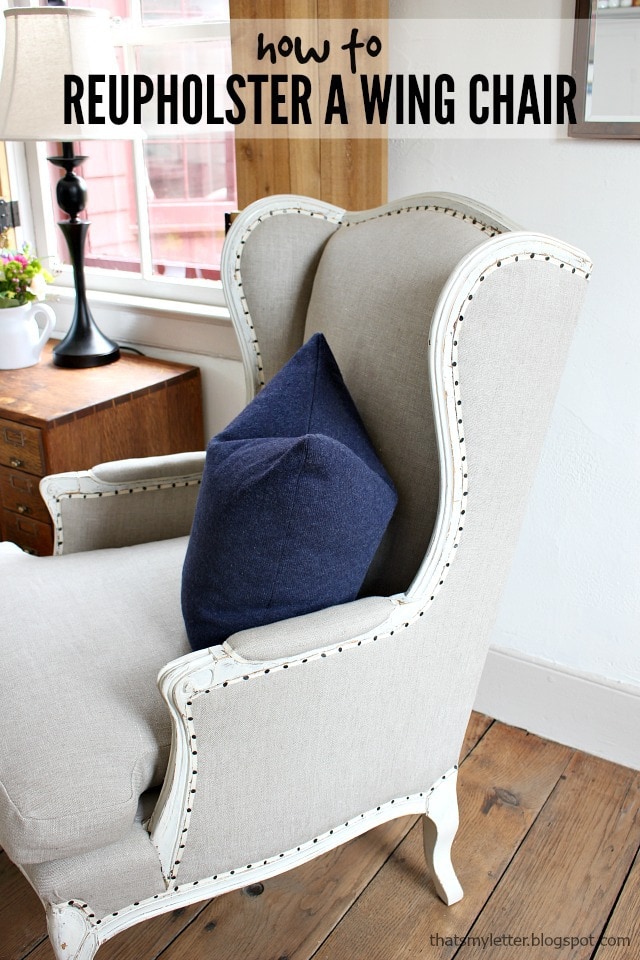
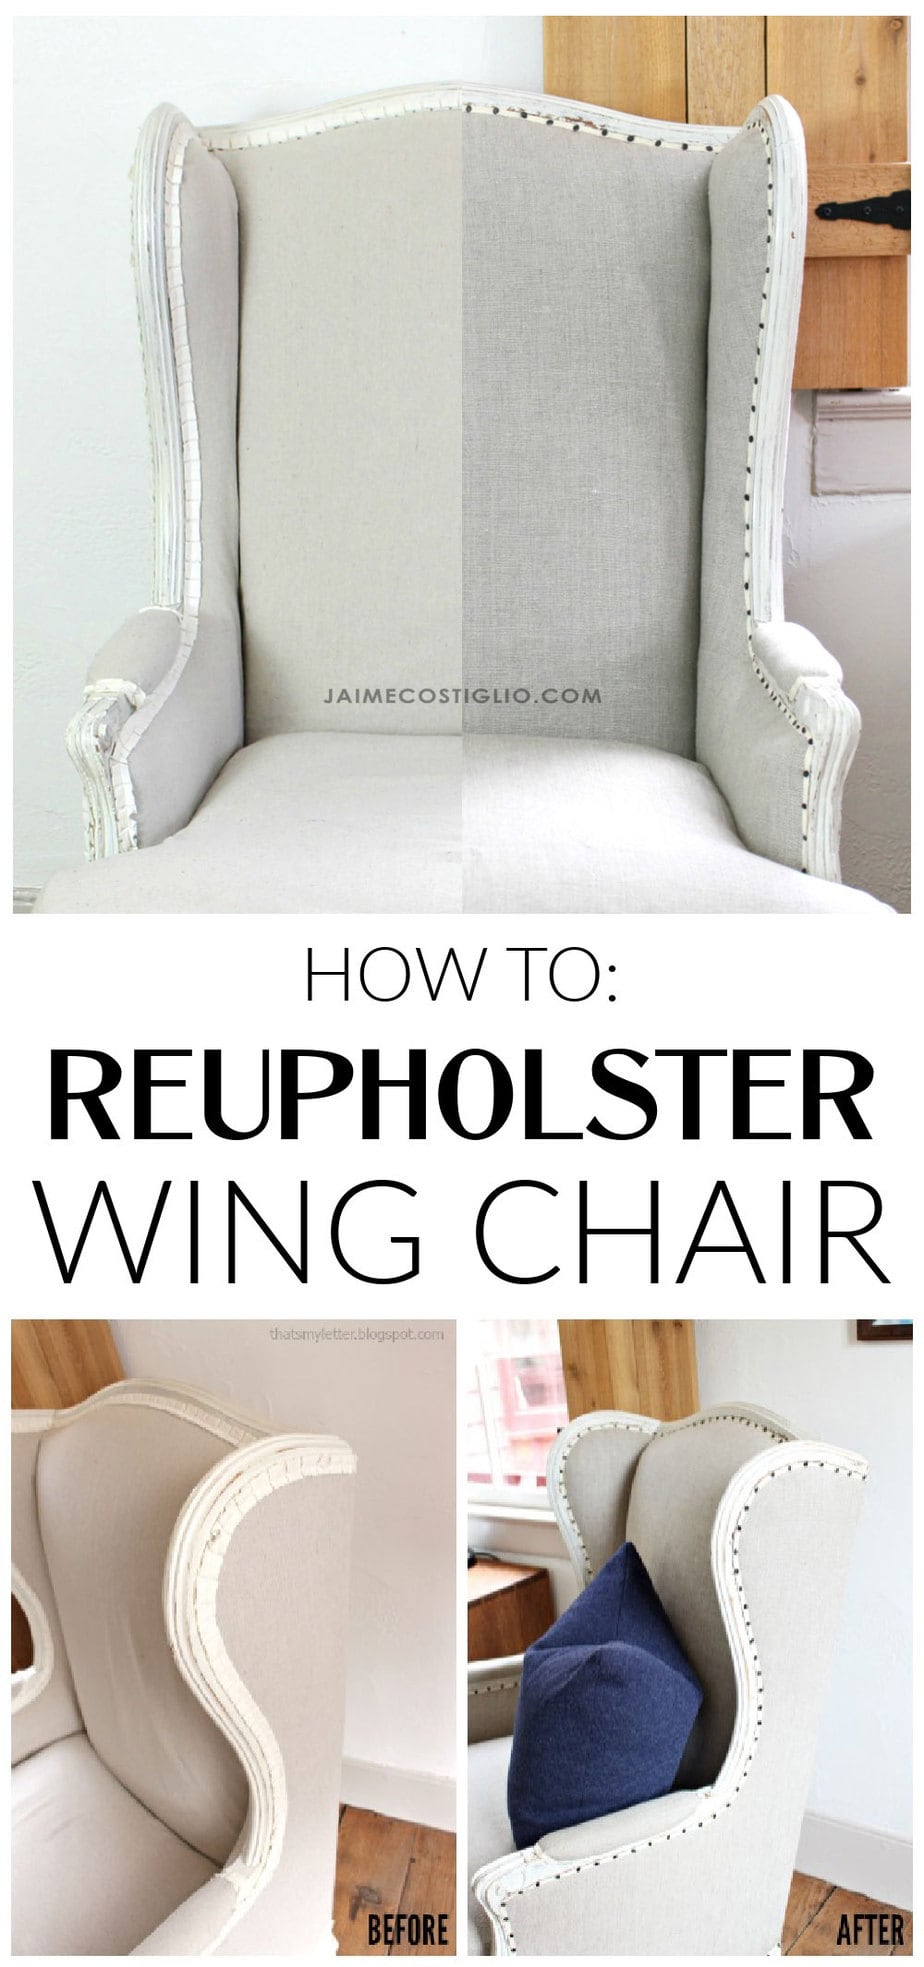
They say the third time is the charm and I think that just might be the case with these wing chairs. Today I will show you how to reupholster a wing chair and get professional looking results.
A DIY tutorial to reupholster a wing chair using linen fabric, trim tape and carpet tacks. Makeover any wing chair using this simple tutorial.
I’ve attempted to reupholster these wing chairs twice before and it obviously wasn’t my best work hence this post. Finally the third time is the charm! I took the time to do it 100% right and the results are fabulous. And now I’m kicking myself for not doing it right the first time! But I believe time, energy and desire were on my side this time. Plus fabric selection matters and I picked a more appropriate fabric for this third makeover.
Wing Chair Makeover
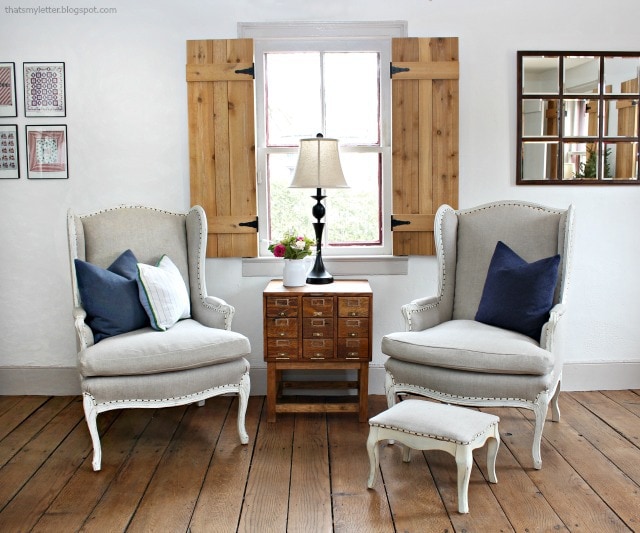
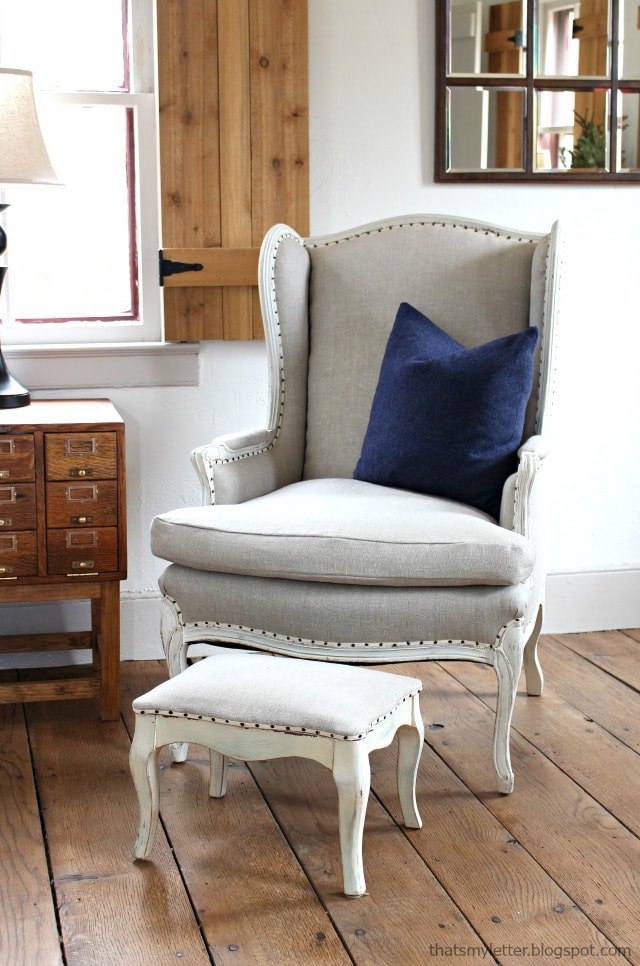
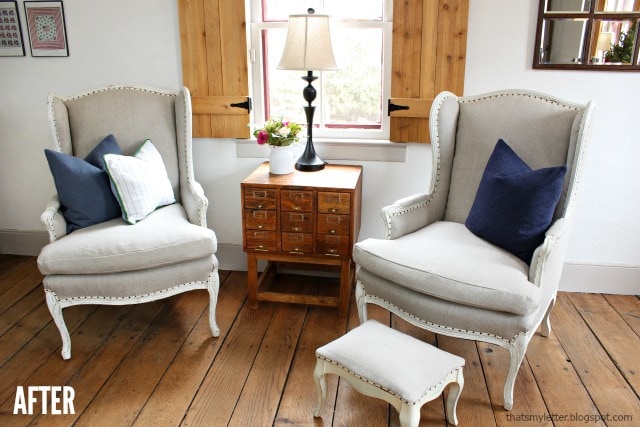
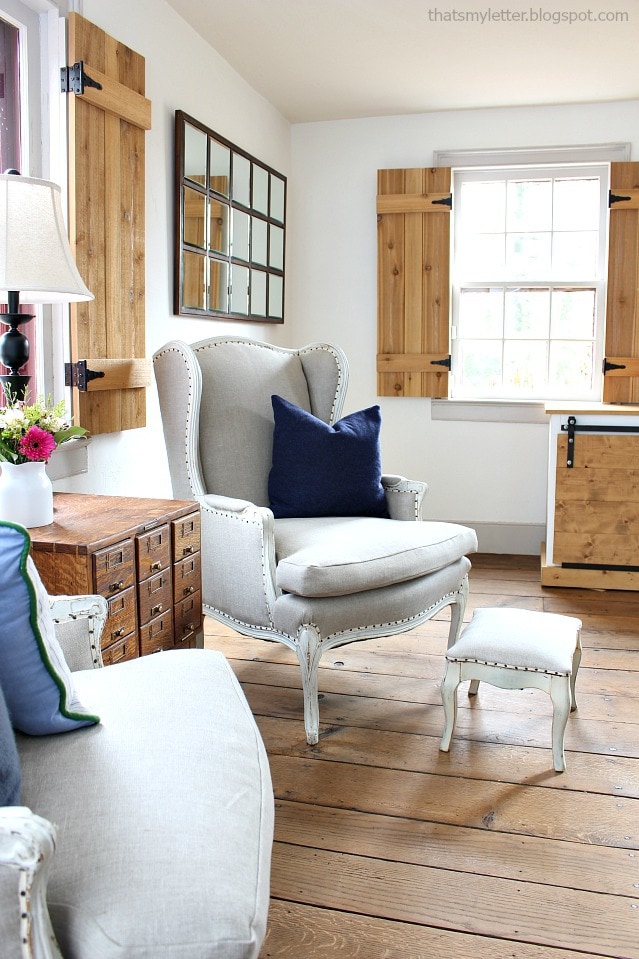
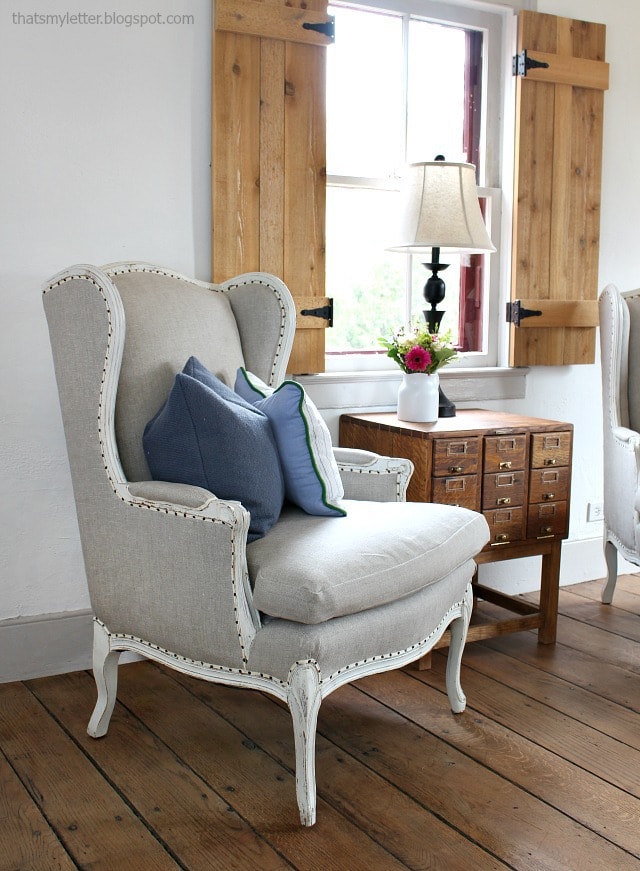
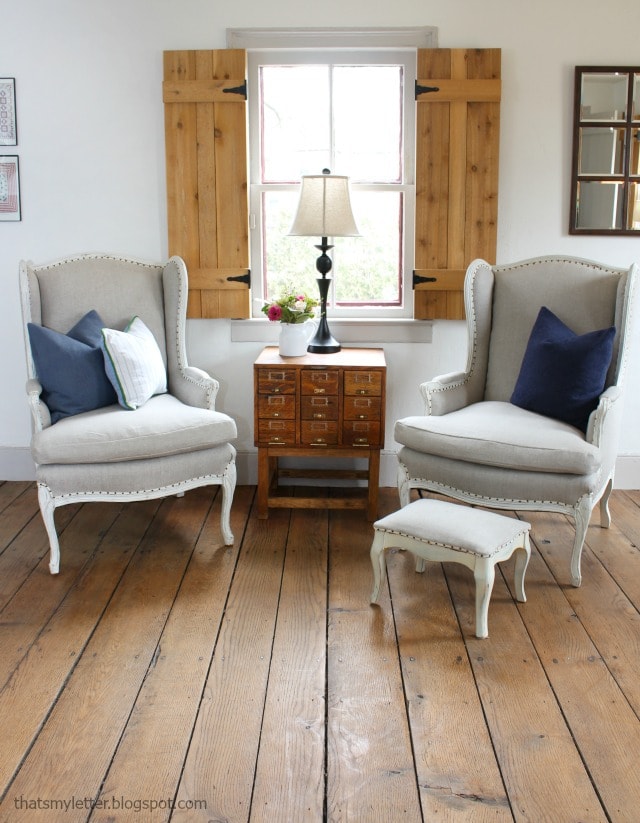
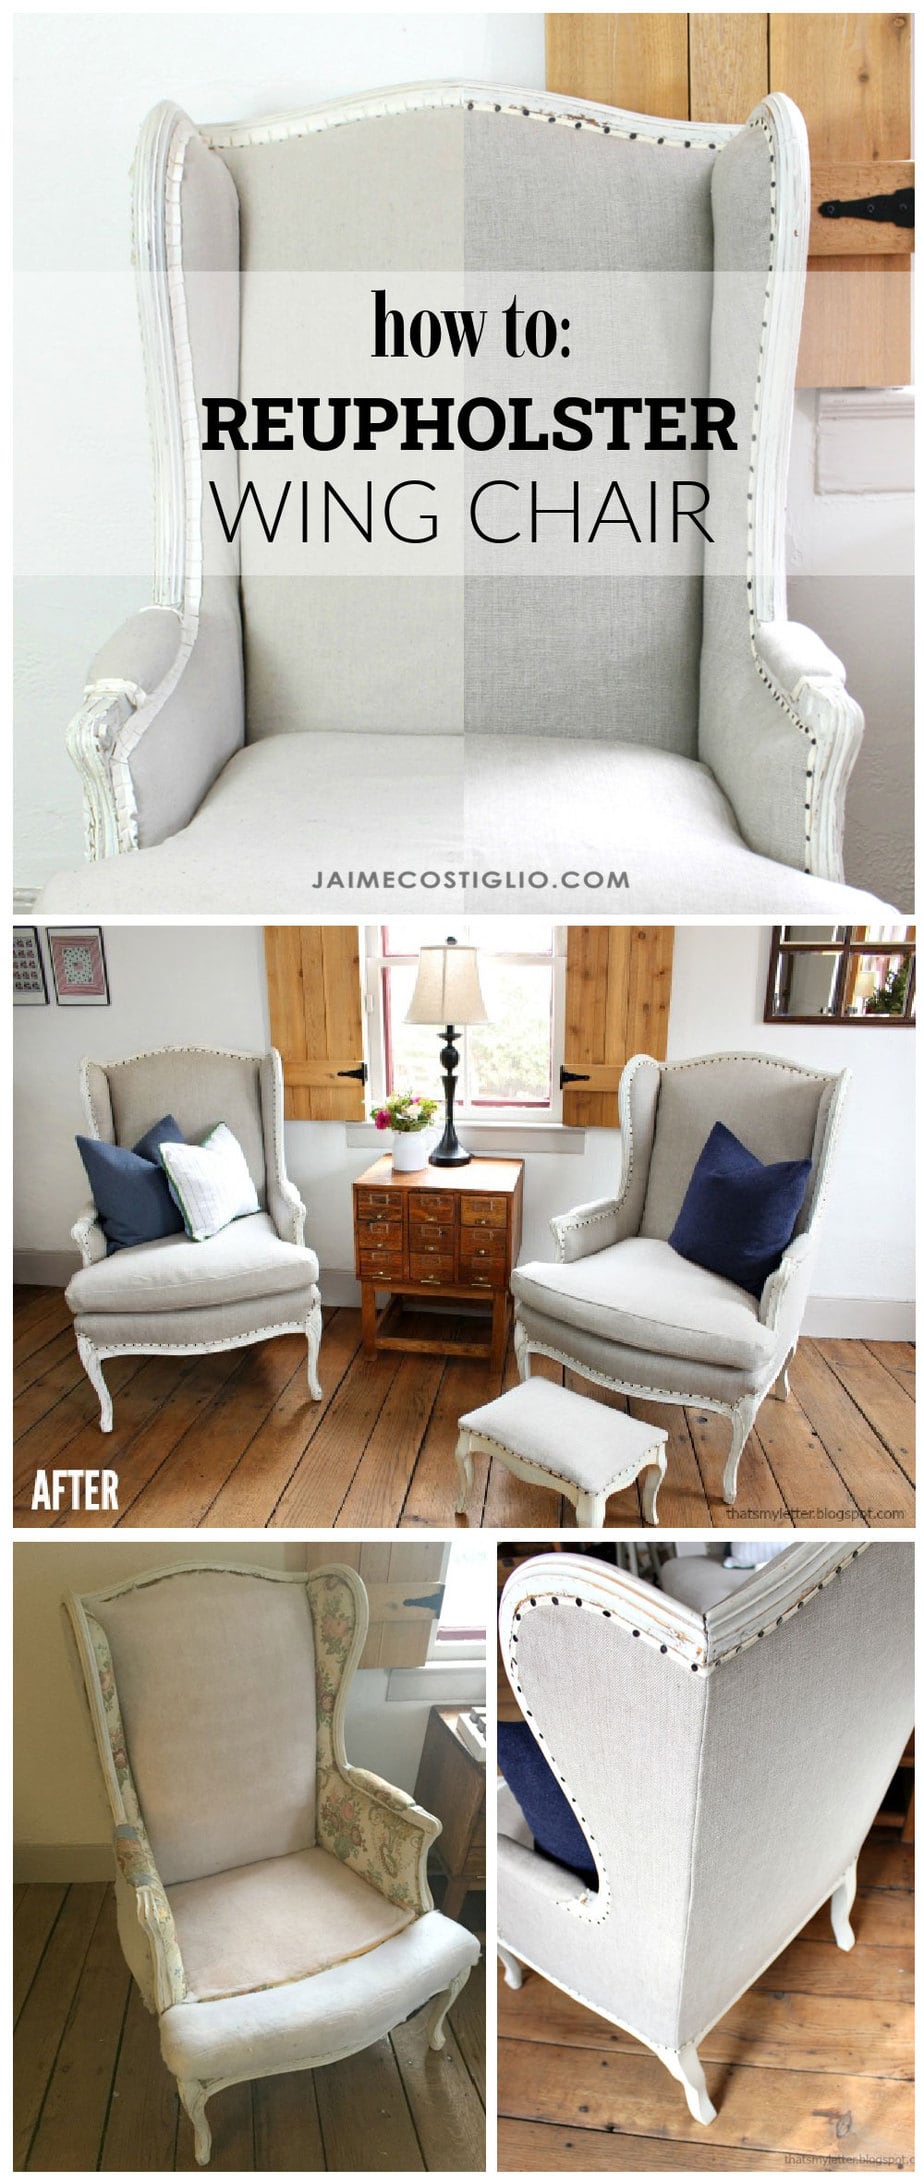
Just look at those two beautiful wing chairs now! They have been in my husband’s family for a very long time and hopefully for many more years to come.
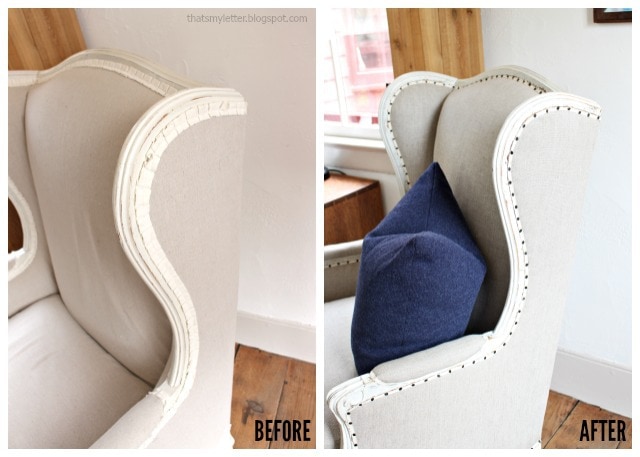
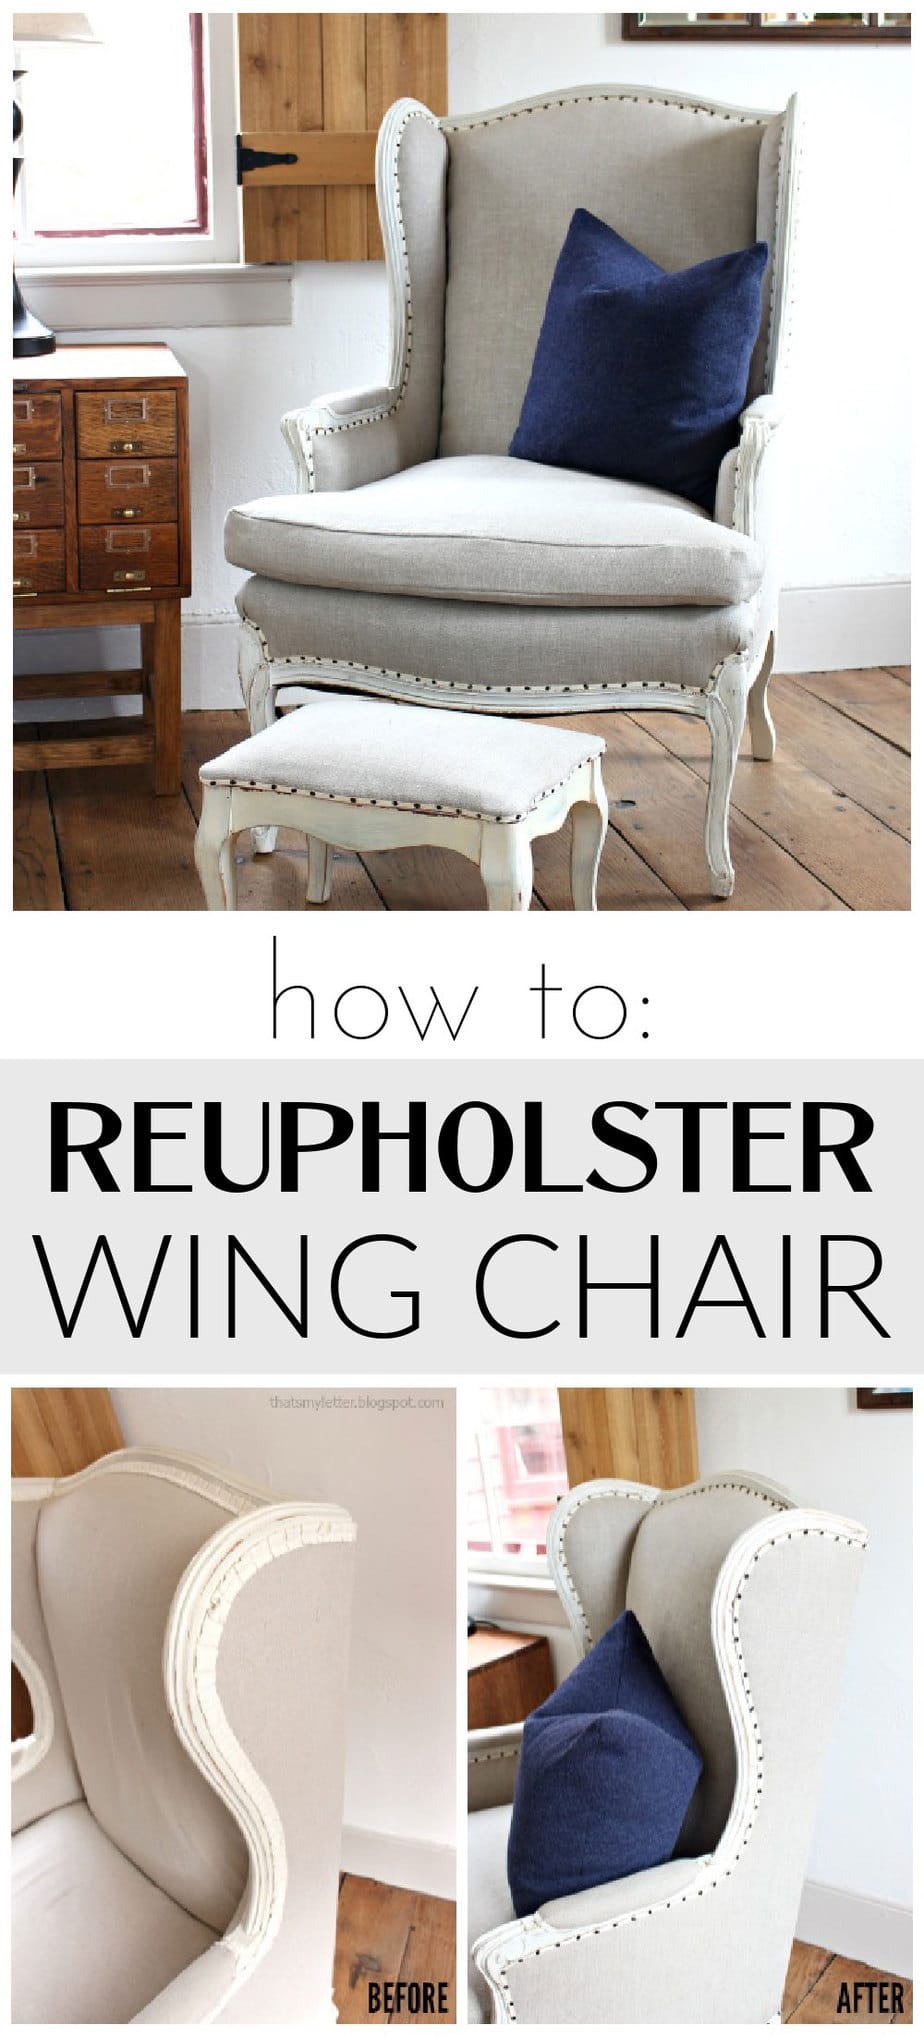
Before And After
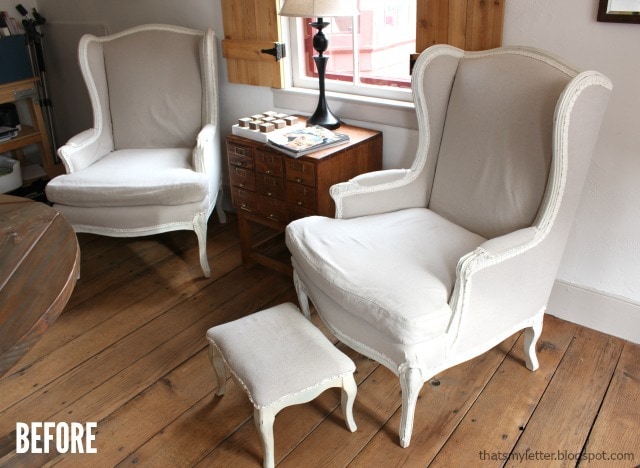
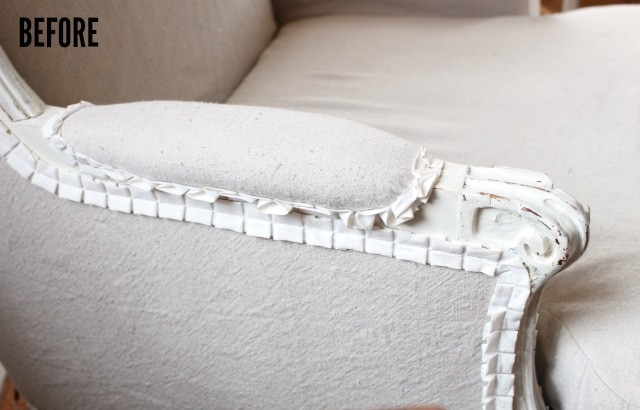
You can see in the before side of the photo above I had previously used drop cloth coverings to reupholster these wing chairs. Let’s just skip past how I should never have done that. Just look at how awful the chairs were: wrinkly, dull, pilly, and just bland. The little ruffle trim was cute but a little too frilly for me now.
And the after photo shows them now with the Belgian linen and tack trim. A beautiful, sophisticated and polished looking set of wing chairs if I do say so myself.
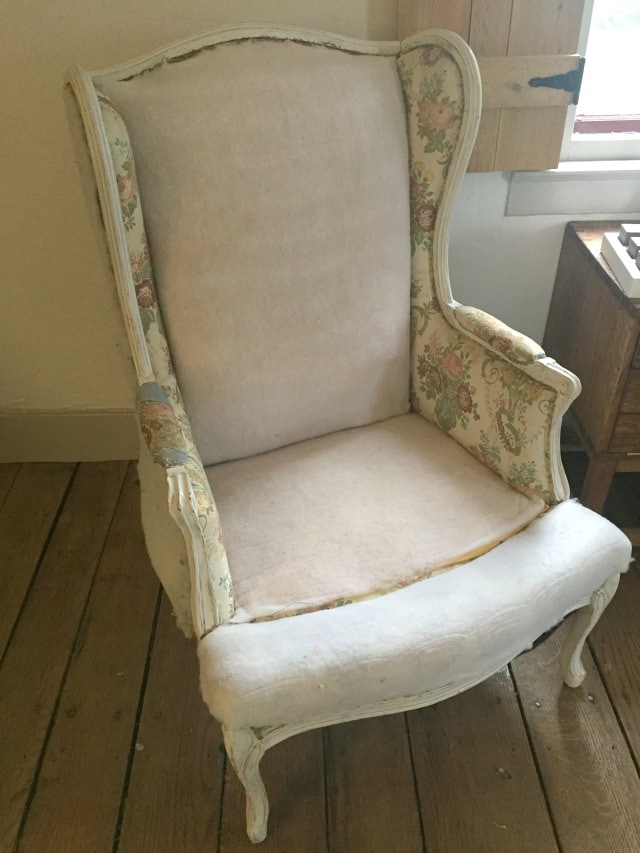
Because everyone likes a good before and after I will share exactly how the wing chairs looked before. You can cringe right along with me.
And now they are so much better! All grown up and fancy like.
DIY Wing Chair Reupholstery
This is definitely a project you can do yourself. It will take time, patience and some sewing ability but it can be done and you will save on the costly professional upholstery fees. Plus the thought of loading these into my car is enough to make me want to DIY.
In the photo above you can see before I had made this pleated cotton trim using old sheets. It was pretty and added a little texture but the overall chair was blah.
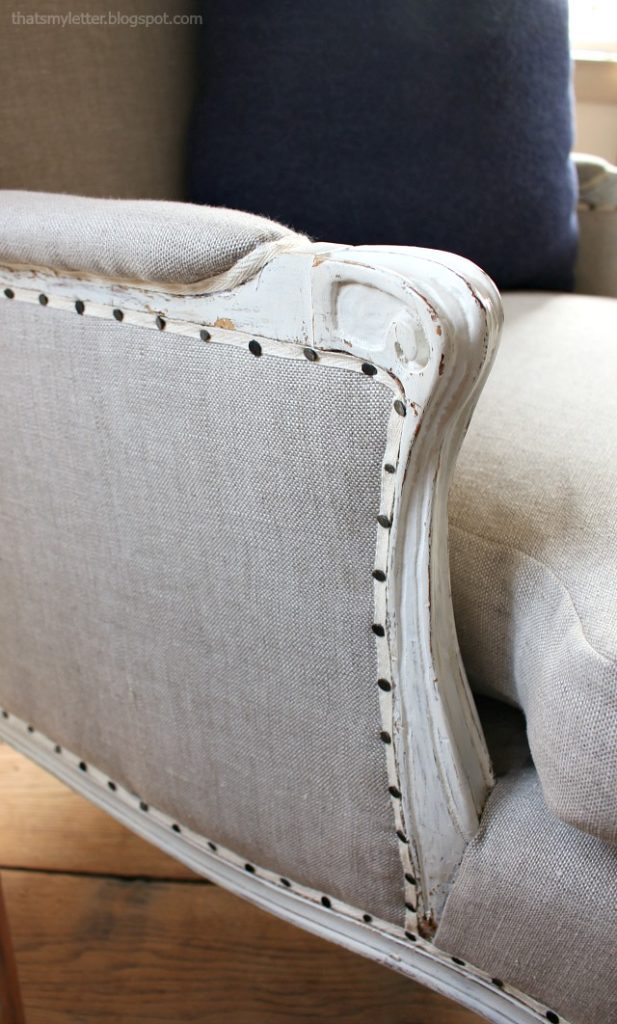
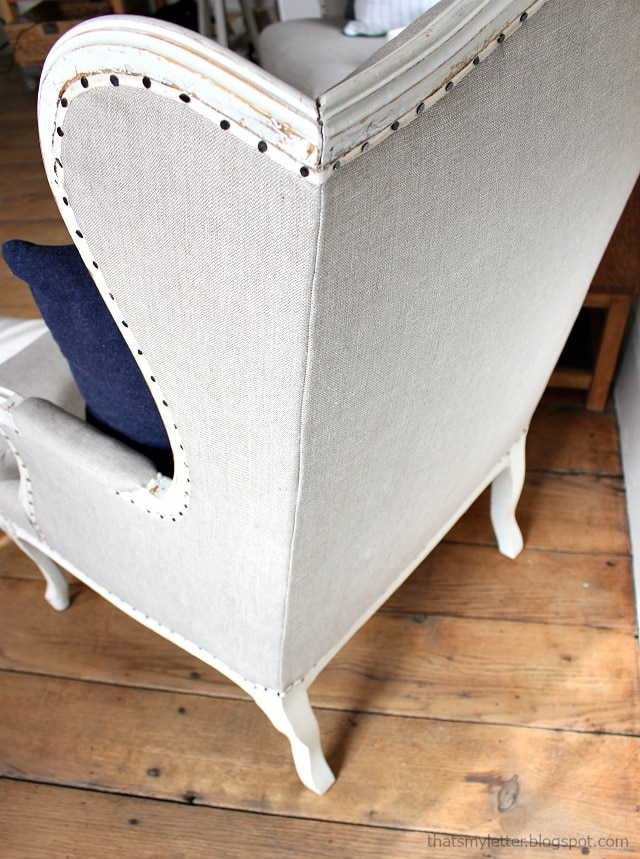
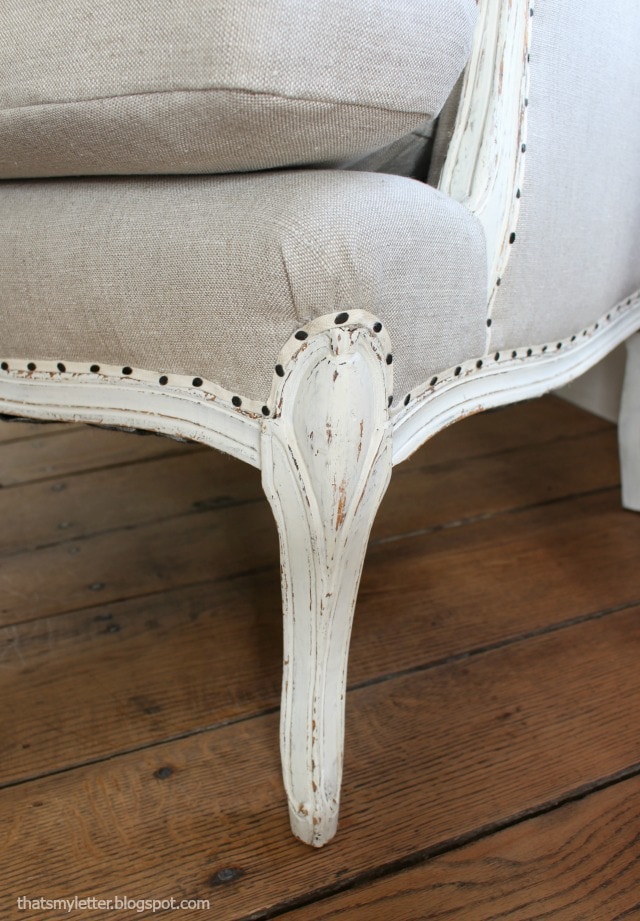
The new twill tape trim and carpet tacks add just the right amount of definition and finishing touch which actually emphasizes the pretty curves of the wood frame.
Below are the steps to reupholster a wing chair. Please note not all chairs are exactly the same so you may find a slightly different set up with your frame. Do plan to take your time, this is definitely not a one day project.
Supplies:
- pliers
- staple remover
- 5 yards Belgian linen 11 oz. (per chair)
- sewing machine & thread
- scissors
- straight pins
- carpet thread & curved upholstery needle
- staple gun & staples
- exacto knife
- hot glue gun & hot glue sticks
- 1/4″ wide natural twill tape
- #6 black carpet tacks
- hammer
- flexible tape measure
- pen
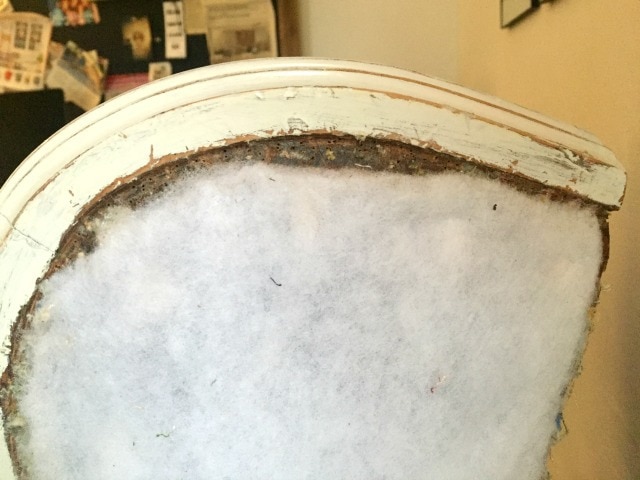
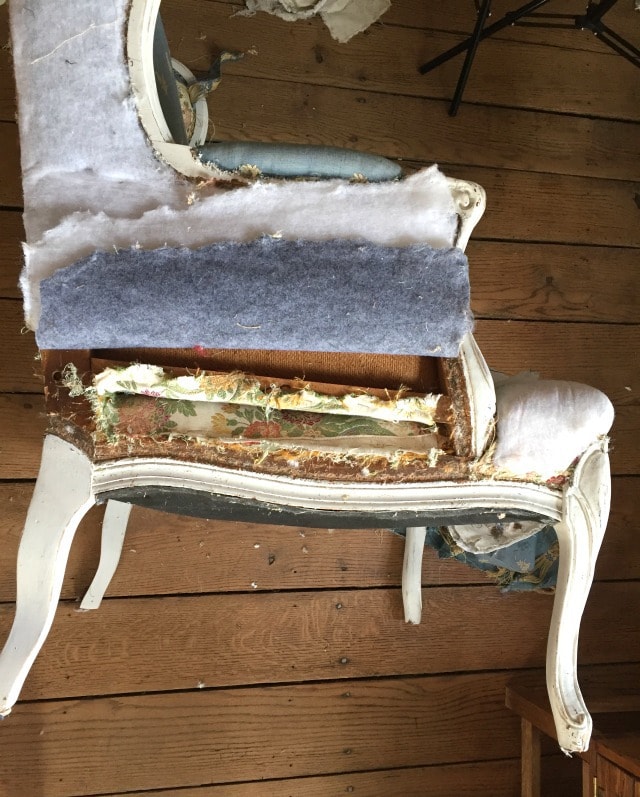
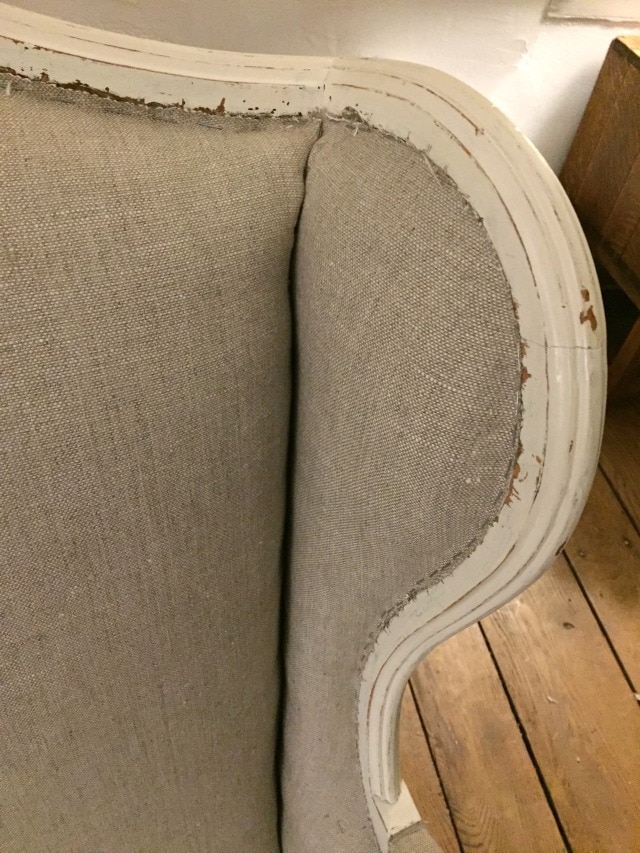
Step 1: Remove the existing fabric and trim all the way down to the batting. * Save the pieces as you pull them off to reuse as patterns. (The floral fabric you see here is the original and I choose to leave it on in certain places because it was holding the foam and shape of the chair.)
Step 2: Remove ALL the old staples. Depending on the age of your chair and how many times it’s been reupholstered you may have a zillion staples to remove. Take them all out because you need the space to place new staples and also it’s best to have a flat surface for the new fabric.
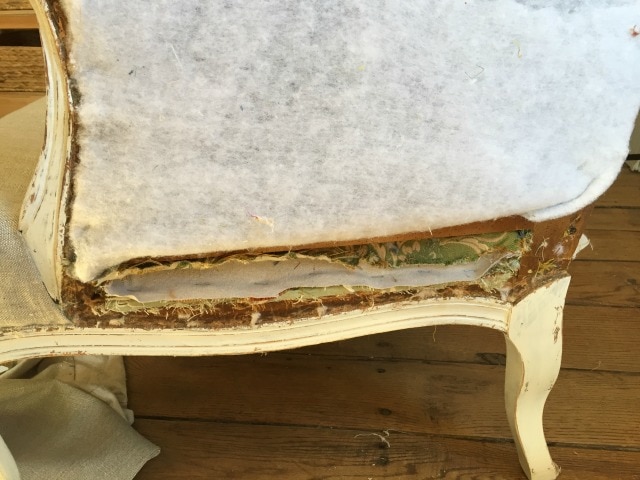
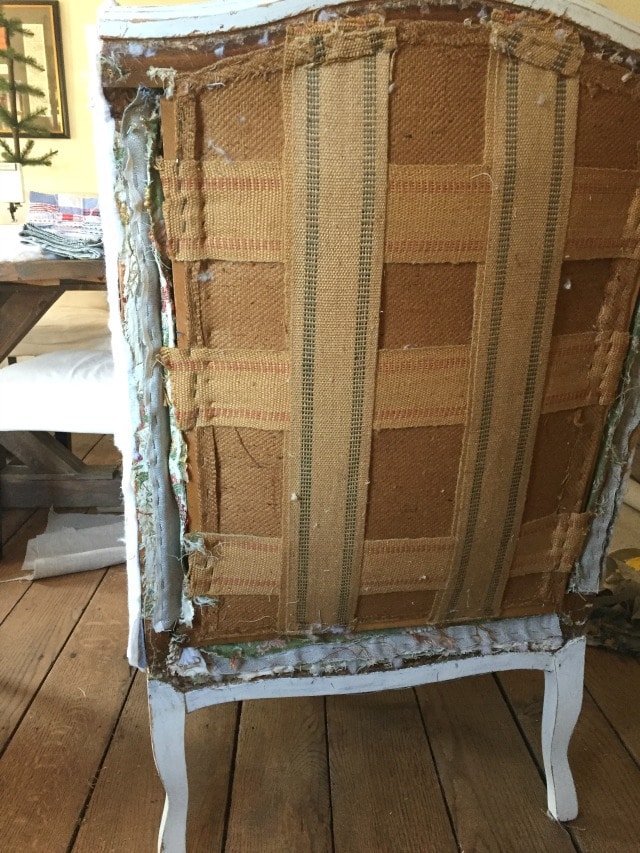
Step 3: At the exterior sides and back you will need to expose the inner framework of the chair by removing the foam near the bottom edge. You can see above the floral fabric peeking through – that is where you will pull through the new seat and side pieces.
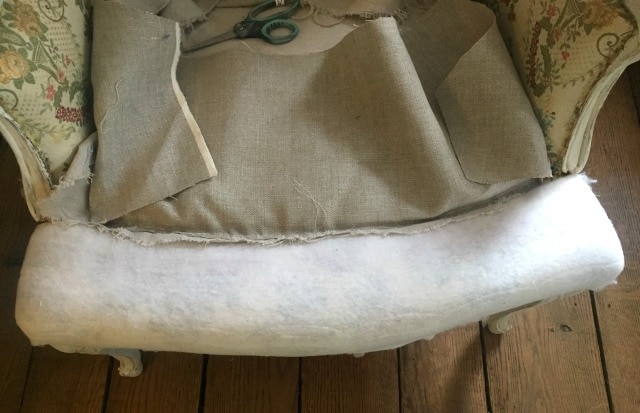
Step 4: Begin with the seat deck. You will need to sew a seam in the deck pieces right where the arms meet the seat. Then you will hand sew through the seam allowance down into the chair frame using carpet thread. This secures the deck fabric to the chair base. Once attached then push the deck fabric through the side openings (created in Step 3) under the arms and pull the front portion down over the edge and staple snug in place. Pull the fabric taught and snug – but not overly tight – and staple as close to the edge of the woodwork as possible.
Wing Chair Reupholstery Order:
1. seat deck
2. interior sides
3. interior back
4. exterior back & sides
Step 5: Once the front portion of the decking is stapled then secure the deck sides and back. You can barely see the new fabric stapled down under the arm above.
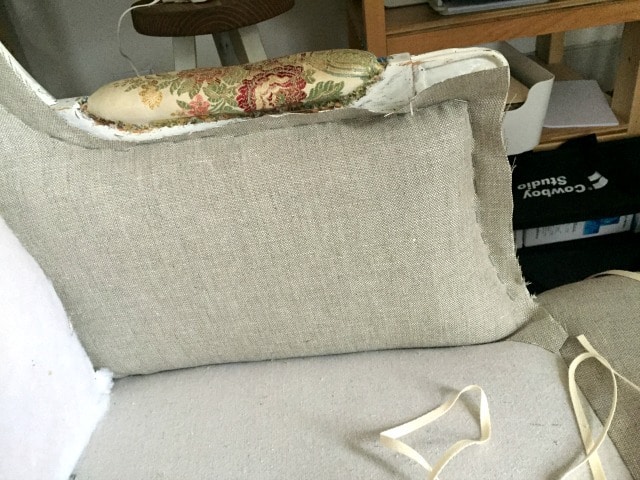
Step 6: Next attach the interior side pieces. Cut your new fabric using the old piece as a pattern and add an extra 2″ around the edges. Staple the piece in place and pull the back edge through the opening in the side back. Once stapled in place then trim the excess fabric with an exacto knife.
Step 7: Now move to the interior back. Staple in place across the top and fold over the edge at the corner then shove the excess through to the back and secure.
You can see in the photo above the back left side where the new fabric comes through to the back and is stapled snug to the frame.
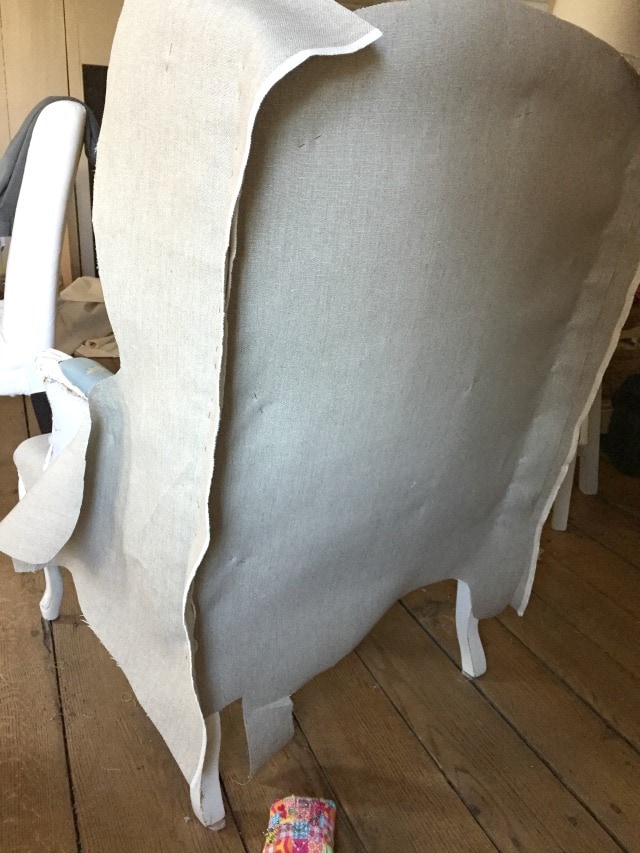
Step 8: To make the exterior back and sides I choose to sew a side seam. Most upholsterers will use that metal tape track system but I prefer a sewn seam if possible. Cut your pieces to size and then pin right side directly onto the chair temporarily. Run a line of pins down the corner where the seam will go, then remove the pins that are holding the fabric to the chair and sew the two side seams. Trim the seam allowance to 1/2″ to remove any excess bulk.
Step 9: Staple the exterior back pieces in place starting at the back top and sides making sure to keep the seams running precisely down the edge of the frame.
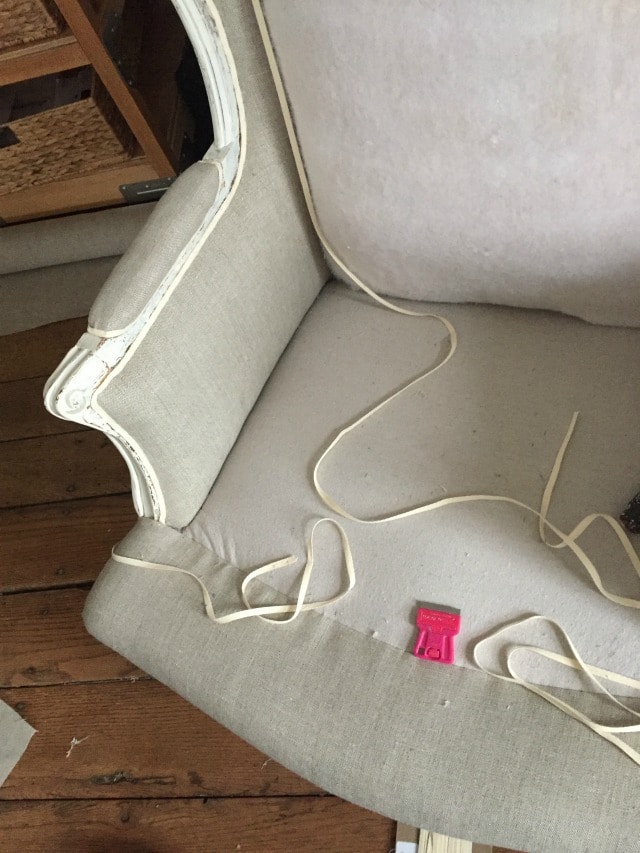
Step 10: Once all the fabric is on and the excess has been trimmed then use hot glue to apply the twill tape which covers all the unsightly staples.
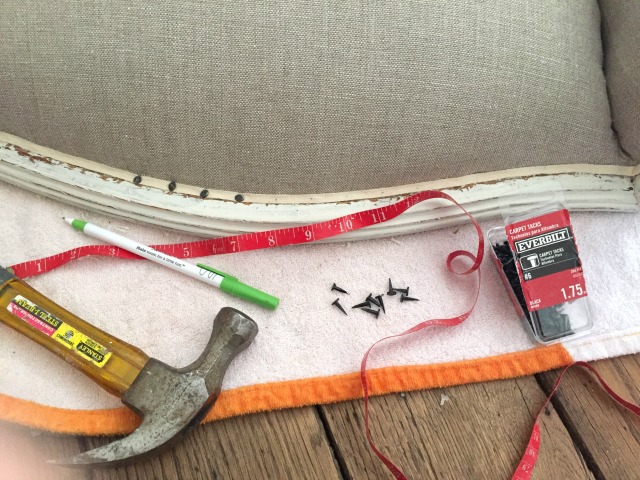
In Step 11: Use a flexible measuring tape to mark off every 1″ with a pen dot. Hammer in one carpet tack at every mark.
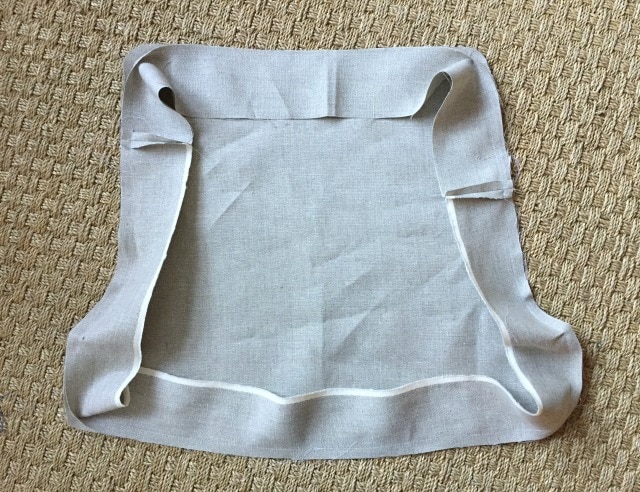
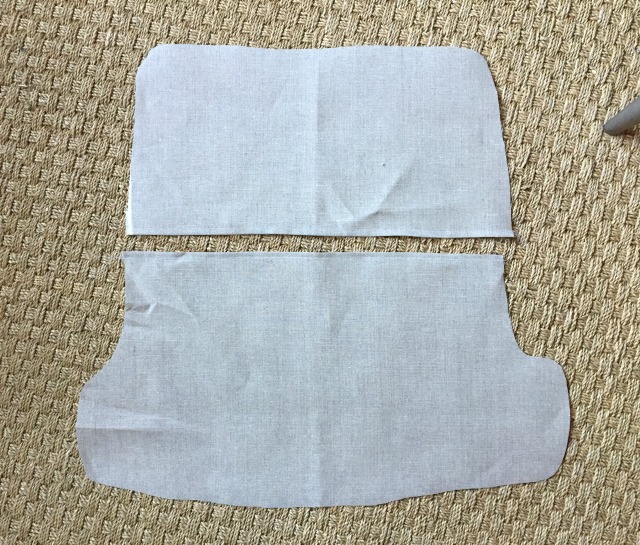
Step 12: To make the cushion cover I used the envelope closure method. First cut the top piece, again tracing around the old fabric plus adding a seam allowance. Then attach the side panel portion all around.
Step 13: For the envelope closure the bottom piece of the cushion cover is made of two pieces that will overlap at least 3″. Cut these two pieces and make a finished edge at both openings. Then sew these pieces onto the side panel portion, lining up the edges. Turn right side out and stuff cushion insert inside.
Thanks for joining me for this wing chair reupholstery project. Please leave any questions in the comments below and be sure to follow me on social media for sneak peeks, tools and project inspiration:
SHOP THIS PROJECT:
And if you’re curious about the card catalog side table that was a repurposed project here:




Jaime, wow! These chairs came out so beautifully! The twill tape and carpet nails are such a perfect way to finish it off. I reupholstered 2 chairs last year and they are fair at best…that metal tracking is hard to get the fabric right….your side seam looks a million times better!!! Just gorgeous. Thank you for the tutorial in case I ever tackle this again 🙂
Well, your job is simply amazing! I love the linen, the twill tape, and of course those tacks. I have a pair of wing-back chairs that need this, but I'm not ready yet! I'm saving your instructions for when that time arrives. Thanks!
I love your tutorial! You're chairs turned out amazing ,
Those turned out beautifully!
Good job, Jaime! Yes, thank goodness I only used the drop cloth as fabric one time! I did some wing back chairs 2 years ago and I have still completed them! No one would know but I know.
Thanks Amy, funny how we live and learn.
I’ve been staring at my wing chair, wondering if I could re-upholster it….now, I know I can! Thanks for such a clear description. I’m ready to tackle a new project!
You’re welcome Lissa, it’s definitely doable. Slow and steady wins the race!
I have cats. Can you recommend a fabric type? Thanks!
Can you explain step 9 more? How do you hide the seam with extra fabric?
Hi Vicky, In Step 9 the raw edges of the seams are on the inside and the whole 3 piece section is stapled to the chair at the edges. Start at the center back top and then the bottom to keep those side seams lined up with the edges of the back.
Hi! I’m reupholstering a chair similar to yours and I’m having difficulty getting the staples to go into the grooves on the inside of the wings. My staple gun doesn’t fit at the angle I need if it’s toward the inside of the chair, and I can’t get it to fire a staple when I try from the outside. Any ideas?
Hi Ruth, Sounds like you need a pneumatic staple gun (the one with a narrow head). I believe Porter Cable makes one. I haven’t seen any manual staple guns with a super narrow head / body to get in those tight spots. Good luck!