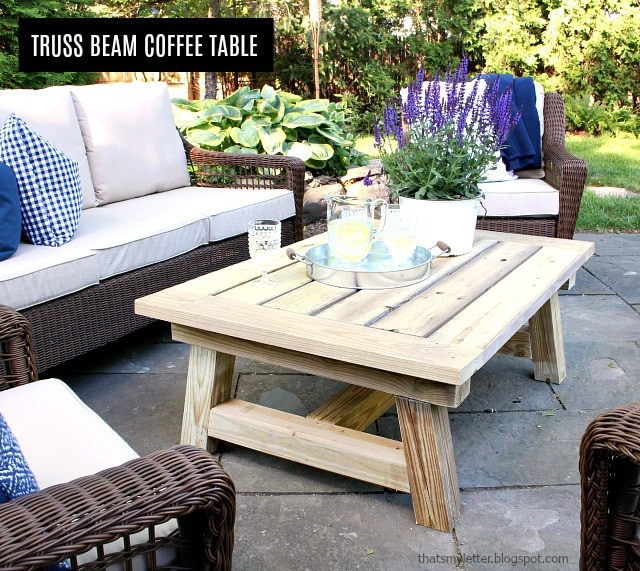
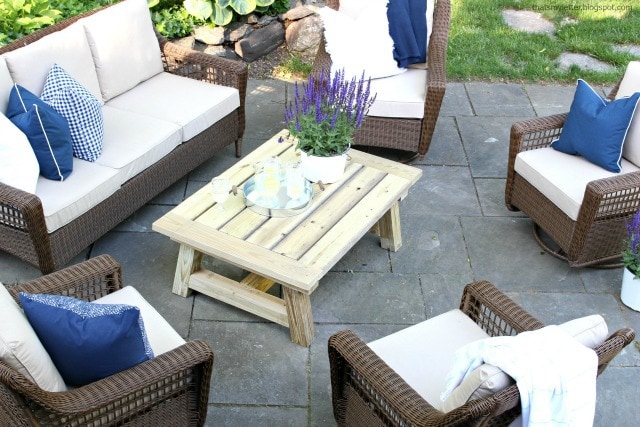
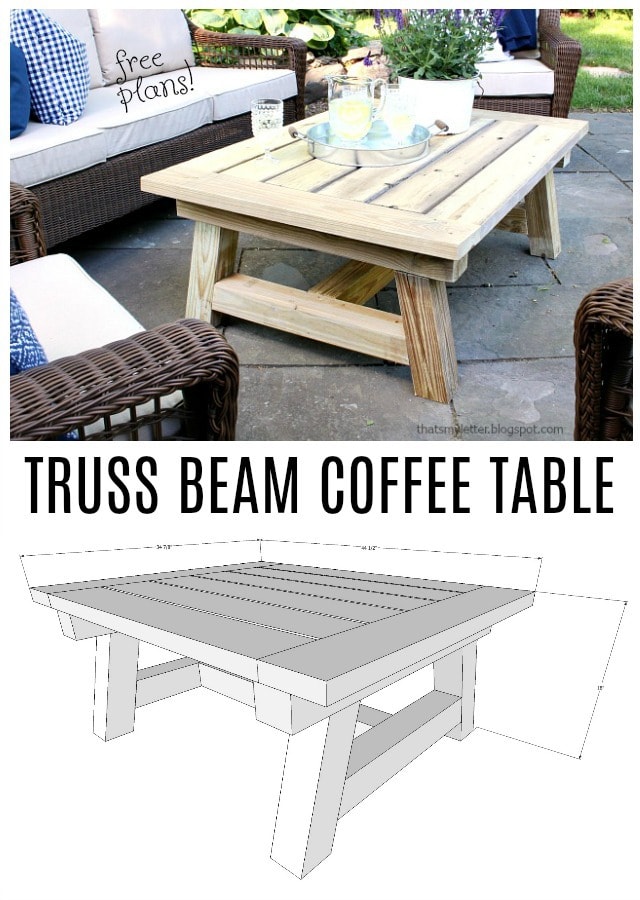
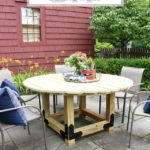
Our backyard patio space got a makeover this Spring and that included building this truss beam coffee table. It’s super solid and what’s even better is that I built it reusing lumber from the previous large dining table we had in the space before.
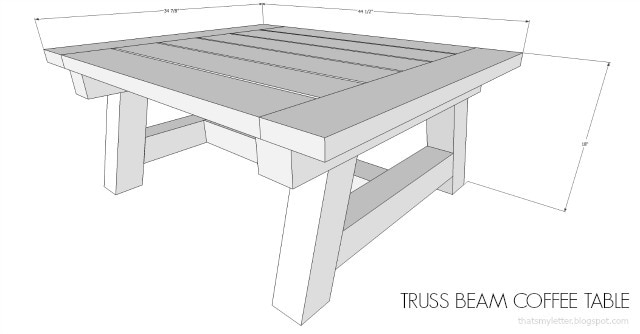
A DIY tutorial to build a truss beam style coffee table. Great for indoors or outdoors this coffee table is solid and sturdy.
With chunky 4×4 posts for legs and cross supports this coffee table weighs a ton which means it’s not going anywhere.
I based this coffee table plan off of Ana White’s truss beam dining table. And I will say this coffee table version is even easier to build than the dining table.
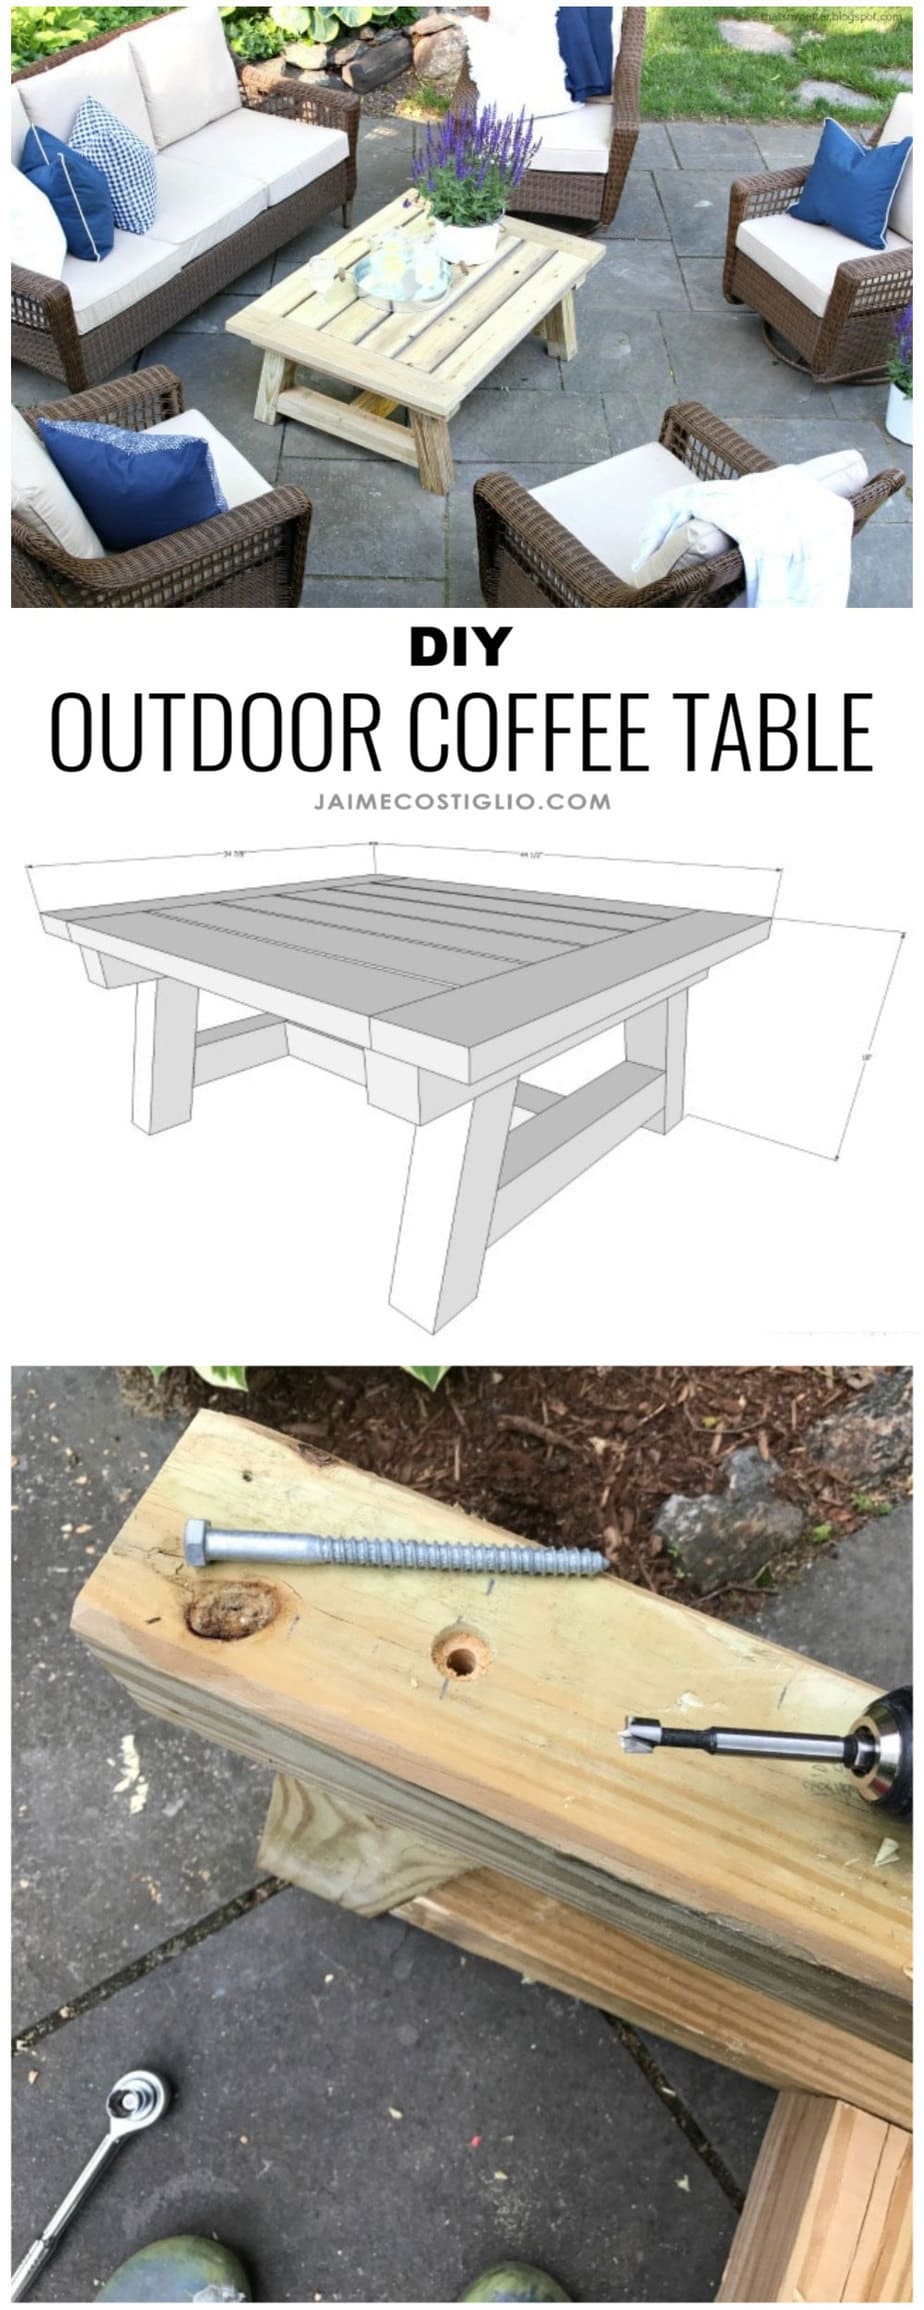
I love the thick, chunky look and weight of this table against the woven wicker of the seating furniture.
I put together step by step plans so you can make your own truss beam coffee table. Please follow all safety precautions when operating power tools.
I suggest reading through the plans entirely before beginning and scroll down for a few building notes.
*This post contains affiliate links.
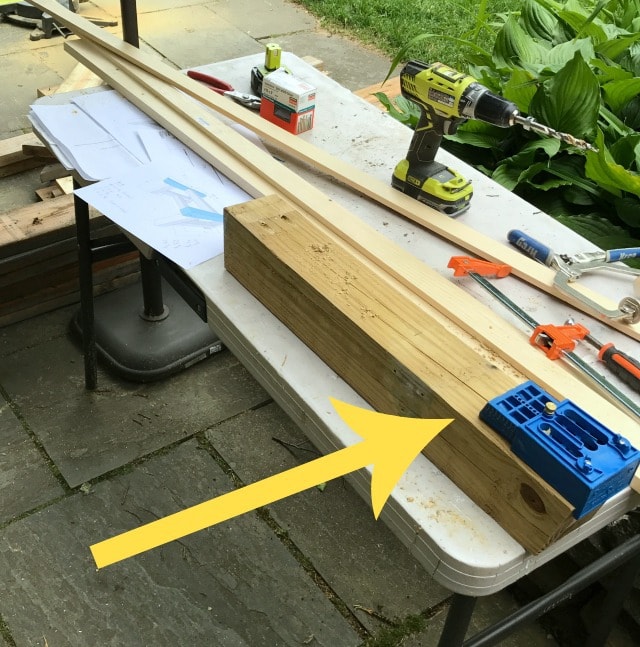
This table is built using 4×4 lumber so in order to make pocket holes remove the portable portion of your Kreg pocket hole jig and clamp it to the boards. Alternatively you can attach all the boards using lag bolts if you don’t mind the visible hardware.
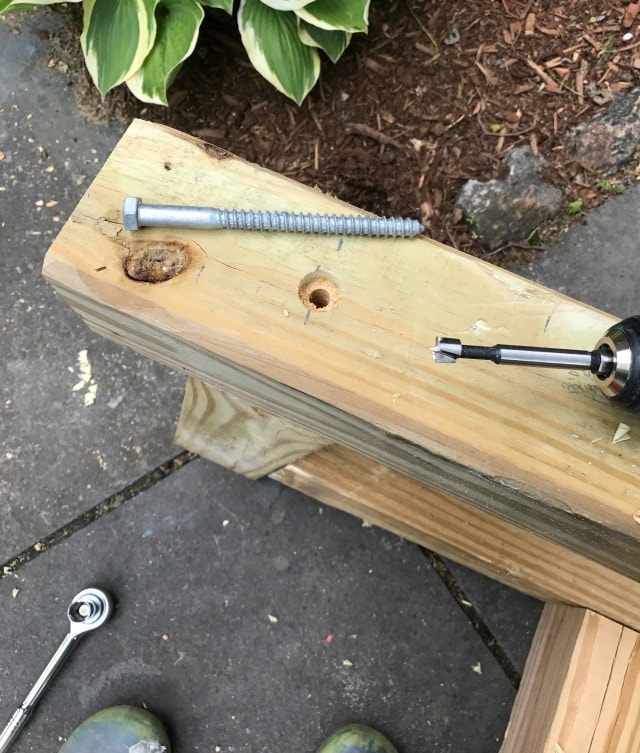
When attaching the top support to the legs I suggest predrilling using a forstner bit in order to get the lag bolts down into position.
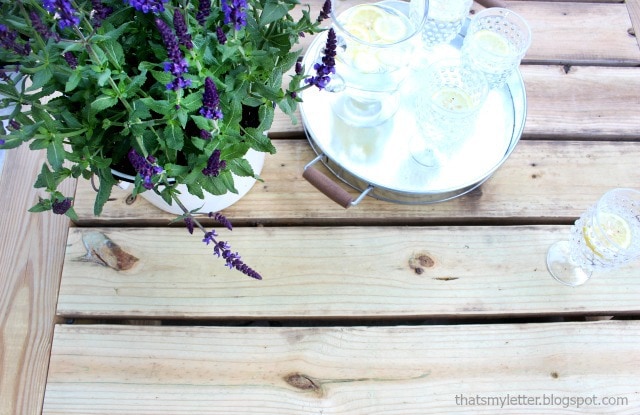
I will be finishing this coffee table very soon but for the moment it’s only sanded and we love it!
Thanks for joining me for this outdoor coffee table project. Please leave any questions in the comments below and be sure to follow me on social media for sneak peeks, tools and project inspiration:

Jaime, You have the best projects! Our outside coffee table is on it's last legs and I love the look of yours. Pinning for when we need to make one. It turned out great and I really like the contrast of it with your wicker sofa and chairs.
Maybe I missed it but I was wondering what angle are the top and bottom of the legs cut at and the board between them?
Hi Claude, the angle is 10 degrees. It’s detailed in the PDF plans which are linked above.
Thanks for the plans; the table turned out great. I did have a few notes that I found while making this:
– for a cleaner finish, cut edges (especially on the table top 2×6’s) can be rounded prior to assembly
– only two 2x6x12’s are needed, not three
– dimensional lumber is rarely 1/2″ less than the width so the 3/8″ board spacing suggested should be measured out. For me it turned out to be more like 1/4″ spacing
– the pocket screws for the 2×4 cross supports are near impossible to drive in with the leg center truss. Either turn the 2×4’s so the pocket holes are facing outward (not hidden but can only be seen if you look under the table), or you have to remove the leg center truss and reattach after securing the 2×4’s