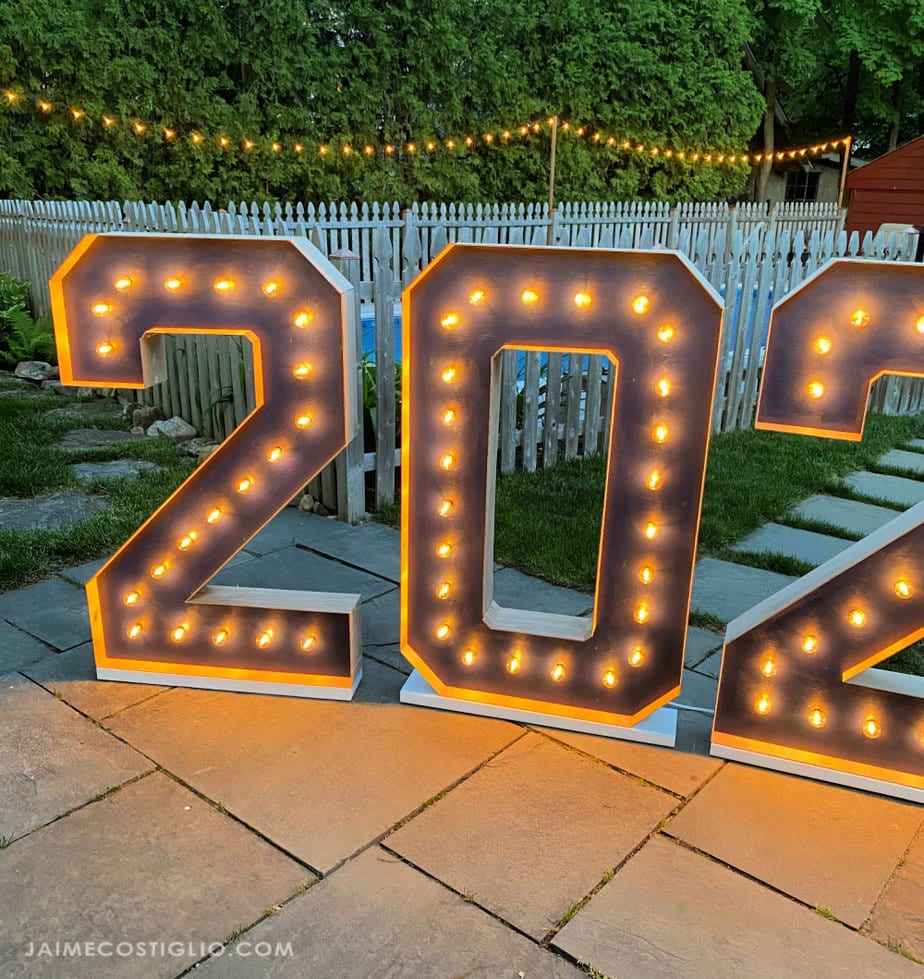
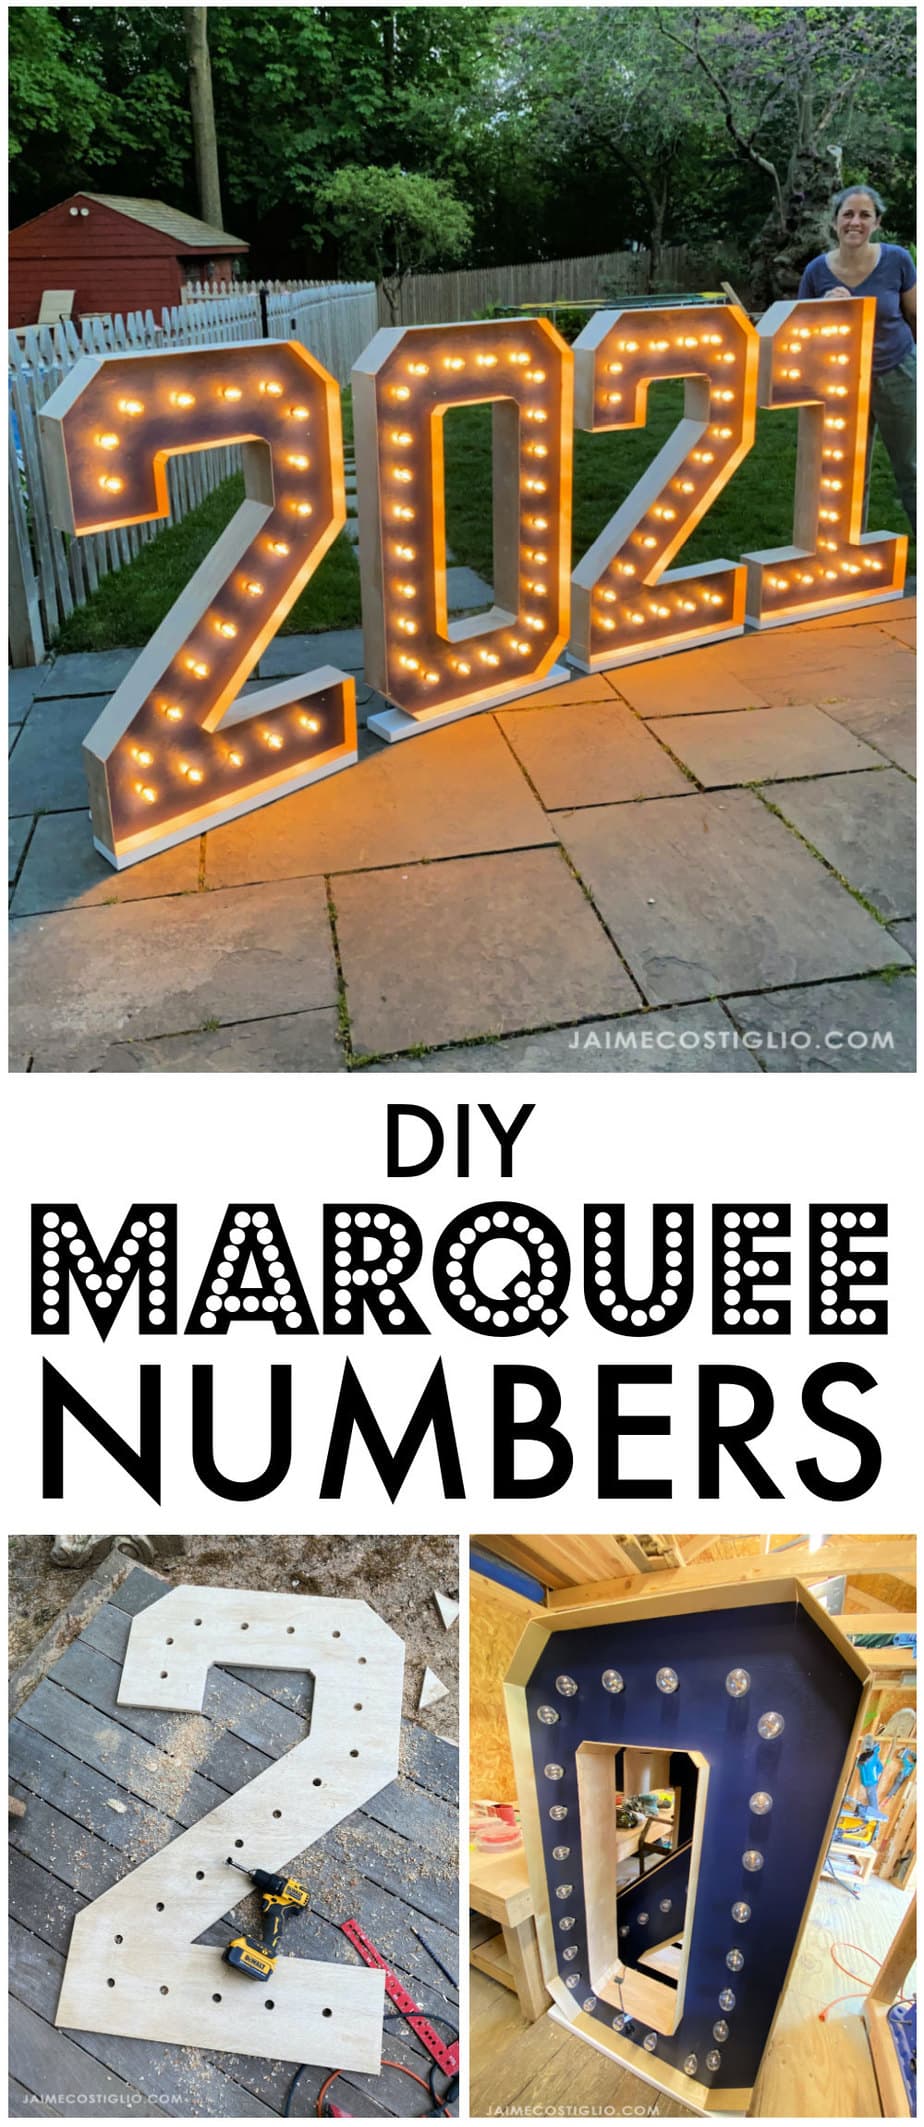
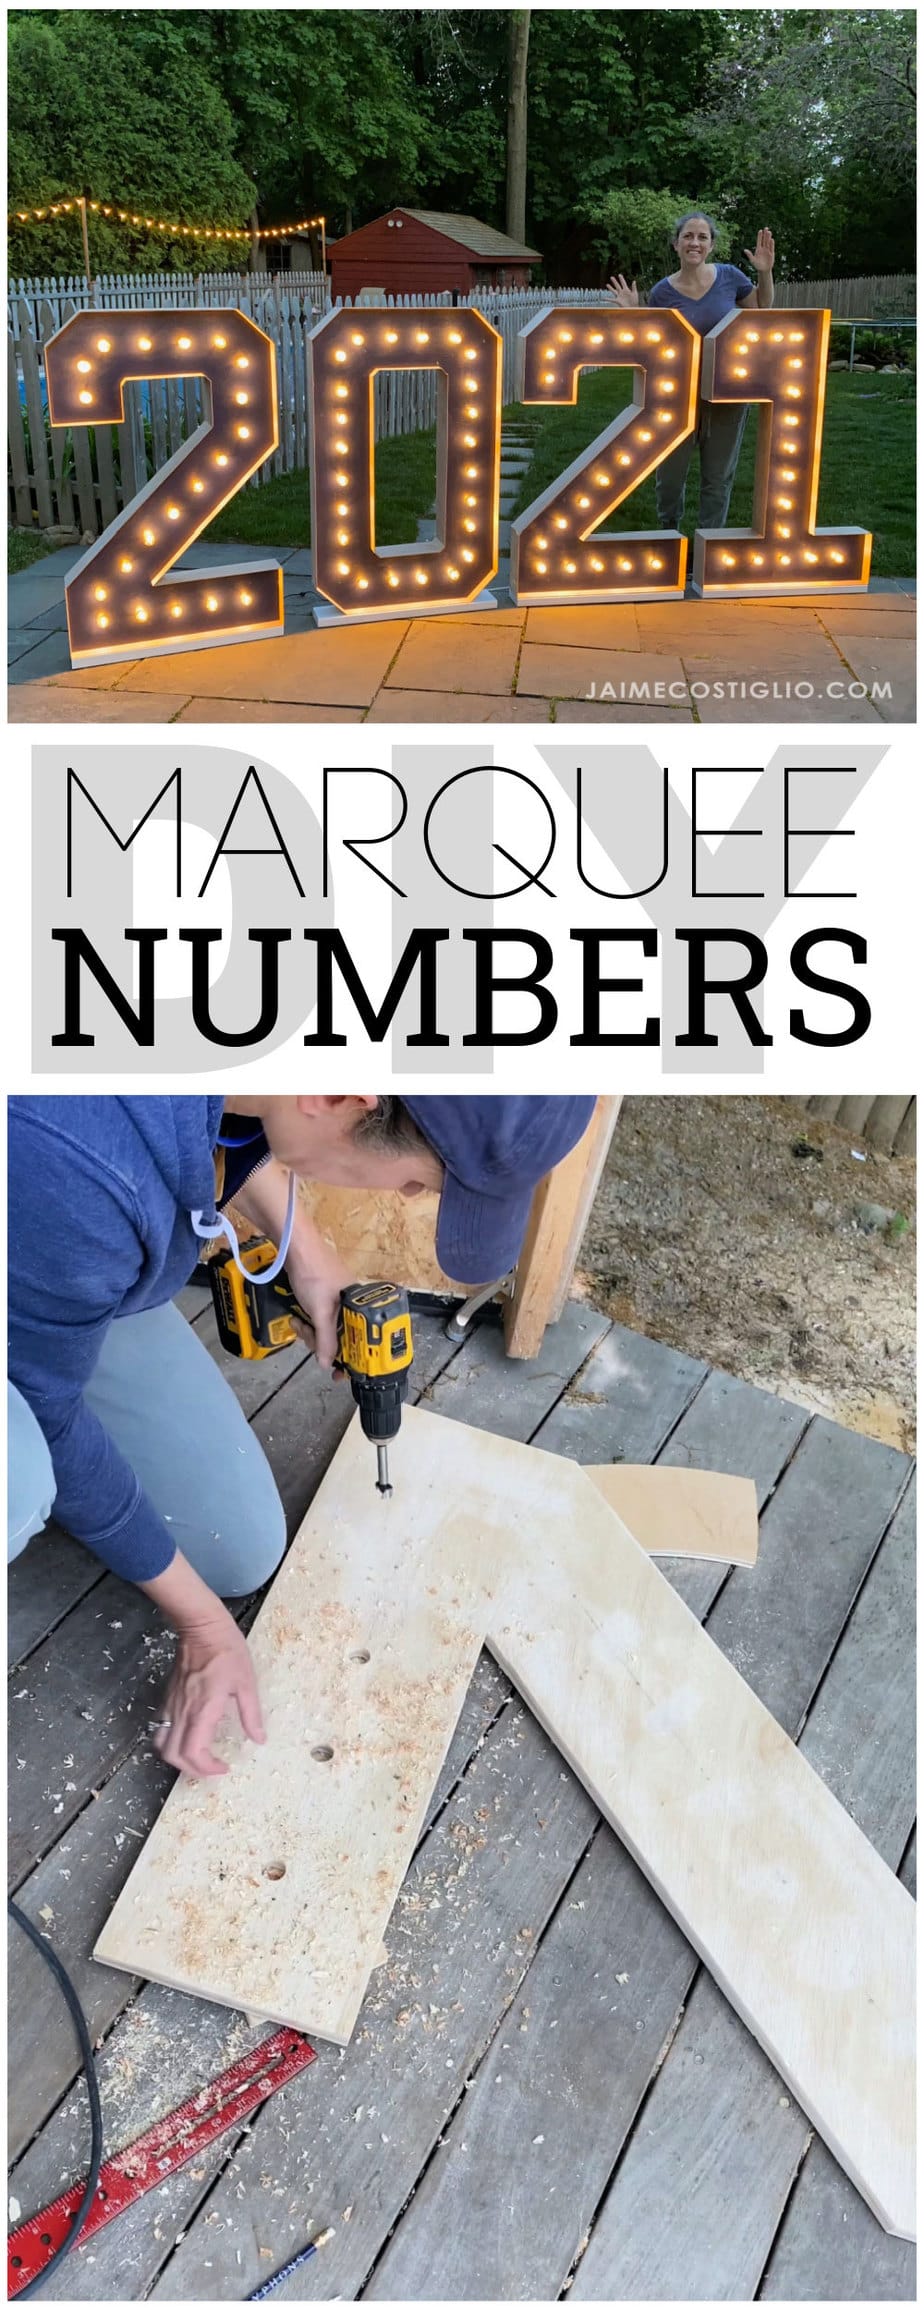
Kicking off the graduation season with a big fun DIY project that makes a huge impact. These marquee numbers are definitely something you can make yourself and then share with friends as kids graduate throughout the years.
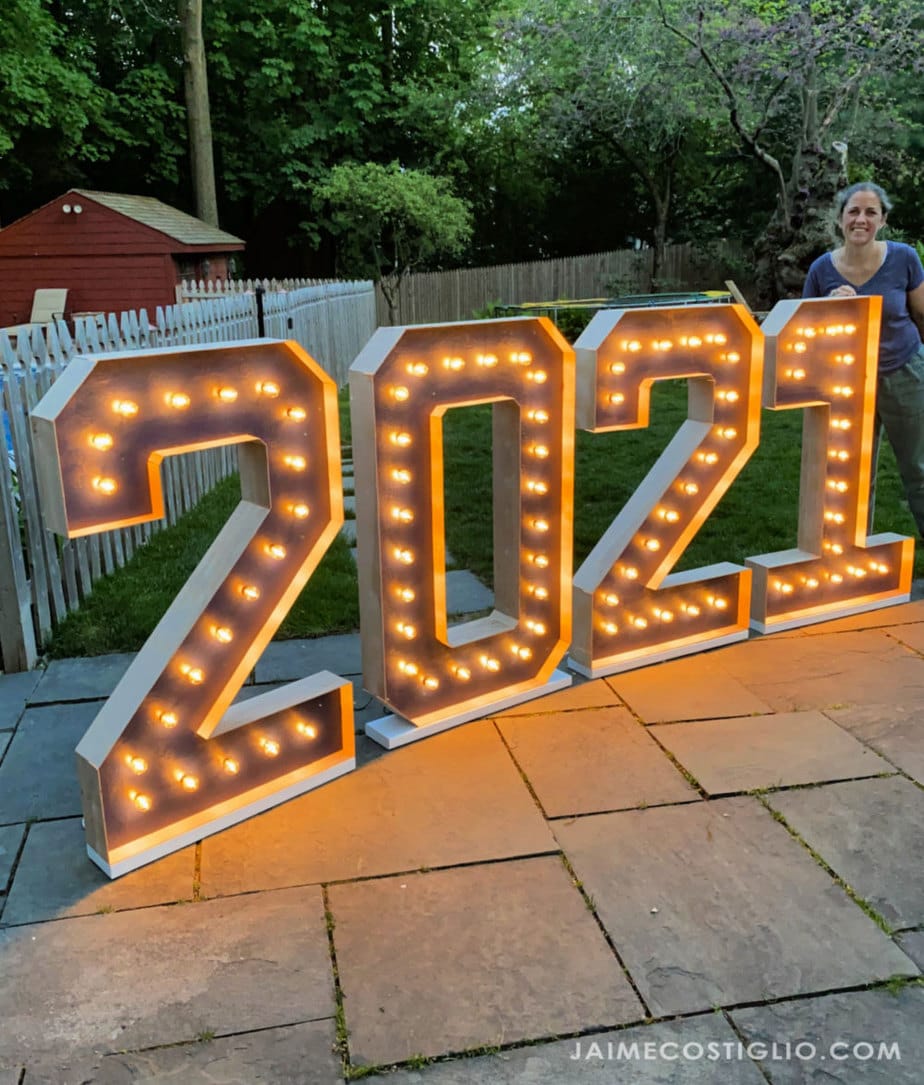
A DIY tutorial to build large self standing marquee numbers. Make a statement with these marquee numbers for your event.
It’s party time and that means big decor with lots of lights and what’s better than giant marquee numbers? They are a perfect fit for almost any celebration and you can customize them for any occasion.
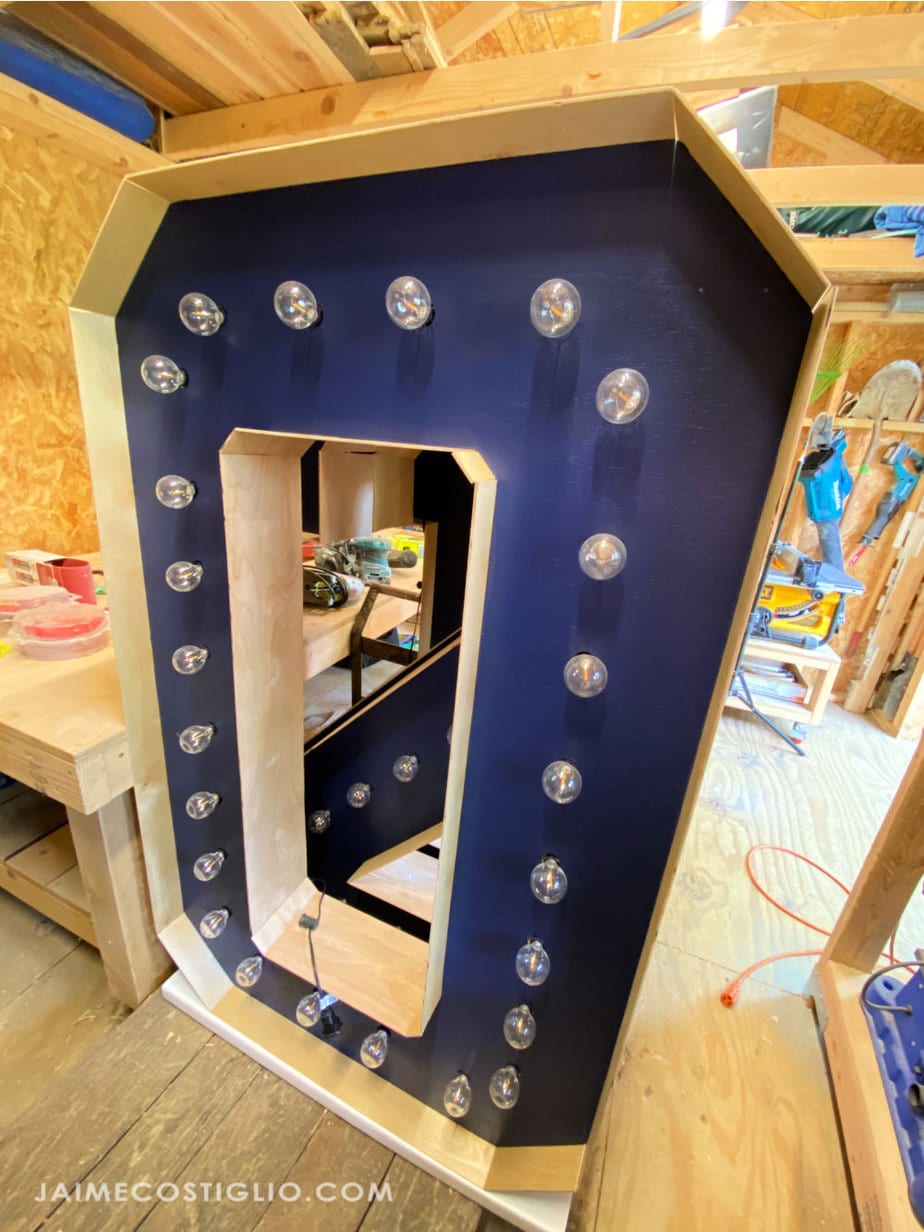
Marquee Numbers
I made these marquee numbers using 3/4″ plywood so they are sturdy and solid. Plus I took advantage of the natural 4′ plywood width and made my numbers 4′ tall. Go big or go home right?
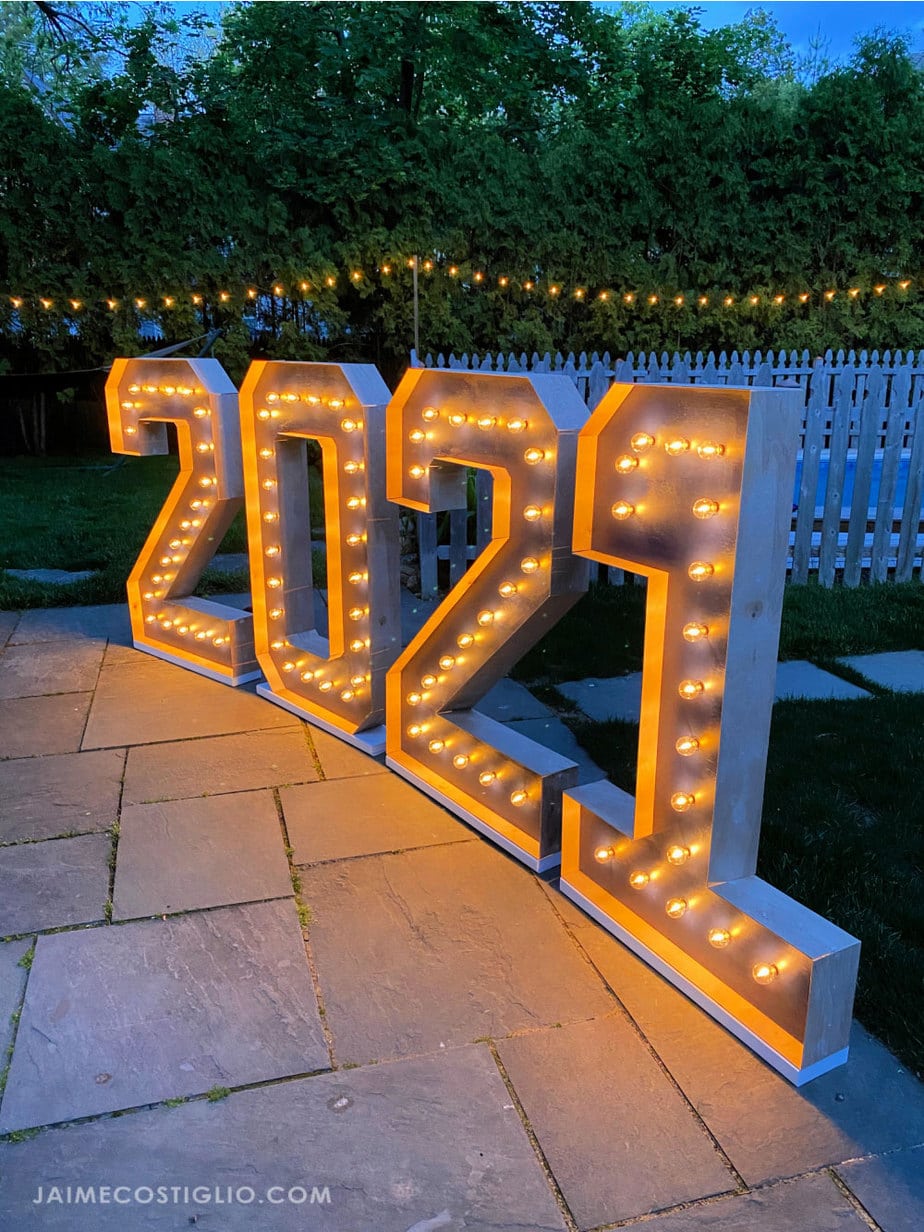
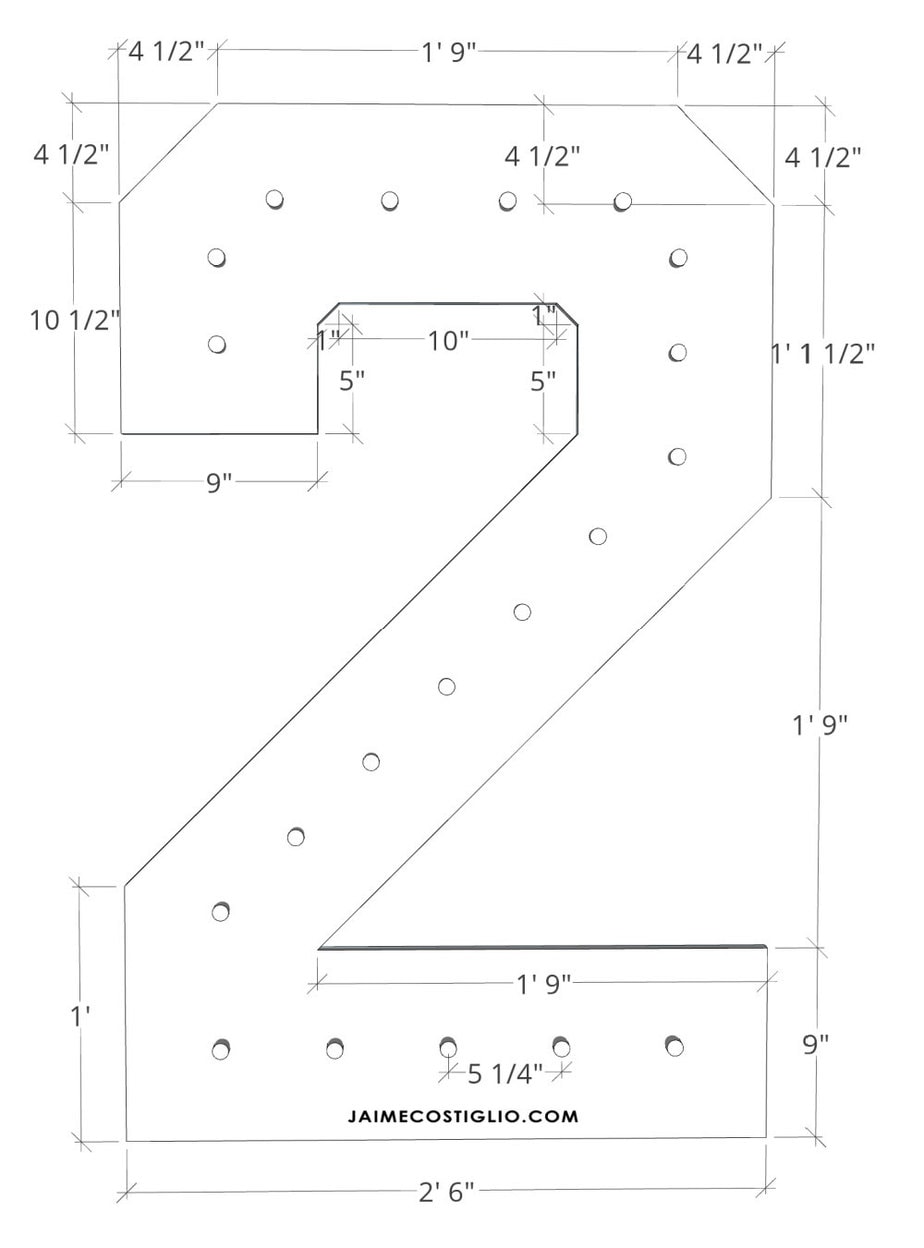
Below I’m sharing the tutorial so you can make these marquee numbers too. The plans include three numbers – 2, 0 and 1.
- Graduation year
- Milestone birthday
- Anniversary celebration
More Numbers
Plans for more numbers are available:
Click here for a printable PDF version of the plans including numbers 2, 0 and 1.
Supplies
- 3/4″ plywood (1 sheet for 2 numbers, each number is 48″ x 30″)
- jig saw
- framing square
- drill
- 7/8″ Forstner bit
- paint
- paint roller
- string lights
- stapler
- 5/16″ staples
- 1/8″ plywood (underlayment) – 2 full sheets
- pneumatic staple gun
- staples
- wood glue
- 2x10x10
- 2 1/2″ spax screws
- extension cords
- portable battery power
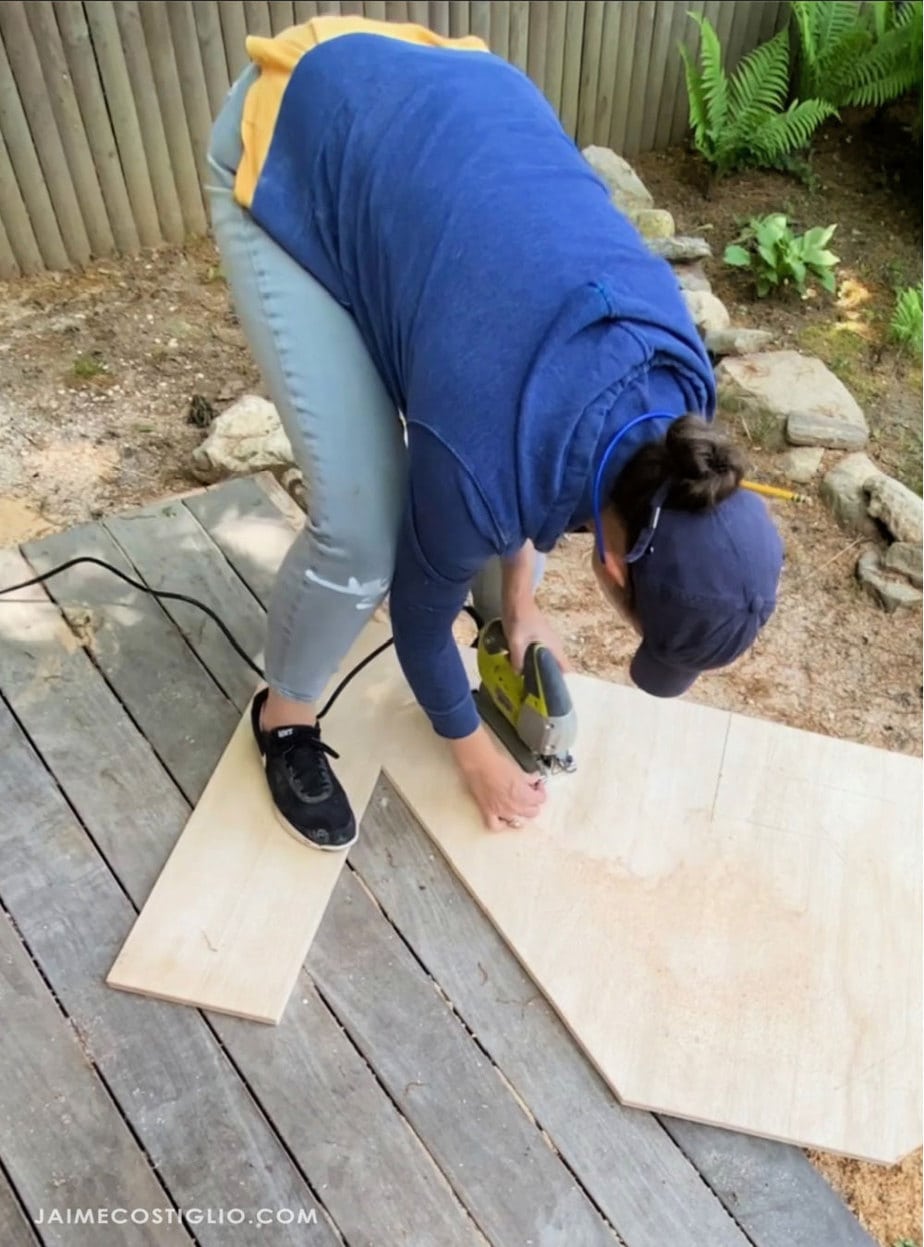
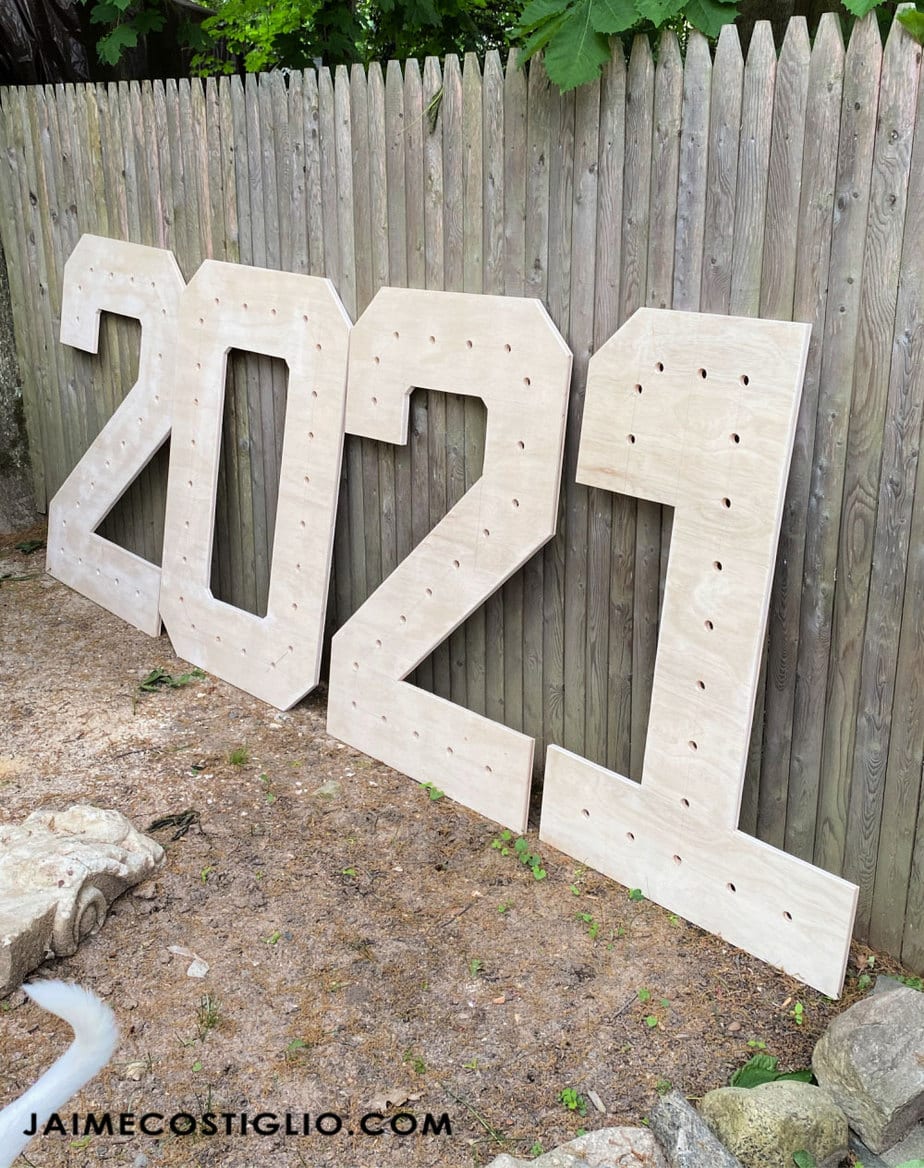
Step 1: Using the plans here and a pencil and framing square sketch out each number on a piece of 3/4″ plywood (48″ x 30″). Then use a jigsaw to cut out each number shape.
Light Sockets
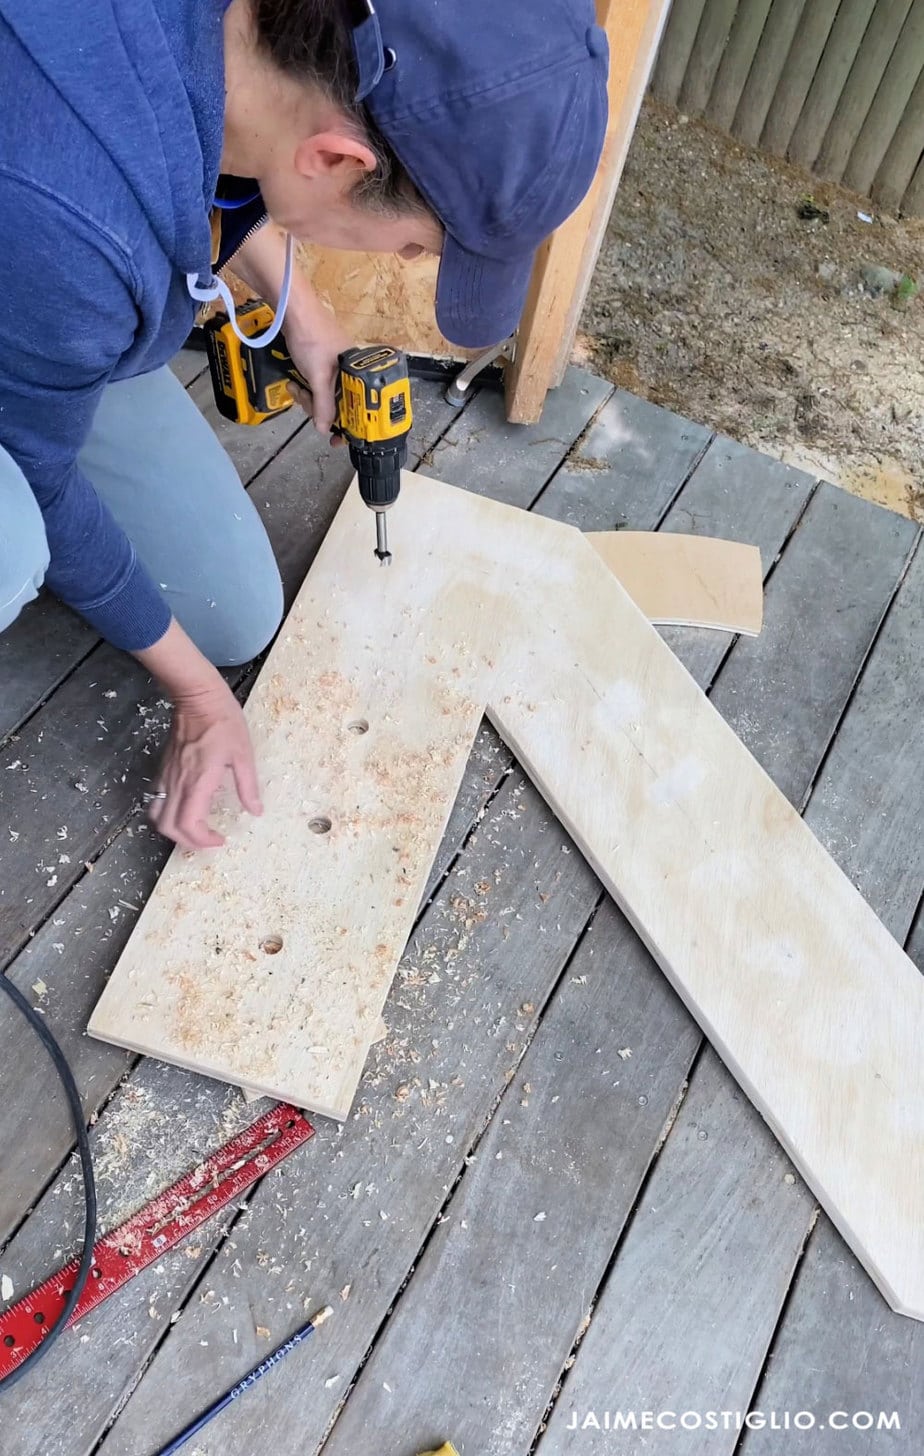
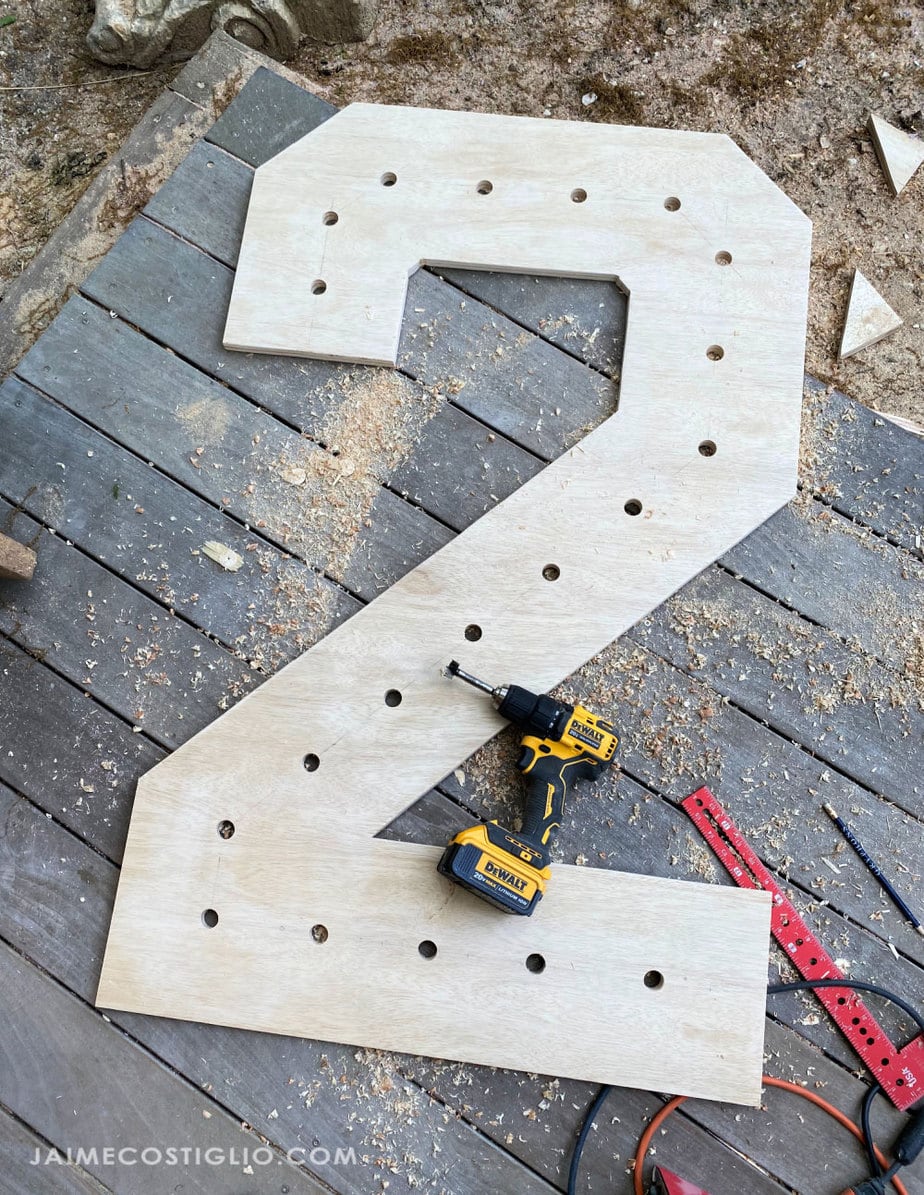
Step 2: Mark the placement of each light socket then drill a 7/8″ hole using a forstner bit.
Paint
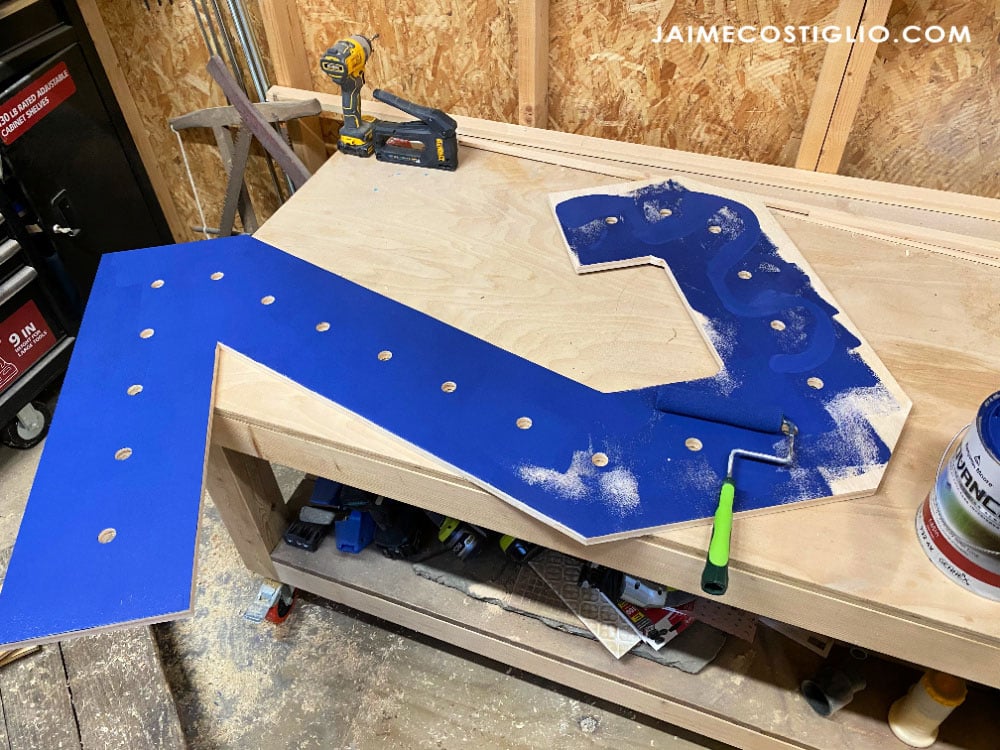
Step 3: Apply the first coat of paint now before you attach the light sockets.
Marquee Lights
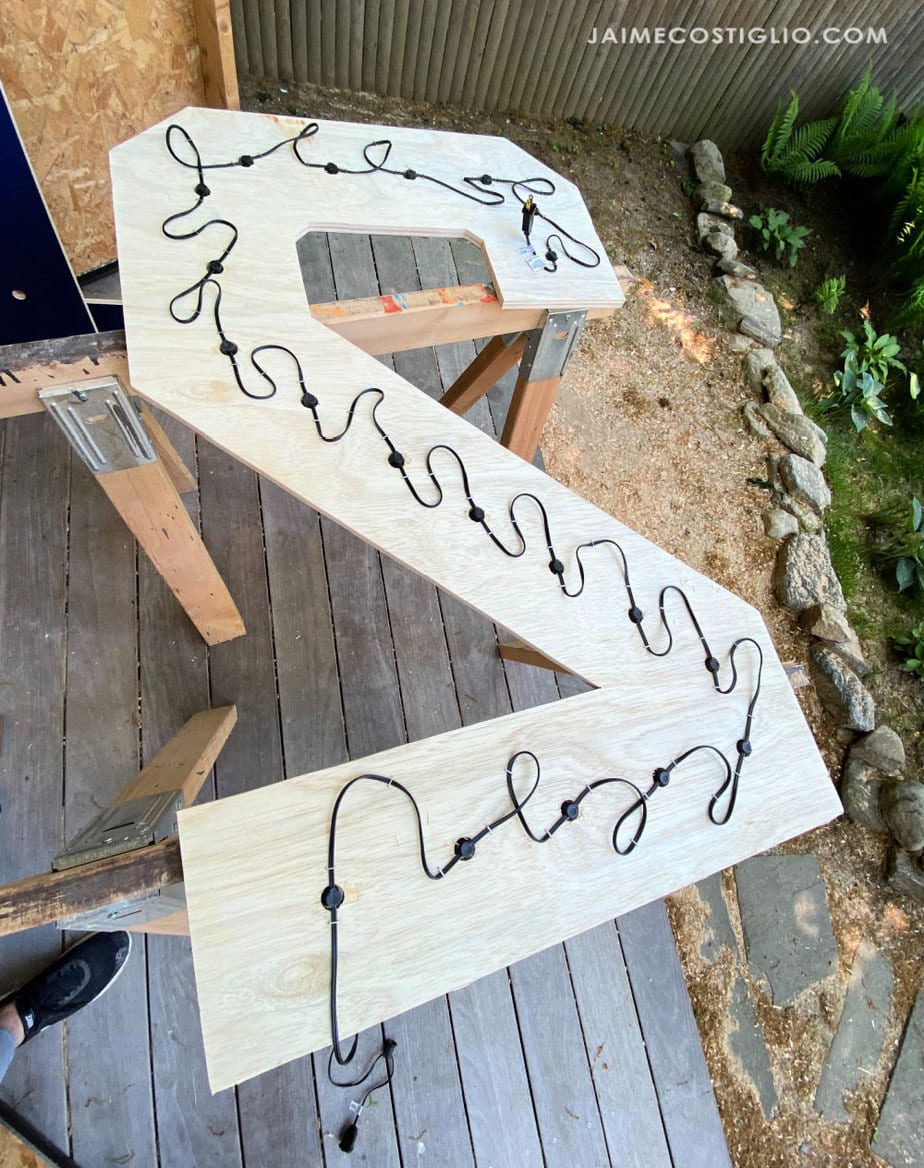
Step 4: Determine which end of the light string goes at the top and bottom (male or female) depending on how you are attaching all the numbers. Then secure each socket into a hole with a staple on either side. Also staple down any excess cord.
Trim
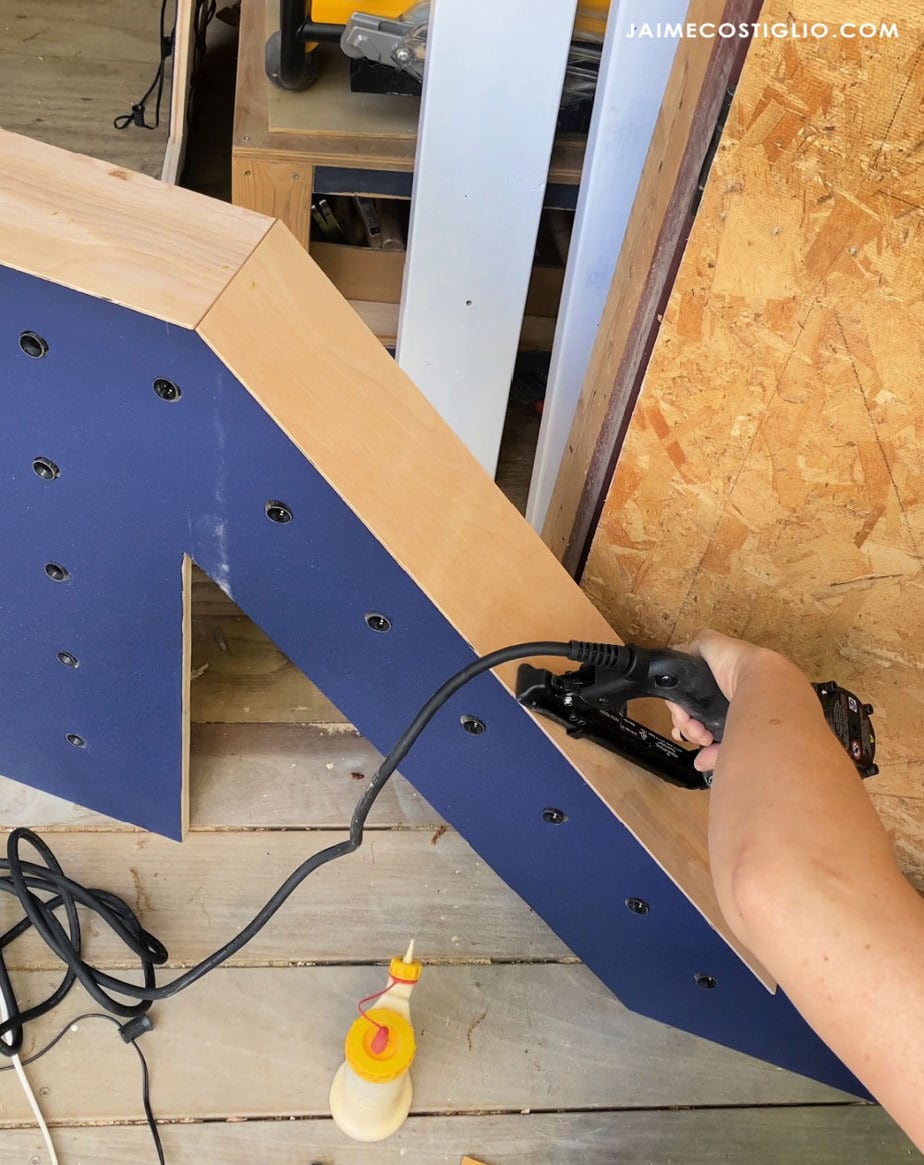
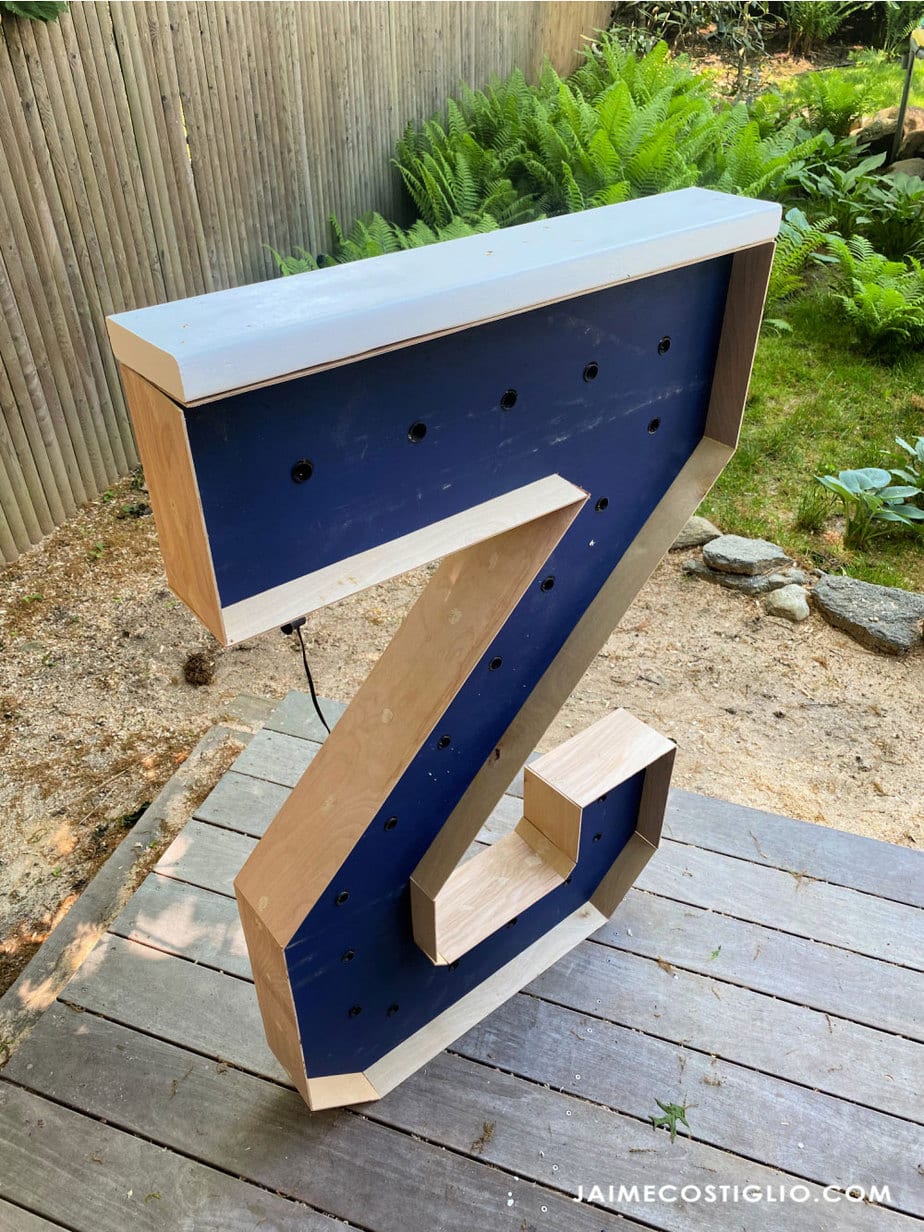
Step 5: Rip the 1/8″ underlayment into 5 1/2″ wide strips. Then cut the strip to fit each portion of the number. Begin with the longest side and work your way around securing the underlayment to the plywood letter using wood glue and pneumatic staples.
This step goes relatively fast but still it’s a bit tedious cutting each piece of trim to fit. I promise it will be worth it in the end!
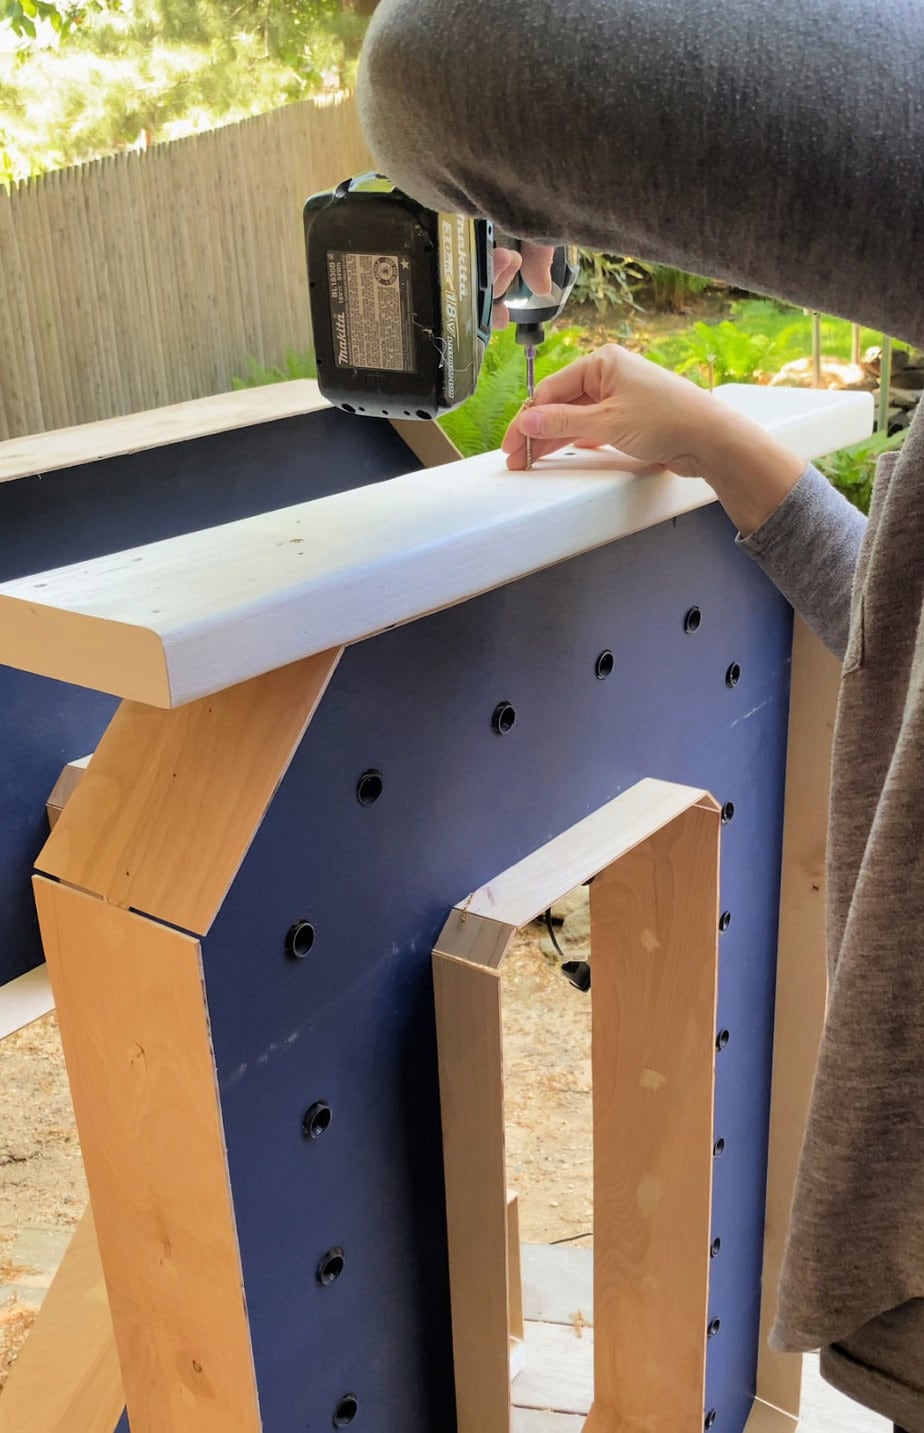
To give the marquee numbers a base with stability cut a 2×10 to 30″long then attach to the plywood number using 2 1/2″ spax screws. (I’m using a 2×6 here because these will be sitting up on a table secured with a clamp at the back.)
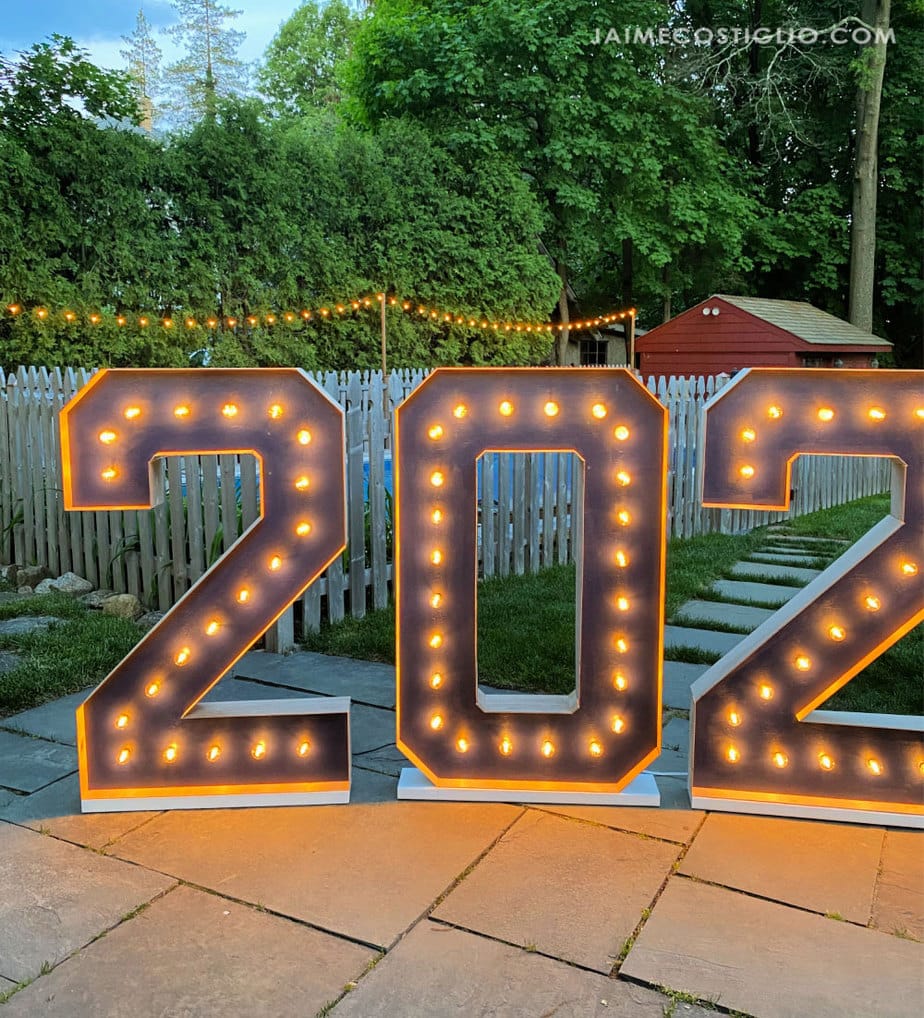
Lastly line up the numbers and plug everything it!
Thanks for joining me for this marquee numbers project. Please leave any questions in the comments below and be sure to follow me on social media for sneak peeks, tools and project inspiration:
Instagram / Pinterest / Facebook / Youtube / Twitter
SHOP THIS PROJECT:



Sorry I meant the number 5 🙂
Hi Karen, plans for the #5 are available here: https://www.sprucdmarket.com/plans/marquee-number-5/
I would like to purchase the marquee number 8 measurements
I love how these marquee numbers came out! Would you be able to help with the measurements for a number 4? I have tried, and unsuccessfully, been able to figure it out! lol
Do you have the outline for rest of numbers 0-9?
Good morning do you make these and sale them?
Hi Antoniette, thanks for your inquiry. I don’t make the marquee numbers for sale but you can use the plans provided.
Hi,
Love the numbers, would you happen to have a template for the rest of the numbers if possible please.
Regards
Claire
Hi Jaime, Do you have the #6 plans you could share?
Hi. I literally love this. Have you got a stencil for the number 8 please? I literally keep failing.
Love! I would love the plans for a 6 if you have one, I need a 16 for my daughters sweet 16. Thanks!!!
Thanks Jennifer. Working on the remaining numbers, hope to get them posted soon!
Awesome work!!! Do you have the plans for rest of the numbers?
Thanks Alberto. Working on the remaining numbers, hope to get them posted soon!
This is great to hear. Trying to design a 3 myself. Need to get it going for a project. Anyway you have completed them? Thank you!
So glad I found this, and it seems to be the most thorough explanation but I have been trying to manipulate the numbers to make a 4 with a fail each time, are you able to assist?
I love these! I noticed you had commented that you were working on measurements for the remaining comments. We are working on a 50…have you powered the remaining measurements somewhere? Or do you have the measurements available for purchase?
Hi Cris, plans for the number 5 are available here: https://www.sprucdmarket.com/plans/marquee-number-5/
What type and size of light did you use?
Hi Jaime, any chance yiu have the measurements for a 5?
Hi Heather, plans for the number 5 are available here: https://www.sprucdmarket.com/plans/marquee-number-5/
Hello I would like if you could put measurements for number 5
Hi Rosa, plans for the number 5 are available here: https://www.sprucdmarket.com/plans/marquee-number-5/
Hola … Me interesan la plantilla de los números de marquesina.. gracias
Hi Silvia, the plans for these numbers are all linked up above in the post.
the #2 only has 20 lights, what do you do with the excess? Also, do you connect the lights to each other in one circuit continuous circuit? do they reach and connect between numbers?
Hi Jane, for the excess light sockets just staple them securely in the back cavity (with no light bulbs). Yes you connect all the cords together. They reach but it all depends on how much space you want between your numbers. You can always run them together with extension cords if you want more space between numbers.
Thank you for your help. It is coming together. It took me a min (read half a day) to measure onto the larger scale wood but it looks great. Do you have the measurements for the #3?
Hi Jane, plans for the #3 are available here: https://www.sprucdmarket.com/plans/marquee-number-3/
Hi! Any chance you have the numbers 3 and 4?
I’d also love the #3if you decide to do it. Thank you!!
Hi Jennifer, plans for the #3 are available here: https://www.sprucdmarket.com/plans/marquee-number-3/
Can you please provide me with plans for a number 3? These are amazing
Hi Tina, yes I have the plans for the number 3 available here: https://www.sprucdmarket.com/plans/marquee-number-3/
Hello do you have the plan for the # 1
Hi Diana, the plans for the #1 are linked above in the post.
Hello, how long does it typically take to construct one number?
Thank you so much for sharing your talent! How much did you spend on materials and how time did it take?
I’m looking for the 0 measurements please
Hi Brandy, the plans are here: https://drive.google.com/file/d/1GFIpNiQsS8ZYpLd4h2hszuJLjtQNp-DI/view
What is the font name for these numbers
Hi Kate, no font name – I designed the numbers just based on size and dimensions I thought looked appropriate for the application.
For the sides its 5.5 inch rips.. its right down the middle on the install…so 2.5 inches on both sides? Or offset?
Hi Jakub, Cut a scrap story stick (I believe mine was 2.5″) so the front reveal is always the same. You can see me using it in my highlight reel here: https://www.instagram.com/stories/highlights/17955598891419764/
Do you have the plans for number 4 available?
Hi Gina, Plans for the number 4 are available here: https://www.sprucdmarket.com/plans/marquee-number-4/