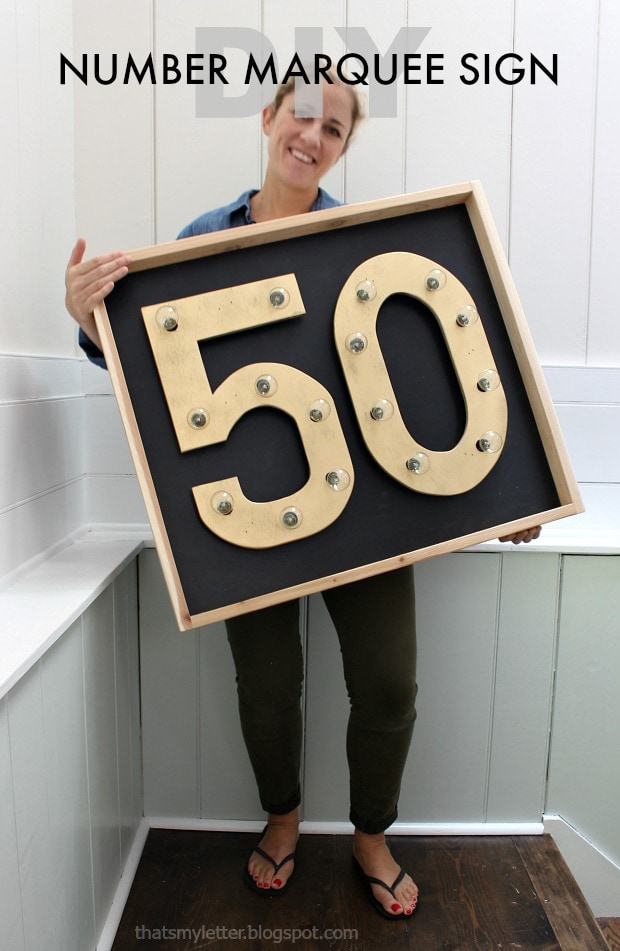
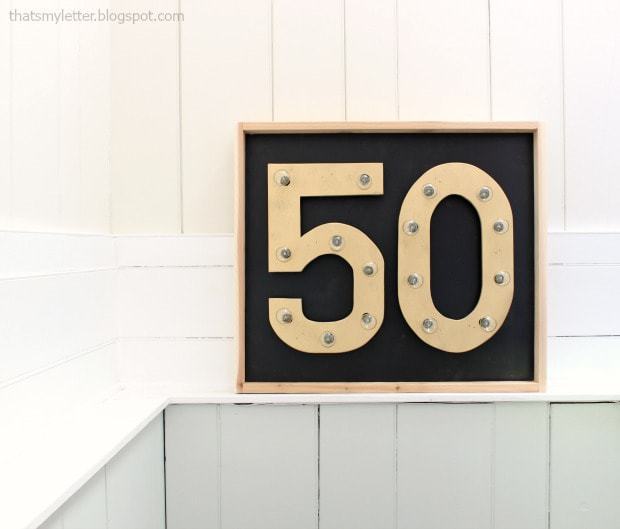
Stopping in this Sunday to share how to make this DIY number marquee sign. Last night I went to a friend’s surprise 50th birthday party and decided I should bring something fun to add to the party.
Just a few supplies and one afternoon to make this large ’50’ marquee sign:
* This post contains affiliate links below, by clicking on an affiliate link and making a purchase I may receive a tiny commission. This small commission helps me keep this site full of free content so I thank you for your support. *
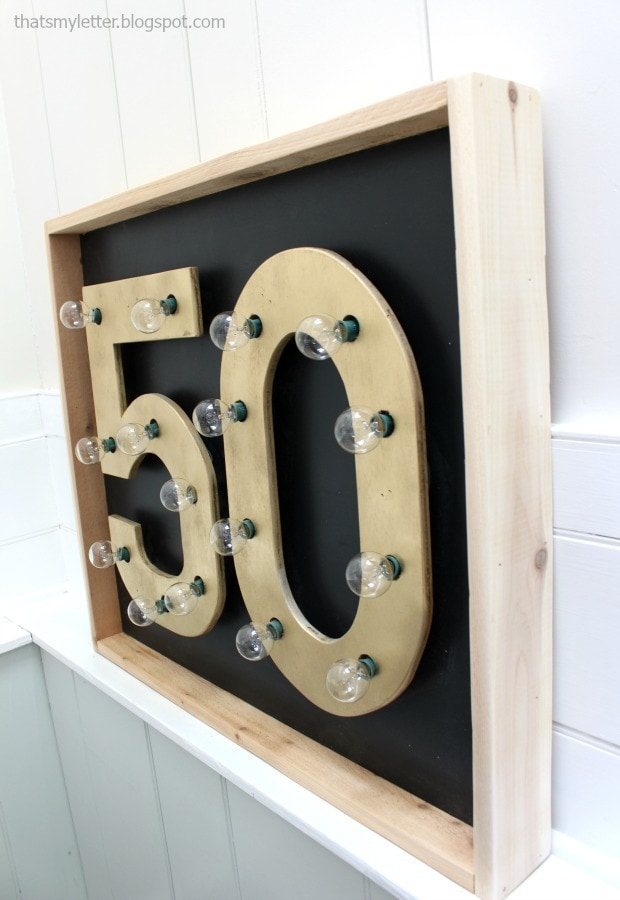
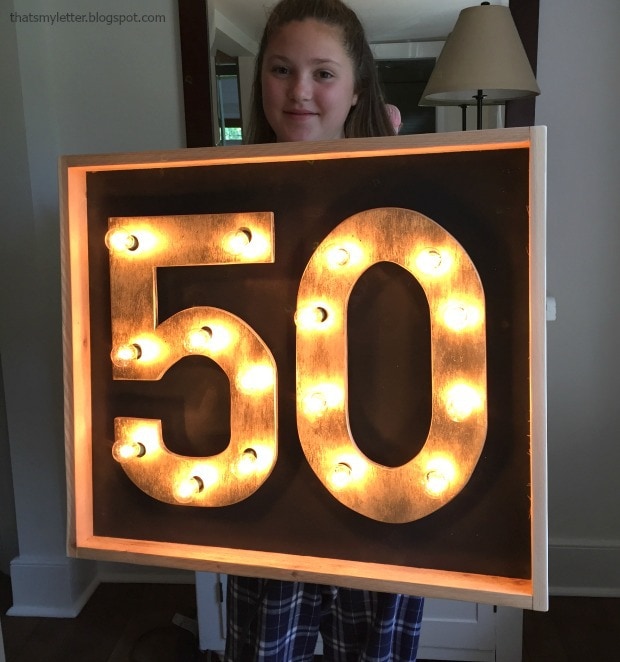
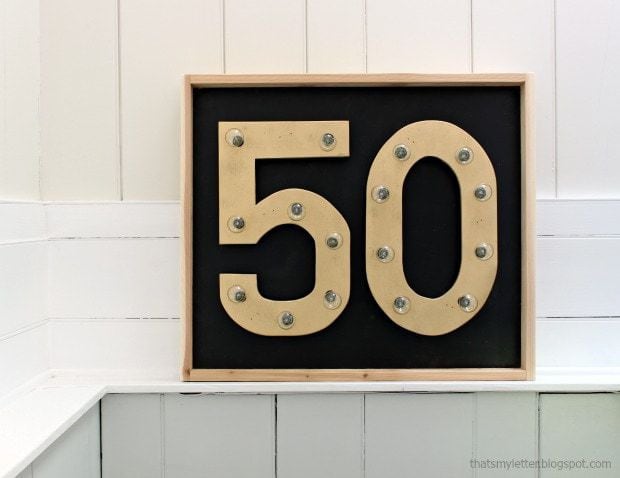
I used a jigsaw to cut out the numbers and basic outdoor string globe lights . The numbers are spray painted Rust-Oleum metallic gold so with lights on or off it still looks great:
Below are step by step instructions to make a number marquee sign. Be sure to purchase your outdoor string globe lights before beginning to determine the number of holes and lights you need.
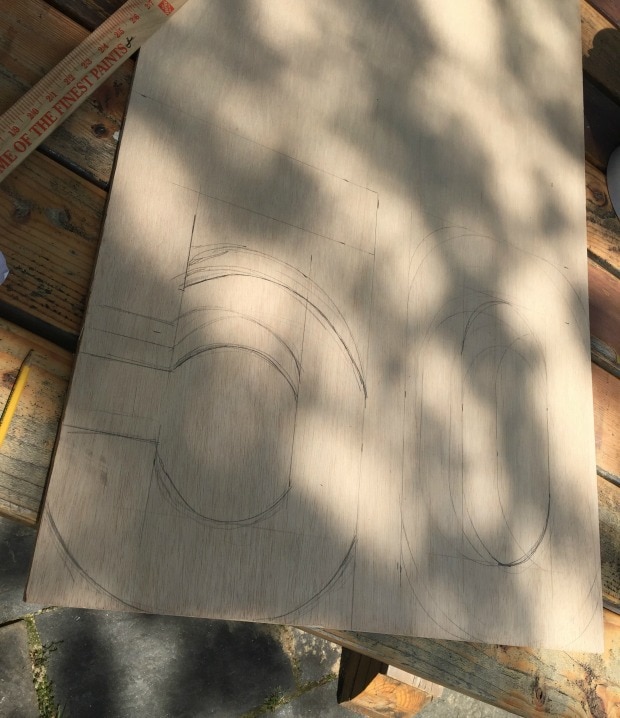
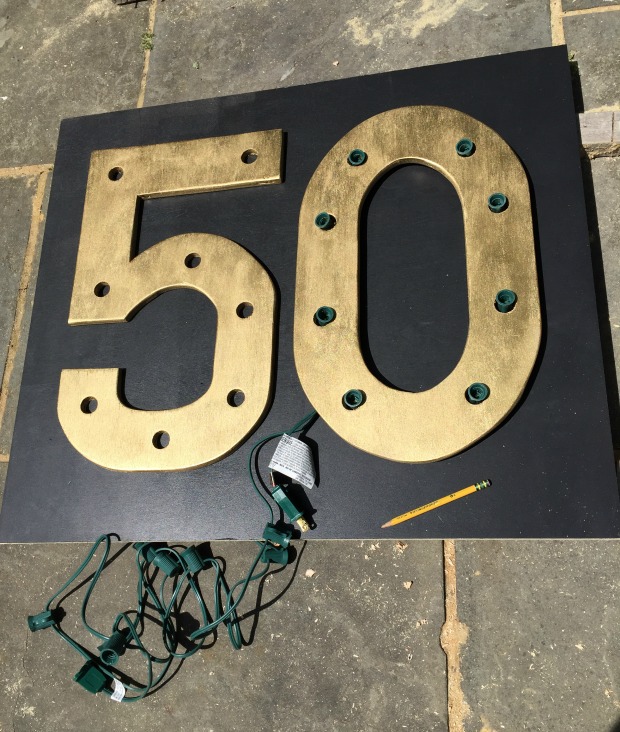
Step 1: Sketch out the numbers onto 1/2″ plywood. My numbers are 11″w x 18″h each.
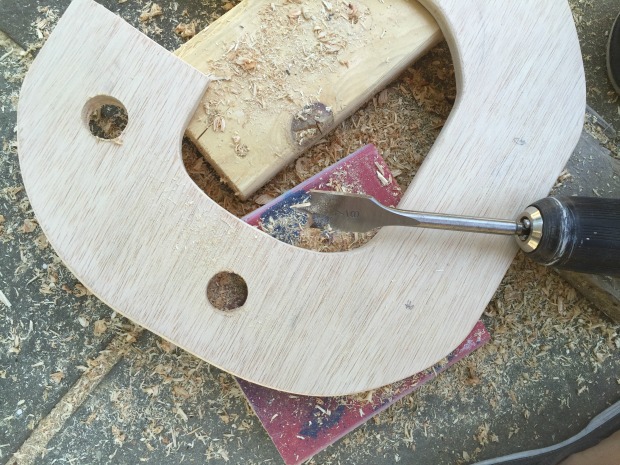
Step 2: Using a jigsaw carefully cut out the numbers and sand the edges smooth. Determine the spacing and placement of the lights and drill a 7/8″ hole using a spade bit .
.
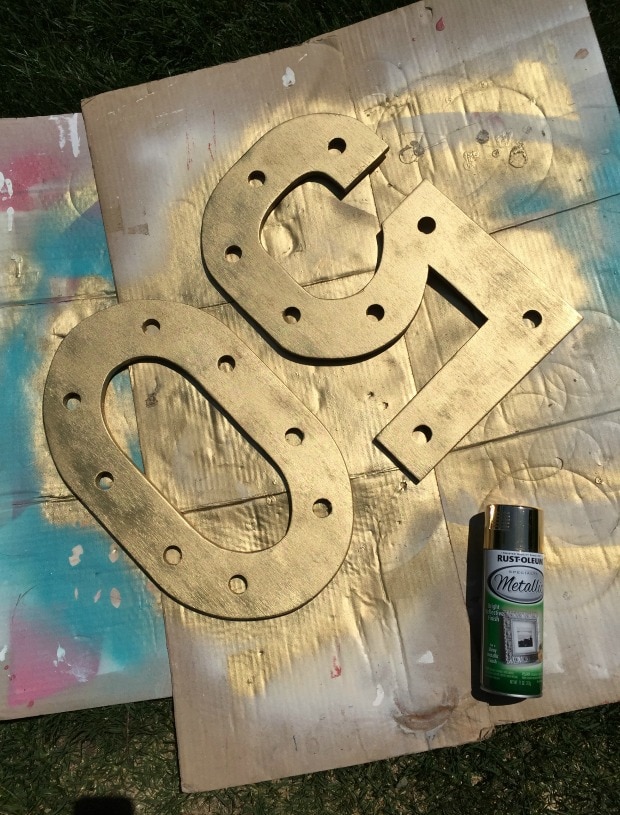
Step 3: Spray paint the numbers Rust-Oleum metallic gold spray paint.
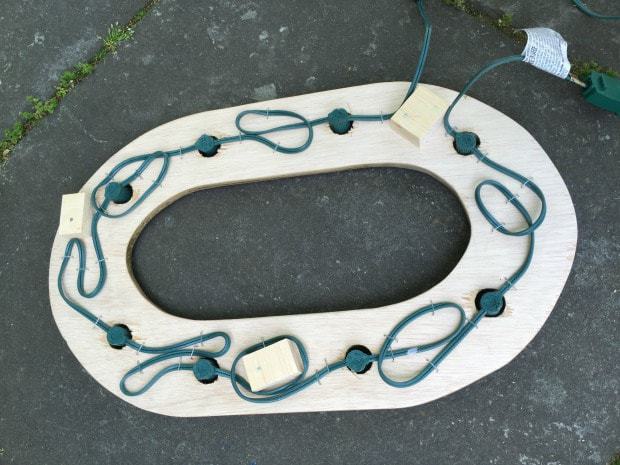
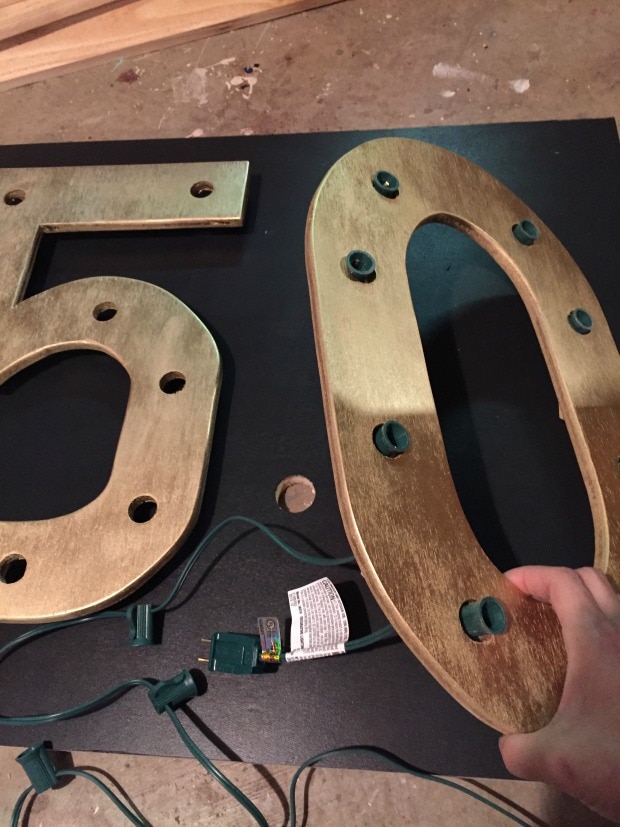
Step 4: Attach 3/4″ thick scrap wood blocking to the back, this gives spacing between the background and the lights and gives you a place to attach the numbers to the background. Feed the lights through the holes and staple in place.
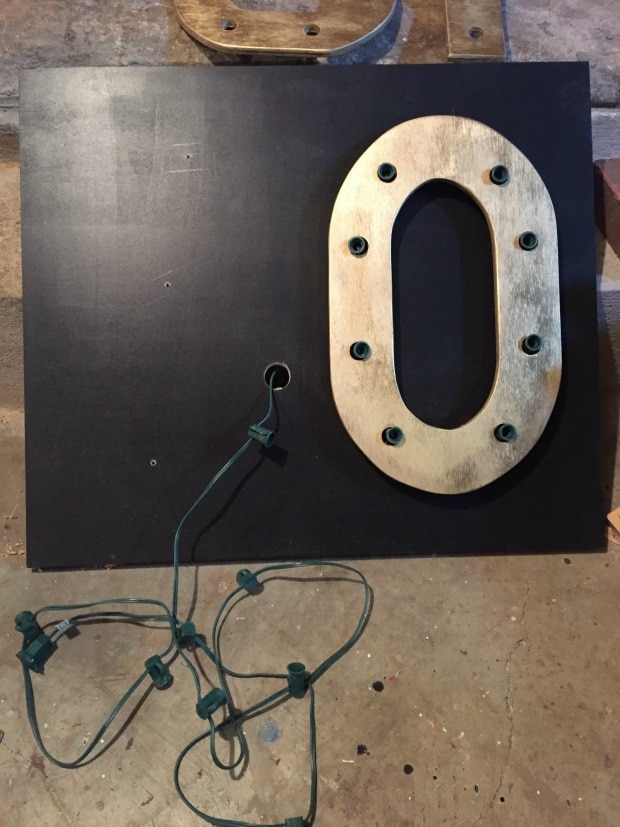
Step 5: Cut a 3/4″ plywood background (my piece measures 23″ x 28″) and paint black. Lay out numbers on background to determine where blocking falls and where you can drill a hole to send lights through to back side.
Step 6: Drill a larger hole using a 1 1/4″ spade bit in background piece directly behind the number to send lights through to back. Repeat process for the other number to bring lights back through to front (see next step).
Step 7: Attach number to background from back using 1 1/4″ wood screws directly into blocking pieces. Attach remaining lights to other number using stapler then attach that number to the background.
Step 8: Create a frame using 1×4 cedar keeping a 3/4″ lip on the backside to hide the cord.
SHOP THIS PROJECT:



Super cute Jaime!
Love this idea!!! So cute and one of a kind gift too!!
So beautiful!
Awesome project, Jaime!
This. Is. Too. Cool. My Little Mind Is working and I think it involves one of these.
I've got to make one of these! I just can't decide on what word to use!!! Great tutorial and what a fun surprise!