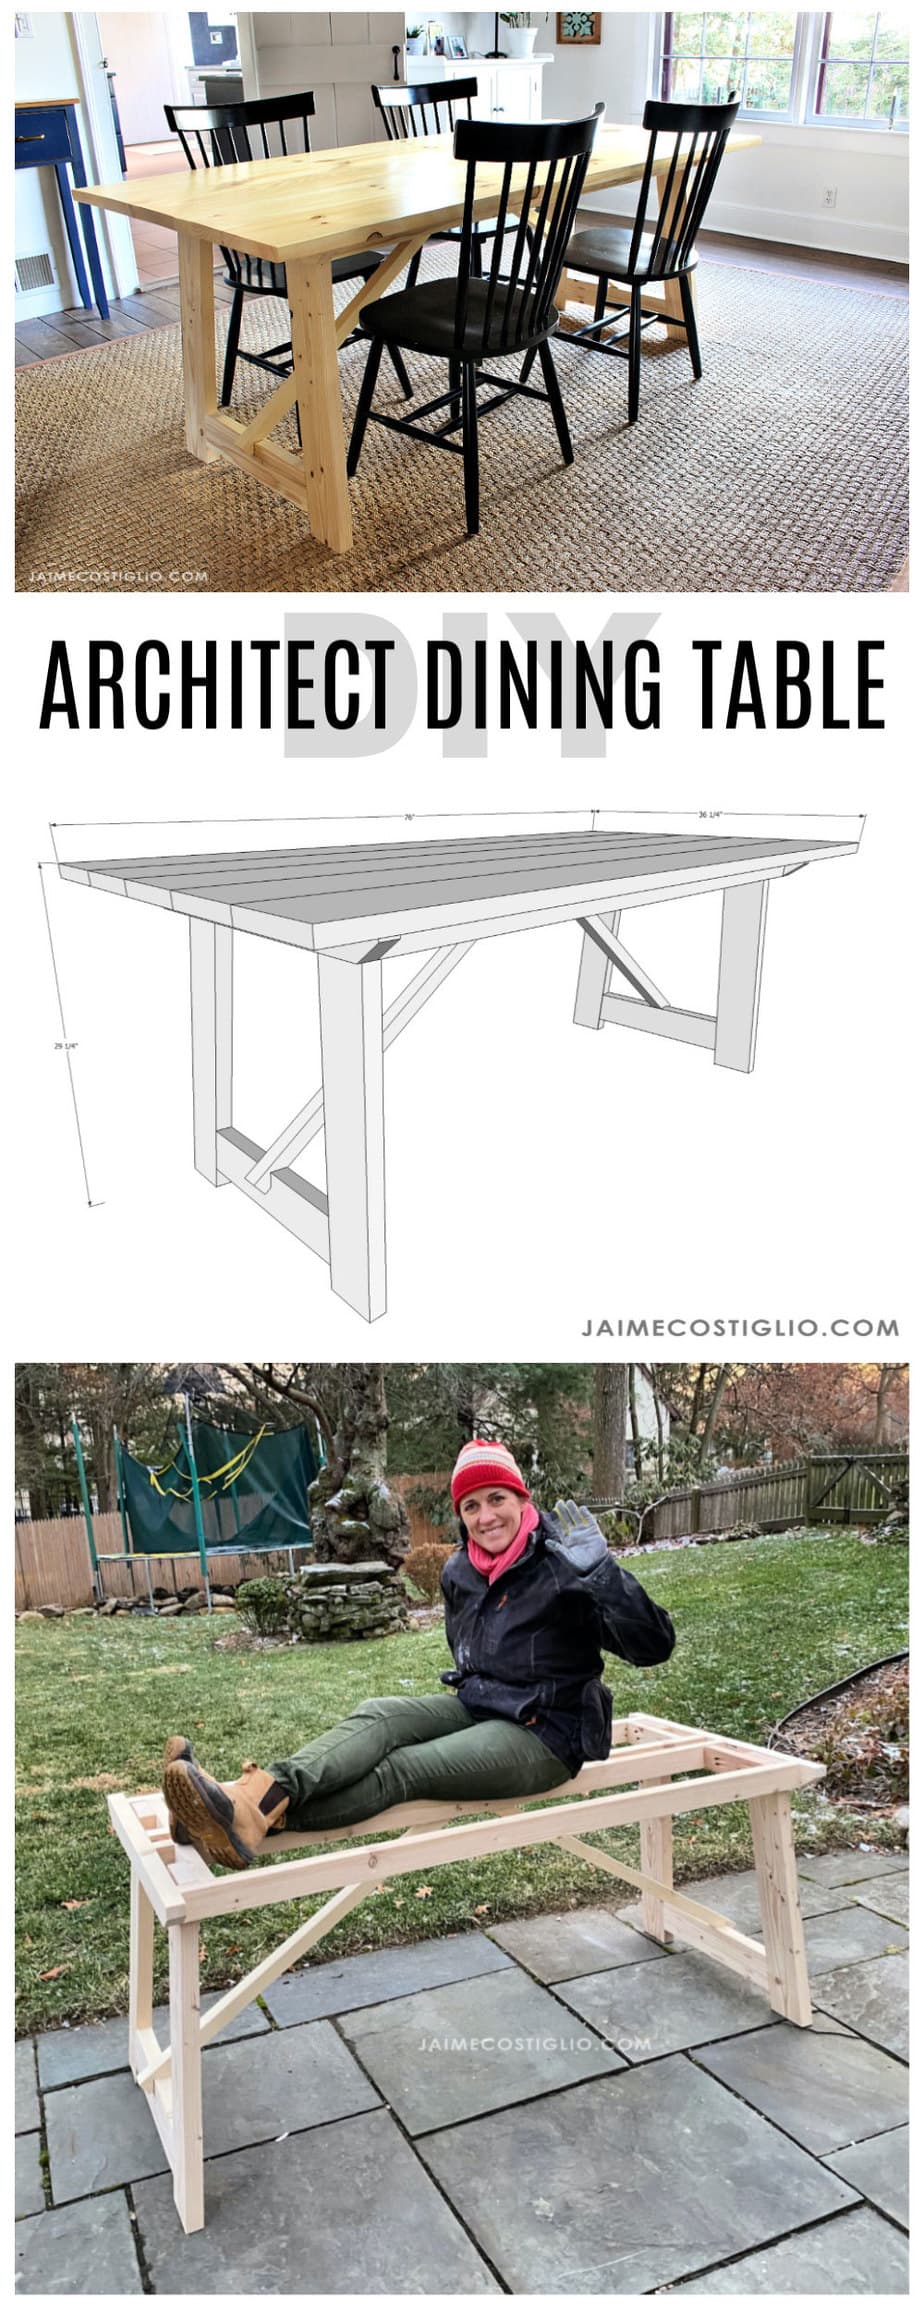
Truth be told this is the third dining table we’ve had in eight years. Anyone else change their mind often about the function and size of certain furniture pieces? Maybe it’s because I know I can make a new piece that much better and it will work in the space exactly how I want. And that’s the reason I’m sharing my new architect dining table today!
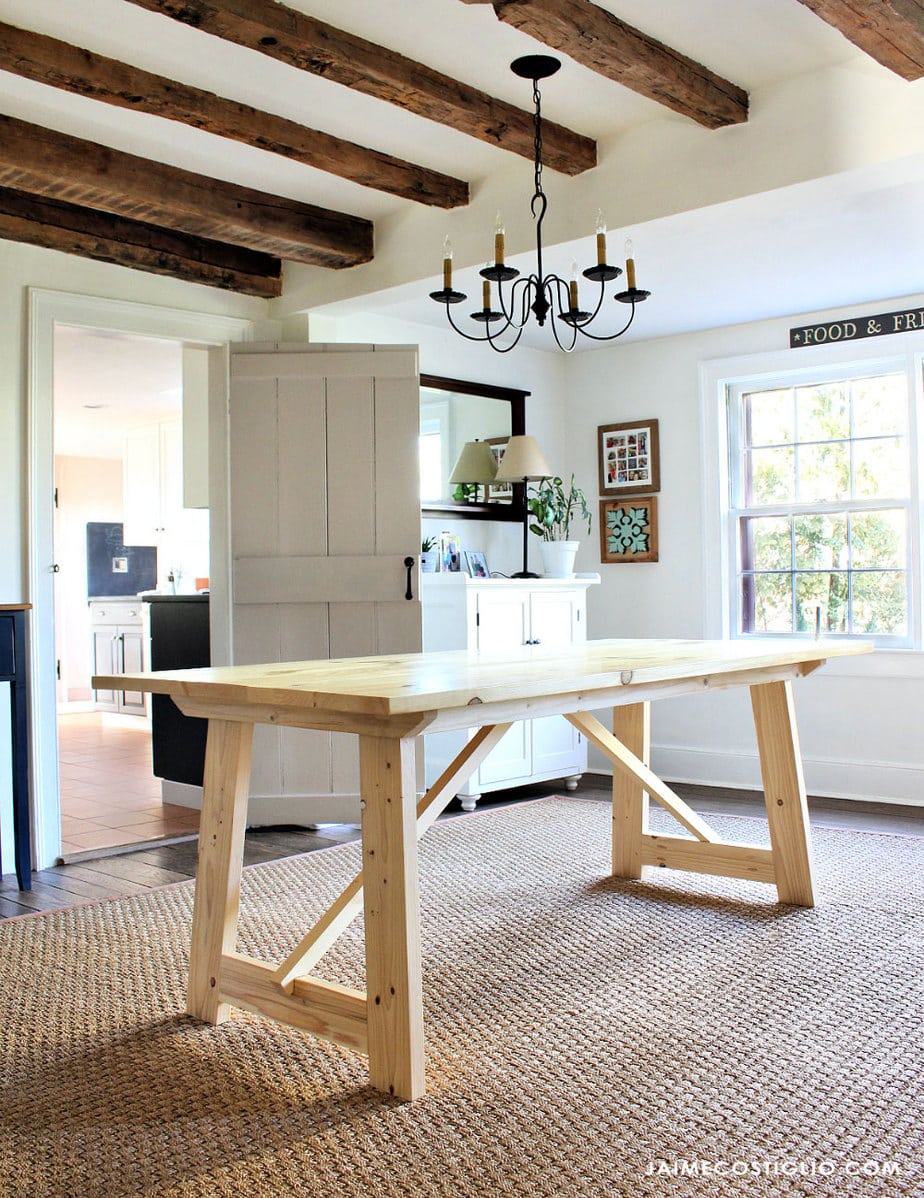
A DIY tutorial to build an architect style dining table. Use off the shelf lumber and my free plans to build this beautiful dining table.
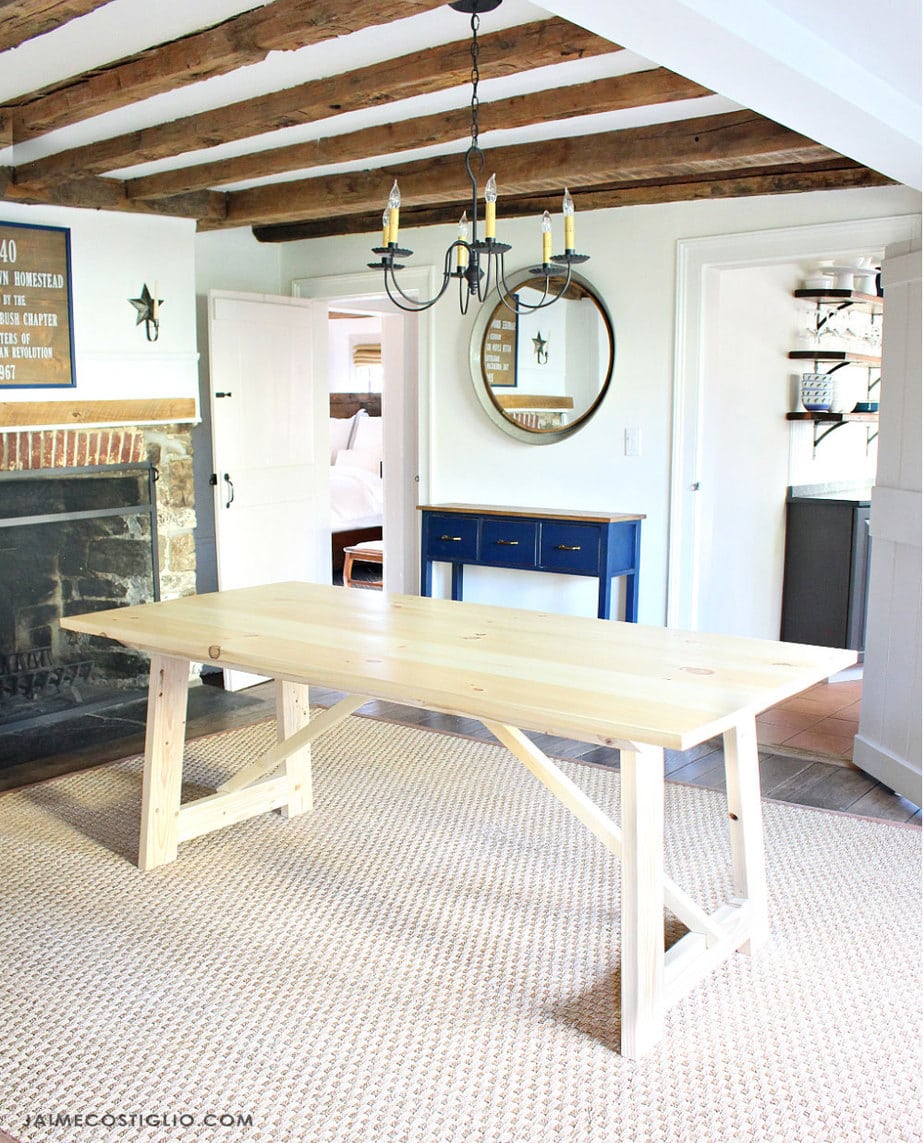
I wanted a sleek design with an open base. I also wanted a table with optional end seating and long enough so if I had to squish three people on each side I could do it. Our dining room is tiny and it’s the center wheel of household traffic so lots of reasons for the table to fit precisely.
If you follow along on Instagram you may have seen me whip up the table top just in time for Thanksgiving and then I completed the base for Christmas. Nothing like company coming over to really make you hustle!
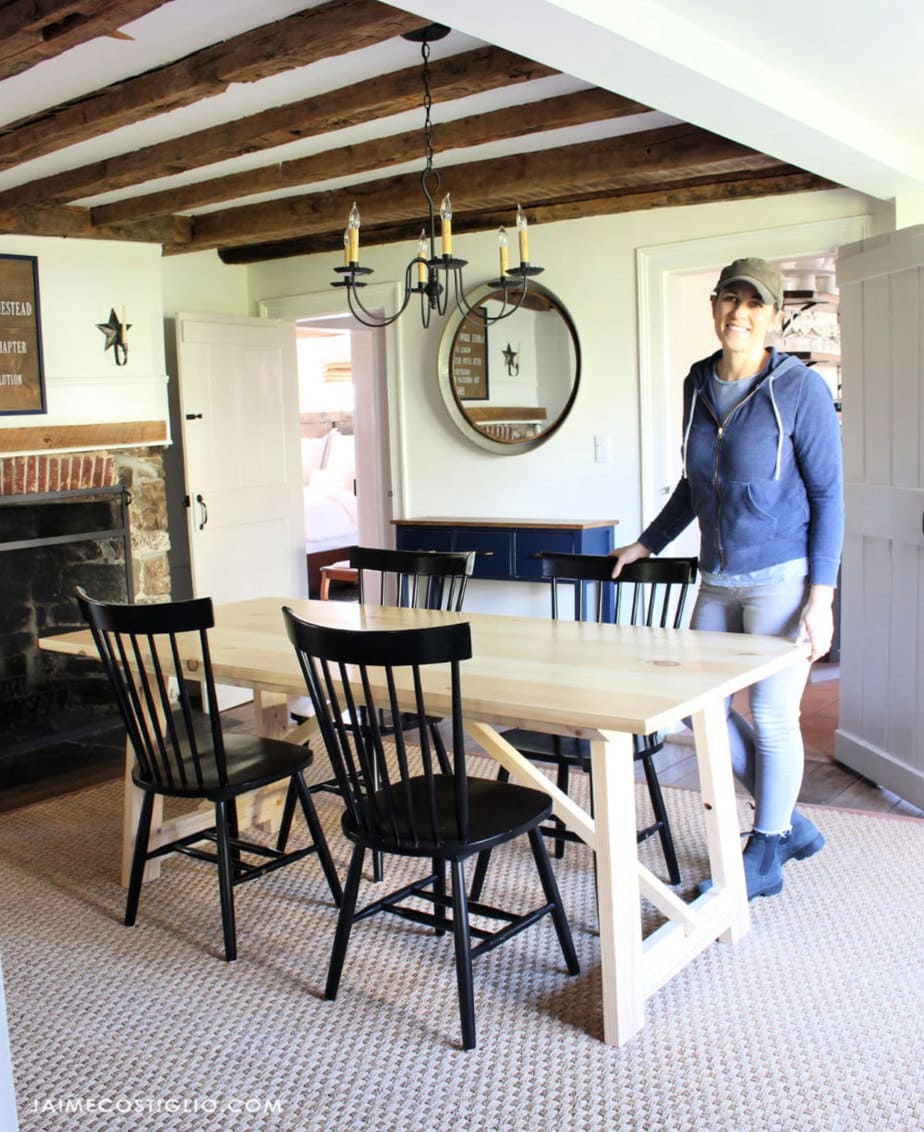
Architect Style Dining Table:
- seats up to 8 adults (6 more comfortably)
- off the shelf lumber
- sealed with clear satin polyurethane
- free plans down below
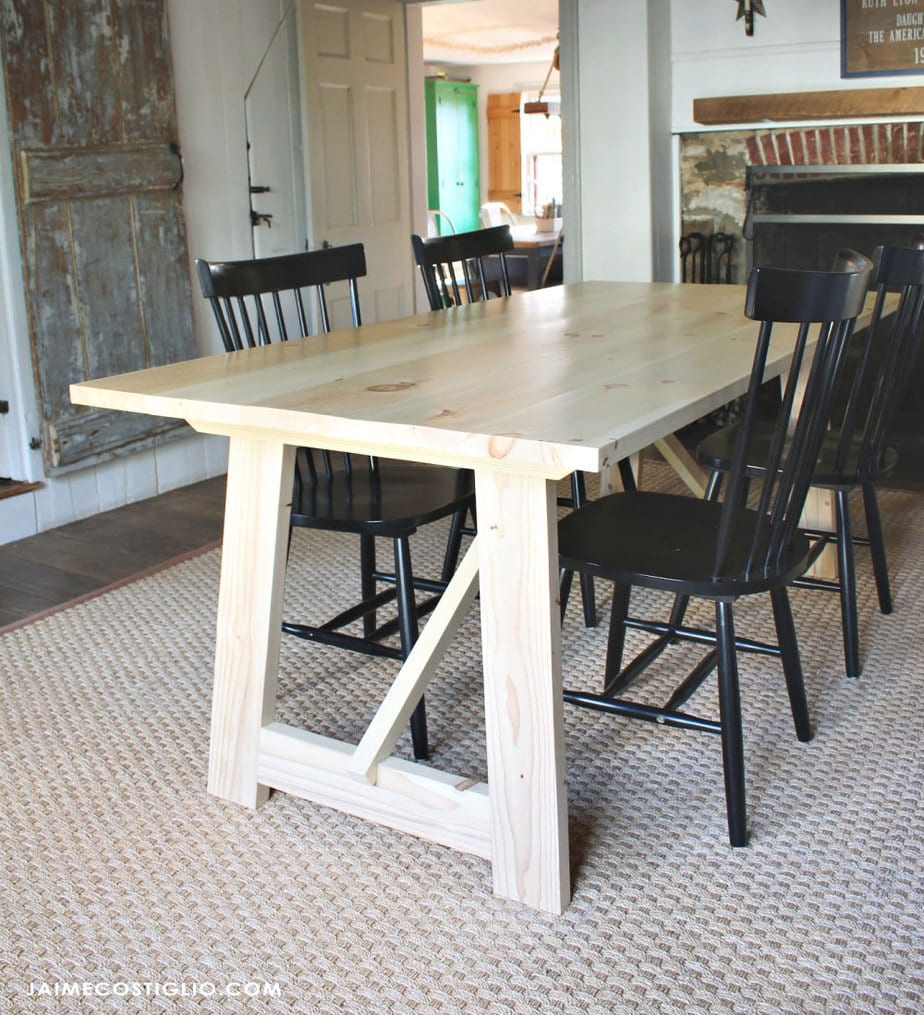
I was inspired 100% by the White Oak Architect’s Dining Table from Wisteria. My table is not white oak but the more easily accessible standard fir studs for the base and pine on top :). I happen to love the look and frankly I’m more concerned about size and function than wood species. Plus I won’t be mad in a few years when I change my mind again and build something new!
Details:
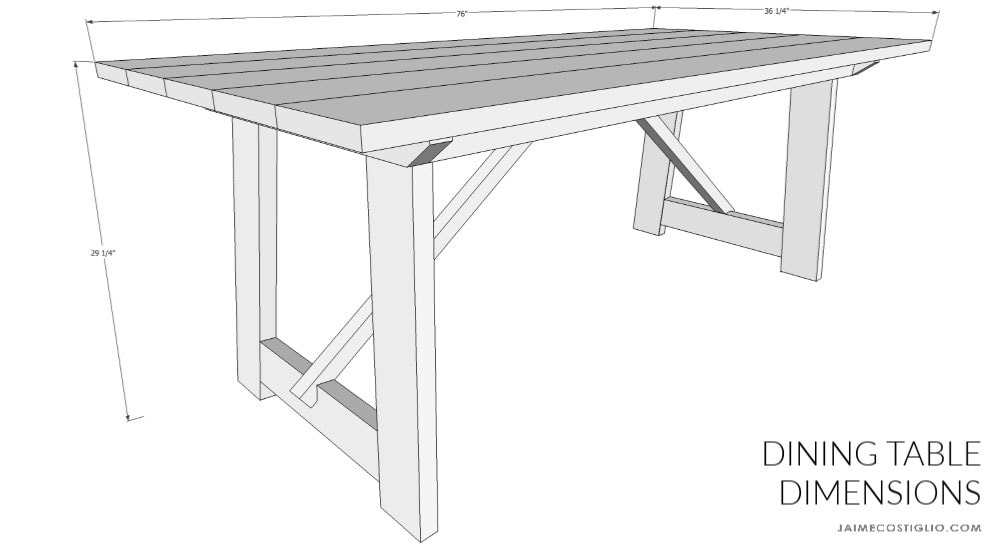
- angled stretcher support
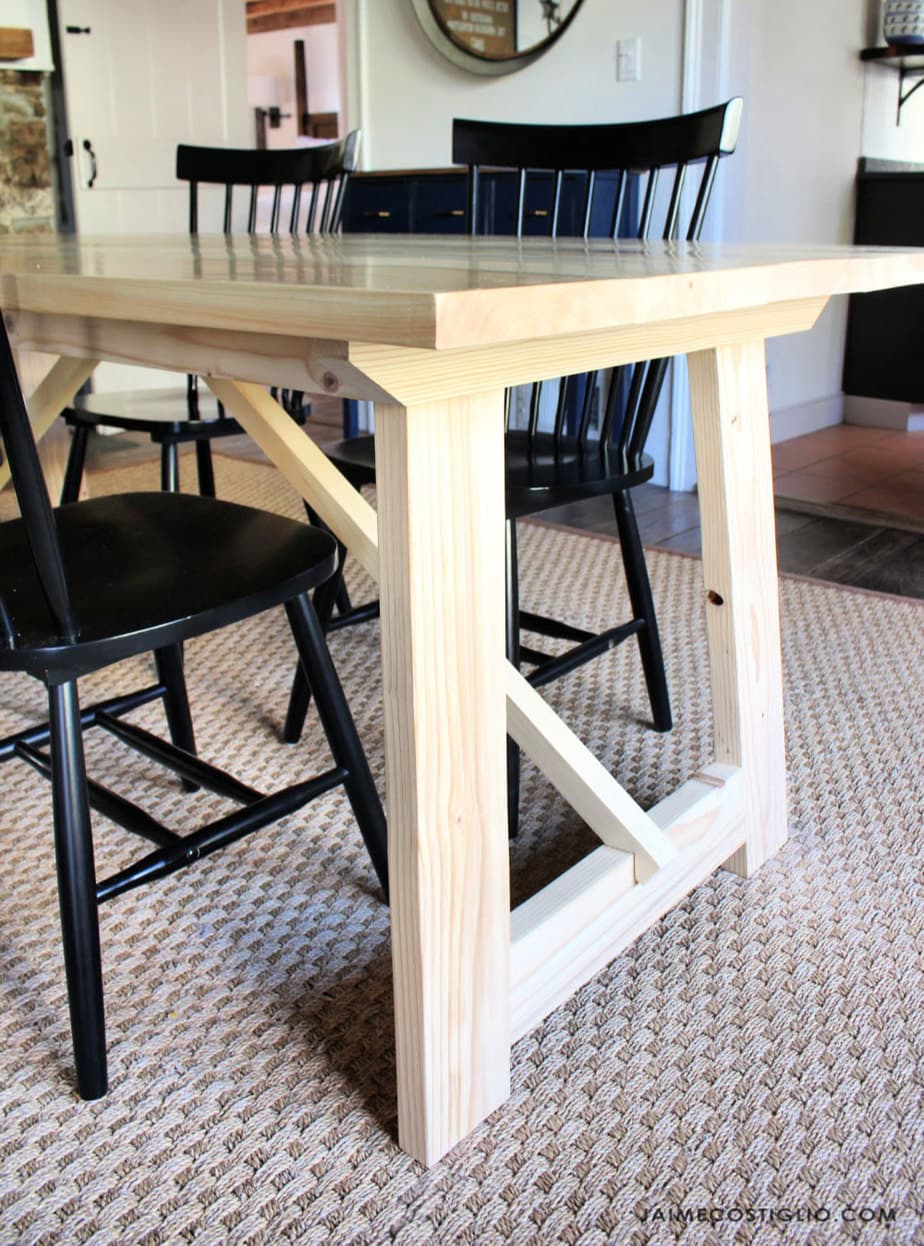
- compound mitered legs
- biscuit joints on tabletop
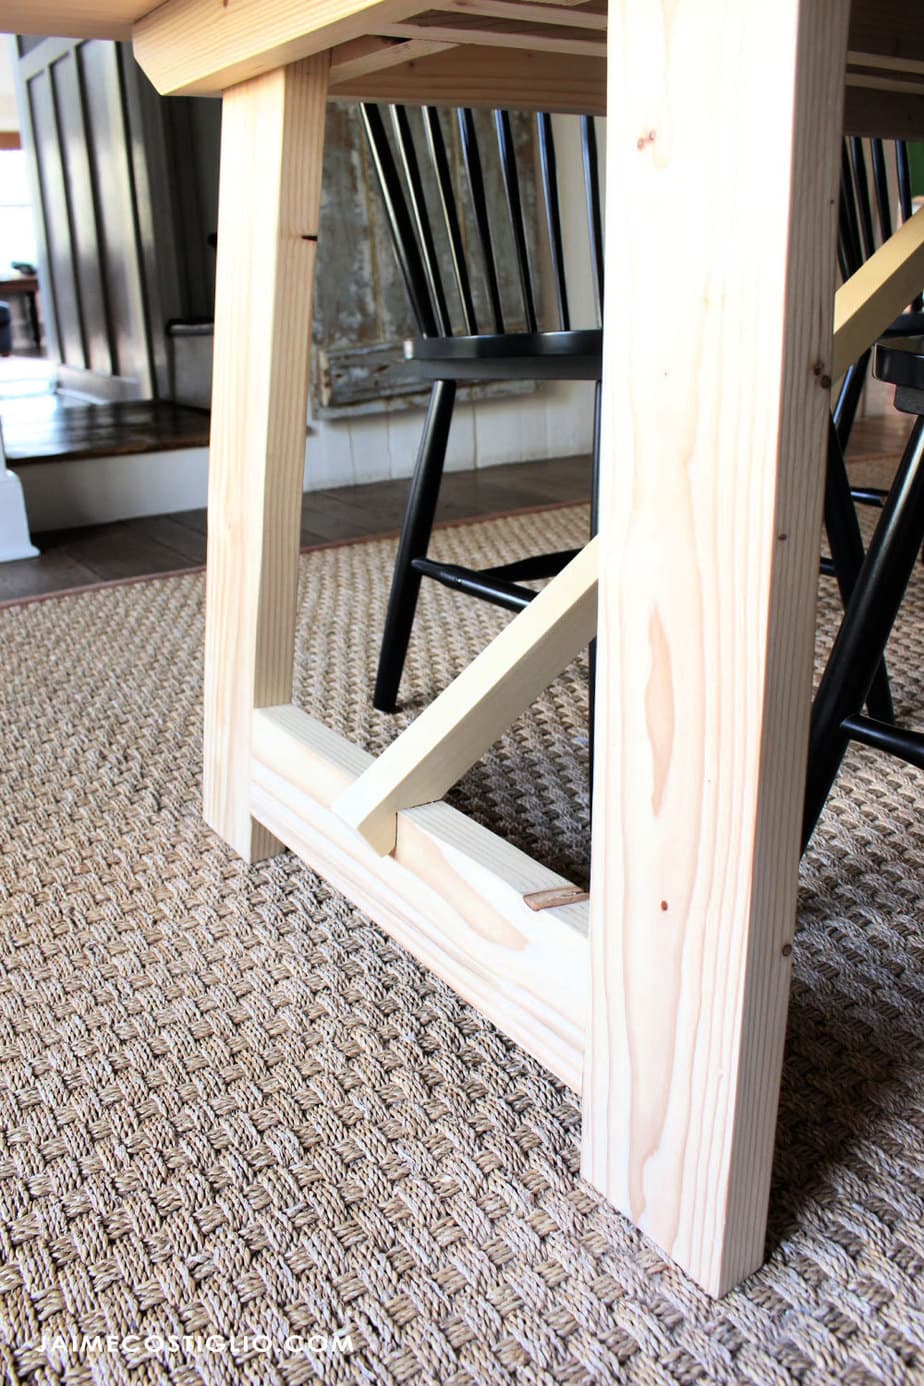
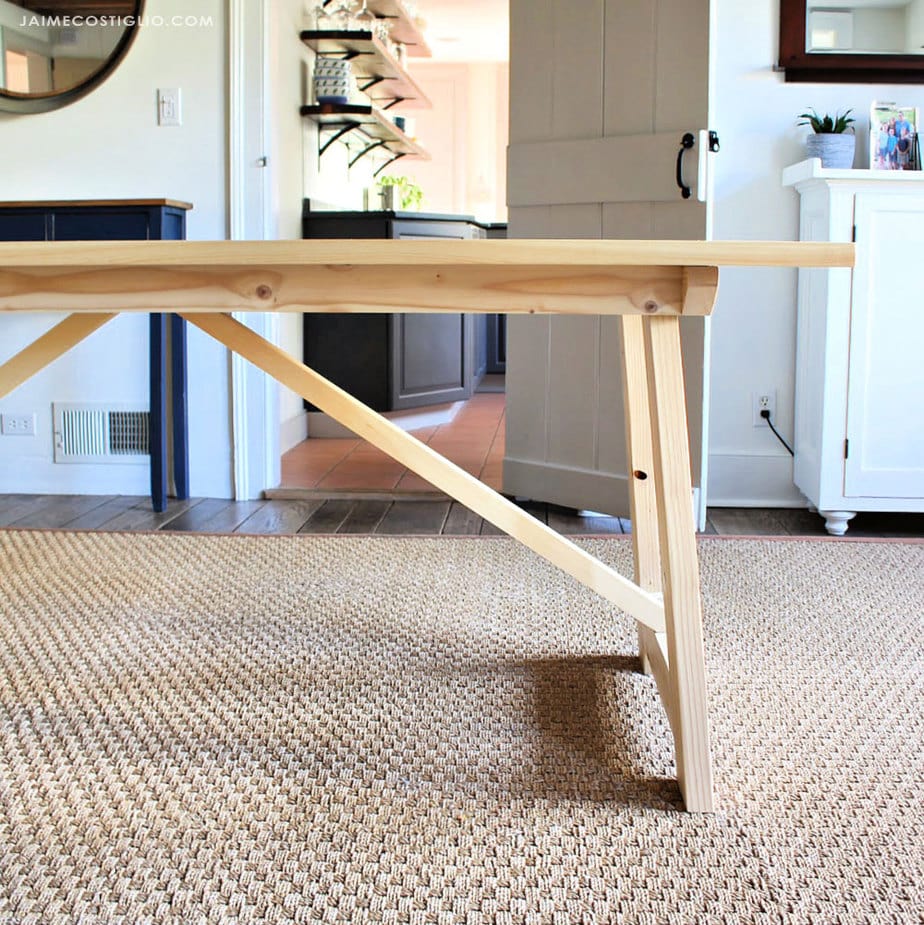
My favorite detail is the steep angled stretchers in the middle with the cute little notched end.
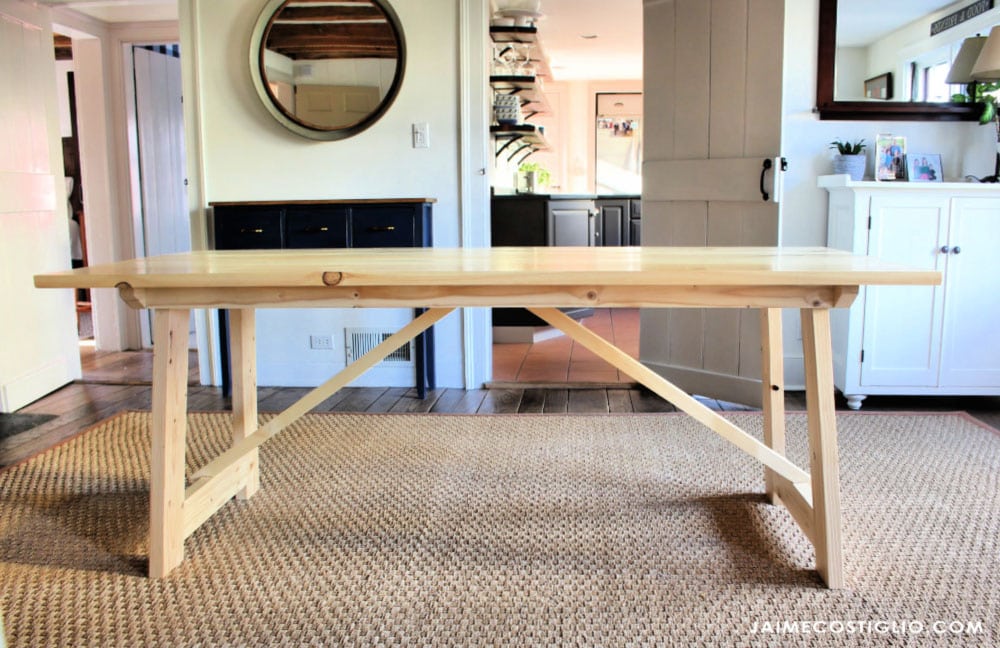
We’ve come a long way in eight years in this dining room. For a cringe worthy visit down memory lane you can see where we started here. And details on how I exposed those original wood beams here.
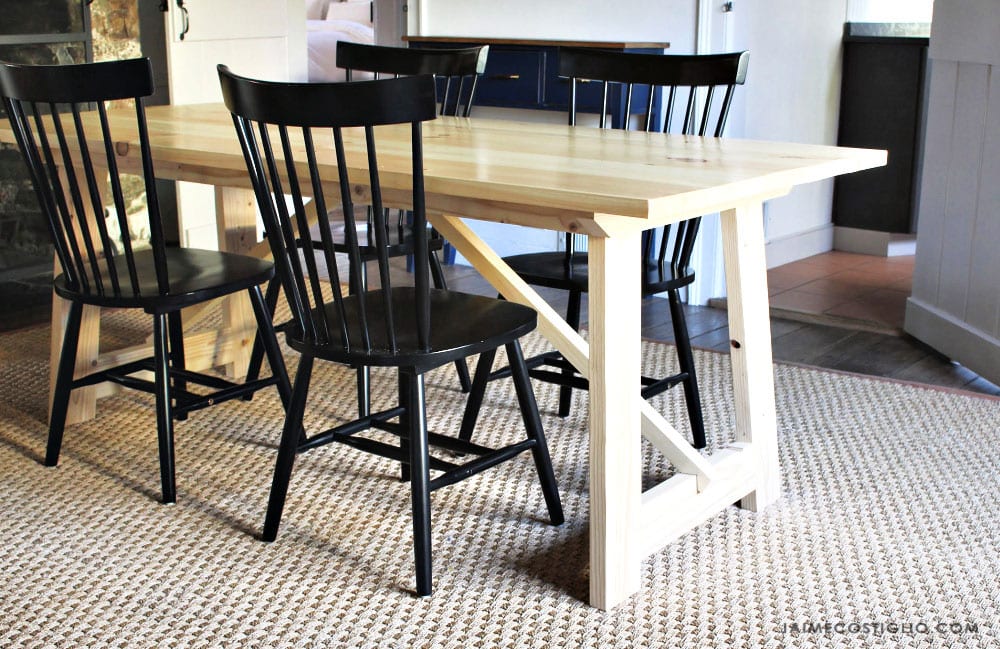
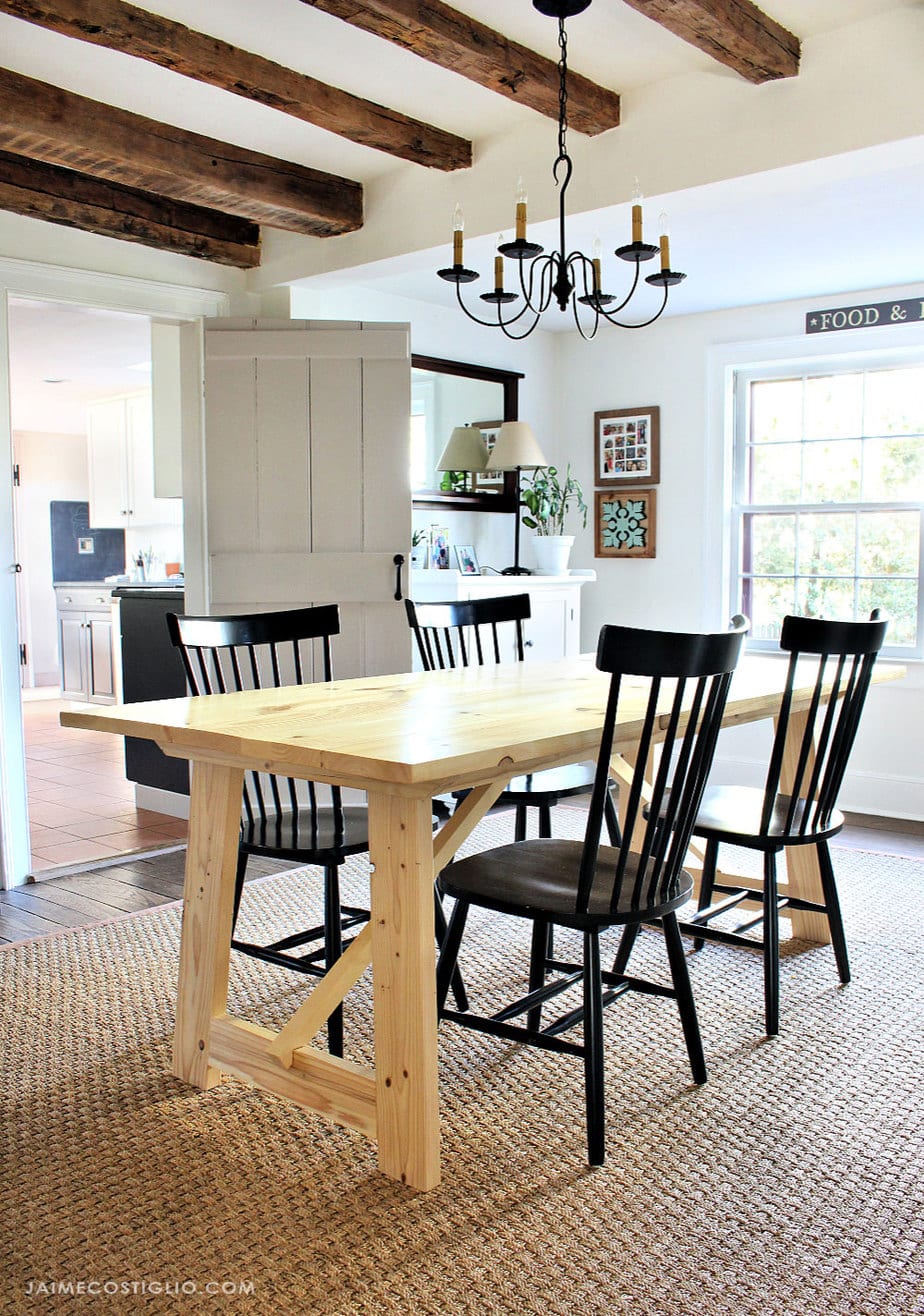
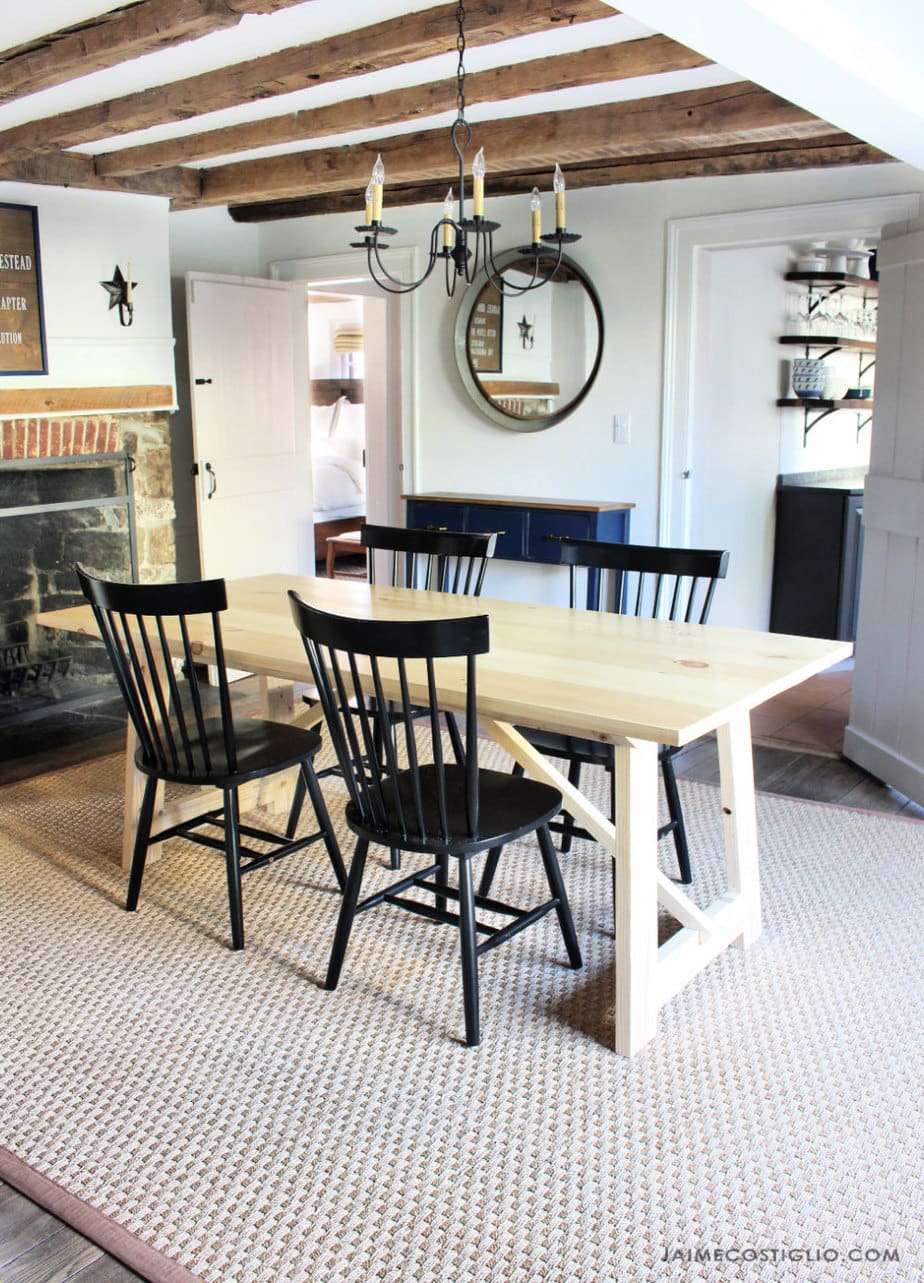
Once you add the chairs around the table it completes the picture.
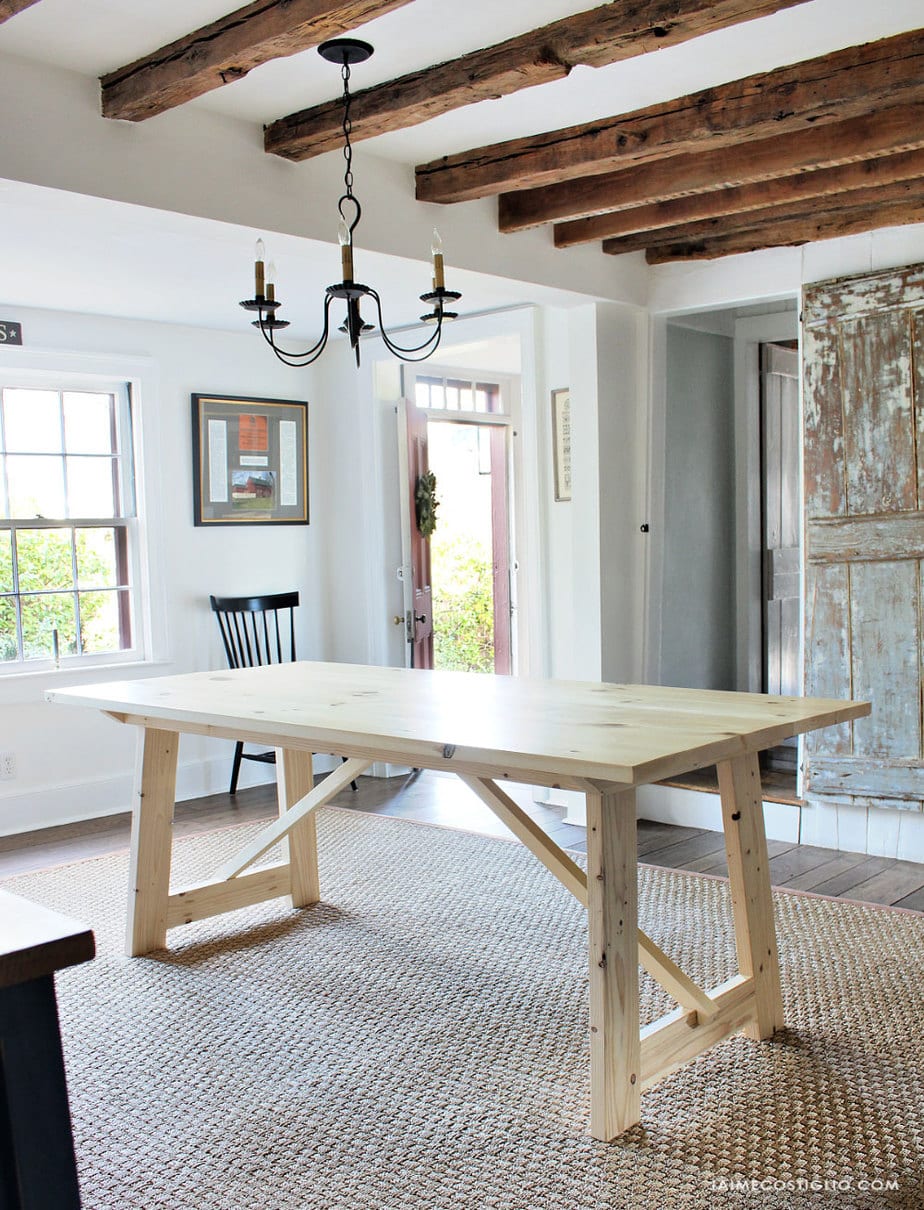
I took photos from every angle so you can get the full look. My apologies for the photo spam but some readers find it useful when building their own table.
Supplies:
- compound miter saw
- pocket hole jig
- measuring tape
- drill or impact driver
- table saw
- sander
- framing square
- jig saw
- biscuit joiner
Click here for a free printable version of the plans.
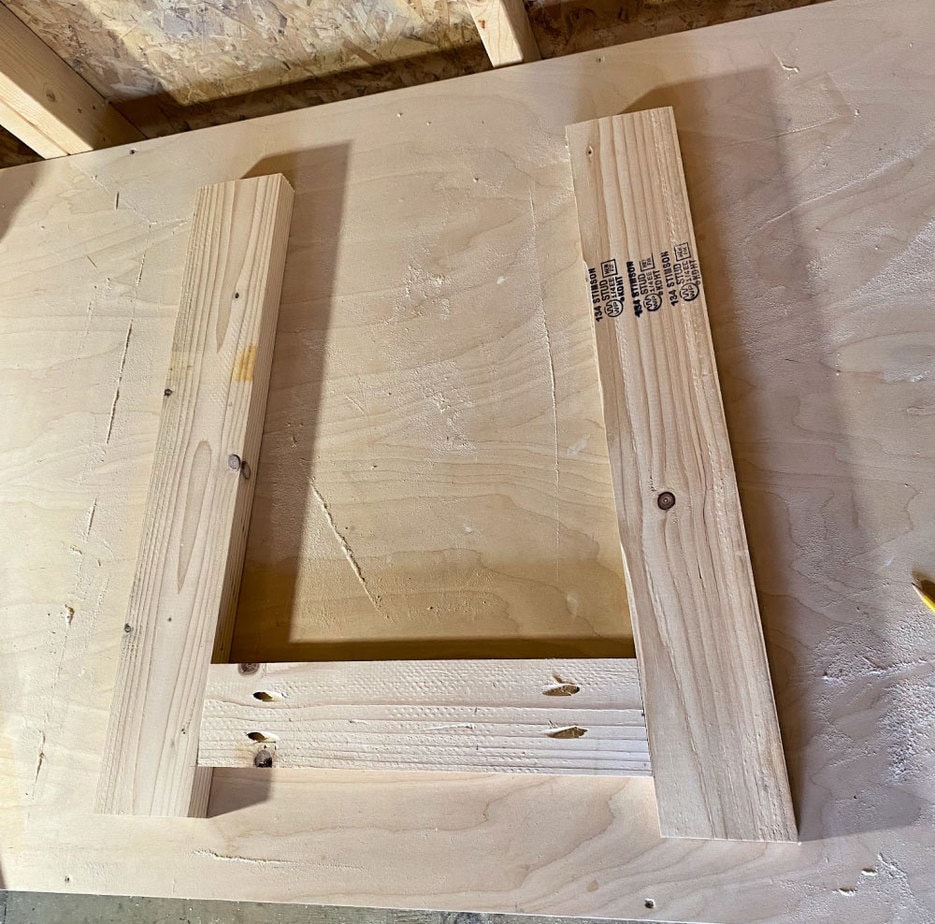
Step 1: Follow the plans here and begin with the legs. These legs are cut with a 5 degree miter and bevel. Be sure to position the legs correctly when assembling the cross support.
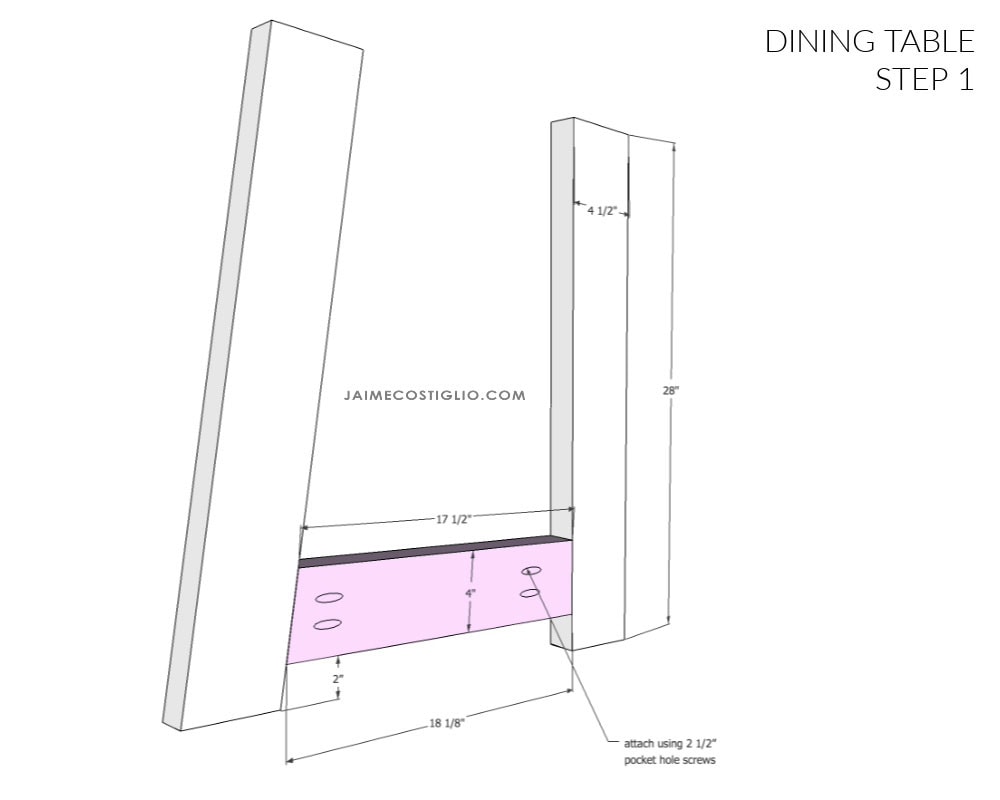
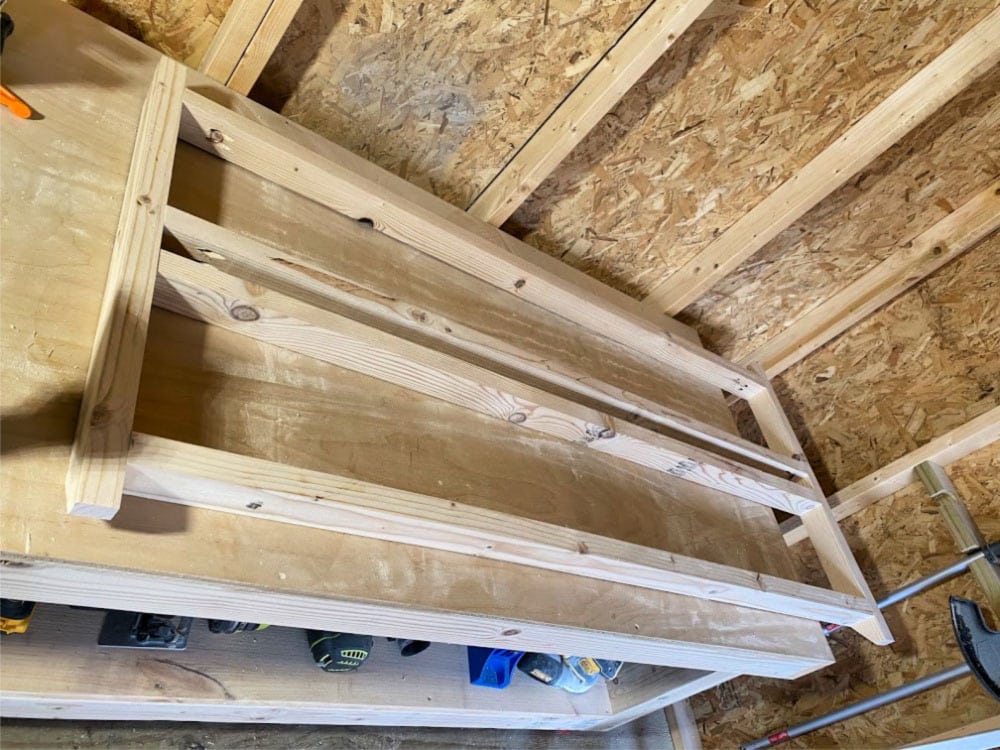
Take note when building the top support frame to keep the pocket holes in the interior when possible.
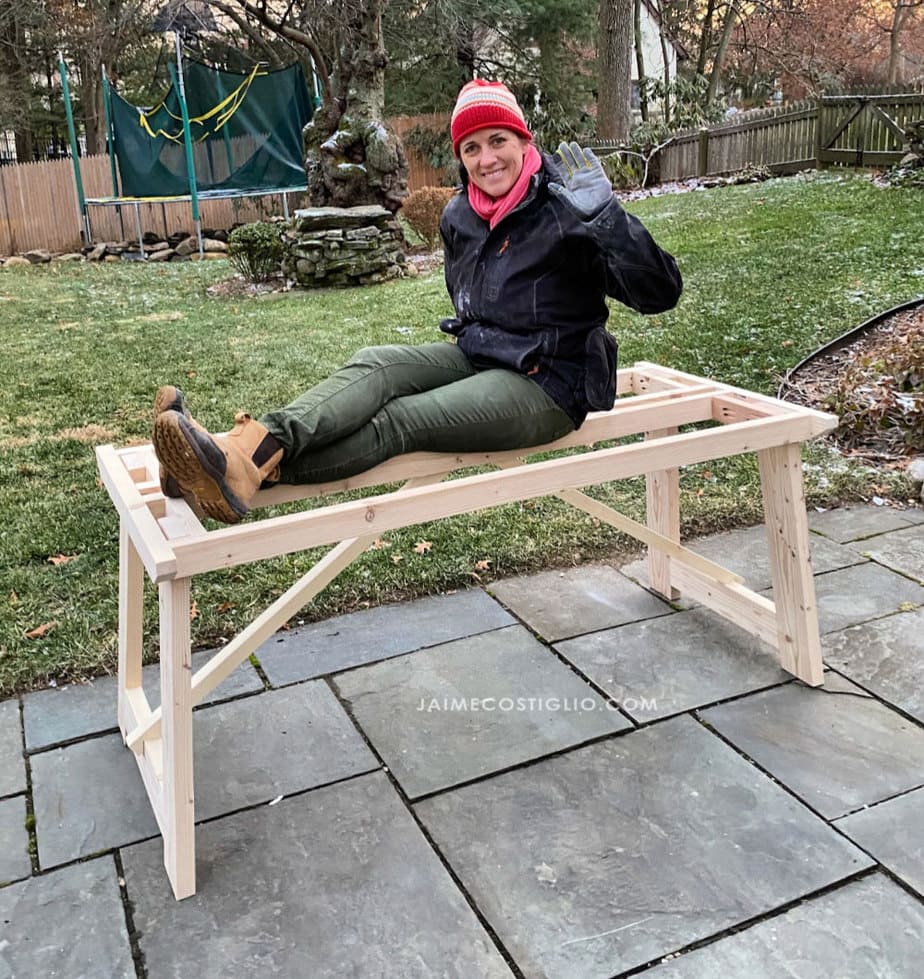
Once the base was constructed I did a quick strength test. All good.
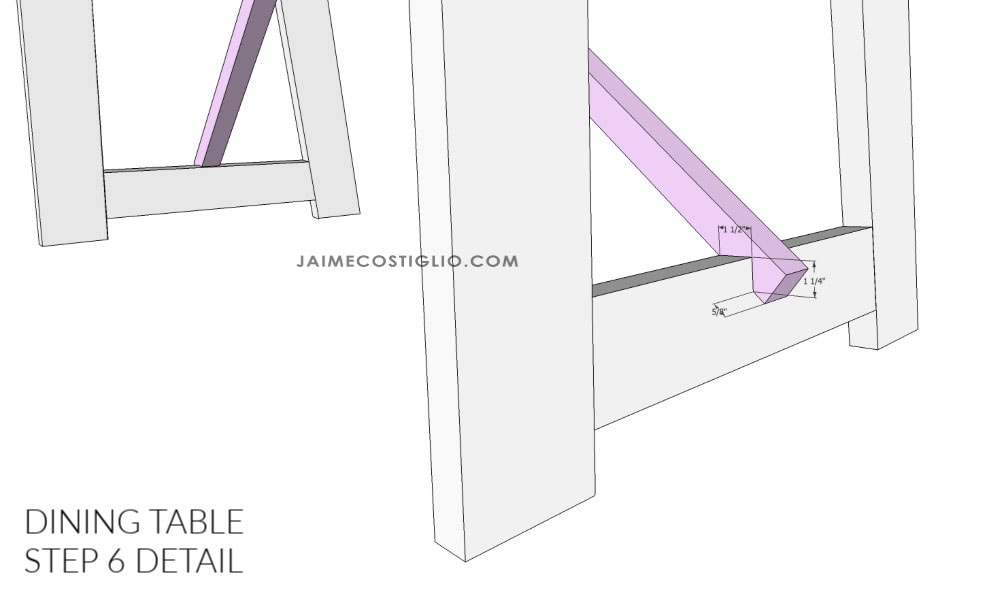
For the notch detail I used a framing square and my jig saw to cut out the notch area.
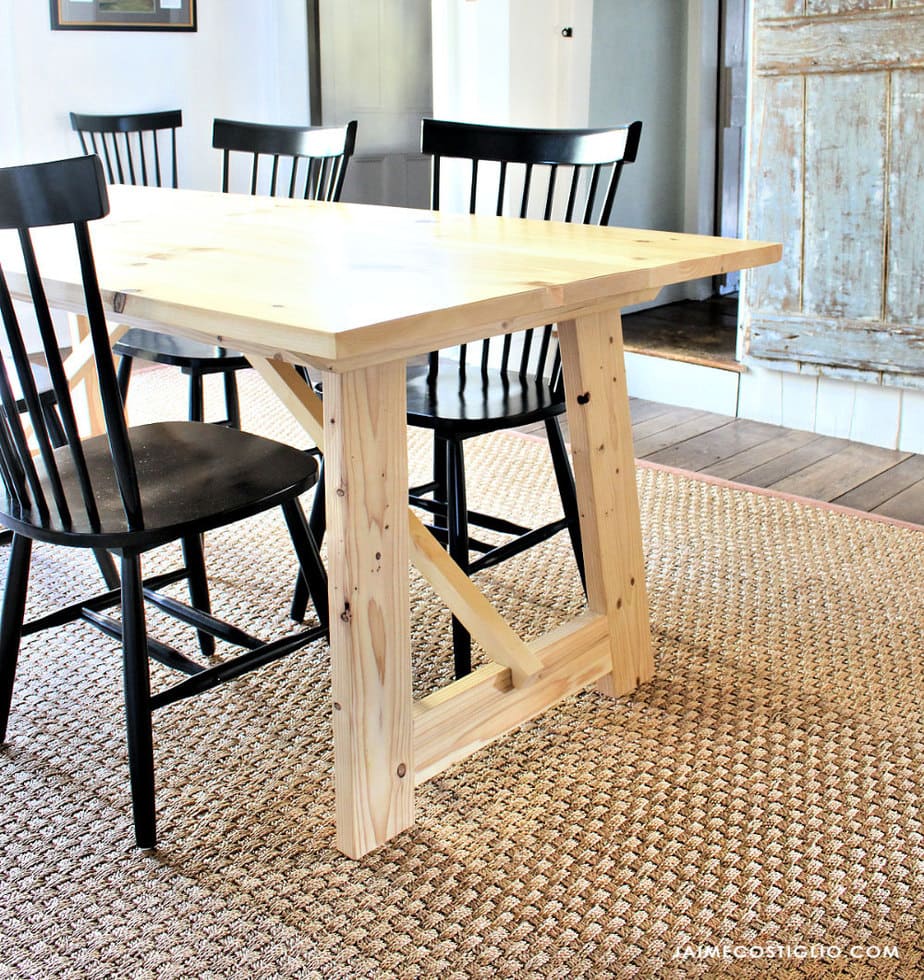
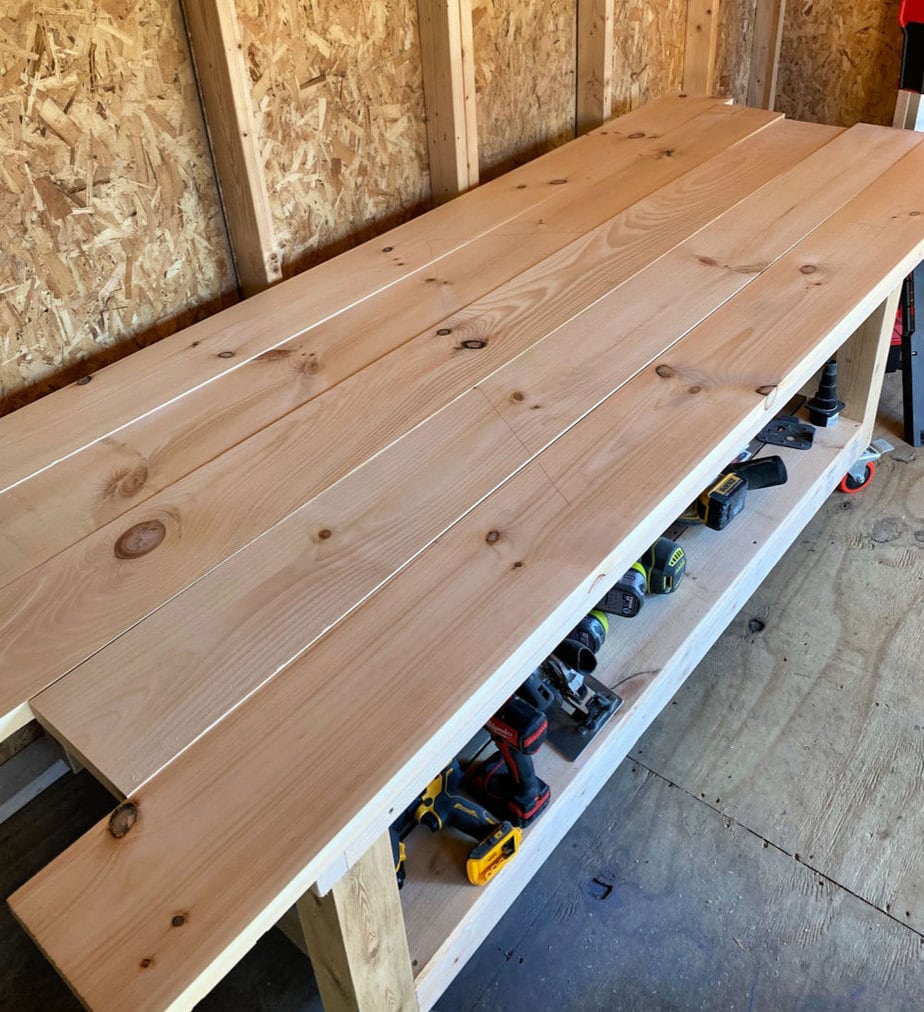
The last step is to make the table top. I opted for the thicker 5/4 boards and attached them using biscuit joinery. You could also use pocket holes if you desire. Lay out the boards how you like considering grain, knots, etc. Then I like to draw a giant V to help me keep the order and placement correct so when I go to insert the biscuits and glue the layout remains the same.
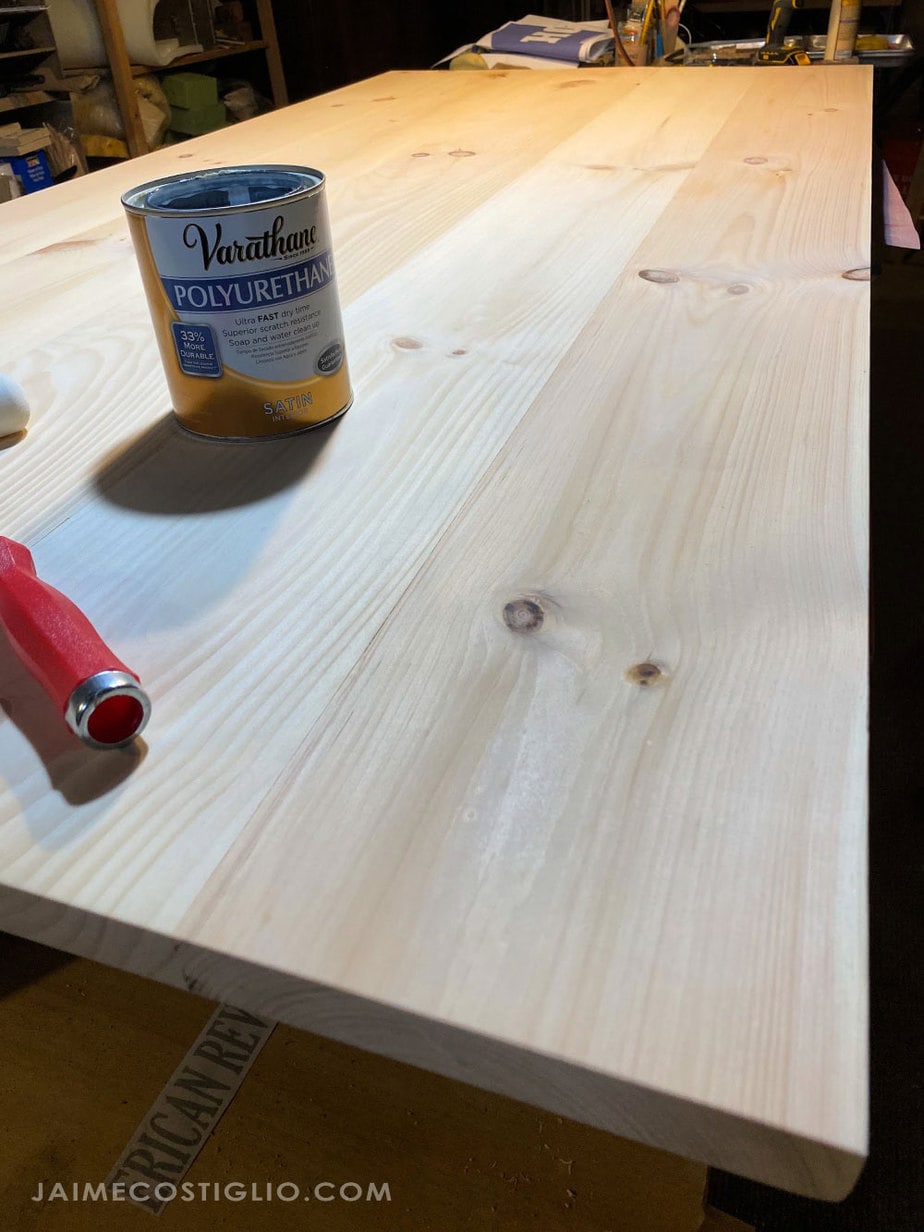
To seal this table I used three coats of Rustoleum clear satin polyurethane. Don’t forget to sand in between coats!
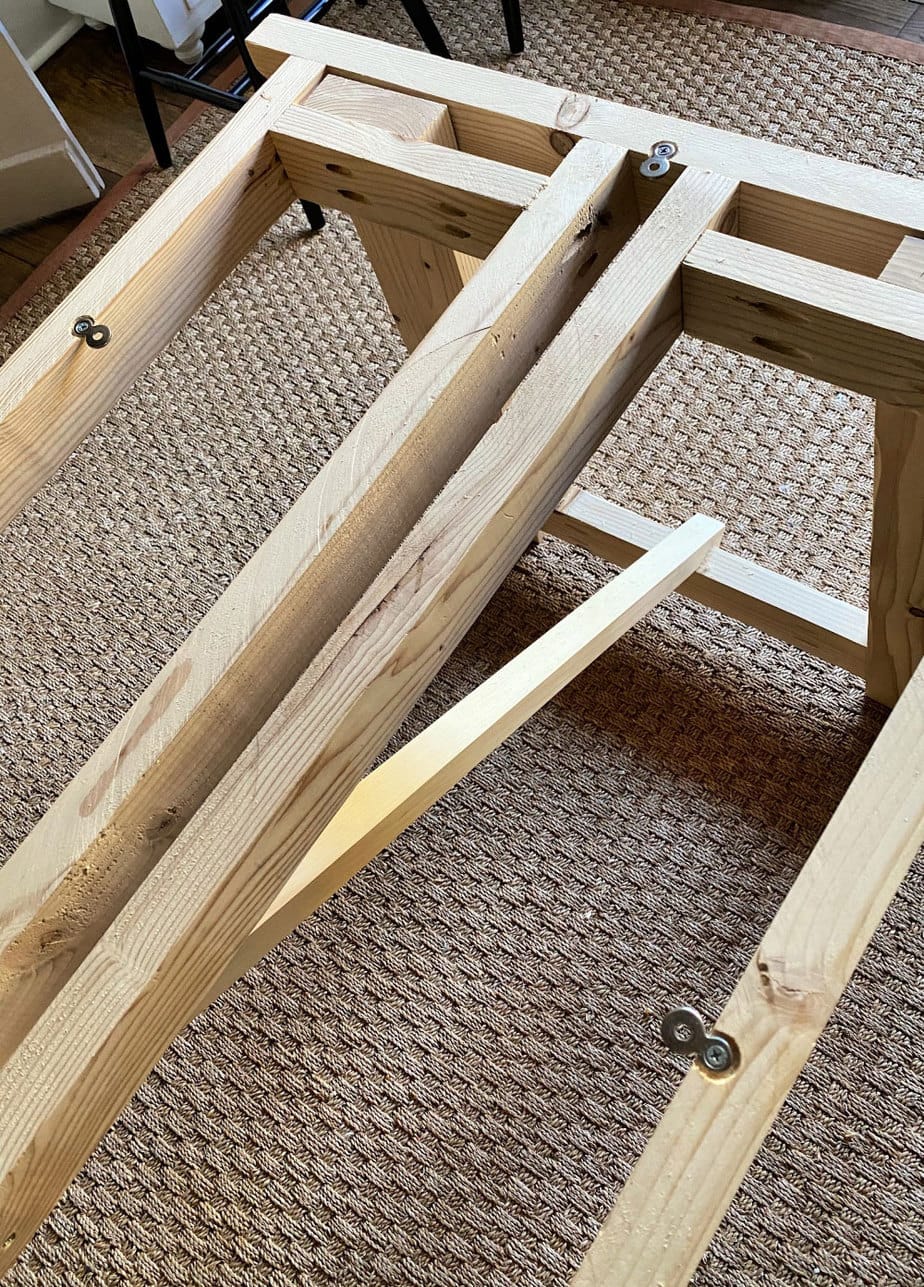
To attach the top the the base I used figure eight fasteners. You can see in the photo above the fasteners are secured to the frame base, not too tight because you want to allow for movement. Then secure the table top using the other hole.
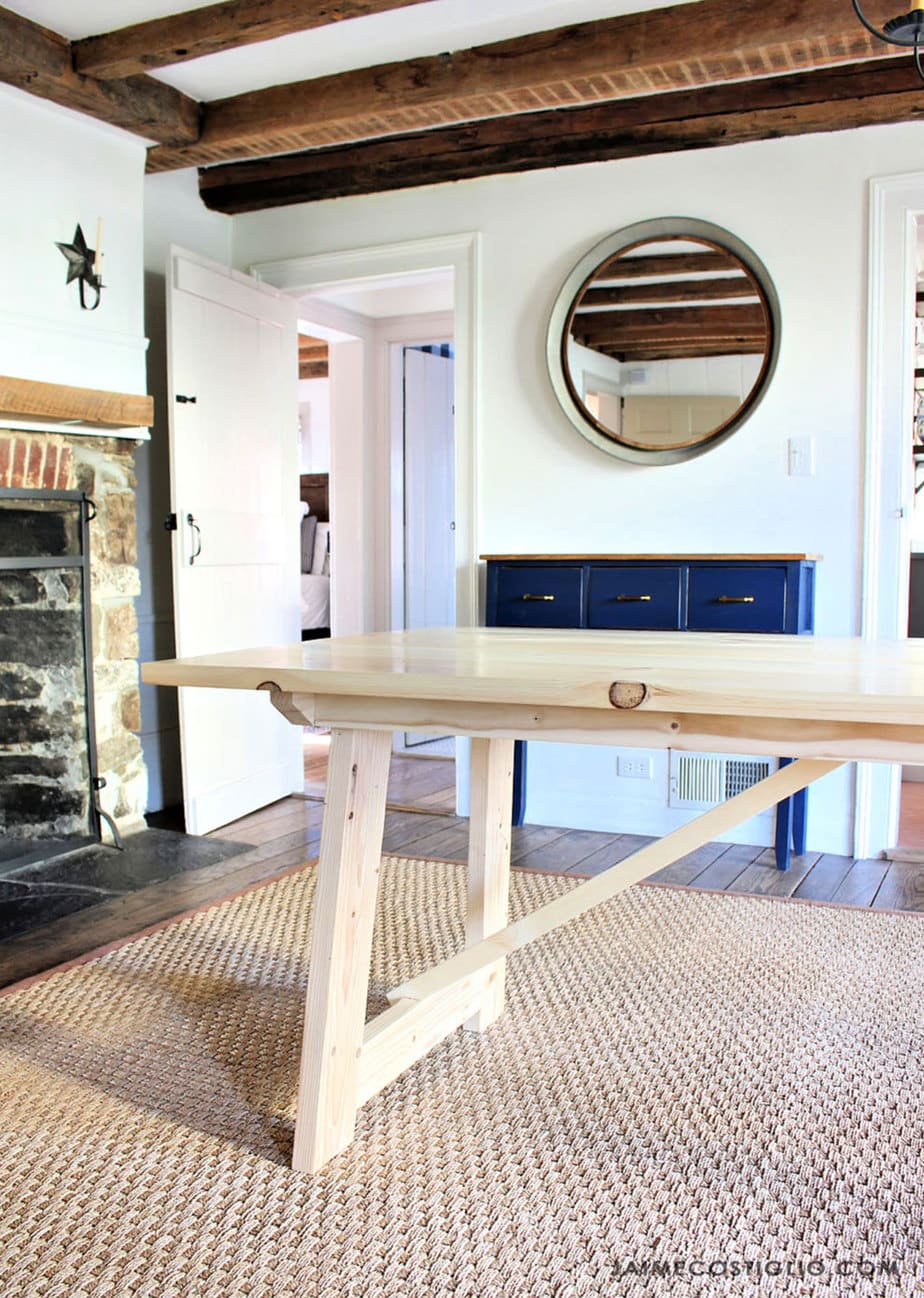
Thanks for joining me for this architect dining table project. Please leave any questions in the comments below and be sure to follow me on social media for sneak peeks, tools and project inspiration:
Instagram / Pinterest / Facebook / Youtube / Twitter
SHOP THIS PROJECT:

This is so good! Again, lack of tools and skill set mean I won’t be building one anytime soon.☹️
Thanks for the inspiration.
Thanks Karen, I appreciate the nice comments. We’re loving the new table and happy to share the plans with others.
Oh to have a dining room to fit a beautiful table like this!!! Your family and home are lucky to have you! Have a wonderful weekend!!
Thank you Terry. We love our little antique treasure of a home. It’s just right for us and I’m so happy I get to build furniture to fit this space. 🙂
This white oak looks so great-clean and simple. I love the light and the dark chairs. I’m going for that same look over here. This was such a nice inspiration! You are so talented Jaime:)
Thanks Angie. It’s just pine and fir, not white oak. I used to shy away from so much contrast (the light wood with the dark chairs) but as I get older it’s more appealing.
What a pretty table!! Strong with a very sleek design. And yes, give me all the pics!
Thanks Cristina, it’s working well for our family and it was fairly easy to build. That’s a win-win in my book 🙂
Your table and home are beautiful. What did you build prior to building the table? I am trying to decide if I have the skills to make that table. Can the table be made without the cross supports?
Hi Judy, Thank you. I’ve been building for 10 years so lots of experience. This table needs the cross supports to keep the legs from splaying outwards with any downward pressure.
Simple and gorgeous! Do you have any suggestions on how to adjust the plans to make the table longer? Thanks!
Hi Kait, thank you. We’ve been using it for over a year now and still love it. To make it longer I would determine the top length first then work backwards adjusting the apron length and lastly the angled supports. Good luck!