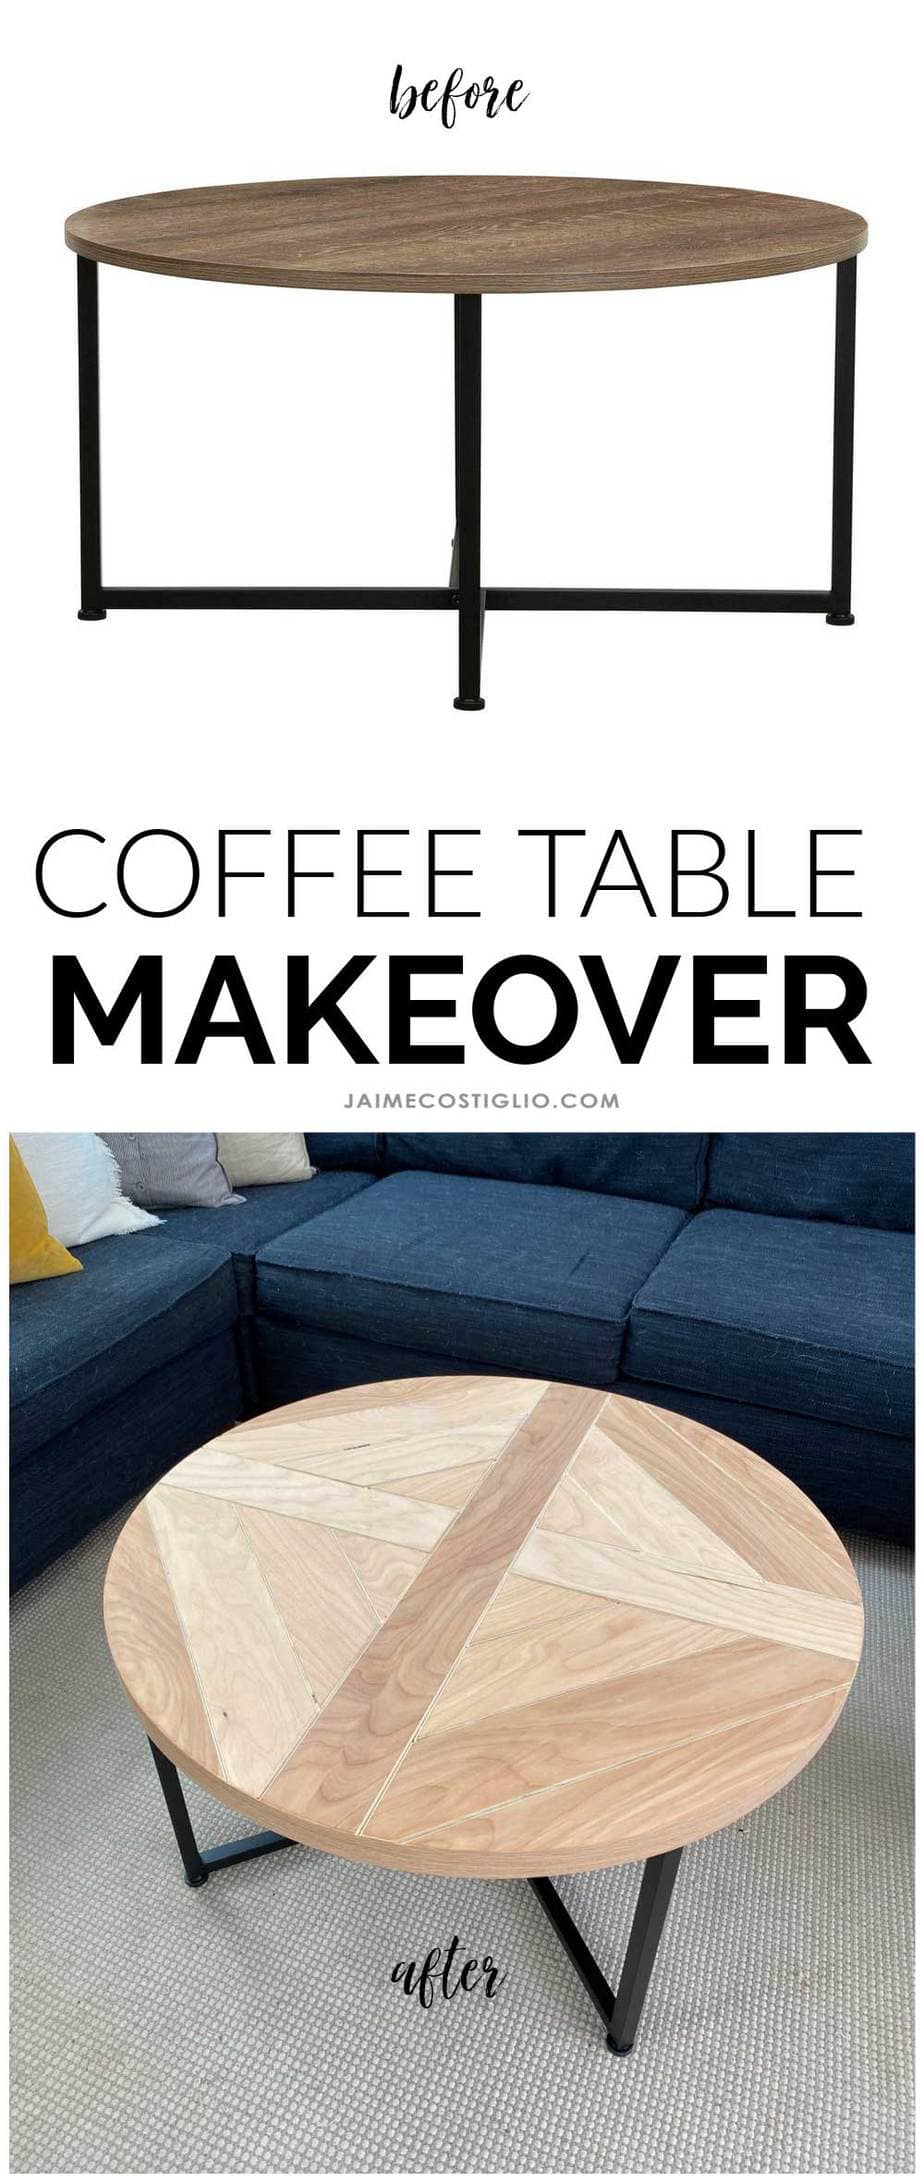
Over the years I’ve come to the conclusion that scrap wood will always find a home. Today I used some plywood scraps to makeover a basic coffee table and I can honestly say plywood has a new found spot in my heart.
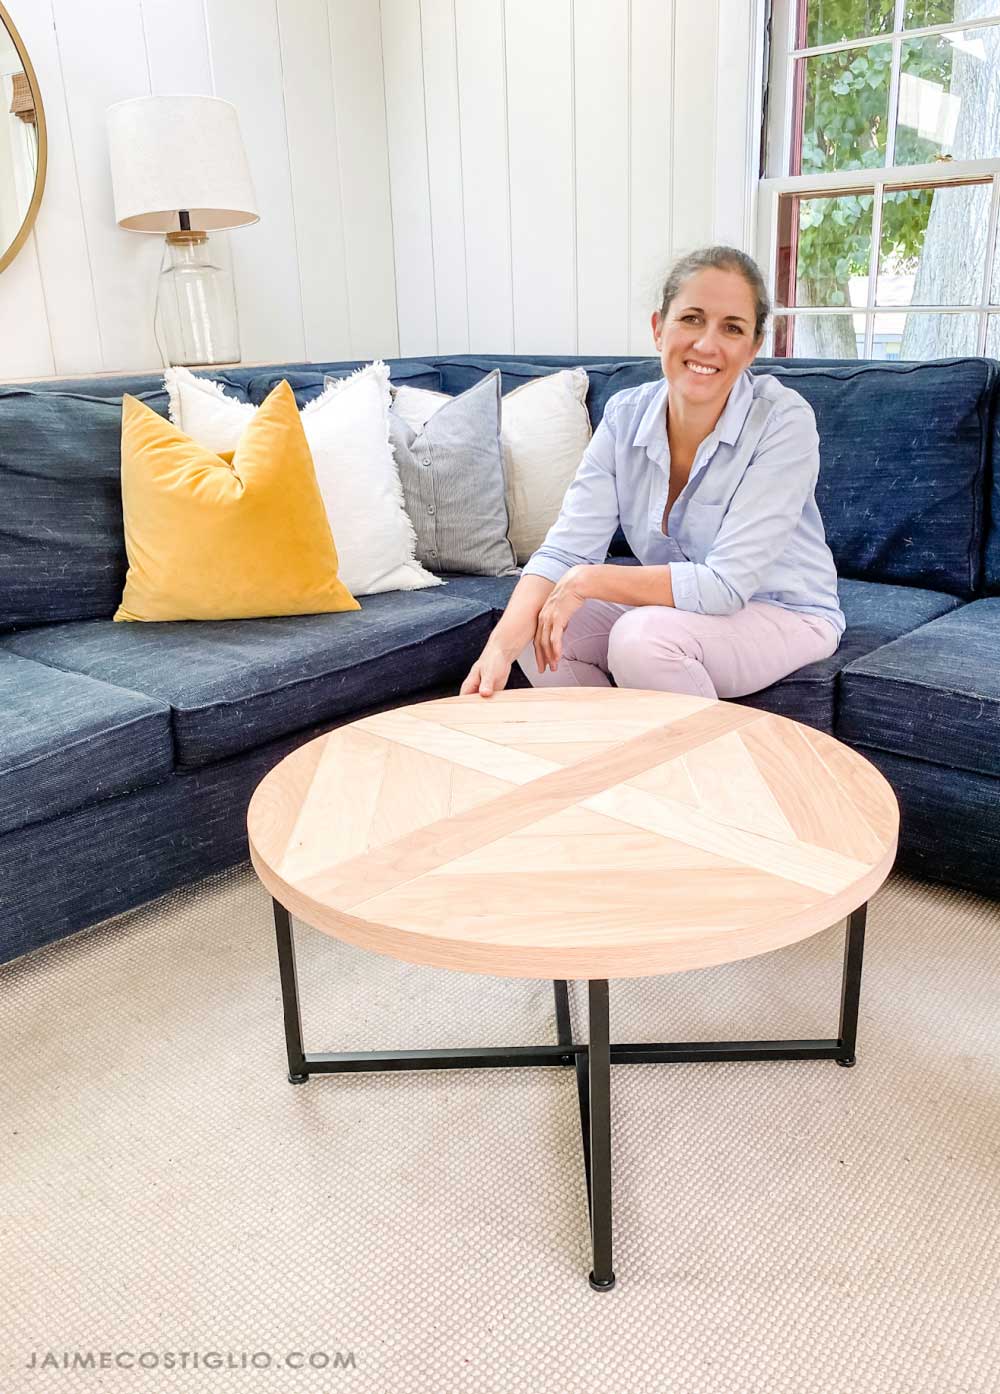
A DIY tutorial for a coffee table makeover using plywood scraps. Make your coffee table beautiful with just a few steps.
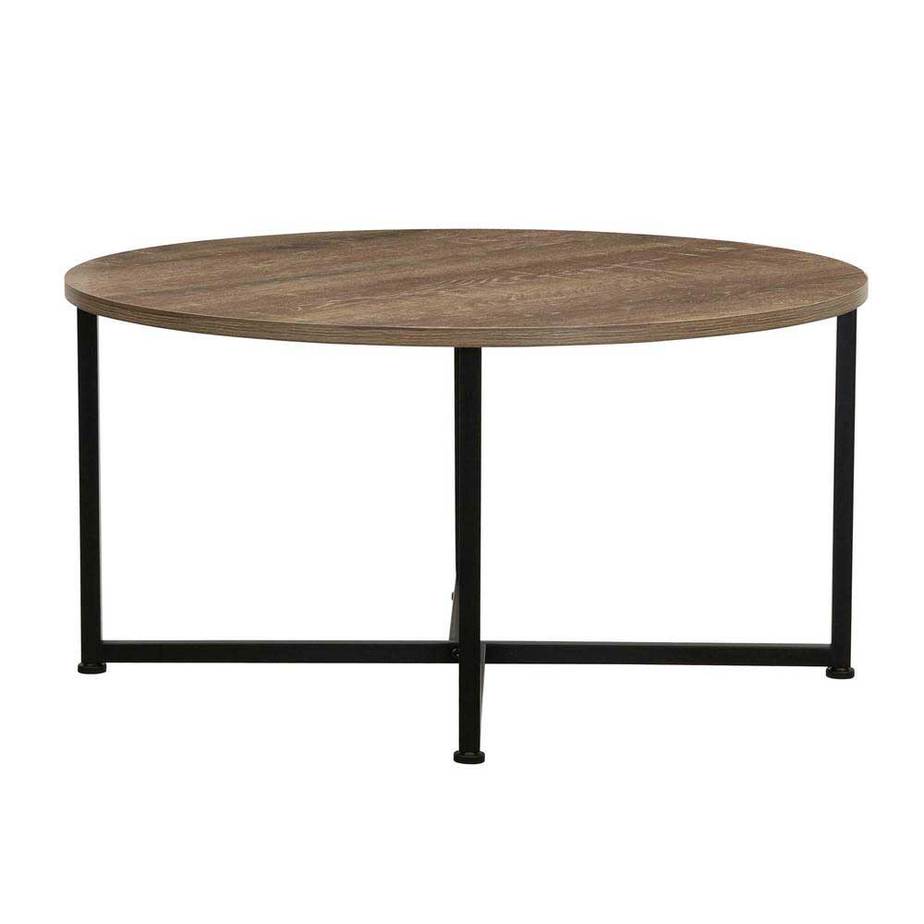
Yes you can take a simple, inexpensive retail coffee table and really make it your own with just a little creative thinking. Let me show you what this coffee table looked like when I started.
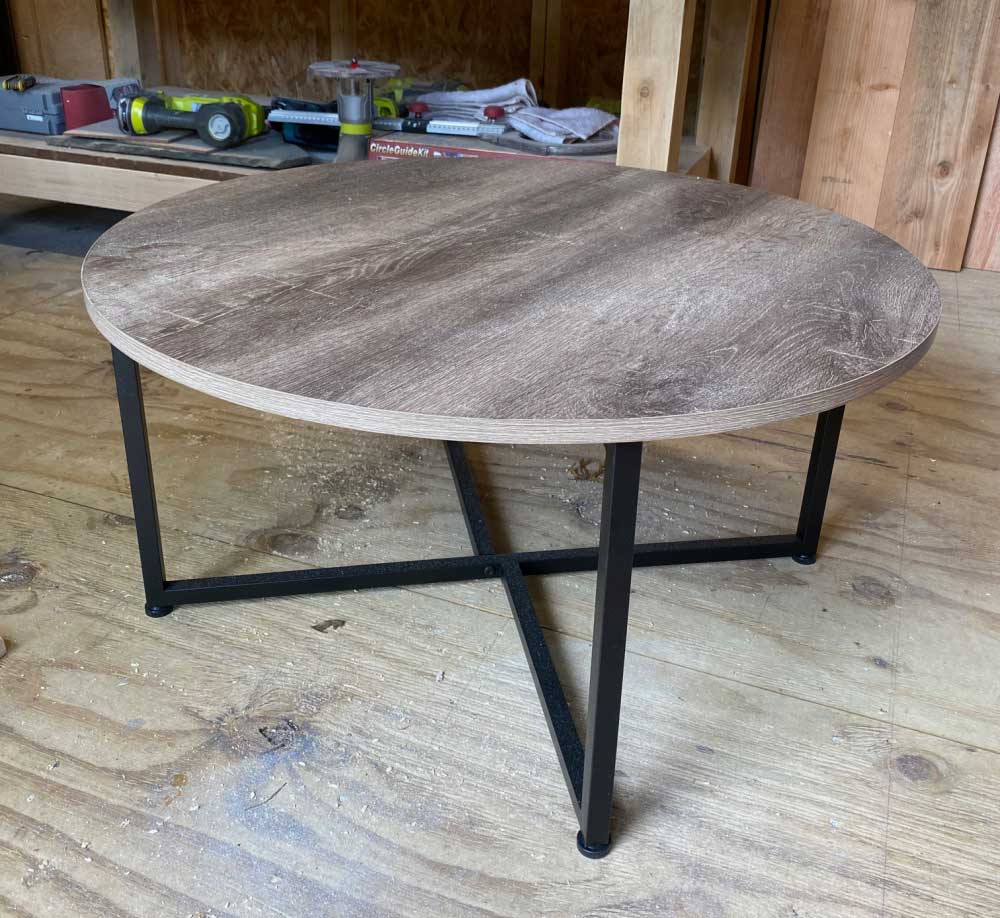
It’s fine. It’s super solid and I love the black tube metal base. I ordered it online (here) and wasn’t sure about the top but I figured once it arrived I could reassess. I tried hard to live with it for a few days but that faux wood on top just didn’t sit well with me. Especially knowing that I have a hoarder status scrap wood pile to put to use!
Basic Coffee Table
- perfect 32″ diameter size to fit our space
- simple black tube metal base
- 3/4″ faux wood top
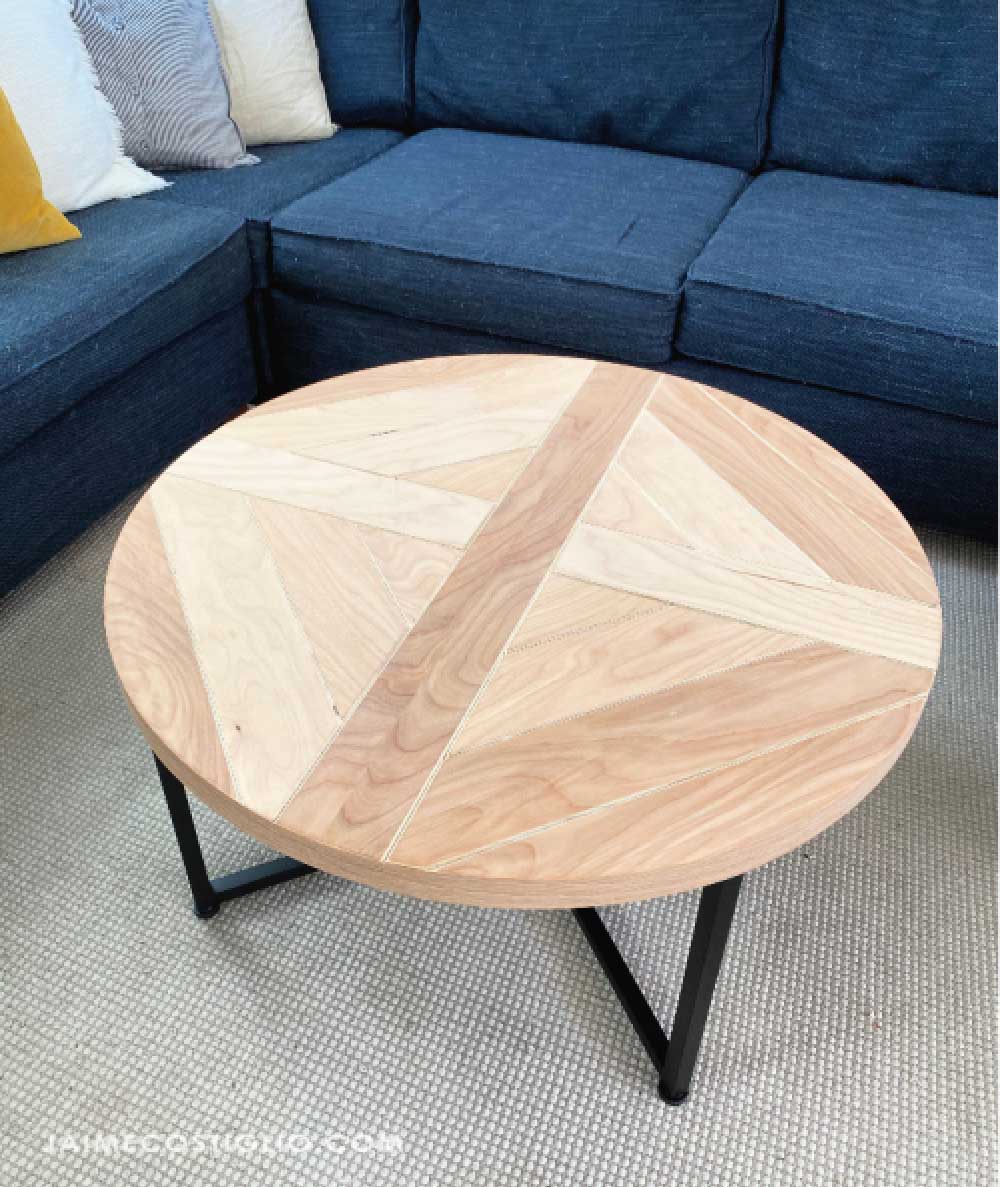
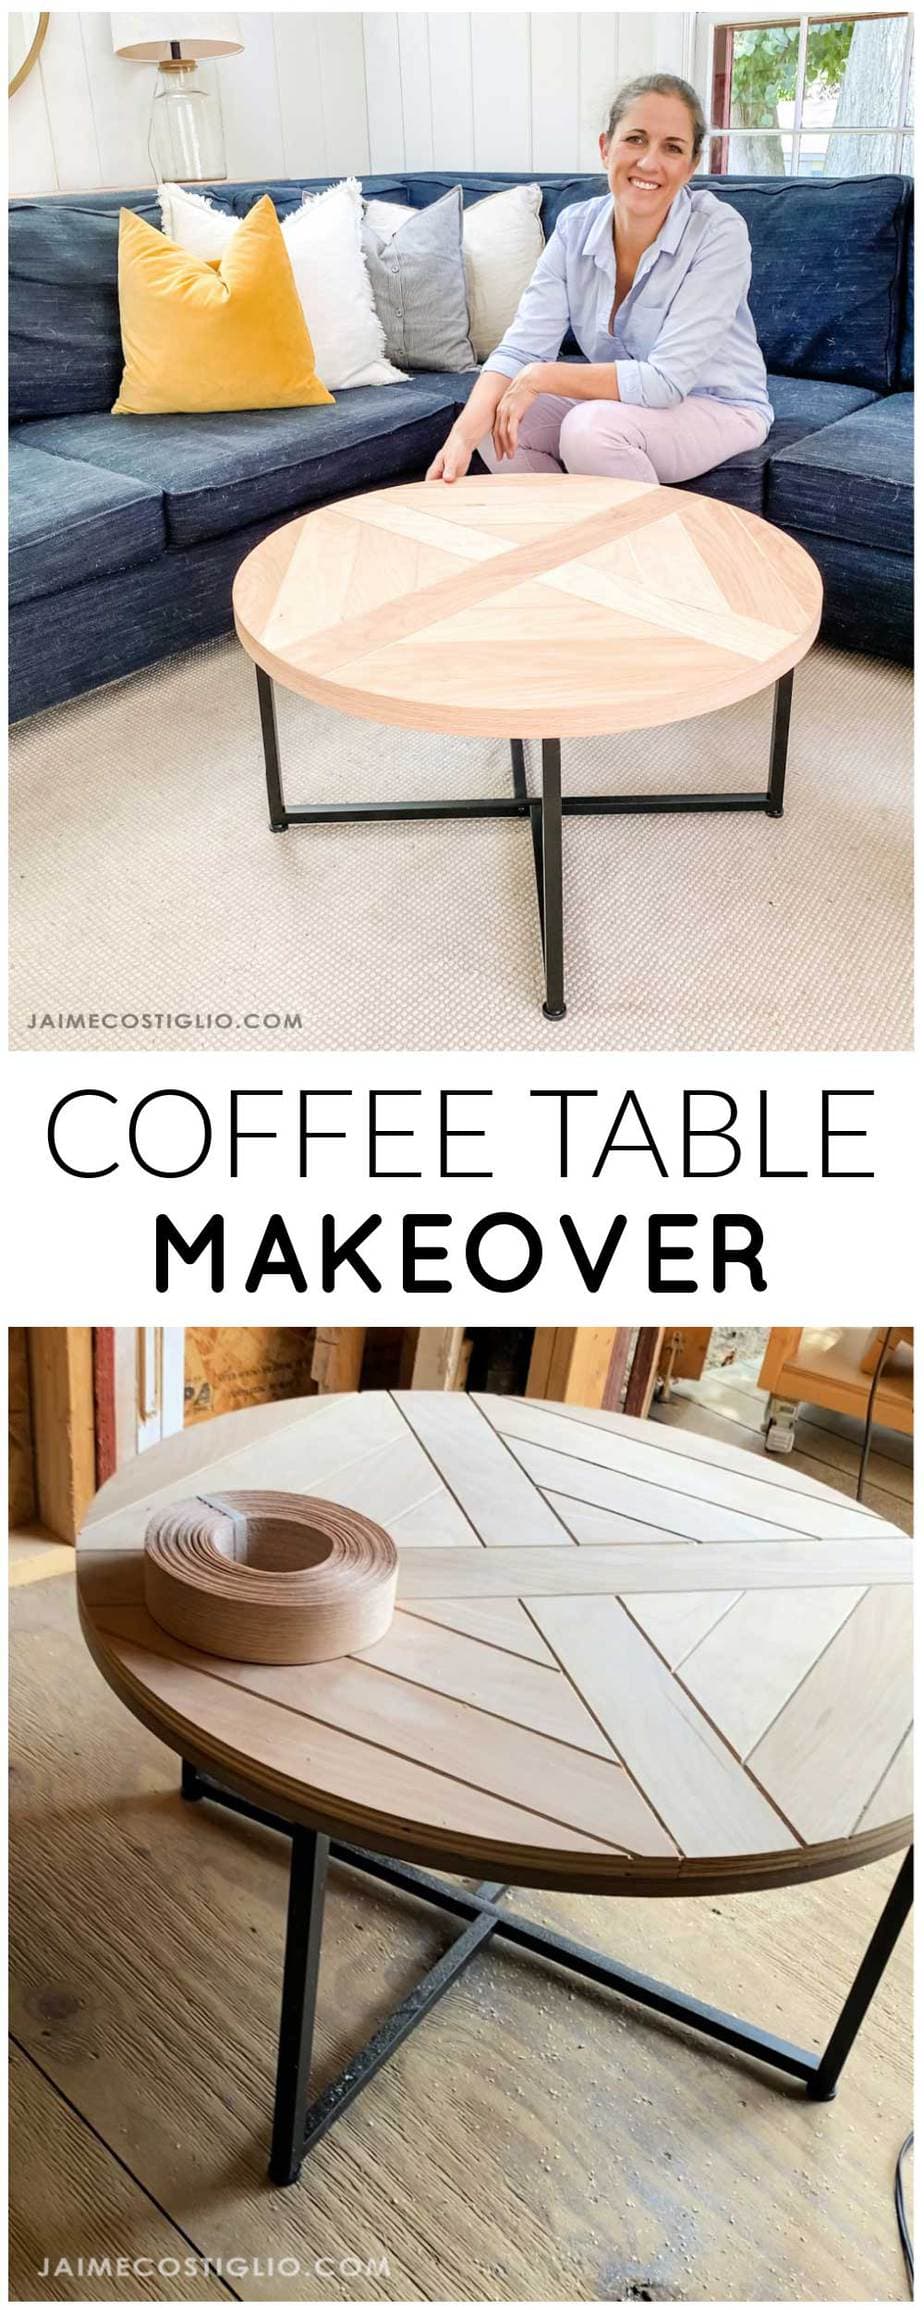
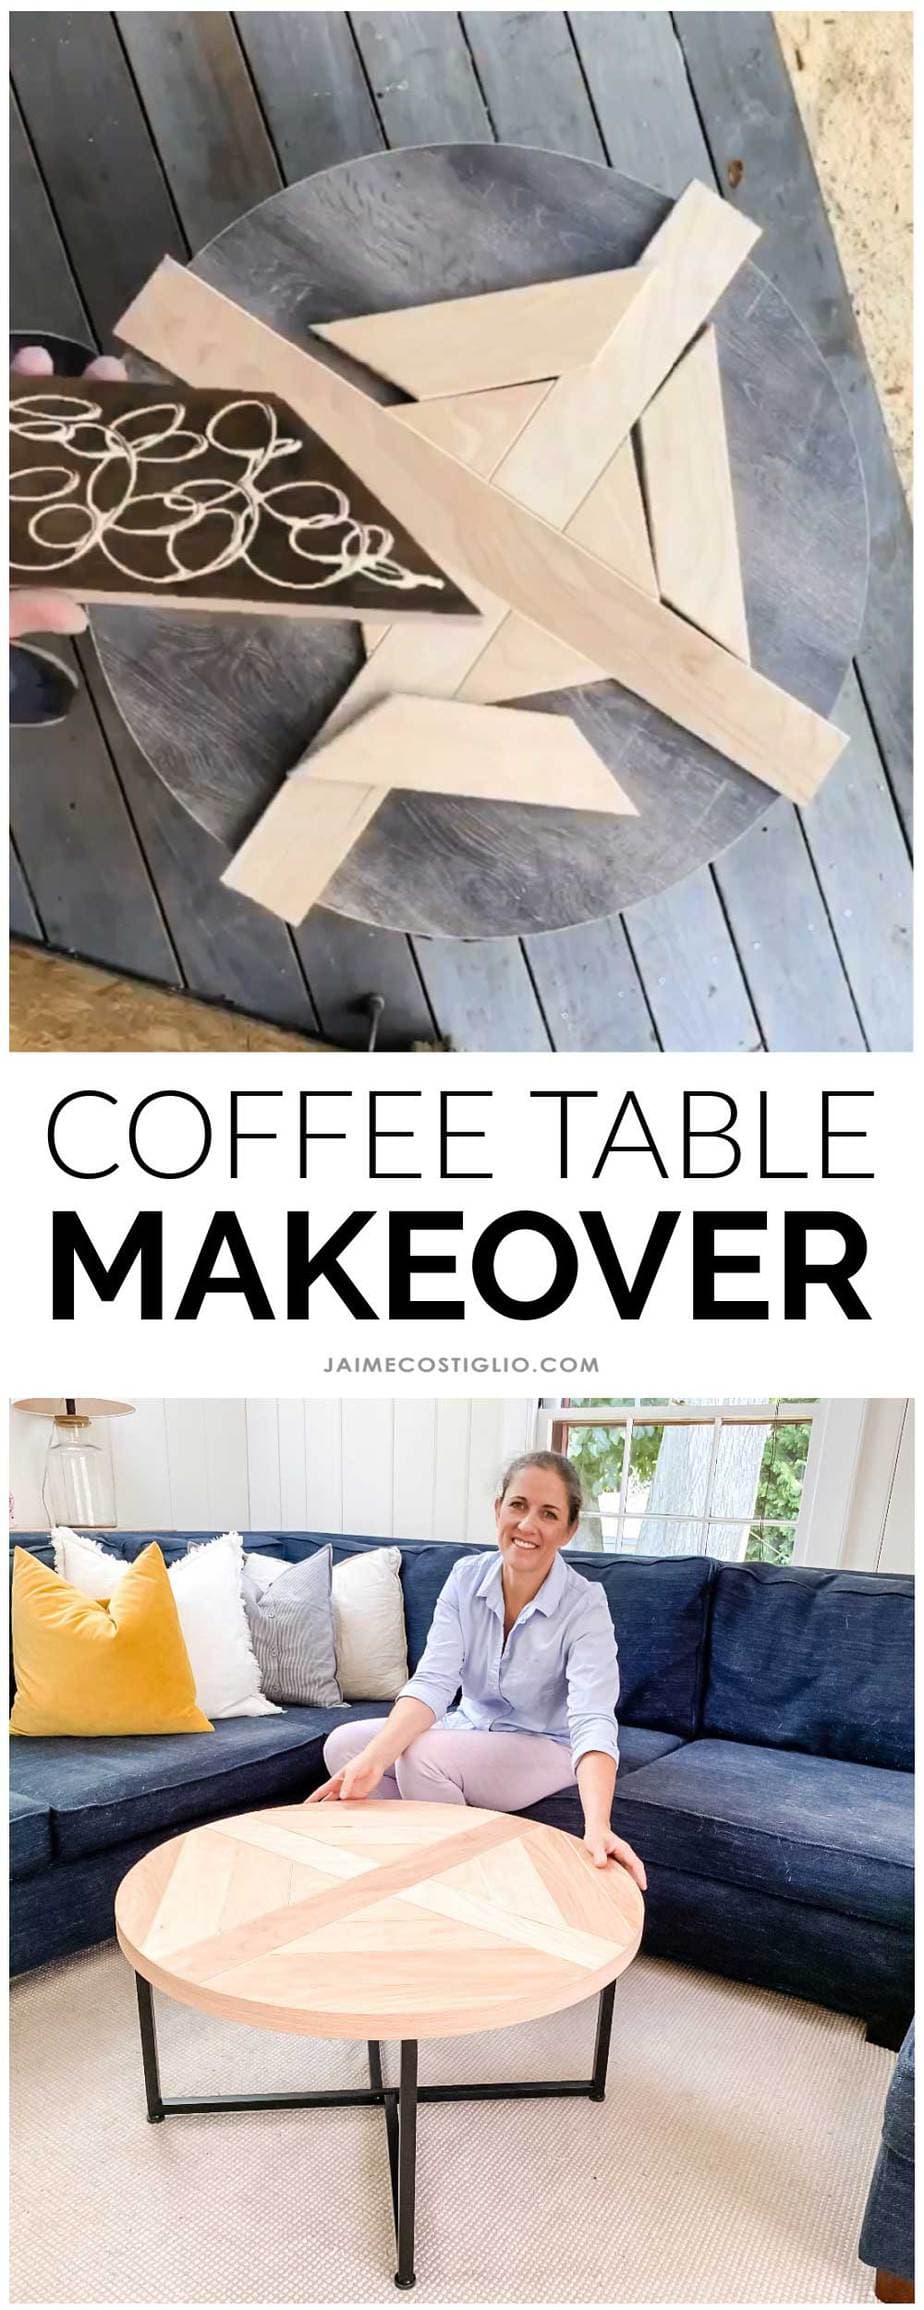
A few pieces of plywood later and we have a stunning coffee table! It’s no longer basic but beautiful, full of grainy movement, texture and pattern.
Coffee Table Makeover
- use scrap plywood from your stash
- beautiful wood tones
- tons of texture with chamfered edges
- endless pattern possibilities

And because I simply added the plywood on top of the existing top we now have a thicker table top. It’s chunkier and holds more weight which creates better visual proportions with the black metal base.
Like it was always meant to be.

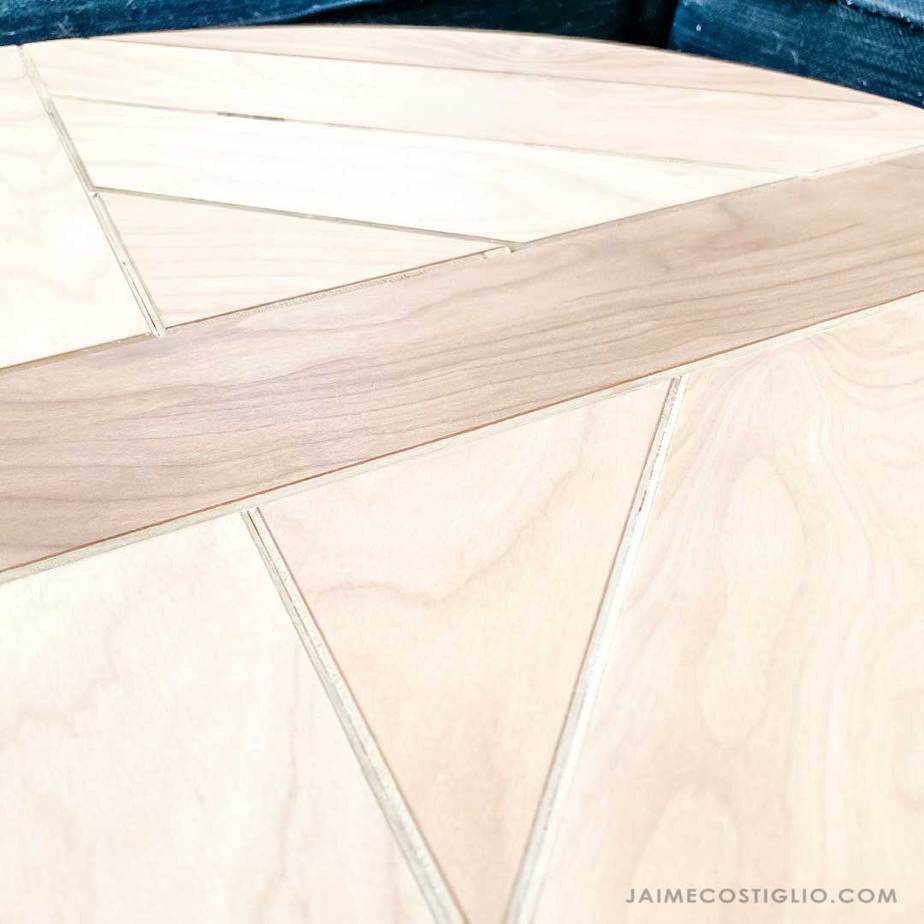
Since I added a chamfered edge to each piece of plywood the table top has lots of grooves. This also creates a boundary of sorts for each piece so the plywood doesn’t all run into each other. You can skip this step for a completely flat table surface. And I’m sure I’ll be vacuuming crumbs out of those grooves in due time :).
Below I’m sharing the step by step process for this coffee table makeover. Be sure to read through the entire process before beginning and adjust accordingly to fit your table size, pattern and shape.
Supplies
- round coffee table
- 3/4″ thick scrap plywood
- table saw
- miter saw
- wood glue
- trim router
- chamfer bit
- flush cut bit
- jig saw
- measuring tape
- 2″ iron on edge banding
- iron
- sander
- Rubio Monocoat 5% white finish
Instructions:
I started with this simple round coffee table (available here).
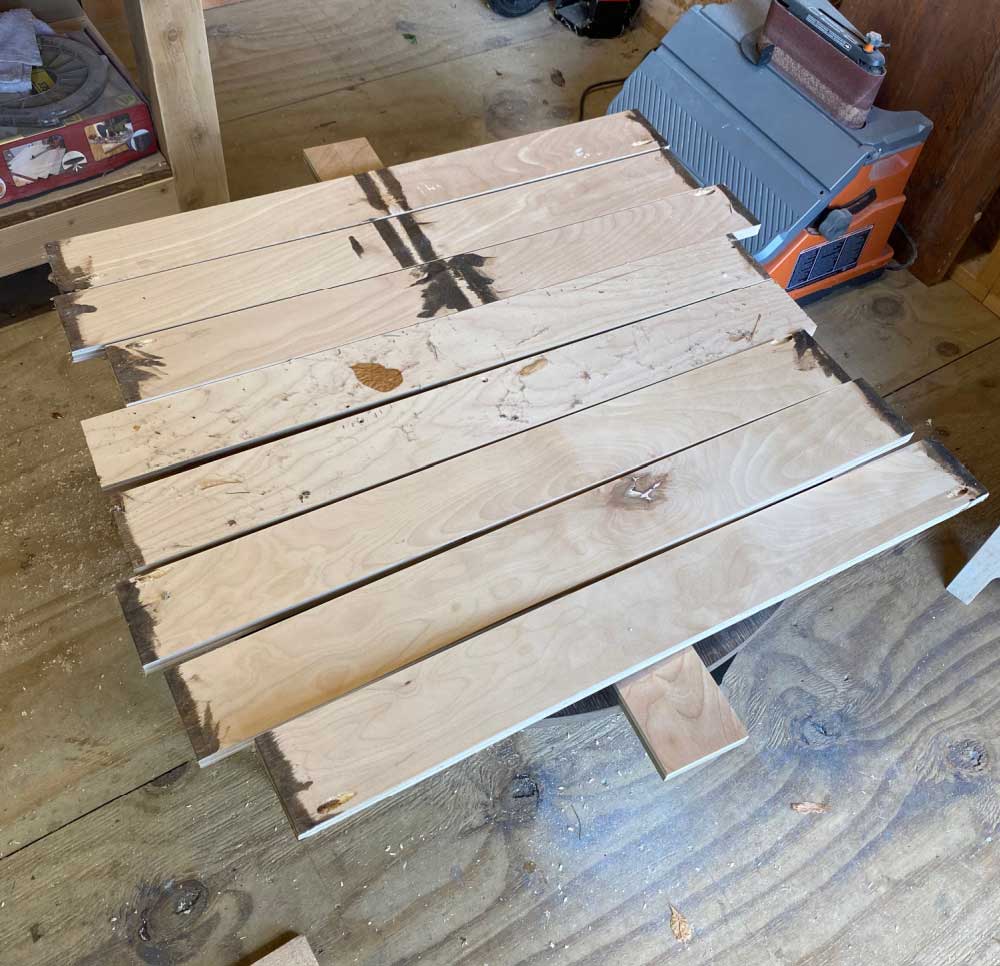
Step 1: Cut 3 1/2″ wide strips of 3/4″ thick plywood, enough to cover the table top at least 1.5 times. Then apply a slight chamfer using the router to the long sides of each piece. It’s easier to chamfer the edges now while the pieces are long.
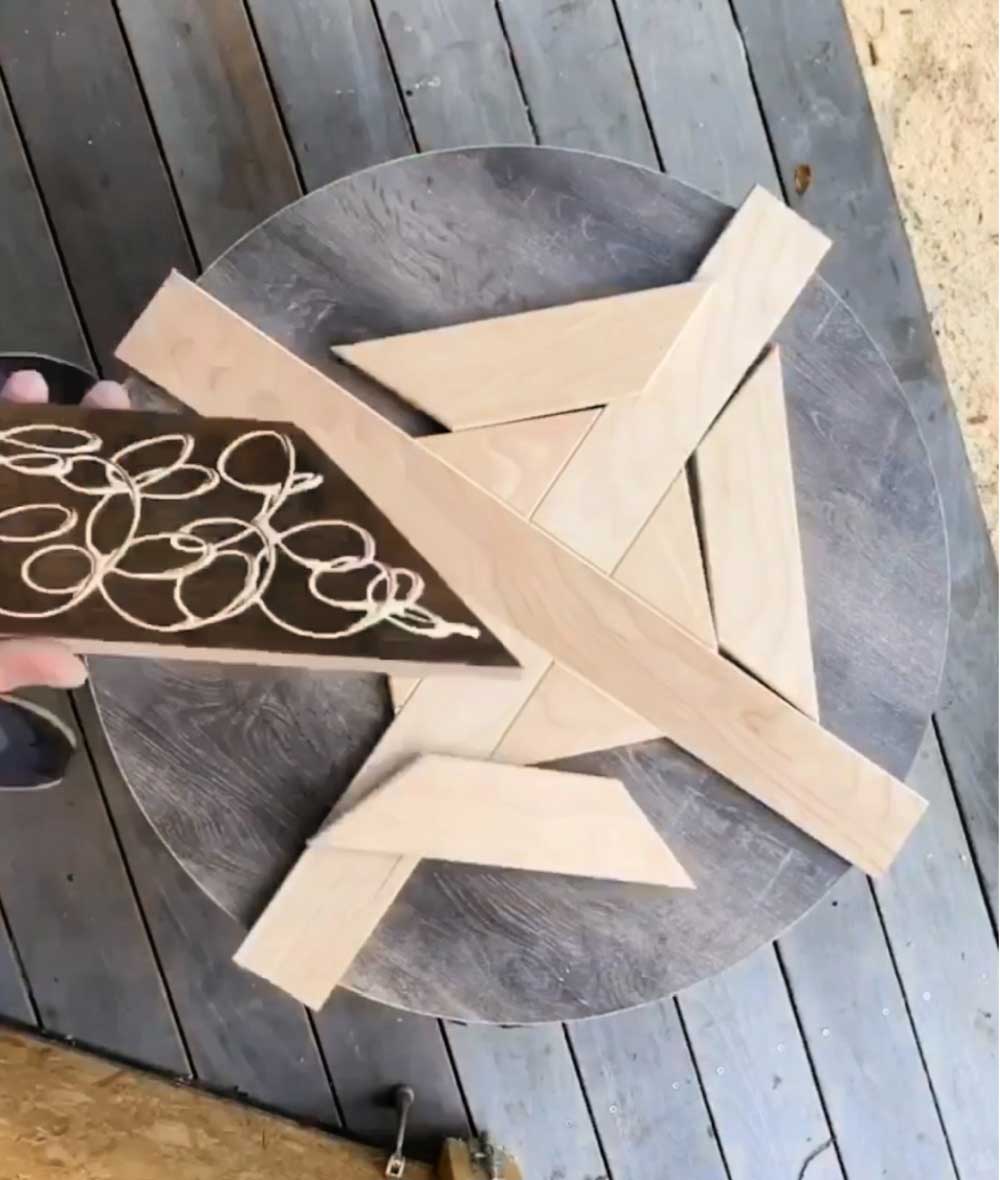
Step 2: Sand the table top first to rough up the smooth faux finish. Then begin with the single long piece across the center. Be sure to leave long any pieces that stop at the table edge so you have some excess to cut off later. Make the x at the center of the top and then start cutting pieces to fit into the corners with a 45 degree miter on both ends, not parallel. I opted to cut each piece separately to ensure a tight fit. Use a generous amount of wood glue on the back and press onto the table top.
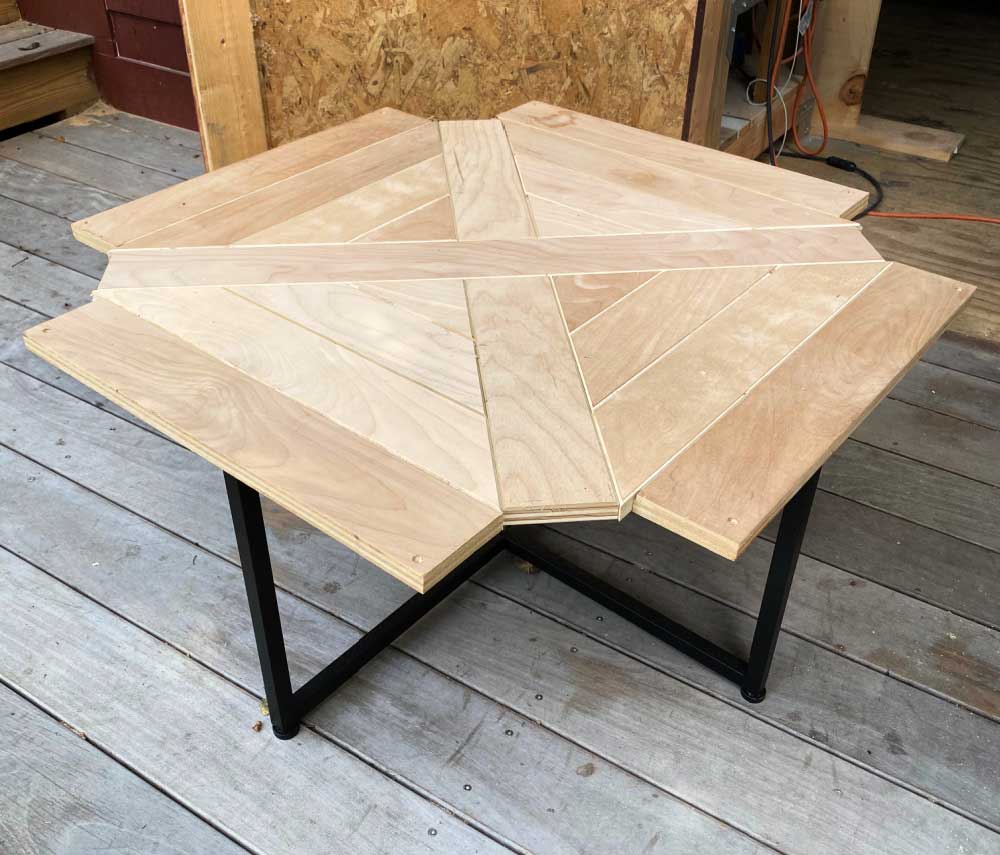
Once the top is completely covered let the wood glue dry. You can see above how the plywood pieces hang off the edge of the table for now.
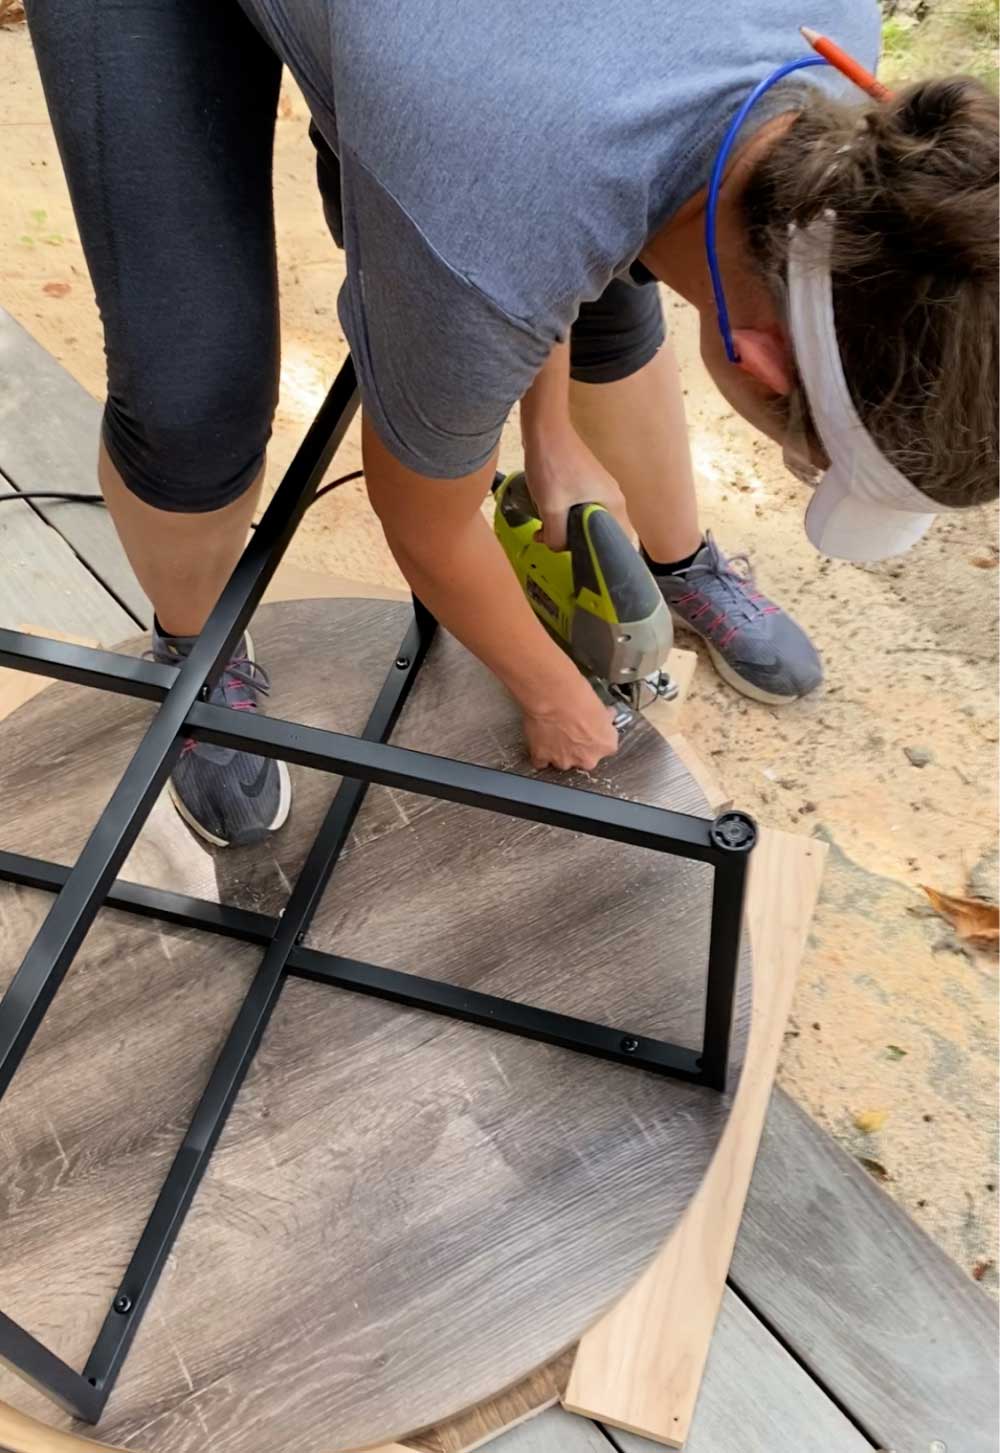
Step 3: Once the glue is dry flip the table over and use a jig saw to trim off the excess. Be sure to leave a scant 1/4″ overhang for the next step.
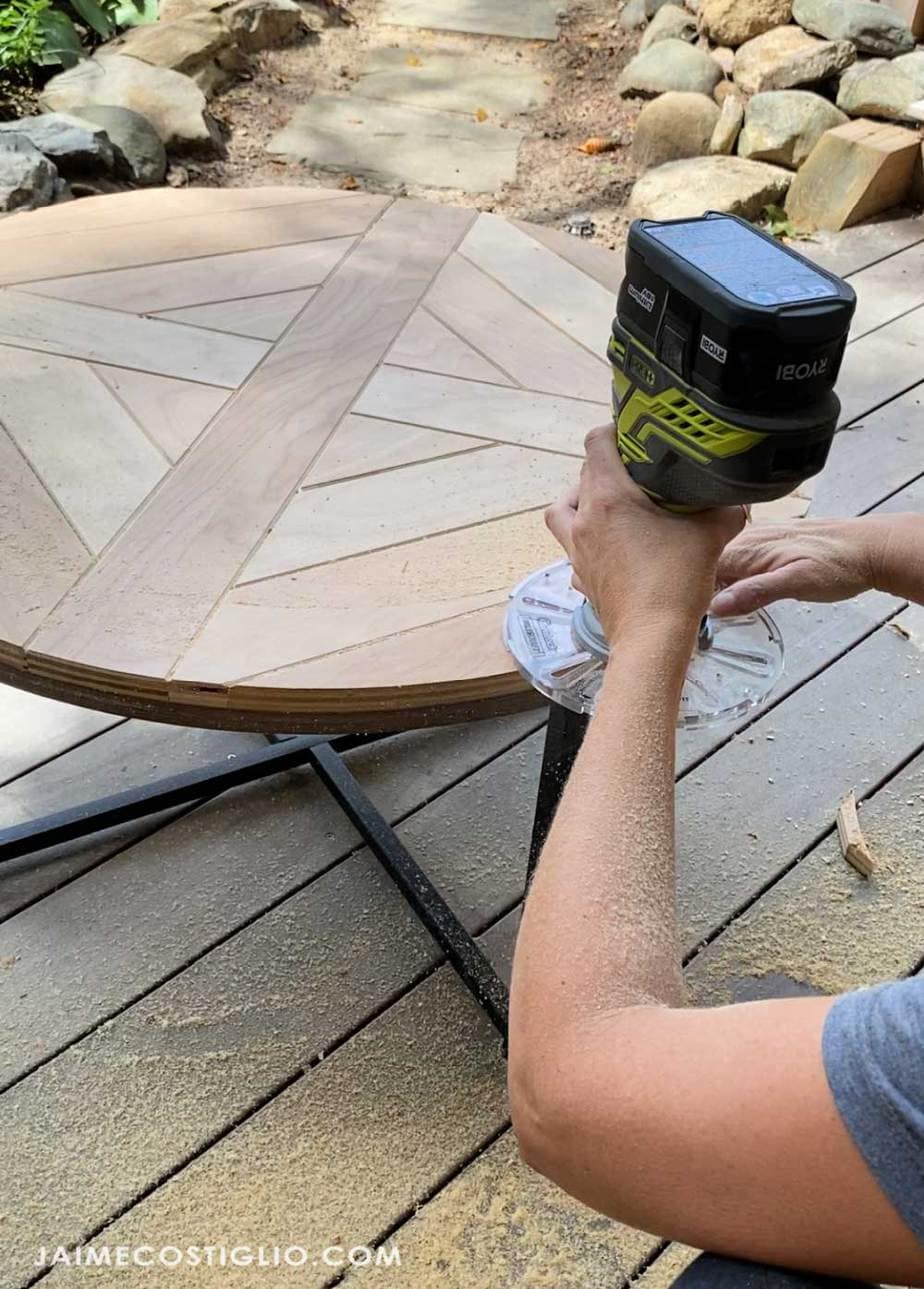
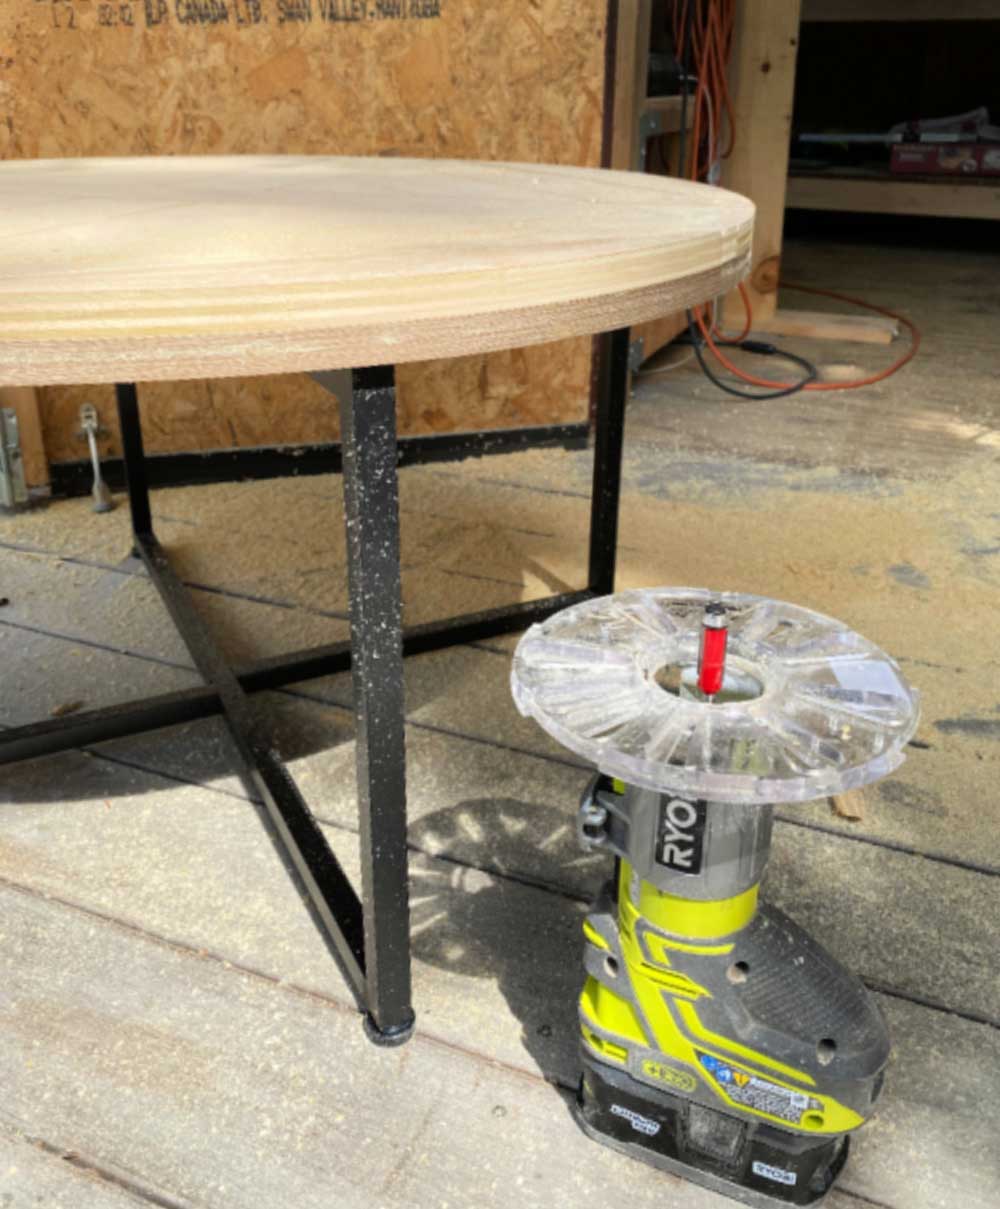
Step 4: To get a super smooth circle shape use a flush cut bit in the trim router and trim up the little bit of plywood still hanging over. This bit allows you to follow the shape of the existing circle top and gives you a flush cut.
Step 5: Now we are ready for edge banding. Give a quick sanding along the edge (mostly to rough up the faux wood edge).
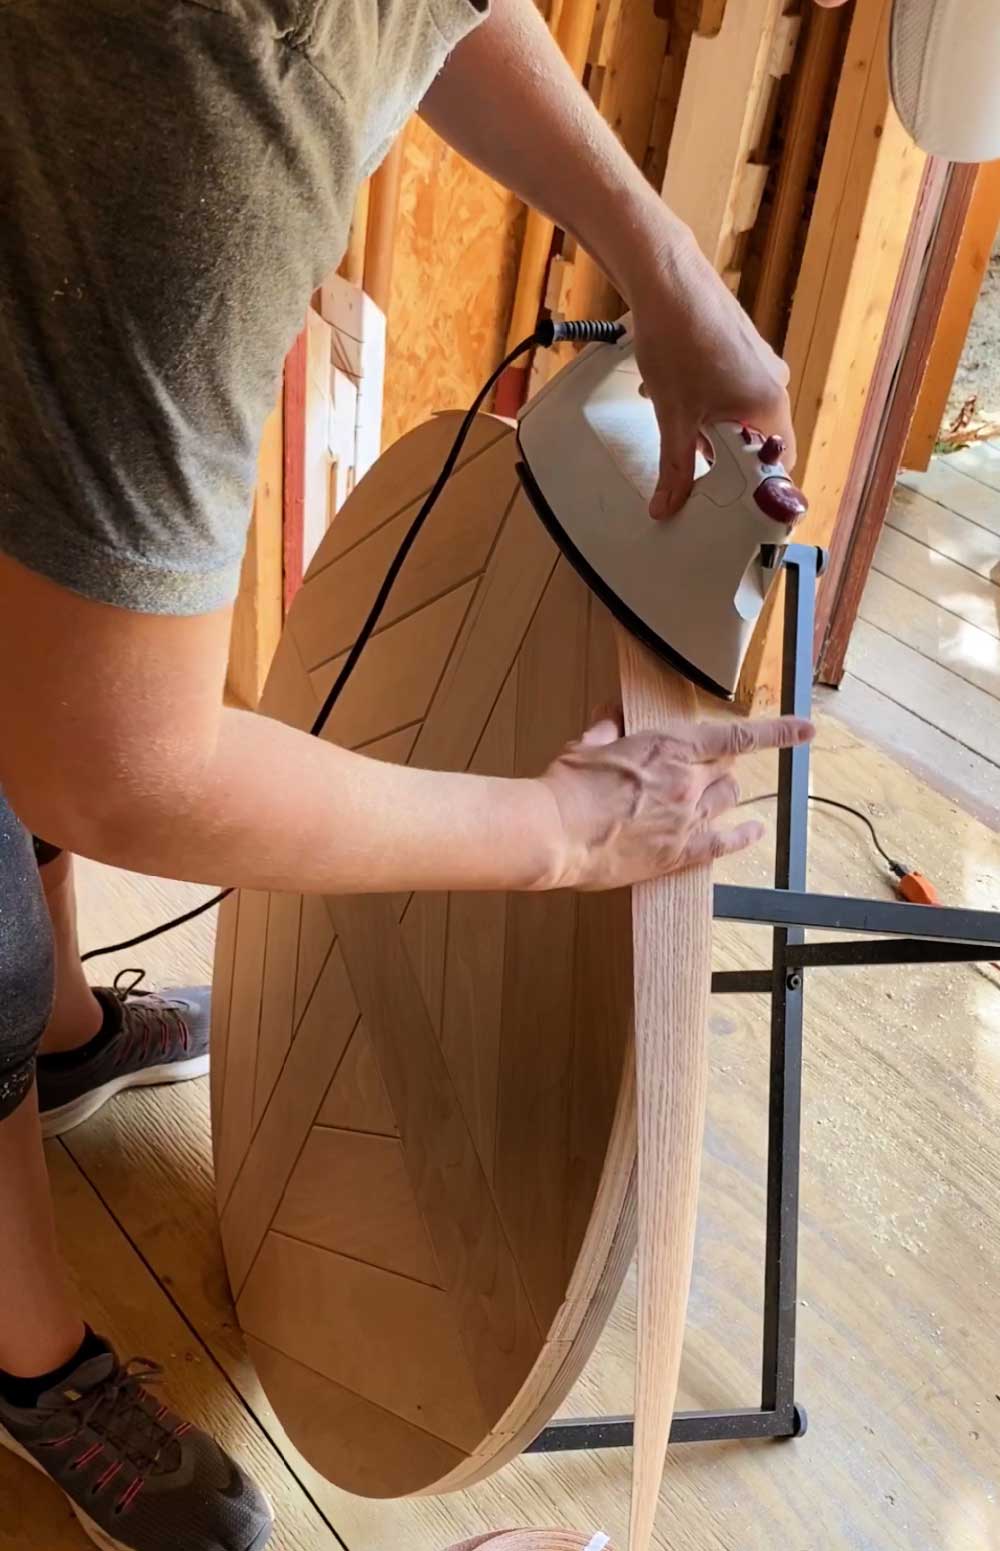
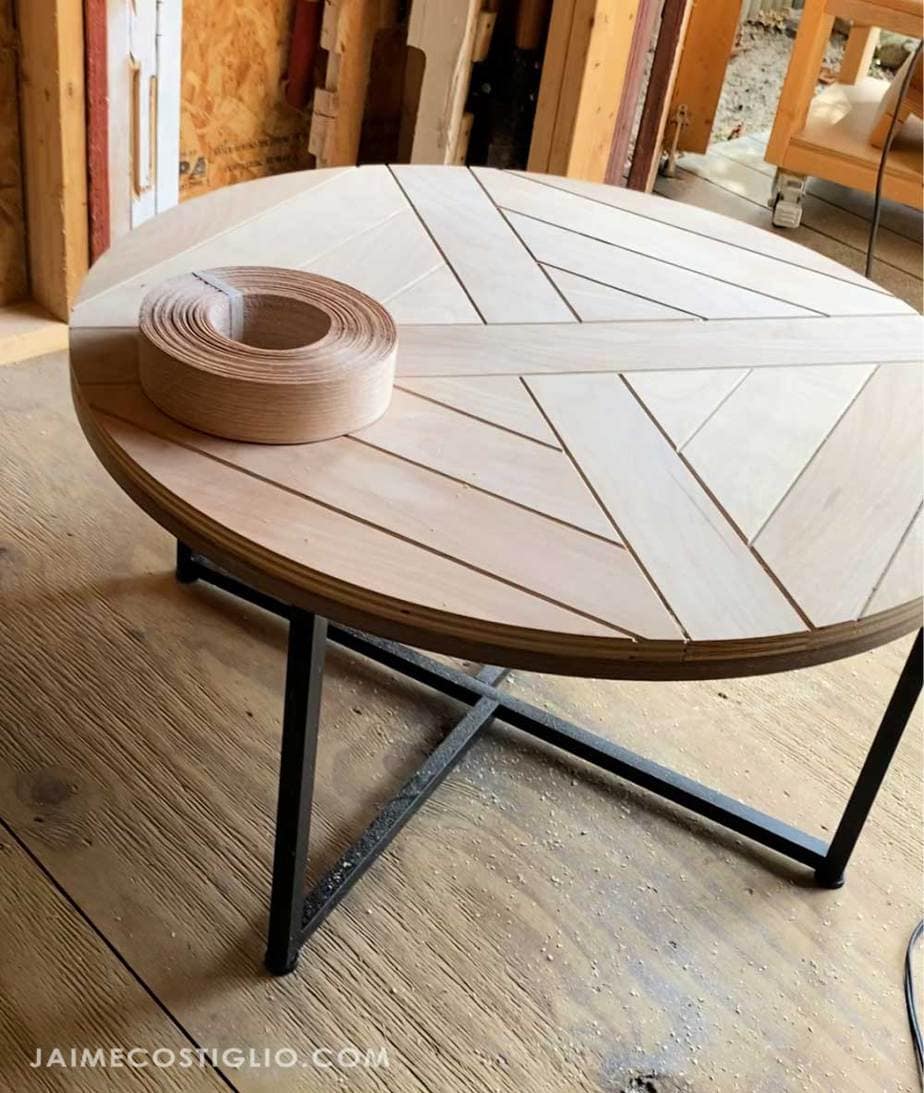
Using a hot iron attach the iron-on edge banding around the perimeter. Let the glue dry and double check to be sure it is melted where the banding meets the plywood. Then trim the excess with a utility knife and sand smooth.
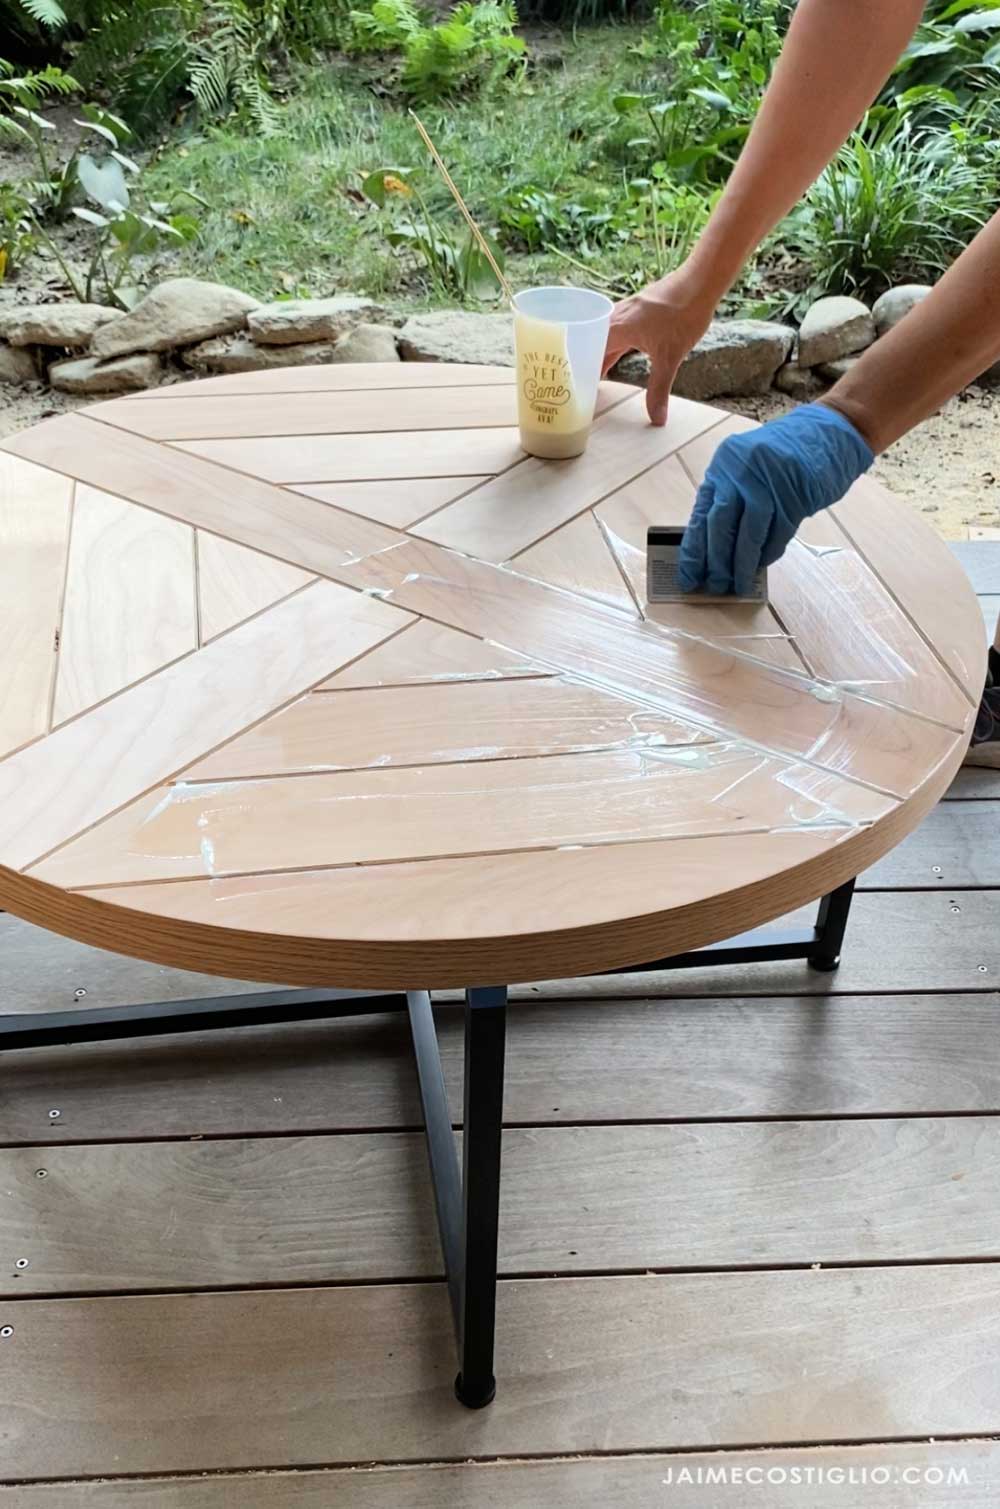
Step 6: To finish apply one coat of Rubio 5% white. Really work it into the grooves and exposed edges of the plywood and also into the grain of the edge banding. Let dry thoroughly and enjoy!
Thanks for joining me for this coffee table makeover project. Please leave any questions in the comments below and be sure to follow me on social media for sneak peeks, tools and project inspiration:
SHOP THIS PROJECT:


nicely done
Simple but beautiful