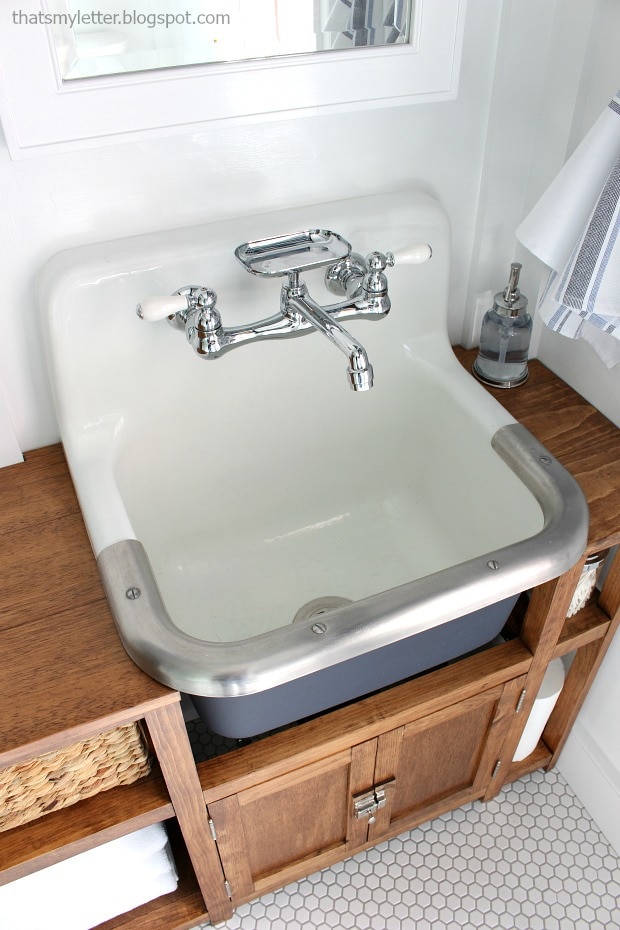
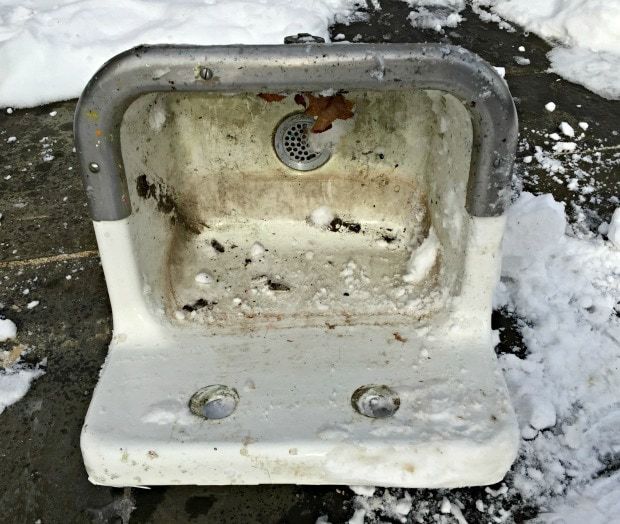
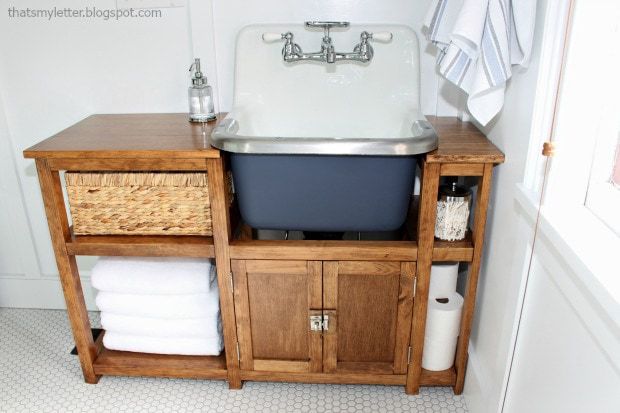
I worked with American Standard to bring you this post. It’s hard to believe but this wall mounted sink was sitting in a junk pile of trash. I nearly shed tears when I saw it all covered in paint and thrown to the curb. But alas it has been rescued and now holds a prominent place in our master bathroom.
A DIY tutorial to take an old cast iron wall mounted sink and give it new life in a bathroom. How to repurpose a wall mounted sink in a bathroom renovation.
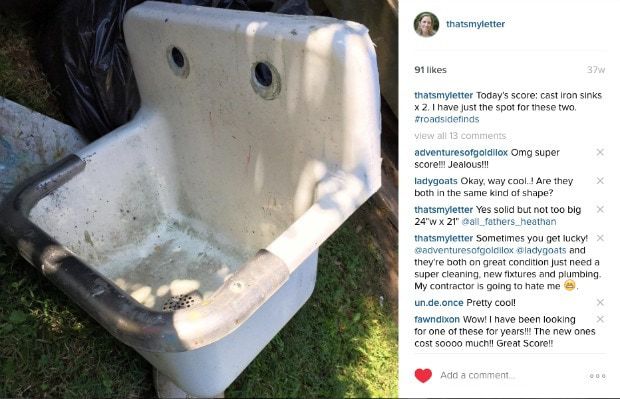
My small master bathroom renovation all started with this wall mounted sink. Finding this sink (plus one more) outside the local art center on a hot summer day was a miracle in itself. If you follow me on Instagram you may recall I posted my awesome find that day.
These two sinks were headed to the dump and I knew I just had to take them home for a new life. So what was once a completely crusty, paint covered, abandoned old sink is now part of our master bathroom.
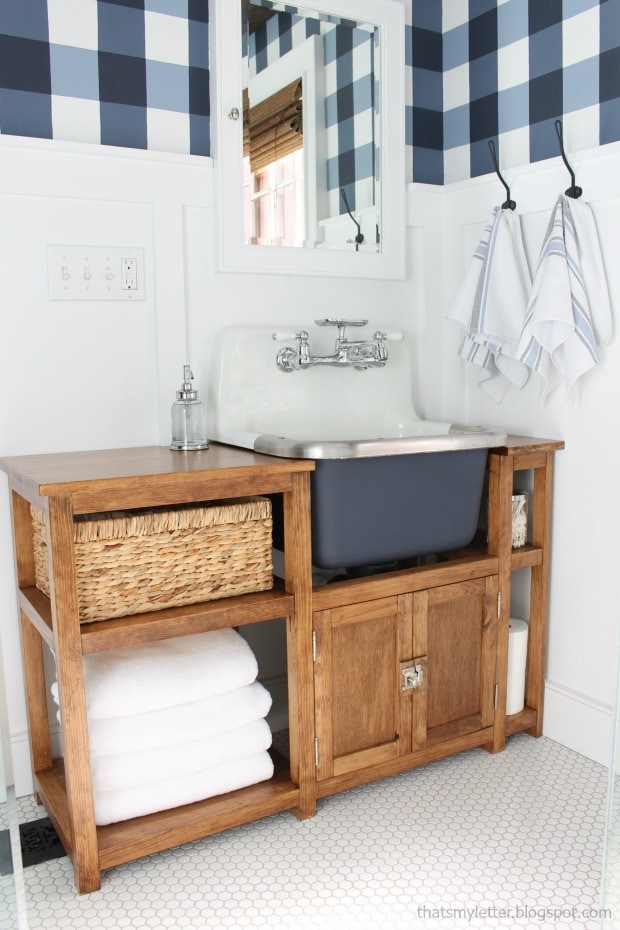
How’s that for trash to treasure! When I envisioned this sink in our bathroom I truly never, ever imagined it would look ‘like it was meant to be’. I also built the wood vanity surround but today is all about the fixtures.
Repurpose Process:
When I first brought the sinks home we stored them outside in the backyard. Covered in grime plus the plumbing trap underneath did not smell pleasant they sat outside for six months in the elements. Then I finally got my act together to make the bathroom renovation a reality. I pulled one sink out from under the snow and began cleaning.
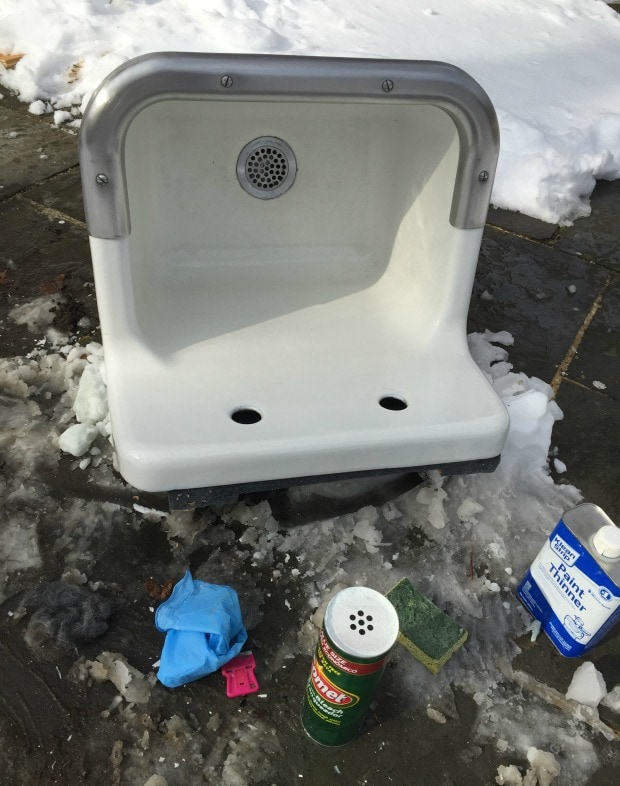
Step 1: Clean the sink. It needed some serious TLC. As a result I used a combination of paint thinner and comet plus a razor paint scraper to remove all of the scum.
Step 2: Once it was cleaned I ordered a new strainer and plumbing trap which the plumber installed before I hauled it upstairs in position.
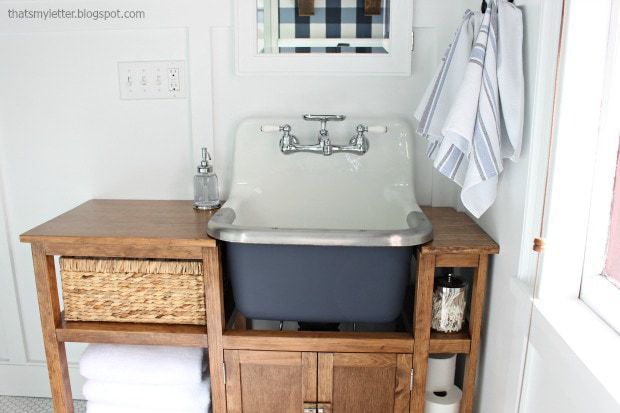
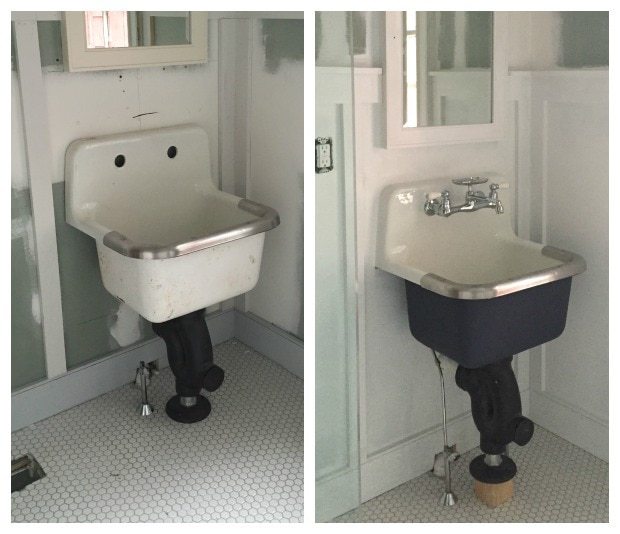
Step 3: We used this wall hanger (there is blocking behind the sheetrock to support the wall hanger) and I had the plumber install the sink at 30″h. I have seen this sink installed only using the wall hanger with a different pipe set up. If you don’t want the pipe stand I suggest to google this sink and you’ll find other alternative installations. We had no choice but to run the water lines through the floor so I opted to use the intended clunky pipe trap knowing I would be building the vanity surround to cover everything.
This sink is meant for commercial use and naturally sits low, about 27″ from the floor to sink opening. Above in the photo on the left you can see in the the natural position with the new trap. And on the right we raised it to 30″ using a 4×4 cedar scrap block.
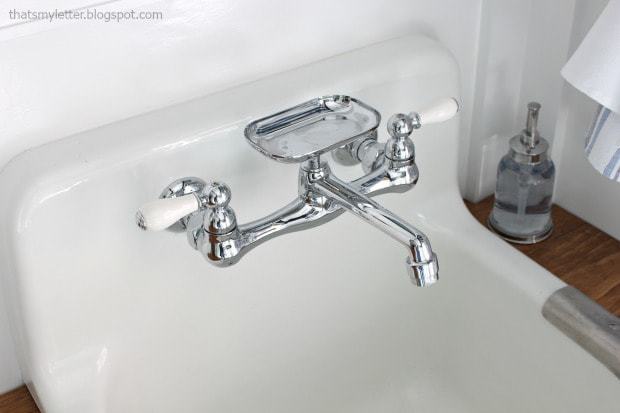
Step 4: The faucet is American Standard Heritage wall mount. There are several options you could use with this 8″ opening but I choose this version.
Toilet:
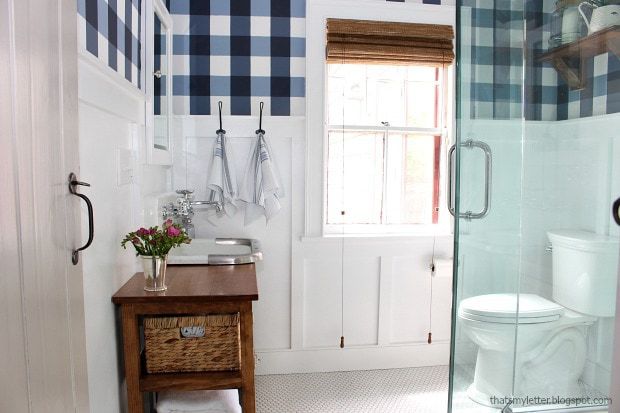
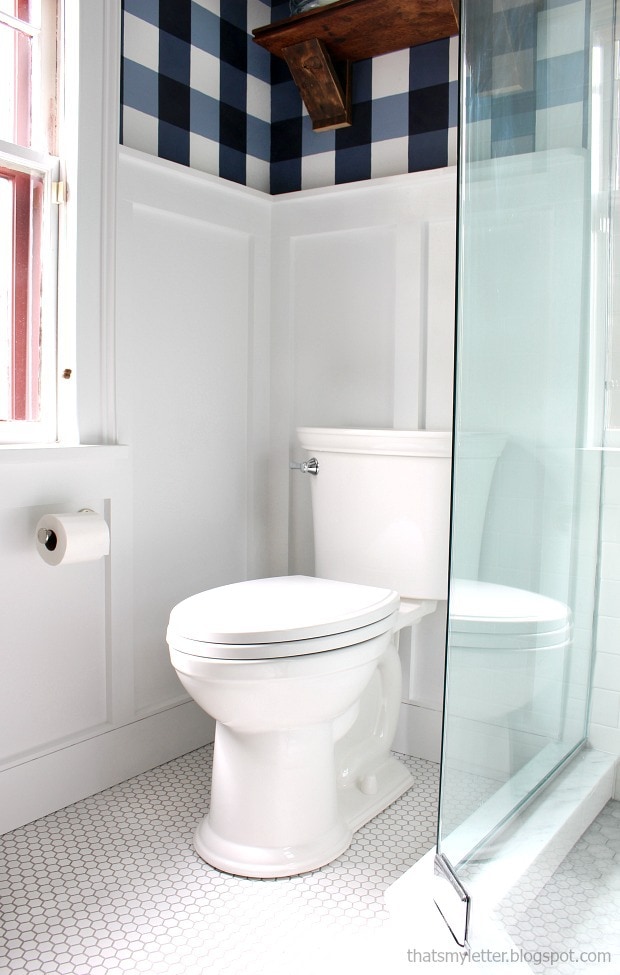
The sink is one of two American Standard fixtures we have in this bathroom. The toilet, which sits directly across from the sink, is also American Standard.
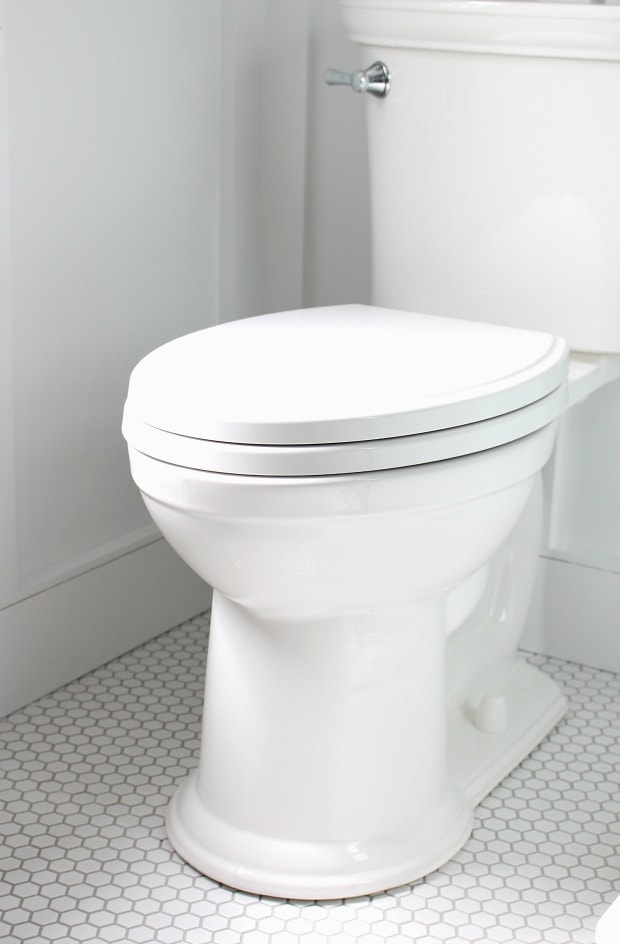
When I got going on this project of giving new life to the wall mounted sink I contacted the kind folks at American Standard regarding a toilet and they were so generous to send me this beauty.
This is the Heritage VorMax Right Height Elongated toilet and it’s a gem. Classic and curvy in all the right places, quiet with a smooth strong flush, I could go on and on. Truly I’m extremely impressed with this traditional style toilet.
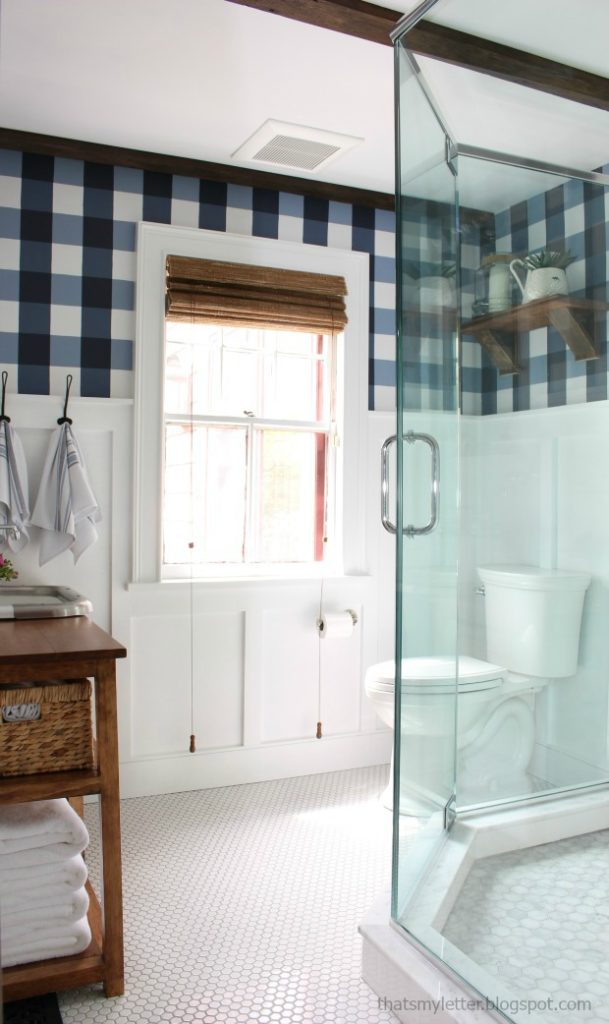
I’ll be sharing more bits and pieces of the master bathroom renovation in the coming weeks, including that painted buffalo check wall design and the vanity build plans.
Thanks for joining me for this bathroom fixtures project. Please follow me on social media for sneak peeks and more project inspiration:
SHOP THIS POST:




What an amazing find!! I love it all. Absolutely gorgeous!
I LOVE IT!!! It reminds me of that sink I scavenged from Tybee, those are great for any sort of farmhouse/rustic/beach shack decor.
GOOD job on all that scum removal, I had to break out the acid. But you know when it's worth it!
Yes the sink from the crusty man I remember! So worth it – to buy new just isn't quite the same.
OMG your bathroom looks SO good! I don't know what I love the most about it… that awesome sink, the cute fixtures, or that wall treatment?! I love it all!
Fabulous restoration project!!!! Congratulations on a (labor intensive) job well done. 🙂
Thanks Nancy. A little elbow grease goes a long way!!
Good for you for having the vision and tenacity! It paid off.
This is fabulous. I can't believe how wonderful the sink looks after you cleaned it up – it looks like new! The metal on the front of the sink is probably my favorite part.
Did you already share the vanity? I love it so much! And I'm coveting that door hardware – I actually foudn something similar for our kitchen. Wondering where you found it?
Ignore my question – I just saw you said you'd share the vanity info in another post. (#badskimming)
I was wondering if you know if the stainless steel rim guard is something you can buy separately? I picked up an identical sink yesterday, very inexpensively, but it is missing that very important piece and I have had no luck finding any info on where I can get just that part. Thanks in advance!
Not sure about the rim guard but may be worth a call to customer service? https://www.americanstandard-us.com/bathroom/commercial-bathroom-sinks/lakewell-cast-iron-wall-mounted-service-sink-17421
I found this same sink at an auction. It has a few chips. I have never repaired porcelain.did you have to repair any chips? Looking for ideas on how to repair my beloved cast iron sink.
Love hearing from others who have the same sink, it’s a beauty. Mine doesn’t have any chips and I’m not sure about repair but there must be some info on the web somewhere. Good luck.
Did you have your vanity made to fit the sink? It fits like a glove!
Hi Krista, yes I built the vanity to fit around the sink. DIY for the win! My plans are here: https://jaimecostiglio.com/2016/05/diy-vanity-for-wall-mount-sink.html
Hi! How did you paint the underneath of the sink? I have looked at both blog posts and don’t see any info on it, am I missing it?
Hi Amanda, I painted the exterior of the sink after it was installed and before I installed the vanity. It’s the same middle shade of blue that I used on the walls.
What, if any, do you use to plug the drain? For instance, if I’m rinsing out a swim suit…
BTW, we LOVE the sink AND your whole bathroom! We actually already have the same toilet! It’s our 1/2 first floor bathroom…
Thank you SO much for sharing this!!!
Terri Neby
Thanks Terri, so wonderful to hear kind words. And happy to meet a fellow toilet owner!
Hi Terri, I never use a plug for this drain but you could use a cup or bowl flipped upside down or one of those flat plastic rubber circles they sell for opening tight can lids. I’ve used both on a old kitchen sink before and they worked fine there.
We’re going to order the same utility sink as you show but am trying to a find faucet to fit. Any recommendations &/or where did you get that one?
Hi Terry, the faucet is here https://www.americanstandard-us.com/kitchens/kitchen-faucets/heritage-2-handle-wall-mount-kitchen-faucet-with-soap-dish-16617 I believe American Standard makes a few different styles in the Heritage line that will work for the Lakewell sink. Good luck!
Guess what? I found the exact same faucet on Wayfair for $269.10…
Did you clean the bottom of the sink the same way before you painted it? What paint did you use? Thank you!
Hi Jana, I’m guessing you’re asking about the exterior of the sink? I just wiped it down with a sponge then painted using the Benjamin Moore flat wall paint (the exact same paint that’s on the walls in the middle blue tone). I hope that helps.
Hi Jaime!
So I’m curious what you did with the other sink. Also, can you describe how you blocked behind the drywall? I have the same sink and would like to lose the floor trap, but we have plumbing in the wall behind the sink. I want to make sure I block before I install drywall, so I can get a fancier trap.
Hi Shalonne, I still have the other sink and desperately hoping to use it in a laundry room makeover. In regards to the blocking, I didn’t take a photo but I do remember they added a 2×6 blocking in between the studs flush to the front. Good luck with your sink!