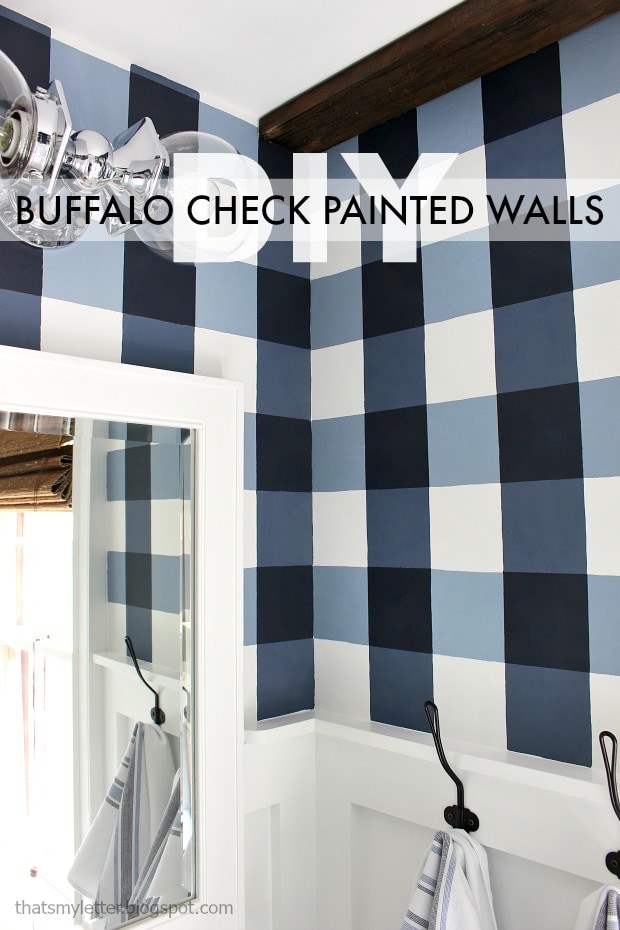
Thank you Benjamin Moore for sponsoring this post. I took a giant leap and painted the master bathroom walls a large navy and white buffalo check pattern. Thank you to all my Instagram friends for encouraging me along the way. I questioned my decision mid-way through the process but your positive feedback helped me finished the job. So today I’m sharing exactly how to achieve this painted buffalo check pattern wall treatment.
A DIY tutorial to paint a buffalo check pattern on walls. How to create an accent wall using paint and a buffalo check pattern.
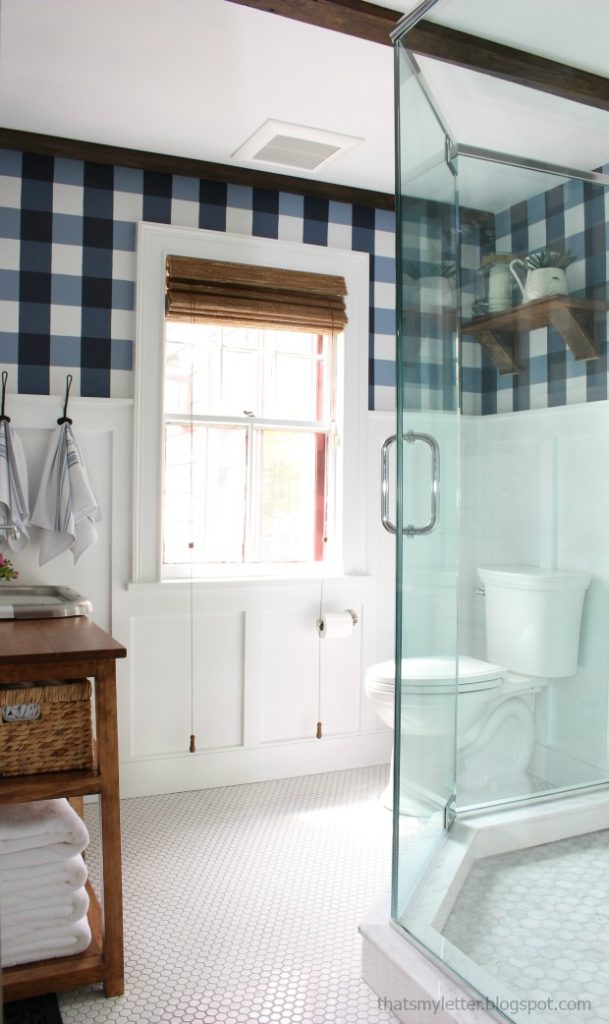
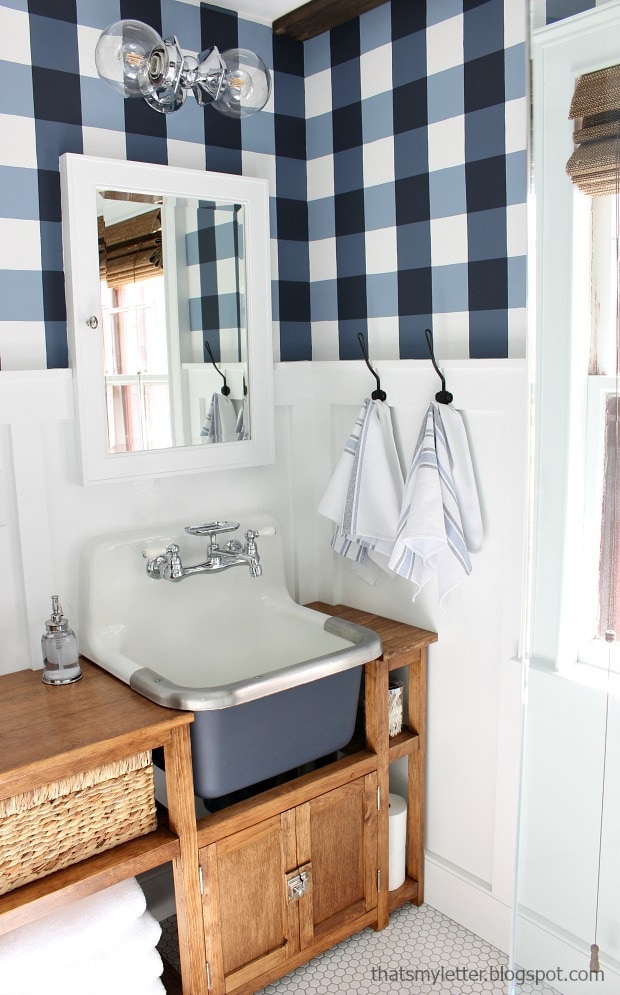
First off this is definitely NOT wallpaper. But it does get mistaken for wallpaper every single time I share a photo. This is a 4″ buffalo check pattern hand painted on the walls. It’s definitely a statement wall treatment and I’m totally smitten with the results.
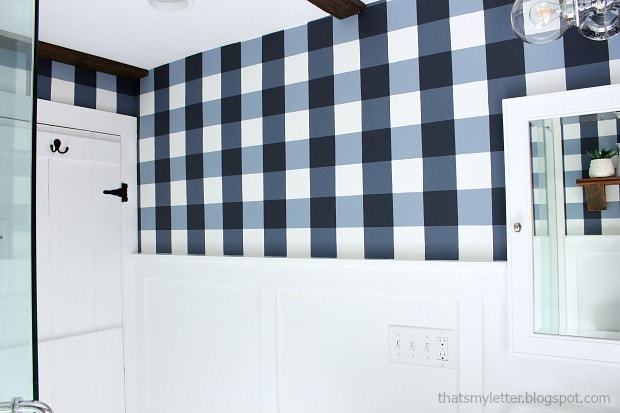
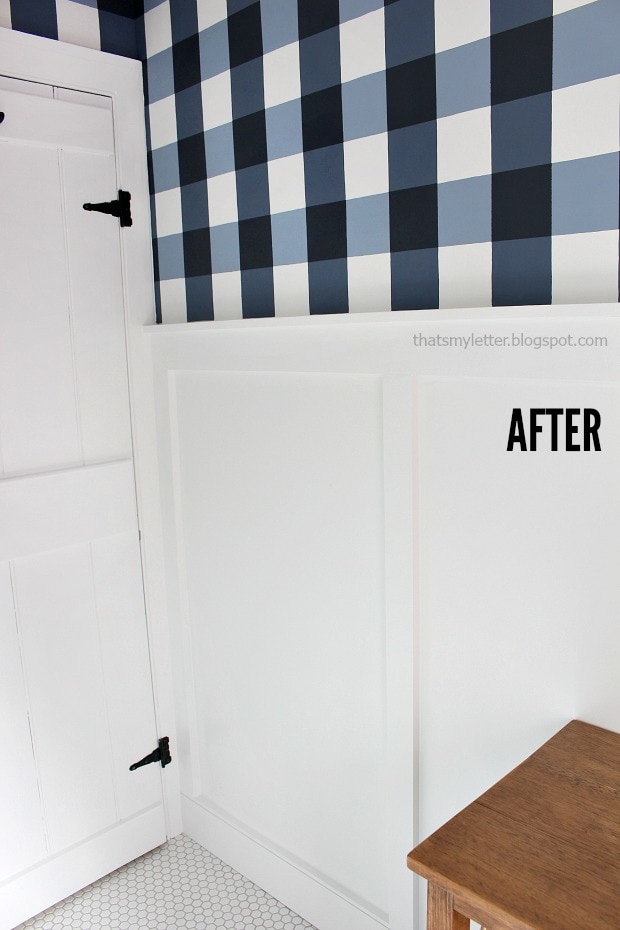
The painted buffalo check pattern on the upper walls with the white board and batten treatment on the lower half is heavenly.
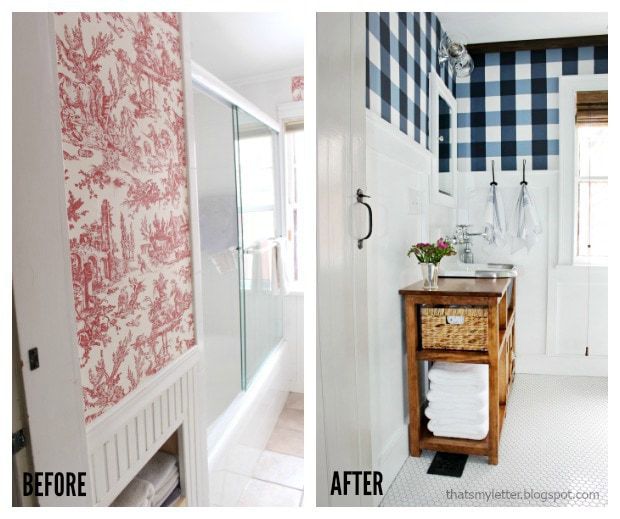
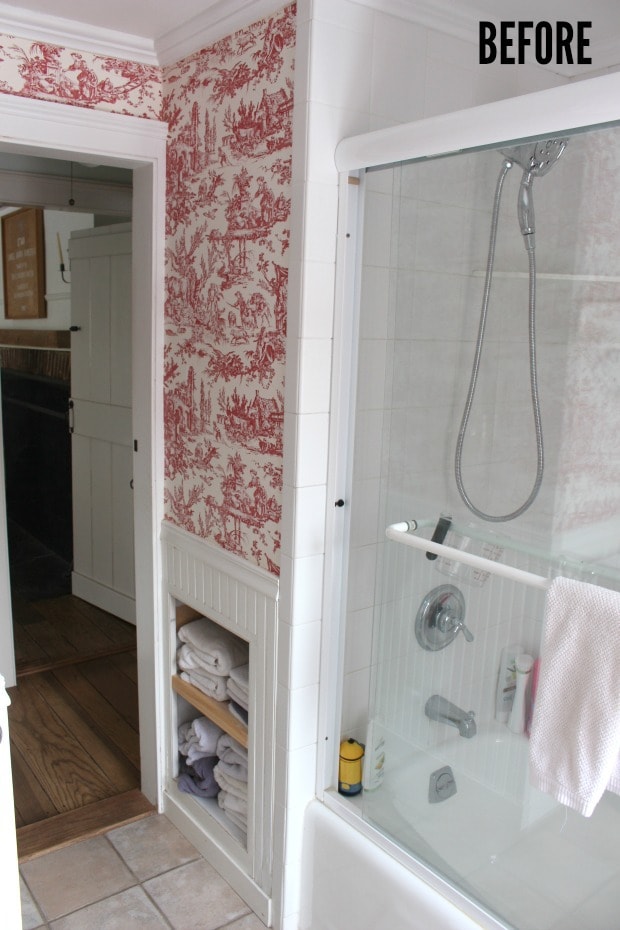
Before:
We completely gutted the master bathroom, removed a hall linen closet and bathtub in order to make the bathroom bigger and incorporate a walk-in shower. Originally the bathroom was very small and tight with an unusable bathtub because the pipe was leaking at the diverter.
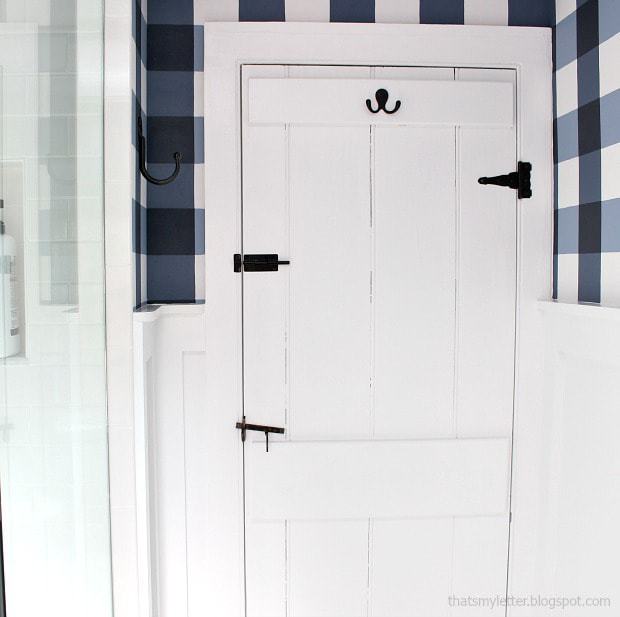
It’s hard to tell from the picture above but the old linen closet on the left became the new bathroom entrance and we even used the same closet door. The window is in the same spot for reference but everything else is new.
But let’s talk about the walls because this post is all about how to paint a buffalo check pattern. I was inspired by the fabulous girls over at Classy Clutter, they painted an accent wall in their office with a 6″ black and white buffalo check pattern. I knew I wanted to apply this design element to the bathroom. And because it’s a small space I only had to worry about the wall portion above the board and batten.
It’s just enough gingham to tickle your heart but not overwhelming. Mostly because there are so many other white and neutral elements to balance the buffalo check pattern.
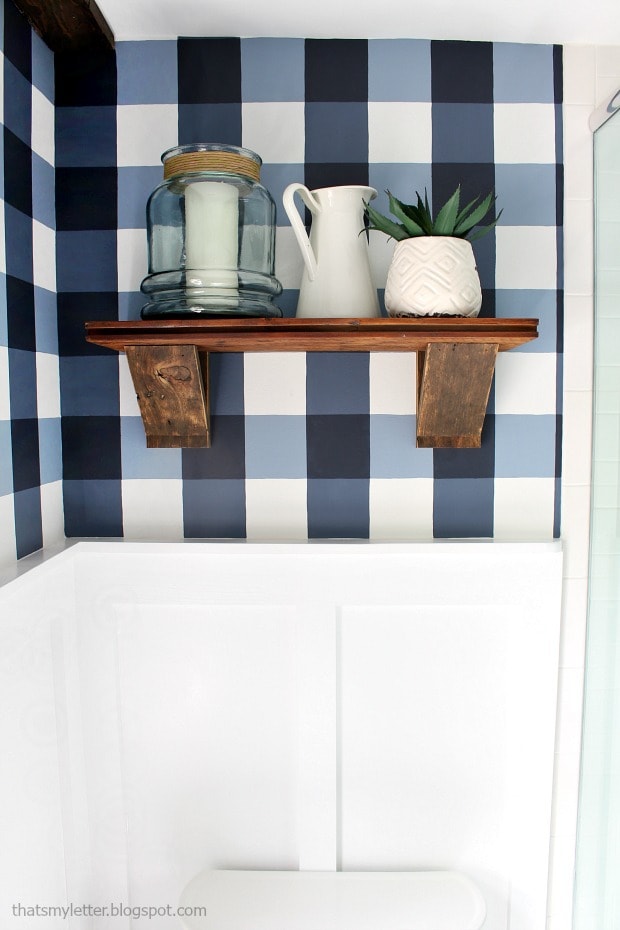
Wood Shelf:
You can be certain those are just photo props on that shelf. Normally we store hand towels and a basket of extras up there. The shelf itself is an old floorboard from a friend’s house. When she was ripping them out she offered me the boards and I happily said yes. We also used the floorboards on the ceiling to make beams by ripping them down to 4″ widths.
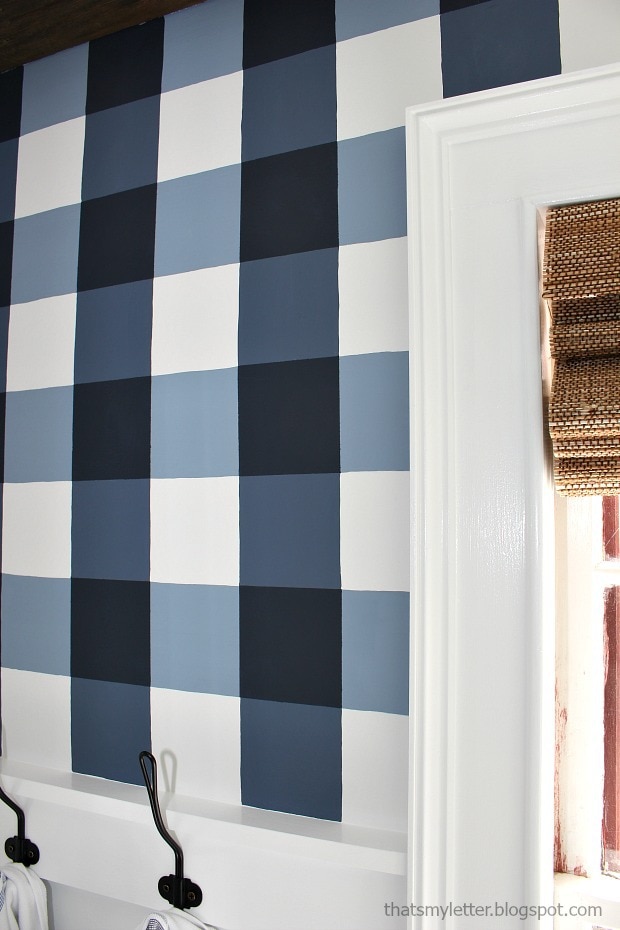
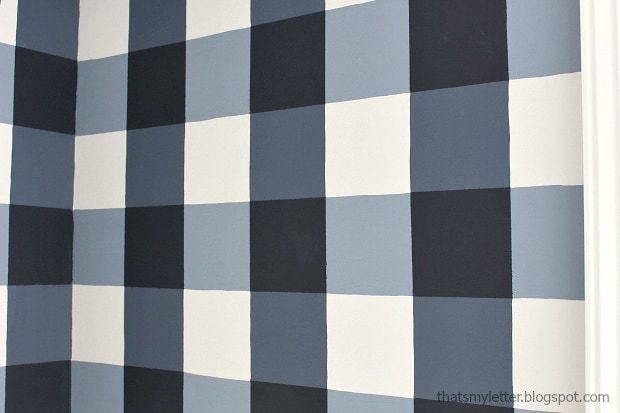
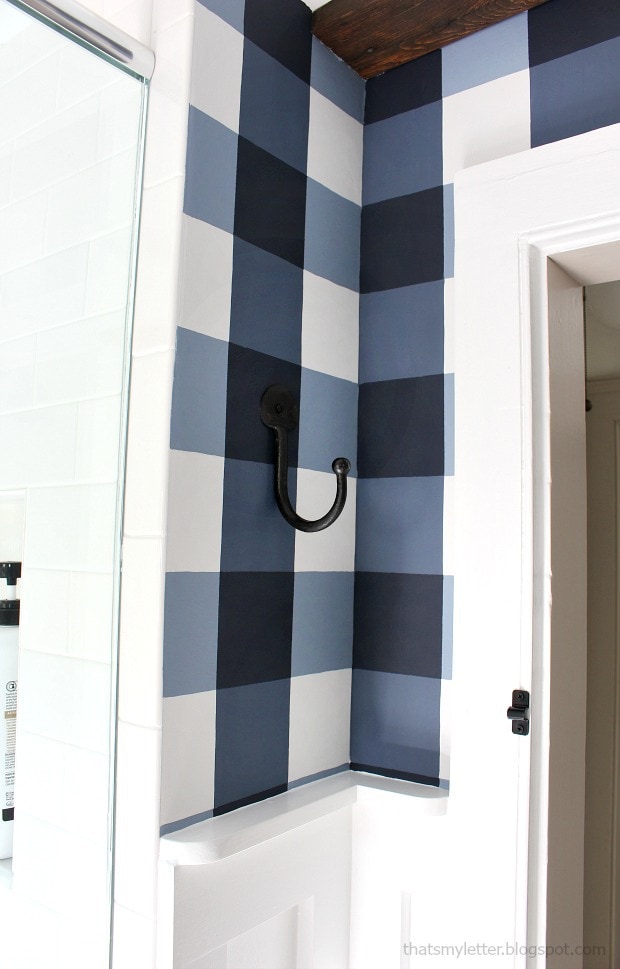
This detailed shot of the buffalo check pattern shows the handpainted nature. I did use painters tape on the last step to get that center square perfect. But I really enjoy painting without tape and to be honest I don’t like the harsh edge of the painters tape.
Above in the BEFORE photo is the closet that we removed (behind the tile wall).
Now that space is the new entrance and visually so different.
Painting Process:
Now let’s move on to the painting process. Please be sure to read through all steps and choose your paint colors wisely. But remember it’s just paint so you can always paint over.
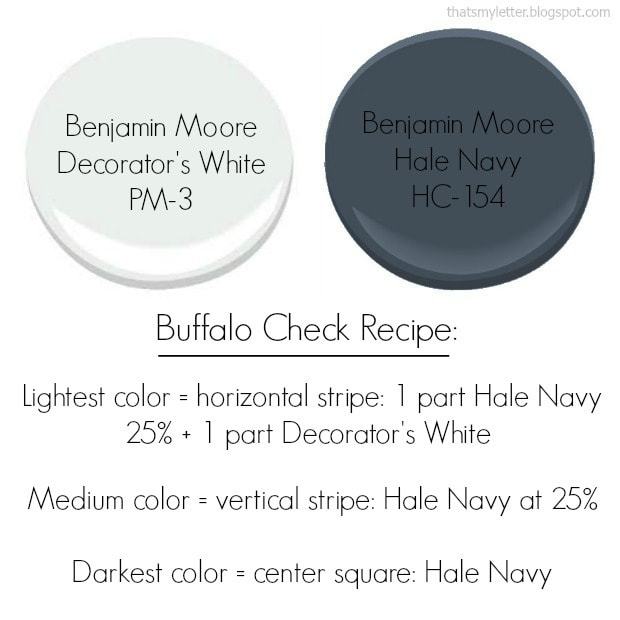
Below are the paint details I used for this specific buffalo check pattern:
This recipe will all make sense after you read through the steps below.
Recipe:
- light = horizontal stripe
- medium = vertical stripe
- dark = center square
Basically you need 3 shades of the same color: lightest, medium and darkest. The easiest way is to do this is lighten up your darkest color to ensure matching tone. You could also pick 3 colors from the same paint swatch stick.
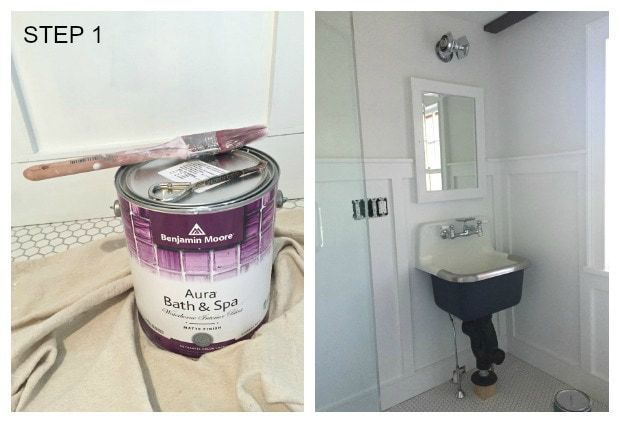
Step 1: Paint the walls a base color. I used Benjamin Moore Decorator’s White Aura Bath & Spa in matte finish.
The Aura Bath & Spa is paint and primer together so just cut in and roll on two coats and you’re good to go. Bonus this line of paint is specially formulated to resist mildew growth in humid areas like bathrooms and spas.
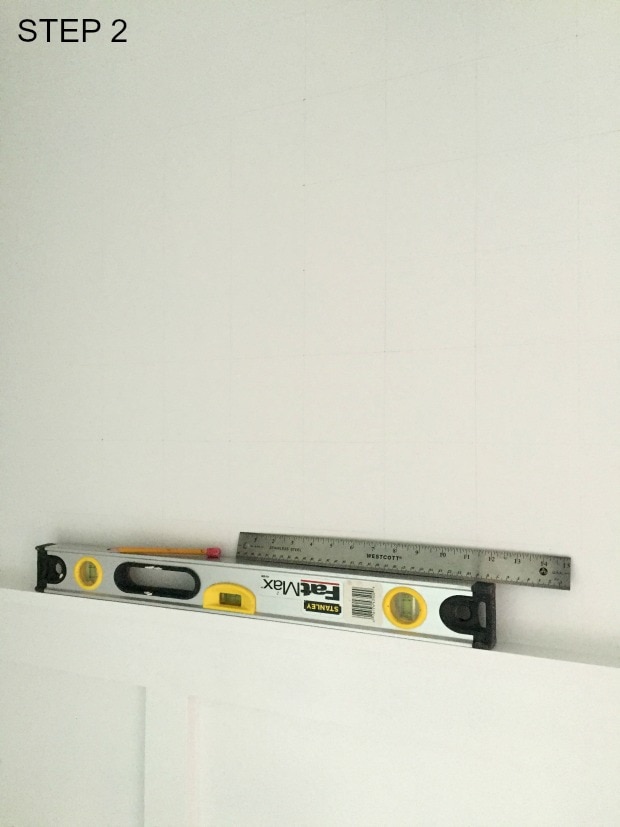
Step 2: Draw the pattern. Use a metal ruler and level
 and mark lines spaced 4″ apart vertically and horizontally to make a bazillion squares.
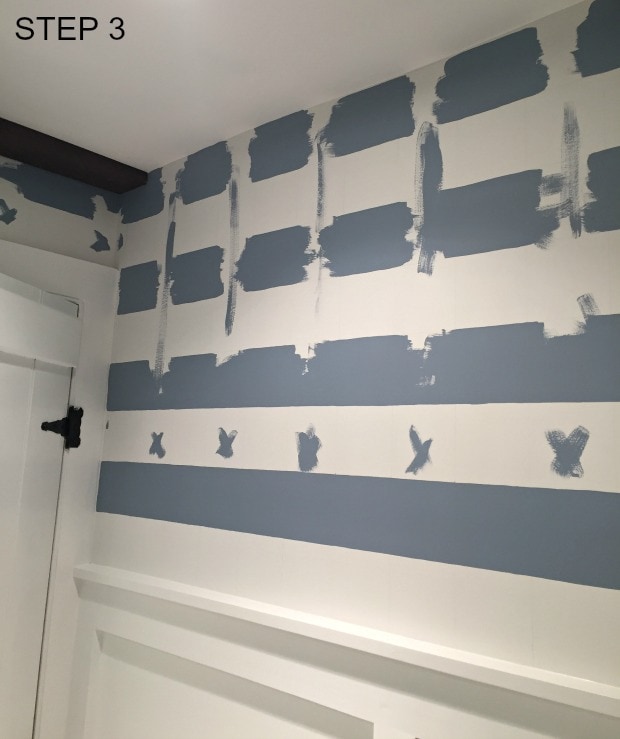
Step 3: Using an angled paint brush paint the horizontal lines in the LIGHTEST color. Here I used Benjamin Moore Aura Bath & Spa in a mix I made of (1) part Hale Navy at 25% and (1) part Decorator’s White.
Step 4: Paint the vertical lines in the MEDIUM color. I used Benjamin Moore Hale Navy at 25%.
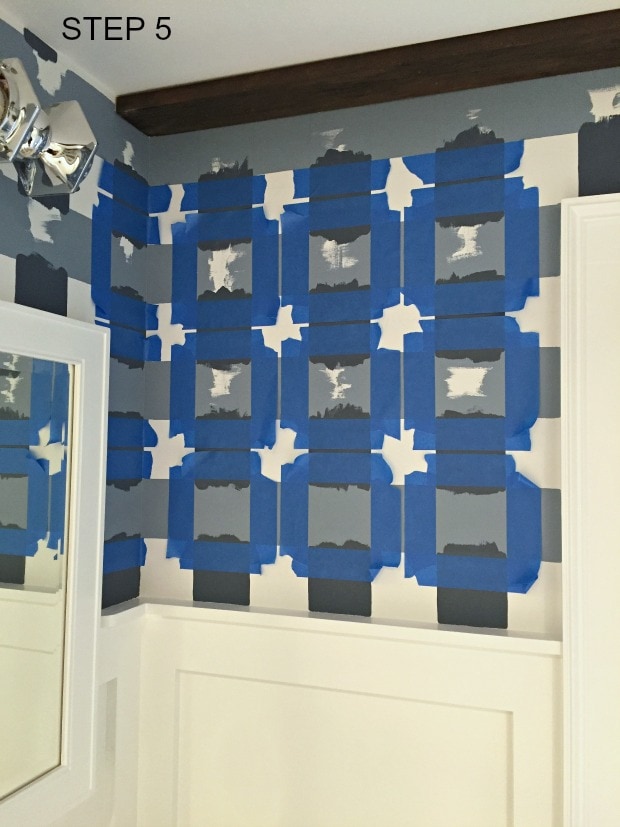
Step 5: Tape off the center square where the vertical and horizontal lines intersect. Inside these squares paint the DARKEST color, Hale Navy.
Remove the tape and step back, the pattern will come to life before your very eyes and it’s amazing!
Thanks for joining me for this buffalo check painted walls project. Please follow me on social media for sneak peeks and more project inspiration:
SHOP THIS PROJECT:




Jaime, this is over-the-top gorgeous. I LOVE it!
This is so fantastic!! I am loving the large scale buffalo check anyway, and this wall treatment is a perfect way to showcase it… thank you for the tutorial. I have a question: so i really need 3 actual paints, right? The white, then Hale Navy mixed regular, but then i also ask the paint counter for Hale Navy mixed at 25% strength? Is there not a way to achive that color by just mixing with the white? Sorry if that is a silly question, i really think i might like to attempt this, and i want to be clear…. THANK YOU!!!
This looks amazing Jaime. Fantastic job!
I love everything about your grown up bathroom, sink, vanity, and walls!!! Your buffalo check walls are so awesome.
You did such a great job — and I love the whole space. It feels classic, comfortable and warm — yet still modern. Love it!
This "wallpaper" still blows my mind! The end.
I love this as well, but not sure I understand that paint formula either. Do I do the mixing or do I make these request at the paint store and they'll understand?
So very gorgeous!!!
LOVE! attempting this weekend. how long did this take you??
Hi Jaime, I’m a painting novice so I’m just wanting to clarify the “Hale Navy at 25%”… does this mean you lightened it by 25% or 75%?? Thanks!!
Hi Valerie, it’s 25% hale navy, 75% base (white). So 1:3 ratio to get the lightest shade. Hope that helps.
Hi Jaime, I apologize if this is the same question. I understand how you got the lightest color but now I’m confused about the mid color. Hale Navy at 25%. Maybe I’m thinking to hard and making this more difficult but isn’t that the same mixture as the lightest? How are you making Hale Navy only 25% without mixing it with white? Thank you.
Hi Mindy, For the Hale Navy 25% you mix in 3 parts white to 1 part hale navy. I hope that helps. Truly I wasn’t very exact about the whole mixing process during the project, I just estimated in a empty container using about 1 part navy and then 3 times as much white then stir. Happy Friday!