A wing chair makeover using drop cloths:
This project has been sitting in my mind for quite some time.
Total cost for this makeover = $33.
And I did two chairs.
I purchased 3 drop cloths for $10 each and a fresh pack of staples for the staple gun.
Definitely worth every penny.
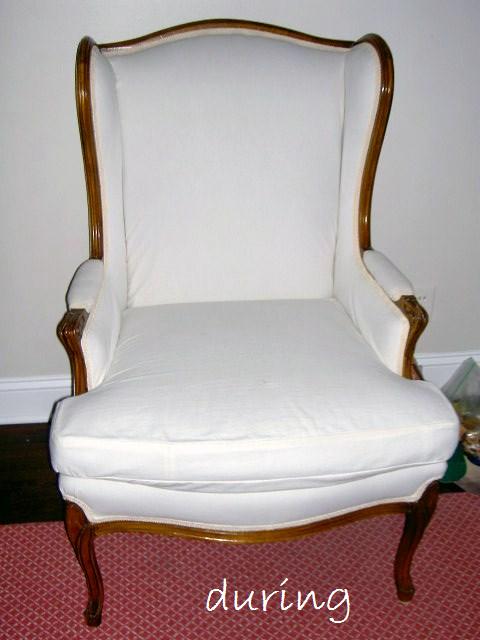
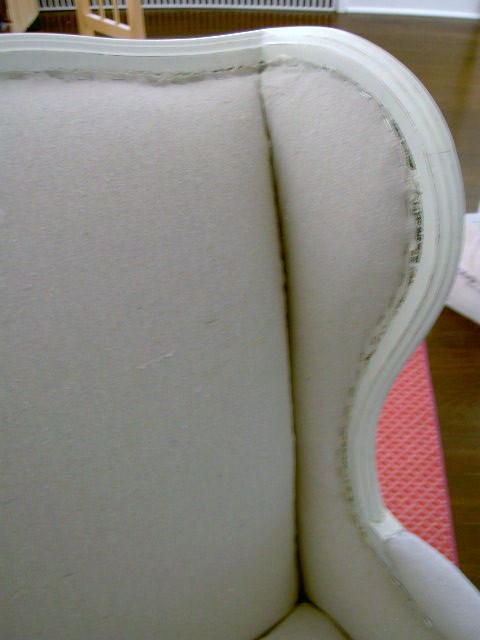
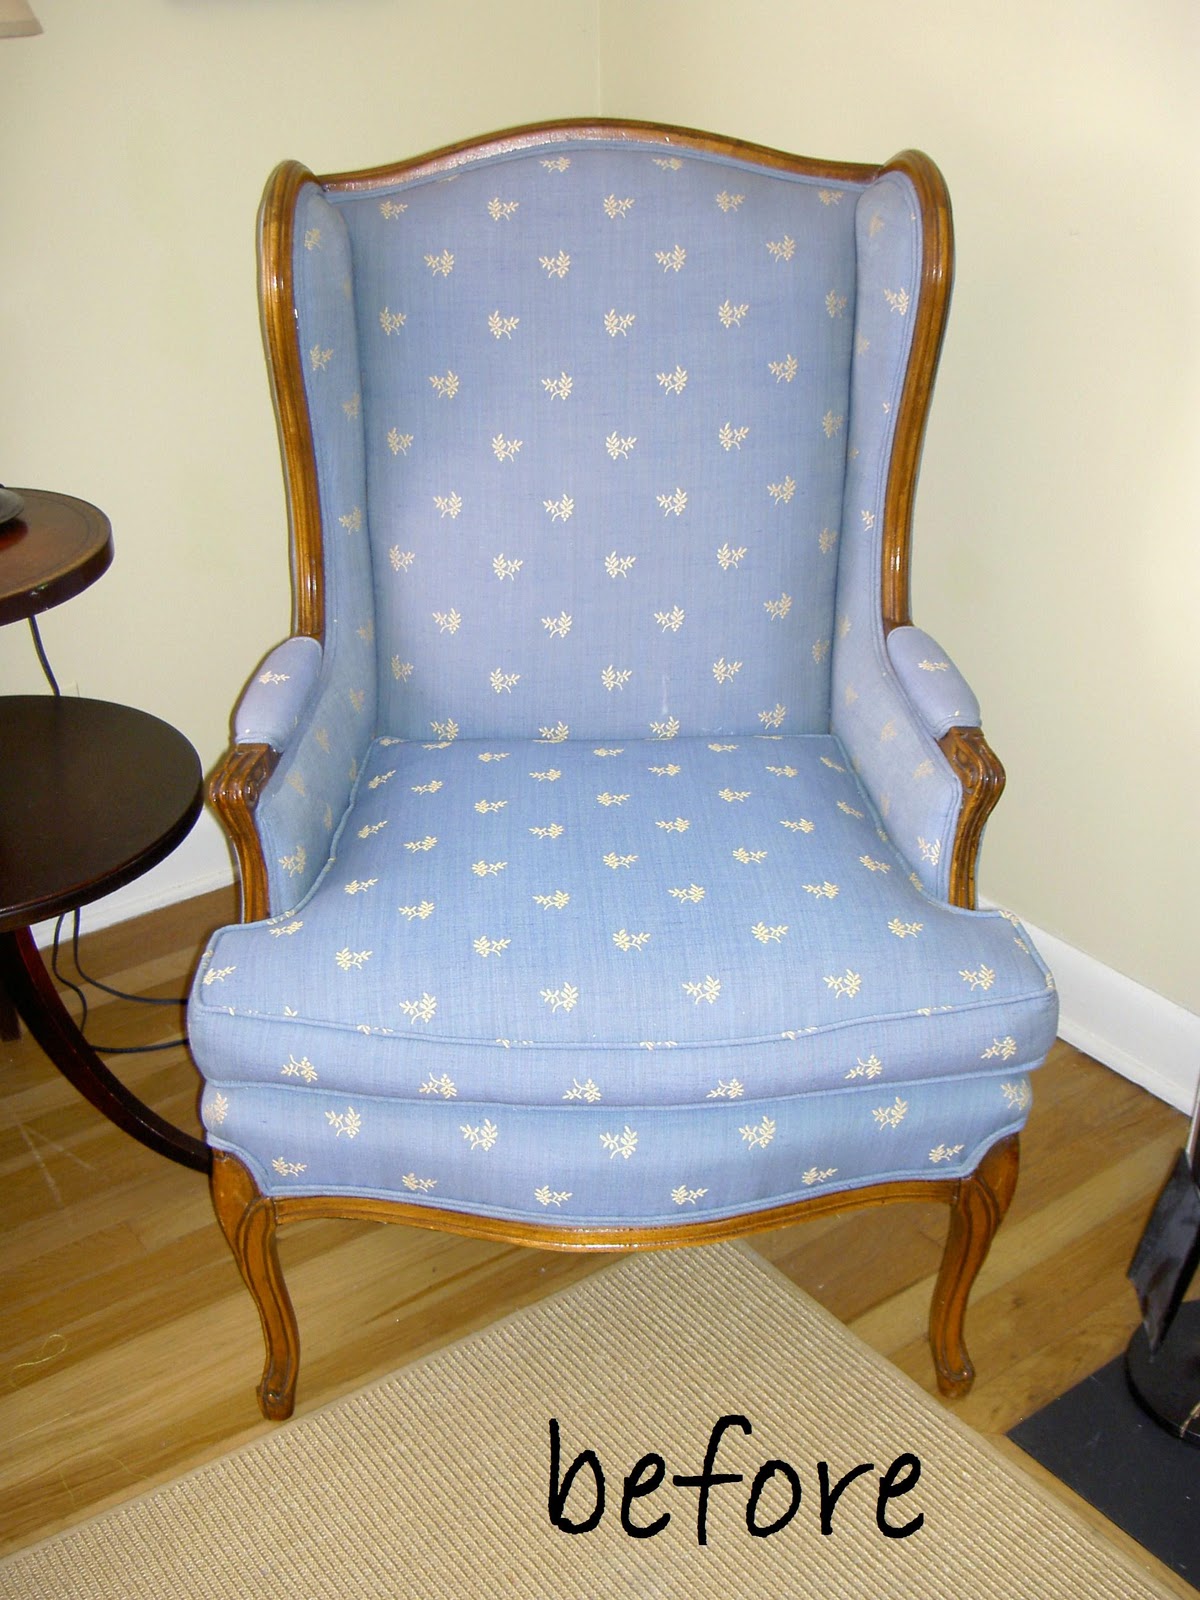
The before shot:

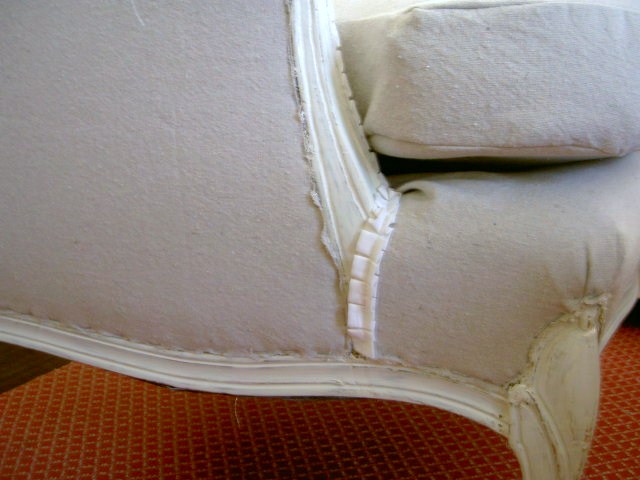
The during shot:
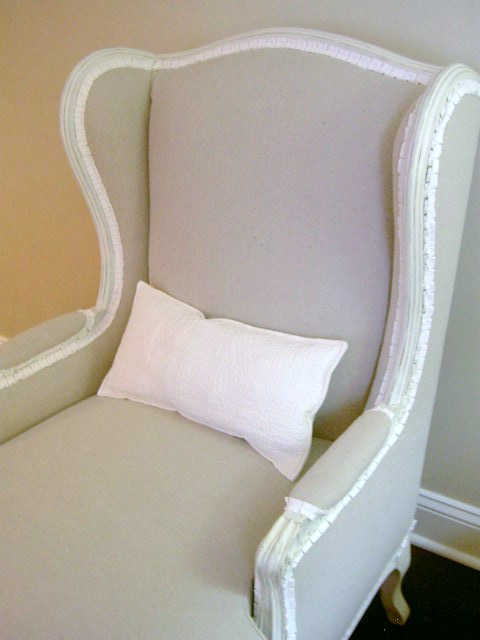
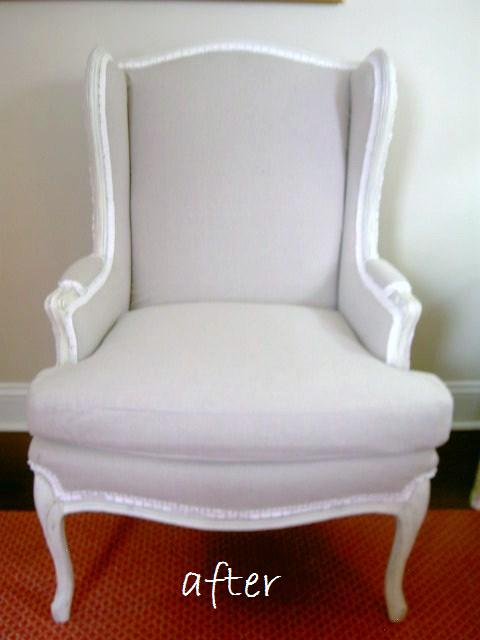
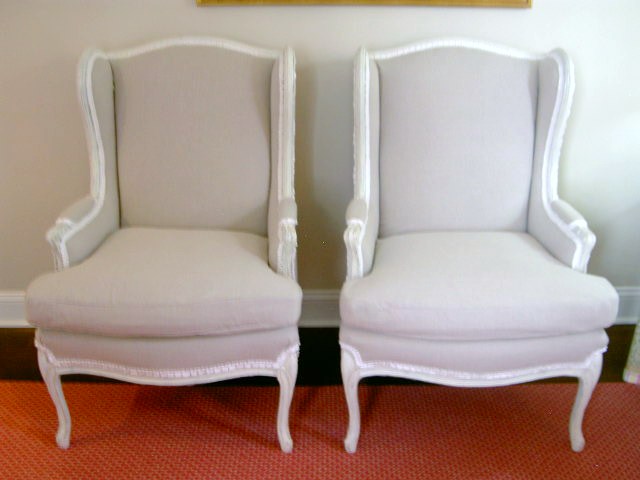
The after shot:
See the latest updated version here! Third time is the charm.
Here’s how I did it:
I removed all the existing tape and sanded the wood trim.
(I never even moved the chairs out of the room for this project.)
Then I painted the wood (Behr Off White Semi Gloss) two coats.
(I never even moved the chairs out of the room for this project.)
Then I painted the wood (Behr Off White Semi Gloss) two coats.
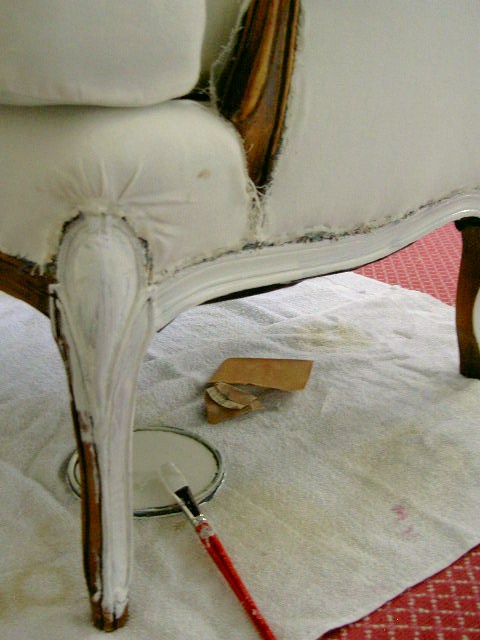
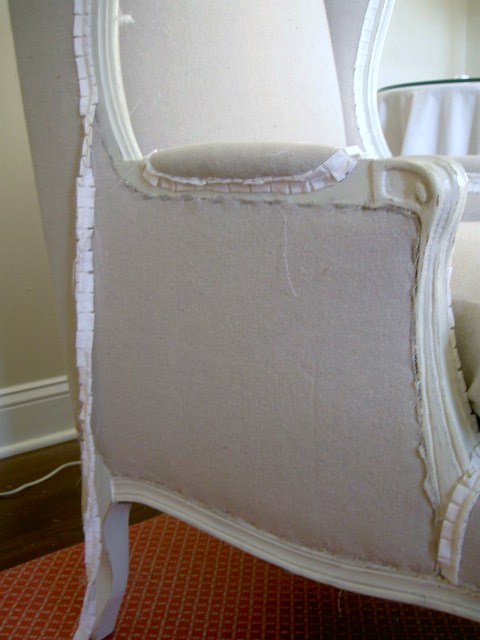
I lightly sanded the paint to give it that worn look and started stapling on the drop cloth:


All fabric on and ready for trim:
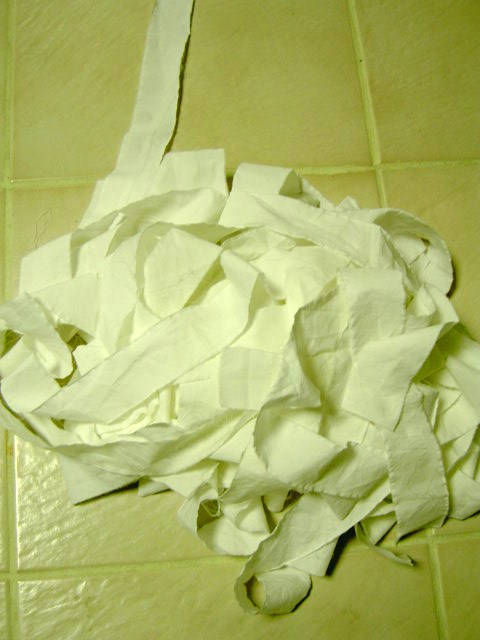
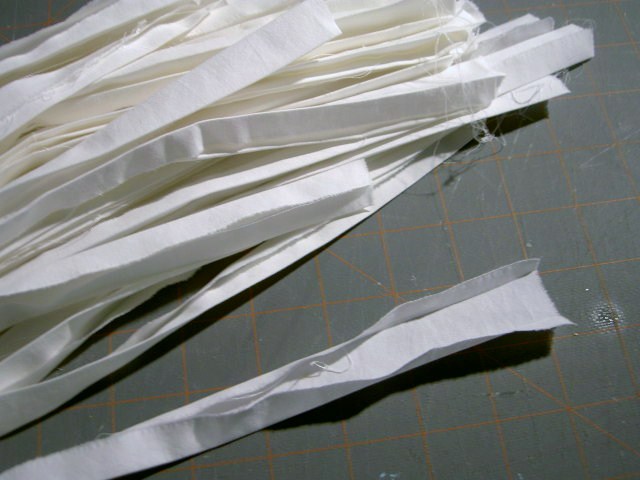
For the trim I used an old white sheet and made long strips:
Ironed the raw edges inwards to make a thin (about 1/2″ wide) strip:
And sewed down the middle on the front side as I pleated the fabric:
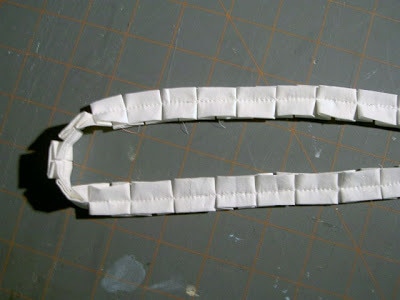
Time consuming – YES! But worth every minute because I got the look I wanted without spending a dime.
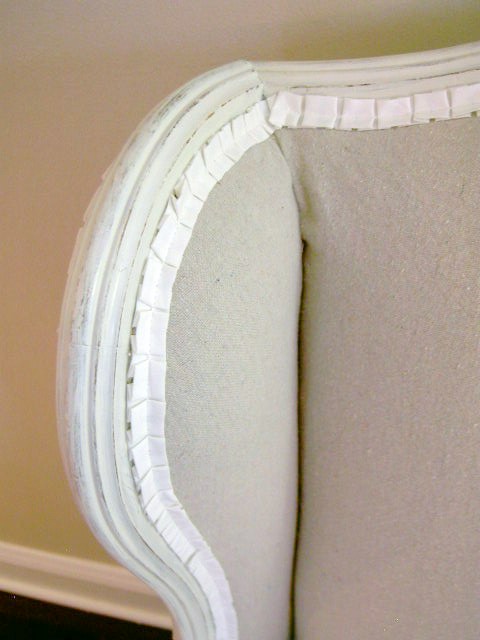
I knew my trim would need to be glued on and finished on all edges.
I used a hot glue gun and started gluing the trim on:
Back view

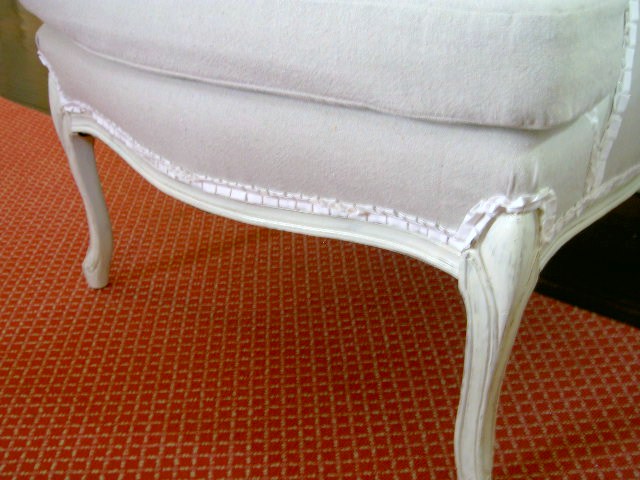
Loving the legs
The cushion is covered like a pillow and can be removed for washing.
See the underside has an overlapped opening.

Both chairs all freshened up
Detail of woodwork and trim:

Can we get a side by side?
A whole new look at a minor expense, that’s my kind of project.

My word…this is fabulous!
You did a super job!!! Those chairs do not even look like the same chairs!! Keep up the great work.
"W" is for wonderful! And well done!
Wow, wow and wow. I love these chairs. You let me know if you ever get tired of them, ok? 🙂 Great job and thanks for linking up.
What a total transformation! You did a great job on the trim. Worth every minute! Beautiful!
GREAT job! Love them. Especially the pleated trim.
Oh my gosh I LOVE it! Would you mind telling me how you sewed that cover for the cushion? I have always wanted to recover a chair, but I'm imtimidated!
Love it! Those turned out beautiful and you can't beat the cost. Great job!
They are gorgeous!!!! You did an amazing job!
You did such an awesome job on these! I love the idea of doing the cushion with the overlapping closure instead of having to add a zipper! Thanks for the step by step instructions too!
Kim:)
Beautifully done.
I appreciate that you upholstered them rather than making a complete slip cover, which still elude me.
The trim is like the perfect pearl necklace with the perfect little black dress.
"W" is for wow! They look great! I just love the color of the drop cloth with the white trim. You did such a great job!
Wow is right! I love these and have a chair in the garage I think I just might get started on this weekend! Thanks for the inspiration!
Your new chairs turned out amazing! Although that a lot of ruffle sewing! Great job!
Theresa
aka:tot
Well, that's one of the best before and afters I've ever seen! I too am obsessed with pleats and ruffles. Such detail for little money! Wonderful job! I just started a blog, would love you to stop by! So happy I found yours!
http://www.meandjilly.blogspot.com
Thanks!
jilly
What a fabulous makeover! I adore the trim.
You did such an amazing job! I'm bookmarking this for reference!
Gorgeous! I love the makeover. Good job
Shannon
http://www.akadesign.ca
Soooo classy! I love wingback chairs and I'm always impressed with people who can reupholster furniture; looks really scary to me!
http://downonsanford.blogspot.com/
These are fantastic! I love the trim, so clever and no one would ever know that it was made from old sheets. What a clever and thrifty makeover.
http://www.LittleMissPennyWenny.blogspot.com
Thanks for sharing these with me Jaime! OMgoodness you did a great job! I will definitely be sharing these.
Enjoy your weekend!
-Rene
Love the chairs!! I have a wingback that I want to do something with this winter. You've given me a great idea!!!
Those are amazing! I'm so inspired. I love the look of your drop cloths. Can you share where you bought them? How many did you need for the two chairs? Thank you so much for the pictures and the information!! Amanda
http://www.dixiedelights.blogspot.com
That looks great!
Amanda, The drop cloths are from Home Depot and I used just over 2 of the 9' x 6' size.
Jaime
Oh my! Everybody else is right! This is so gorgeous and the pleated trim is just phenomenal! I love it! It's getting bookmarked right now so I can come back and visit it all the time. Just amazing!
Amazing, and only $33.00? Wonderful job on them!
Wow! What a transformation! I would have never thought of using drop cloths to re-upholster a chair! It looks amazing!
These chairs look fantastic. Seeing you do this makes me really want to try reupholstering something of mine.
Classy looking chairs. Interesting trim at a great price!
I think that trim is wonderful! I will definately be using that idea. The chairs are super!
Amazing! I wished you lived closer and I would hire you in a red hot minute to do my two chairs. I love the drop cloth, but the trim makes the chair! I have down some recovering but I can't do the sewing part…
:)Heidi
Your chairs are beautiful! I especially love your creative pleated trim!
~Amanda
I am at loss for words! This is stunning…I am on the hunt for me some wingback chairs just like that!
Great job!
BEAUTIFUL!
I see that Miss Mustard Seed already put first dibs on them darn it! These are so unique and beautiful, just love them.
I love it and I am way jealous and inspired! Great job.
Visiting from Better After, and I'm totally in LOVE with those chairs!! Such a beautiful idea!
Oh I love this… such a good job! *pats on the back* You are inspiring me to do something similar!
My style to the T! Thank you for inspiring me, now I'm off to find a wing back chair! 🙂
this is one of the most fabulous make overs i've ever seen! my only question is how you sewed the cushion so well? you need to post a tutorial!!!!
That is awesome!! I have an antique chair I've been pondering how to upholster—you've inspired me!
That's incredible! Most people would be too scared to even have ago much less improvise with the trim. Fatastic job.
Visiting from Addicted2Decorating and now following :o)
Angex
Beautiful!!! Where did you get the drop cloths for $10?
Wow, that's impressive! Awesome job!!
That is amazing! I love the simple pleated trim. I'm sure it was time consuming, but it gives the chair such an unexpected touch of boutique flair. I am extremely impressed.
You are so brave… these chairs turned out beautiful
Those are ABSOLUTELY amazing!!!! Thanks to you, I will now think twice about "ugly wingback chairs" on craigslist!! 🙂 thanks for sharing!!
visit me over at southernnessandsassafrass.blogspot.com
Oh my gosh…. I have a wing chair to slipcover… I so wish it was like yours…. these are YUMMY!
Warm blessings,
Spencer
PS… thanks for the tip on the pleated trim. I'll be doing that on something soon.