Craft: WANTED sign party invitations
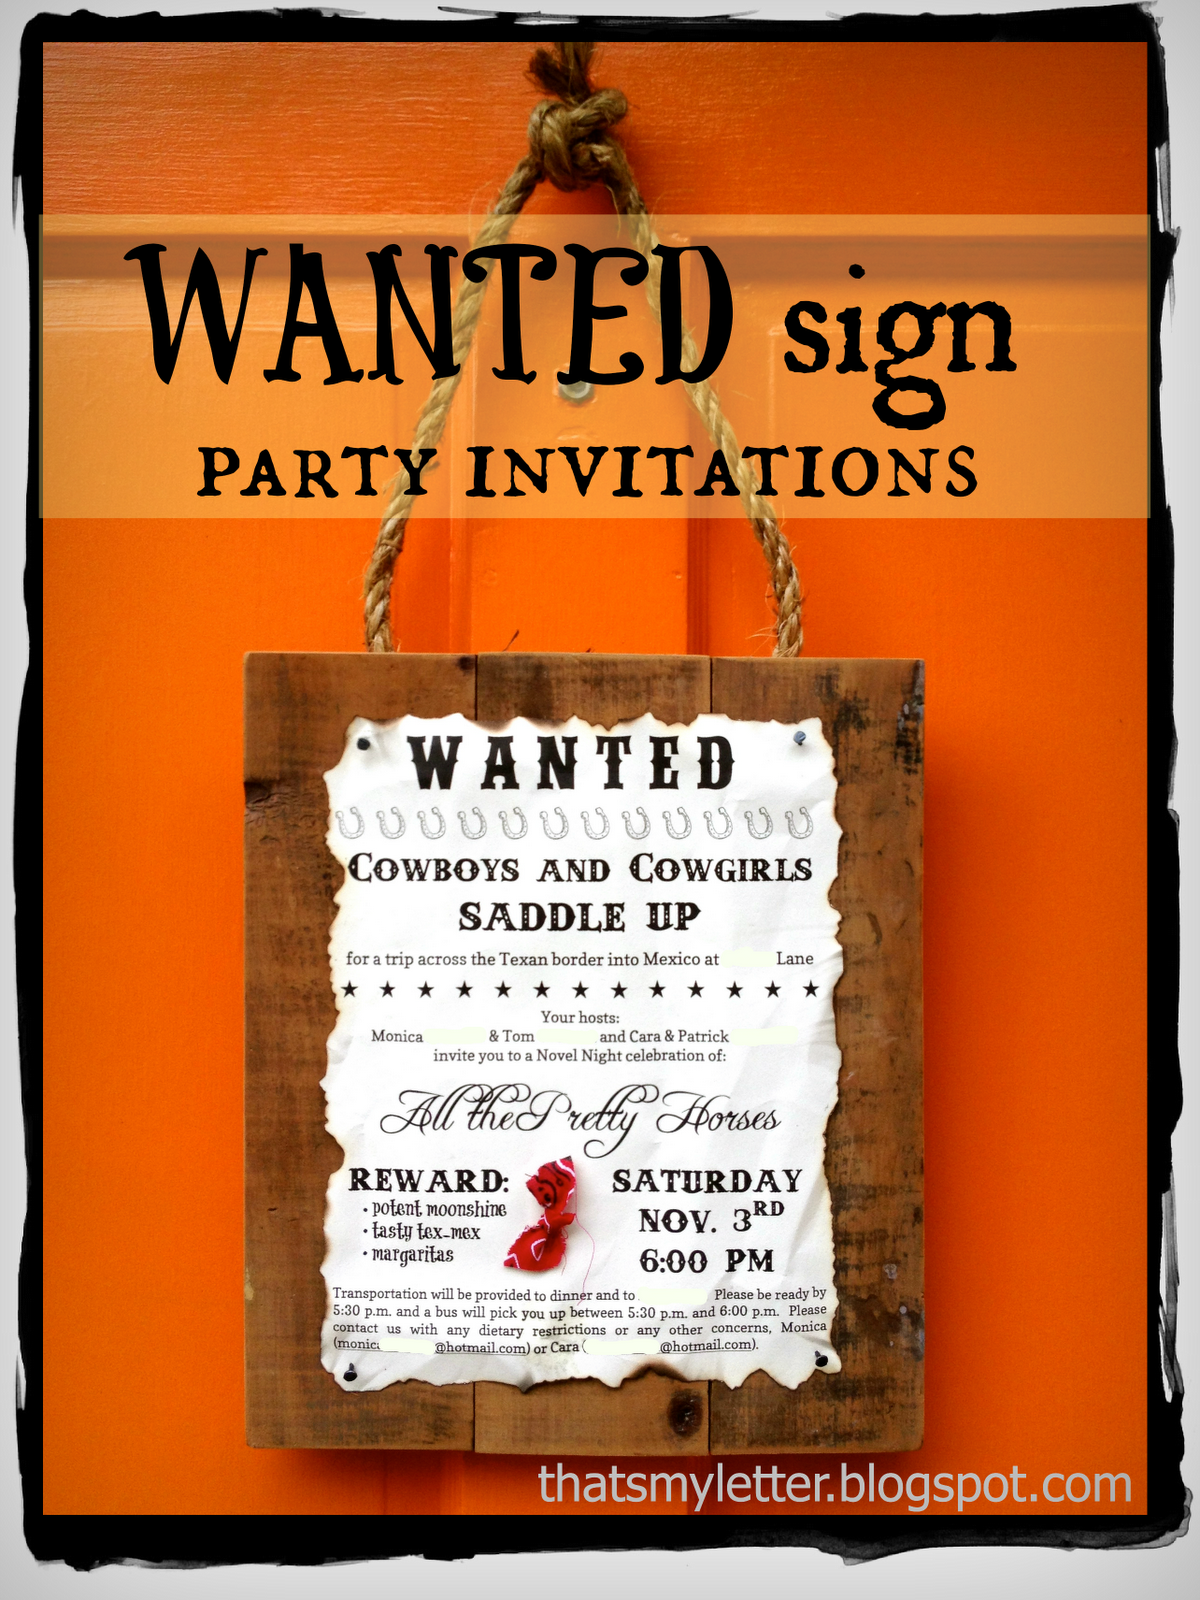
A special request from a friend: to create a unique party invitation based on the book All the Pretty Horses.
The party is part of a larger Novel Night celebration whereby different hosts choose different novels, each having their own party based on that novel and then all the separate parties come together at one location to finish the evening.
My friend asked for 8 invitations that she would hand deliver to the invitees home and hang near the door:
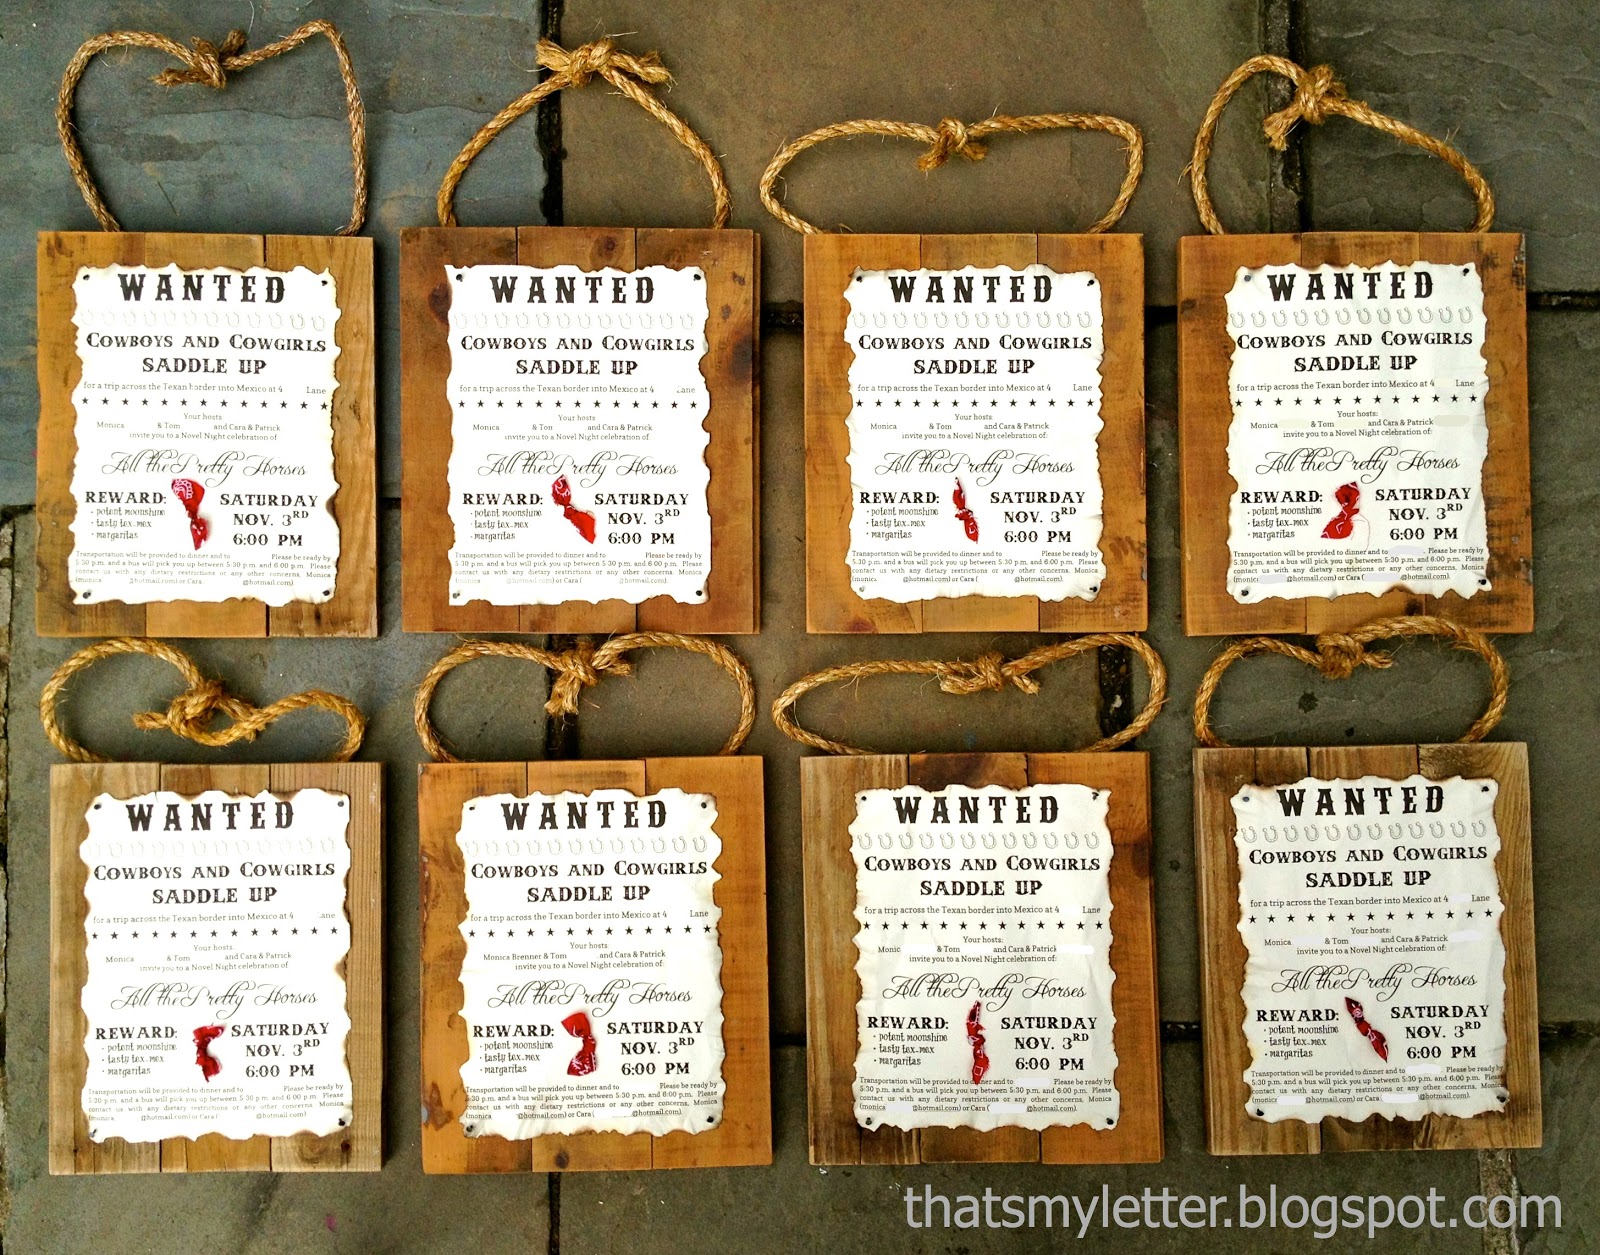
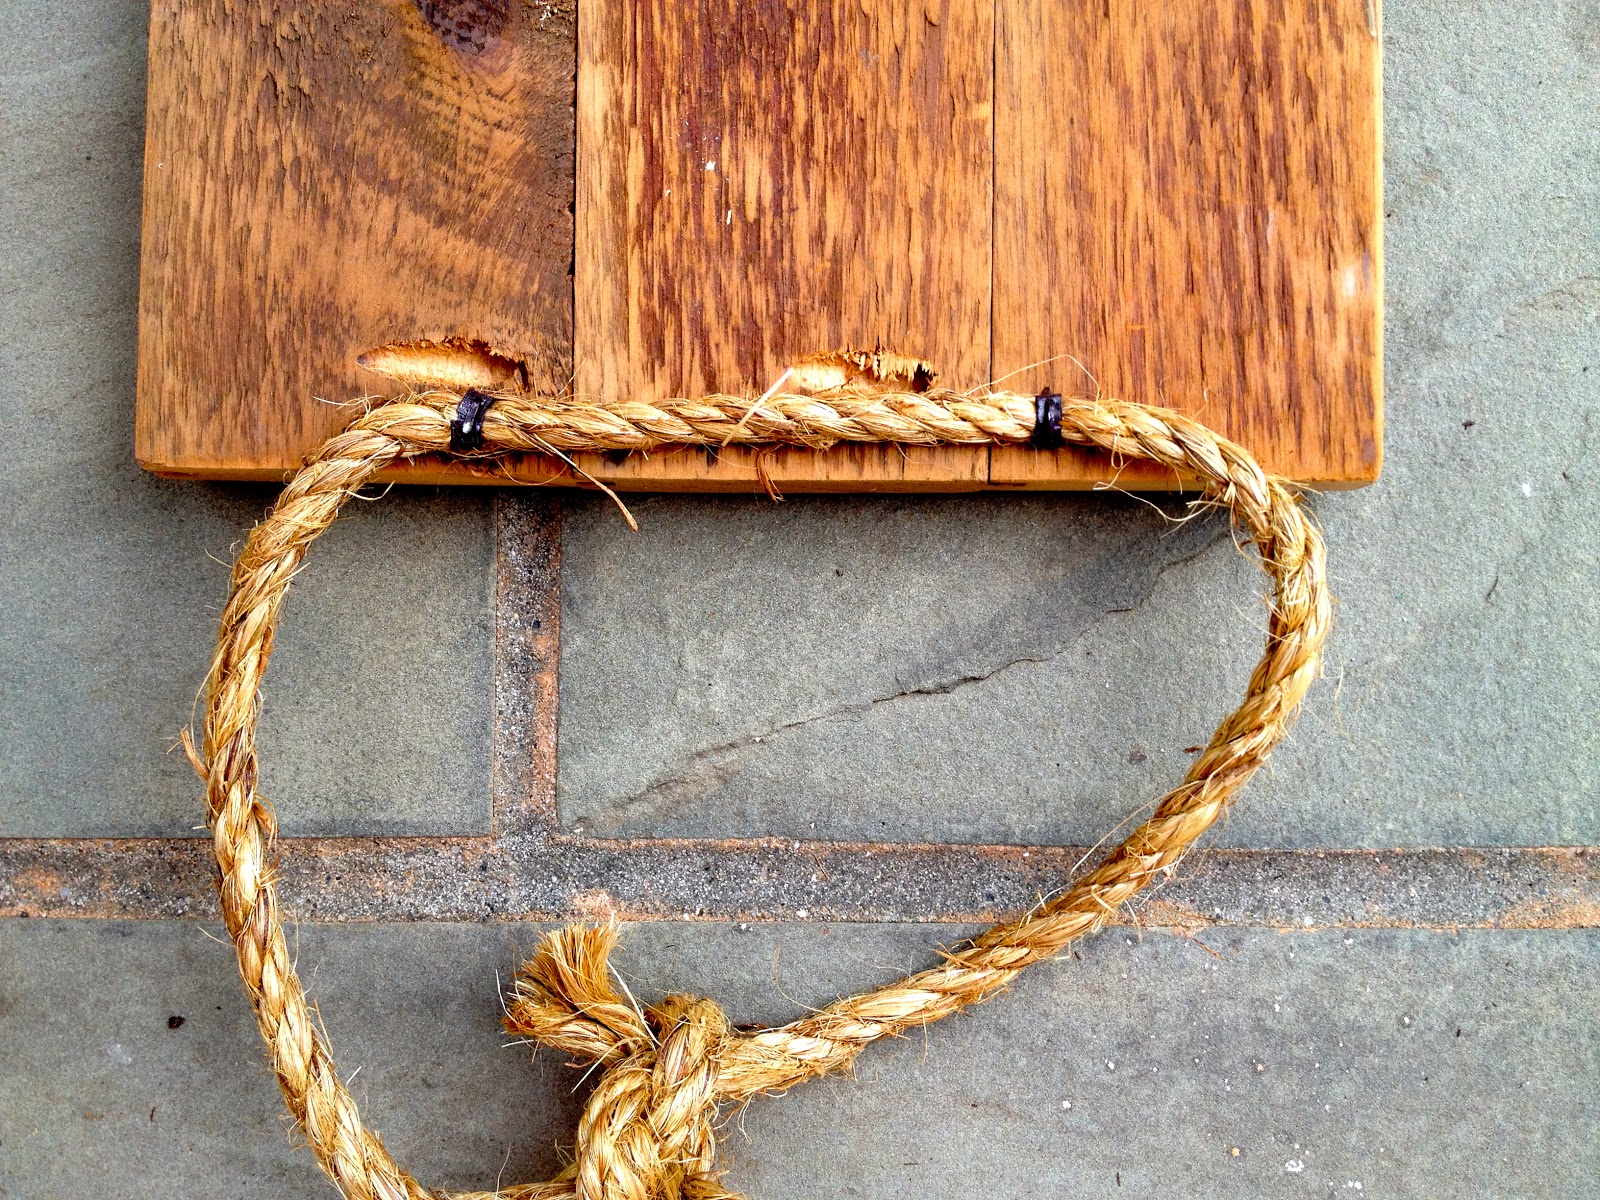
I used reclaimed wood secured together with pocket holes to look like planks. The wanted sign was nailed in the corners then I added a bit of red bandana for color and ‘cowboy’ feel and finally the rope hanger on the back.

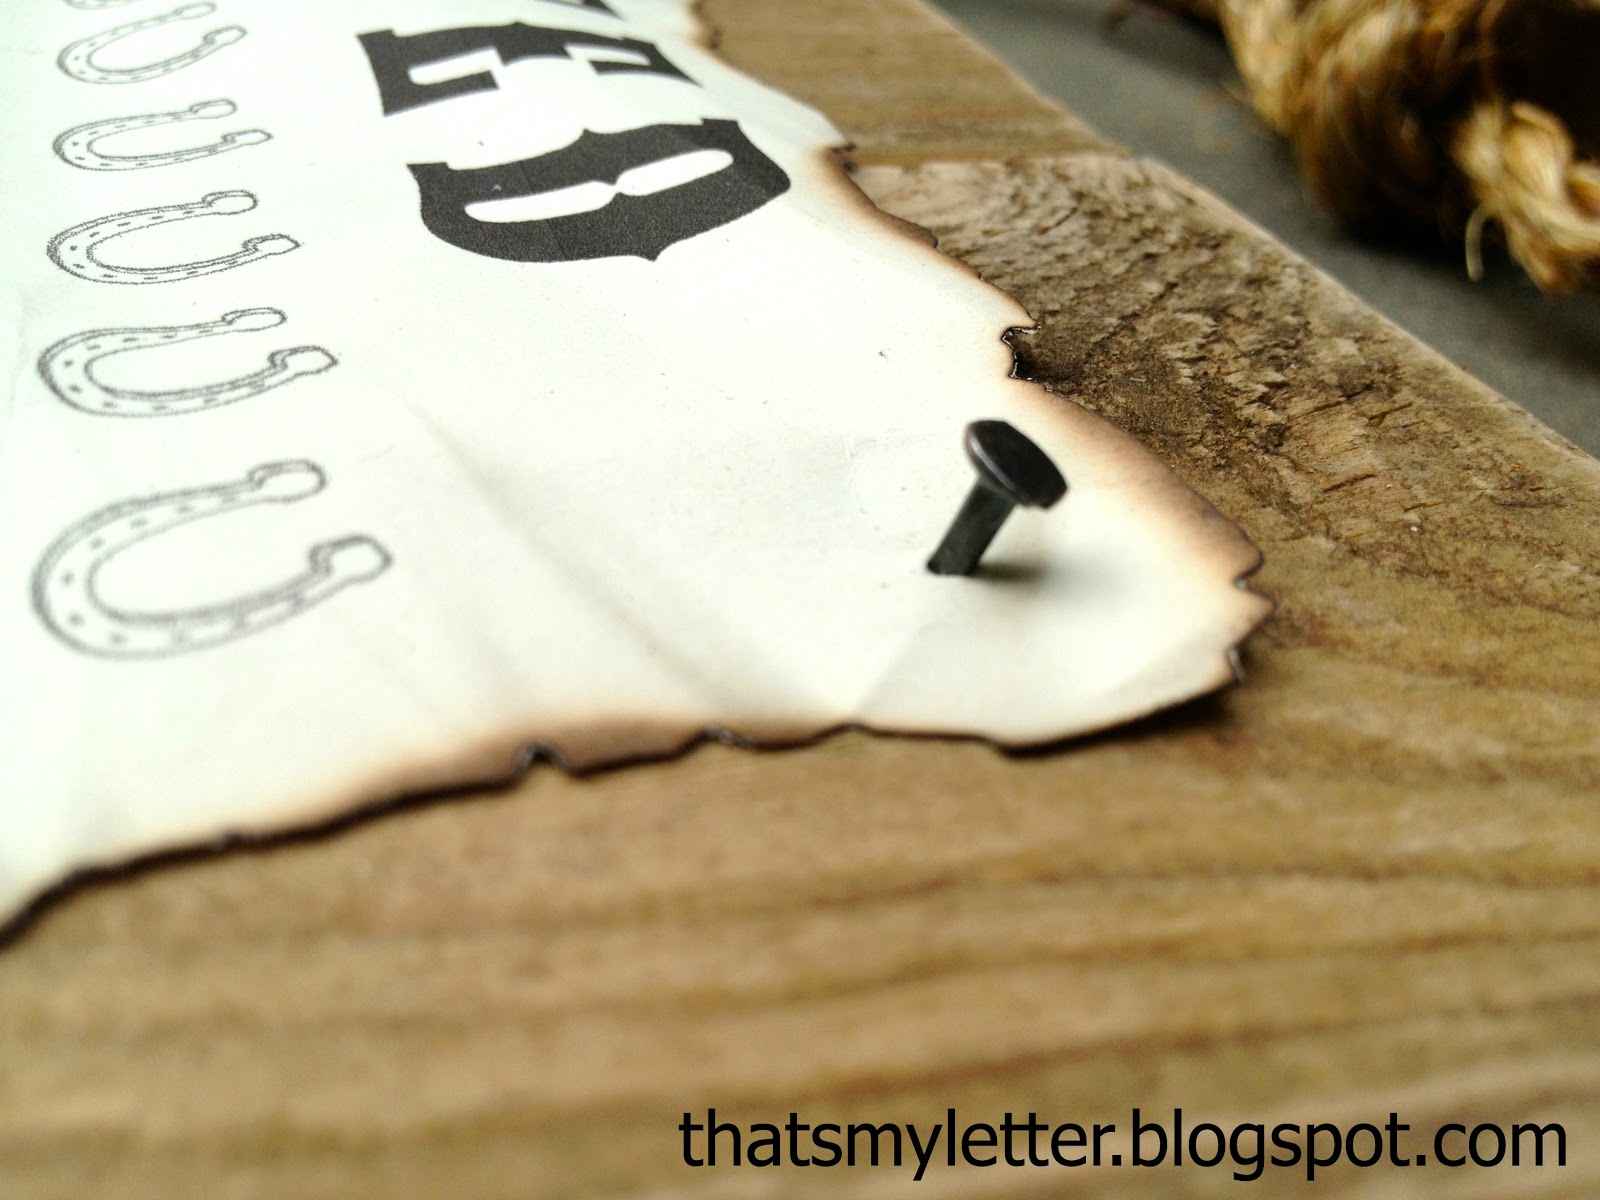
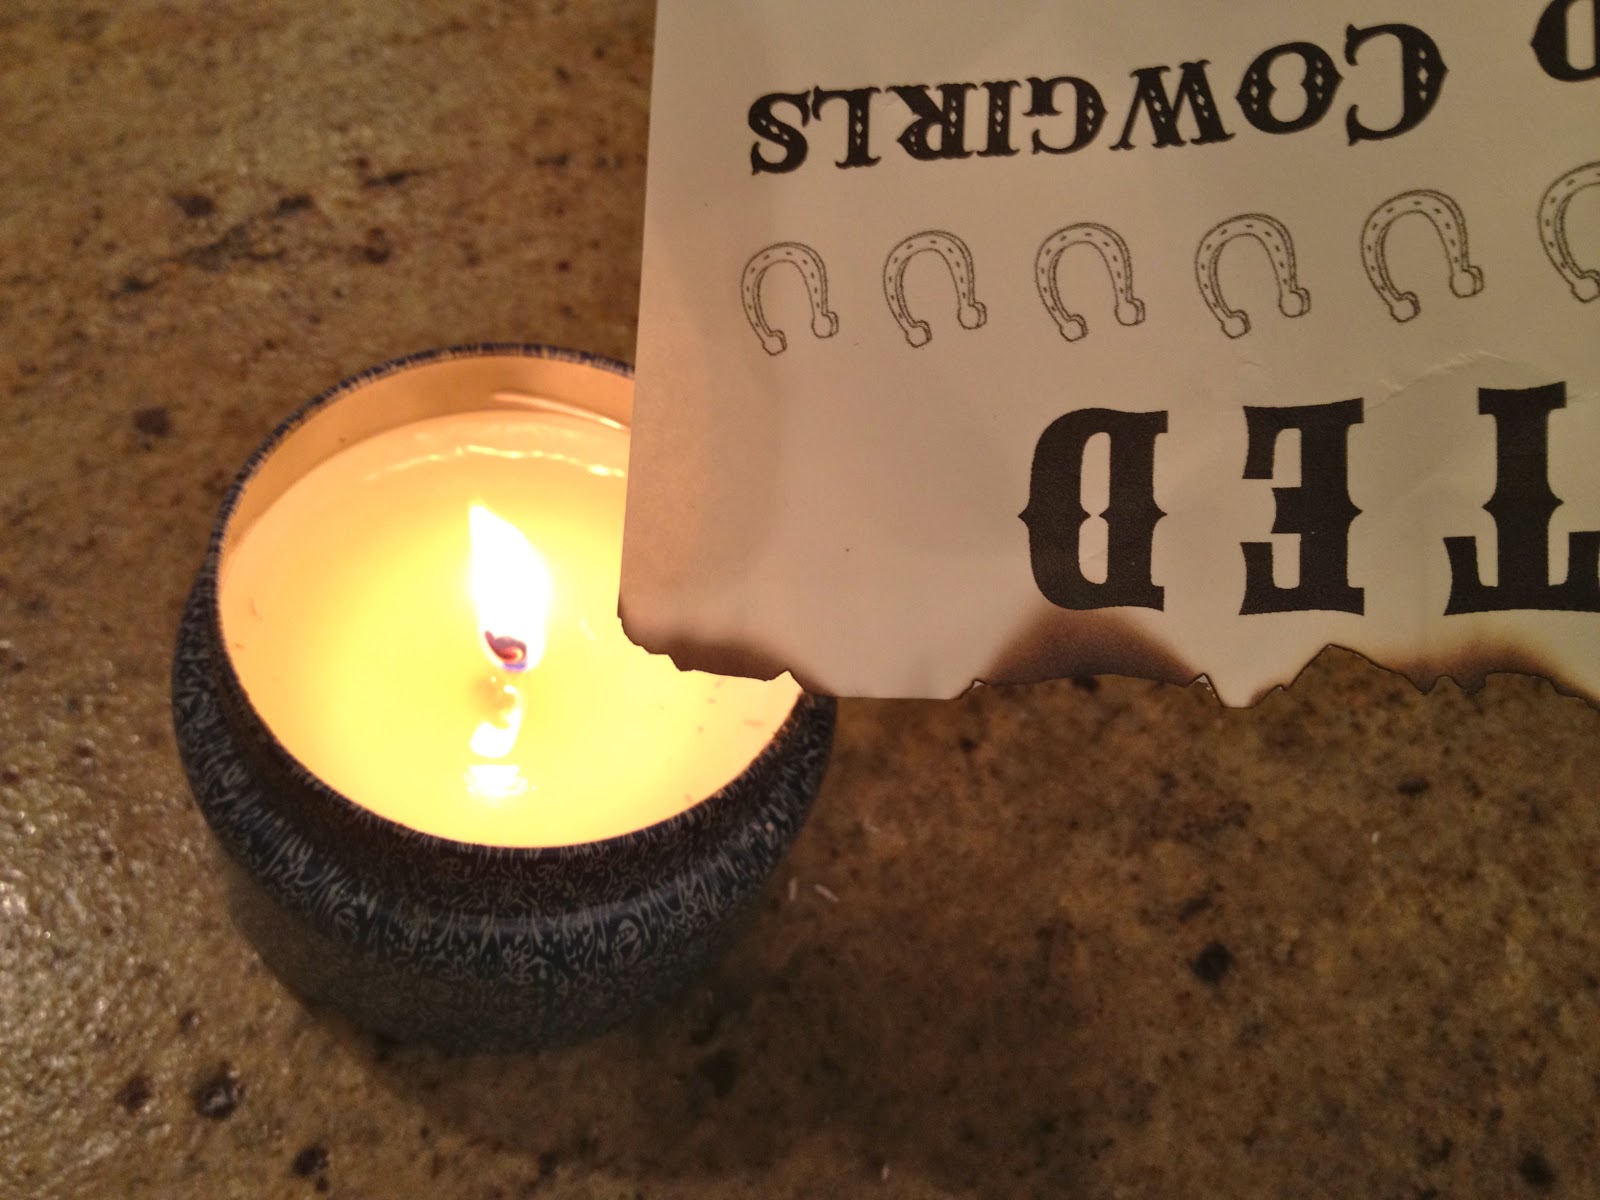
I even went so far as to burn the edges of the paper for an authentic WANTED sign look:


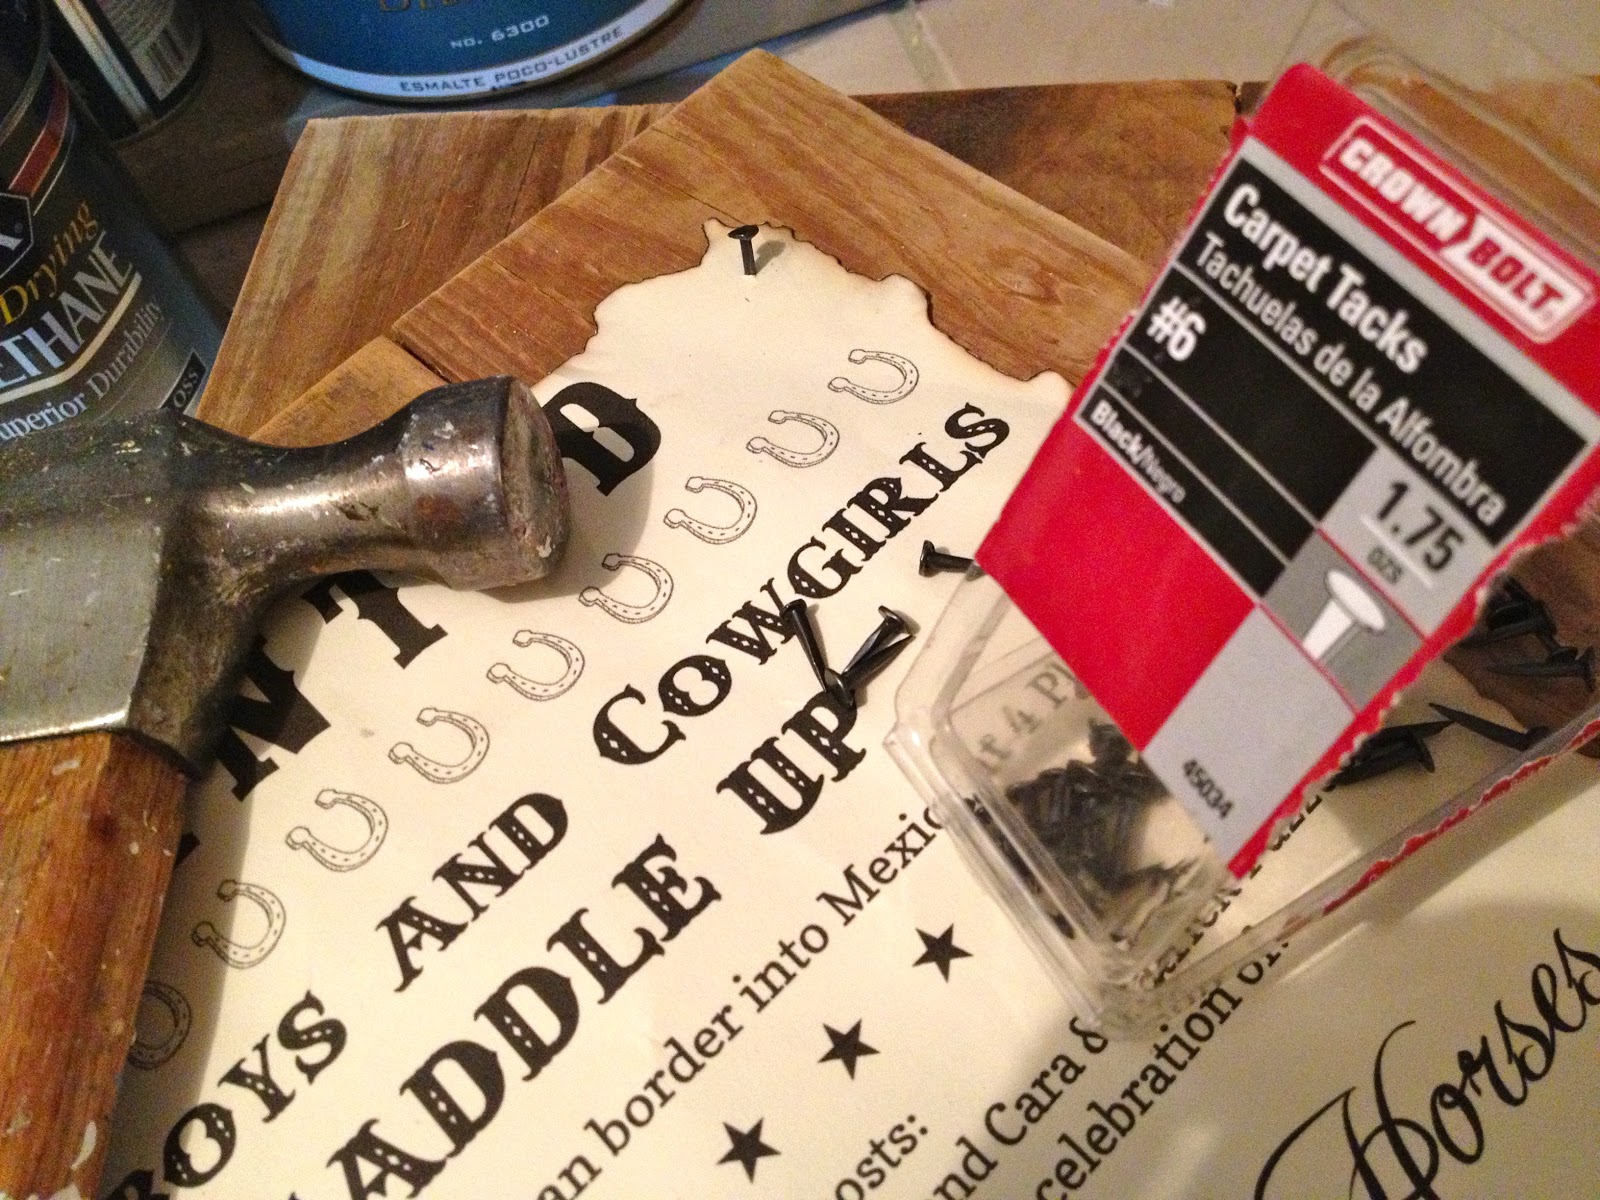
I also rumpled up the paper before nailing it in place to make it look worn:
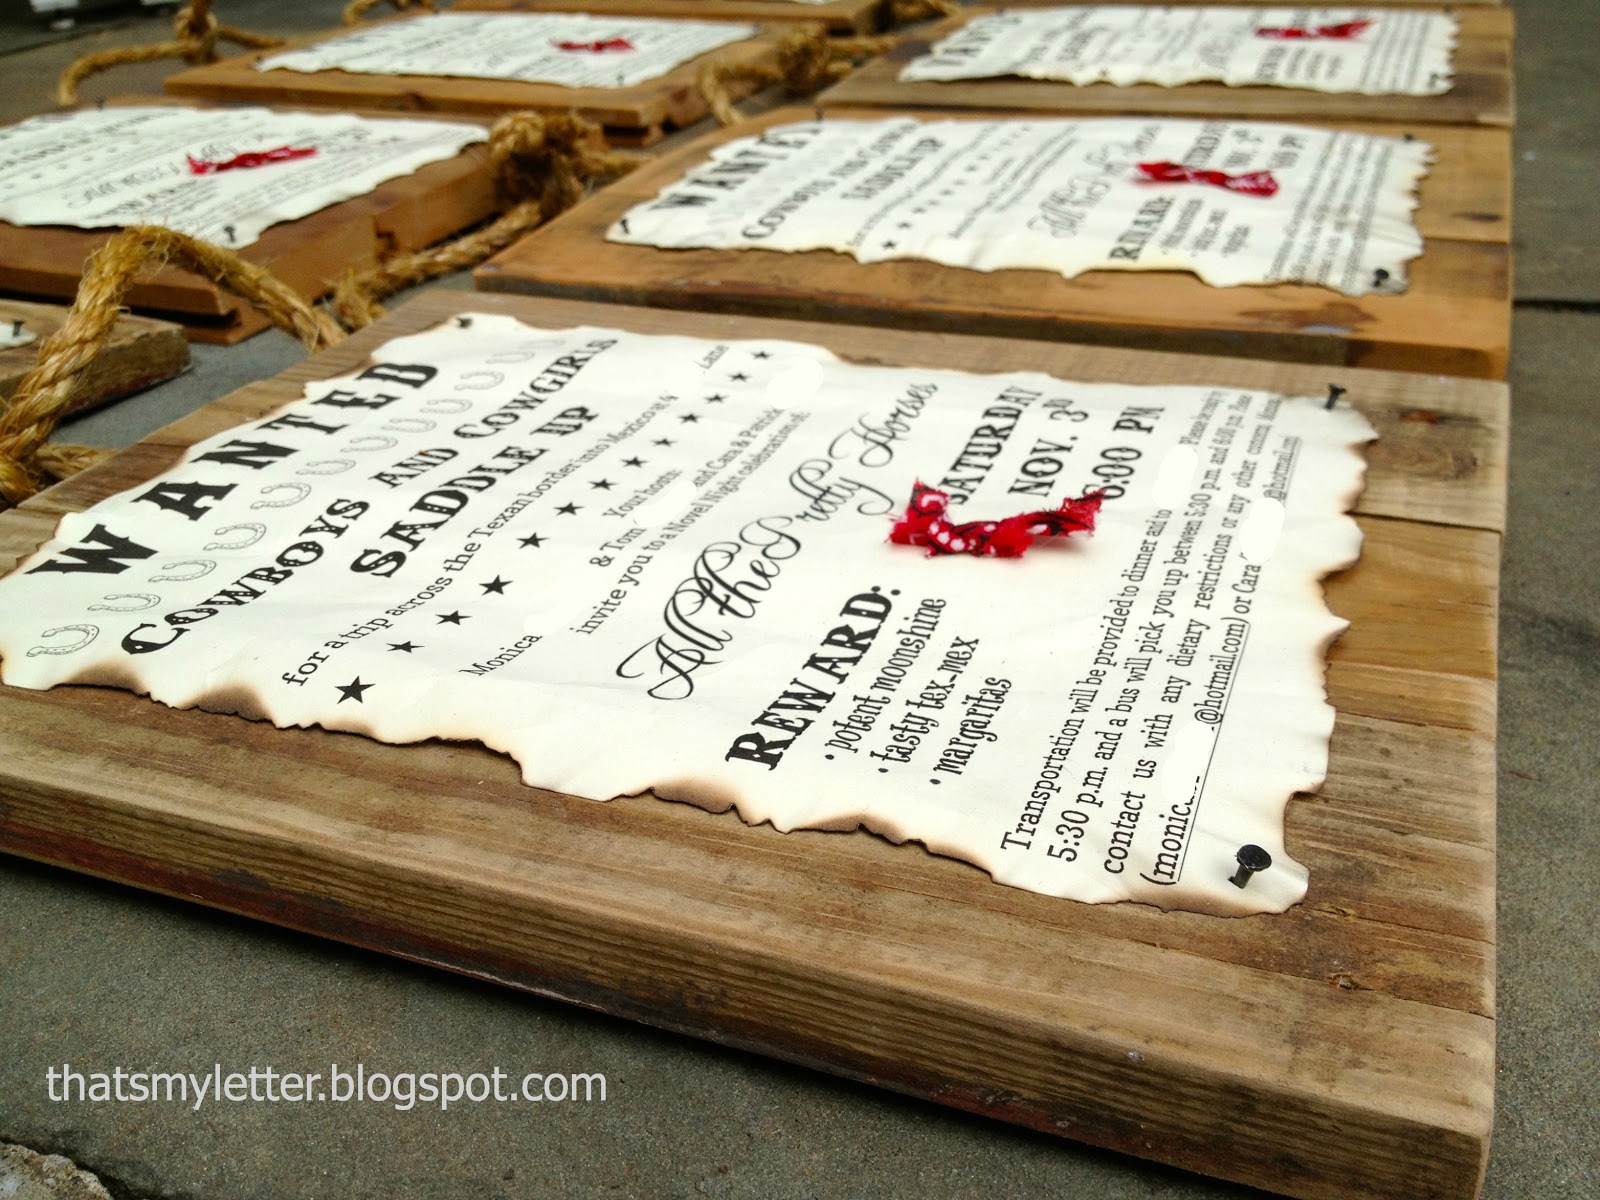
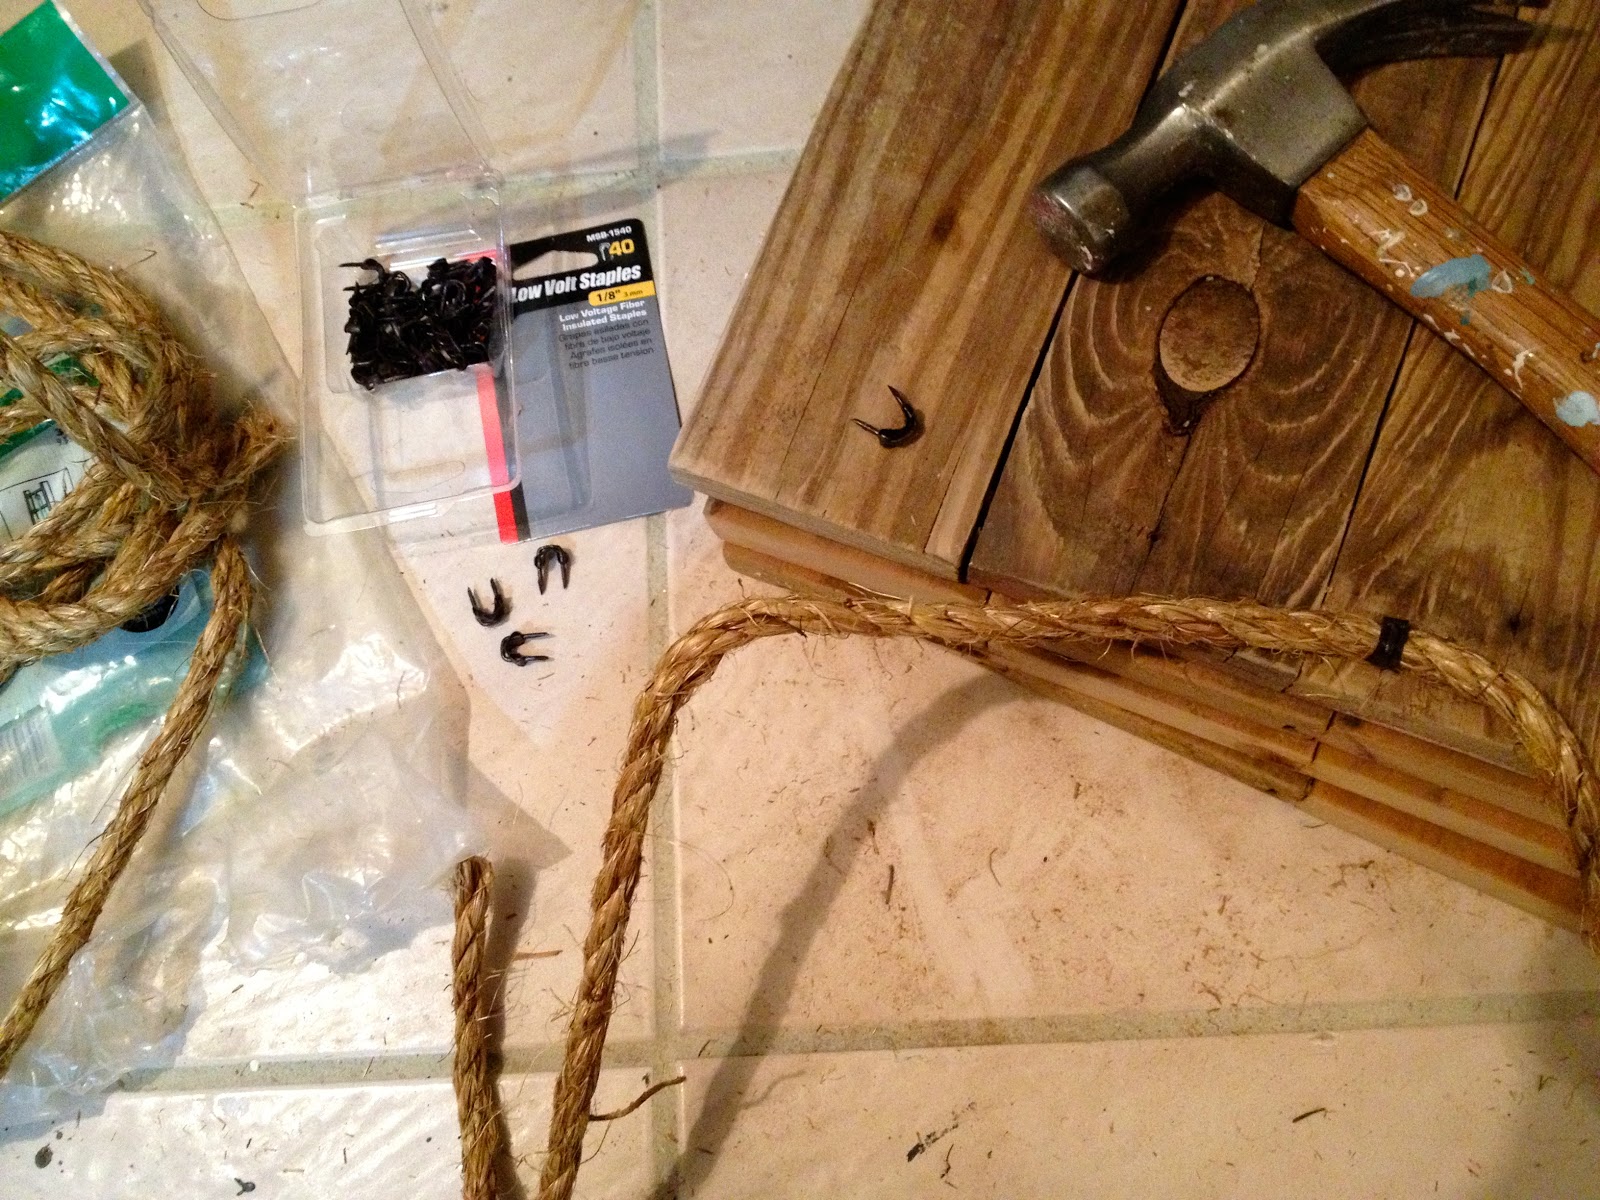
I used #6 carpet tacks which look like old nails:

Here’s how I made the wanted sign invitations:
1. Cut wood to 13″ lengths, I used 3 pieces secured together with pocket hole screws on the backside:

2. Using 3/8″ jute rope and low volt electrical staples hammer the rope into place on the top back:
3. Print out invitation, I used Microsoft Word to create the layout and printed on cream cardstock.
Crumple up paper then lay flat again:

4. Burn edges of paper with candle (do this next to a water source):
5. Hammer paper invitation onto wood board with #6 carpet tacks in all four corners:
6. Cut small diamond shape of red bandana and tie into a knot:

7. Glue bandana piece in place using E6000:


I’m linking up to:
SAS @ Funky Junk
Nifty Thrifty Sunday @ Nifty Thrifty Things
DIY Project Parade @ The DIY Showoff
Tutorials & Tips Tuesday @ Home Stories A to Z
Strut Your Stuff @ Somewhat Simple
Share Awesomeness Thur @ The 36th Avenue
Pretty Things Thursday @ Scissors & Spatulas
Flaunt it Friday @ Chic on a Shoestring
Frugal Friday @ The Shabby Nest
SAS @ Just a Girl
Remodelaholics Anonymous @ Remodelaholic
inspiration board @ Carolyns Homework

SOOO cute! love them! emmy wants to have a neverland party, but i am hoping i can sway her to cowgirl. maybe another year…. i love that idea!
YOU are amazing! I am in awe and inspired by very single post. You are an incredible talent!
These are adorable! Where did you find the reclaimed wood? Or any ideas where to get some? I would be making about 100.
Thanks Cassie. I find reclaimed wood in all weird places but mostly roadside on junk trash day. Also pallets would work if you don’t mind hauling home and cutting up. You could always use new pine 1×4 and beat them up a bit plus stain and glaze to help get that aged look. Good luck with your project – 100 is a big load!
Hey Jaime,
Really like your invite . We are celebrating our kids 3rd and would like to use this one.
Is it possible at all for you to share the digital file of your invitation.
Thanks Jayesh, I’ll have to do some digging to see if I can find that doc. It was 3 computers ago so I’m not sure I still have access to the file. Will check.