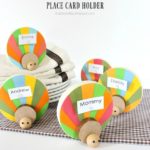
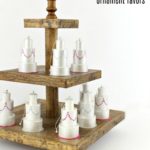
Craft: mini cupcake placecards

Use cupcake candle holders, wood and skewers to make simple and cute party placecards.
I had no intention of making placecards for my daughter’s upcoming ‘build it’ party until I came across these mini cupcake candle holders in the cabinet.
There were only 5 left and all my kids are now older than 5 so I decided to repurpose the candle holders into placecards:
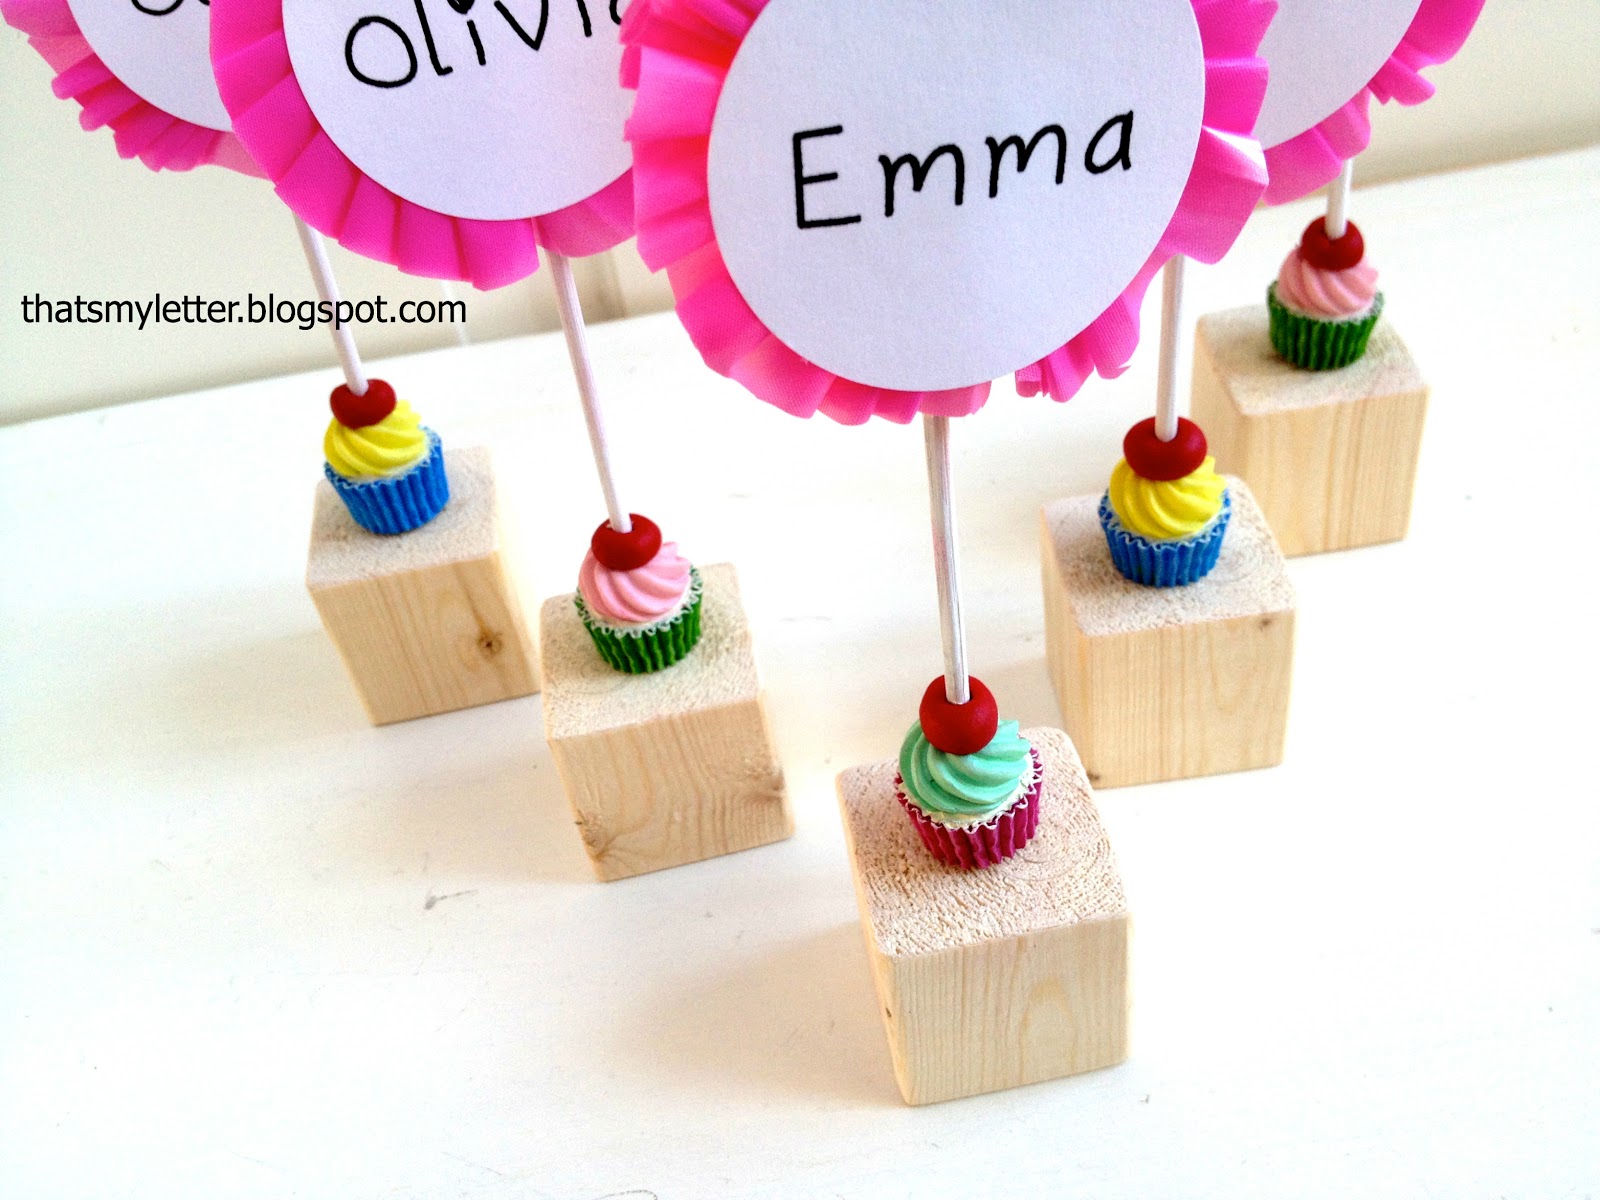
Using a 2×2 wood furring strip cut down to square blocks I was able to incorporate the ‘build it’ theme and still keep it birthday focused and girly:
Check your cabinets folks, you just might have something that could be transformed and used in a different way.
Here’s how to make the mini cupcake placecards:
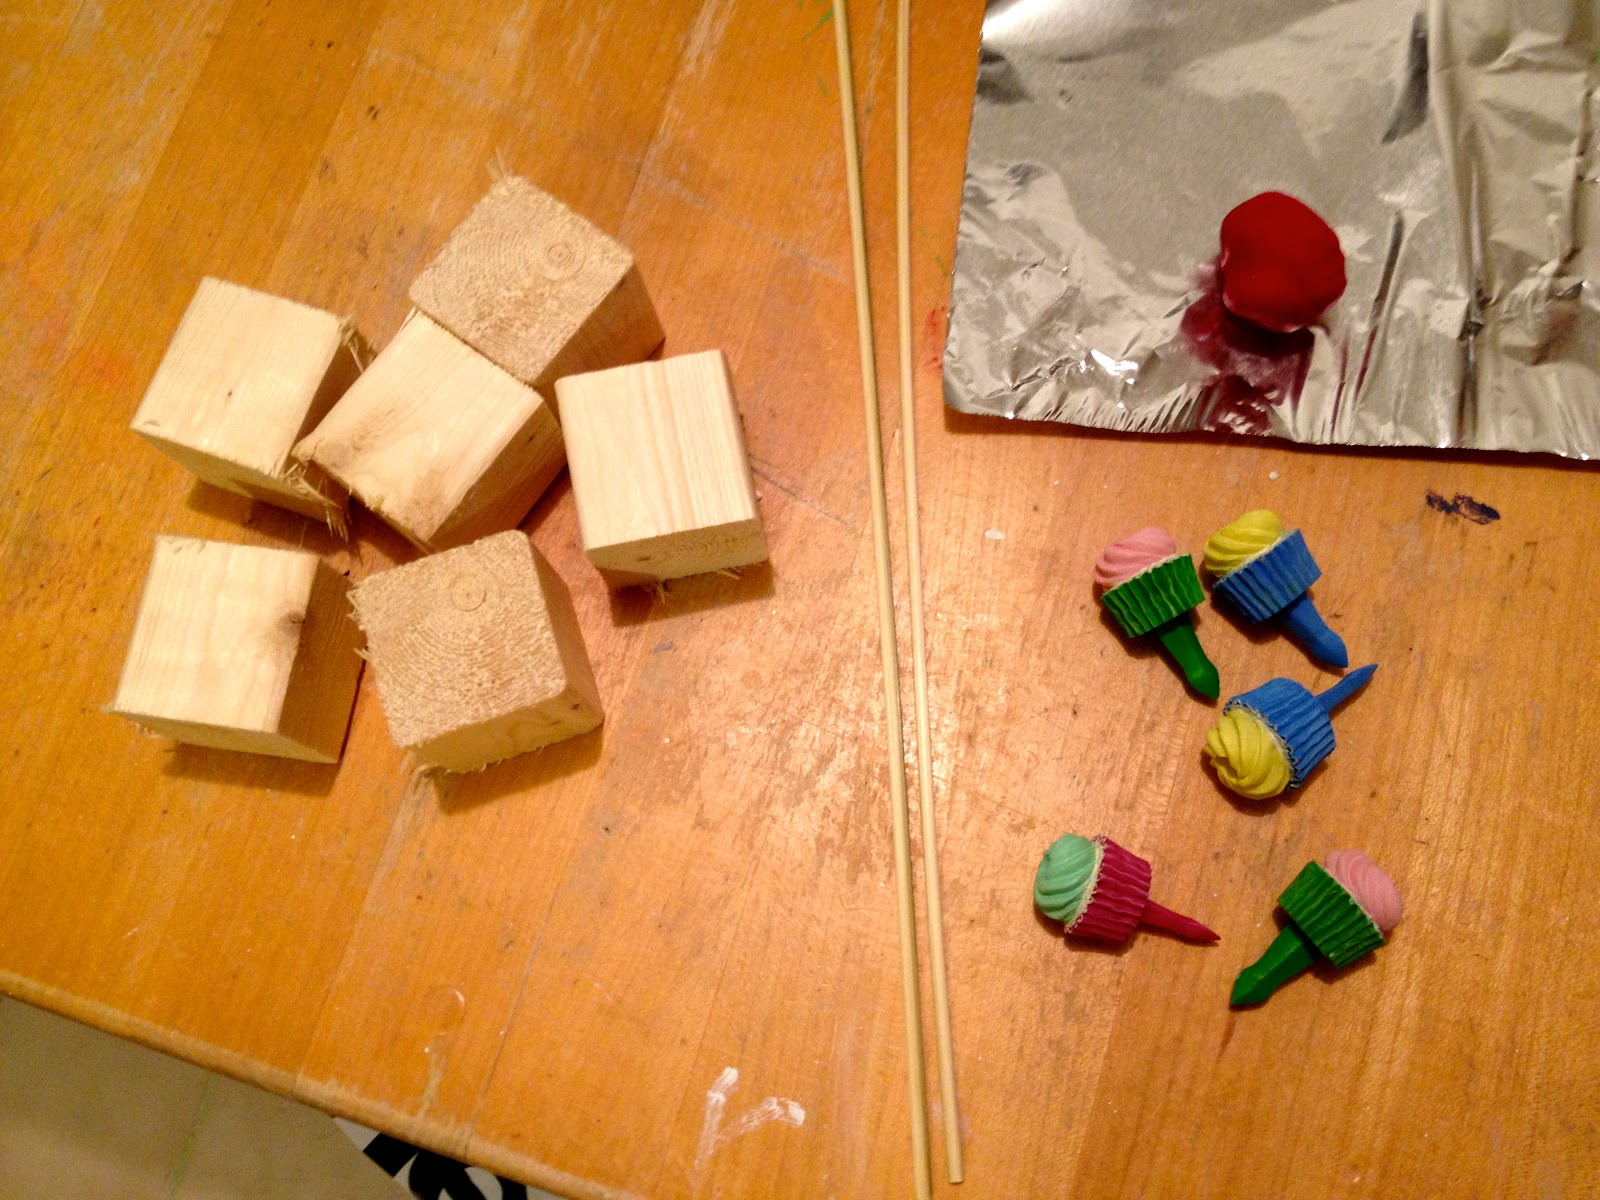
1. Cut 2×2 furring strip into 1 1/2″ cubes.
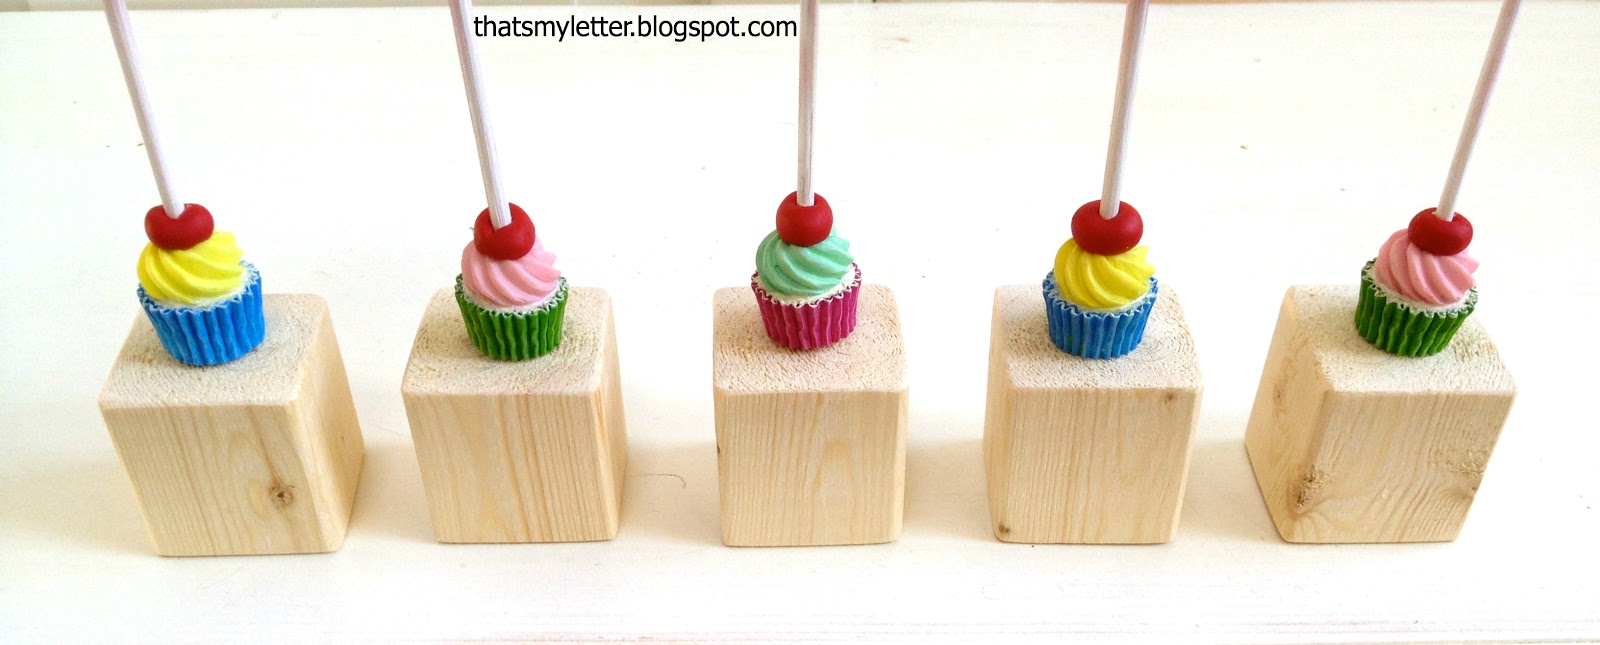
Gather candle holders, wood skewers and red sculpy clay or model magic:
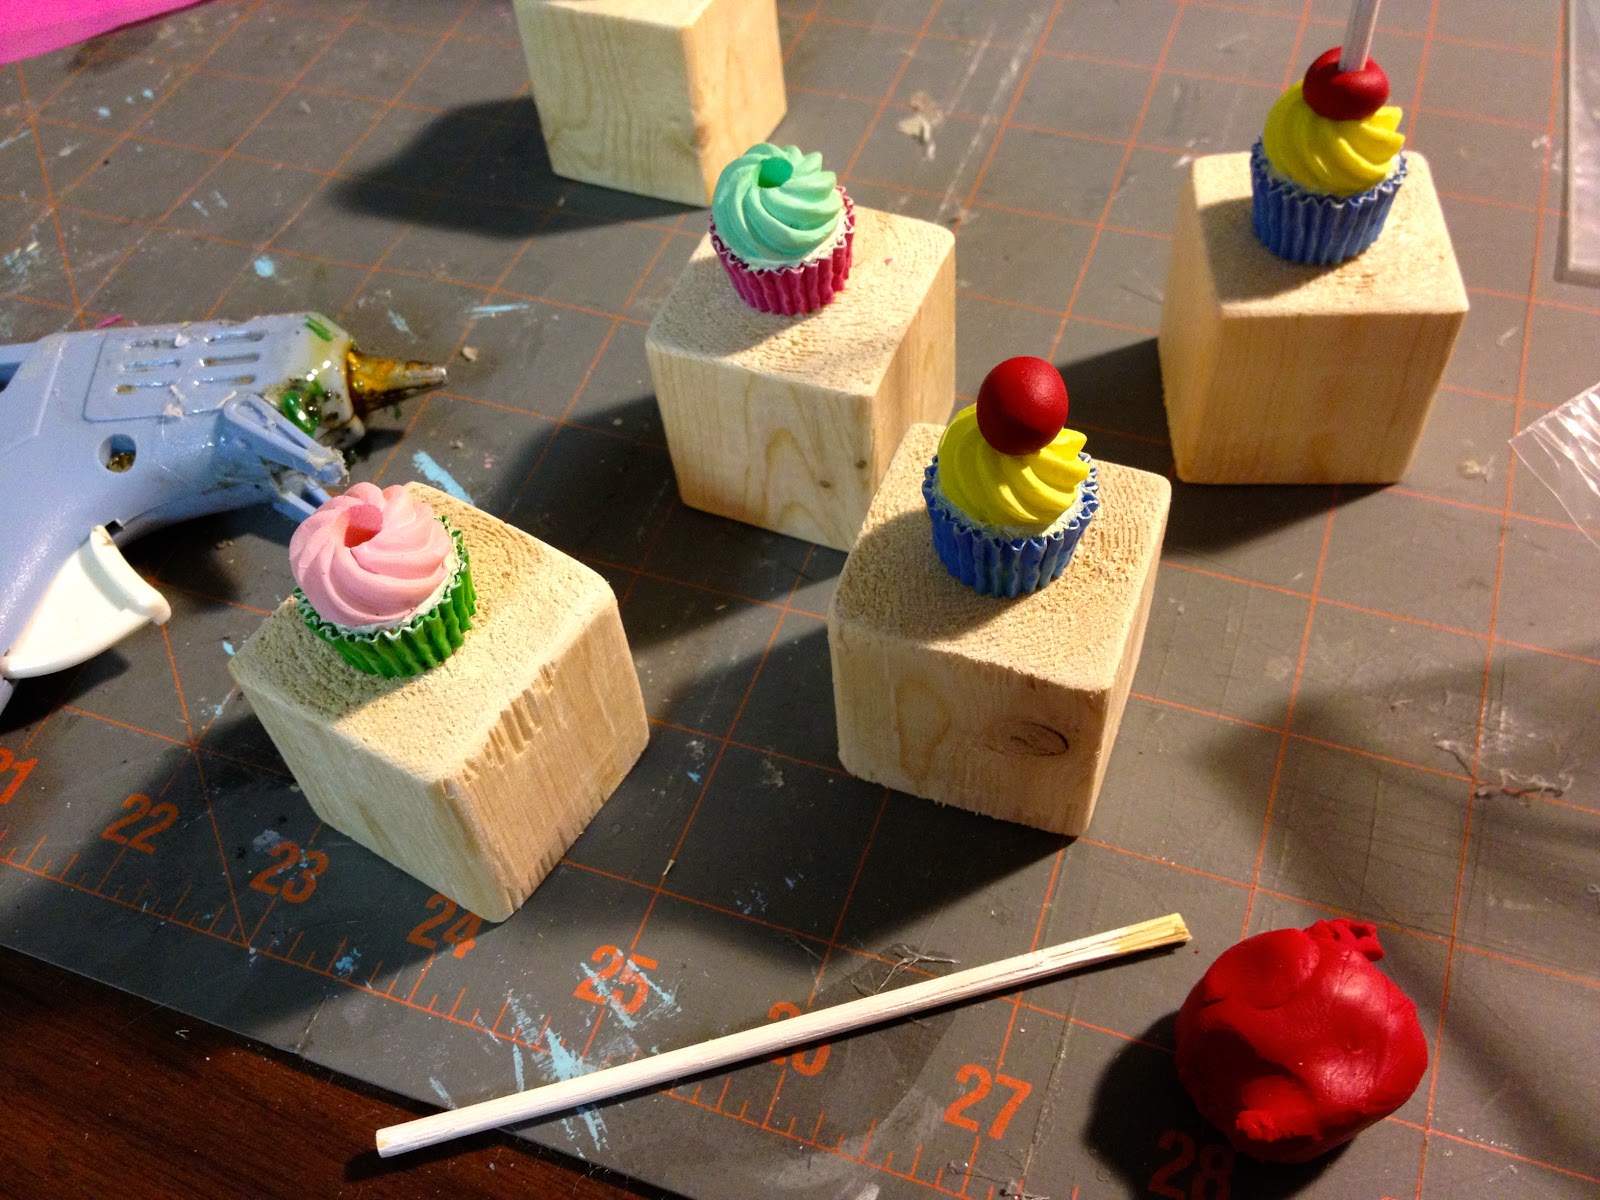
2. Drill a hole into the center of each wood cube to fit base of candle holder then apply wood glue and gently hammer into place:

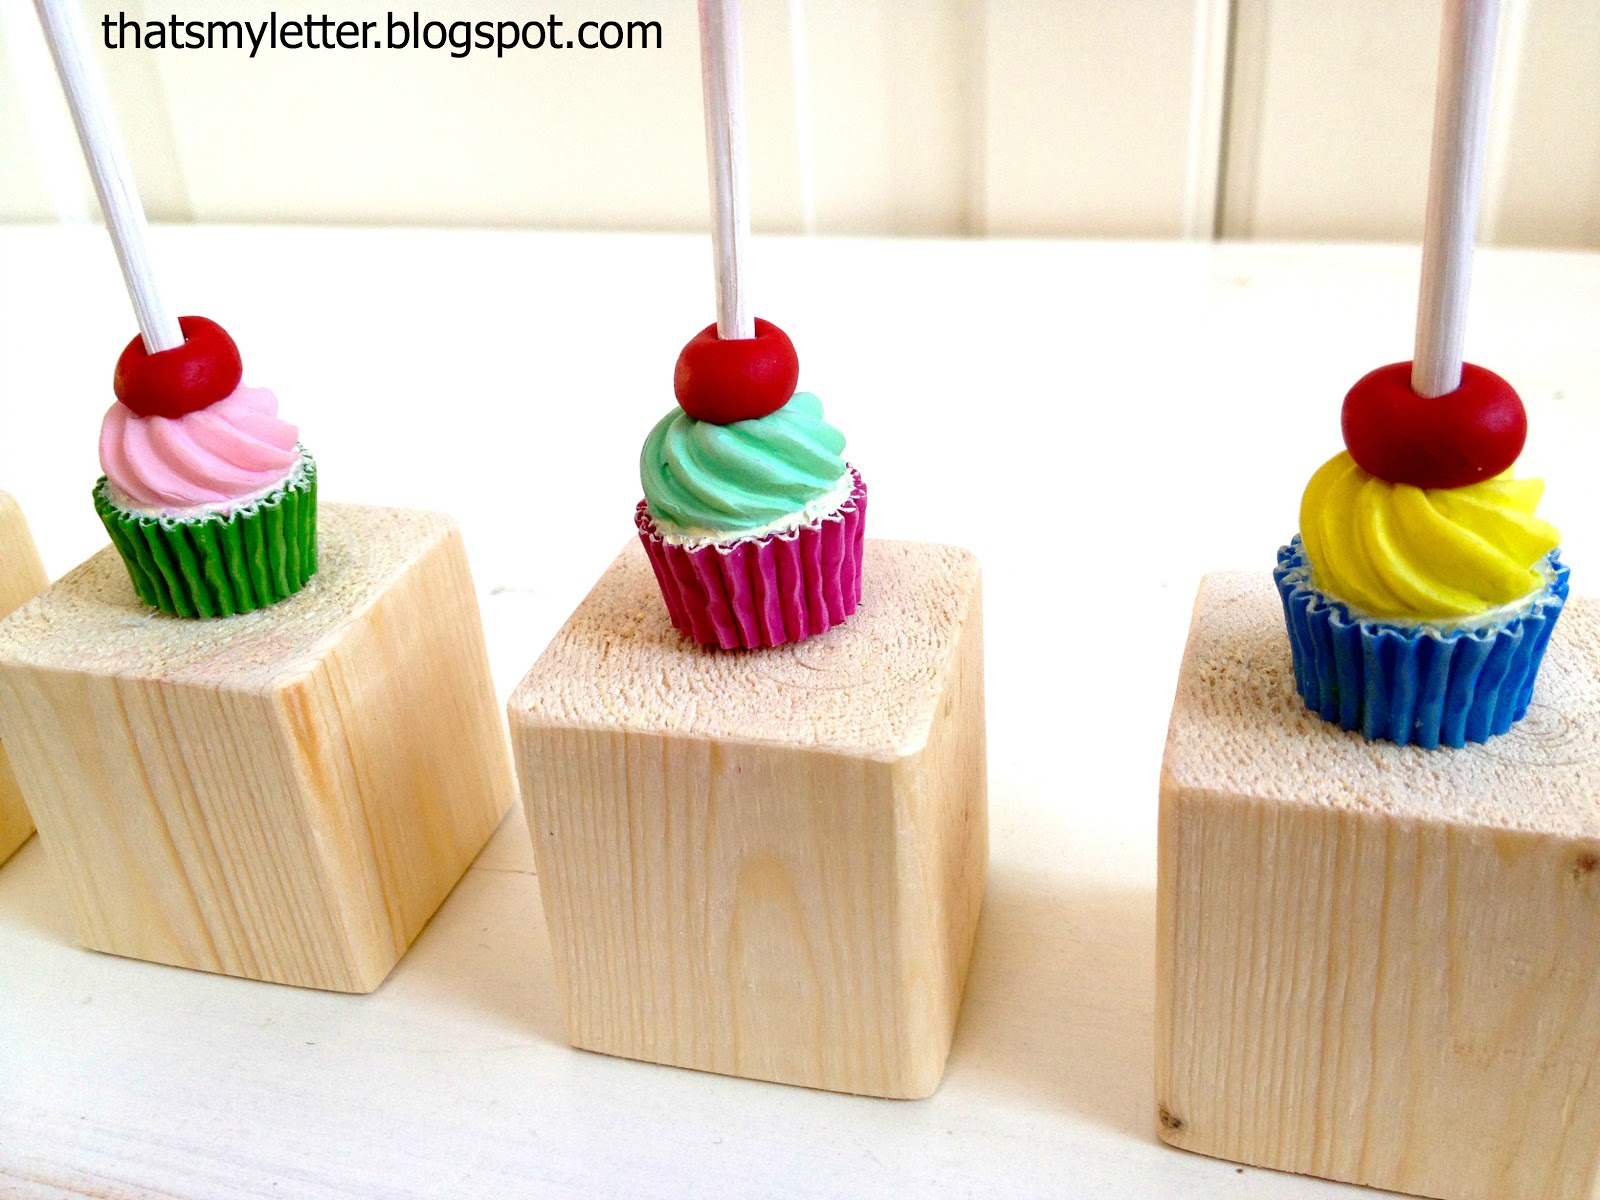
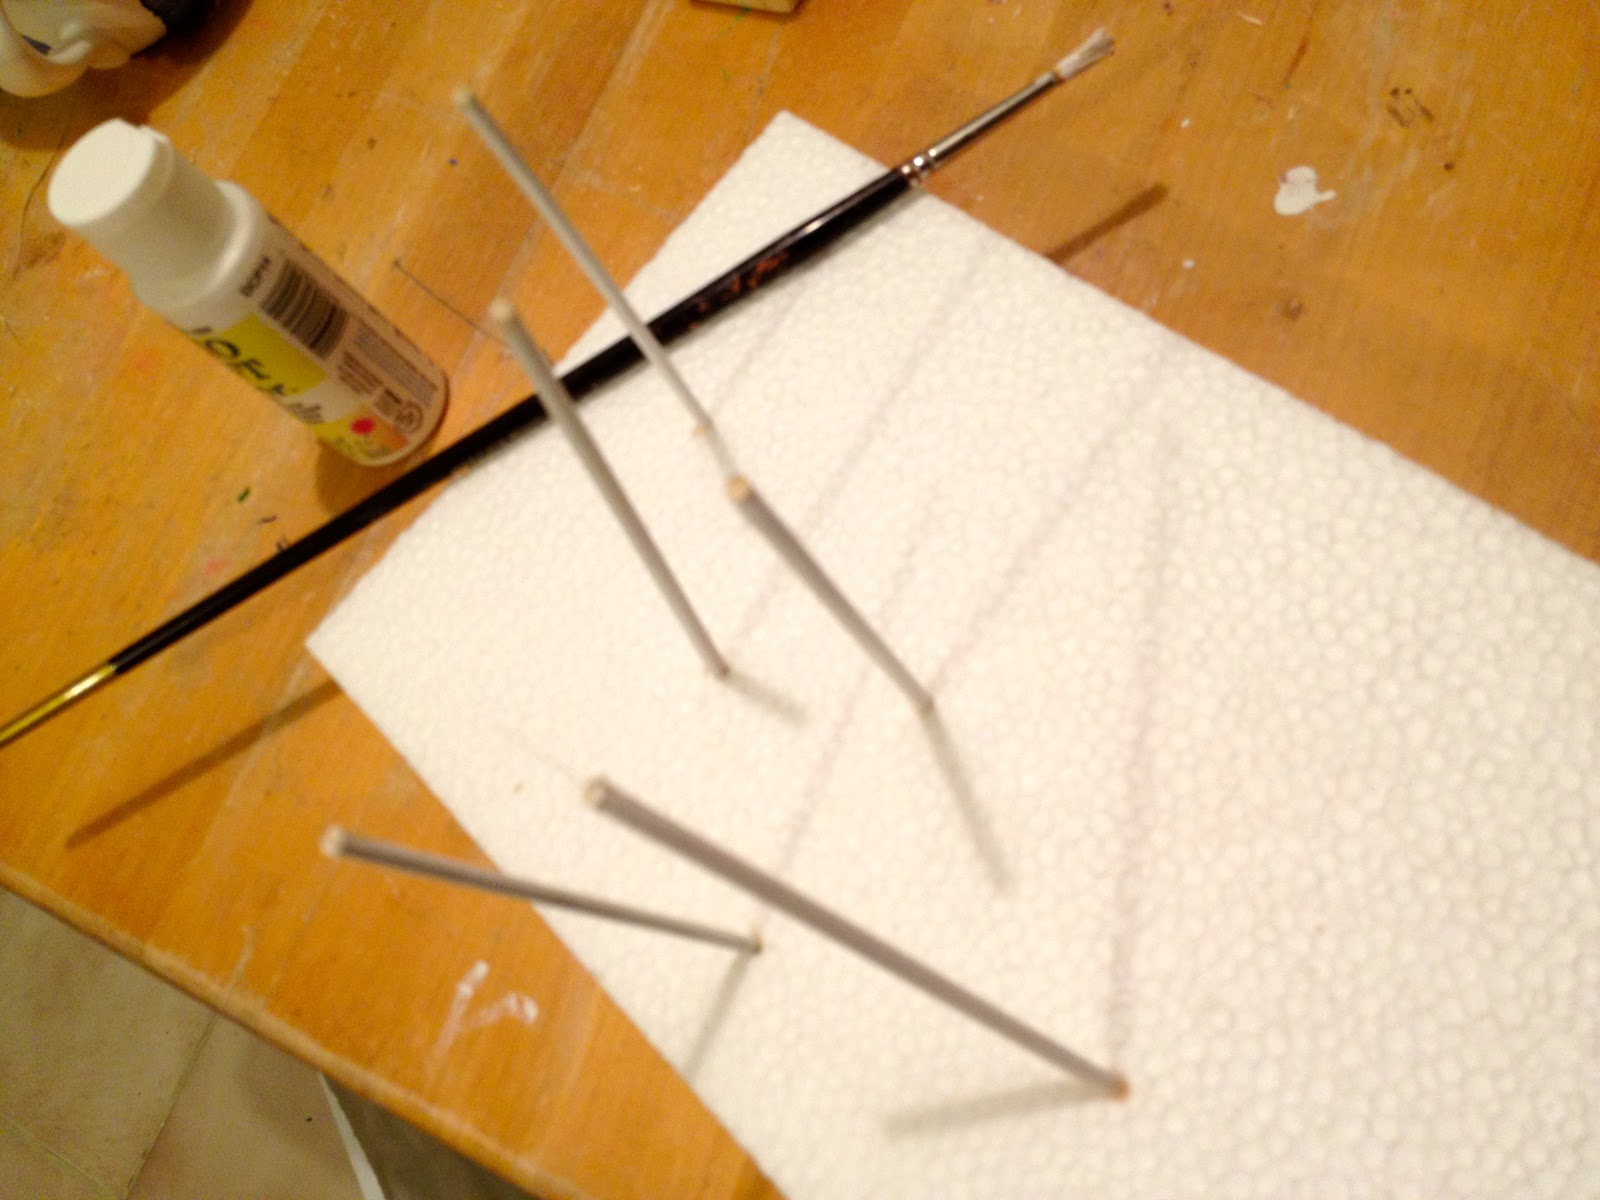
3. Cut skewer down to size and paint white:
4. Roll small amount of red sculpy clay into ball to look like a cherry on top of cupcake:

5. Squirt hot glue down into candle holder hole, set red cherry ball on top and pierce skewer down through red ball and into candle holder:
(I know you’re supposed to bake sculpy clay but it will eventually dry hard.)

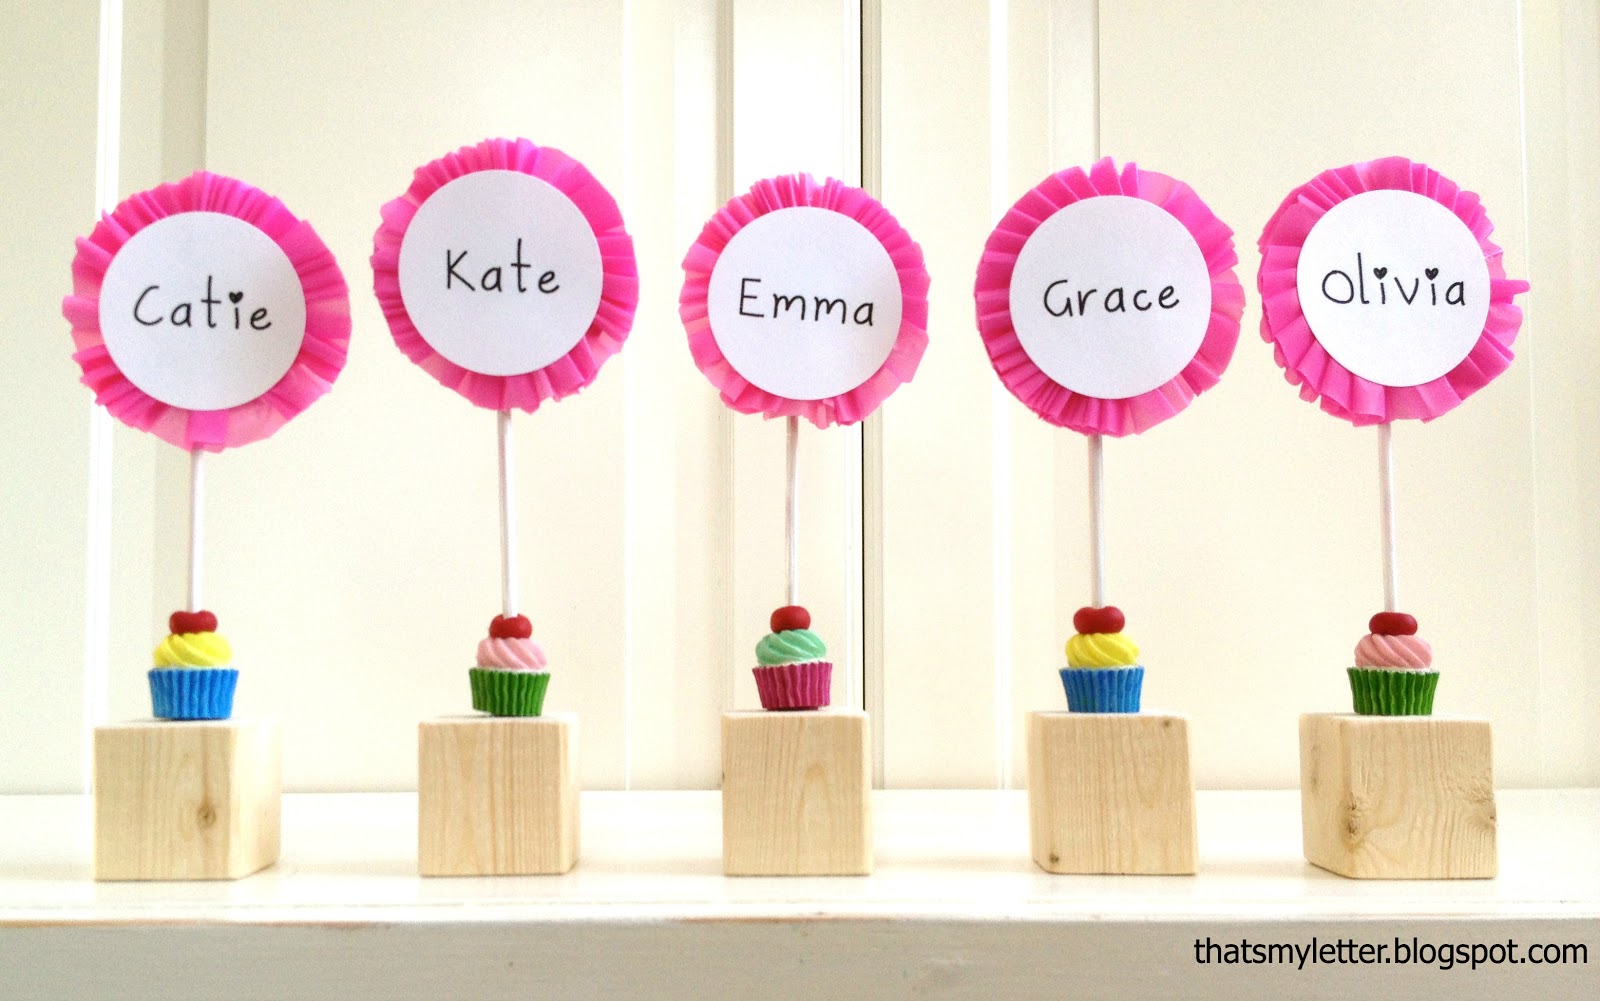
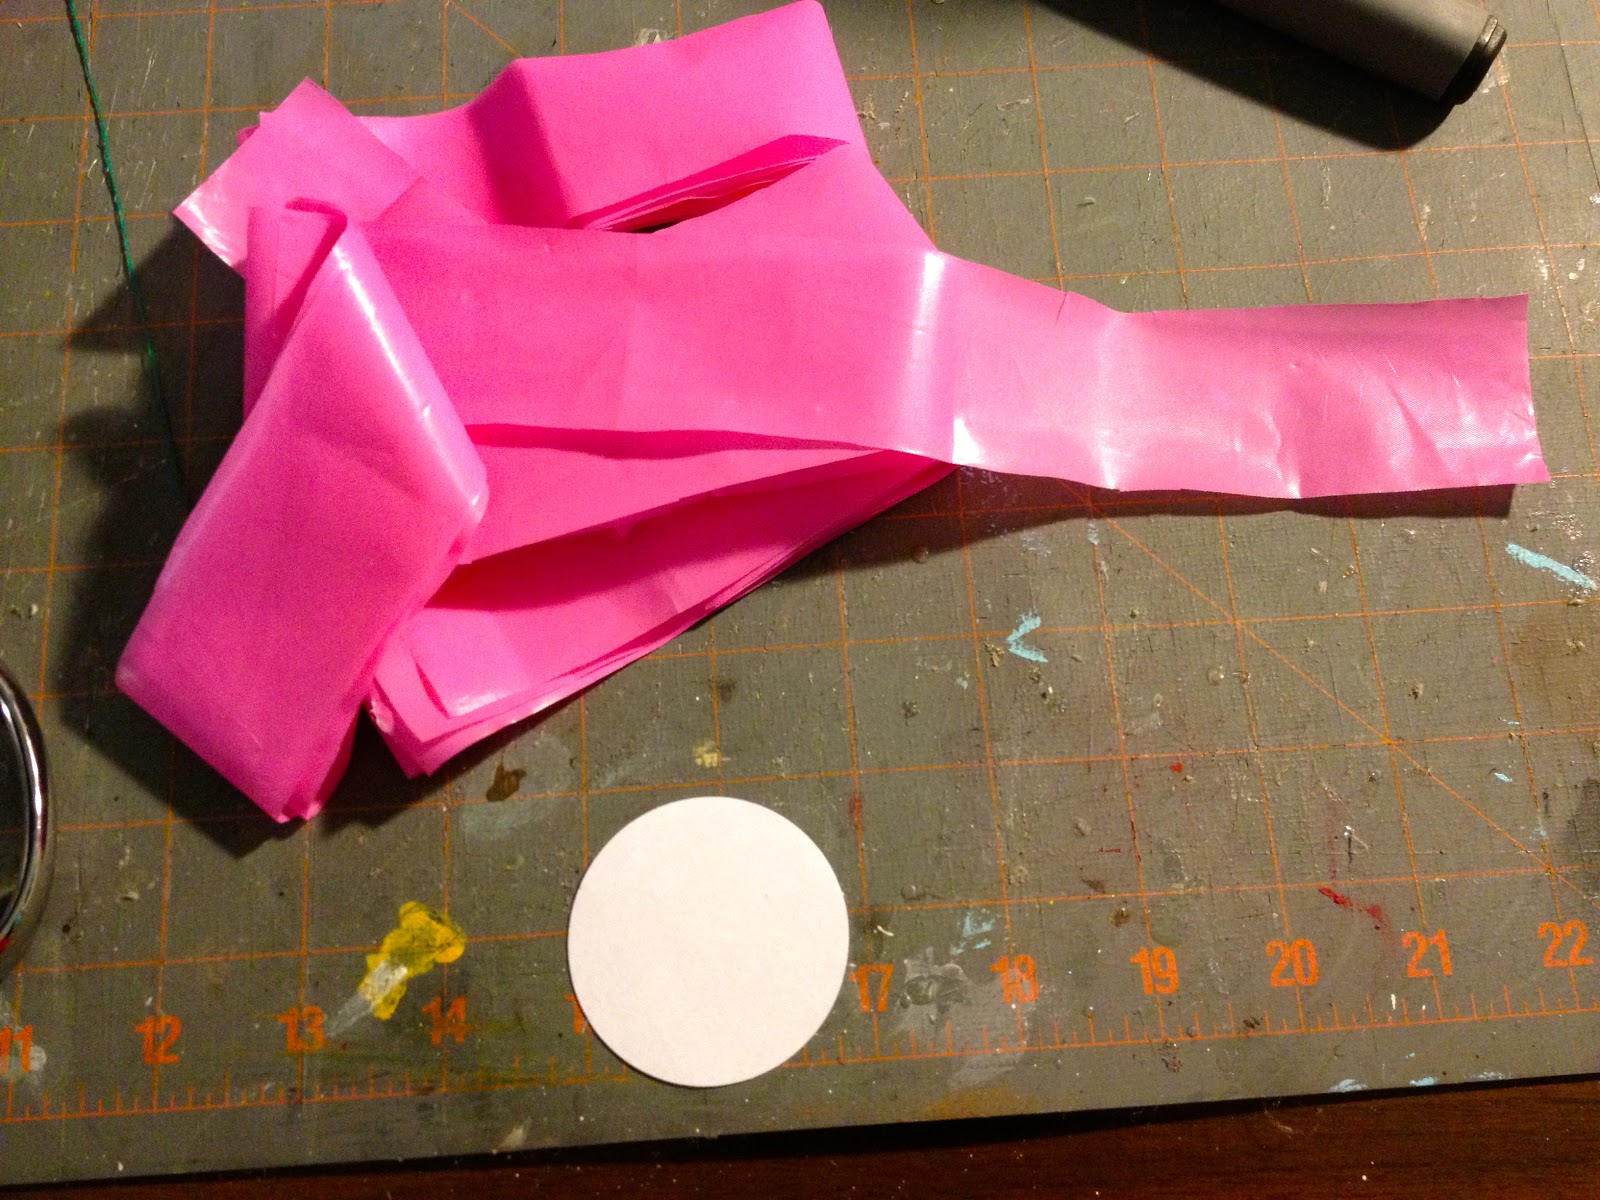
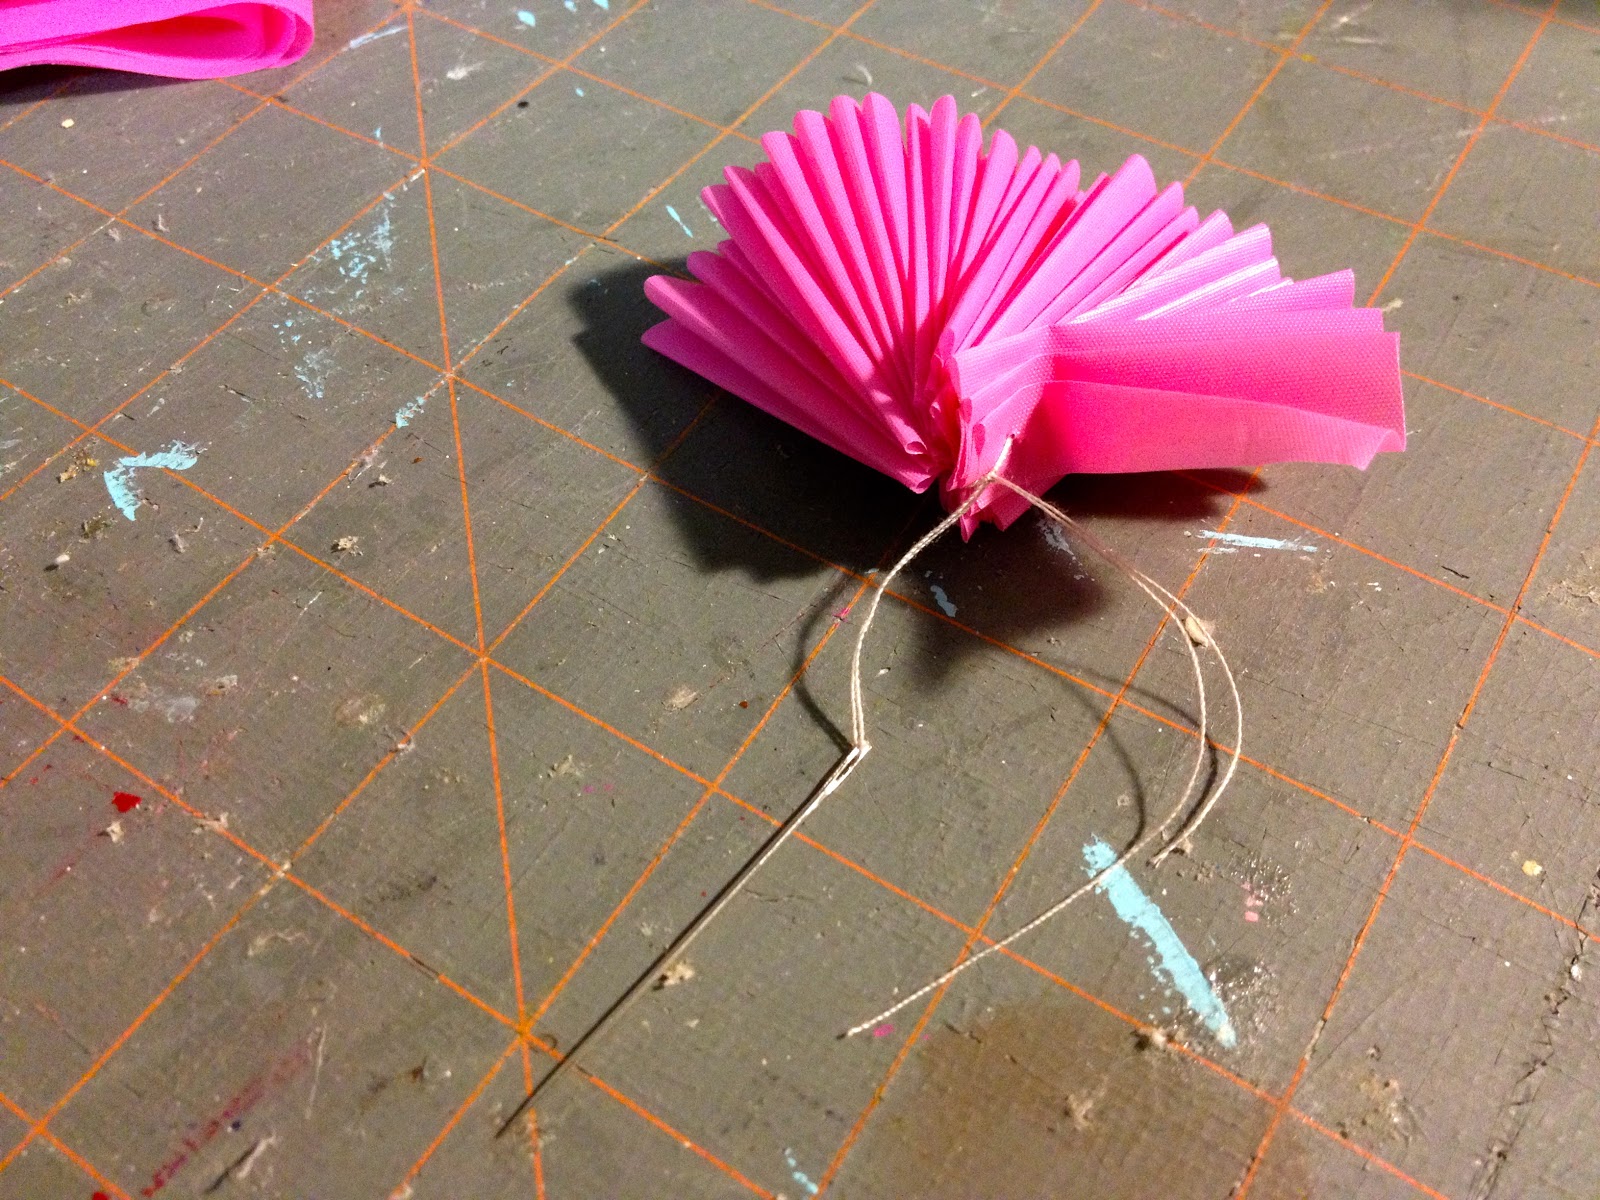
6. Prepare pink plastic rosette using plastic tablecloth cut into 1 1/2″ wide strips x 36″ long.
7. Starting at short end fold strip back and forth like a fan.
Once it’s all stacked up use a needle and thread through one end and tie a knot to secure:
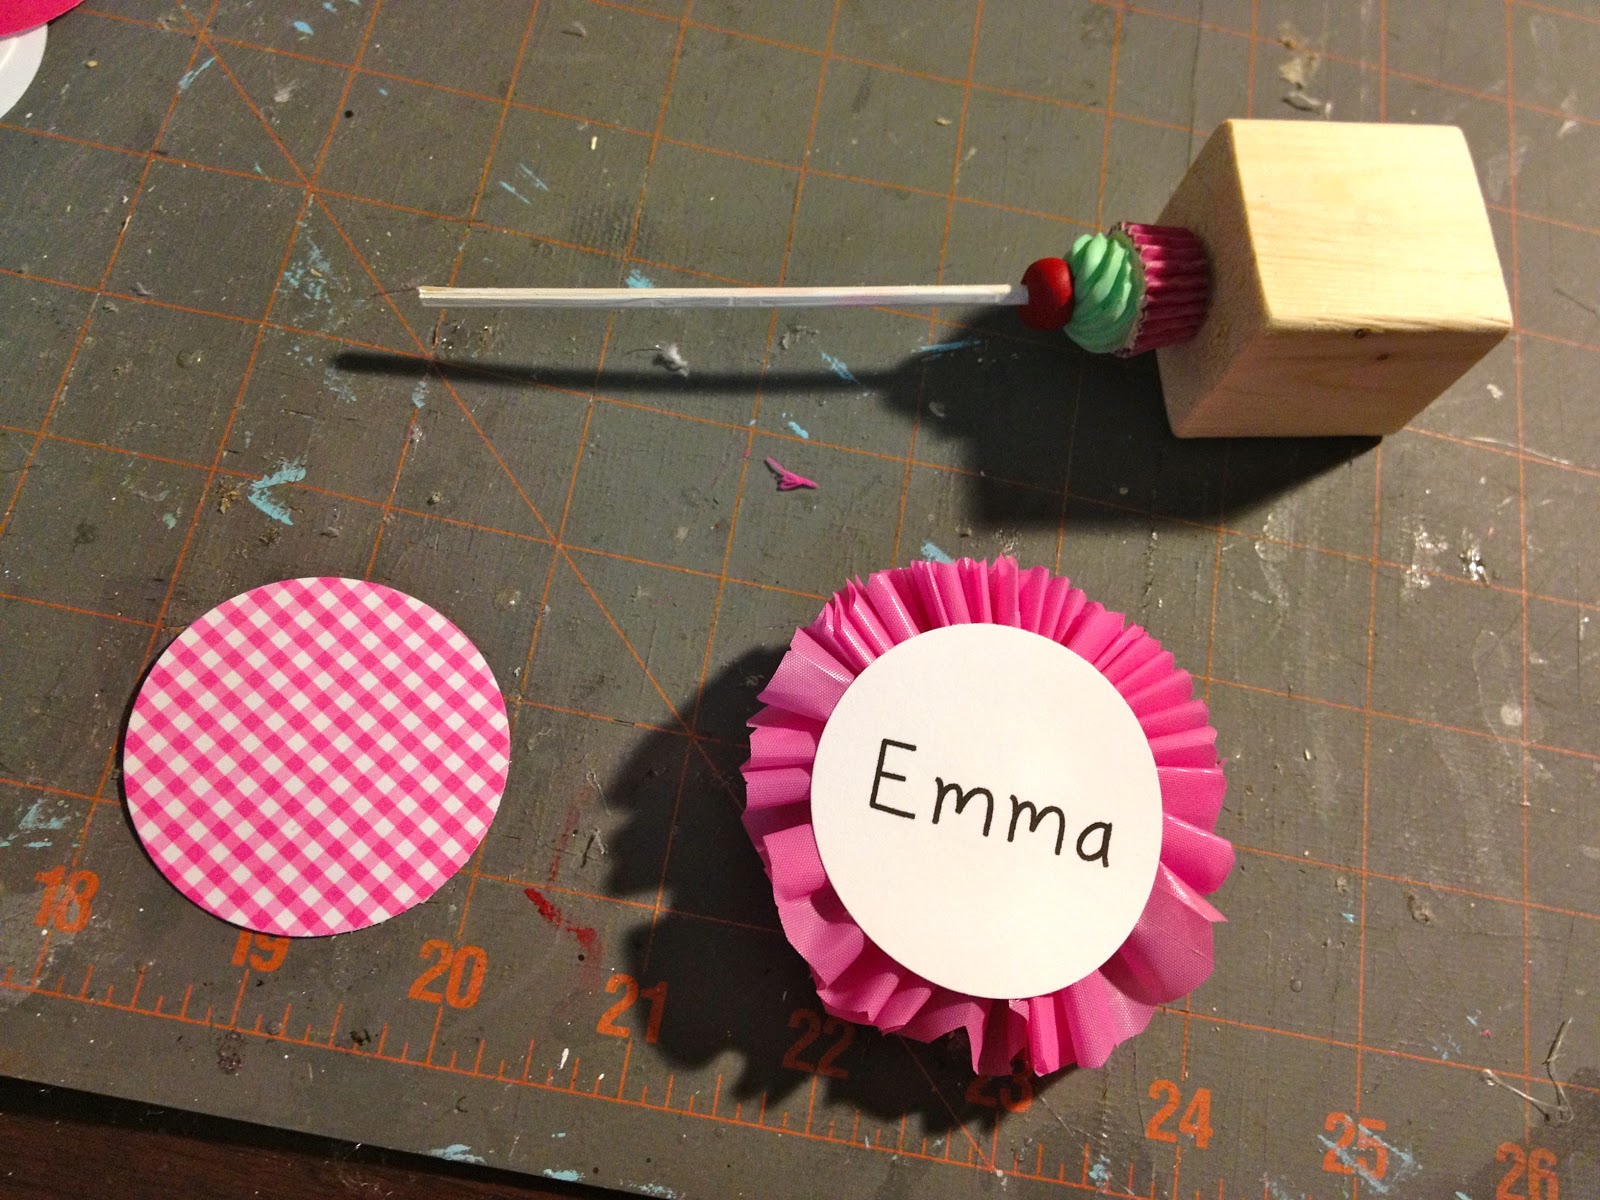
8. Glue open ends of rosette together and punch out names and backing paper with 2″ circle punch:

9. Hot glue name onto front of rosette, manuever folds of rosette for equal spacing before glue dries:
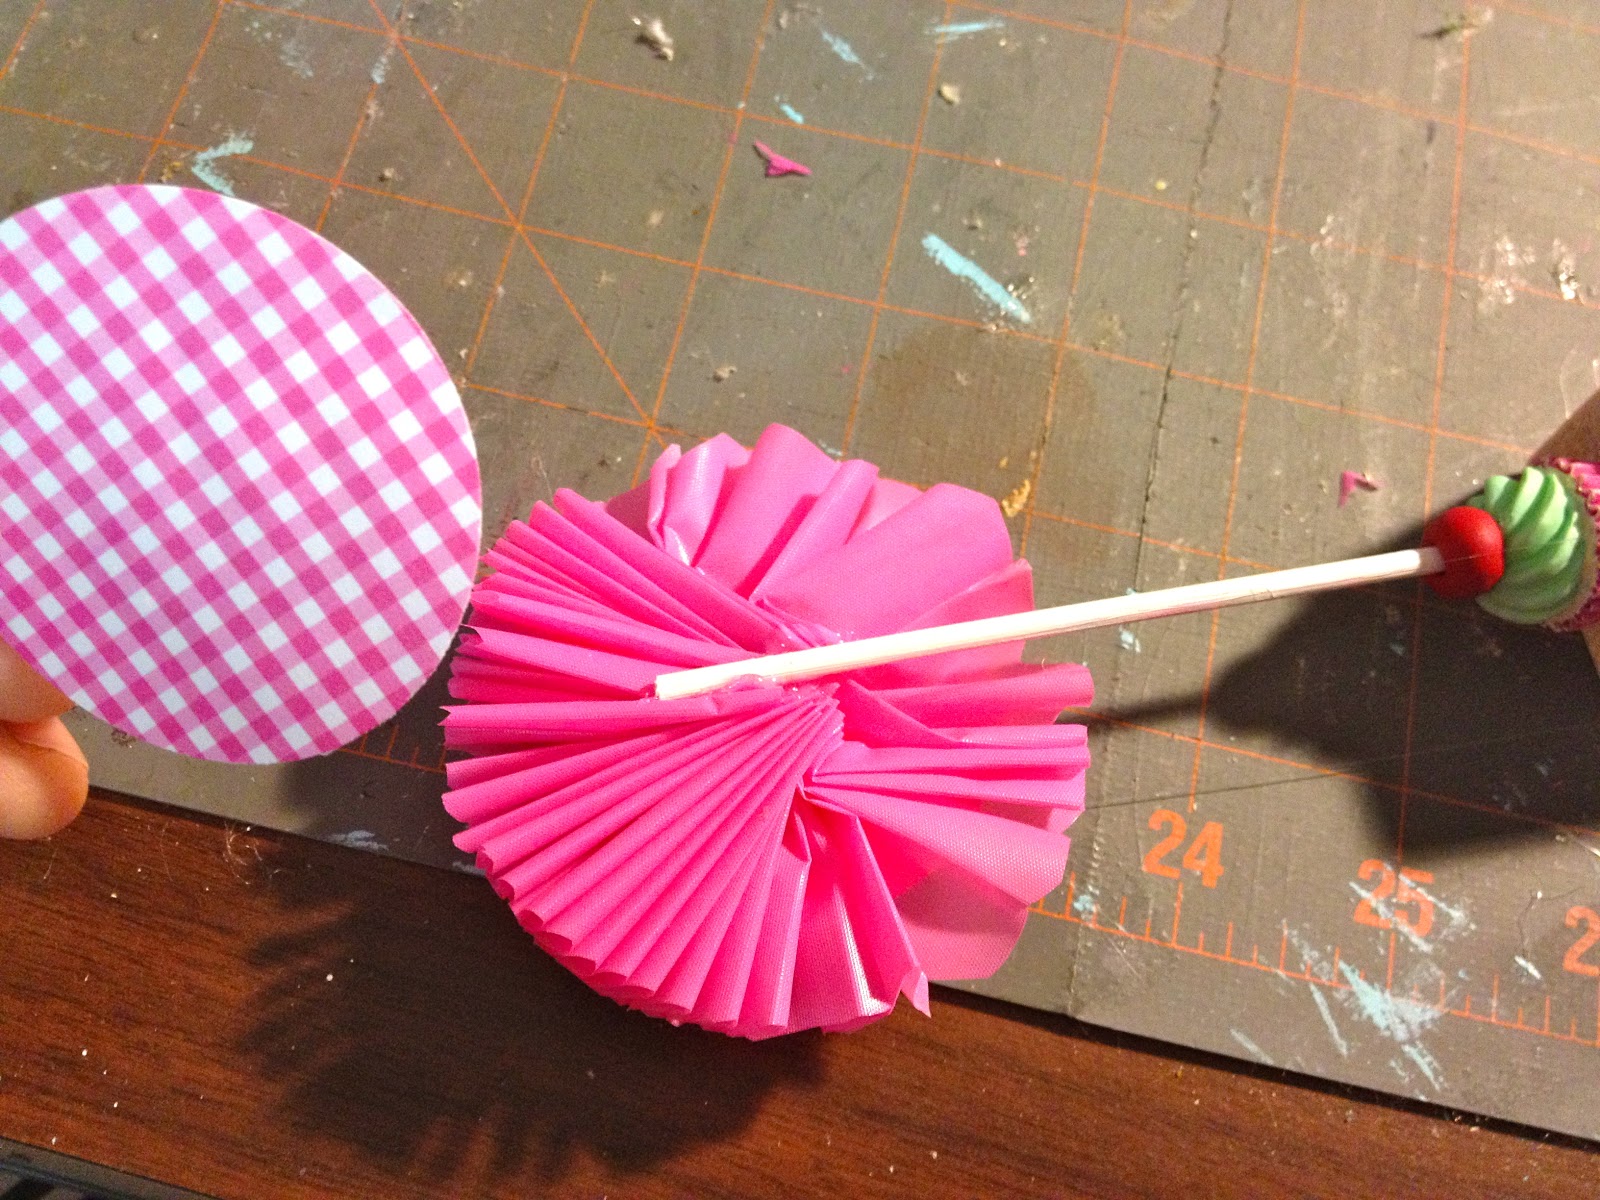
10. Glue rosette to skewer and then glue backing paper to back of rosette:

I’m linking up to:
SAS @ Funky Junk
Nifty Thrifty Sunday @ Nifty Thrifty Things
That DIY Showoff @ The DIY Showoff
Tutorials & Tips Tuesday @ Home Stories A to Z
The Scoop @ Lolly Jane
Strut Your Stuff @ Somewhat Simple
Transformation Thursday @ The Shabby Creek Cottage
Share Awesomeness Thur @ The 36th Avenue
Pretty Things Thursday @ Scissors & Spatulas
Flaunt it Friday @ Chic on a Shoestring
Frugal Friday @ The Shabby Nest
Furniture Feature Friday @ Miss Mustard Seed
SAS @ Just a Girl
Remodelaholics Anonymous @ Remodelaholic
inspiration board @ Carolyns Homework
Sunday Showcase Party @ Under the Table & Dreaming
Weekend Bloggy Reading @ Serenity Now
So cute!