• Home
  • Blog
  • About
  • Contact
    • Disclosure
    • Privacy Policy
  • SHOP
  • Widget area for main menu

    • Email
    • Facebook
    • Instagram
    • Pinterest
    • Twitter
    • YouTube
  • Skip to primary navigation
  • Skip to main content
  • Skip to primary sidebar

Jaime Costiglio

build - paint - sew

  • BUILD
    • BEDS
    • BENCHES
    • DESKS
    • DRESSERS
    • GAMES & TOYS
    • SCRAP WOOD
    • SHELVES
    • STORAGE
    • TABLES
  • TOOLS
  • PAINT
    • CRAFTS
    • FURNITURE
    • HOME DECOR
  • SEW
    • GIFTS
    • HOME DECOR
    • POUCHES
  • HANDBUILT HOLIDAY
    • 2021
    • 2019
    • 2018
    • 2017
    • 2016
    • 2015
    • 2014
    • 2013
  • GIFTS
    • BABIES
    • KIDS
    • FOR HER
    • FOR HIM
    • TEACHERS
    • WEDDINGS
  • SEASONAL
    • 4TH OF JULY
    • FALL
    • HALLOWEEN
    • CHRISTMAS
    • SUMMER
    • SPRING
    • ST. PATRICK’S DAY
    • THANKSGIVING
    • VALENTINE’S DAY
    • WINTER
  • SALTBOX PROJECT
    • BATHROOMS
    • DINING ROOM
    • EXTERIOR
    • FAMILY ROOM
    • FOYER / MUDROOM
    • KIDS BEDROOMS
    • KITCHEN
    • LIVING ROOM
    • MASTER BEDROOM
    • PLAYROOM
  • SCROLL SAW

DIY Sports Themed Growth Chart

July 2, 2014

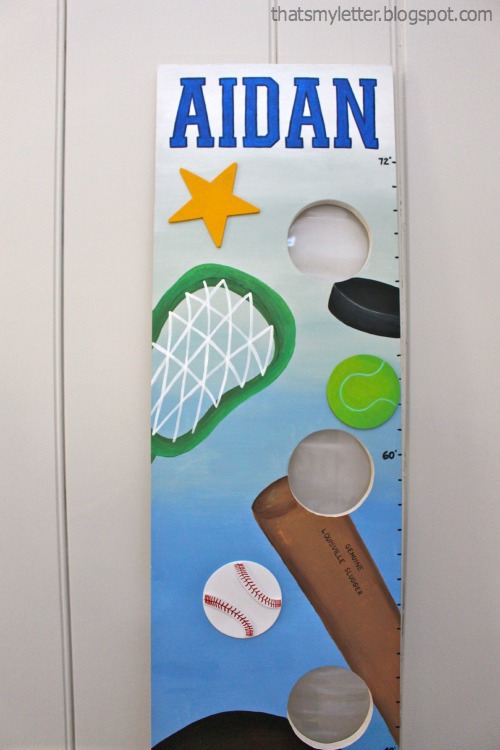
diy sports growth chart
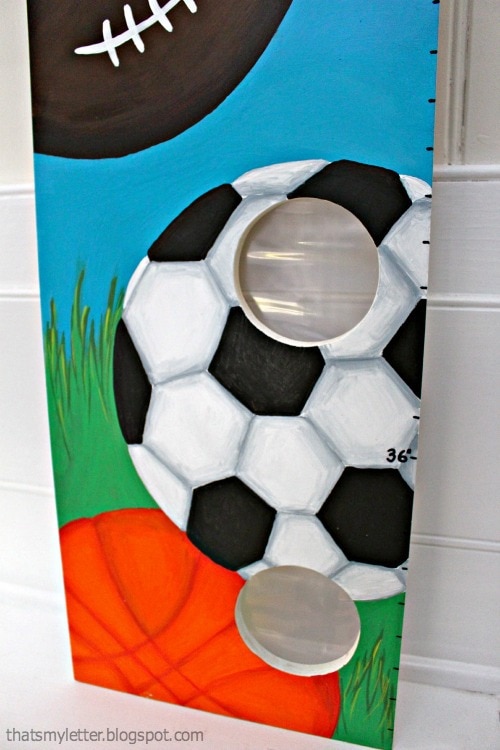
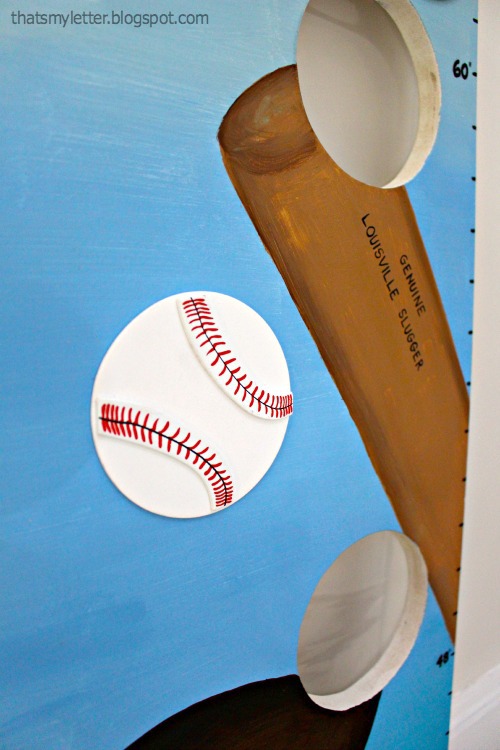
Make your own handpainted sports themed growth chart with picture slots.
diy sports themed growth chart

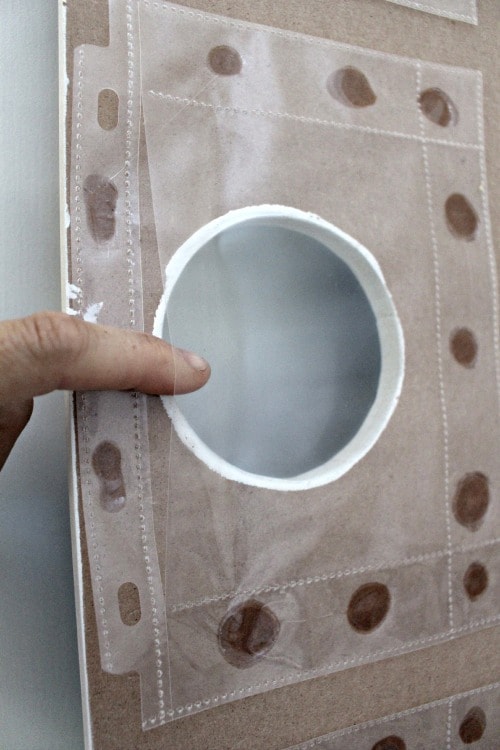
Each circular hole has a plastic sleeve secured to the back where Aidan’s mom can insert a picture.

personalized sports themed growth chart

growth chart with plastic picture sleeve
diy personalized growth chart

sports growth chart
How to make a growth chart with picture slot:
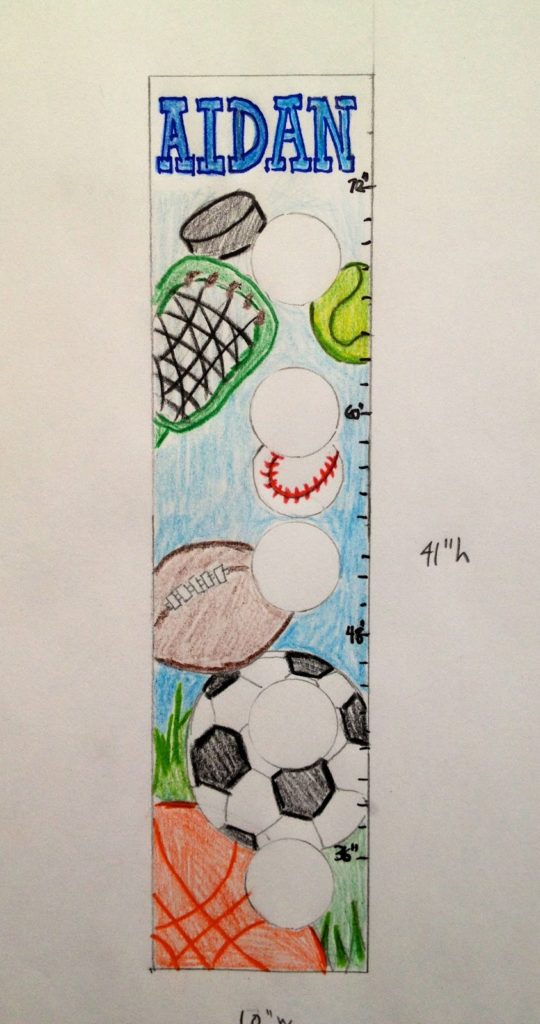
sports growth chart sketch
Step 1: Sketch out your design for reference.
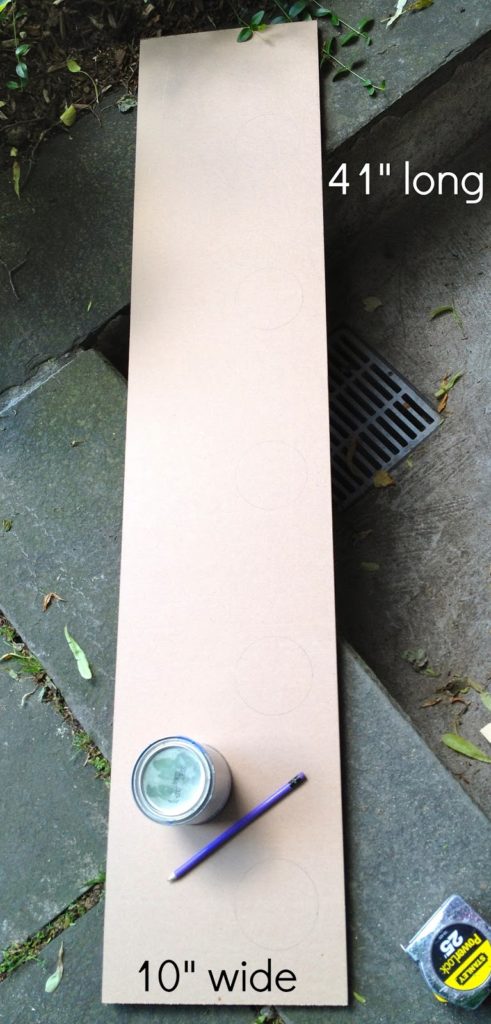
mdf board
Step 2: Cut 1/2″ mdf board to 10″ x 41″.  Trace paint can or similar 4″ round object to make equally spaced picture holes.
Cut out holes with jig saw.
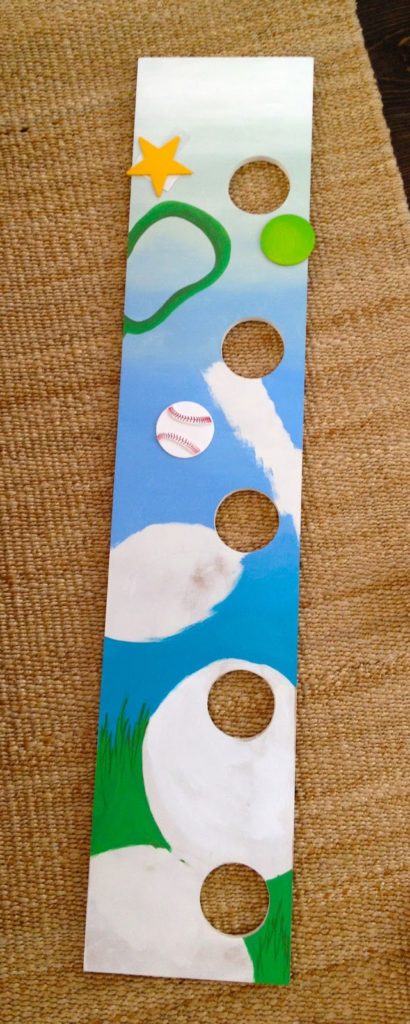
handpainted sports theme
Step 3: Prime and begin with background paint.

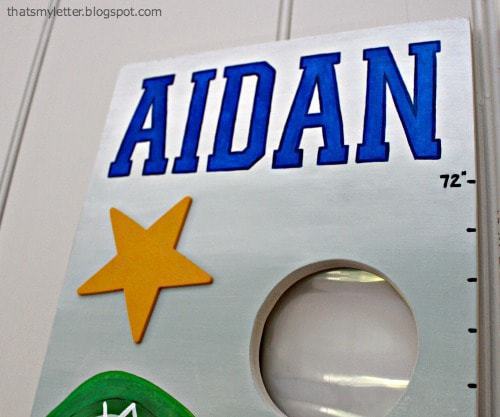
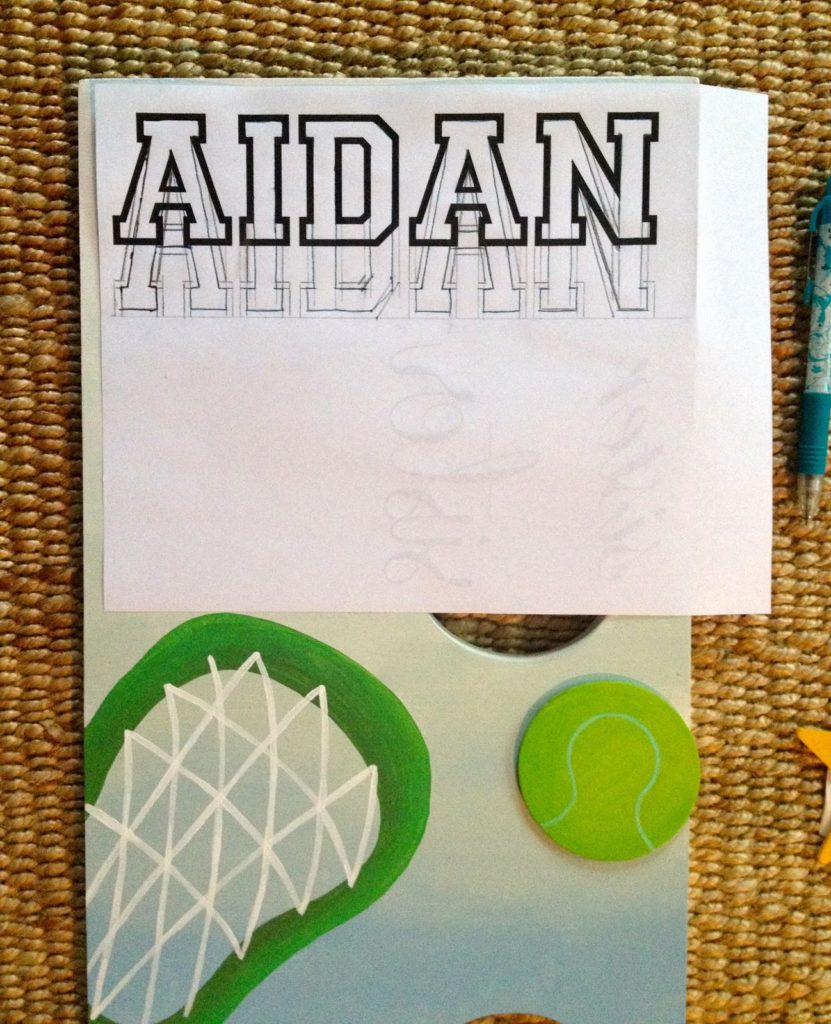
diy personalization
Step 4: Add name.  Print out to size then trace letters with ballpoint pen to leave indent.

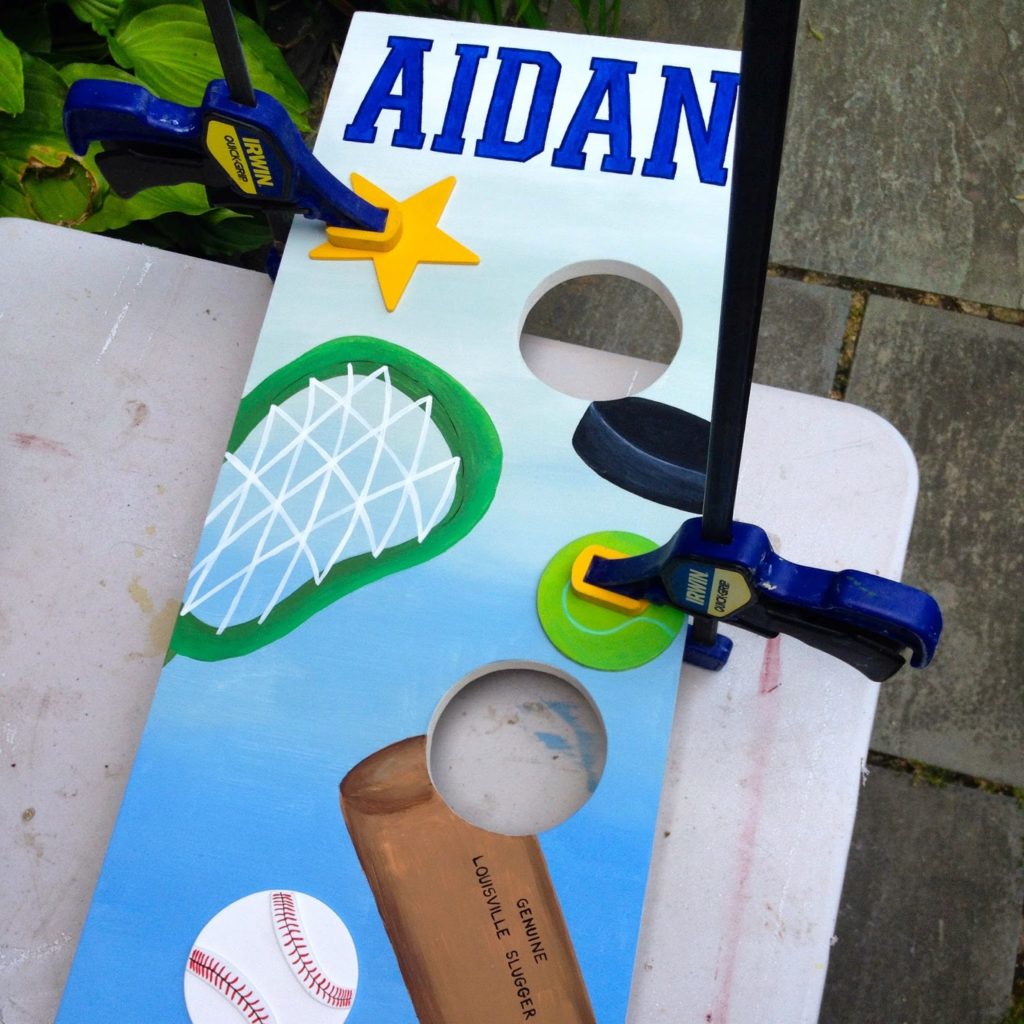
attach wood cut outs
Step 5: Add wood cuts with wood glue and clamps.
Seal everything with clear gloss poly.
adhere plastic sleeves
Step 6: Glue plastic picture sleeves to back using E6000.
Add sawtooth hanger at center top.
For more DIY growth chart ideas:
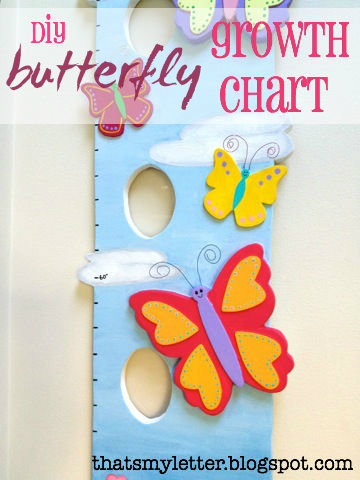
diy butterfly growth chart
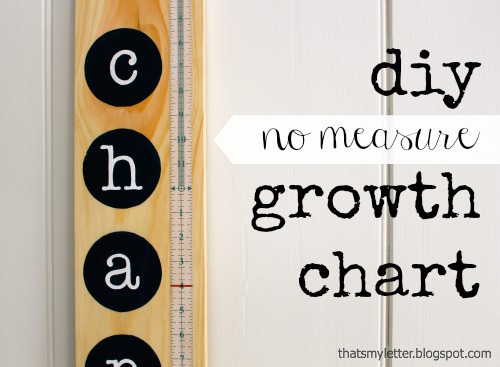
 diy growth chart

You may also like...

  • DIY Growth ChartDIY Growth Chart
  • DIY Wood Cut Out Name PlaqueDIY Wood Cut Out Name Plaque
  • DIY Giant Wood BuntingDIY Giant Wood Bunting
  • DIY Simple Personalized PillowsDIY Simple Personalized Pillows
Share this post:

Filed Under: BABIES, CRAFTS, DIY, GIFTS, HOME DECOR, HOME DECOR, KIDS, PAINTLeave a Comment

Reader Interactions

Leave a Reply Cancel reply

Your email address will not be published. Required fields are marked *

Primary Sidebar

Hi! I’m Jaime

Jaime Costiglio

Hello!

Thank you for stopping by.
Join me for lots of DIY.

Read more

Get new posts via email

Handbuilt Holiday: Gift Project Plans

handbuilt holiday gift project plans

Collection of DIY gift project plans to build.

The Home Depot Tool Prospective

THD Prospective

Tools to consider for the DIYer.

Archives

The Home Depot Logo
Copyright © 2023 Jaime Costiglio · Custom site by Moonsteam Design

Privacy Policy