• Home
  • Blog
  • About
  • Contact
    • Disclosure
    • Privacy Policy
  • SHOP
  • Widget area for main menu

    • Email
    • Facebook
    • Instagram
    • Pinterest
    • Twitter
    • YouTube
  • Skip to primary navigation
  • Skip to main content
  • Skip to primary sidebar

Jaime Costiglio

build - paint - sew

  • BUILD
    • BEDS
    • BENCHES
    • DESKS
    • DRESSERS
    • GAMES & TOYS
    • SCRAP WOOD
    • SHELVES
    • STORAGE
    • TABLES
  • TOOLS
  • PAINT
    • CRAFTS
    • FURNITURE
    • HOME DECOR
  • SEW
    • GIFTS
    • HOME DECOR
    • POUCHES
  • HANDBUILT HOLIDAY
    • 2021
    • 2019
    • 2018
    • 2017
    • 2016
    • 2015
    • 2014
    • 2013
  • GIFTS
    • BABIES
    • KIDS
    • FOR HER
    • FOR HIM
    • TEACHERS
    • WEDDINGS
  • SEASONAL
    • 4TH OF JULY
    • FALL
    • HALLOWEEN
    • CHRISTMAS
    • SUMMER
    • SPRING
    • ST. PATRICK’S DAY
    • THANKSGIVING
    • VALENTINE’S DAY
    • WINTER
  • SALTBOX PROJECT
    • BATHROOMS
    • DINING ROOM
    • EXTERIOR
    • FAMILY ROOM
    • FOYER / MUDROOM
    • KIDS BEDROOMS
    • KITCHEN
    • LIVING ROOM
    • MASTER BEDROOM
    • PLAYROOM
  • SCROLL SAW

DIY Wood Cut Out Name Plaque

March 27, 2017

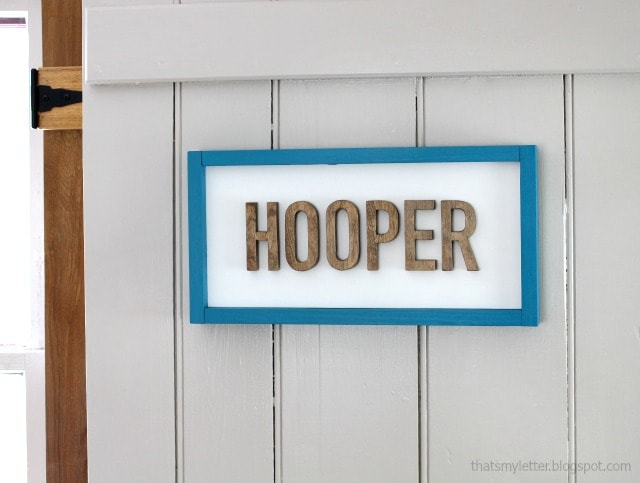
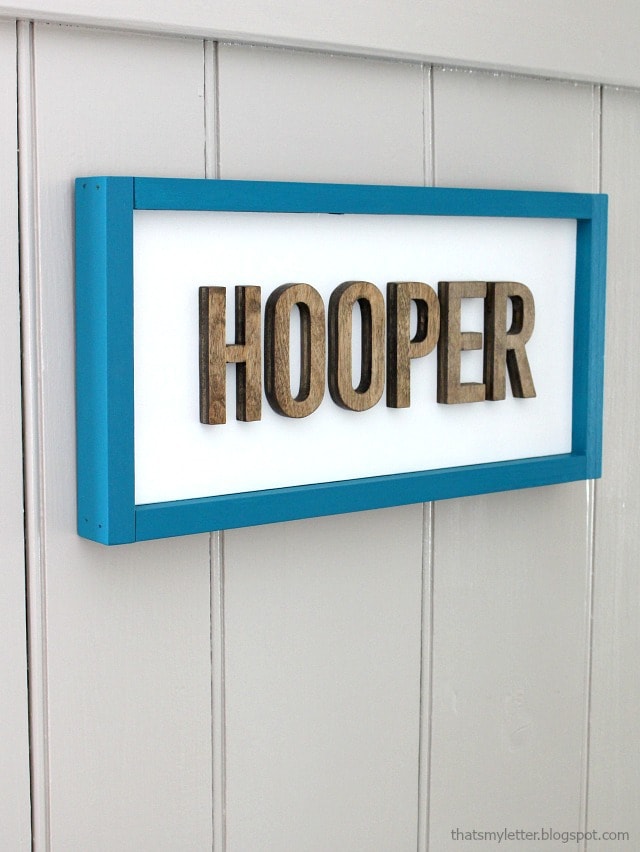
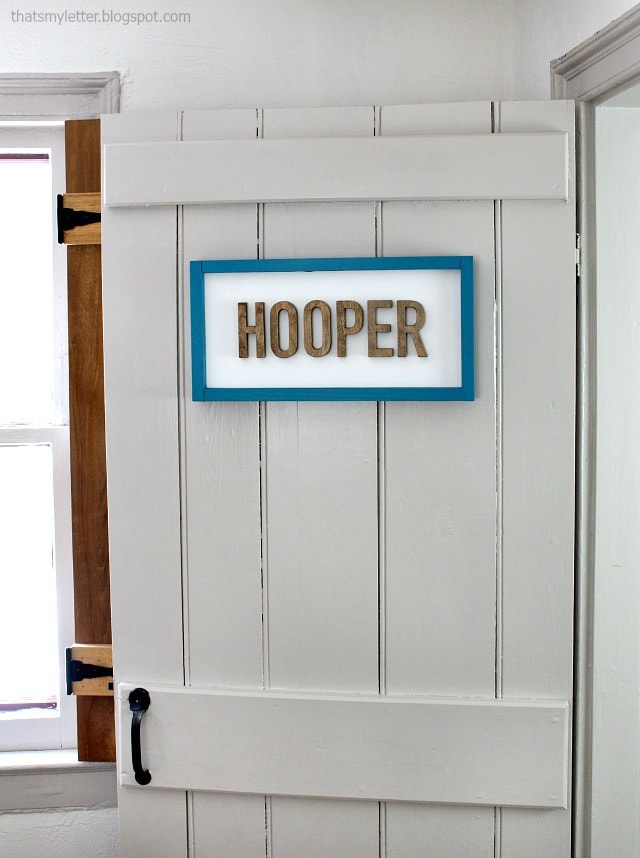
Given a little advance warning you can easily make a personalized gift for any occassion.  I recently went to a dinner party and rather than bring the typical bottle of wine I made a wood cut out name plaque for the family.  Of course I’d be happy to receive a bottle wine, that’s perfectly acceptable, but I prefer to make a unique gift.
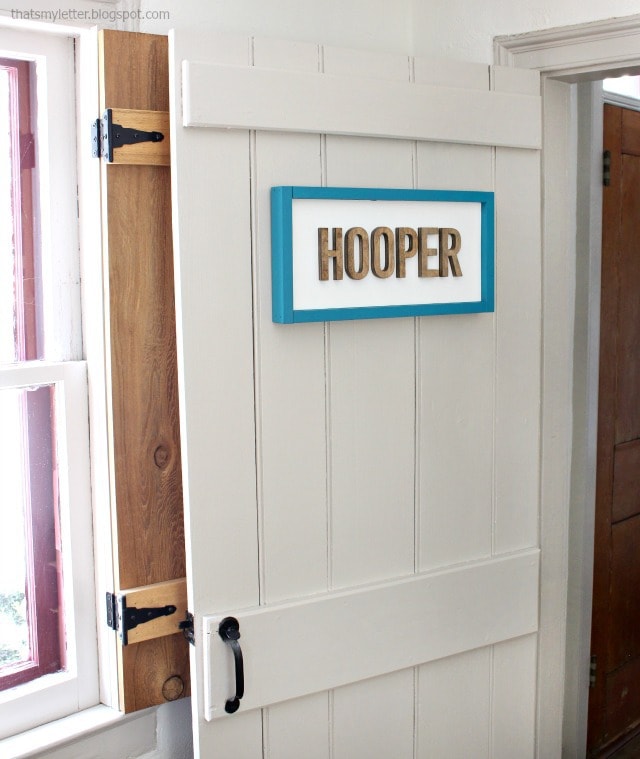
diy wood cut out name plaque
I used scrap wood to put together this last name plaque and cut out the letters from 1/2″ plywood but you could easily purchase premade letters and achieve a similar look.
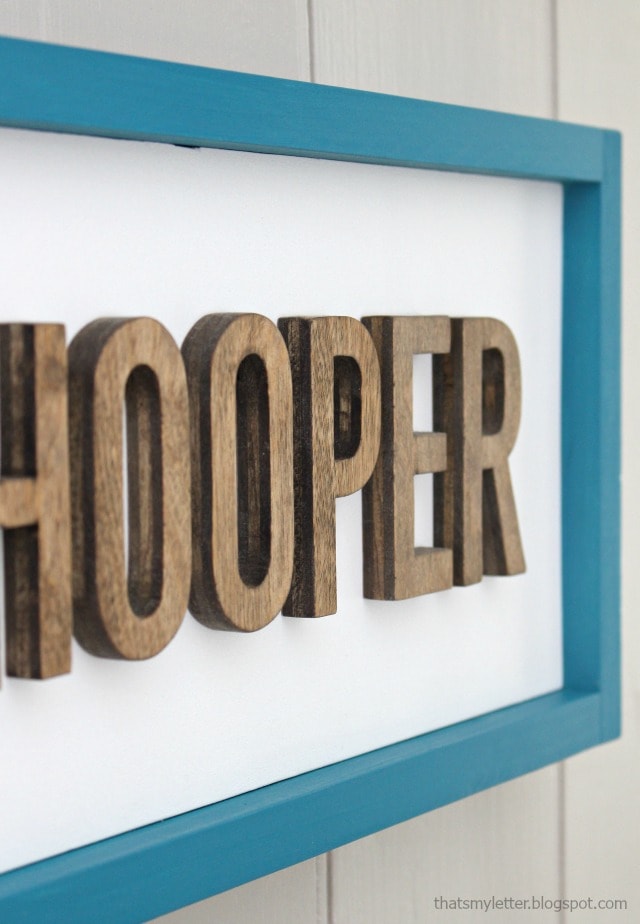
plywood cut out letters
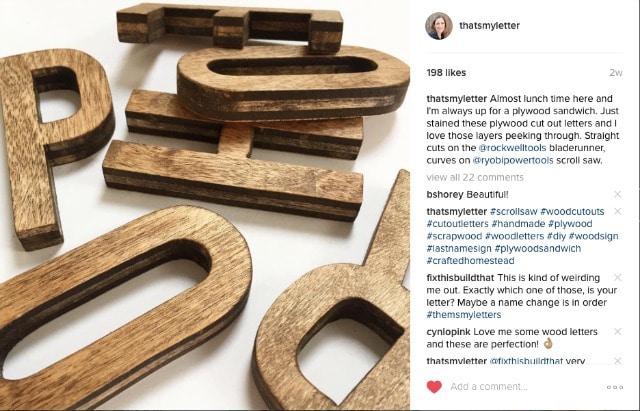
I just love seeing the plywood sandwich layers under the stain and all the grainy bits poking through.
diy wood cut out last name plaque

Down below I’ll show you how to cut out the letters and assemble this name plaque.

diy wood cut out last name plaque

plywood last name plaque
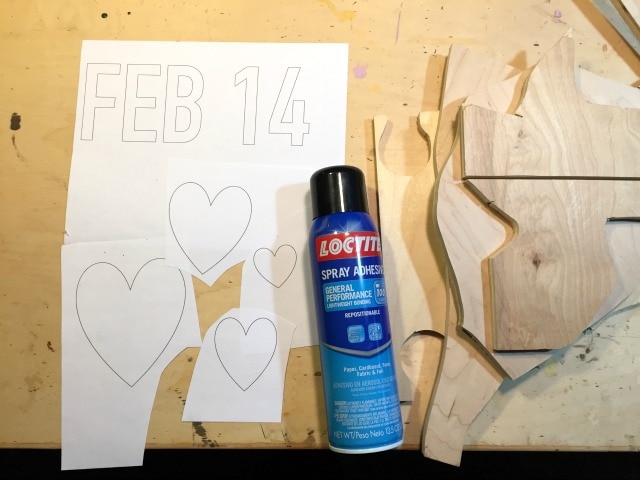
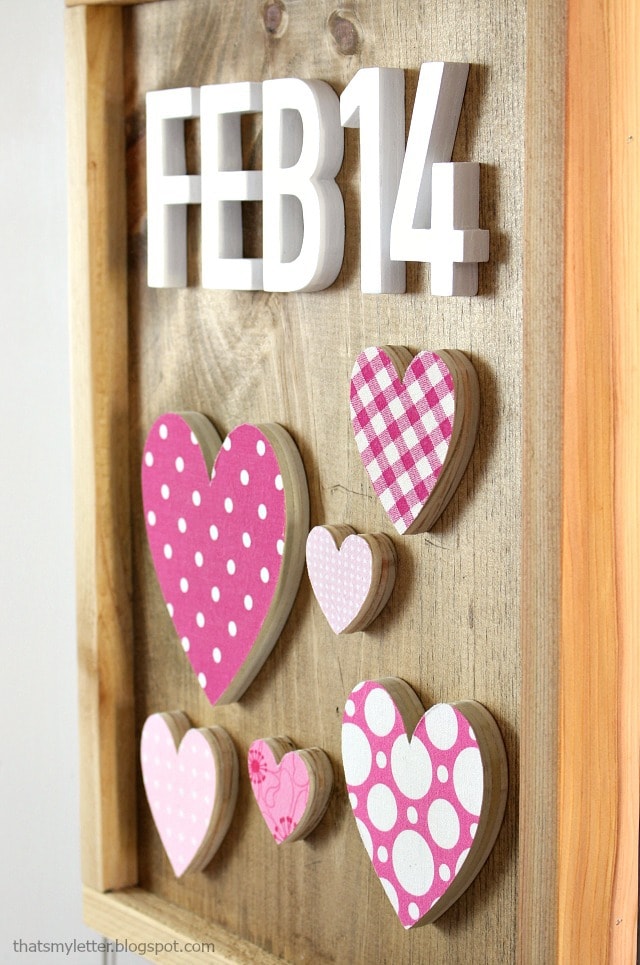
This wood cut out name plaque is similar to the wood cut out valentine decor I shared a few weeks back.  First decide which font and size you want the lettering.  Print out the letters (use an outline for less ink waste).

how to make wood cut out letters
*This post contains affiliate links below.
Step 1: Use spray adhesive on the back of each letter and apply to 1/2″ plywood scraps.

wood cut outs using a bladerunner
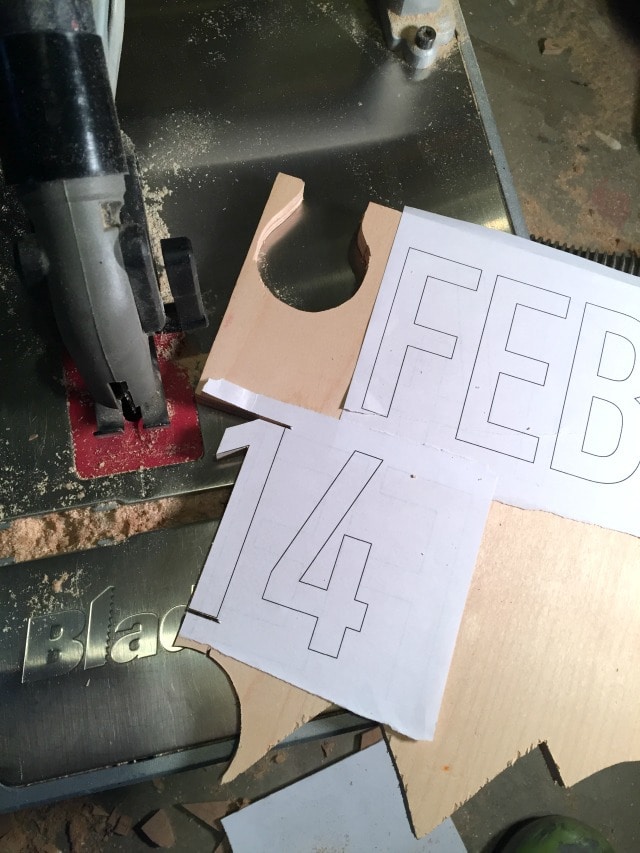
Step 2: Cut out each letter using a jig saw, band saw, bladerunner or scroll saw.  I prefer the bladerunner for the straight cuts.

wood cut out letters on a scroll saw
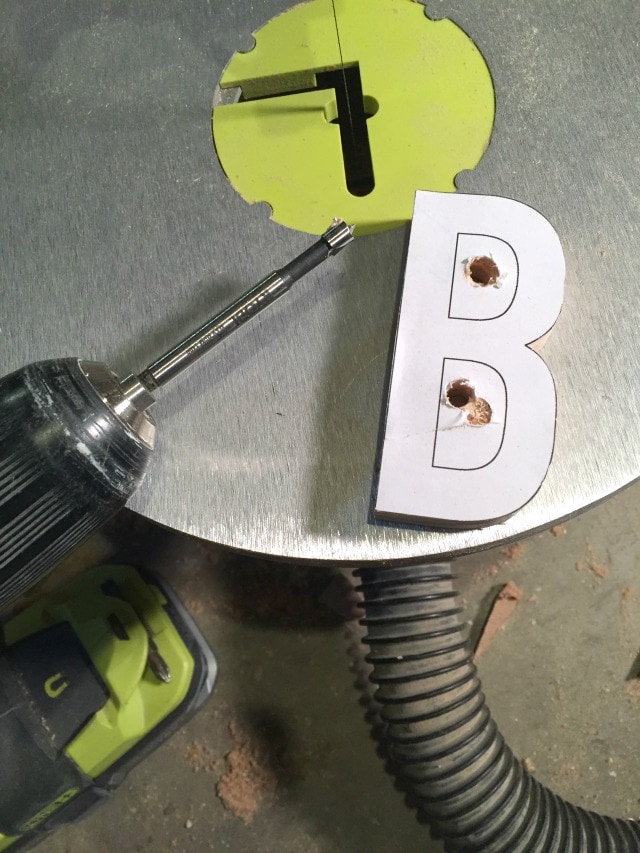
Step 3: Then I use the scroll saw for the curvy cuts.  It takes some pratice to get the letters perfect but it’s worth it because the possibilities are endless!

scrap plywood cut out letters
Step 4: Once the letters are cut out remove the paper and sand smooth.
stained plywood cut out letters
Step 5: For this last name plaque I opted to stain the letters and shared a peek on Instagram.
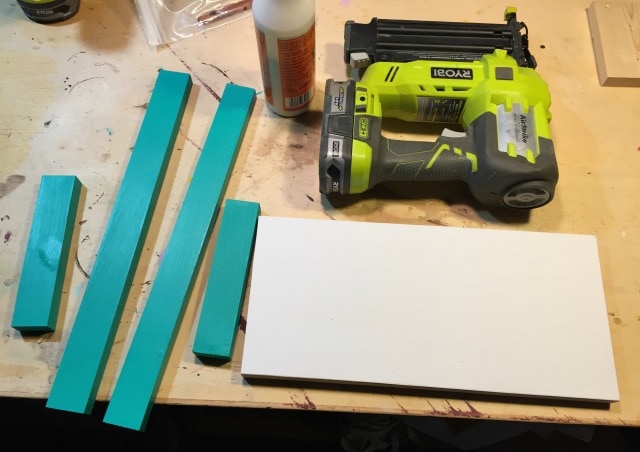
wood frame with painted trim
Step 6: To make the frame paint the background wood white.  Cut 1×2 trim to fit and paint before assembly.

diy wood frame with painted trim
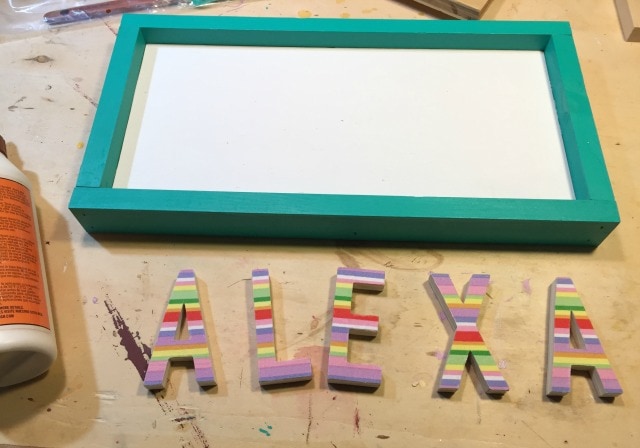
Step 7: Attach the frame edges using wood glue and 1 1/4″ finish nails.  Then adhere the letters to the background board using wood glue.  I use a small paintbrush to smooth the glue over the entire back of each letter then press firmly in place.
diy wood frame with painted trim on instagram
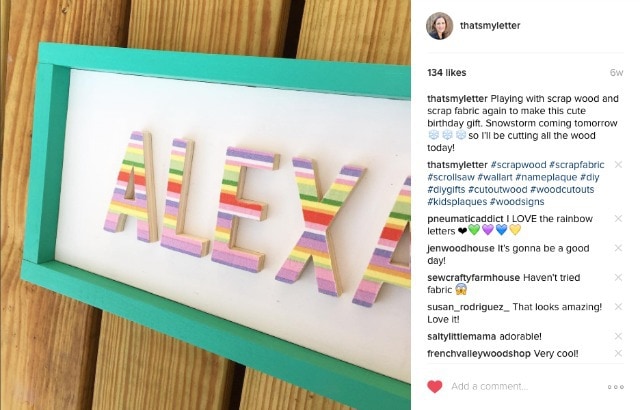
For this ‘Alexa’ name plaque I used decopauge to adhere fabric to the letters.  This name plaque was for a young girl for her birthday so I thought it was more fun to add the colorful fabric.
diy wood cut out name plaque
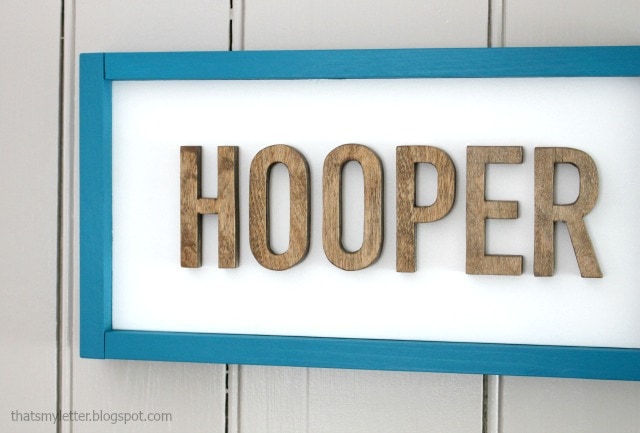
The stained letters are more subtle but still make a beautiful finished piece and truly unique.
diy wood cut out valentines heart wall decor
SHOP THIS POST:

You may also like...

  • DIY Danger Keep Out Skull & Crossbones SignDIY Danger Keep Out Skull & Crossbones Sign
  • DIY Handpainted Thirty-One Gifts SignDIY Handpainted Thirty-One Gifts Sign
  • “C” is for Chalkboard“C” is for Chalkboard
  • Cross Stitch Monogram Ornament PlacecardCross Stitch Monogram Ornament Placecard
Share this post:

Filed Under: BABIES, DIY, FOR HER, FOR HIM, GIFTS, HOME DECOR, HOME DECOR, KIDS, PAINT, SCRAP WOOD, SCROLL SAW, TEACHERS, WEDDINGS4 Comments

Reader Interactions

Comments

  1. Cilla says

    January 14, 2019 at 10:07 PM

    HI, I love this idea. What is the font called? Thanks so much

    Reply
    • Jaime says

      January 15, 2019 at 6:22 AM

      Thanks Cilla, The font I used in this project is called DIN.

      Reply
  2. cathy deecher says

    August 13, 2020 at 6:19 AM

    hey Jamie
    I love this idea very much, how tall are the letters and what are the dimensions of the frame, love your web site, would like more scroll patterns to, thank you so much

    Reply
    • Jaime says

      August 13, 2020 at 1:56 PM

      Hi Cathy, I apologize but this was a gift I made awhile back and I don’t have the exact dimensions.

      Reply

Leave a Reply Cancel reply

Your email address will not be published. Required fields are marked *

Primary Sidebar

Hi! I’m Jaime

Jaime Costiglio

Hello!

Thank you for stopping by.
Join me for lots of DIY.

Read more

Get new posts via email

Handbuilt Holiday: Gift Project Plans

handbuilt holiday gift project plans

Collection of DIY gift project plans to build.

The Home Depot Tool Prospective

THD Prospective

Tools to consider for the DIYer.

Archives

The Home Depot Logo
Copyright © 2023 Jaime Costiglio · Custom site by Moonsteam Design

Privacy Policy