• Home
  • Blog
  • About
  • Contact
    • Disclosure
    • Privacy Policy
  • SHOP
  • Widget area for main menu

    • Email
    • Facebook
    • Instagram
    • Pinterest
    • Twitter
    • YouTube
  • Skip to primary navigation
  • Skip to main content
  • Skip to primary sidebar

Jaime Costiglio

build - paint - sew

  • BUILD
    • BEDS
    • BENCHES
    • DESKS
    • DRESSERS
    • GAMES & TOYS
    • SCRAP WOOD
    • SHELVES
    • STORAGE
    • TABLES
  • TOOLS
  • PAINT
    • CRAFTS
    • FURNITURE
    • HOME DECOR
  • SEW
    • GIFTS
    • HOME DECOR
    • POUCHES
  • HANDBUILT HOLIDAY
    • 2021
    • 2019
    • 2018
    • 2017
    • 2016
    • 2015
    • 2014
    • 2013
  • GIFTS
    • BABIES
    • KIDS
    • FOR HER
    • FOR HIM
    • TEACHERS
    • WEDDINGS
  • SEASONAL
    • 4TH OF JULY
    • FALL
    • HALLOWEEN
    • CHRISTMAS
    • SUMMER
    • SPRING
    • ST. PATRICK’S DAY
    • THANKSGIVING
    • VALENTINE’S DAY
    • WINTER
  • SALTBOX PROJECT
    • BATHROOMS
    • DINING ROOM
    • EXTERIOR
    • FAMILY ROOM
    • FOYER / MUDROOM
    • KIDS BEDROOMS
    • KITCHEN
    • LIVING ROOM
    • MASTER BEDROOM
    • PLAYROOM
  • SCROLL SAW

DIY Simple Personalized Pillows

April 28, 2015

diy personalized lumbar pillow
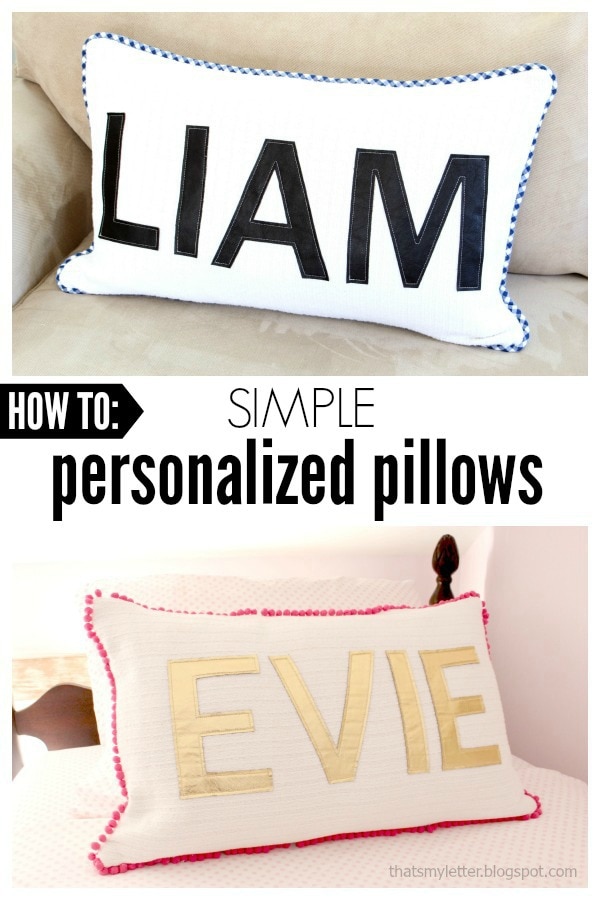
How to make simple personalized pillows.  A sewing project that makes a great gift and pretty decor too!
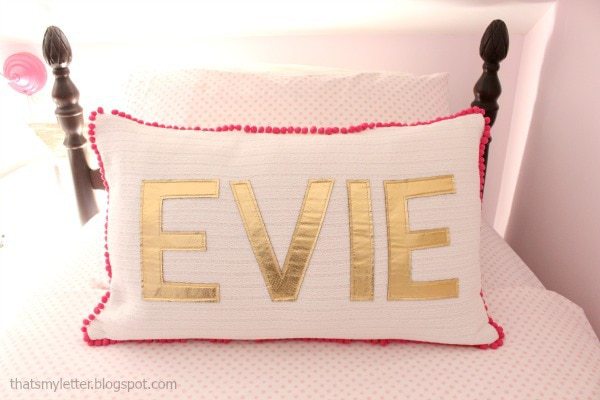
gold faux leather name pillow
In case you’re wondering I made these pillows for my friend Jen at The House of Wood as a thank you gift.  She has two little ones so I made one pillow for her daughter and one for her son.
Unknowingly her daughter’s pillow fits right in on her cuter than cute diy toddler bed, look below!

Since my little lady doesn’t have a nightstand and I have yet to build her one (it’s on the list!), I whipped up this adorable shelf out of scrap wood to house (hehe – get it?) a few of her favorite bedtime books. Tutorial coming soon. I built her toddler bed (free plans available on the blog!) and I make and sell those wood name signs in my Etsy shop. Did you spy her pretty personalized pom-pom pillow? That was lovingly handmade by Jaime from @thatsmyletter. 💕
A photo posted by Jen Woodhouse | House of Wood (@jenwoodhouse) on Apr 17, 2015 at 12:41pm PDT


I do love to sew (and build and paint) so whenever I can make something for others it’s so much more meaningful than going out and buying at a retail store.
diy blanket pillow with pom pom trim
I used a white blanket as the base for these pillows but you could use any fabric.  Evie’s pillow has gold pleather letters and bright pink pom pom trim.

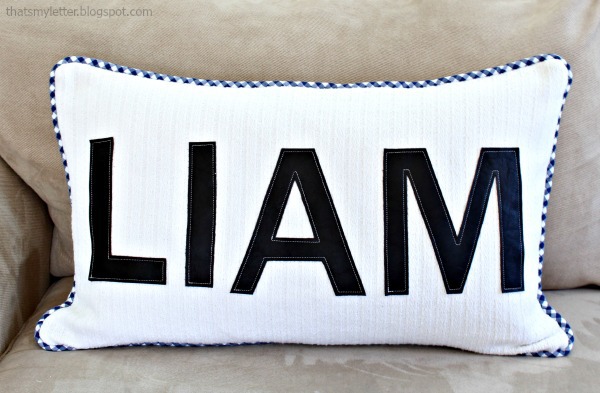
leather letters on pillow
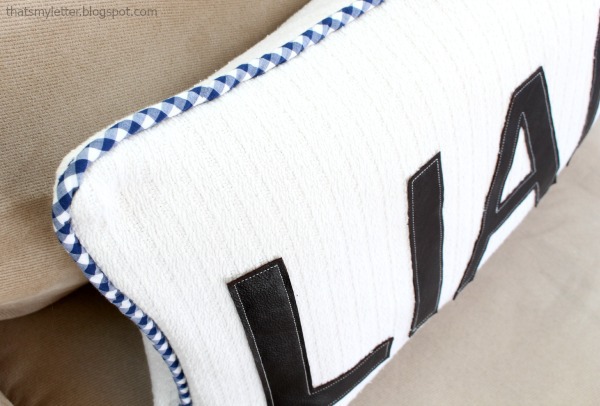
For Liam I choose a more masculine brown leather with blue and white gingham piping.

blanket pillow with gingham bias piping
These pillow covers are made to fit the Ikea Fjadrar insert.  The finished size is 26″w x 16″h.
How to make a personalized pillow:
how to make personalized pillows
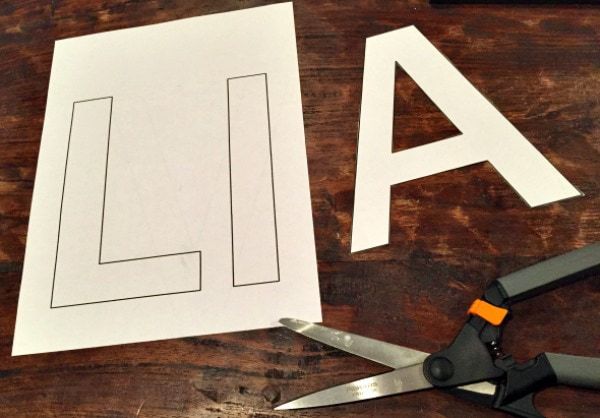
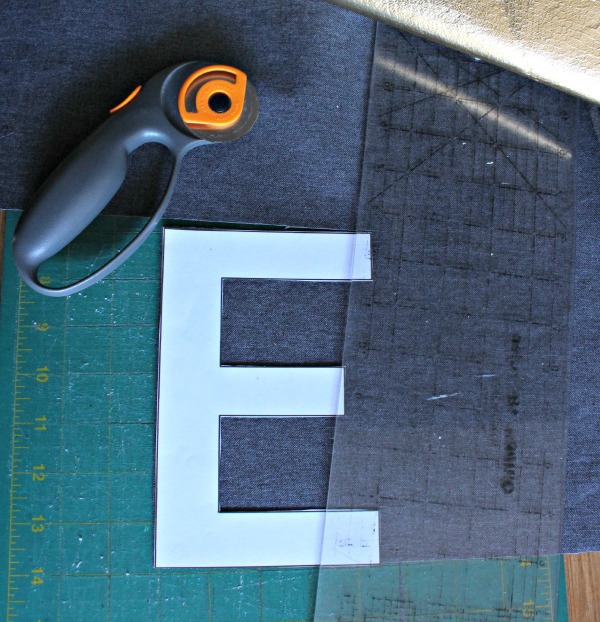
Step 1: Print out the letters.  I used Franklin Gothic Medium font at 750 point.  Cut out letters.

cutting out letters from gold fabric
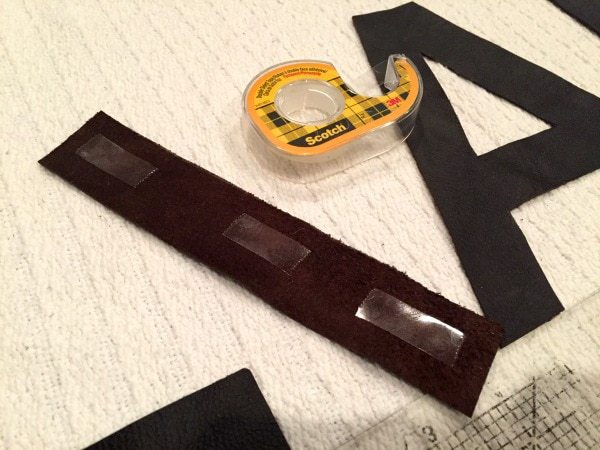
Step 2: Place letters on wrong side of fabric/leather, be sure letter is backwards.  You could trace with a white pencil then cut out.  DO NOT PIN leather.  The pins will leave a hole.

taping leather letters to blanket pillow
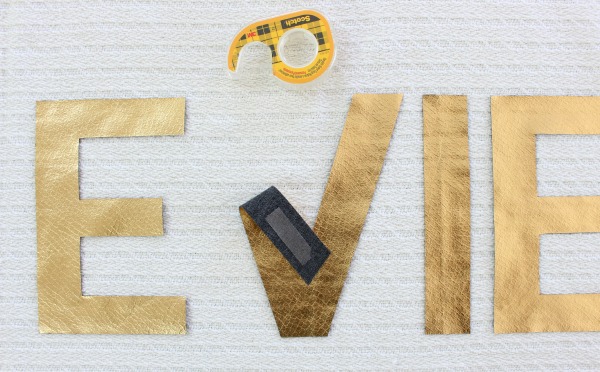
Step 3: Cut out 2 blanket pieces 27″ x 17″.  Apple double stick tape to back of letters.
taping gold letters to blanket pillow
Position letters in center of front blanket piece and press tape in place.

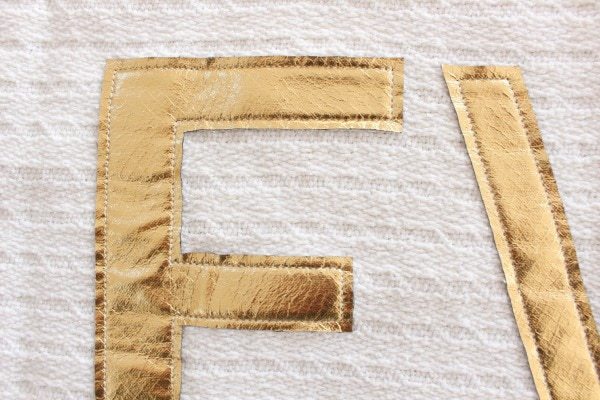
top stitch gold letters in position
Step 4: Straight stitch letters in place 1/8″ from edge.
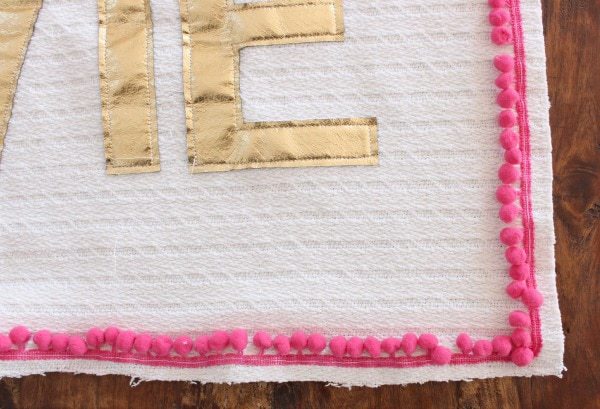
sew pom pom trim to pillow front
Step 5: Sew pom pom trim in place 1/2″ from raw edge of front blanket piece.
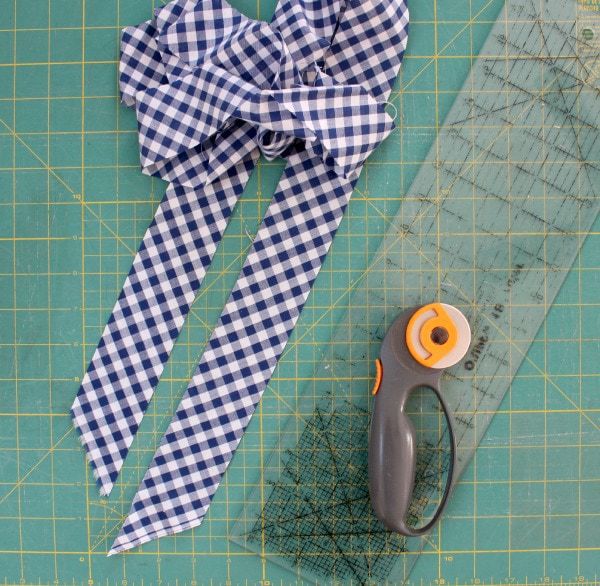
bias cut gingham strips
Piping: Cut 1 1/2″ bias strips.  Sew strips together to make one long piece about 90″ long.

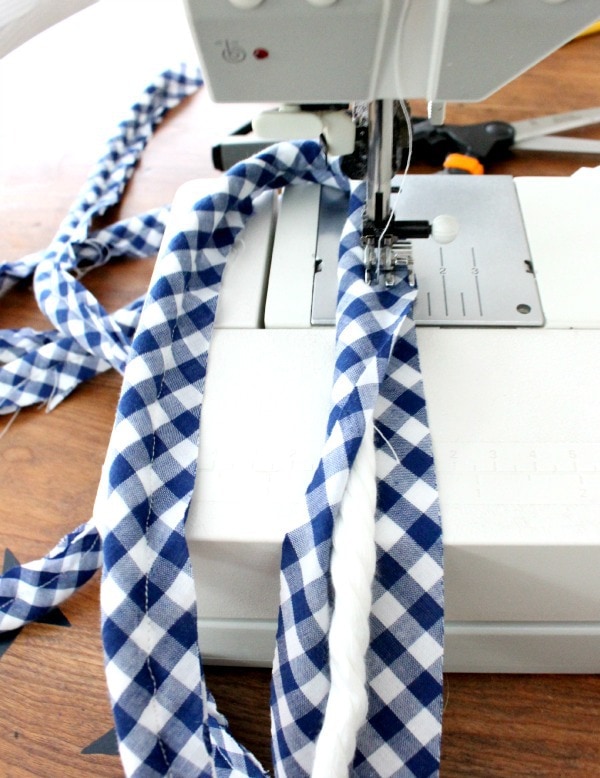
making gingham piping
Use 3/8″ cotton cording and a zipper foot to wrap binding around cord then stitch shut.
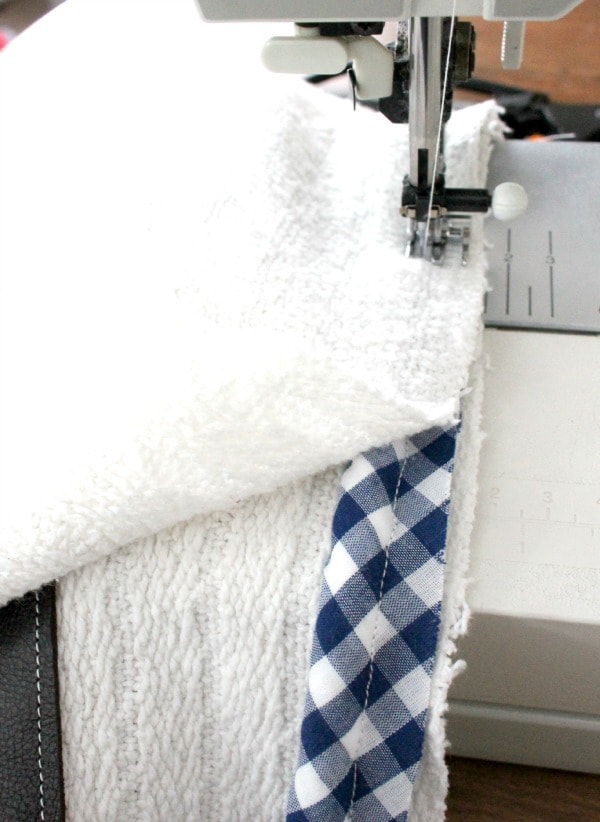
Sew binding to pillow front same as Step 5 above.
sewing piping to pillow
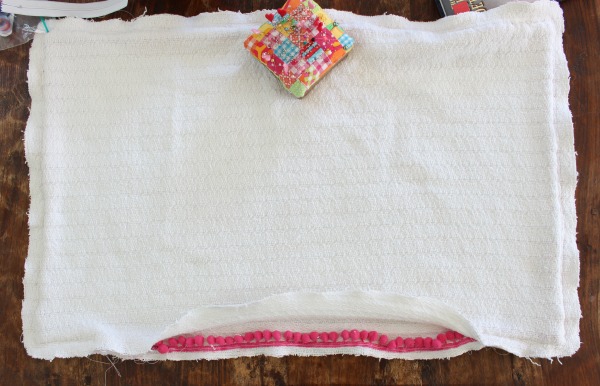
Step 6: Place back blanket piece on top of front and sew together leaving about 16″ open at center bottom.
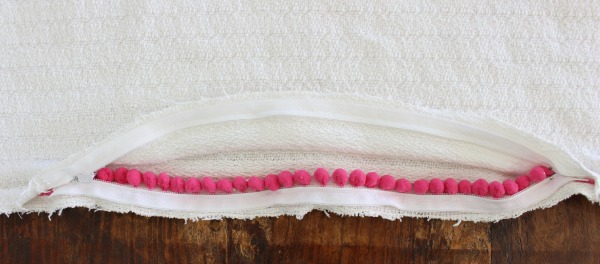
zipper opening in pillow
Above is the opening left for the zipper.  I also trimmed the corners.

sew zipper into pillow opening
Step 7: Pin and sew the zipper in place.
Turn right side out and insert pillow form.
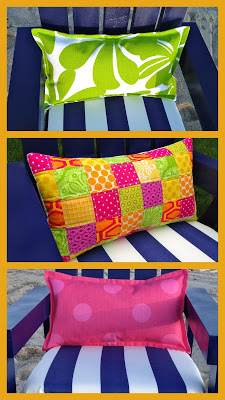
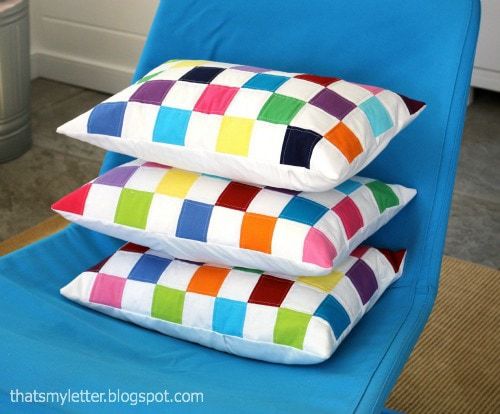
For more diy pillow ideas check out these posts:
diy lumber pillows
diy colorblock lumber pillows

You may also like...

  • DIY Monogrammed Lumbar PillowDIY Monogrammed Lumbar Pillow
  • DIY Personalized Fabric BuntingDIY Personalized Fabric Bunting
  • Cross Stitch Monogram Ornament PlacecardCross Stitch Monogram Ornament Placecard
  • Wood & Leather Bed Free PlansWood & Leather Bed Free Plans
Share this post:

Filed Under: DIY, GIFTS, GIFTS, HOME DECOR, HOME DECOR, SEW, SEWING5 Comments

Reader Interactions

Comments

  1. Unknown says

    April 29, 2015 at 1:18 PM

    Where do you get gold pleather? Is it sold in the fabric section somewhere? I love everything that you do. I get so excited when I get an email knowing that you have created something else!

    Reply
  2. ananda says

    May 1, 2015 at 4:42 AM

    hi jamie! these are so precious! i really like the details of the checker trim and the pompoms (crazy about pompoms!!), beautiful gifts!! xo

    Reply
  3. jcprime1 says

    May 3, 2015 at 1:53 PM

    The gold pleather is from Joann's.

    Reply
  4. Karin says

    May 7, 2015 at 3:19 PM

    Love these! Thanks for sharing details, like the font you used. Sometimes that is where I get stuck: looking through a pile of fonts for what I want to use.

    Reply
  5. Julie Spear says

    March 24, 2016 at 1:06 AM

    I don't know how I missed these before, I thought I had looked through your sewing projects A-Z (get it??) I just saw this on House of Wood (my other fav builder gal), and here they are!!! I started reading your blog a LONG time ago for the sewing projects, but now I have started some wood-working and building, and now you have the most awesome building tutorials too! THANKS so much, for all of that!!! I really do love following along, I should send you some photos of projects you have inspired me to make!!

    Reply

Leave a Reply Cancel reply

Your email address will not be published. Required fields are marked *

Primary Sidebar

Hi! I’m Jaime

Jaime Costiglio

Hello!

Thank you for stopping by.
Join me for lots of DIY.

Read more

Get new posts via email

Handbuilt Holiday: Gift Project Plans

handbuilt holiday gift project plans

Collection of DIY gift project plans to build.

The Home Depot Tool Prospective

THD Prospective

Tools to consider for the DIYer.

Archives

The Home Depot Logo
Copyright © 2023 Jaime Costiglio · Custom site by Moonsteam Design

Privacy Policy