• Home
  • Blog
  • About
  • Contact
    • Disclosure
    • Privacy Policy
  • SHOP
  • Widget area for main menu

    • Email
    • Facebook
    • Instagram
    • Pinterest
    • Twitter
    • YouTube
  • Skip to primary navigation
  • Skip to main content
  • Skip to primary sidebar

Jaime Costiglio

build - paint - sew

  • BUILD
    • BEDS
    • BENCHES
    • DESKS
    • DRESSERS
    • GAMES & TOYS
    • SCRAP WOOD
    • SHELVES
    • STORAGE
    • TABLES
  • TOOLS
  • PAINT
    • CRAFTS
    • FURNITURE
    • HOME DECOR
  • SEW
    • GIFTS
    • HOME DECOR
    • POUCHES
  • HANDBUILT HOLIDAY
    • 2021
    • 2019
    • 2018
    • 2017
    • 2016
    • 2015
    • 2014
    • 2013
  • GIFTS
    • BABIES
    • KIDS
    • FOR HER
    • FOR HIM
    • TEACHERS
    • WEDDINGS
  • SEASONAL
    • 4TH OF JULY
    • FALL
    • HALLOWEEN
    • CHRISTMAS
    • SUMMER
    • SPRING
    • ST. PATRICK’S DAY
    • THANKSGIVING
    • VALENTINE’S DAY
    • WINTER
  • SALTBOX PROJECT
    • BATHROOMS
    • DINING ROOM
    • EXTERIOR
    • FAMILY ROOM
    • FOYER / MUDROOM
    • KIDS BEDROOMS
    • KITCHEN
    • LIVING ROOM
    • MASTER BEDROOM
    • PLAYROOM
  • SCROLL SAW

“S” is for Sled Christmas Countdown

November 4, 2013

Paint: wood sled Christmas countdown advent calendar
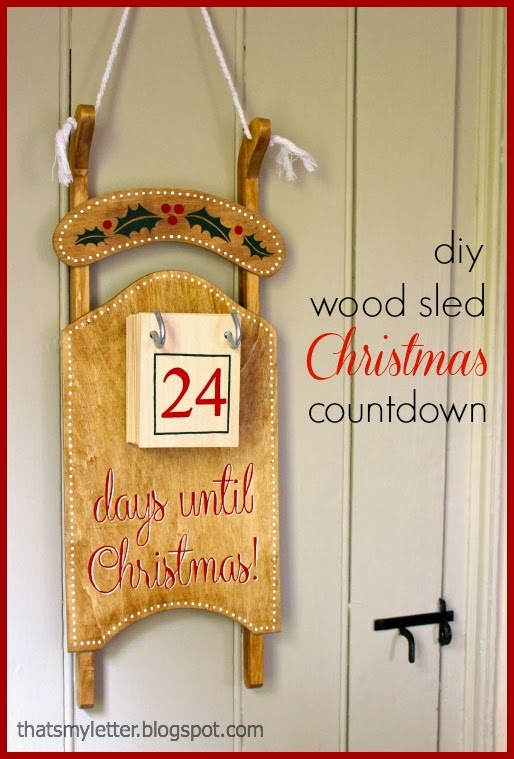
Using a store bought wood sled I added two giant hooks and 24 handpainted numbers on thin hobby wood to make this wood sled Christmas advent calendar:

I found the unpainted wood sled at Michaels last year after Christmas on super markdown but I’m pretty sure they have them again this year.

 A fun tradition for kids to enjoy in anticipation of the big day.
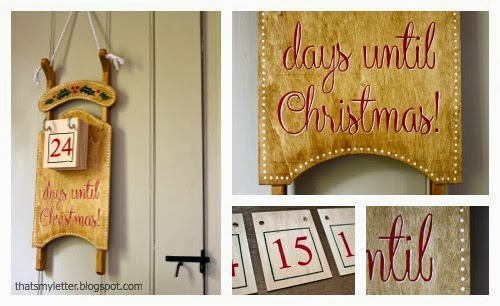
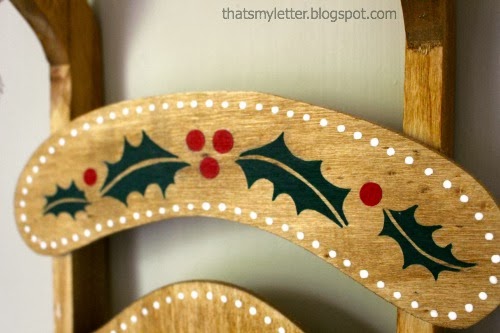
You could paint any design or even personalize it with your last name, I added this holly on the front piece:
How to make a wood sled Christmas countdown:

1. Purchase a ready made craft wood sled.
2. For the wood number tags I used 3/32″ thick basswood (from a craft/hobby shop) at 4″w x 24″l:
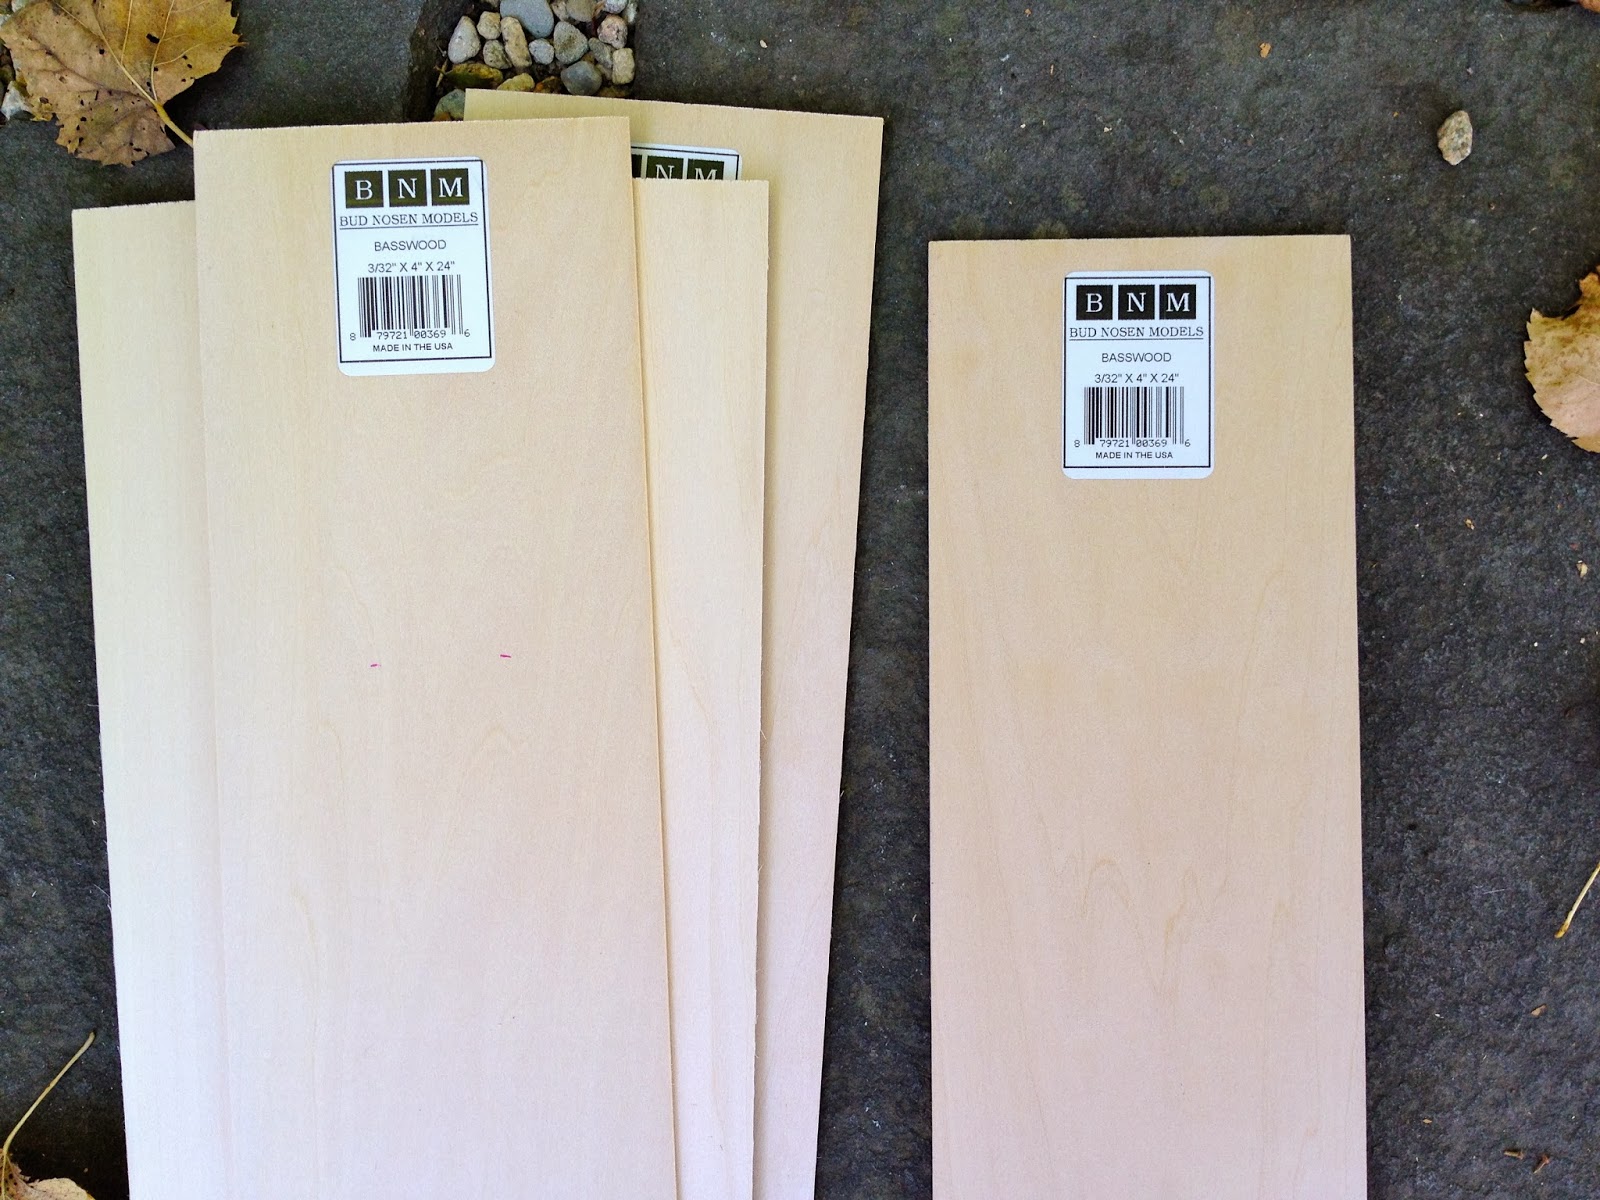
3. Cut the basswood into 5″ lengths x 24 pieces:

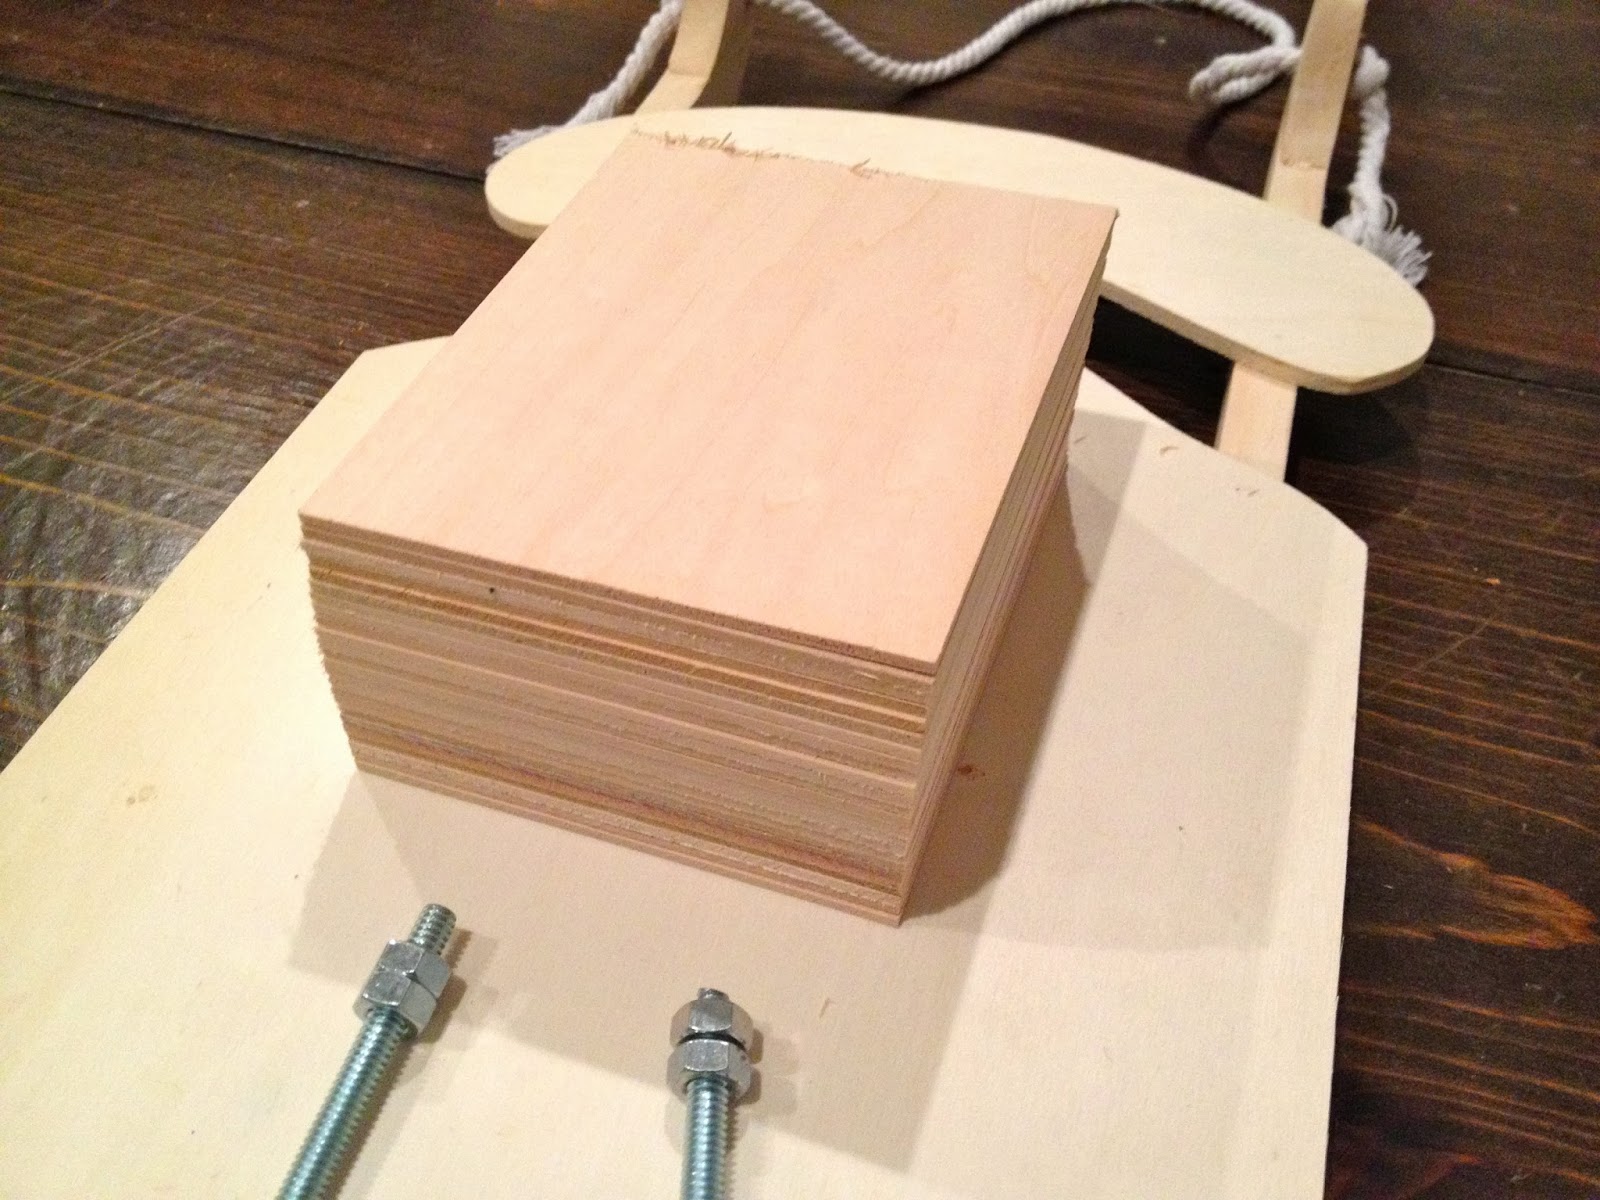
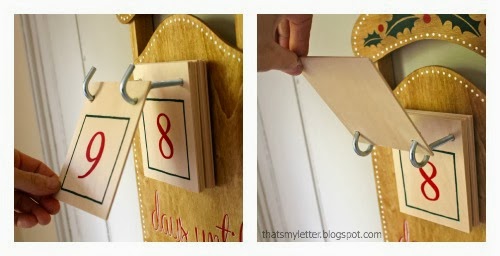
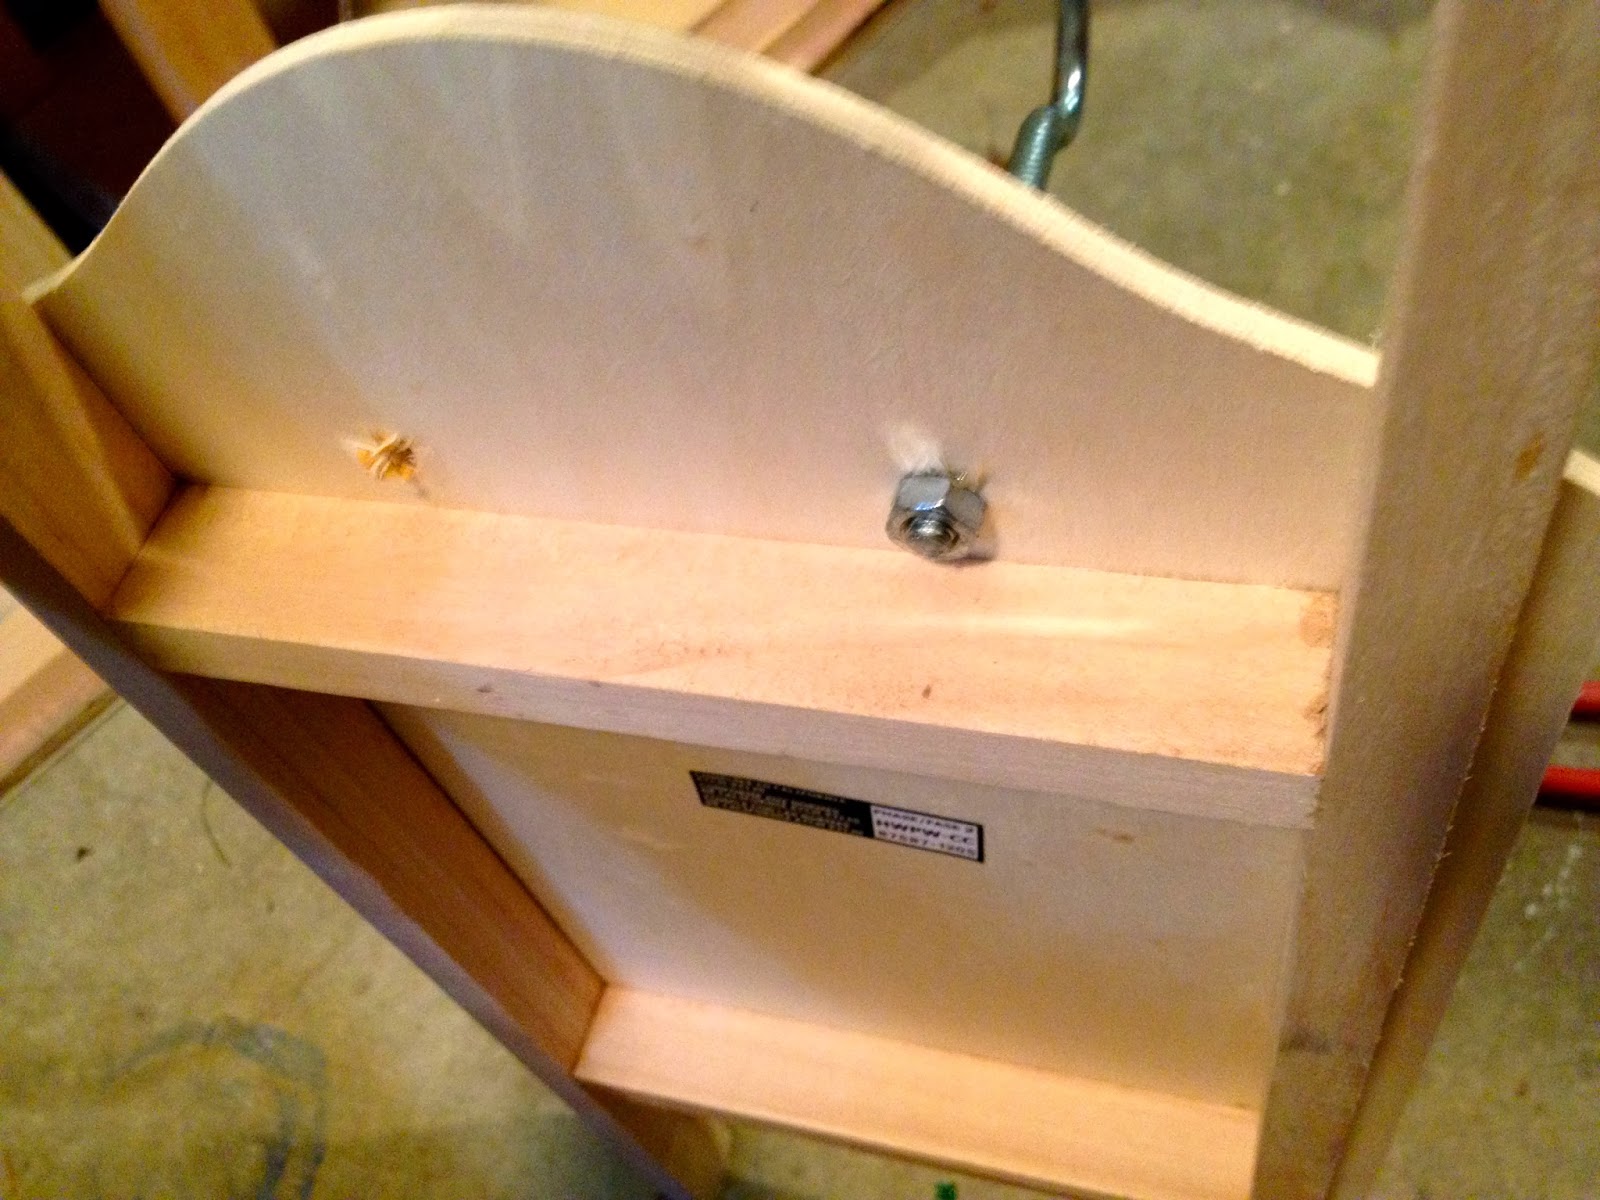
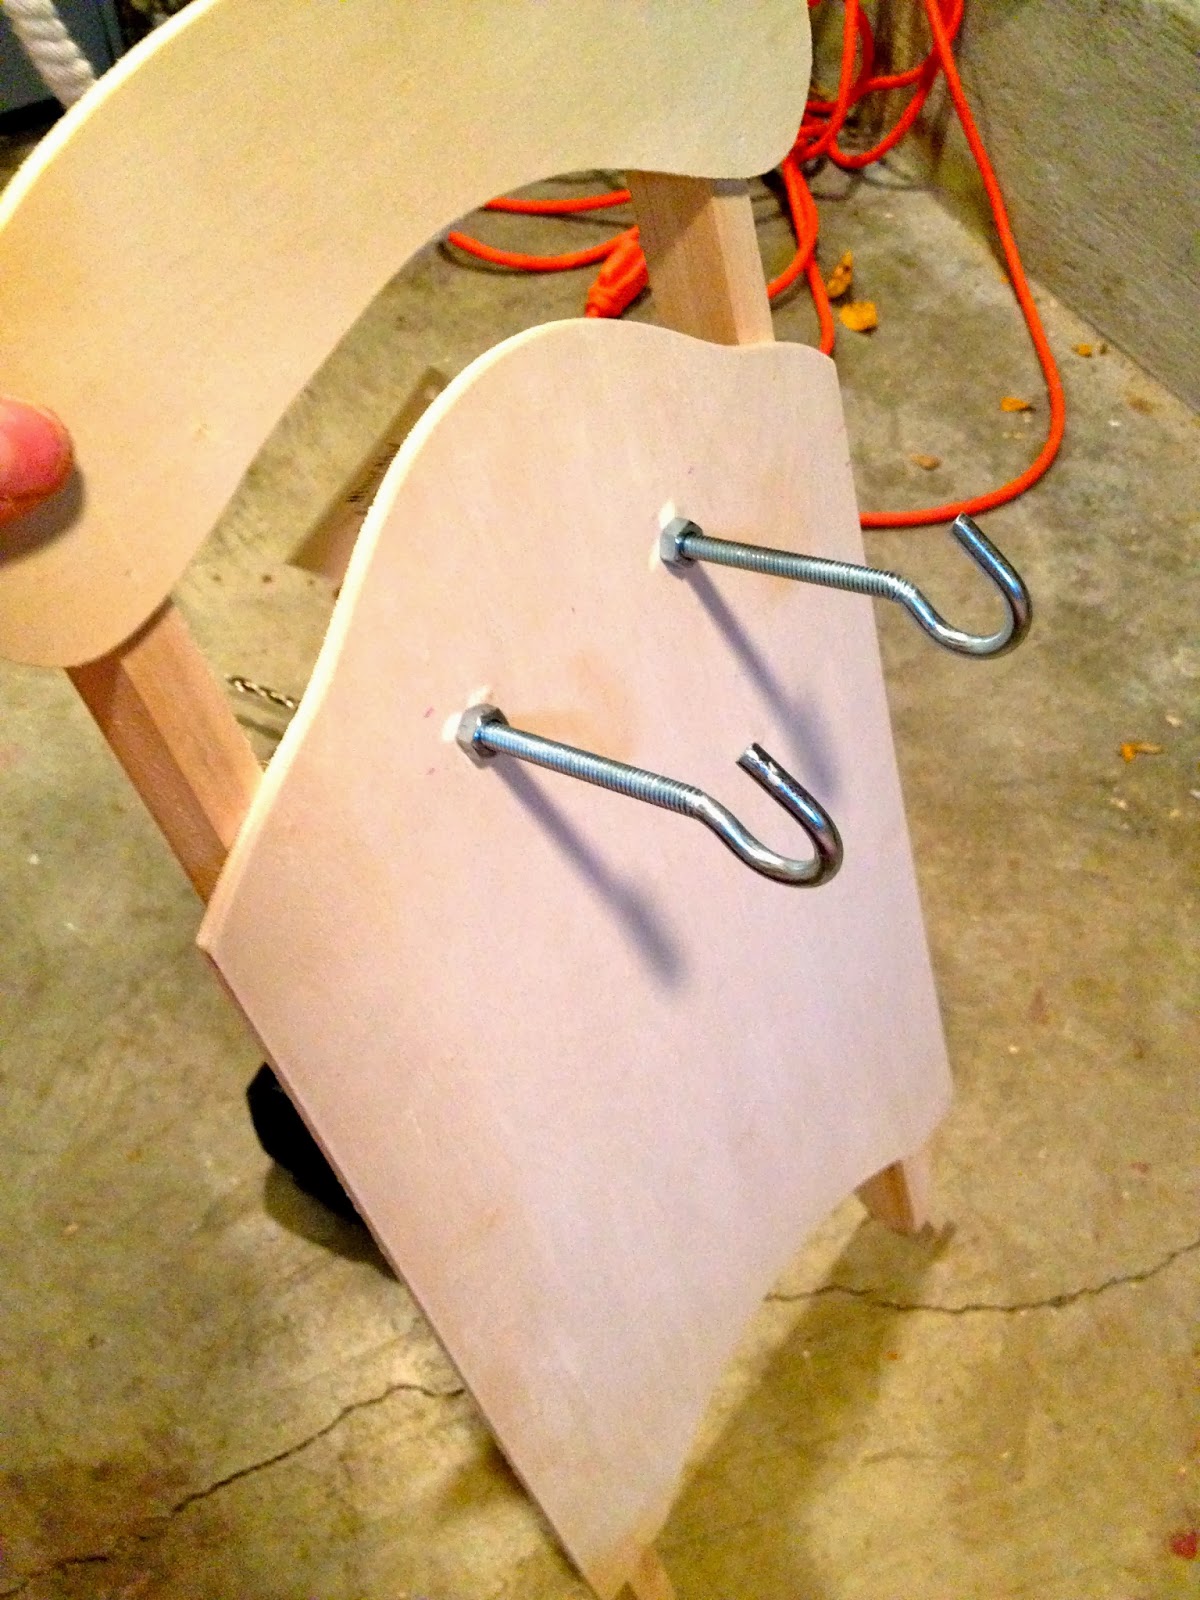
4. Mark the position of the wood numbers and drill holes for hooks.
I used 1/4″ x 4 1/2″l clothesline hooks.
5. Screw hook into position with nuts on either side and some E6000 glue:

6. Now that the hooks are in place drill matching holes into wood number pieces, make a template:

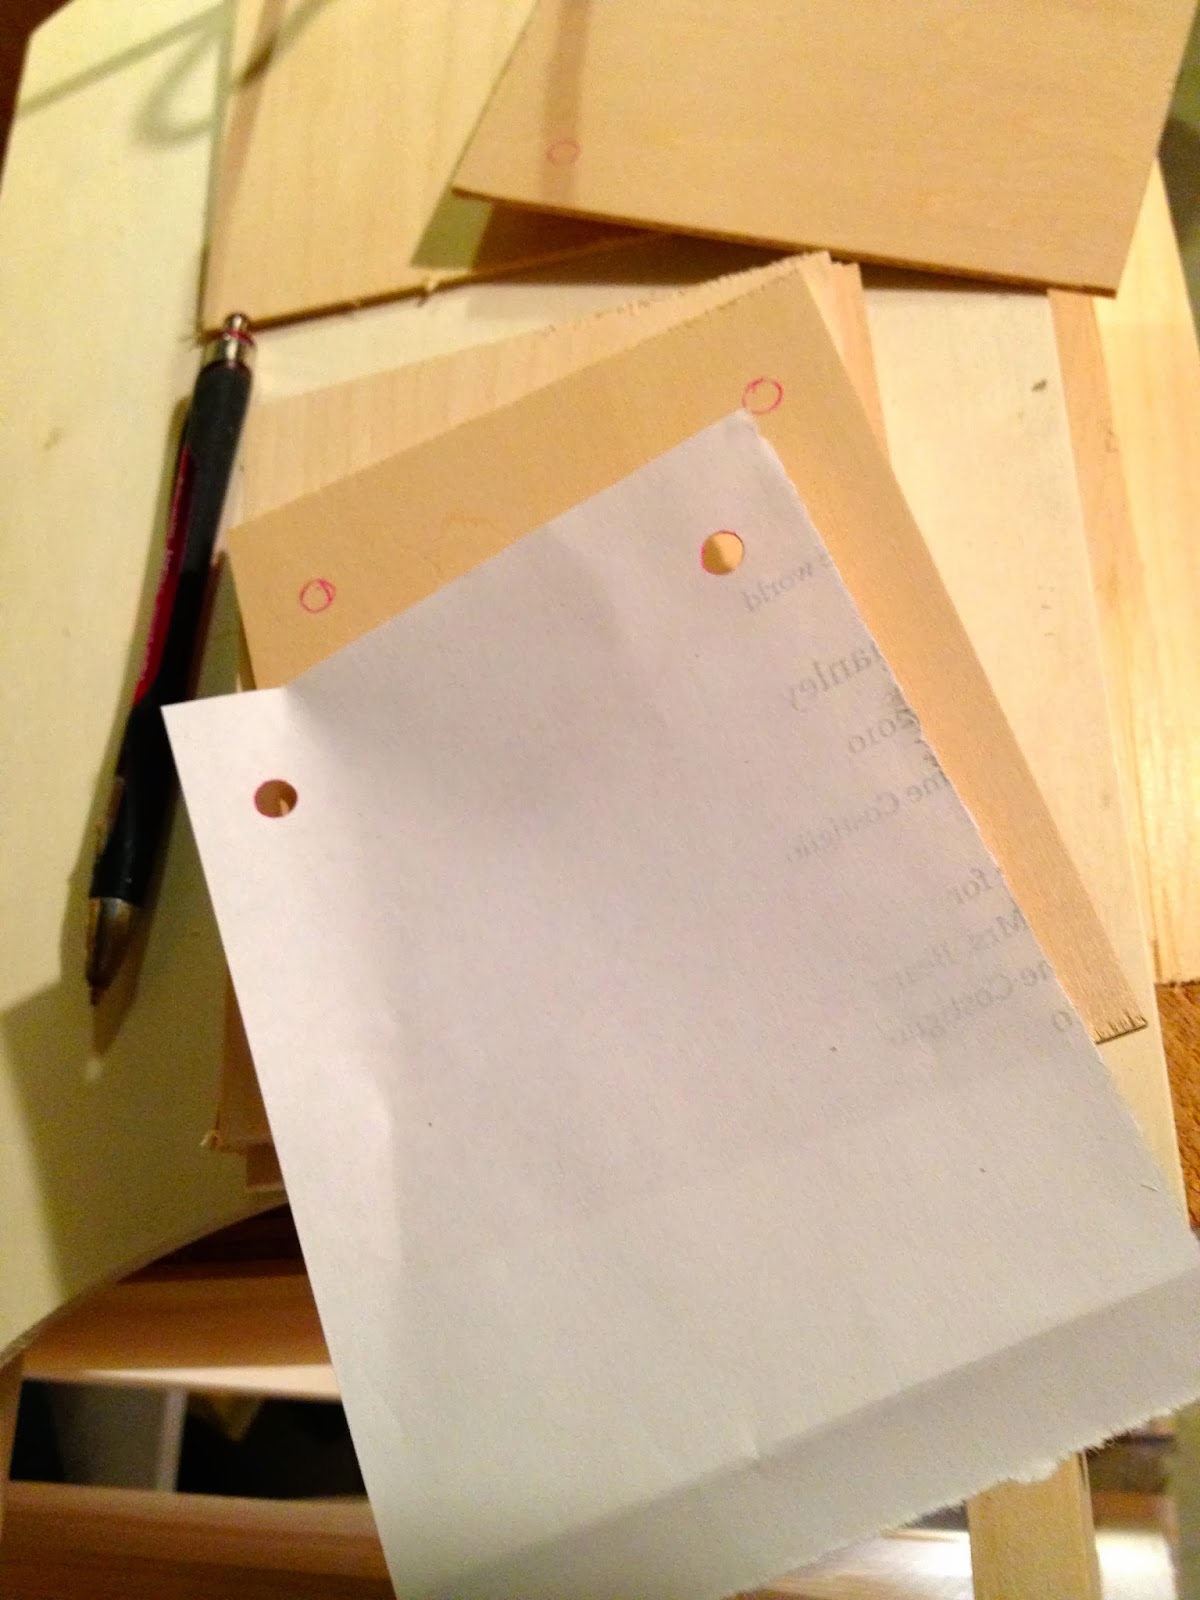
7. To paint the wood numbers print out your numbers to fit.
Using a ballpoint pen and heavy pressure trace around the numbers:
The pressure of the pen leaves an indent in the wood:

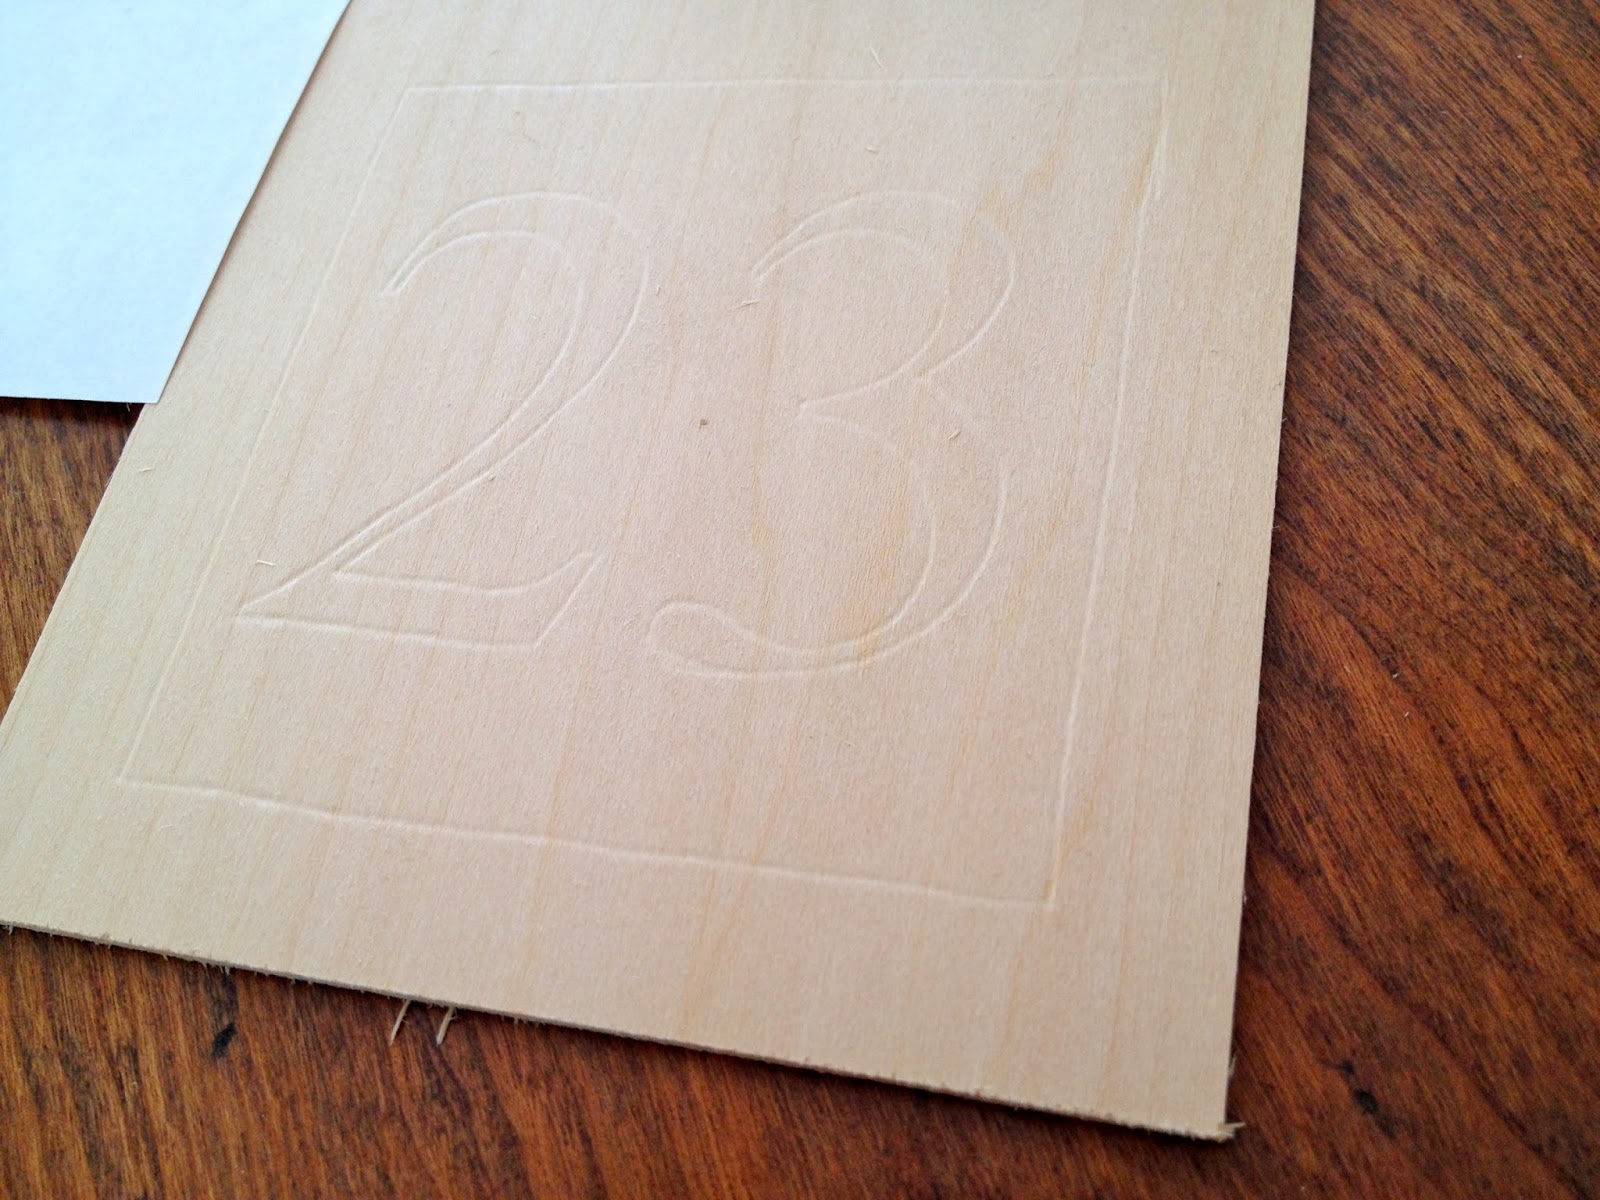
8. Paint on and inside the indent:

9. Same process for lettering.
Print out lettering to fit sled area:
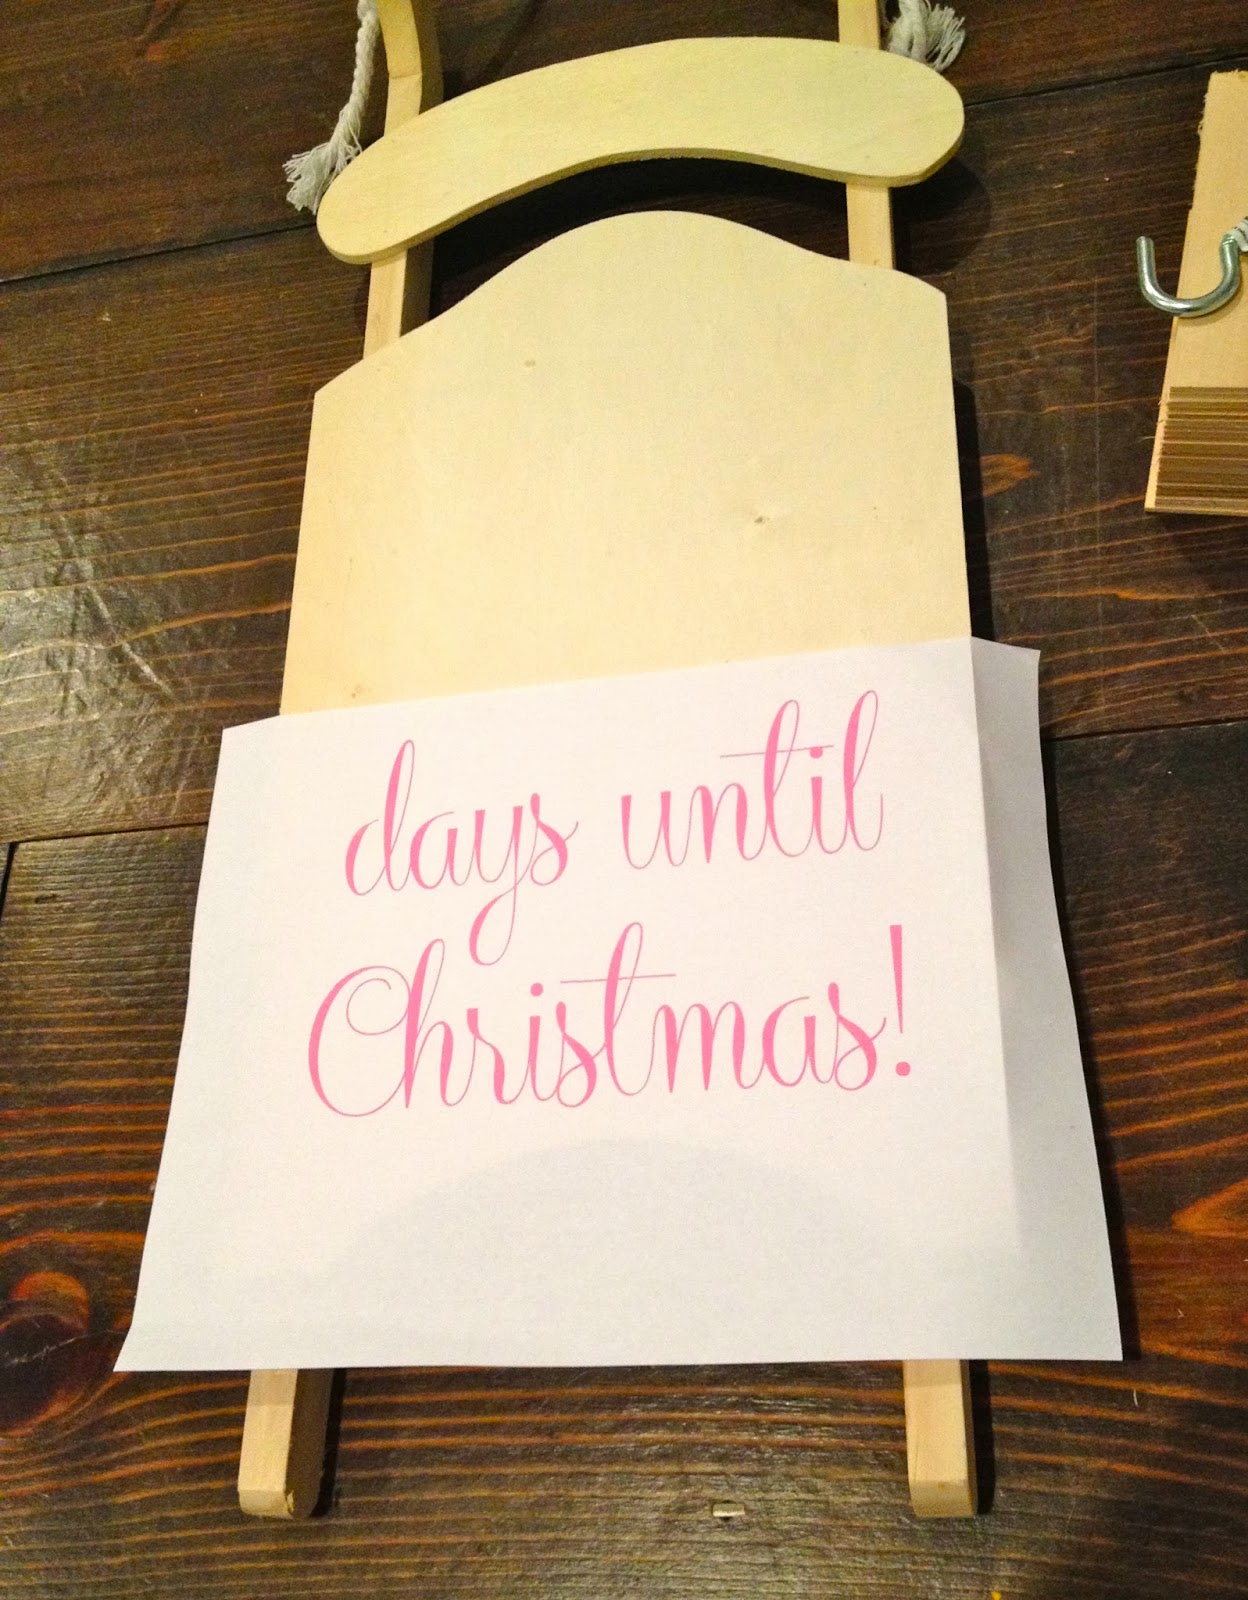
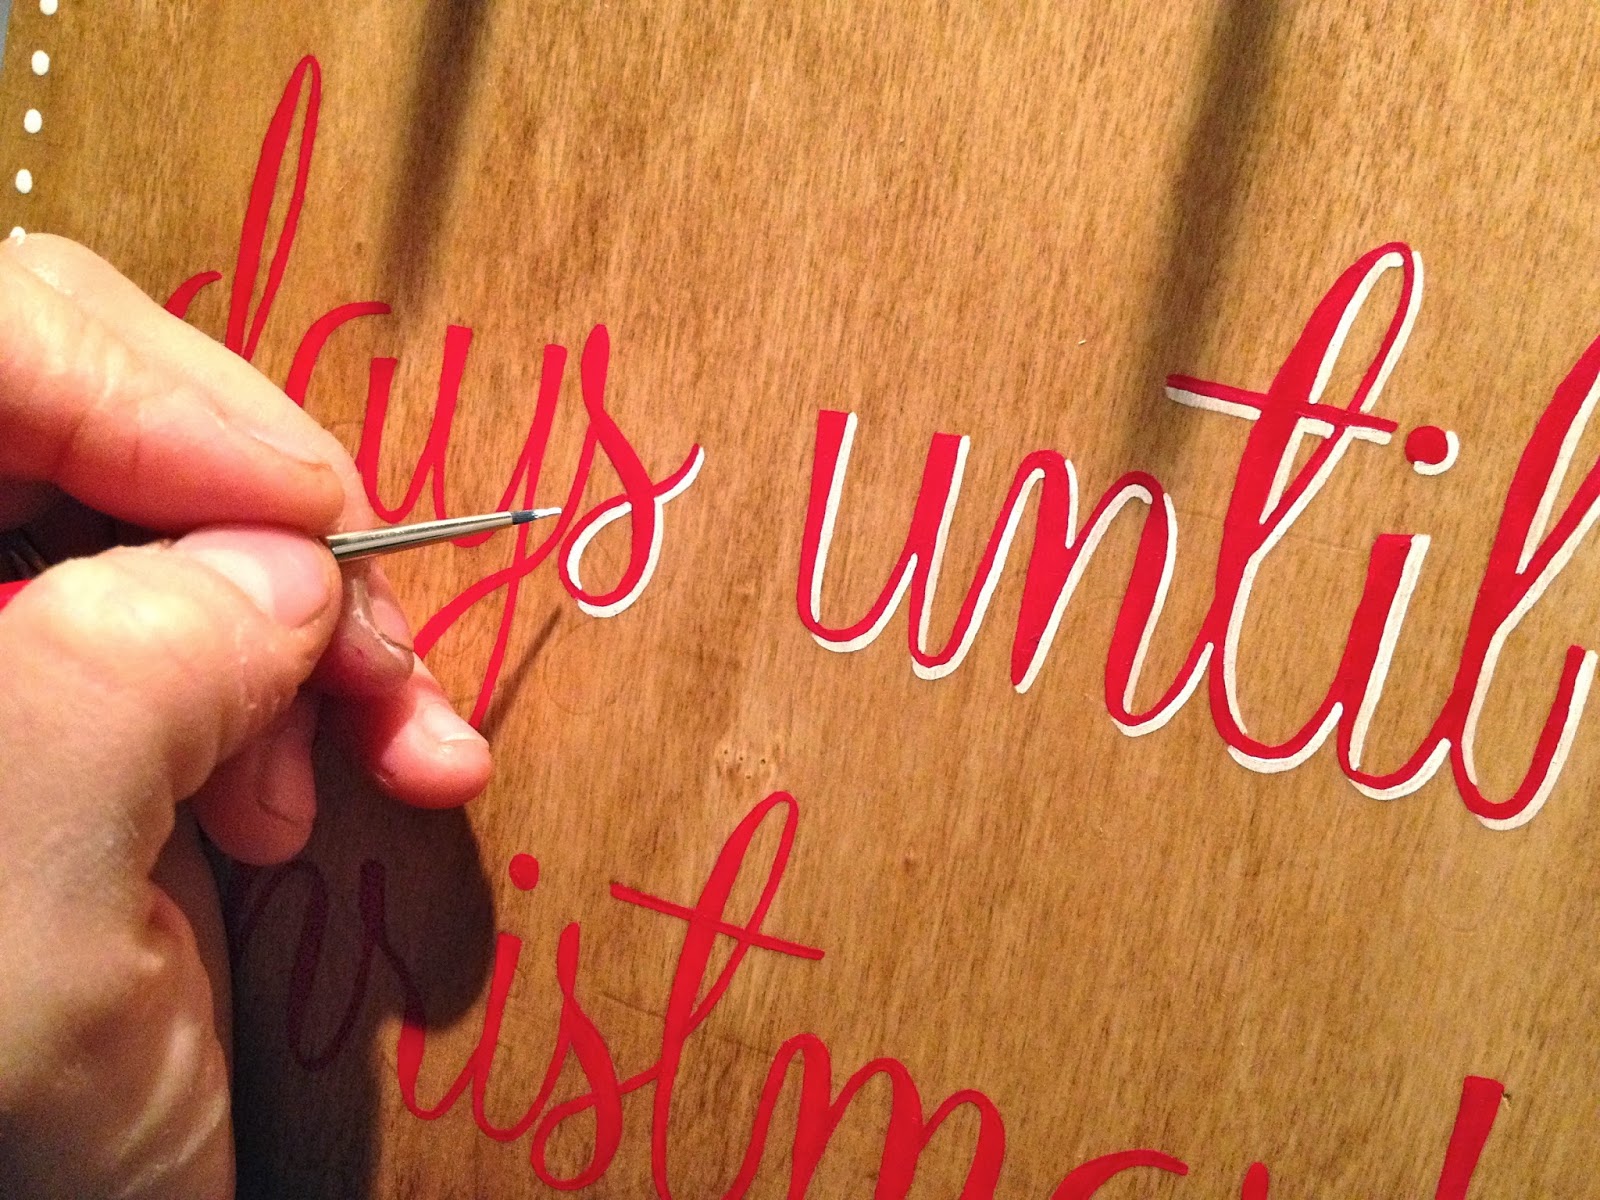
20. Trace with ballpoint pen and heavy pressure:

21. Paint on and inside the indent:

22. Stain the sled, Minwax golden oak.
Add details if desired:
I’m linking up to:
SAS @ Funky Junk
Nifty Thrifty Sunday @ Nifty Thrifty Things
That DIY Party @ The DIY Showoff
Tutorials & Tips Tuesday @ Home Stories A to Z
The Scoop @ Lolly Jane
Strut Your Stuff @ Somewhat Simple
Share Awesomeness Thur @ The 36th Avenue
Pretty Things Thursday @ Scissors & Spatulas
Flaunt it Friday @ Chic on a Shoestring
Frugal Friday @ The Shabby Nest
Furniture Feature Friday @ Miss Mustard Seed
SAS @ Just a Girl
Remodelaholics Anonymous @ Remodelaholic
inspiration board @ Carolyns Homework
Sunday Showcase Party @ Under the Table & Dreaming

You may also like...

  • DIY Handpainted SignDIY Handpainted Sign
  • No Tricks Only Treats Handpainted SignNo Tricks Only Treats Handpainted Sign
  • “C” is for Chore Chart“C” is for Chore Chart
  • “M” is for Mantel Artwork“M” is for Mantel Artwork
Share this post:

Filed Under: CHRISTMAS, CRAFTS, DIY, HOME DECOR, HOME DECOR, PAINT, SEASONAL7 Comments

Reader Interactions

Comments

  1. Jenny says

    November 4, 2013 at 11:40 AM

    So very cute! Love it!

    Reply
  2. Our Pinteresting Family says

    November 4, 2013 at 12:19 PM

    Great project idea! I love how you incorporated a sled with it…so cute.

    Reply
  3. Cassie @ Primitive & Proper says

    November 4, 2013 at 1:27 PM

    super cute! fun way to count it down!

    Reply
  4. Korrie@RedHenHome says

    November 4, 2013 at 2:56 PM

    Super cute,Jaime!

    Reply
  5. Morgan says

    November 5, 2013 at 3:30 PM

    Beautiful project and lovely font! Which font did you use? Thanks and keep the awesome projects coming!

    Reply
  6. lora says

    November 7, 2013 at 10:36 AM

    It’s a really great site you have here. Thank you for the effort to be so good for us (even though we don`t deserve it) and keep it up.
    voyance gratuite

    Reply
  7. DaiseyJayne.com says

    November 11, 2013 at 1:39 PM

    this is so cute! And your work is just impecable! (my spelling is atrocious!)

    Reply

Leave a Reply Cancel reply

Your email address will not be published. Required fields are marked *

Primary Sidebar

Hi! I’m Jaime

Jaime Costiglio

Hello!

Thank you for stopping by.
Join me for lots of DIY.

Read more

Get new posts via email

Handbuilt Holiday: Gift Project Plans

handbuilt holiday gift project plans

Collection of DIY gift project plans to build.

The Home Depot Tool Prospective

THD Prospective

Tools to consider for the DIYer.

Archives

The Home Depot Logo
Copyright © 2026 Jaime Costiglio · Custom site by Moonsteam Design

Privacy Policy