• Home
  • Blog
  • About
  • Contact
    • Disclosure
    • Privacy Policy
  • SHOP
  • Widget area for main menu

    • Email
    • Facebook
    • Instagram
    • Pinterest
    • Twitter
    • YouTube
  • Skip to primary navigation
  • Skip to main content
  • Skip to primary sidebar

Jaime Costiglio

build - paint - sew

  • BUILD
    • BEDS
    • BENCHES
    • DESKS
    • DRESSERS
    • GAMES & TOYS
    • SCRAP WOOD
    • SHELVES
    • STORAGE
    • TABLES
  • TOOLS
  • PAINT
    • CRAFTS
    • FURNITURE
    • HOME DECOR
  • SEW
    • GIFTS
    • HOME DECOR
    • POUCHES
  • HANDBUILT HOLIDAY
    • 2021
    • 2019
    • 2018
    • 2017
    • 2016
    • 2015
    • 2014
    • 2013
  • GIFTS
    • BABIES
    • KIDS
    • FOR HER
    • FOR HIM
    • TEACHERS
    • WEDDINGS
  • SEASONAL
    • 4TH OF JULY
    • FALL
    • HALLOWEEN
    • CHRISTMAS
    • SUMMER
    • SPRING
    • ST. PATRICK’S DAY
    • THANKSGIVING
    • VALENTINE’S DAY
    • WINTER
  • SALTBOX PROJECT
    • BATHROOMS
    • DINING ROOM
    • EXTERIOR
    • FAMILY ROOM
    • FOYER / MUDROOM
    • KIDS BEDROOMS
    • KITCHEN
    • LIVING ROOM
    • MASTER BEDROOM
    • PLAYROOM
  • SCROLL SAW

“M” is for Mantel Artwork

November 27, 2014

Paint: diy mantel artwork
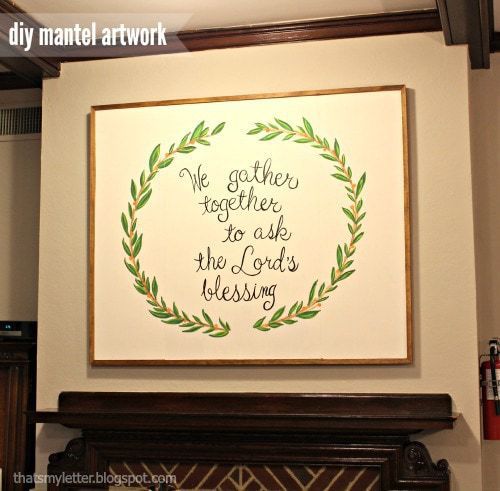
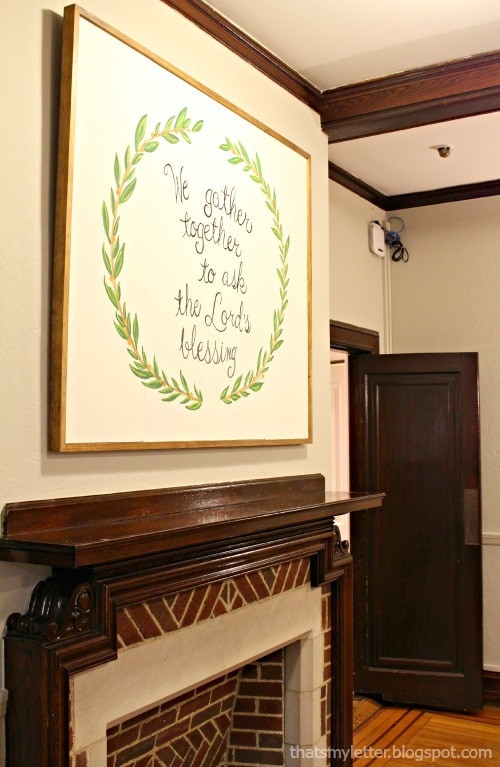
Happy Thanksgiving friends!  I thought it would be appropriate to share this mantel artwork today on Thanksgiving as we gather together to ask the Lord’s blessing.  I made this piece for the priests’ dining room at the church rectory and hung it above the mantel.

This dining room at the church rectory is getting a makeover, it’s been a slow and steady progress but I’m determined to finish before Christmas.  (As a side note this room gets ZERO natural light which makes picture taking slightly difficult.)
Before there was a huge empty space above the mantel and I wanted to add something organic (like a wreath) but decided that was too fussy for a group of priests so I settled on painting a wreath-like shape with a fitting verse from a well known hymn.
How to build and paint mantel artwork:
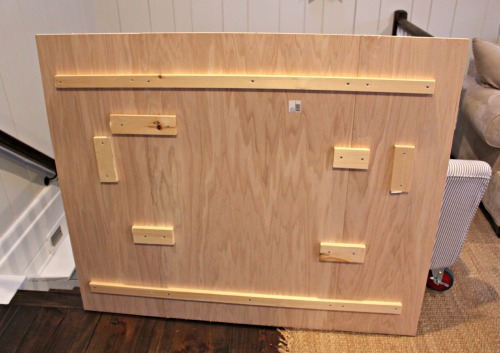
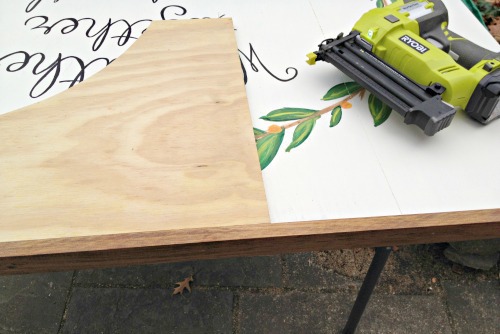
Step 1: Determine desired size and cut 1/2″ plywood.  I connected 3 pieces together to get the width needed using 1×2  and 1x3s as mending plates, glued and screwed.  (The vertical 1×3 pieces are to hang the artwork with screws and wire.)

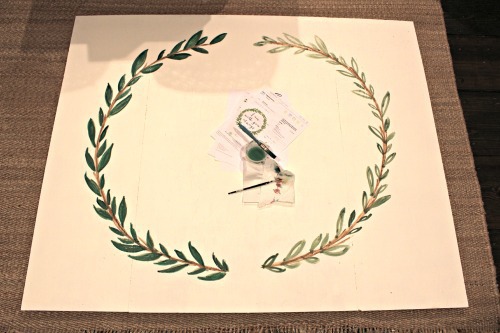
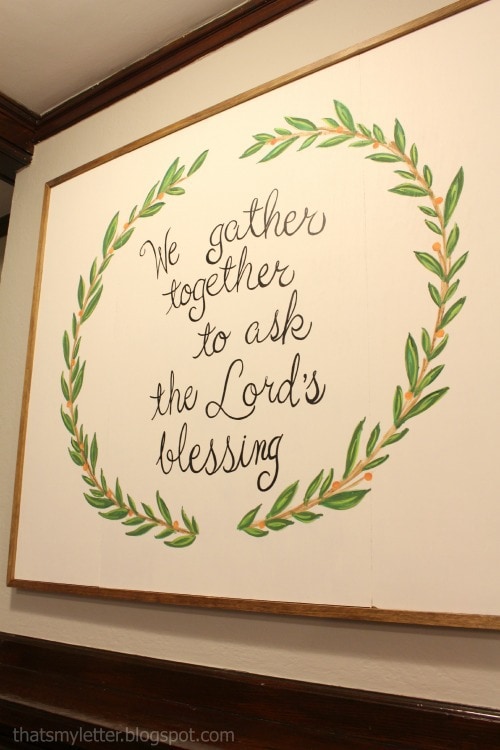
Step 2: Paint the background then sketch out wreath shape and begin layering.
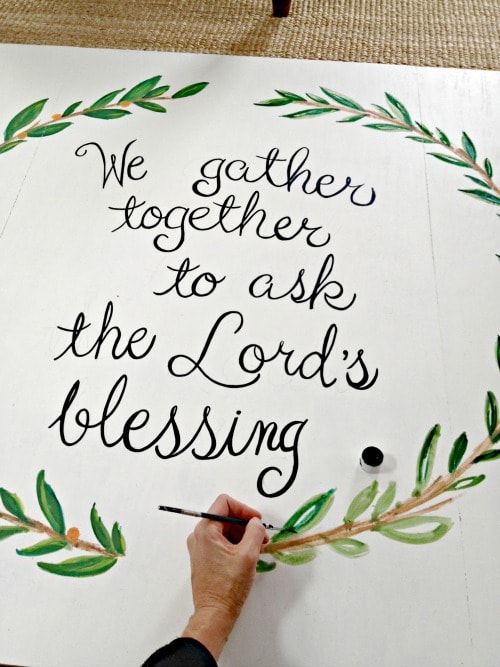
Step 3: Add lettering and continue to layer wreath shape.
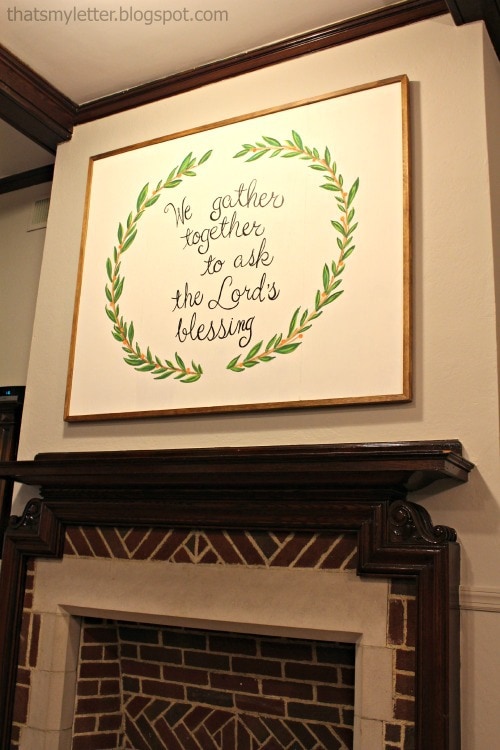
Step 4: Apply Minwax early american stain to 1x2s.  Cut one end at a 45 degree miter then measure to fit and cut other end.  Apply glue to edge of artwork and using a scrap piece of 1/2″ plywood on top of the artwork hold 1×2 in place and secure with 1 1/4″ finish nails.  Keep the edge of the 1×2 flush with the plywood scrap to create an even frame.
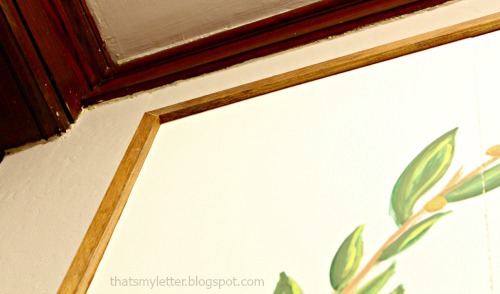
Above you can see the 1/2″ edge of the 1×2 which makes a nice depth for the artwork.
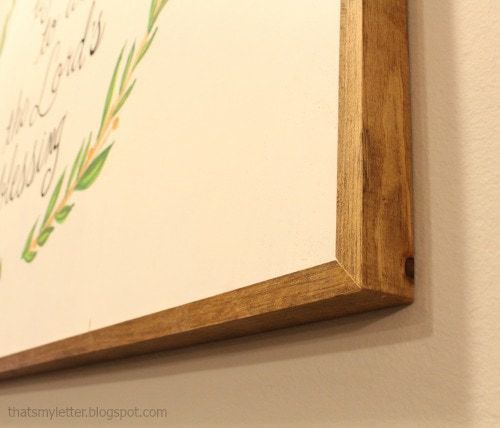
And the side of the 1×2 covers both the raw edge of the artwork and any visible pieces on the back.

You may also like...

  • DIY Handpainted SignDIY Handpainted Sign
  • No Tricks Only Treats Handpainted SignNo Tricks Only Treats Handpainted Sign
  • “C” is for Chore Chart“C” is for Chore Chart
  • “L” is for Lumberlander“L” is for Lumberlander
Share this post:

Filed Under: DIY, HOME DECOR, HOME DECOR, PAINT, SEASONAL, THANKSGIVINGLeave a Comment

Reader Interactions

Leave a Reply Cancel reply

Your email address will not be published. Required fields are marked *

Primary Sidebar

Hi! I’m Jaime

Jaime Costiglio

Hello!

Thank you for stopping by.
Join me for lots of DIY.

Read more

Get new posts via email

Handbuilt Holiday: Gift Project Plans

handbuilt holiday gift project plans

Collection of DIY gift project plans to build.

The Home Depot Tool Prospective

THD Prospective

Tools to consider for the DIYer.

Archives

The Home Depot Logo
Copyright © 2023 Jaime Costiglio · Custom site by Moonsteam Design

Privacy Policy