diy chore chart
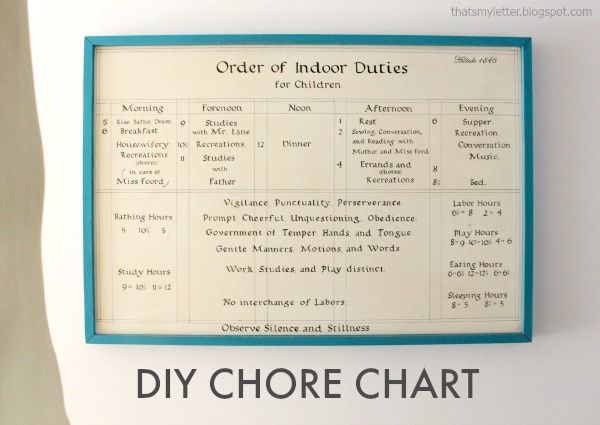
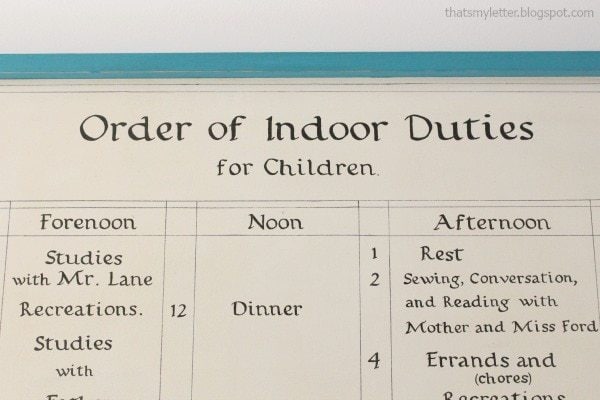
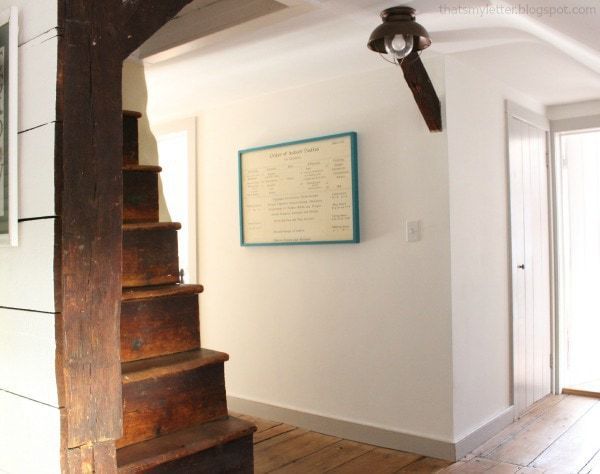
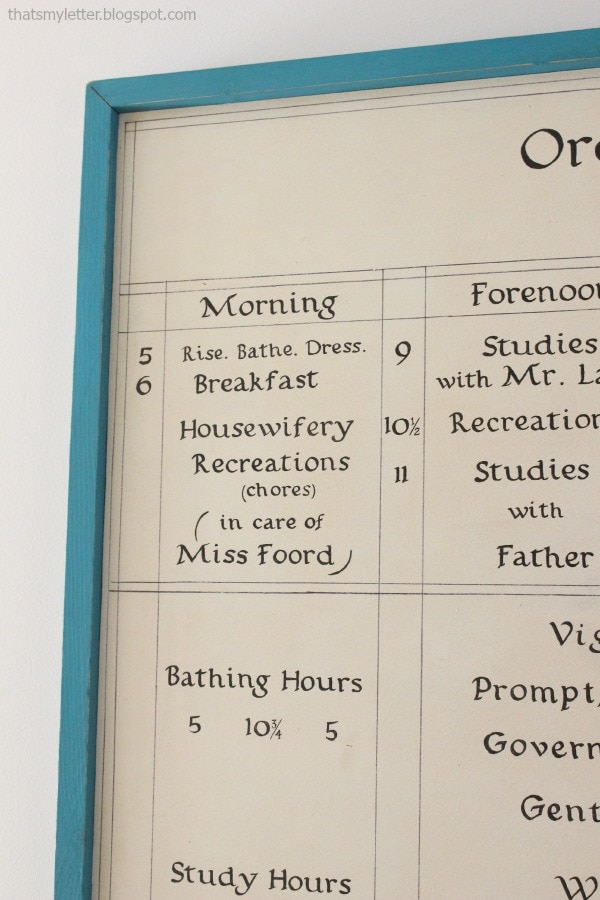
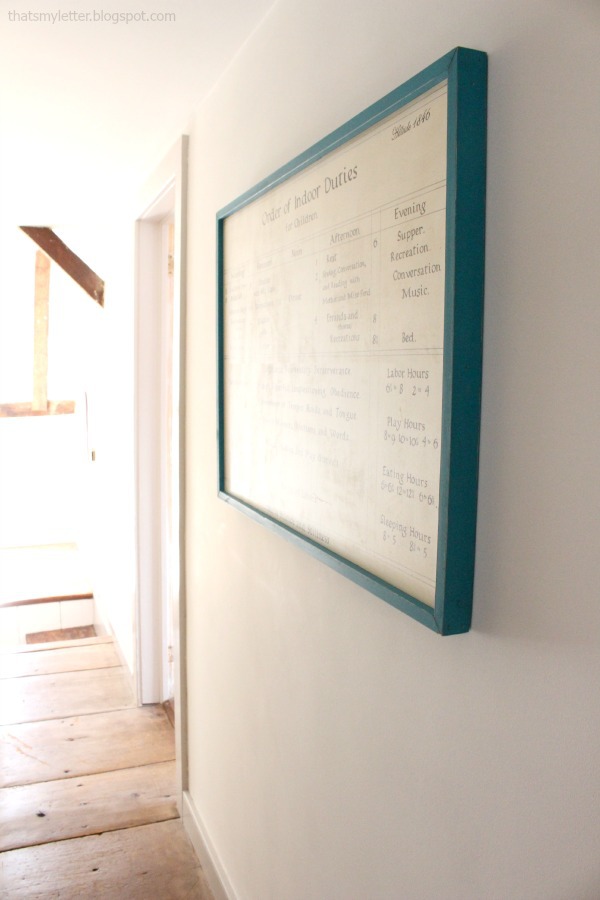
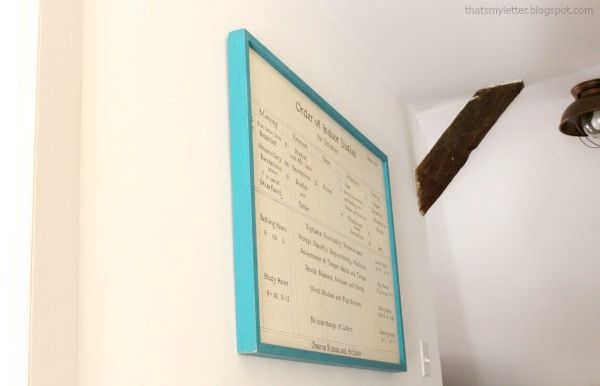
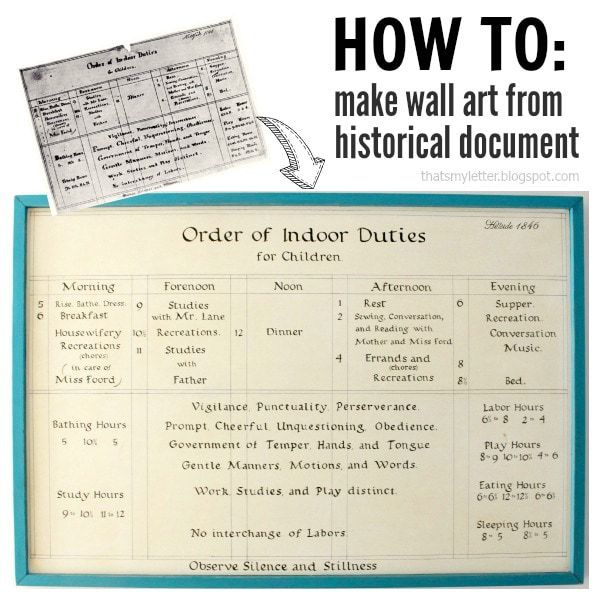
Also known as the Order of Indoor Duties for Children. Isn’t it great!? I made this wall art for the upstairs hallway where all the kids bedrooms are located.
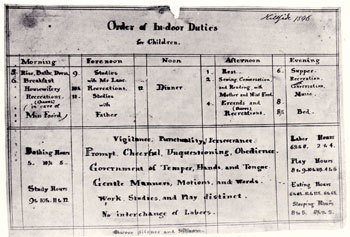
My wall art is a replica of the historical document above written in 1846 which lists the rules for daily life and the schedule which was followed by the homeschooled Alcott girls. The document is hung on display in the parents bedroom at Orchard House in Concord, MA and you can purchase a print in the gift shop. If you’re a Little Women fan and in the area you should definitely stop by!
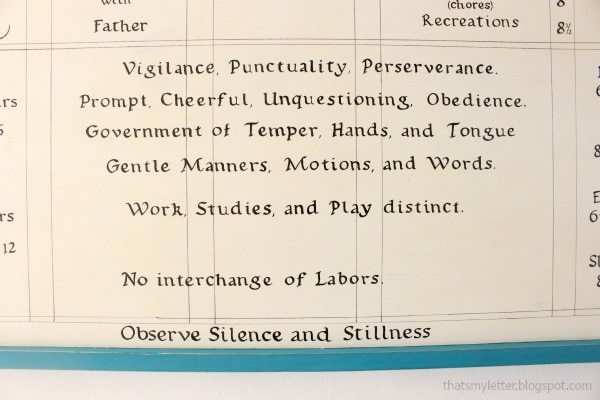
I absolutely love the serious nature of the chart and proper virtues that seem so absurd by today’s standards although I wouldn’t mind implementing a few in our home!
Stepping back above is a wider view of the hall with the girls bedroom doorway just barely visible on the left and the kids bathroom doorway on the right which I just recently redid. Don’t look but yes I need a clear bulb for that ceiling fixture.
The document was written in 1846 which is about 100 years after our home was built (circa 1740) and I have a feeling the children raised in our home were probably doing more farm labor than schooling but I still think it’s appropriate and I love sharing this kind of ‘daily life’ history with my kids just to show them how easy they have it these days.
My kids definitely don’t rise at 5 and bathe (and that would’ve been a pretty cold bath in 1846!).
I framed out the chore chart with 1×2 pine painted teal blue for contrast. The walls are Benjamin Moore Simply White flat and the trim is London Fog semigloss which is a very neutral with the wood floors.
How to make wall art from a historical document:
Step 1: Cut 1/2″ plywood to desired size. Try to keep the shape similar to the document shape which will make replication easier. Paint background color as desired.
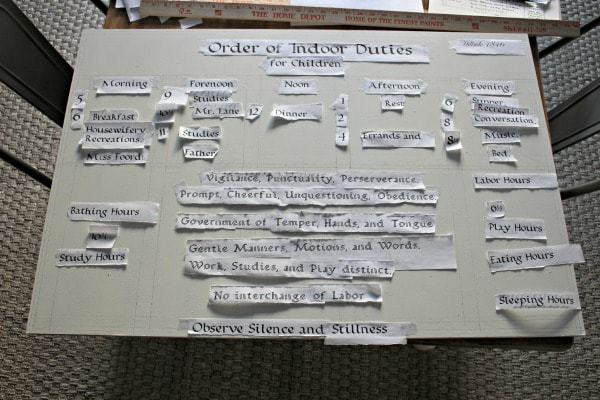
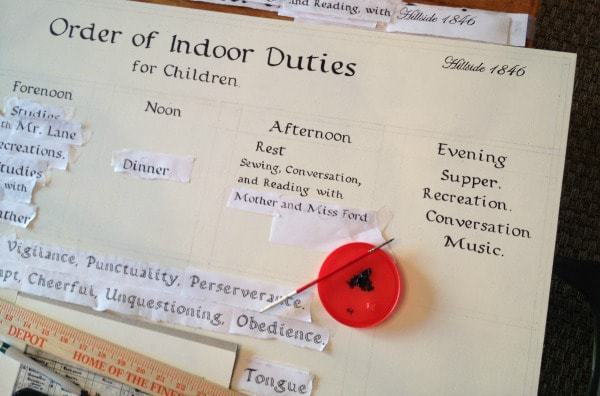
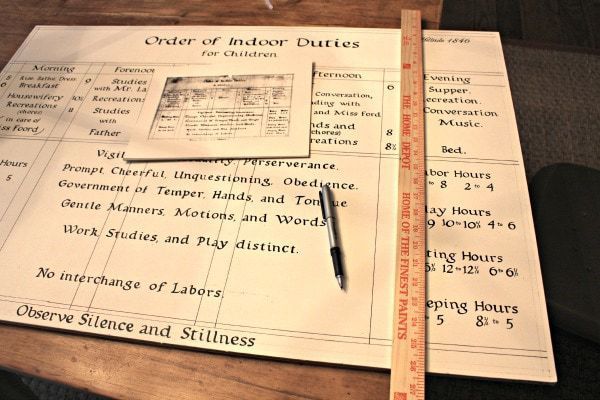
Step 2: Sketch chart lines in pencil using a straight edge. Print out lettering. I used a calligraphy font in various sizes. There are lots of free fonts for personal use at dafont.com.
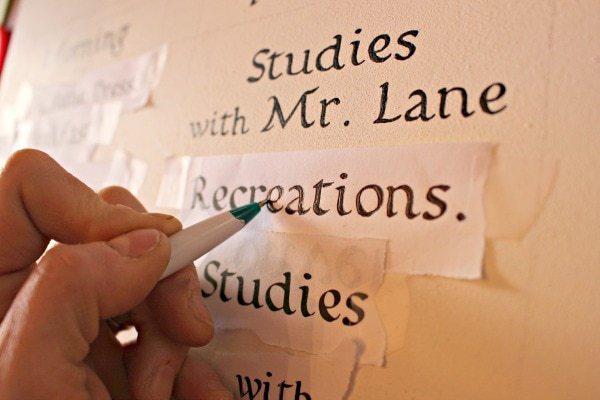
Step 3: Tape printout in position and using a ballpoint pen trace around the letters with heavy pressure.
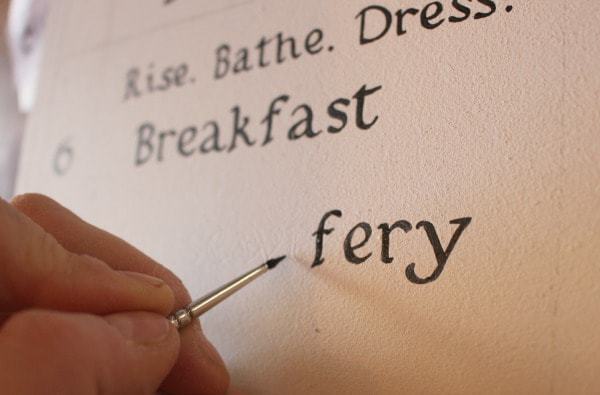
Step 4: The pressure of the pen leaves a slight indent in the plywood which you can then follow with paint.
Work in small sections and always check for straight lines.
Step 5: I used an ultra thin Bic Mark It to make the chart lines with a straight edge.
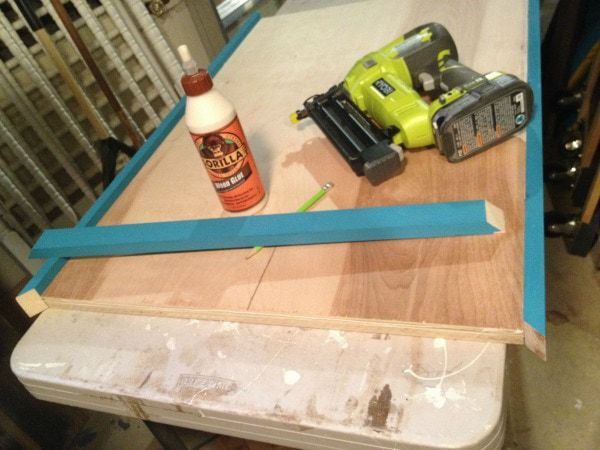
Step 6: Paint 1×2 pine boards then cut the ends with a 45 miter. Glue and finish nail to edge of plywood. I inset the plywood by 1/2″ using a scrap piece underneath.

Leave a Reply