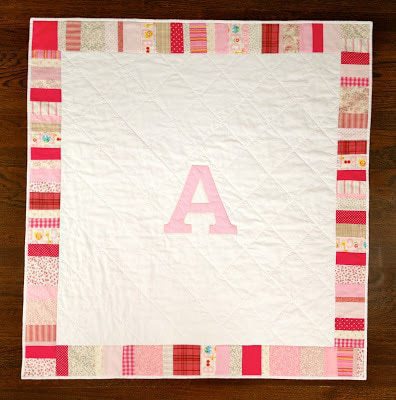
Sew: Monogrammed baby quilt


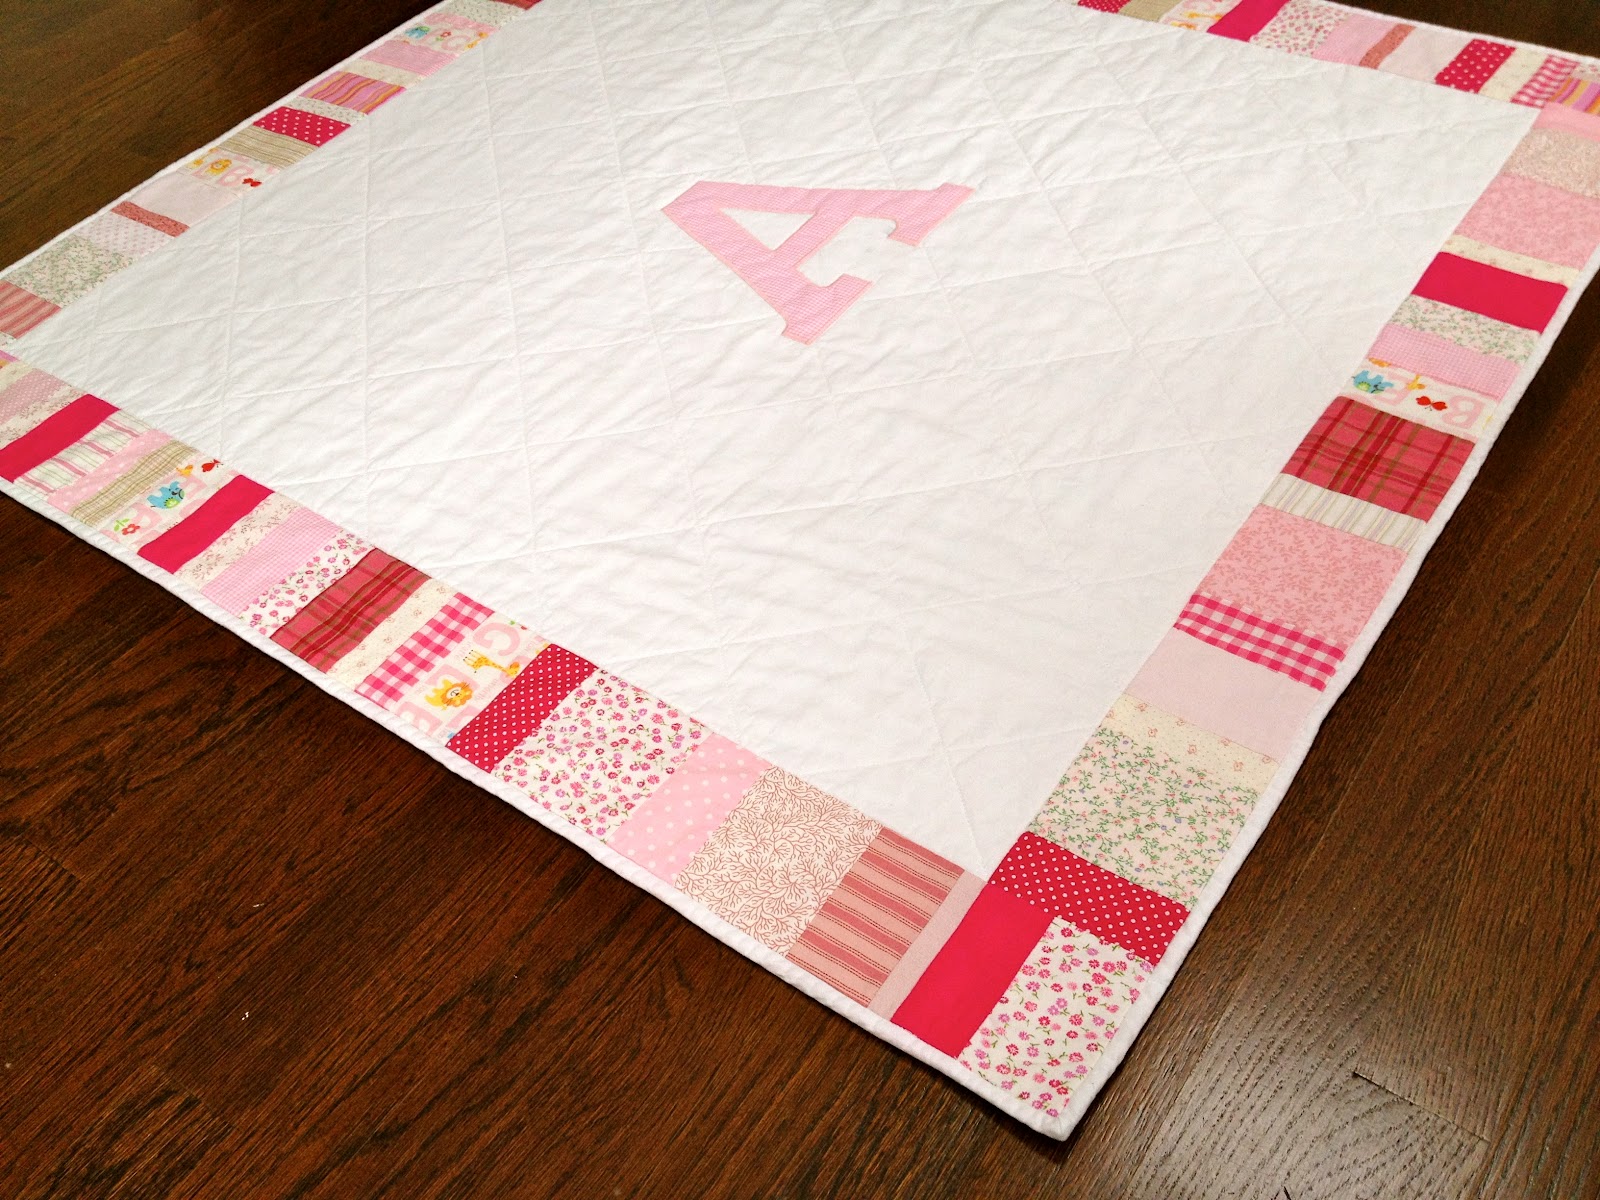
Made with all pink fabrics around the border:

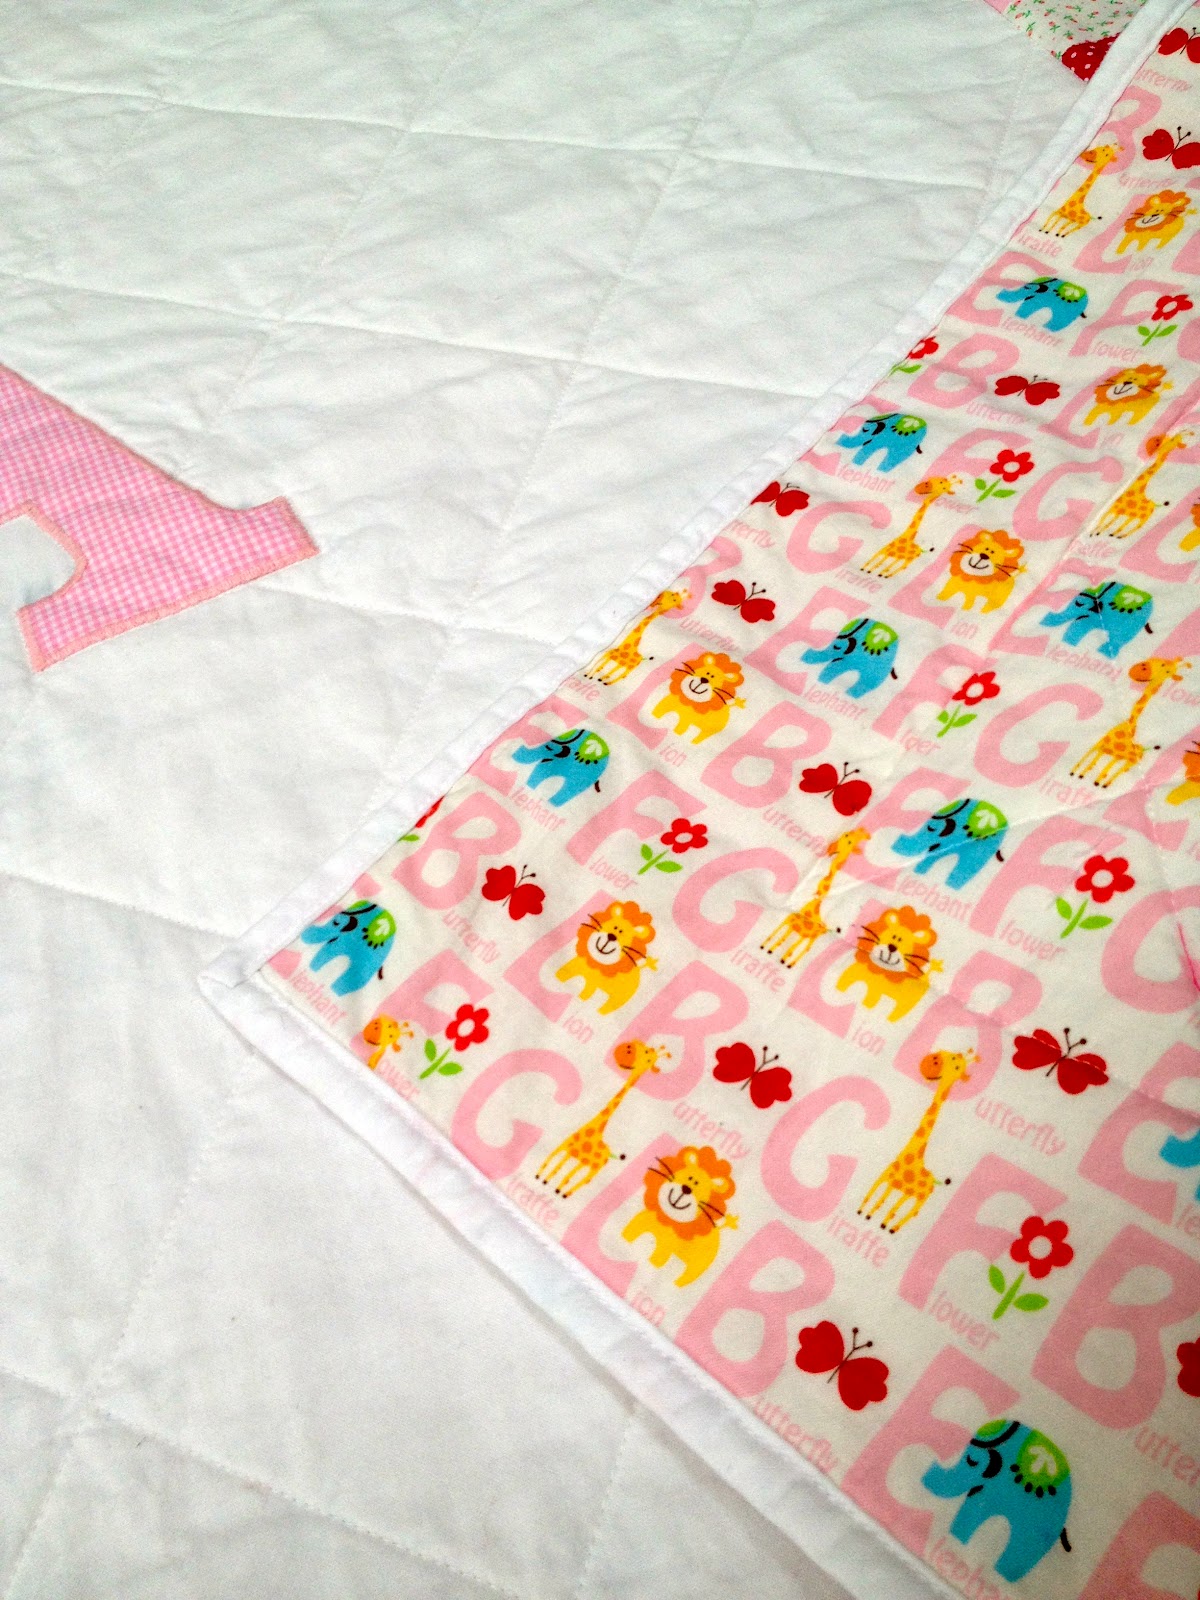
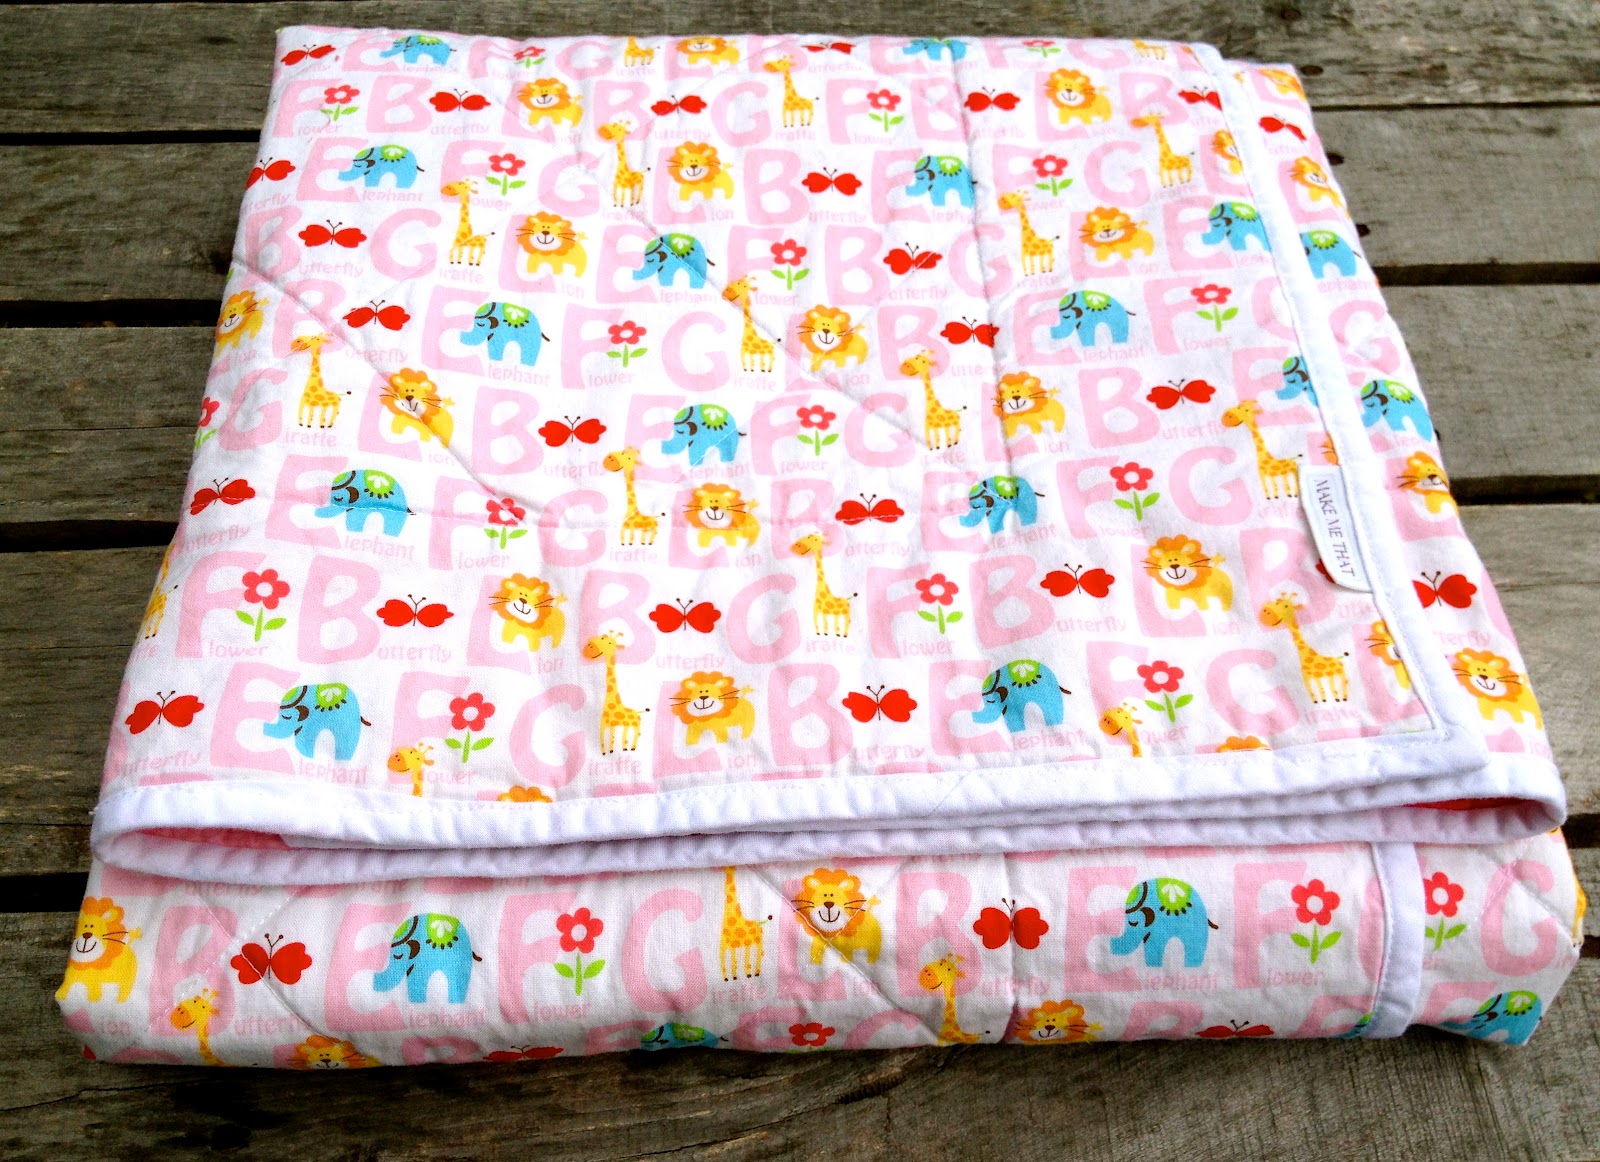
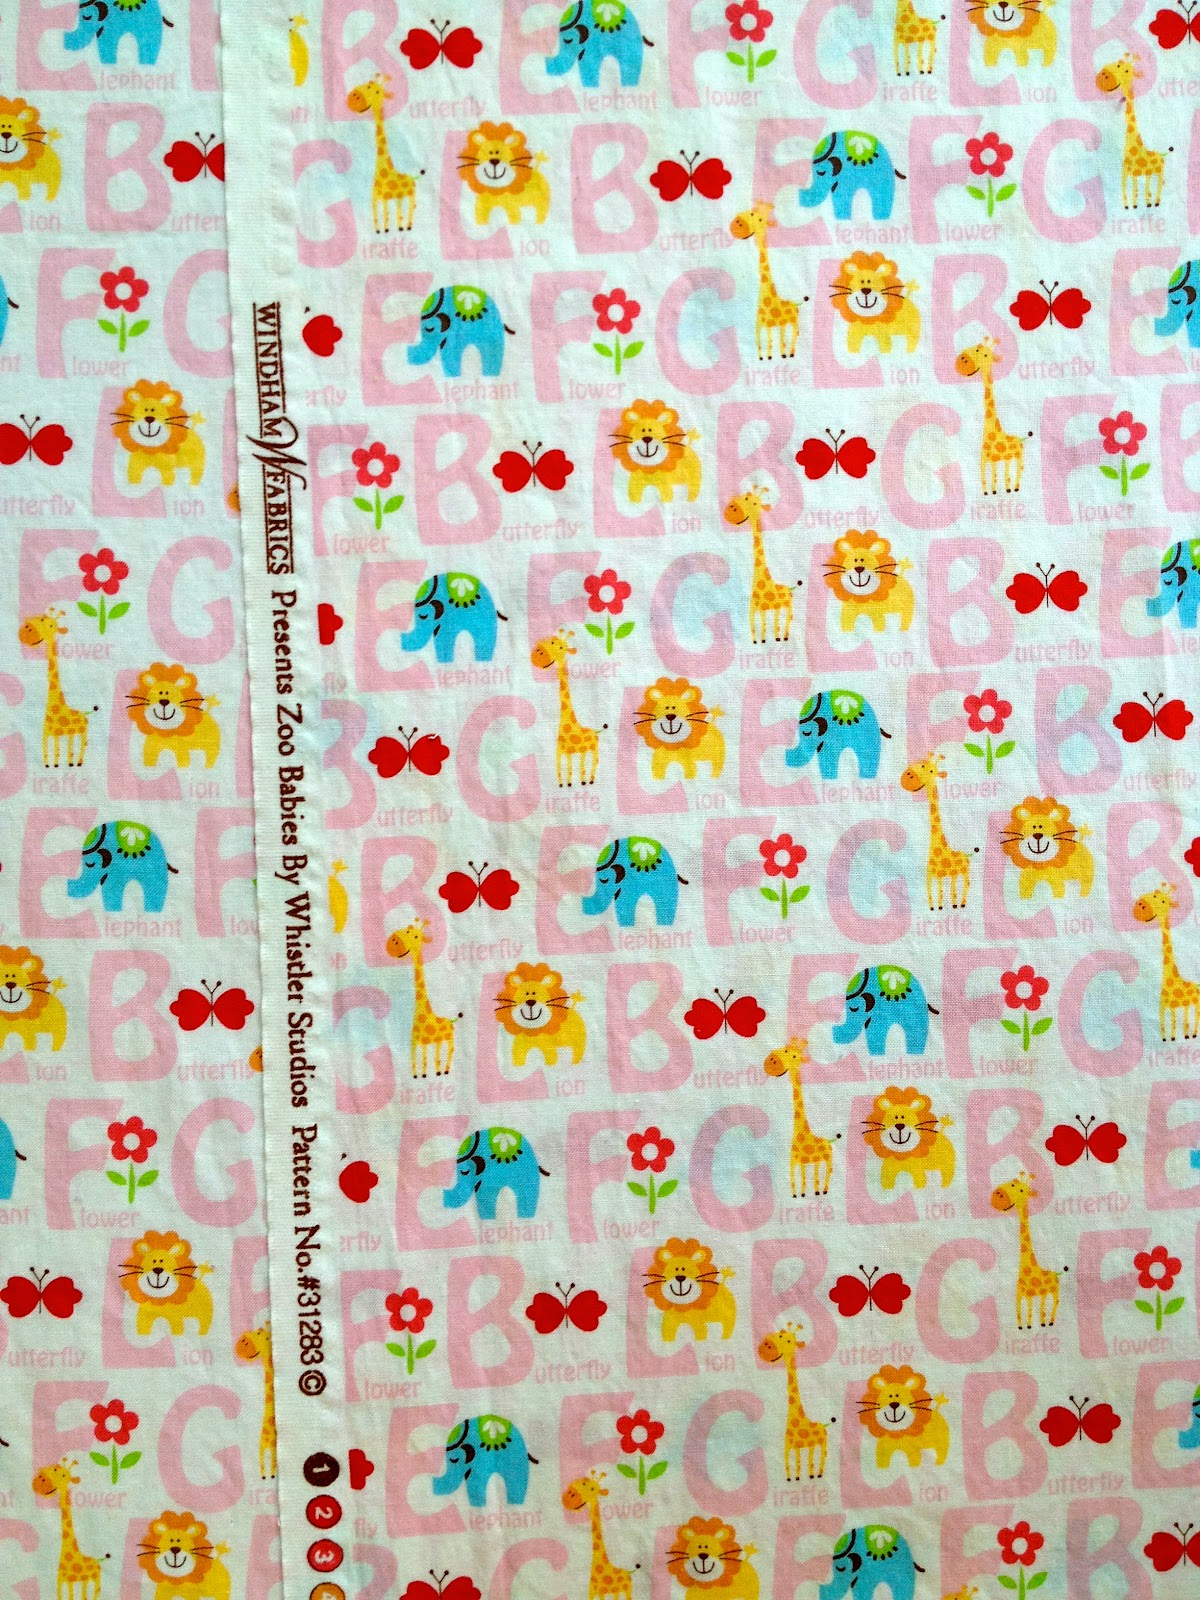
And the cutest alphabet print as the backing:
Inspired by the Harper applique nursery bedding from Pottery Barn:
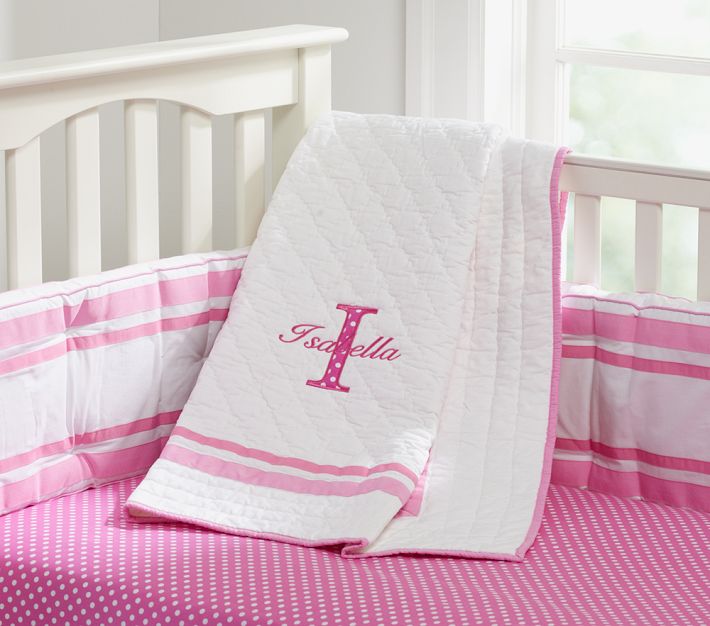
I beefed up the border and moved the letter to the center.
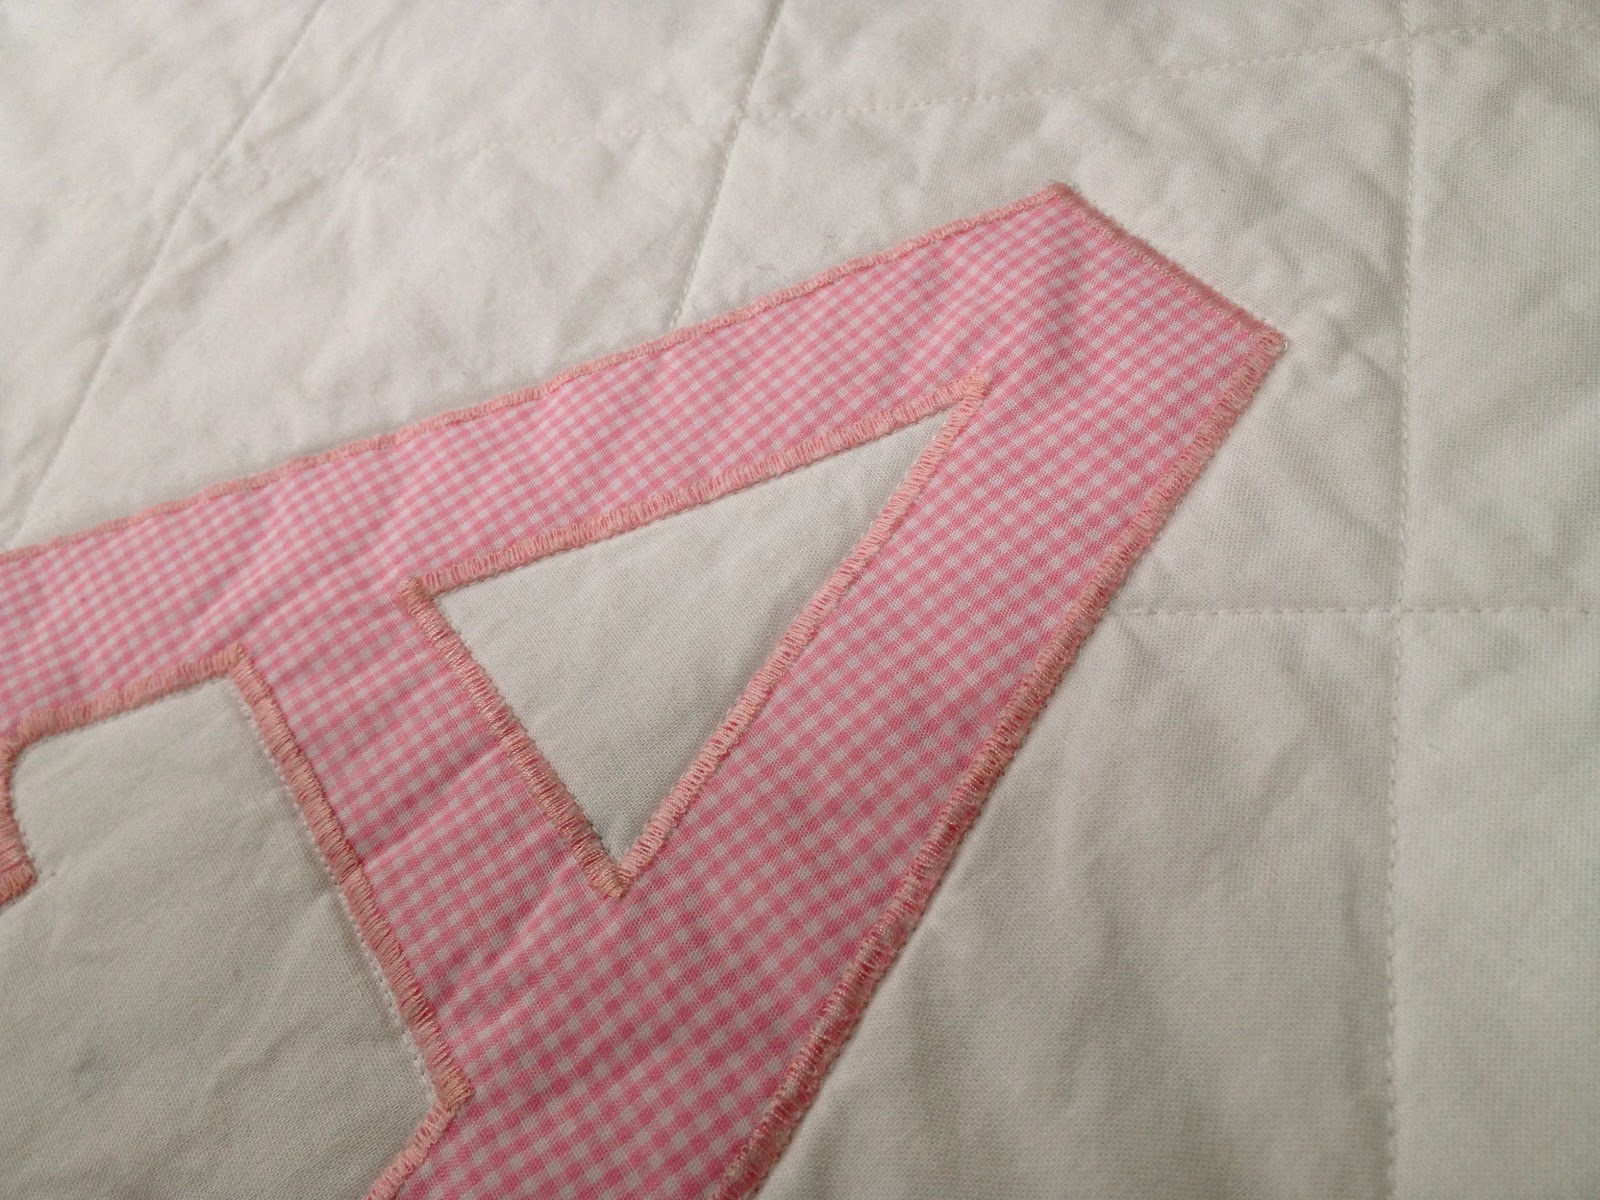
“A” is for Ariana:
Here’s how I made the quilt:
1. Find all pink scraps at least 4″wide:
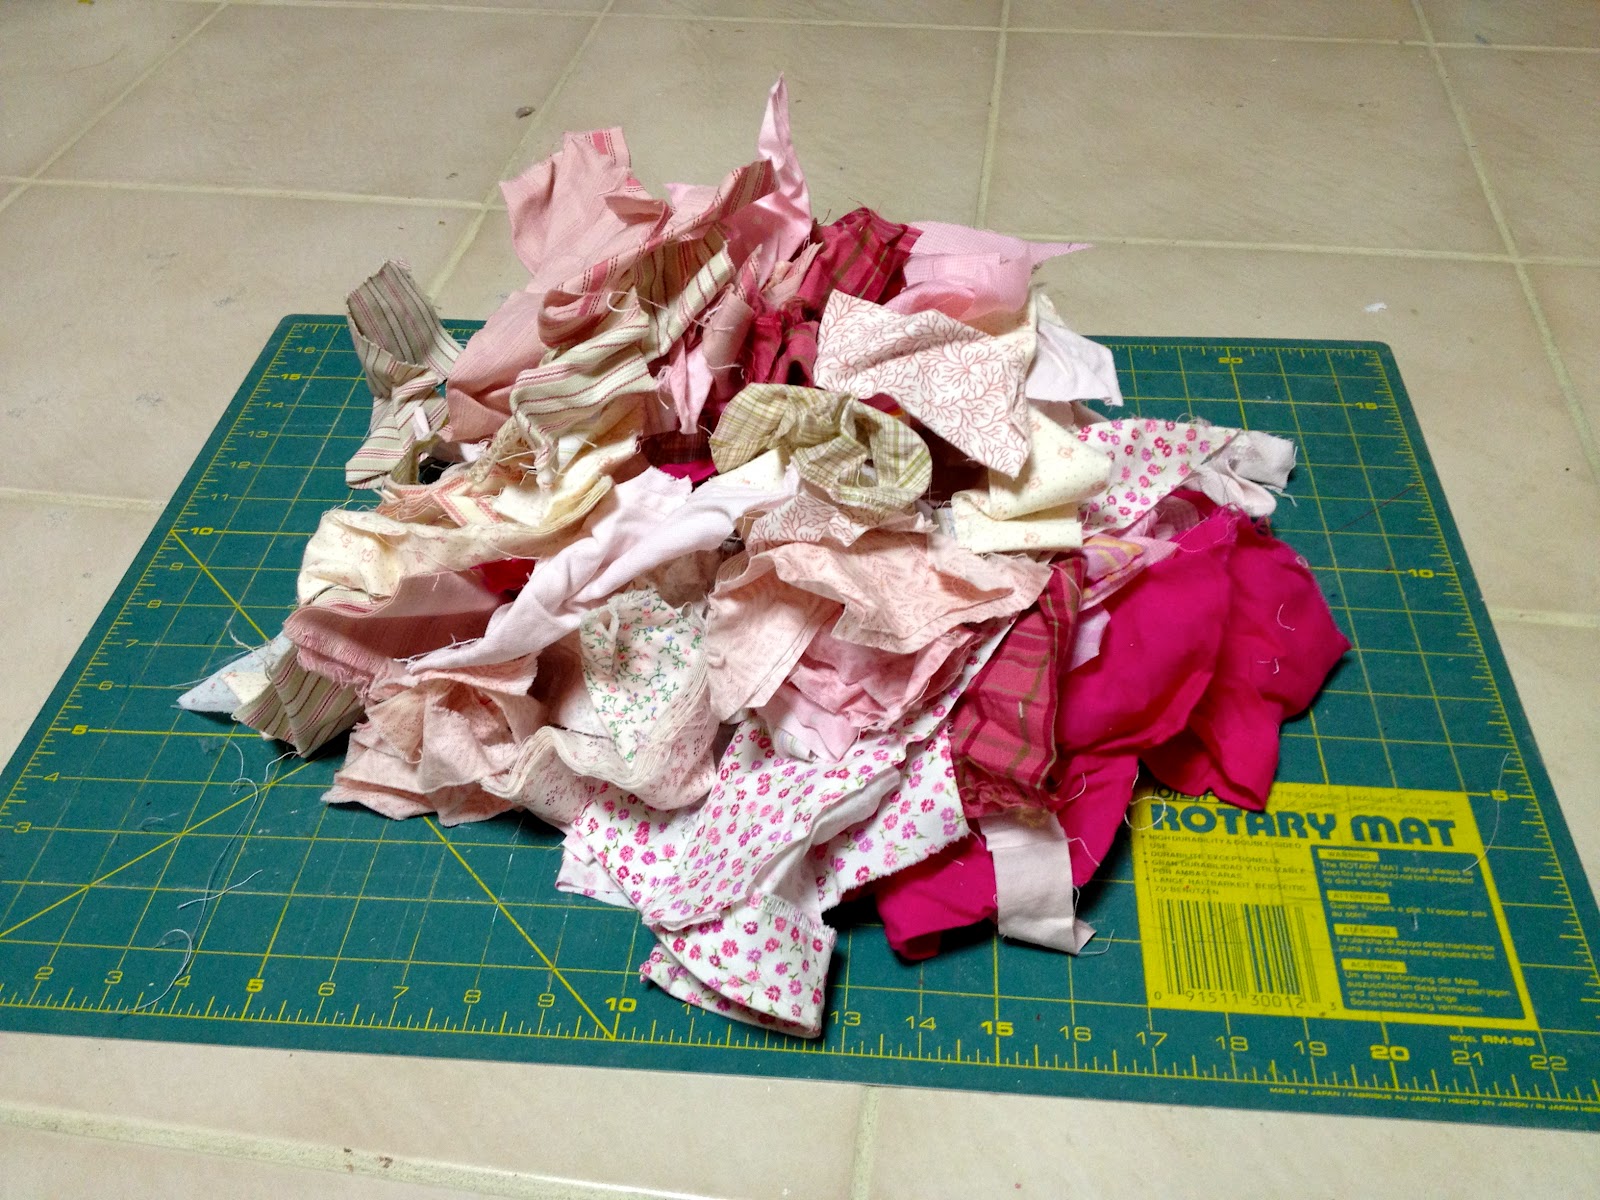
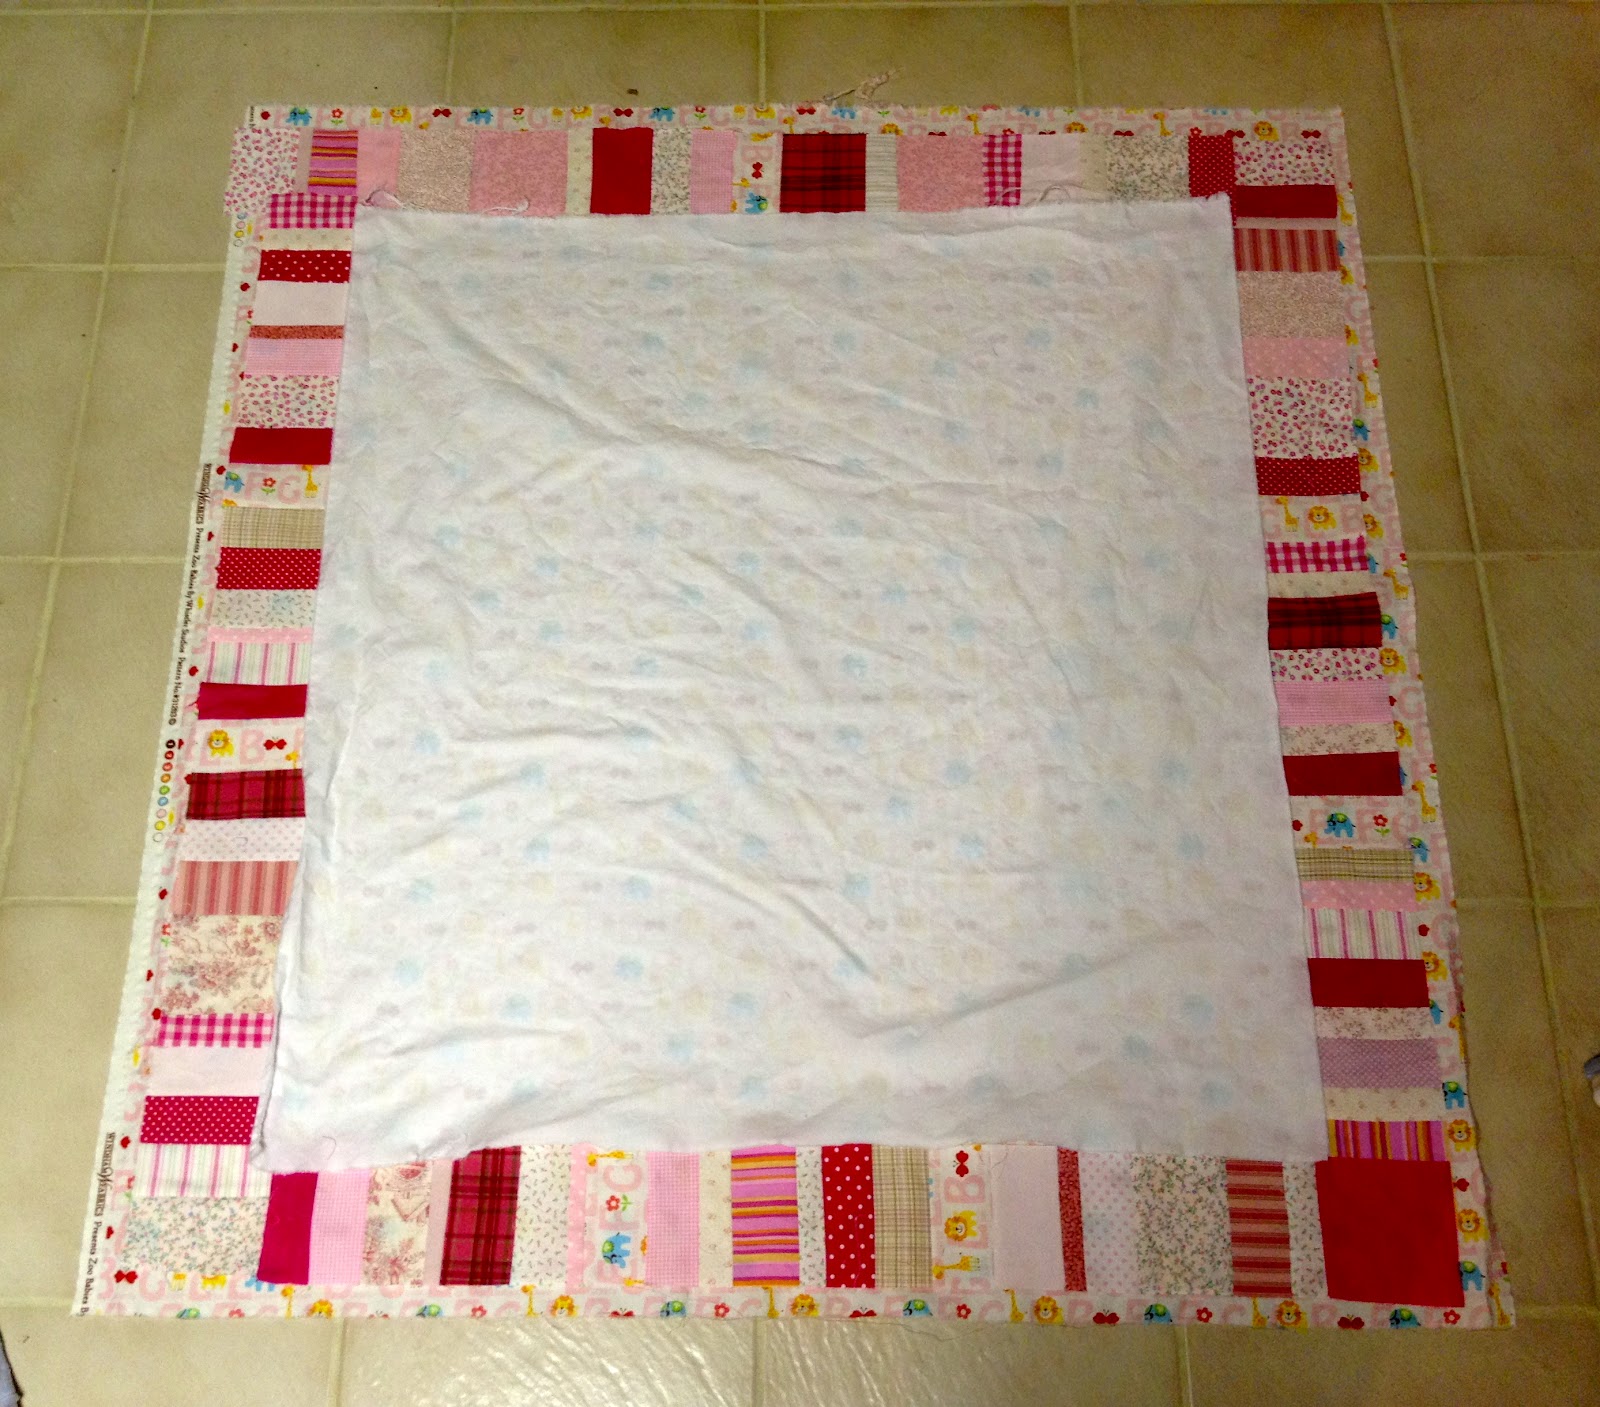
2. Sew pink scraps together into long strips, trim at 4″ wide.
Lay out large center white piece and sew strips to center:
3. For the monogram, iron on fusible interfacing to wrong side of fabric.
Print out letter to size

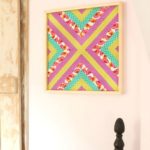
4. Using a lightbox trace letter outline onto fabric, cut out and pin in center of white piece:

5. Zig zag stitch around edge of letter:
6. For the backing I used Zoo Babies by Whistler Studios:
(it does come in blue as well)
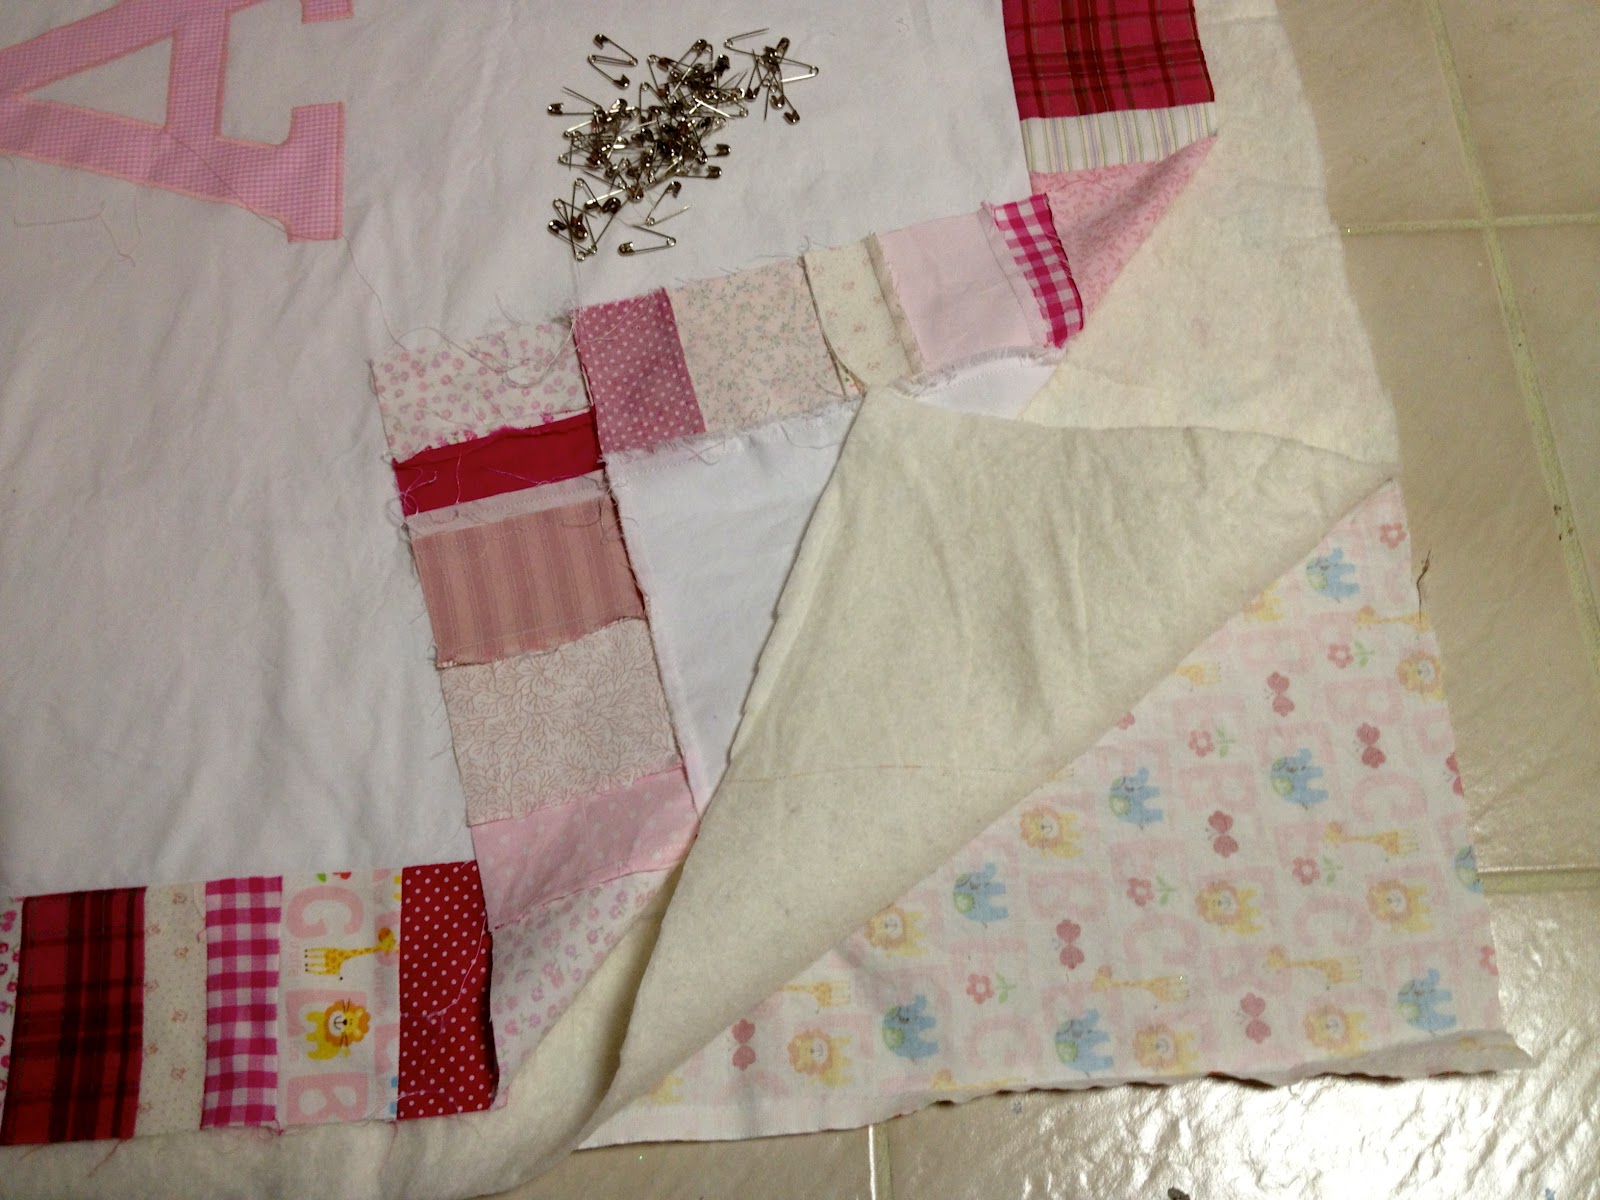
7. Make the quilt sandwich: backing face down, batting, then quilt top face up.
Safety pin every 4″:
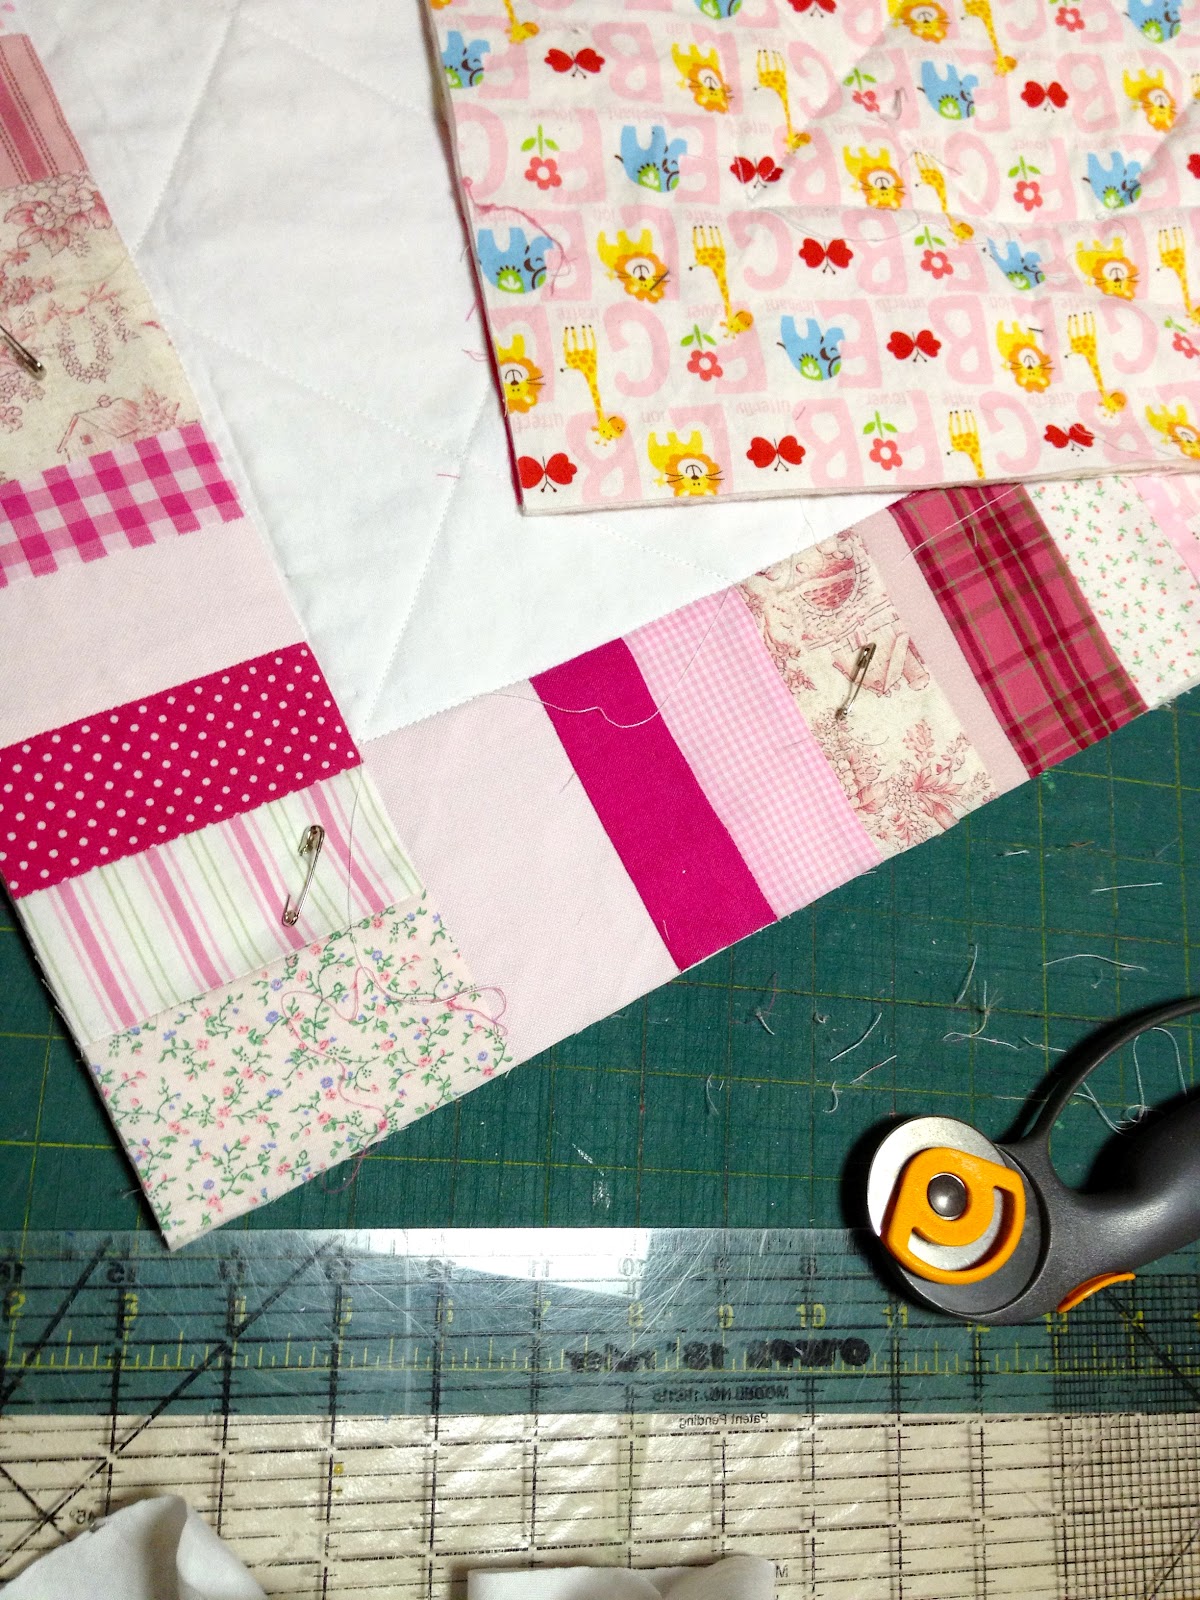
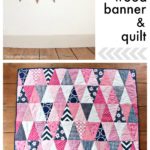
8. Quilt around the letter first, then on the diagonal every 4″, then in gutter of border.
Trim edges all flush:
9. Add white binding, miter the corners:
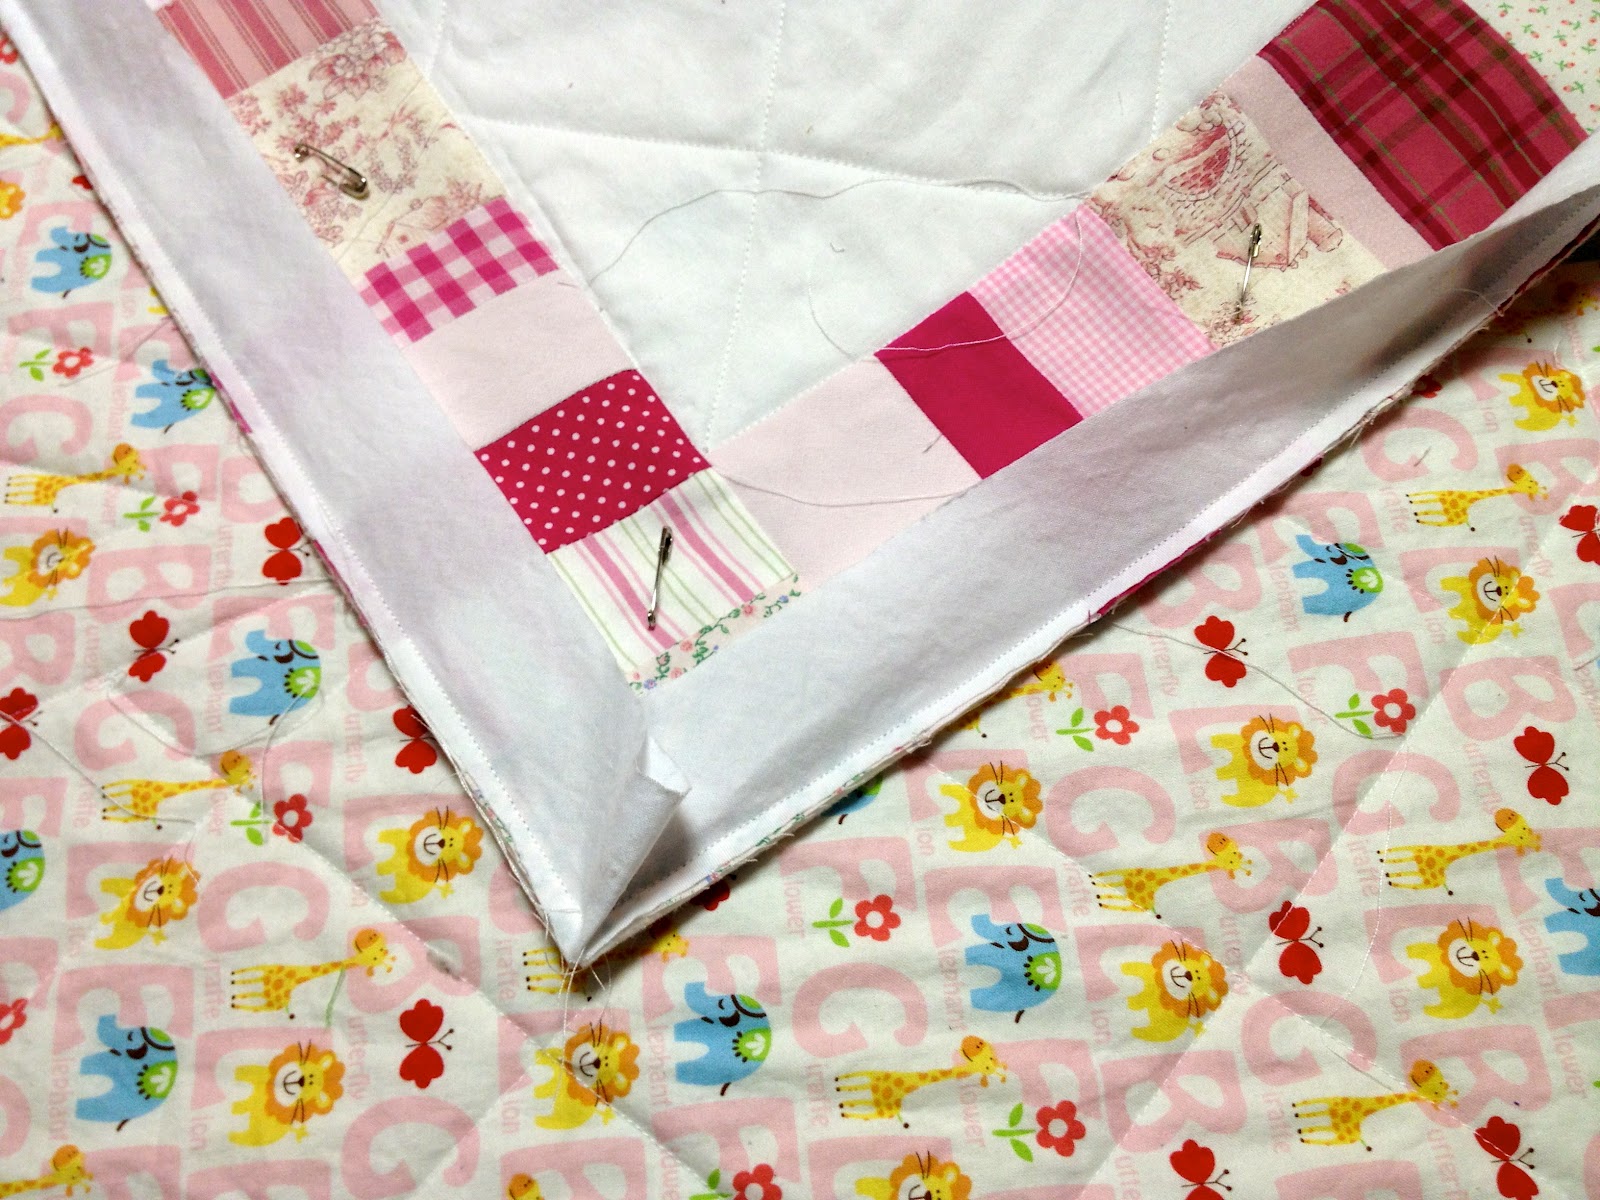
10. Press binding down and around to create edge, straight stitch in gutter:
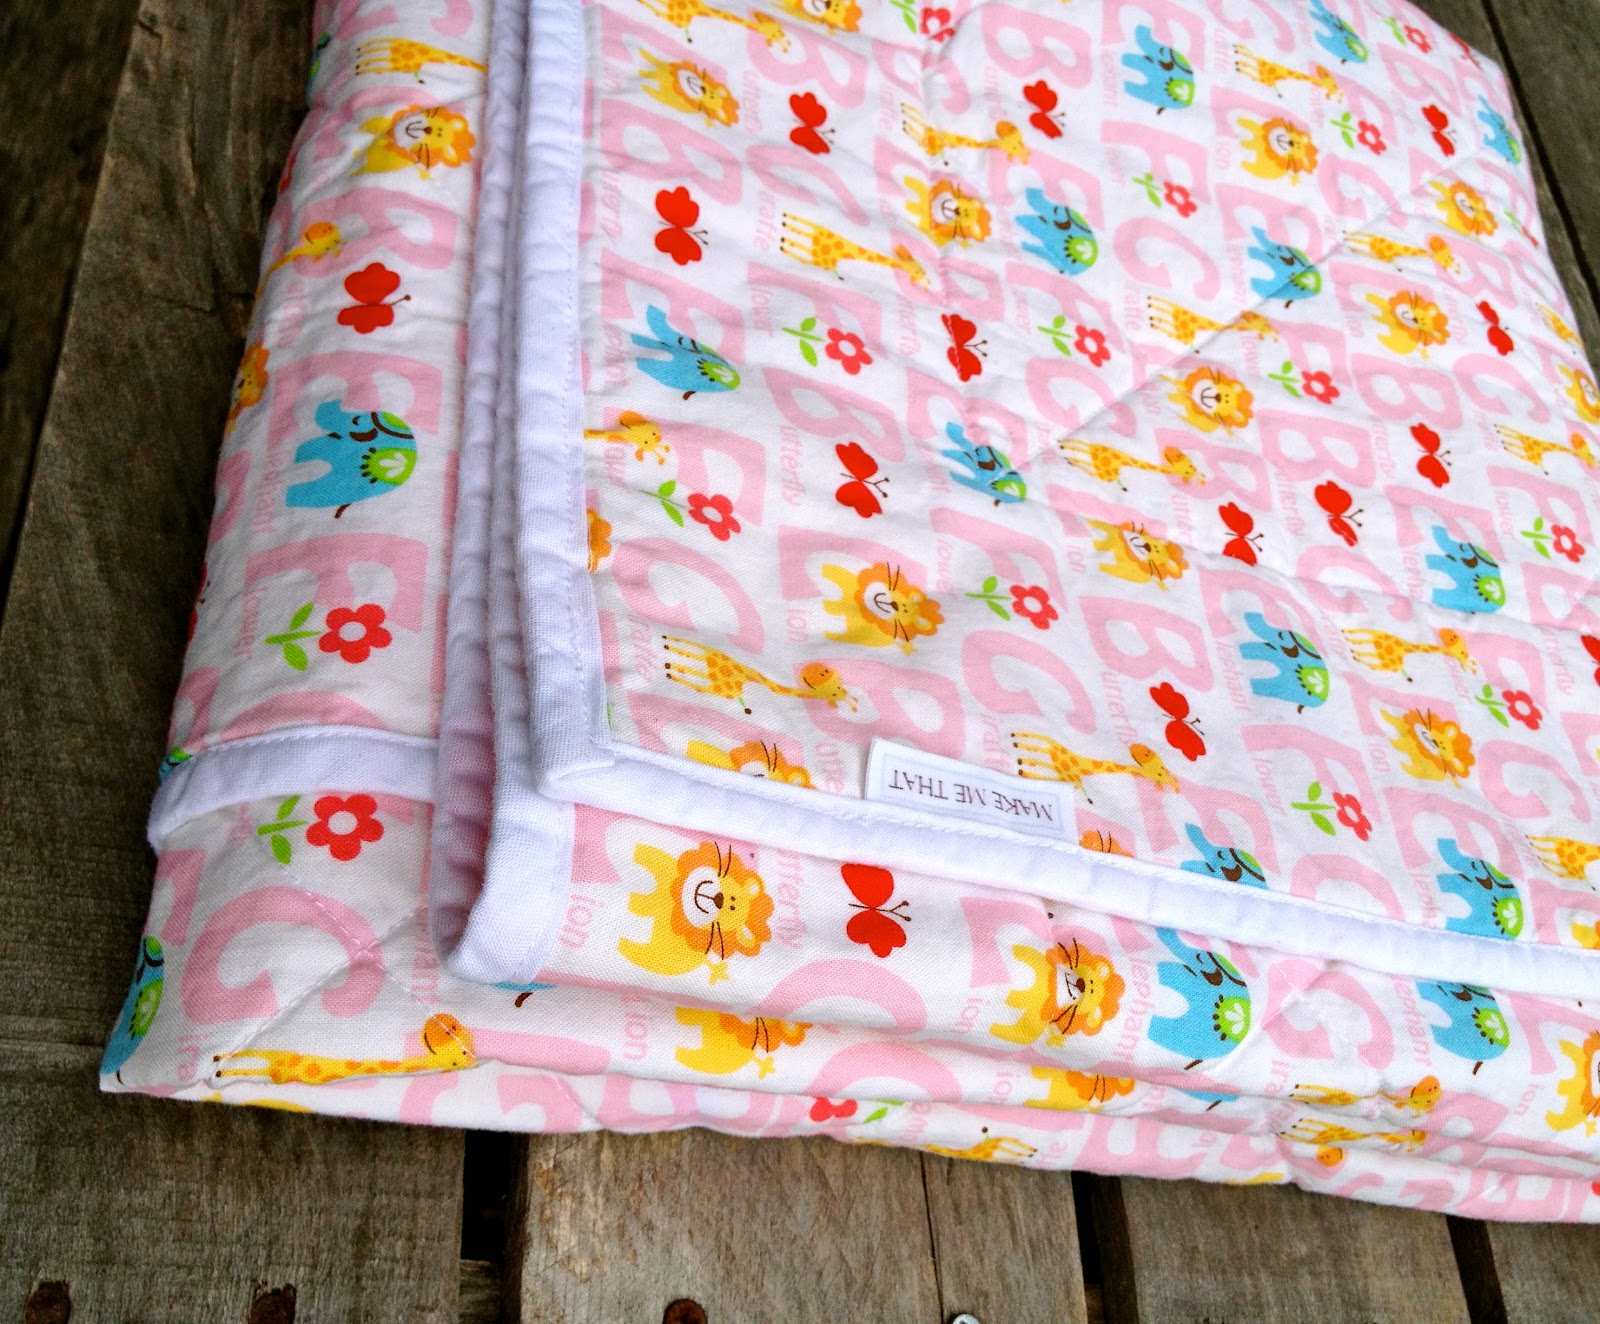
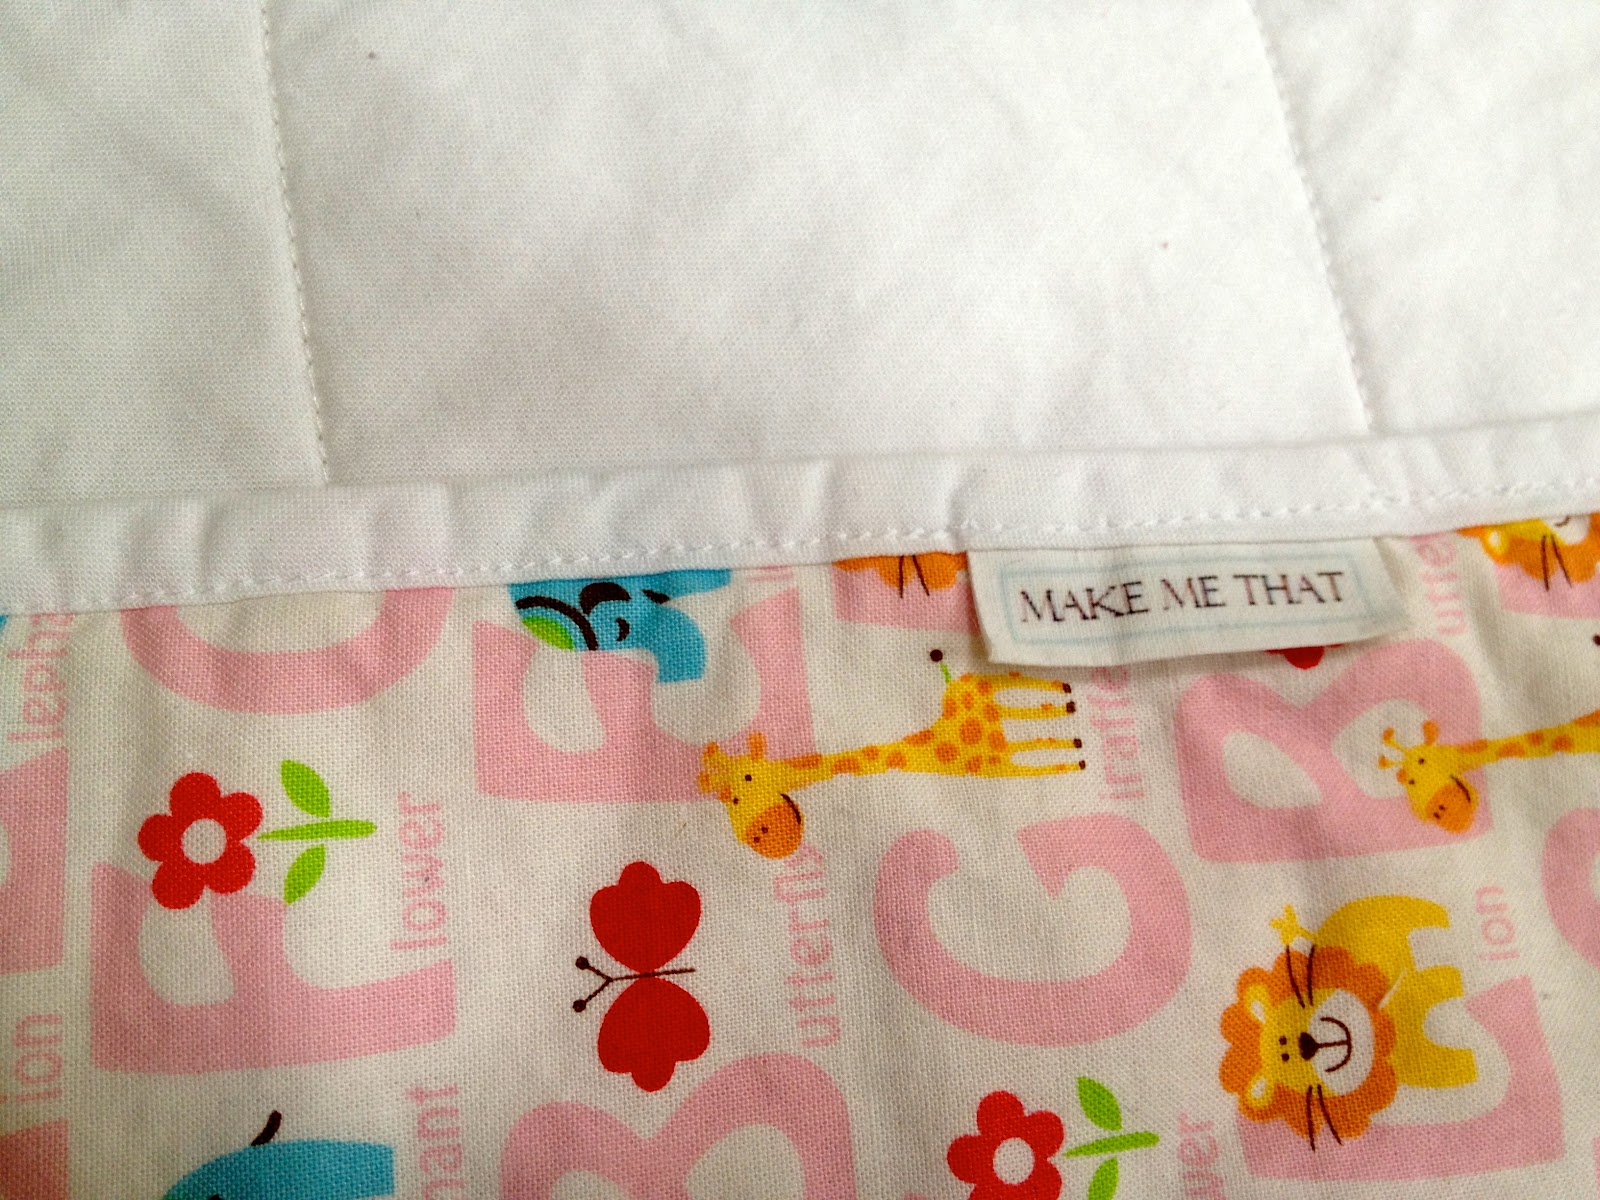
11. Don’t forget to add your label:
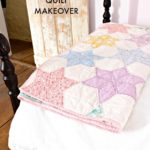
12. Roll and tie with matching ribbon:
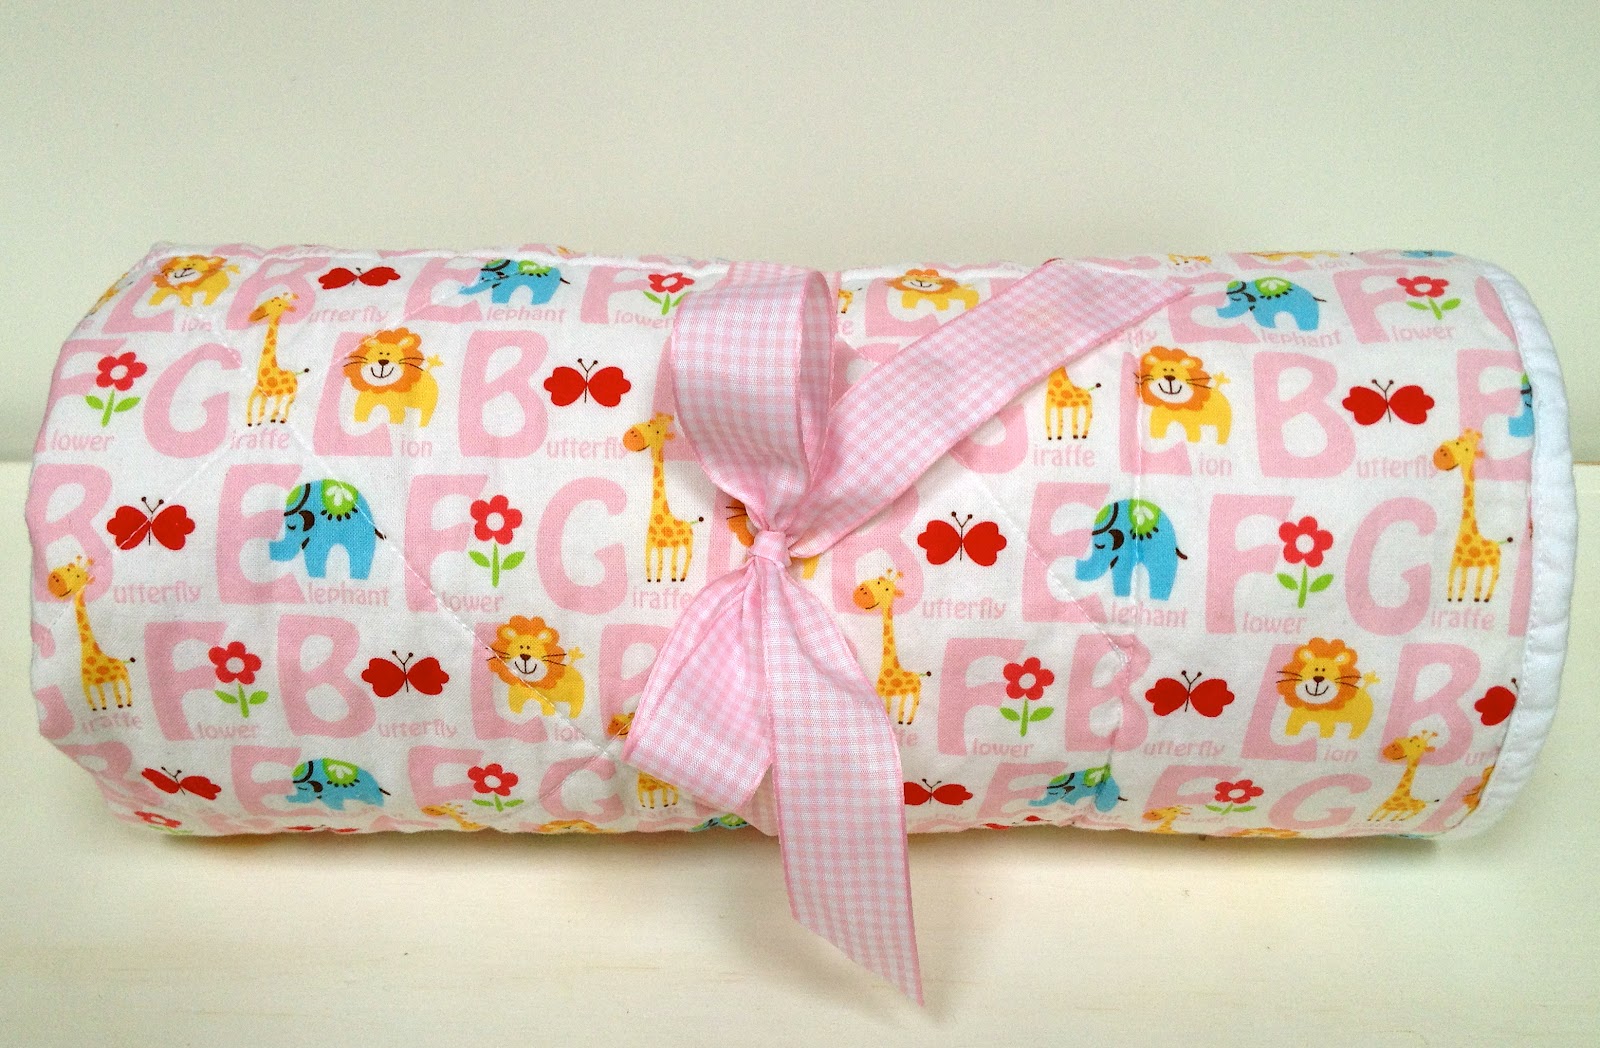
A washable, user friendly gift for a new baby girl.

Welcome to the world Ariana!

I’m linking up to:
Whatcha Got Weekend @ Lolly Jane
SAS @ Funky Junk
Weekend Wrap Up @ Tatertots & Jello
Sundae Scoop @ I Heart Naptime
Sister Sunday @ Sisters of the Wild West
Sunday Showcase Party @ Under the Table & Dreaming
Just Something I Whipped Up @ The Girl Creative
DIY Fall Festival @ The DIY Showoff
Made by You Mondays @ Skip to My Lou
Making the World Cuter @ Making the World Cuter
Nifty Thrifty @ Coastal Charm
Tuesday Treasures @ My Uncommon Slice of Suburbia
Tutorials & Tips Tuesday @ Home Stories A to Z
Good Life @ A Beach Cottage
Delightfully Inspiring @ Delightful Order
Transformation Thursday @ The Shabby Creek Cottage
Strut Your Stuff @ Somewhat Simple
Share Awesomeness Thur @ The 36th Avenue
Flaunt it Friday @ Chic on a Shoestring
Tickled Pink @ 504 Main
Frugal Friday @ The Shabby Nest
SAS @ Just a Girl
Feathered Nest @ French Country Cottage
Remodelaholics Anonymous @ Remodelaholic
I love it Jaime! So cute! I just made Ellie a new quilt for her new room and always forget how much work they are! You make it look so easy. Love the monogram.
that is So adorable! i love the colors! you really are one talented lady!
That is beautiful! The colors are perfect. I saw your quilt on freckled laundry!
This is a really sweet quilt! Making a quilt for my daughter was on my to-do list last year. It's back on there this year. 🙂 Thanks for the tutorial!
So cute and I love all the pinks! Perfect for a new baby girl!
Oh, this is so beautiful! I have some fabric that I've been saving to make a baby quilt–you might have just inspired me to stop procrastinating!
Very cute!! Love it!! I've been wanting to experiment with the zig zag stitch around letters and appliques in general…but been bit of a chicken about it…LOL! But you have motivated me to get learning:D
Darling, Jamie!