diy triangle wood banner and quilt
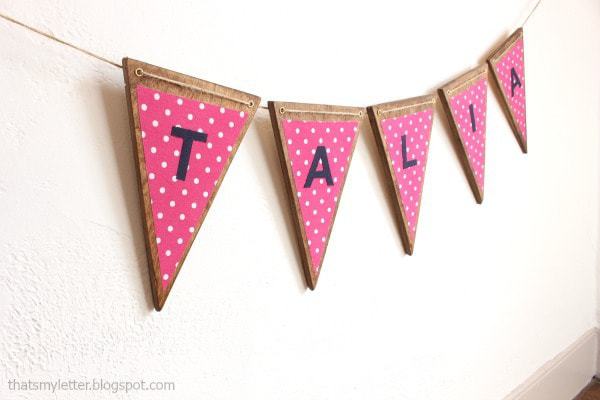
A new baby gift for my niece at her baptism. I’m sharing how to make both the triangle wood banner and quilt in this post.
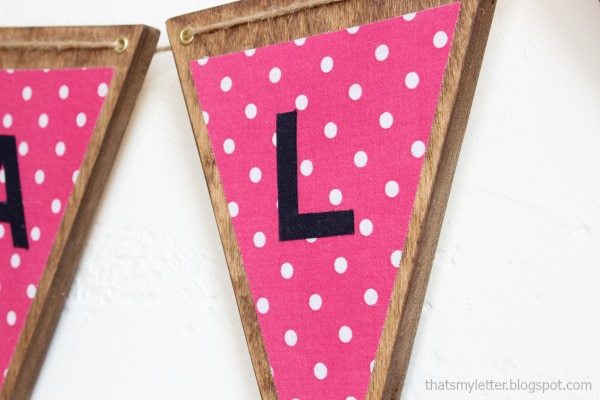
The triangle wood banner is a fairly simple project you could personalize for anyone or any occassion.
How to make a triangle wood banner:
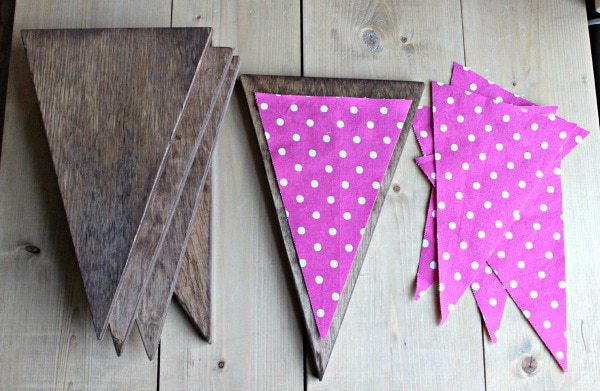
Step 1: Cut triangles from 1/2″ plywood scraps and stain. Cut triangle fabric pieces (or use extra pieces from quilt down below) to fit wood triangle, about 1/4″ inset on all sides and 1/2″ at top.
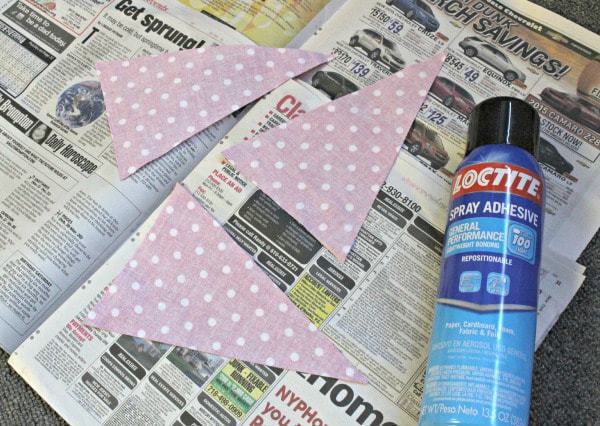
Step 2: Apply spray adhesive to back of fabric.
Step 3: Firmly apply fabric onto wood pieces and press to smooth.
Step 4: Iron letters at center of fabric. For a complete tutorial on how to make the fabric letters click here.
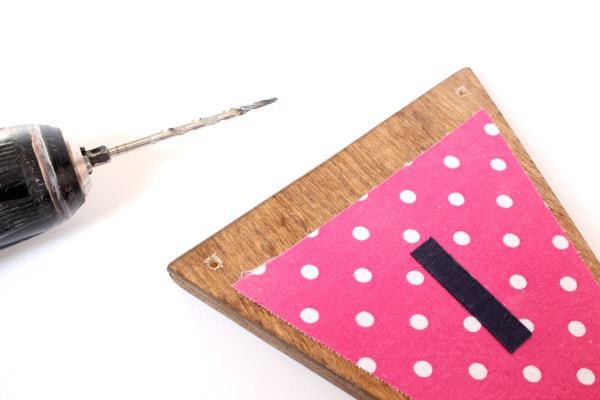
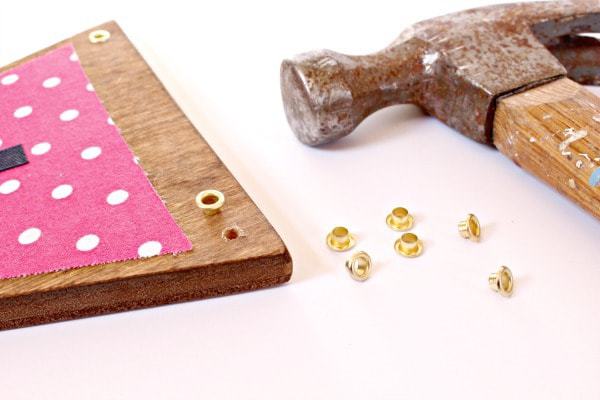
Step 5: Drill small holes through plywood at both corners, large enough to fit grommets.
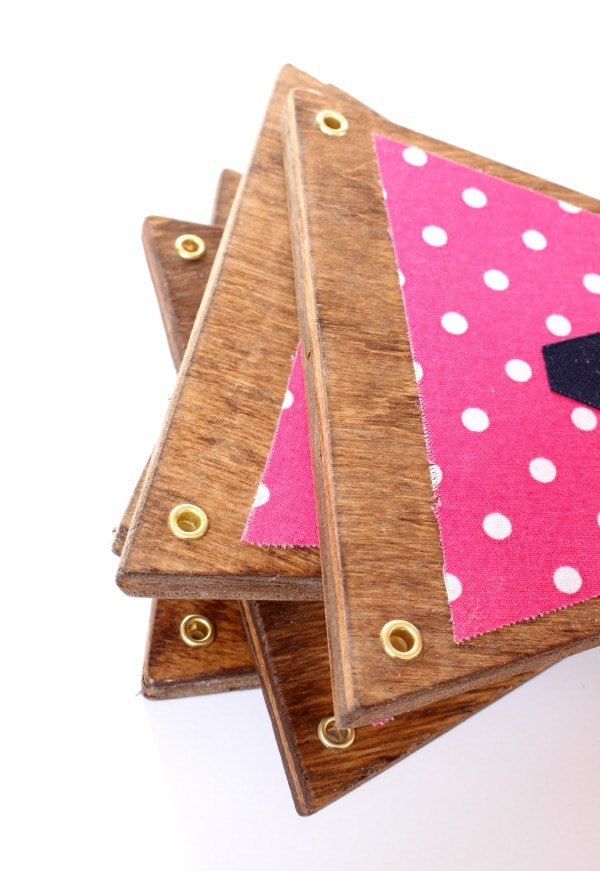
Step 6: Hammer grommet in place. The fit should be snug but if your hole is too big you could add some glue here.
Step 7: Thread jute string through the grommets.
Moving on to the triangle quilt:
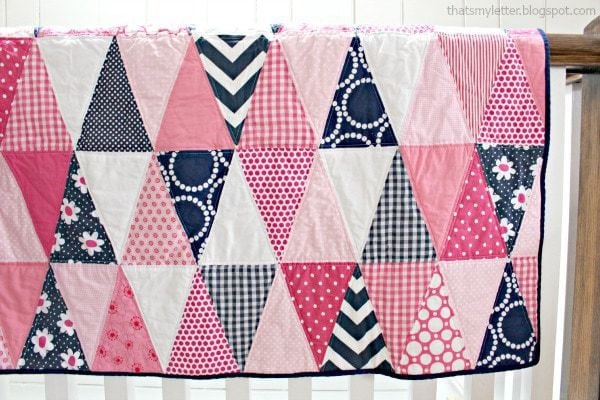
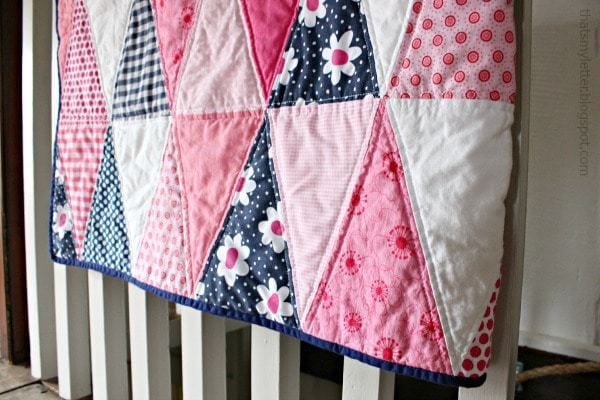
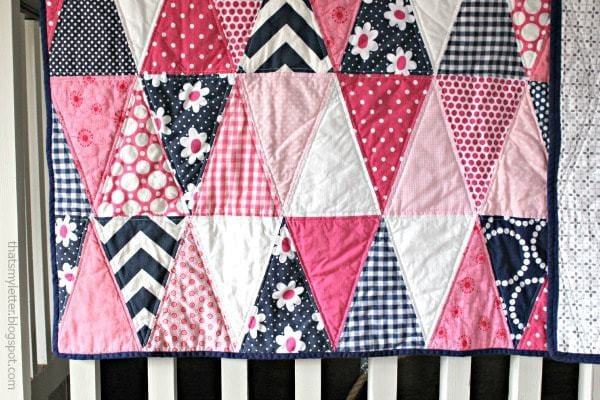
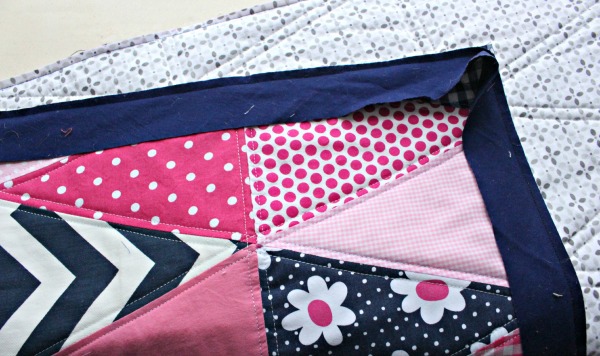
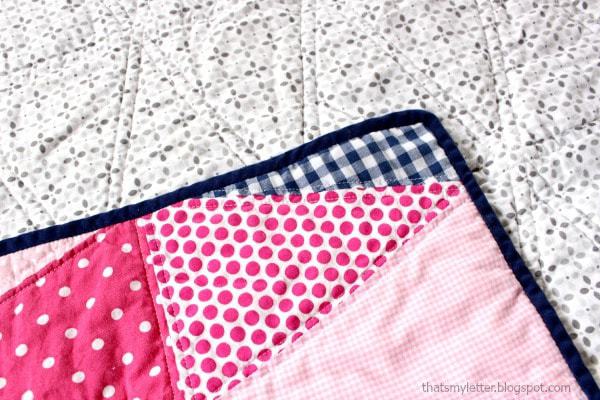
I used Kate’s pattern here from See Kate Sew and pulled from all my bright pink and navy scrap fabric.
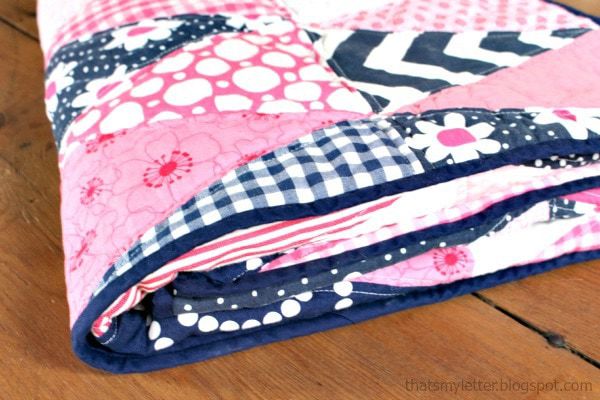
The binding is solid navy and the backing is and modern grey and white print.
How to make a triangle quilt:
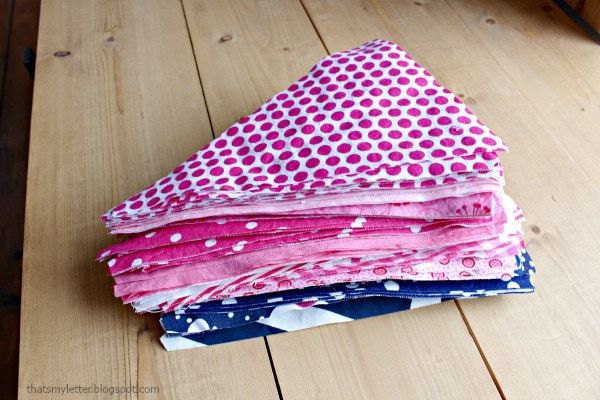
Step 1: Download the free pattern from See Kate Sew here and cut your pieces.
Step 2: Sew all the pieces into rows and then sew the rows together.
Step 3: Make a quilt sandwich: backing, batting, quilt top and then safety pin together and quilt as desired.
Step 4: Trim edges to 1/4″ seam and attach navy binding.
I always wash and dry my quilts before wrapping up to enhance the pucker and worn look.
Hope you enjoyed these handmade gift ideas.
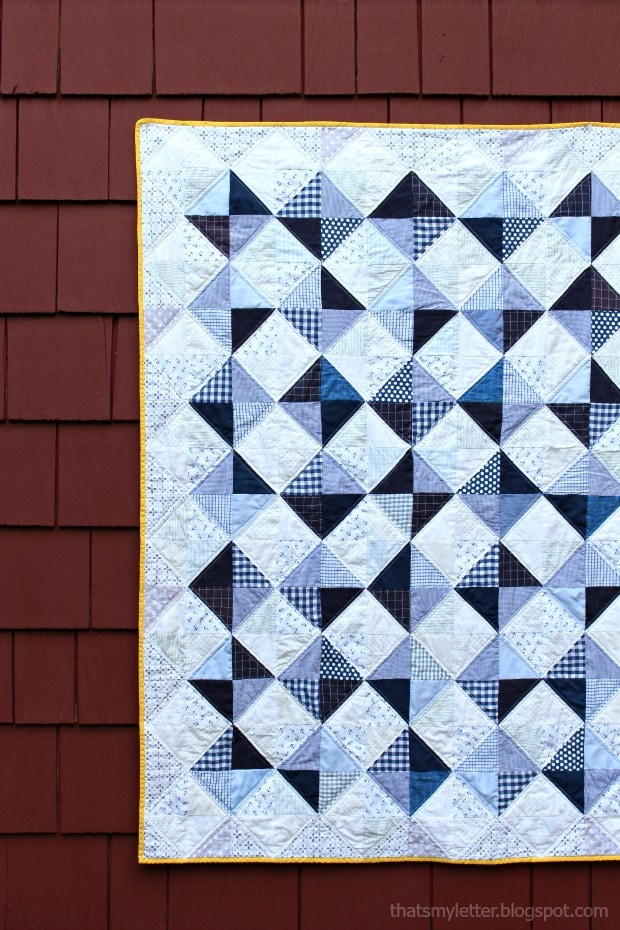
Looking for more quilt pattern ideas? Below is a half square triangle quilt I made for the brother:




so cute