This post about a painted wood leaves wreath is sponsored by DecoArt. Add a bit of punch to your door with a simple Fall wreath painted in fresh, bold colors. I’m sharing this painted wood leaves wreath today and debuting the new 2020 acrylic paint colors from DecoArt.

A DIY tutorial to make a Fall wreath using wood leaves. Add some color to your door with this painted wreath made with cut out wood leaves.
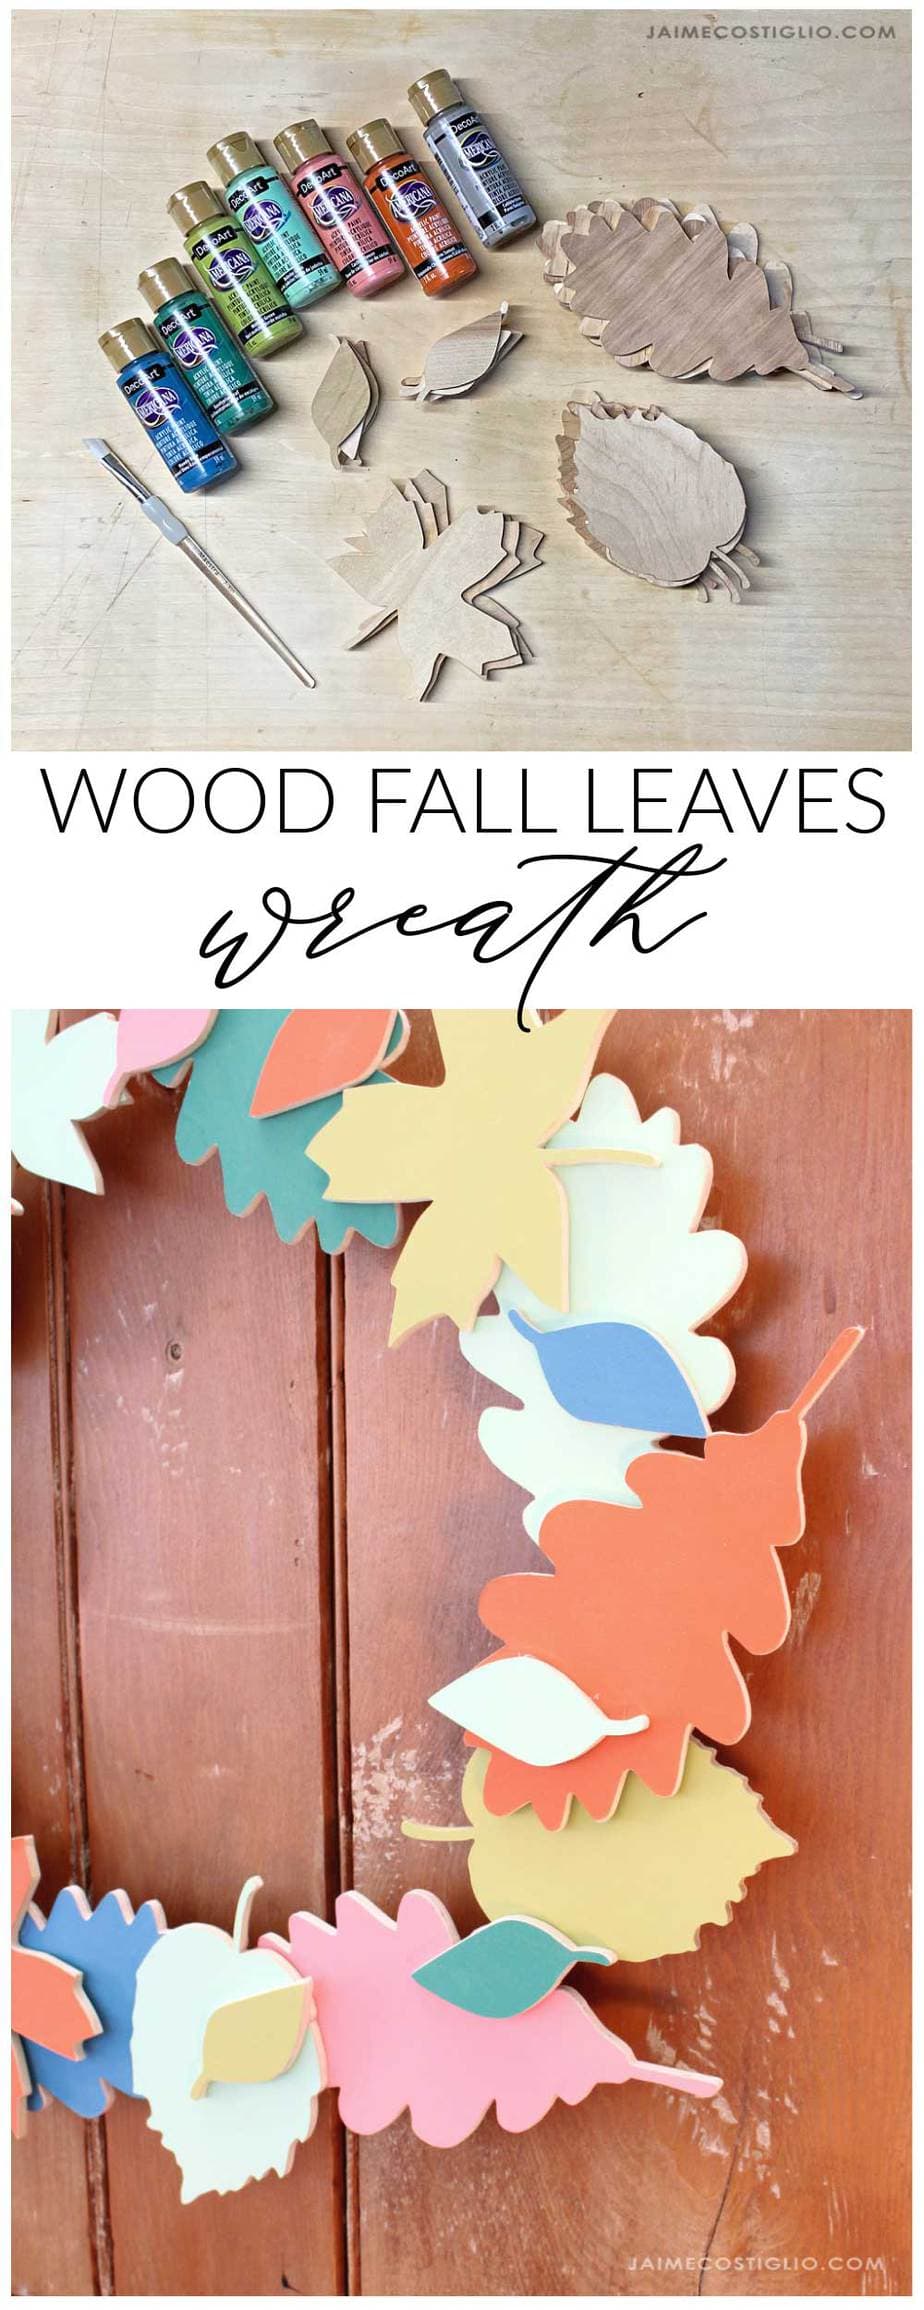
This craft project is great for all ages and you can pick paint colors to match your decor. I choose to use the newest DecoArt Americana acrylic colors to paint the wood leaves for this Fall wreath:
- moody blue
- eucalyptus leaf
- matcha green
- jadeite glass
- cactus flower
- warm sunset
- cobblestone

Americana Acrylics
You’ve seen me use Americana acrylics a bazillion times in previous projects like these name plaques. They are my go to, all purpose paints and they are available in 264 colors. And every year DecoArt comes out with a few new colors so I was excited to feature the new shades on this Fall wreath.
All of the Americana acrylics have a matte finish and budget friendly price. They provide excellent coverage and a smooth, creamy consistency. The ideal acrylic paint for professional artists, crafters, and students.


I love how these new colors play nice with each other. It’s like they were meant to be together.
This wreath project is fast and easy, there’s no rules just paint the leaves as you like and hot glue to the base.


See how the paint contrasts with the raw edge of the plywood? I love the sharp edges of all the leaves and the layered effect. Down below I’m sharing the step by step instructions to create this wood leaf Fall wreath. Be sure to read through entirely before beginning.

Supplies:
- wood leaf shapes
- DecoArt Americana acrylics in:
- paint brush
- zip sander and sandpaper
- 12″ wood embroidery hoop
- hot glue gun and glue sticks

You can find precut wood leaves online or in the craft store. I cut mine on the scroll saw using 1/4″ scrap plywood.

Step 1: Apply one coat of paint to the front of the leaves. One coat coverage is sufficient for most colors however depending on the pigment you may need two coats.

Step 2: Sand off any excess paint that may have gotten onto the edges. This leaves a neat and tidy exposed wood edge.

See the difference it makes when you sand the edges clean?

Be sure to vary your paint colors across the different leaf shapes. This creates visual interest and ensures no two leaves will be the same.

Step 3: Hot glue the leaves onto the wood hoop. I definitely suggest doing a dry run test layout before actually gluing the leaves into position. Try to separate alike colors and shapes to make it look random. Lastly add a jute string to hang the wreath.
Thanks for joining me for this fall leaves wreath project. Please leave any questions in the comments below and be sure to follow me on social media for sneak peeks, tools and project inspiration:
SHOP THIS PROJECT:


Leave a Reply