Here we are friends just days before the big day. Ana White and I have one last Handbuilt Holiday gift idea for you that’s super fast and simple. These DIY wood pillar candle holders make a great gift and even better table decor centerpiece idea for your holiday table. I know you have some scrap wood lying around so let’s get busy.

A DIY tutorial to make pillar candle holders. Take those scrap wood pieces and make these simple and easy pillar candle holders.
It’s been an amazing season of gift making this year as Ana and I have shared 12 more holiday gift ideas you can build as part of the Handbuilt Holiday series. Today is the last project idea for the 2019 series and it’s so bittersweet as it comes to a close.
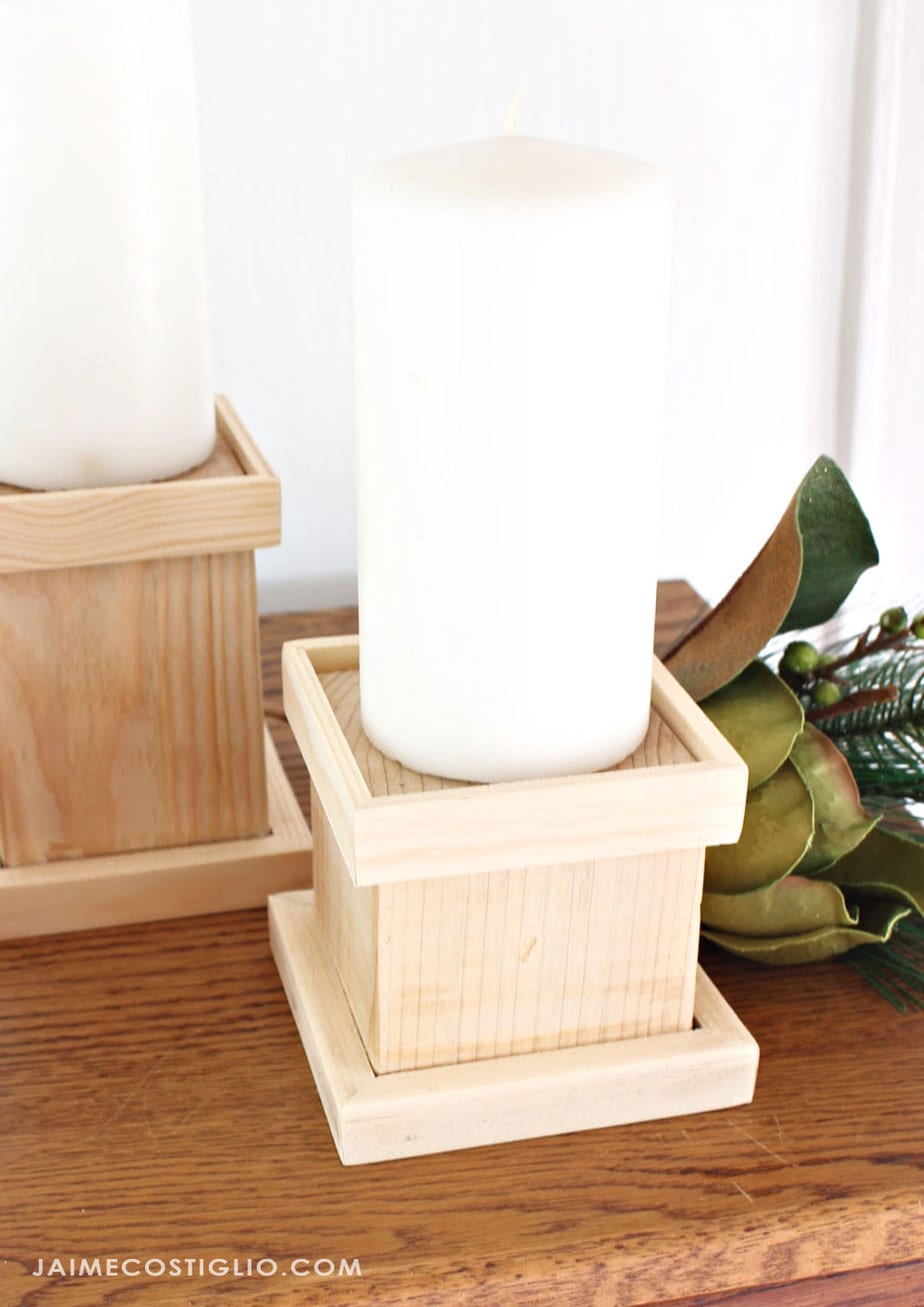
As the world shifts focus towards sustainability, reduced packaging, intentional living and environmental consciousness I find myself making more and more. And that’s not just gifts but making everyday things and life function items in our home. But that’s not the focus of this post, I just thought I’d share my thoughts. Back to these beautiful wood pillar candle holders.
Pillar Candle Holders Features
- scrap wood project
- make any height you desire
- accommodates any diameter candle up to 3 1/2″
- no need for hole saw bits
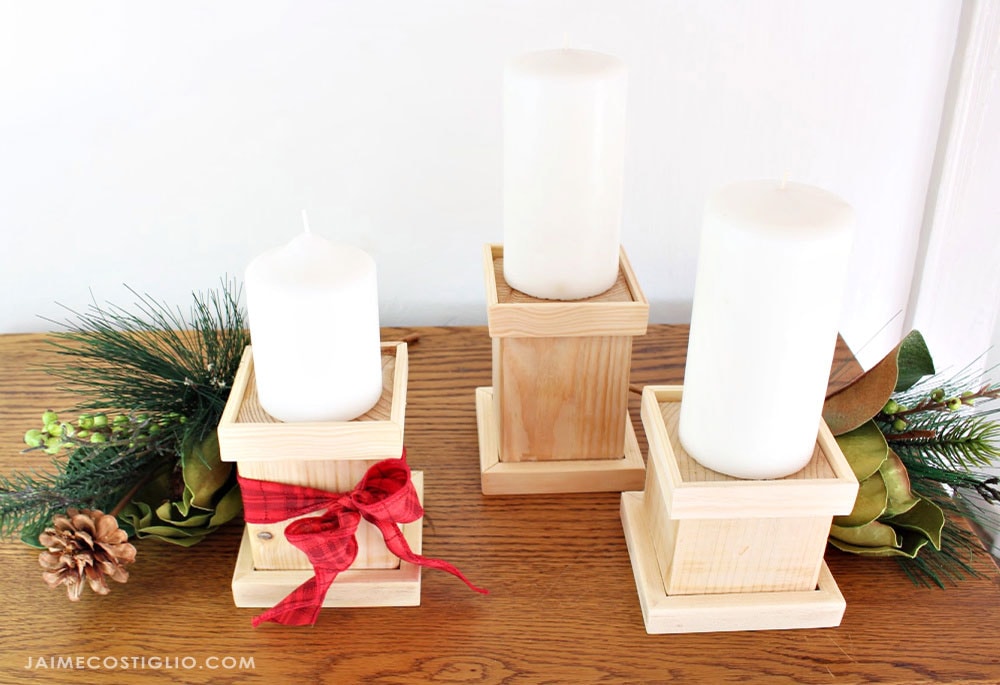
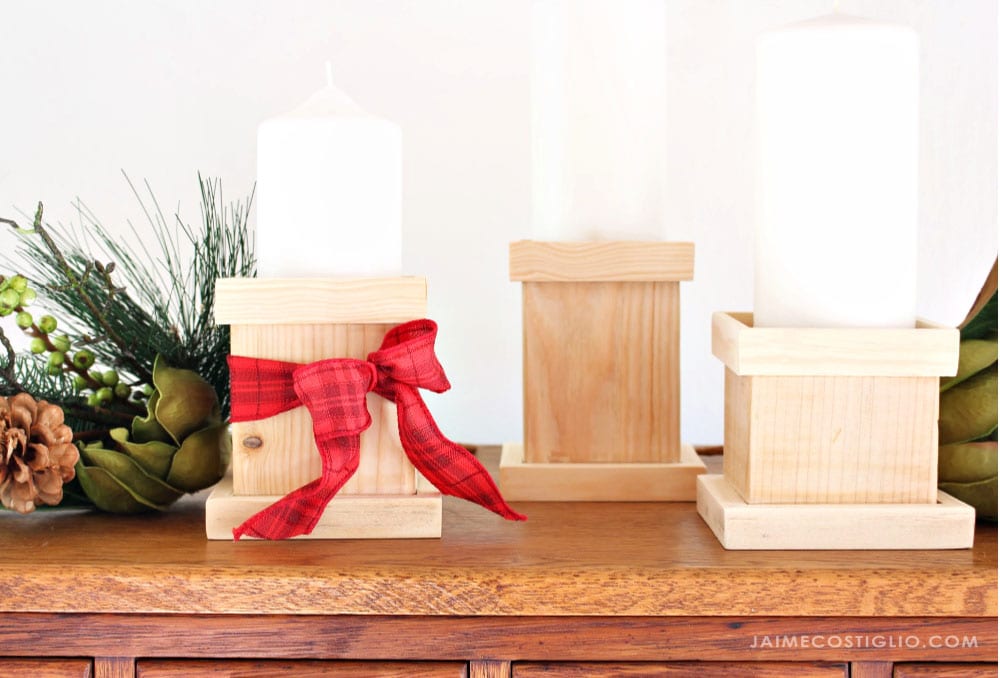
When Ana and I first started working on this project we originally wanted to drill out a hole for the candle in the center but that quickly became a bit problematic. Unless you have a complete set of hole saw bits from 1/2″ all the way up to 3″ or a 3″ forstner bit then it’s a bit difficult to make the hole. And we want our projects to be reader friendly and easy to replicate for the average person.
So we quickly aborted the idea of the circular hole and decided and inset platform would work just great. Ana suggested to add the trim and fancy up the edge which elevates the basic 4×4 post and provides a pretty home for the candle.
Supplies:
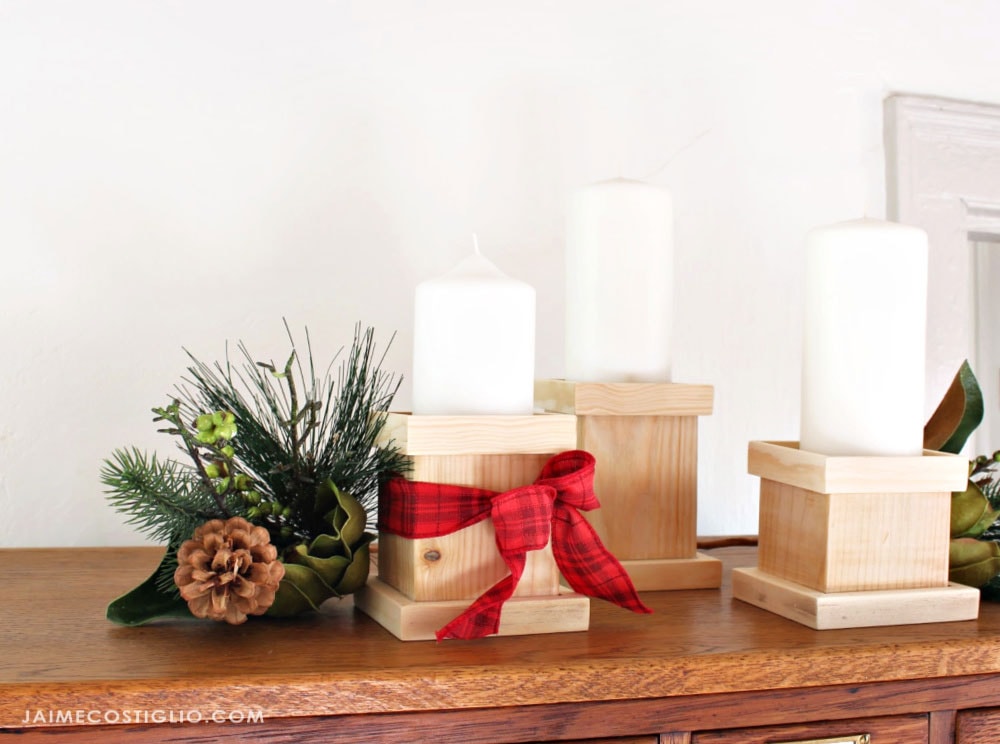
- 4×4 posts (mine are 3 1/2″, 4 1/2″ and 5″ tall)
- 1/4″ flat lattice
- 1/2″ x 3/4″ flat moulding
- wood glue
- pin nailer
- 1″ pin nails
- miter saw
- measuring tape
- wood filler
- sander
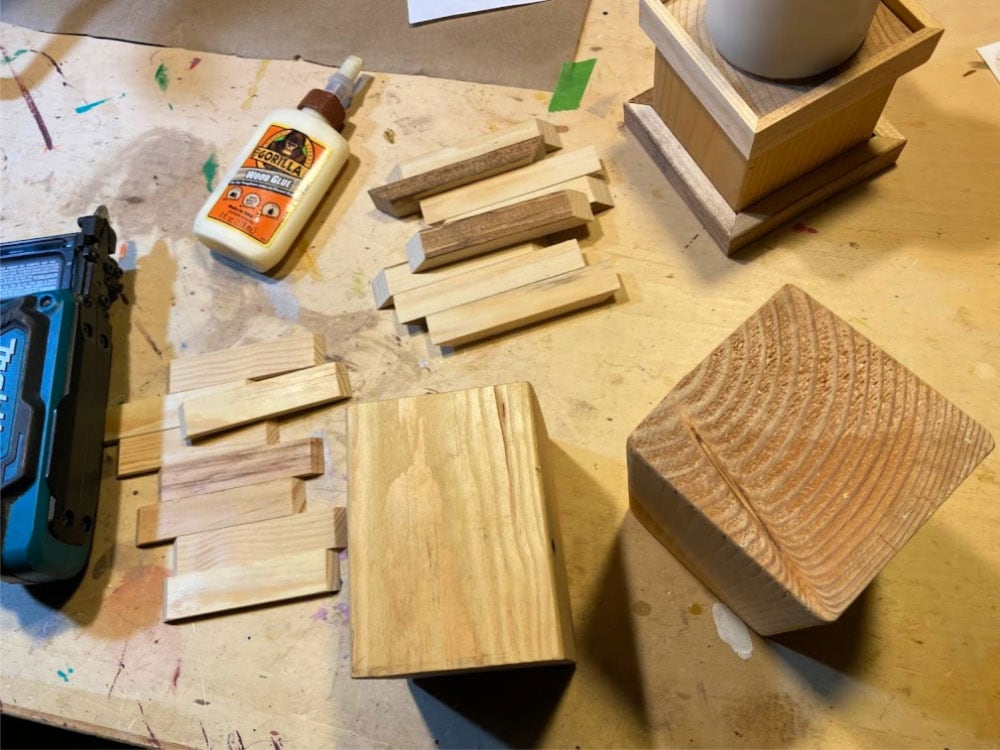
Follow Ana’s plans here for the cut list details. It is worth noting that typical 4×4 posts have a bit of a rounded edge so the trim pieces need to be glued and secured on the flat sides. The trim pieces will meet at the mitered corners and make a nice sharp edge. You definitely don’t have to miter the ends of the trim pieces. You could just use butt joints especially if you’re considering painting these pillar candle holders.
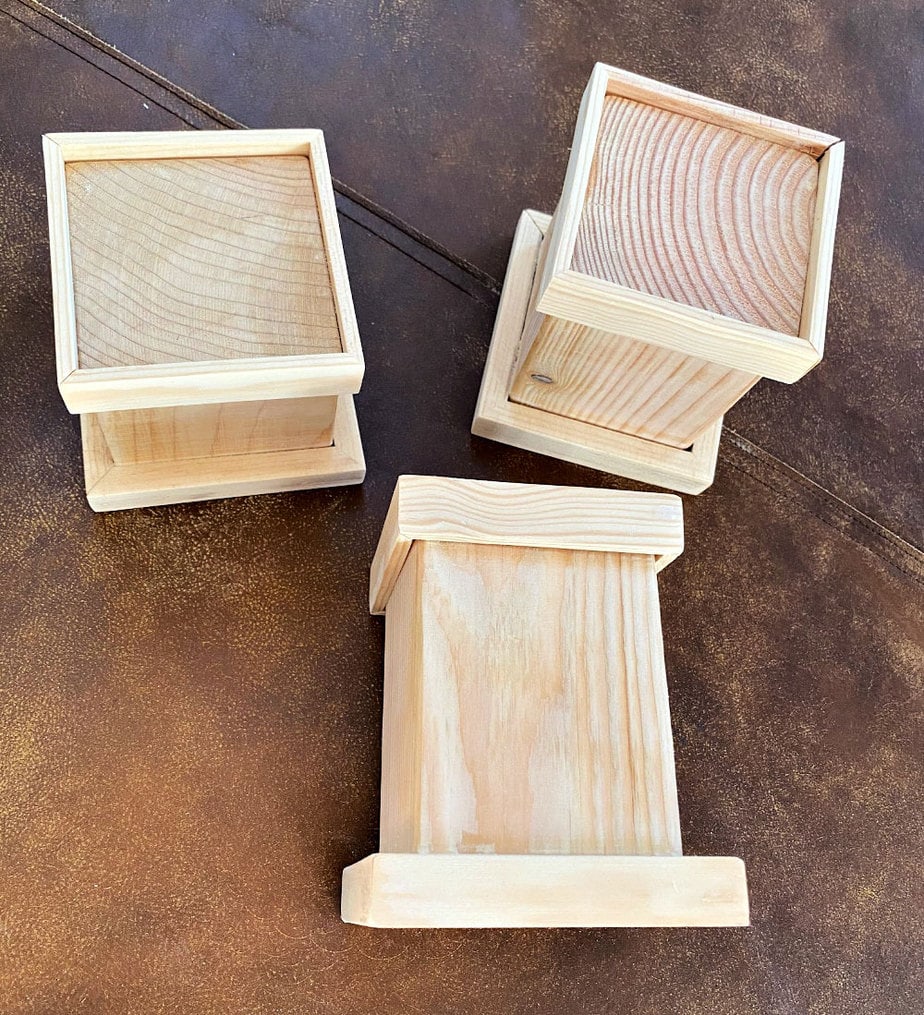
Be sure to attach the top trim with a lip. I left a generous 1/4″ reveal which makes the inset platform for the candle. Then use a bit of wood filler on the pin nail heads and sand everything smooth. These pillar candle holders are unfinished and look just swell but they would be amazing with some stain and poly.

Thanks for joining me for this pillar candle holder project. Please leave any questions in the comments below and be sure to follow me on social media for sneak peeks, tools and project inspiration:
Instagram / Pinterest / Facebook / Youtube / Twitter
SHOP THIS PROJECT:
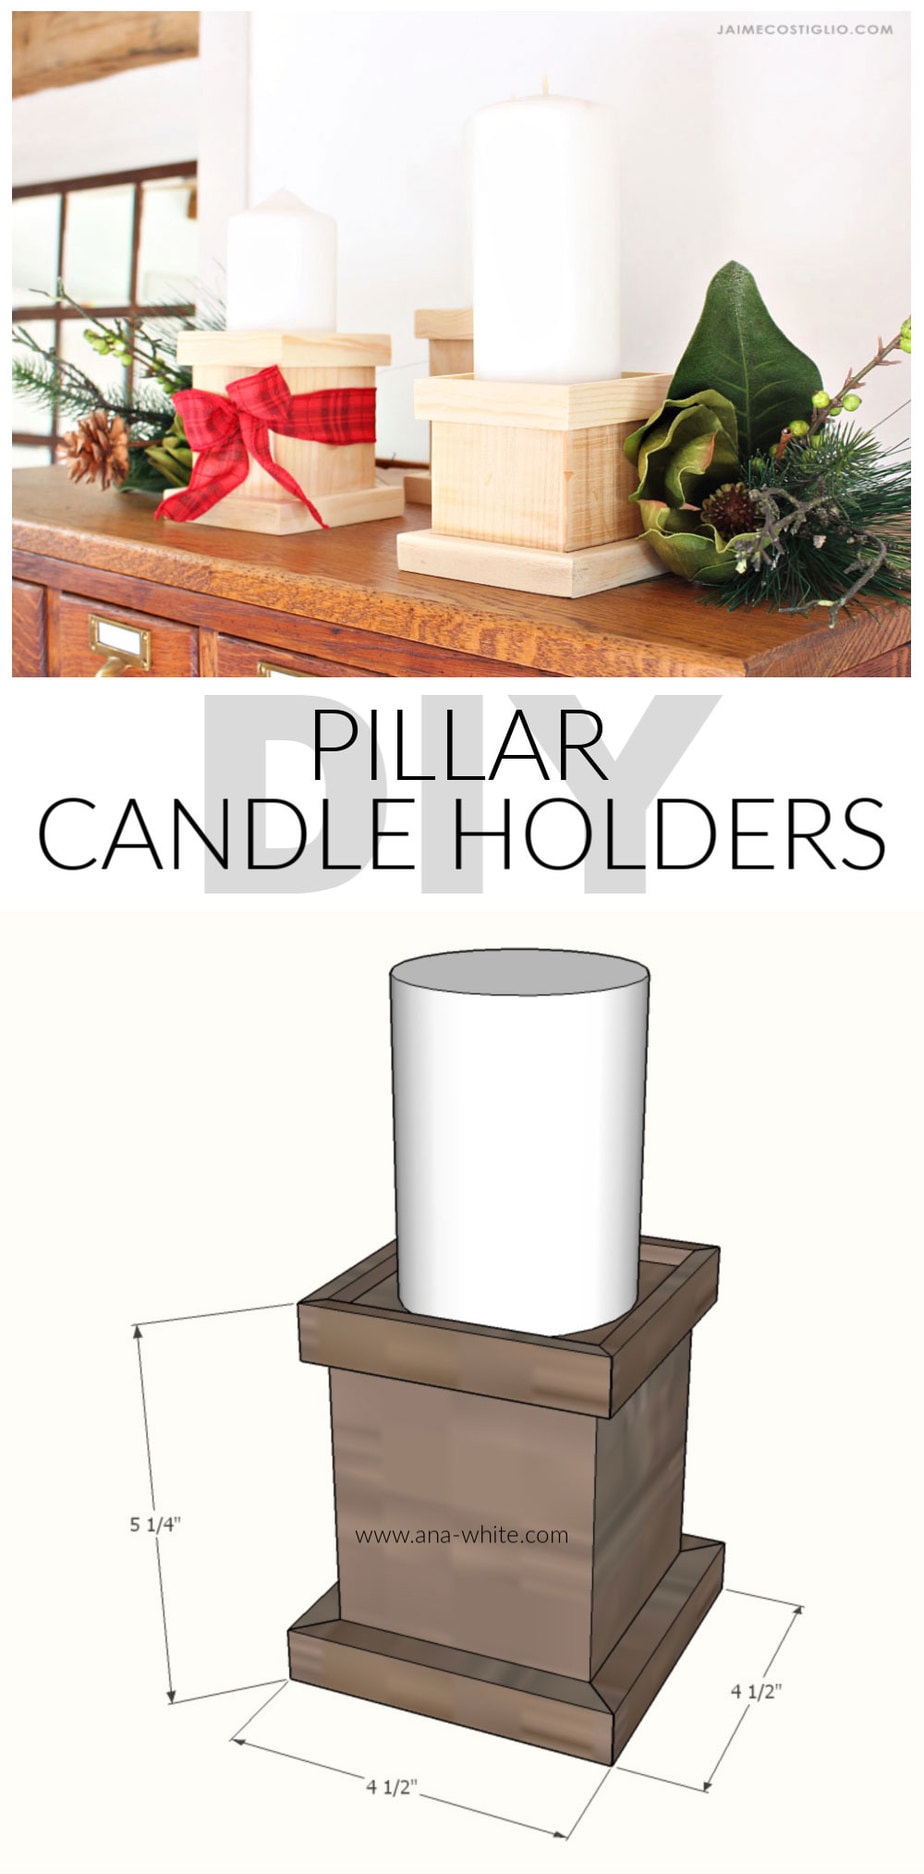





nice clean lines but elegant
My 8th grade son has virtual school due to COVID. But he still has all of his regular electives … so he’s doing wood shop ONLINE! Lol. This will be a great project for him. I’m so glad we found it. I think we pretty much already have all the materials.
Love hearing this! So glad you’re making the best of these times and find the plans useful. Do share once he’s ready!