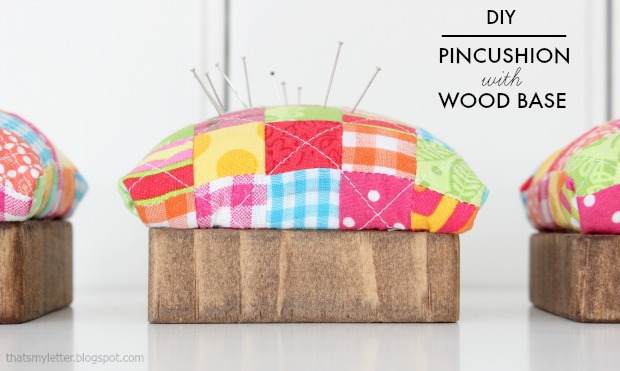
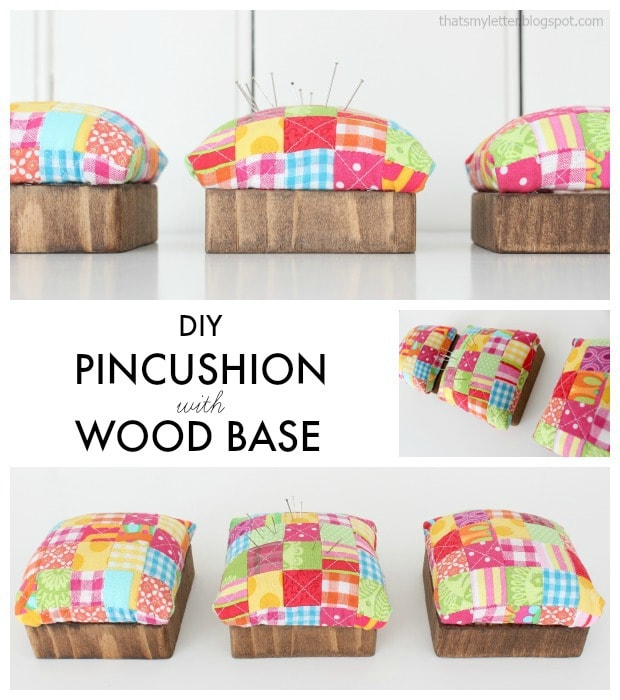
This is one project I’ve been thinking about for a long time and finally put myself to the task while feeling quite under the weather this week to do much of anything else. How to make a quilted pincushion with a wood base.
Raid your fabric scraps to make the cutest pincushion and then I’ll show you how to attach it to a solid 4×4 wood base for stability and weight. Anytime you can combine fabric and wood in a project is a win / win in my book!
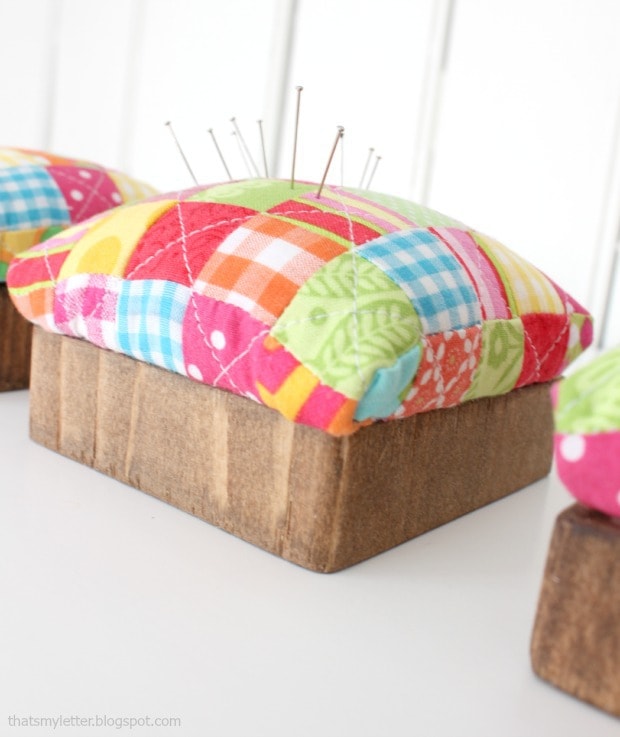
The finished size on the squares is 3/4″ but the whole pincushion measures about 4″ square and just over 2″ tall.
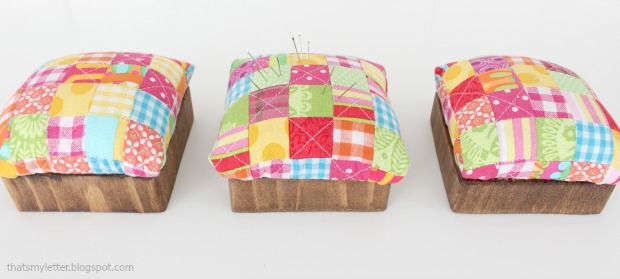
I posted these in my etsy shop here but I show you how to make your own down below.
How to make a pincushion with wood base:
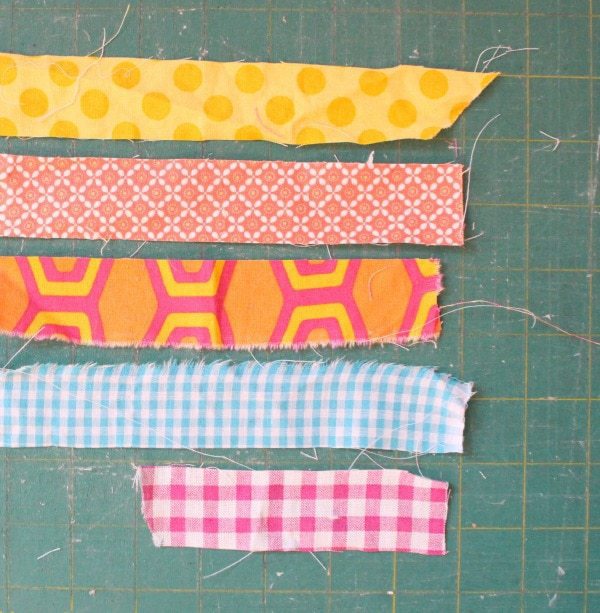
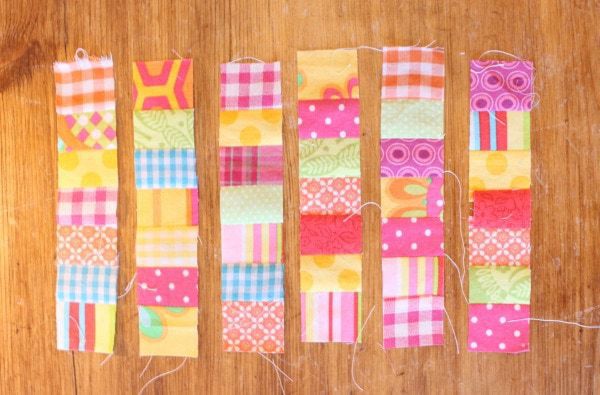
Step 1: Cut fabric strips at 1 1/4″ wide (for a 3/4″ finished square). Sew 7 strips together using 1/4″ seam allowance. Vary the fabrics and make lots of 7 strip sections.
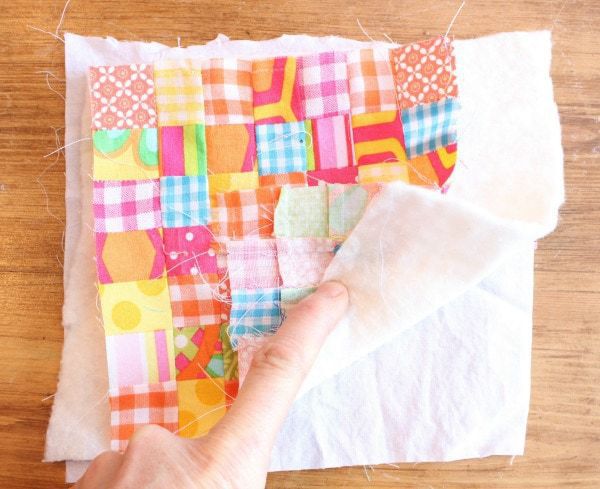
Step 2: Cut the strips into 1 1/4″ wide sections then lay out 7 sections carefully positioning fabrics so no two alike are next to each other. Sew the 7 sections together then press.
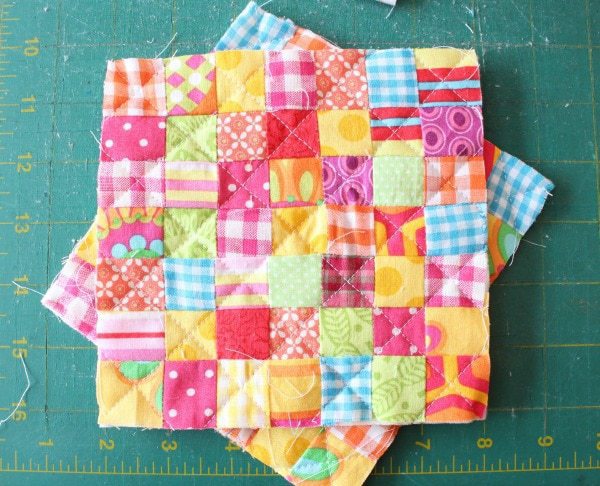
Step 3: Make a quilt sandwich: white cotton backing, quilt batting then the top. Pin together then quilt on the diagonal as pictured below:
Step 4: Trim edges flush and loose strings.
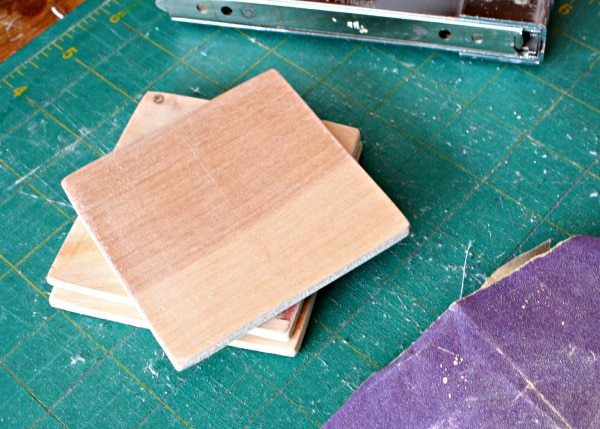
Step 5: (NOT PICTURED: Cut 4×4 wood post into 1″ pieces then sand and stain.)
Also cut 1/4″ plywood scraps into 3 1/2″ squares and sand edges smooth.
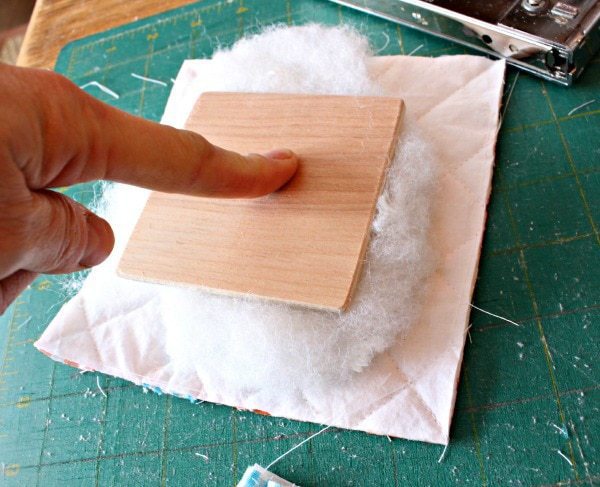
Step 6: Place quilted fabric face down then a large pile of fiberfil and on top the 1/4″ plywood.
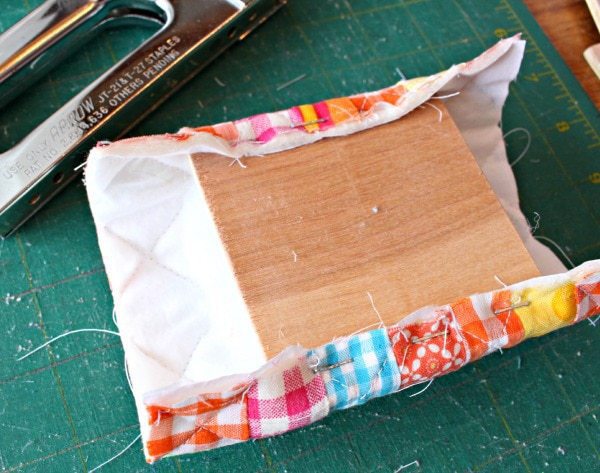
Step 7: Begin attaching quilted piece to plywood using a staple gun (I used 5/16″ staples – worked like a charm). Don’t worry too much about fiberfil at the moment, you can add more before you close up the last side.
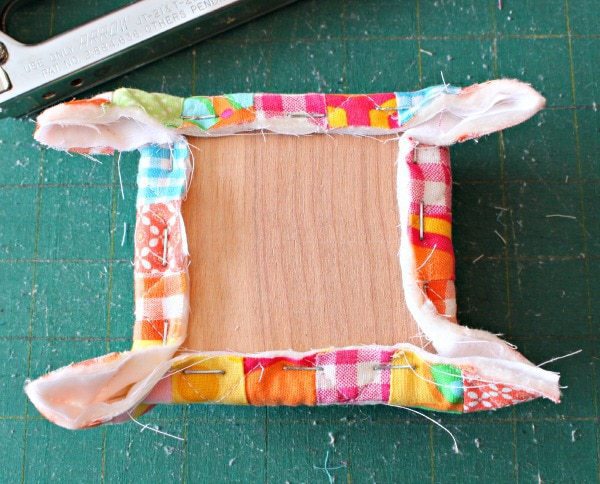
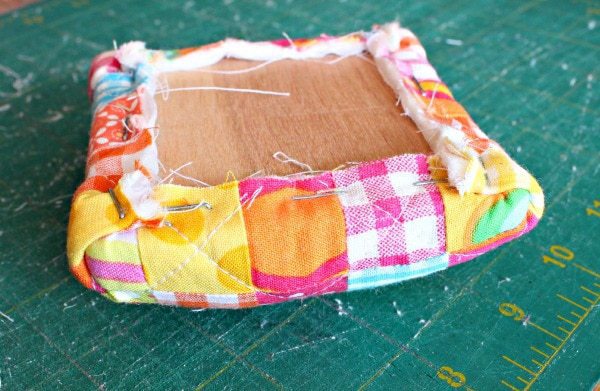
Step 8: Then attach the other two sides and it should look like above.
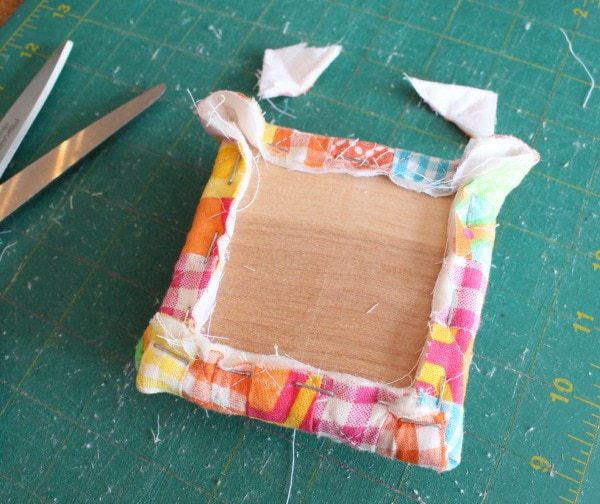
Step 9: Snip off the excess at the corners then tuck one side in and pull the other side over. Make sure the ends match for a nice appearance.
Above is a better view of the corners tucked in and pulled over taught.
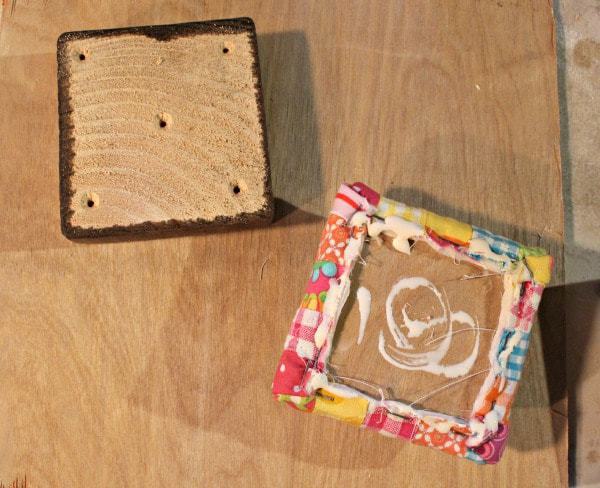
Step 10: Predrill 5 countersunk holes into the stained 4×4 wood base and apply glue to bottom of pincushion.
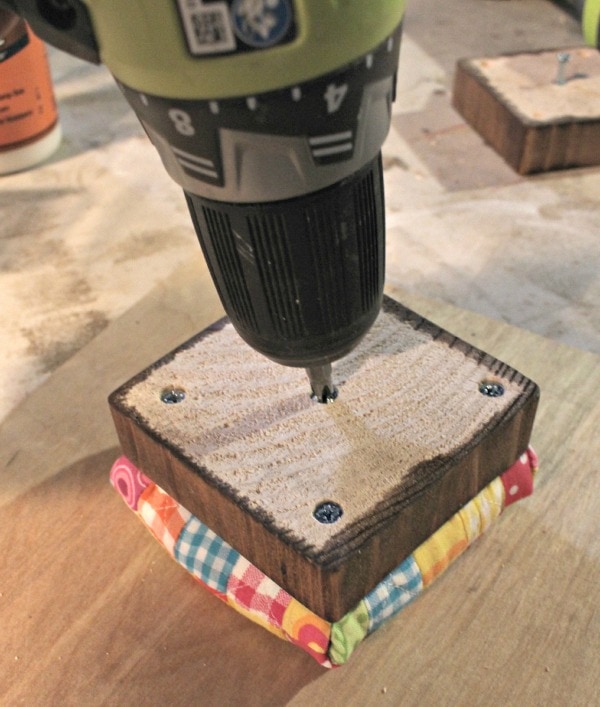
Step 11: Using 1 1/4″ wood screws press down firmly and attach pincushion piece to wood base in all 5 spots.
My girls are taking a sewing class currently (because I don’t have the patience!) and I’m definitely planning to make one of these for their teacher as a thank you gift.

These are beautiful. Such a clever idea and so easy to do. Thank you for sharing.