• Home
  • Blog
  • About
  • Contact
    • Disclosure
    • Privacy Policy
  • SHOP
  • Widget area for main menu

    • Email
    • Facebook
    • Instagram
    • Pinterest
    • Twitter
    • YouTube
  • Skip to primary navigation
  • Skip to main content
  • Skip to primary sidebar

Jaime Costiglio

build - paint - sew

  • BUILD
    • BEDS
    • BENCHES
    • DESKS
    • DRESSERS
    • GAMES & TOYS
    • SCRAP WOOD
    • SHELVES
    • STORAGE
    • TABLES
  • TOOLS
  • PAINT
    • CRAFTS
    • FURNITURE
    • HOME DECOR
  • SEW
    • GIFTS
    • HOME DECOR
    • POUCHES
  • HANDBUILT HOLIDAY
    • 2021
    • 2019
    • 2018
    • 2017
    • 2016
    • 2015
    • 2014
    • 2013
  • GIFTS
    • BABIES
    • KIDS
    • FOR HER
    • FOR HIM
    • TEACHERS
    • WEDDINGS
  • SEASONAL
    • 4TH OF JULY
    • FALL
    • HALLOWEEN
    • CHRISTMAS
    • SUMMER
    • SPRING
    • ST. PATRICK’S DAY
    • THANKSGIVING
    • VALENTINE’S DAY
    • WINTER
  • SALTBOX PROJECT
    • BATHROOMS
    • DINING ROOM
    • EXTERIOR
    • FAMILY ROOM
    • FOYER / MUDROOM
    • KIDS BEDROOMS
    • KITCHEN
    • LIVING ROOM
    • MASTER BEDROOM
    • PLAYROOM
  • SCROLL SAW

DIY Orange Doll Bunk Beds

February 12, 2012

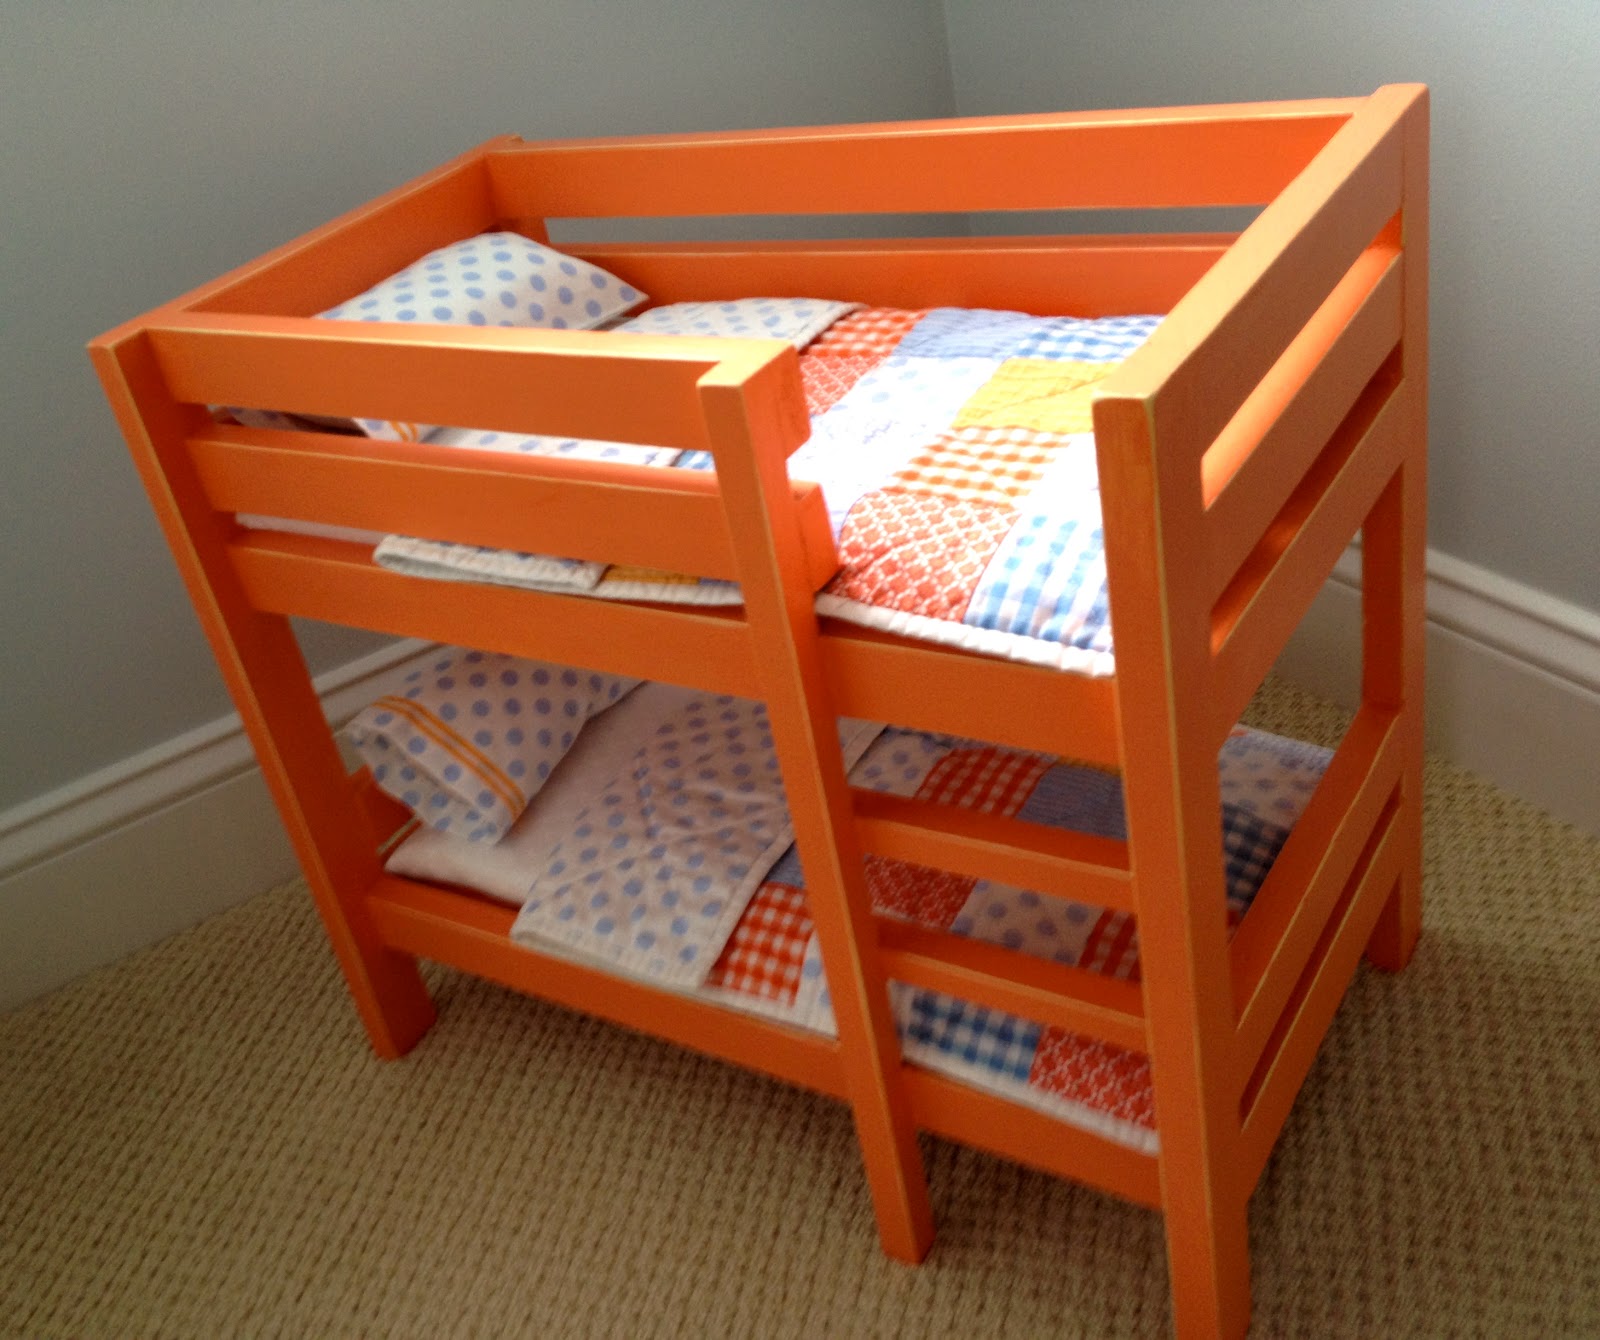
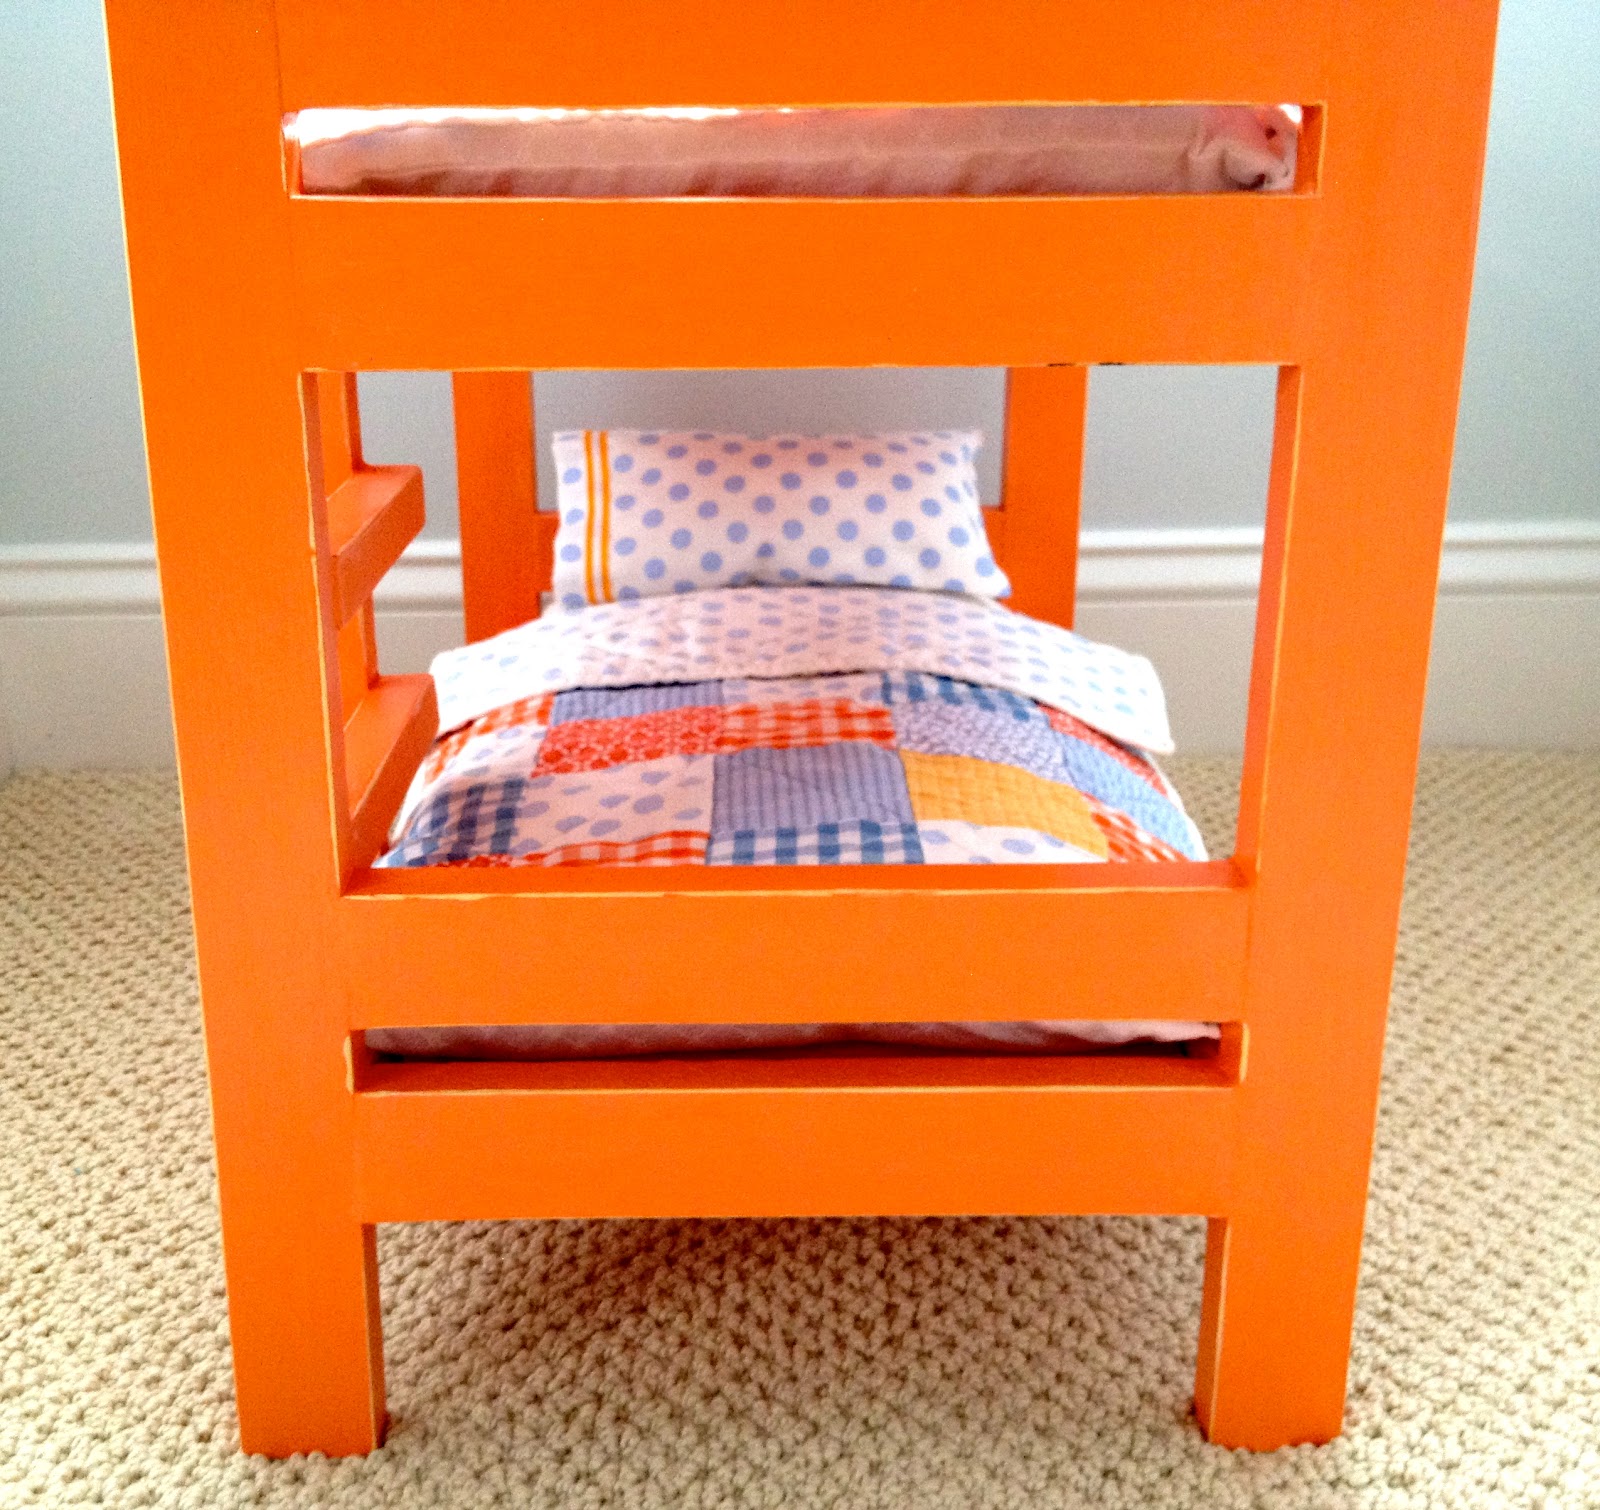
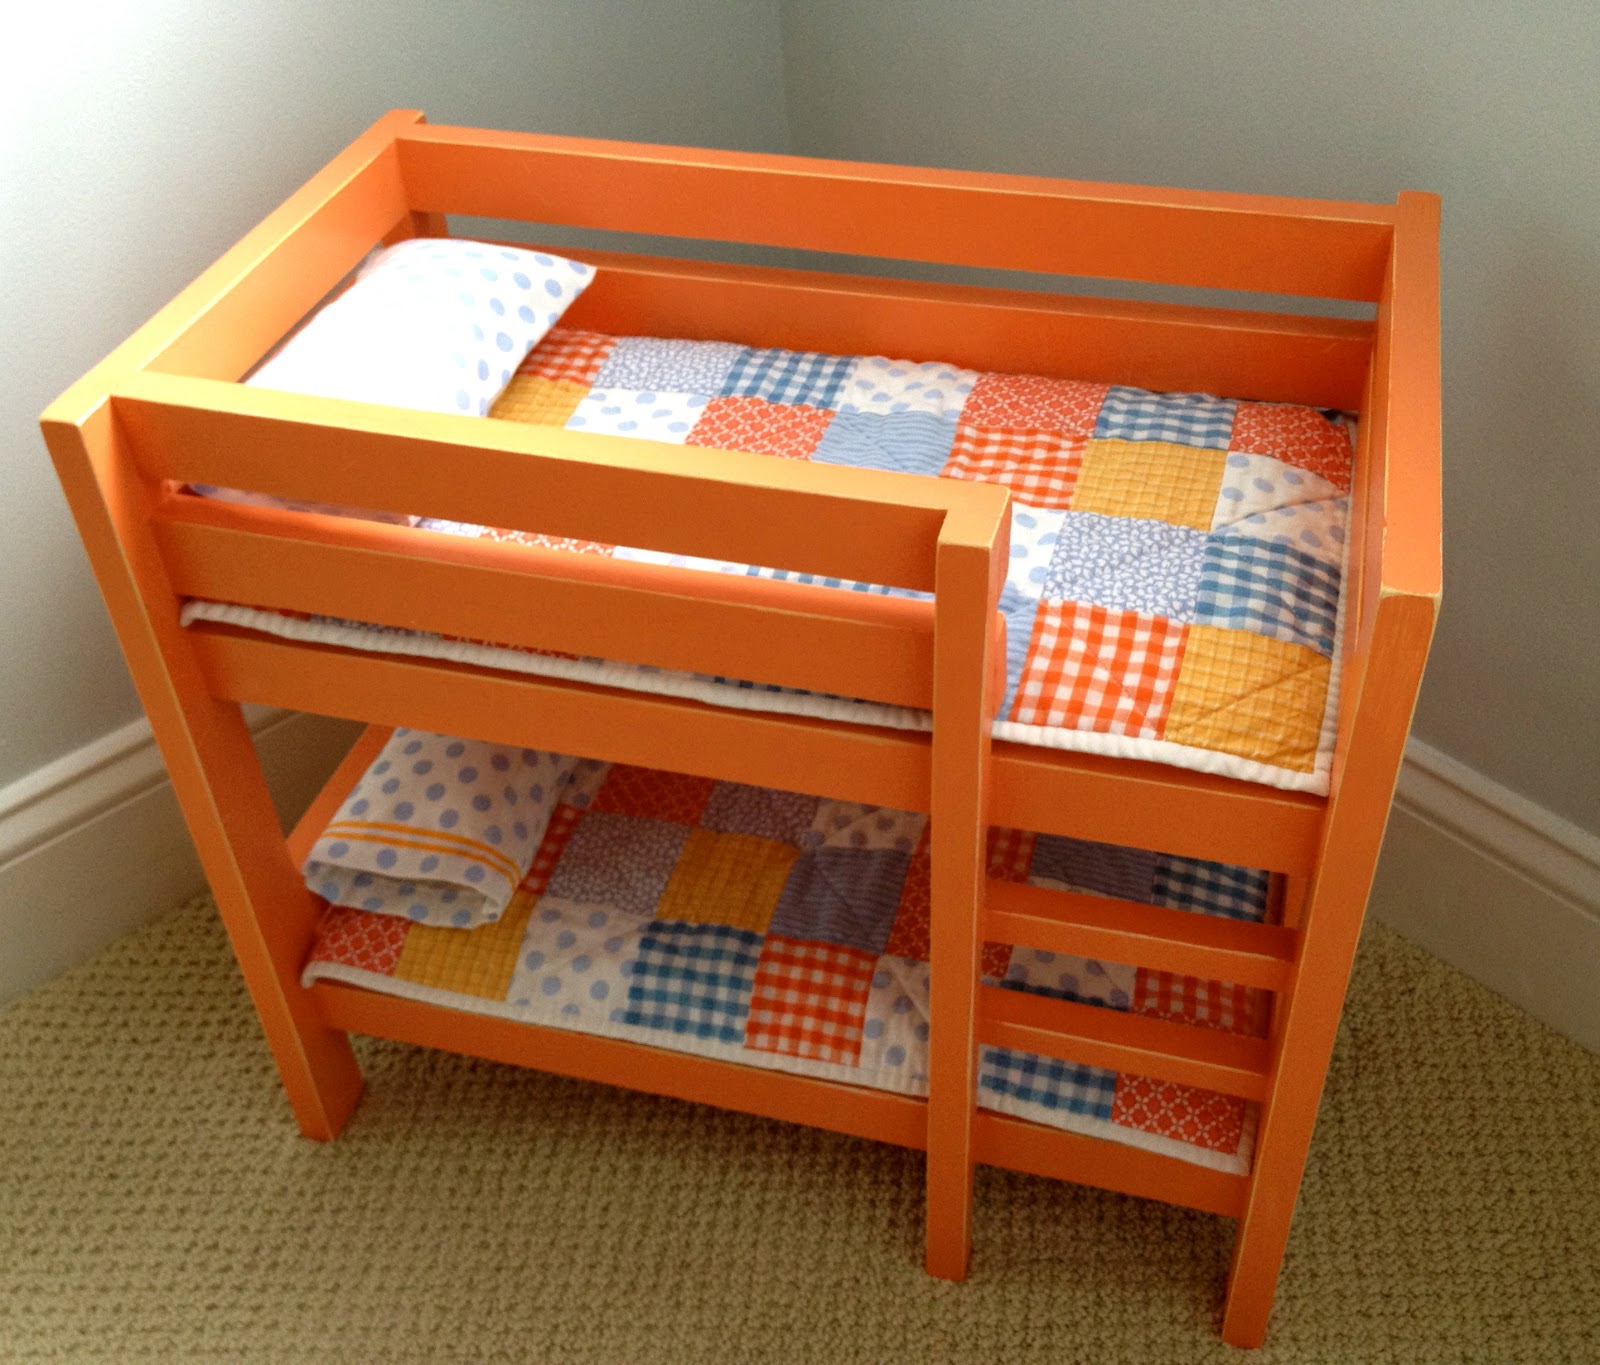
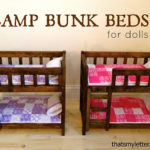
Built: doll bunk beds painted in tangerine orange:

Fresh and different and I’m in love.
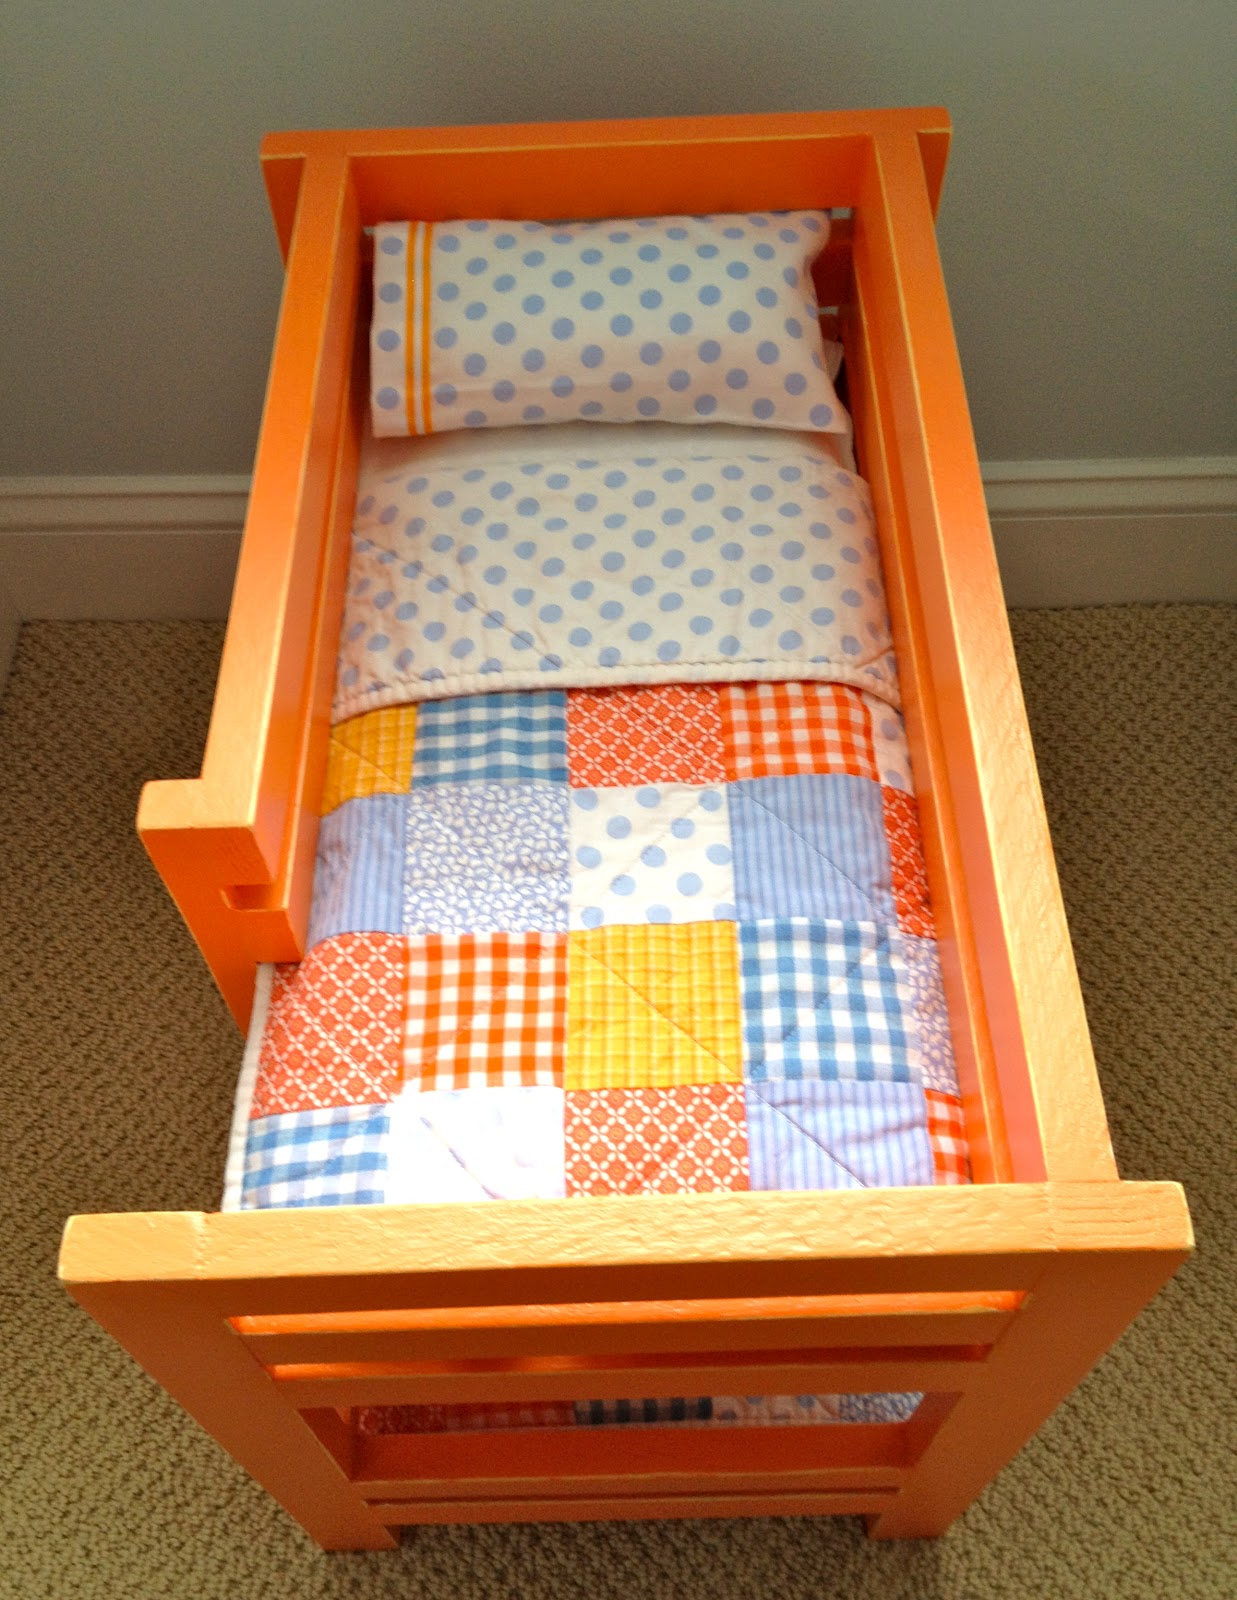
The perfect size for Kit and all her American Girl doll friends:

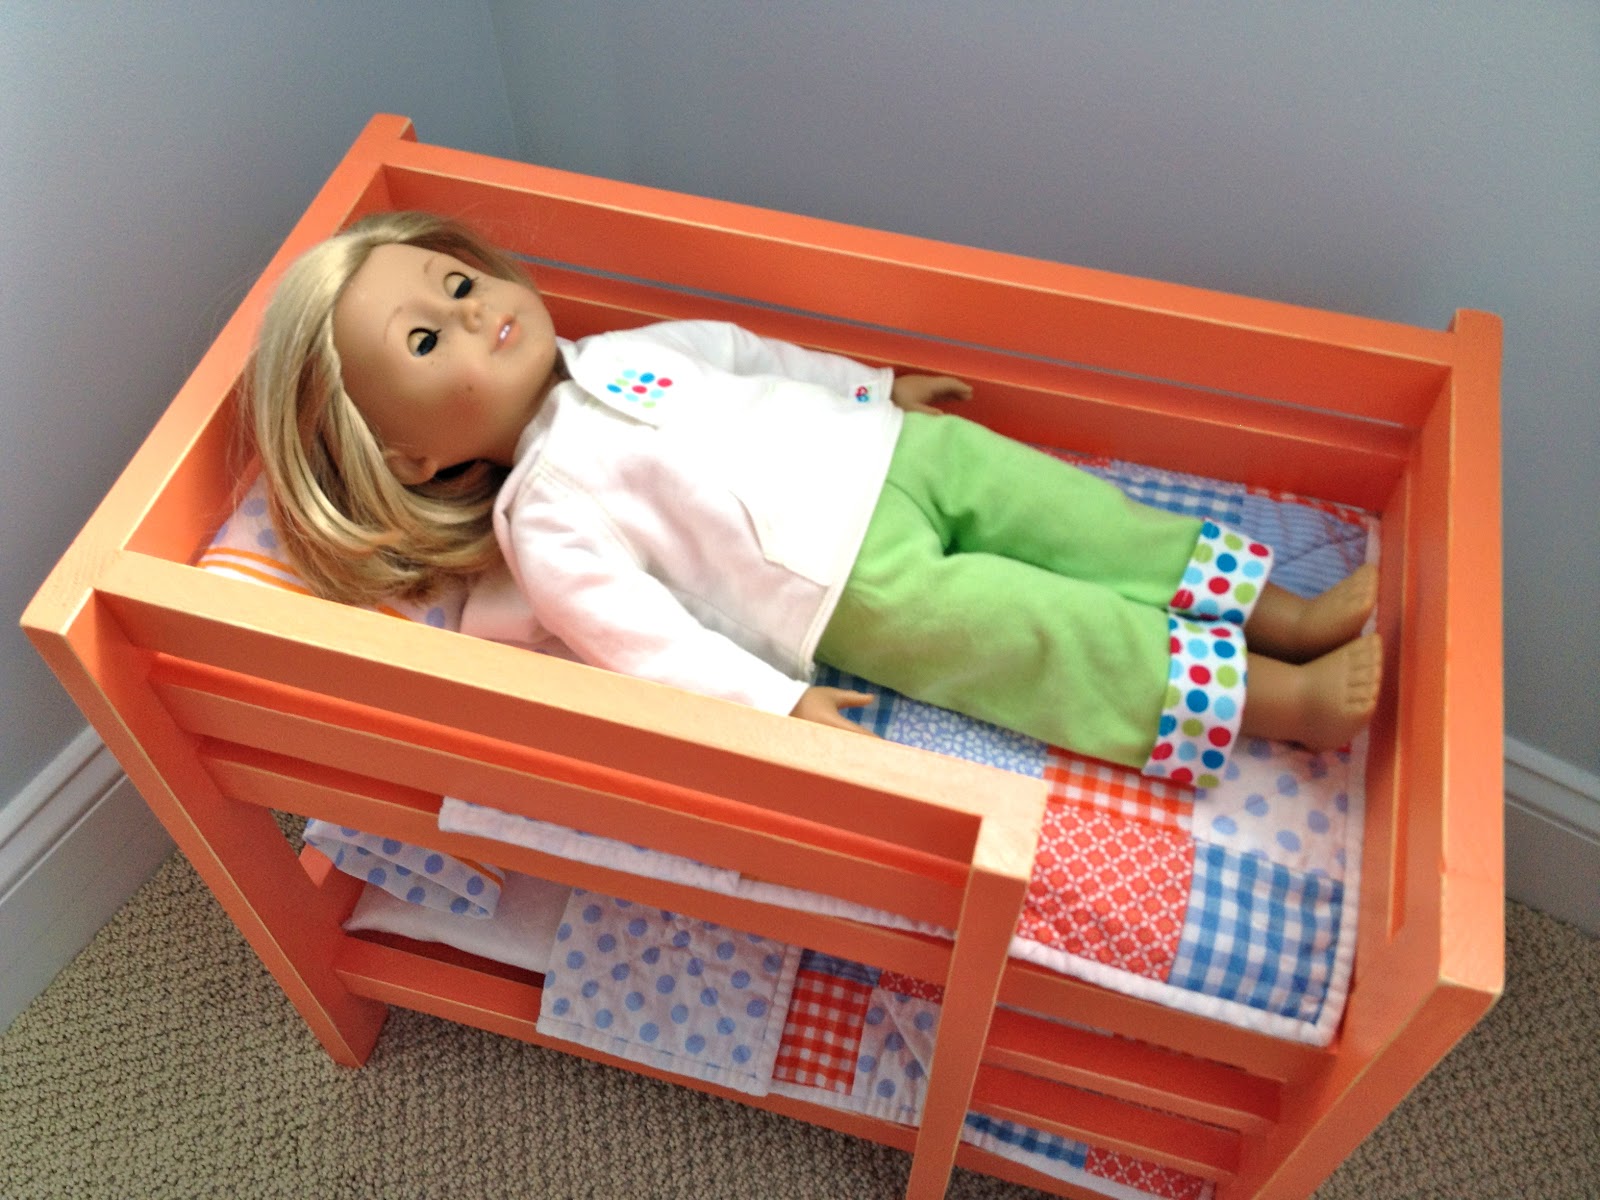
The bottom bunk is open, sleepover anyone?

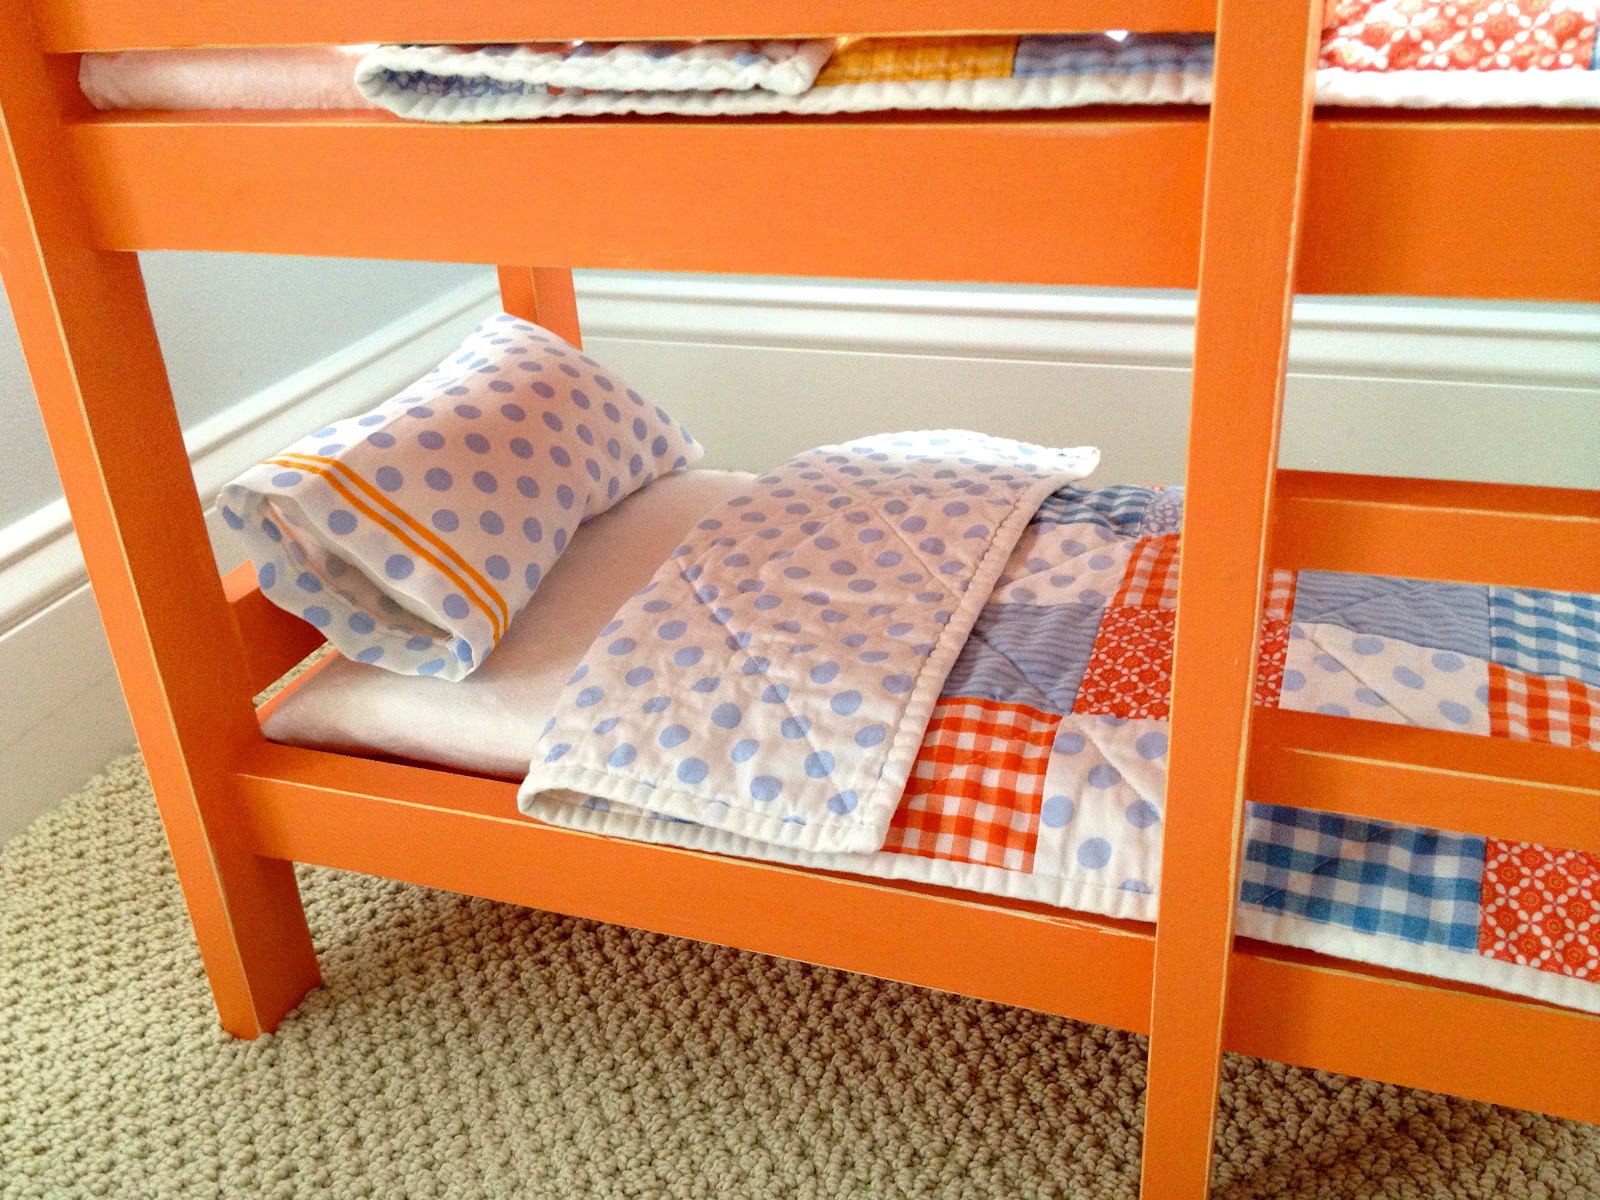
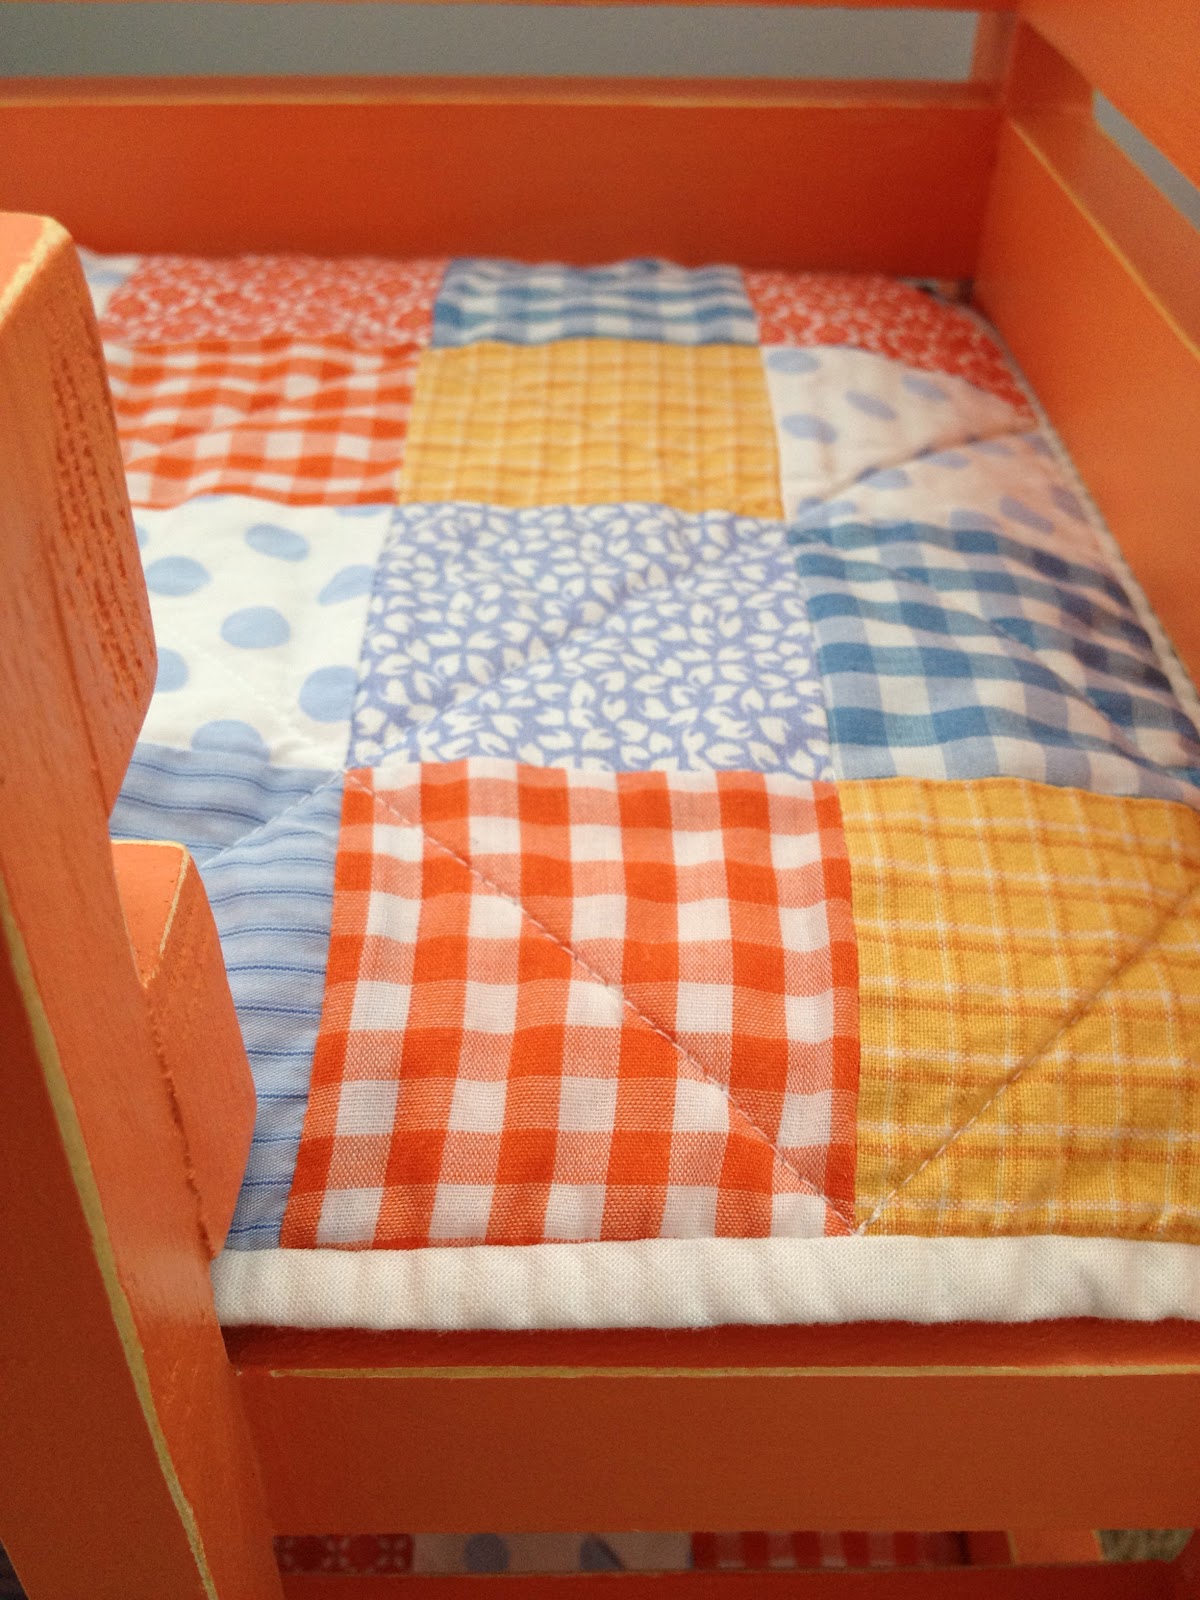
The quilts are basic patchwork made with scraps from my collection:

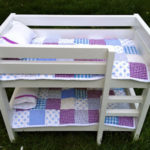
This bunk bed is going to my girl #2 for her birthday in March.

Here’s how I made the bunk bed and bedding:

1. Cut wood pieces are per Ana’s plans here.
2. Assemble, putty screw heads and sand:

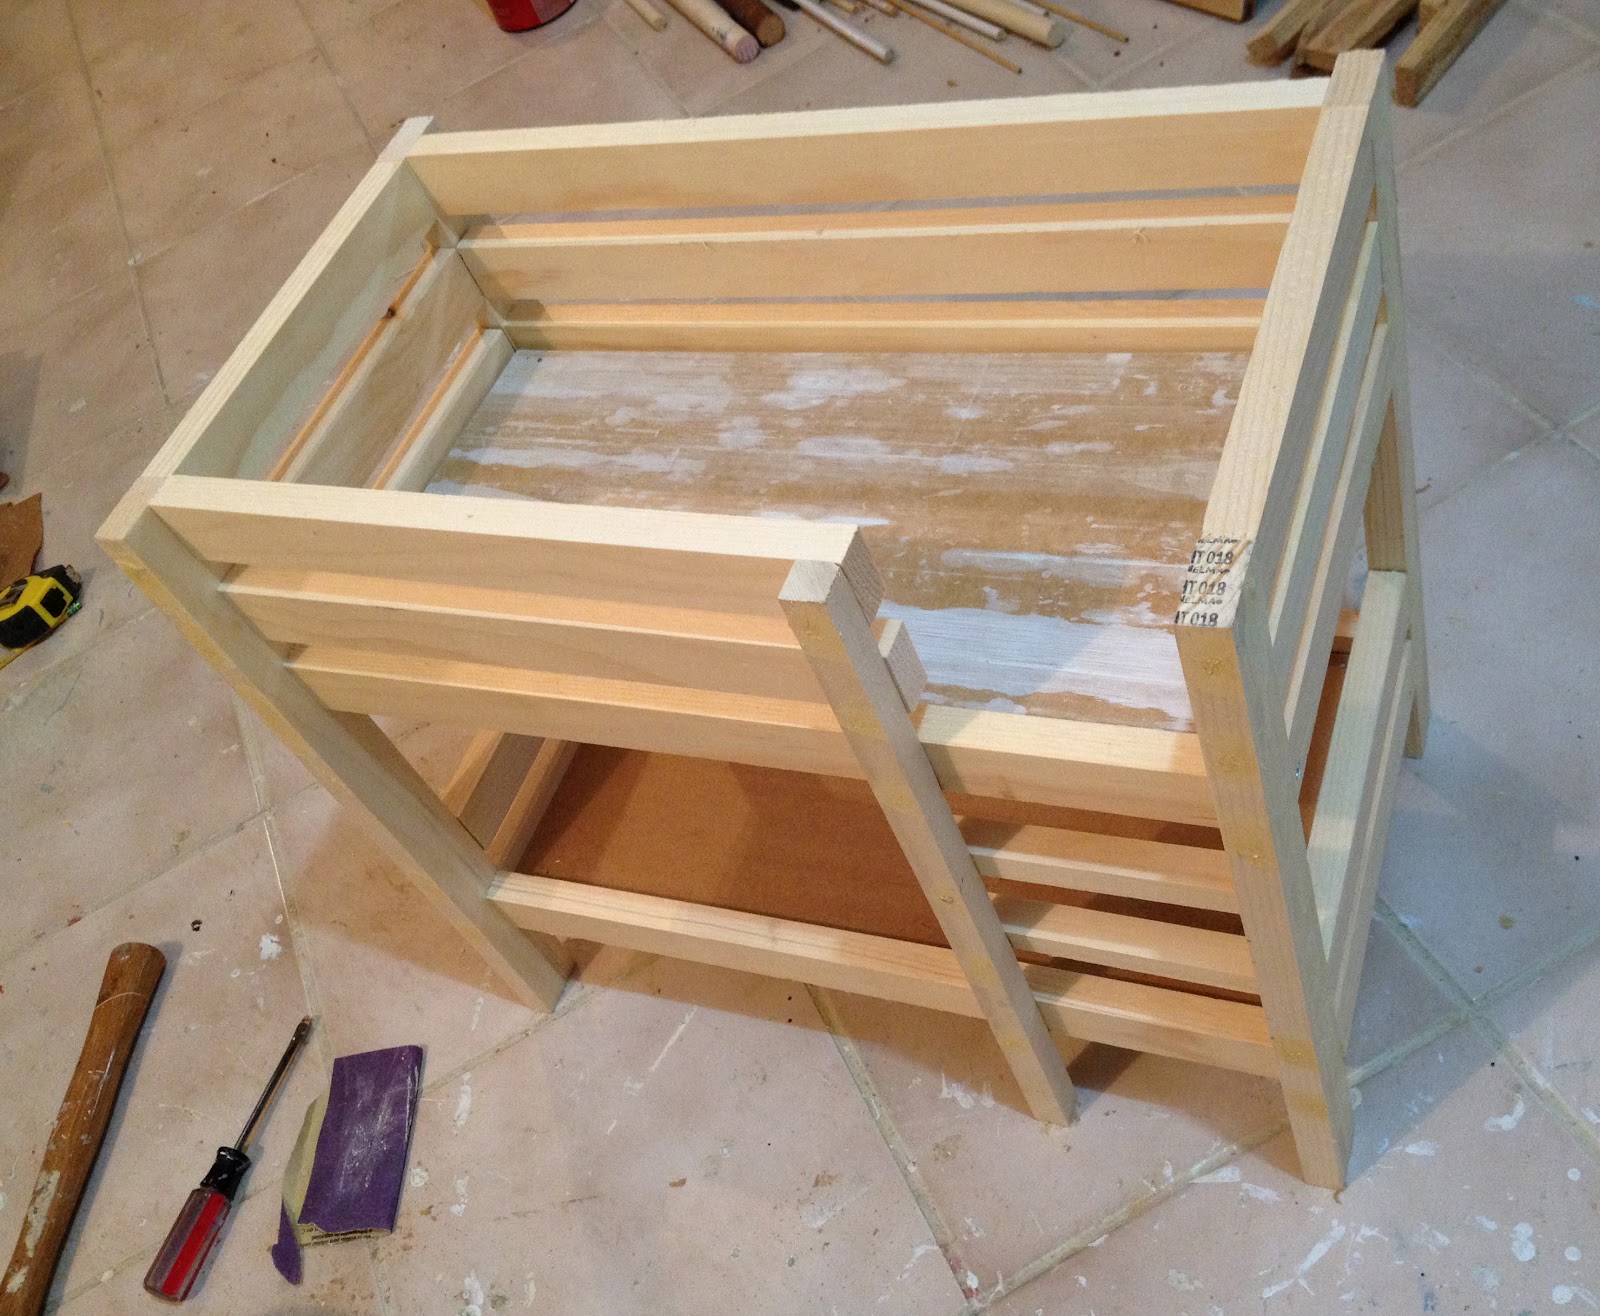
3. Prime and sand again:
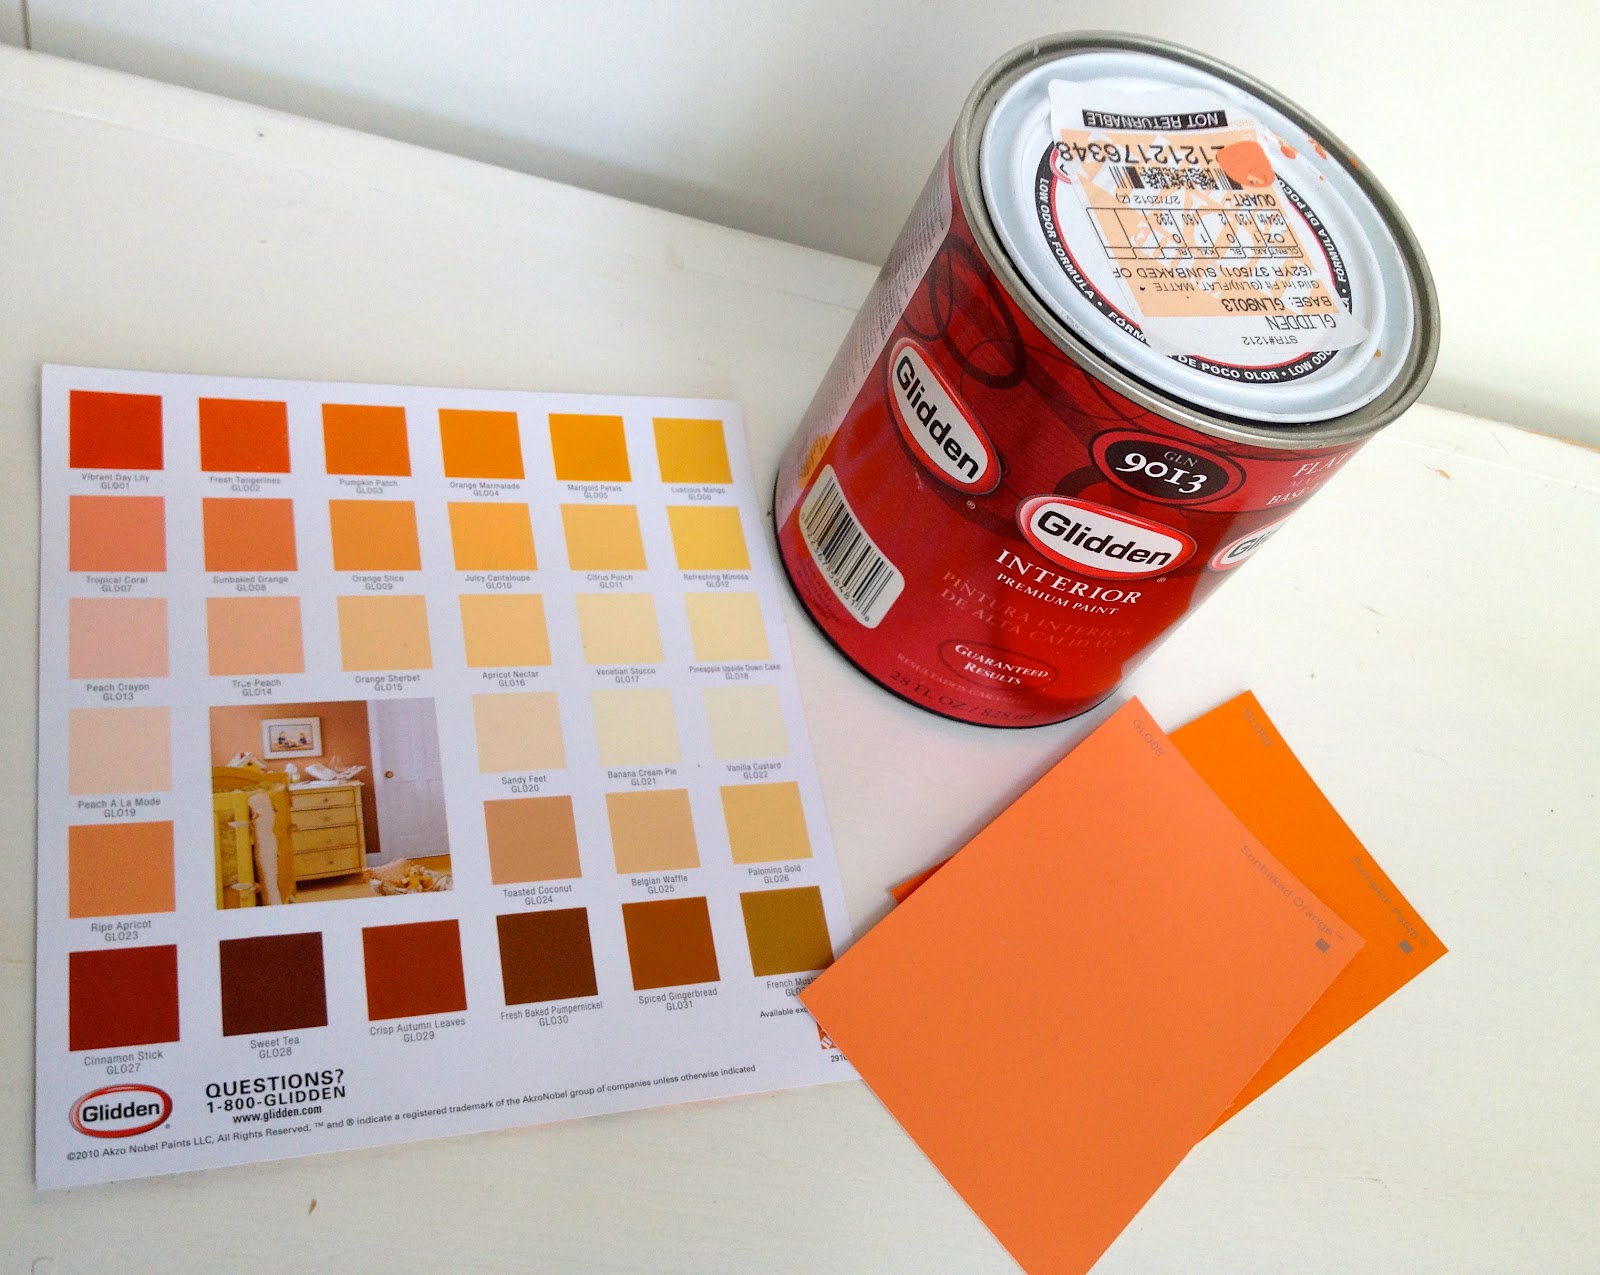
4. Choose paint color.
I used Glidden sunbaked orange flat.
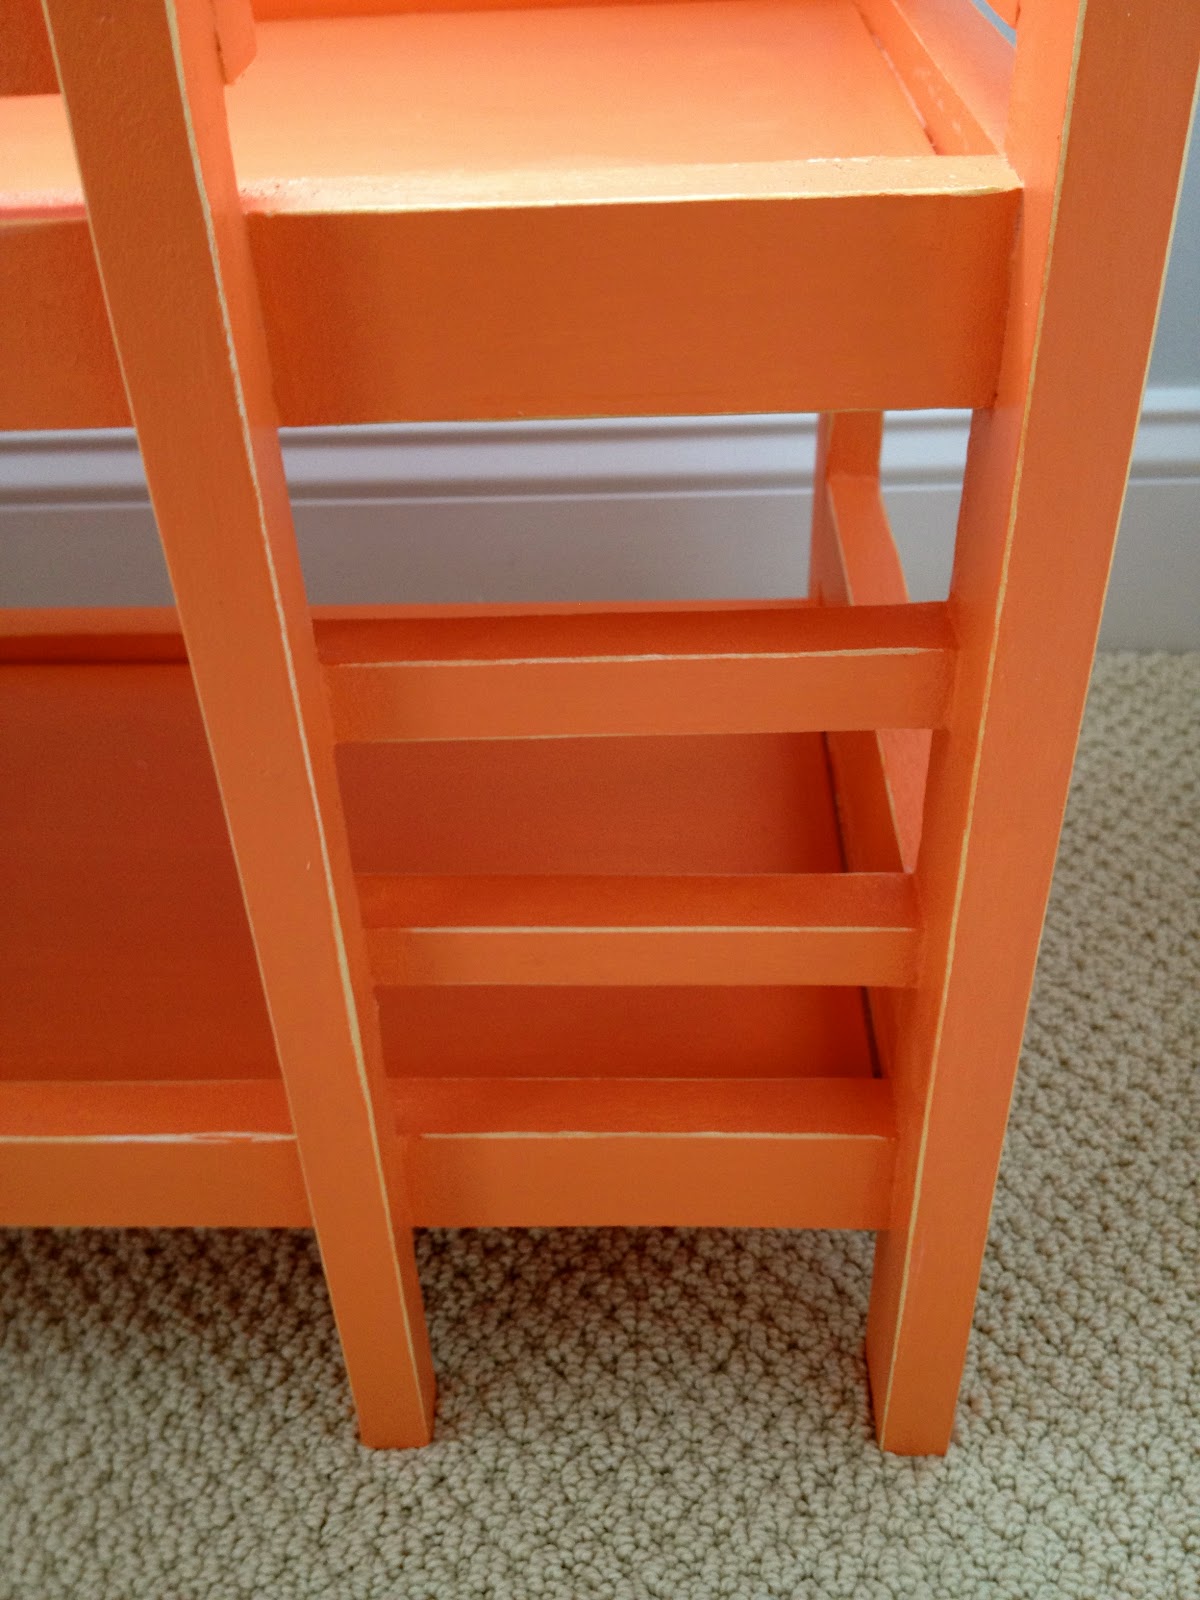
5. Paint two coats
Distress edges lightly then seal with clear satin poly. 

Detail of the distressing:
6. The mattresses are made from mattress foam topper cut to size, wrapped with quilt batting and then covered with white cotton fabric sewn shut:
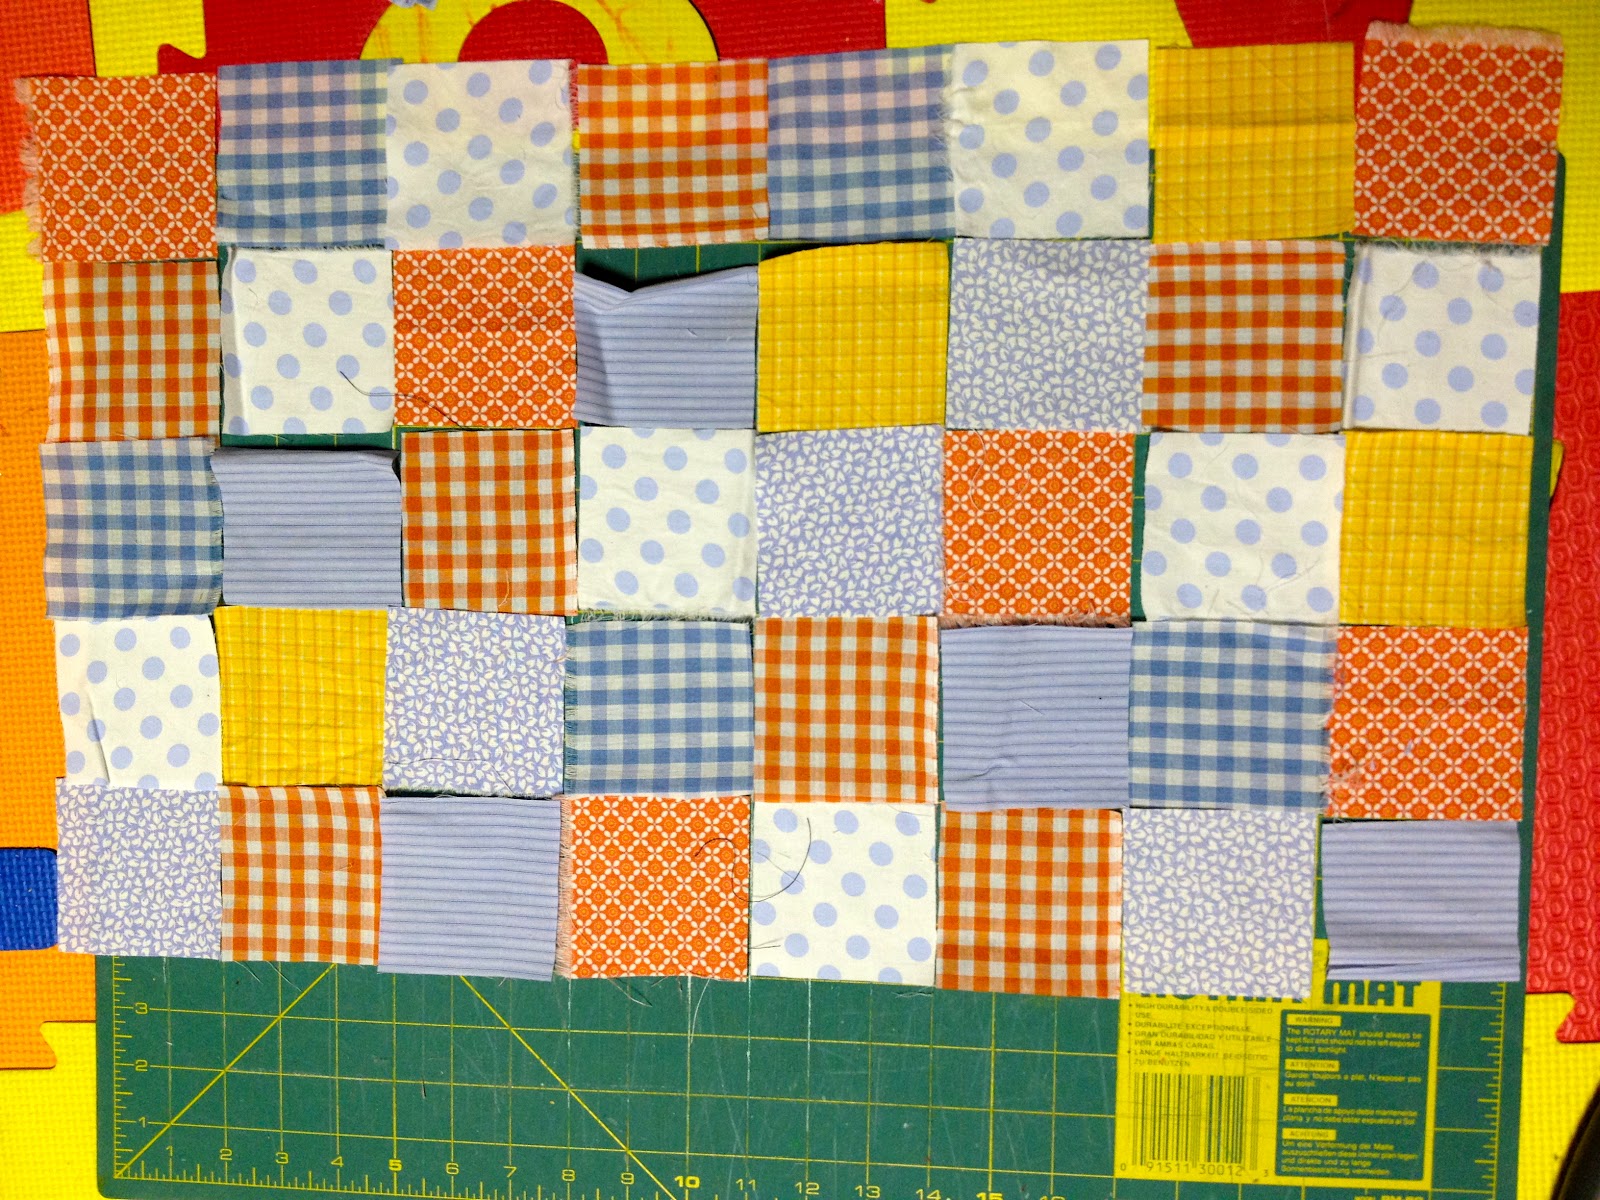
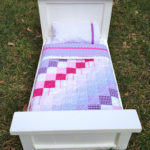
7. For the quilts I started with a collection of orange and periwinkle fabrics.
Then cut 3″ squares.

8. Layout the squares in a random pattern.
Then stitch each row together.

9. Make the quilt sandwich with backing, batting and top.
Saftey pin layers together and quilt on the diagonal:

10. The edge is finished with Kona white binding:

11. The polka dot quilt backing matches the pillowcases:
My girl #2 will be turning 6 and she (and her big sister who is 7) is in the prime playing years for the American Girl dolls. 
 I hope they love this bunk bed as much as I loved making it.

You may also like...

  • DIY Doll Crib with Storage DrawerDIY Doll Crib with Storage Drawer
  • DIY Doll Size Camp Bunk BedsDIY Doll Size Camp Bunk Beds
  • DIY Doll Bunk BedsDIY Doll Bunk Beds
  • Doll Size Farmhouse Bed #10Doll Size Farmhouse Bed #10
Share this post:

Filed Under: BEDS, BUILD, DIY, FURNITURE, FURNITURE, GAMES & TOYS, GIFTS, KIDS, PAINT12 Comments

Reader Interactions

Comments

  1. Cassie @ Primitive & Proper says

    February 12, 2012 at 1:11 PM

    how cute is that? i love the cheery color, too!

    Reply
  2. Inspire Me Heather says

    February 12, 2012 at 1:17 PM

    Super cute Jaime – I love it in orange and the quilt is beautiful too!

    Reply
  3. Lionelsa says

    February 12, 2012 at 2:25 PM

    Amazing project. Looks like real one 🙂

    Reply
  4. Karyn says

    February 12, 2012 at 4:18 PM

    Wow that's awesome. Very cute.

    Reply
  5. Amy says

    February 12, 2012 at 6:04 PM

    I love that! The orange is awesome. And the quilts and tiny pillows… Well you just cant get much sweeter! Hope she loves it for many years to come.

    Reply
  6. Tanja @ Postmodern Hostess says

    February 14, 2012 at 1:21 AM

    That is so amazingly creative, and really impressive in the scope and execution. Wow!

    Reply
  7. heidi says

    February 14, 2012 at 6:20 PM

    Your daughters are so lucky, and so are their dolls. That is a great bed! Santa brought my girl a hand painted dollbed with a handmade quilt for Christmas this year, and it has gotten so much use.

    Reply
  8. Just Simply Live says

    February 16, 2012 at 2:56 AM

    WOW!!! You are amazing. My daughter would be in heaven if I made her that.

    Reply
  9. Aisling Beatha says

    February 18, 2012 at 10:01 AM

    brings back memories of when I made a teddy bears bunk bed for my boys. That was a long time ago.

    Reply
  10. Megan says

    March 14, 2012 at 2:21 AM

    I've just come over from 'The Cottage Home' comment section. I'm in love with your bunk bed and the colour is sooooooo beautiful. I might make one of these in a years time as my girls are a bit young and I might also make this quilt…

    Megan
    http://www.oneplusoneequalssix-q.blogspot.com/

    Reply
  11. Robinson says

    May 4, 2012 at 5:50 AM

    An excellent bed and through this informative and helpful post everyone can make this bed at home. Its procedure is very simple and it is easy to make.
    waterproof mattress protector

    Reply
  12. akon Satar says

    January 22, 2013 at 12:28 PM

    A great website with interesting and unique material what else would you need.memory foam mattresses

    Reply

Leave a Reply Cancel reply

Your email address will not be published. Required fields are marked *

Primary Sidebar

Hi! I’m Jaime

Jaime Costiglio

Hello!

Thank you for stopping by.
Join me for lots of DIY.

Read more

Get new posts via email

Handbuilt Holiday: Gift Project Plans

handbuilt holiday gift project plans

Collection of DIY gift project plans to build.

The Home Depot Tool Prospective

THD Prospective

Tools to consider for the DIYer.

Archives

The Home Depot Logo
Copyright © 2026 Jaime Costiglio · Custom site by Moonsteam Design

Privacy Policy