Build: camp bunk beds
(modified head and footboards)

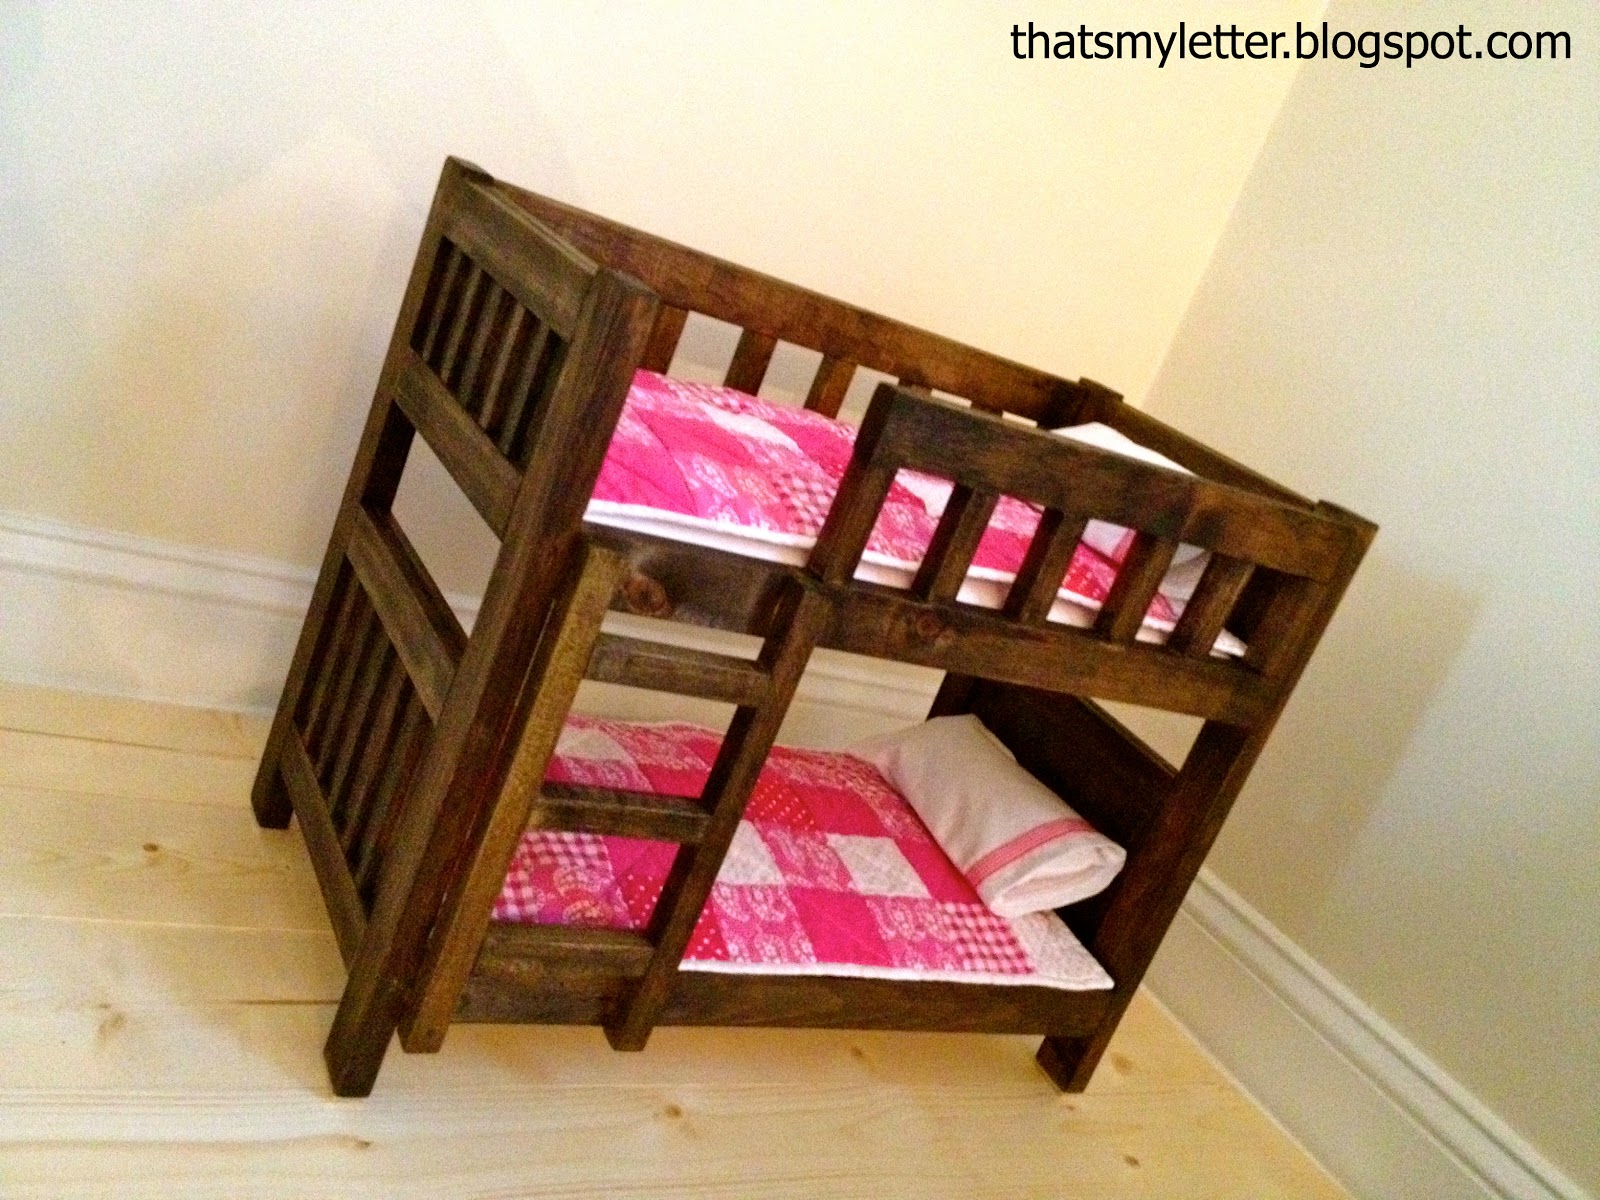
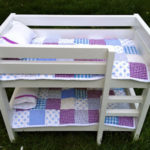
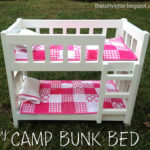
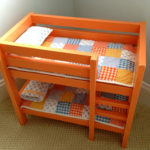
Using plans from Ana White here I made two more sets of doll bunk beds except this time around I modified the head and footboards:

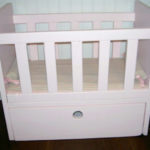
A friend requested these camp bunk beds above for her daughters to match the lifesize version from Pottery Barn kids:
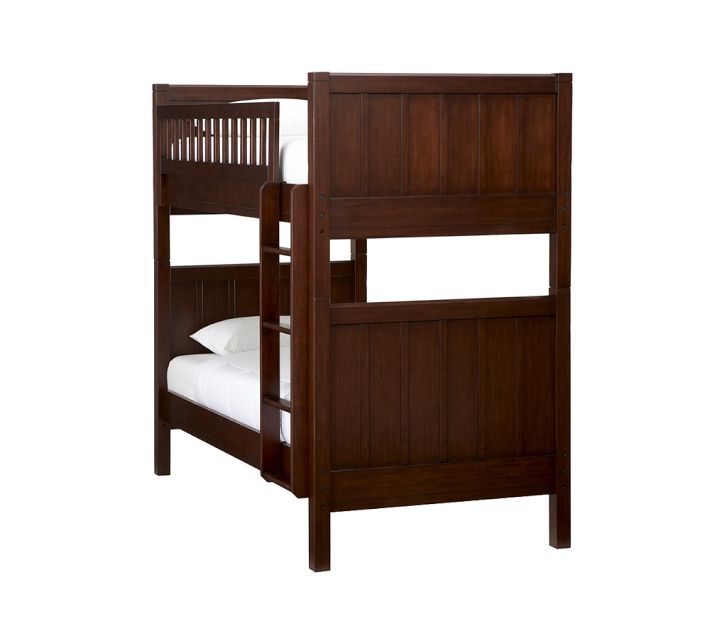
image from potterybarnkids.com

My friend even supplied me with extra shams from the girls bedding (Pottery Barn Kids):

image from potterybarnkids.com
Which I cut up and used in the doll quilts:


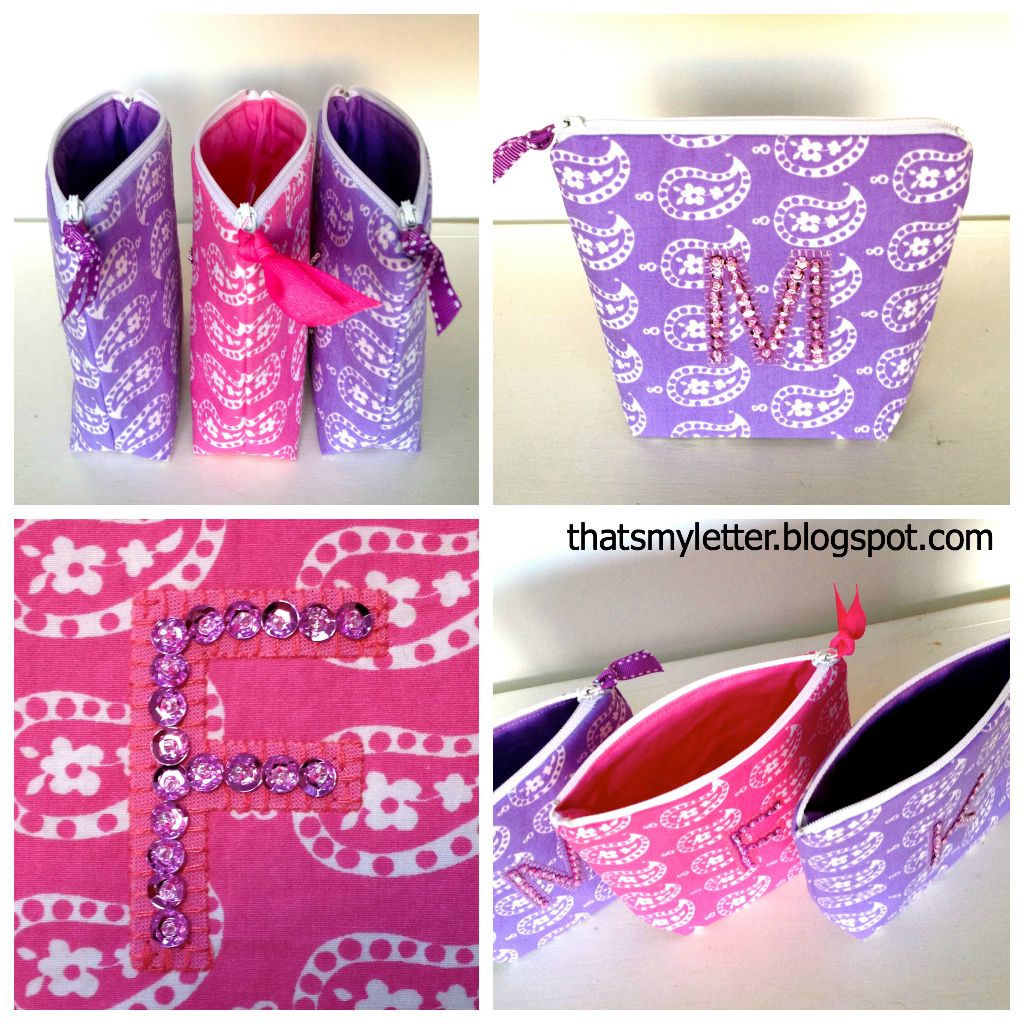
And I even had enough scraps left over to make matching personalized sequined pouches for her girls:
(Pouch tutorial here, not same size but general instructions.)
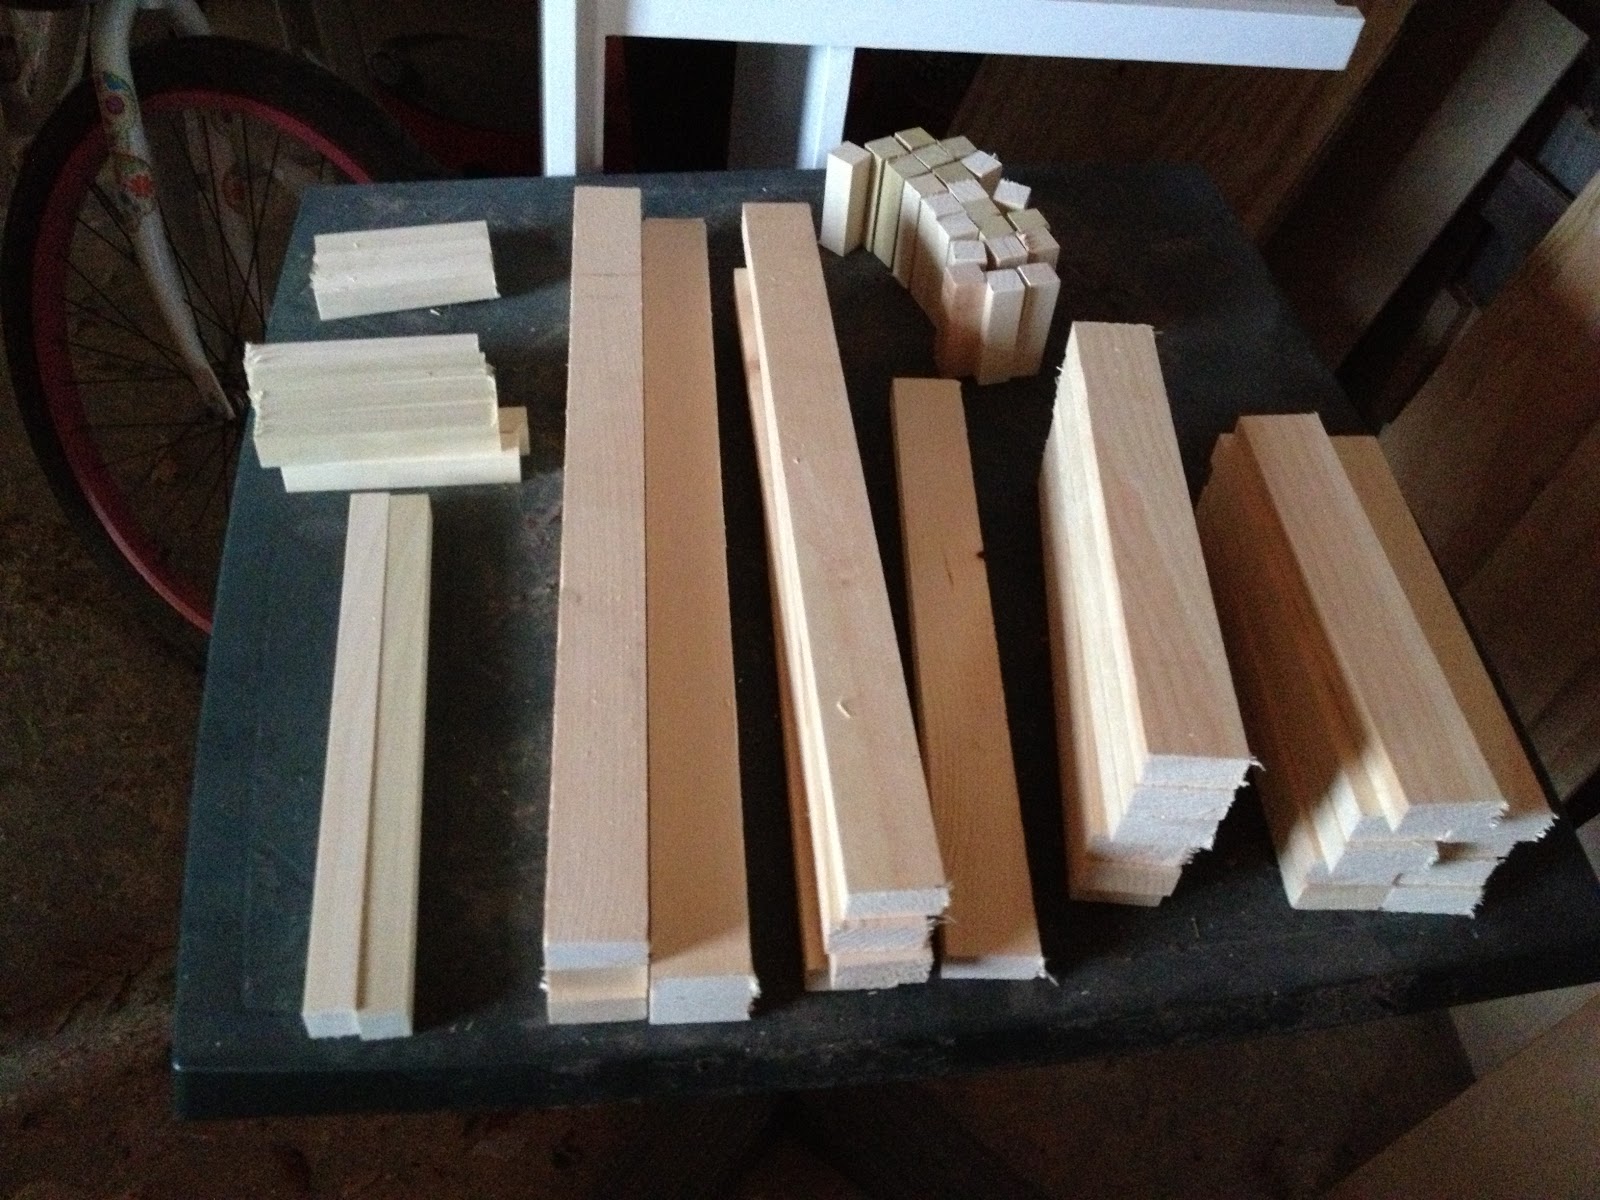
Here’s how to make the camp bunk beds with modifications:
1. Cut lumber as per Ana’s plans EXCEPT:
– instead of 8 – 1×2 @ 9″use 1 3/8″wide lattice, cut 16 @9″
– instead of 22 – 1×1 @ 2 3/4″ only cut 14
– OMIT 8 – 1×1 @ 4 3/4″
ADD:
– 4 – 1/4″ plywood @ 9″ x 5 1/2″ (top portion)
– 4 – 1/4″ plywood @ 9″ x 7 1/2″ (bottom portion)
– 10 – 1/2″w flat lattice @ 2 3/4″
– 10 – 1/2″w flat lattice @ 4 3/4″
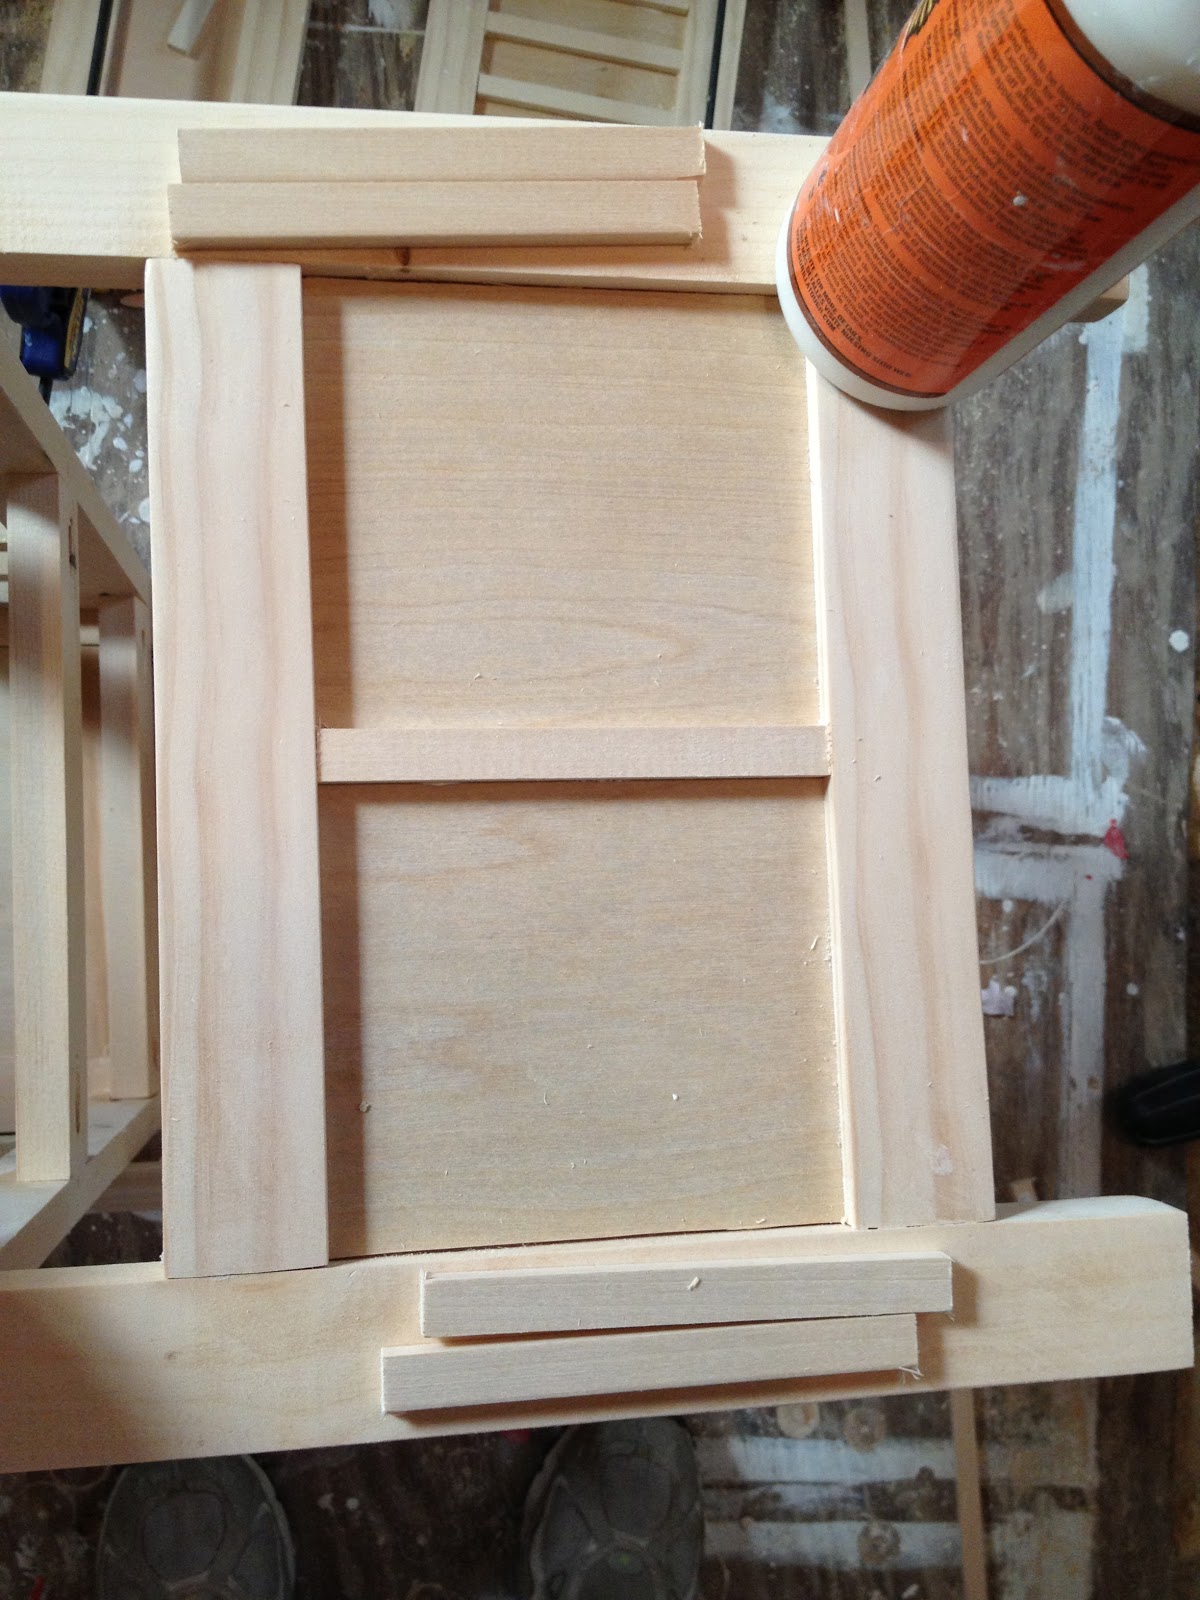
2. In Ana’s Step 1 build the head and footboards with the solid 1/4″ ply pieces and 4 lattice pieces:

Sandwich the 1/4″ ply between the lattice, glue and use 3/4″ finish nails:

3. Step 2 – secure the top and bottom portions as per Ana’s layout using 2″ finish nails through 1×2 leg pieces:

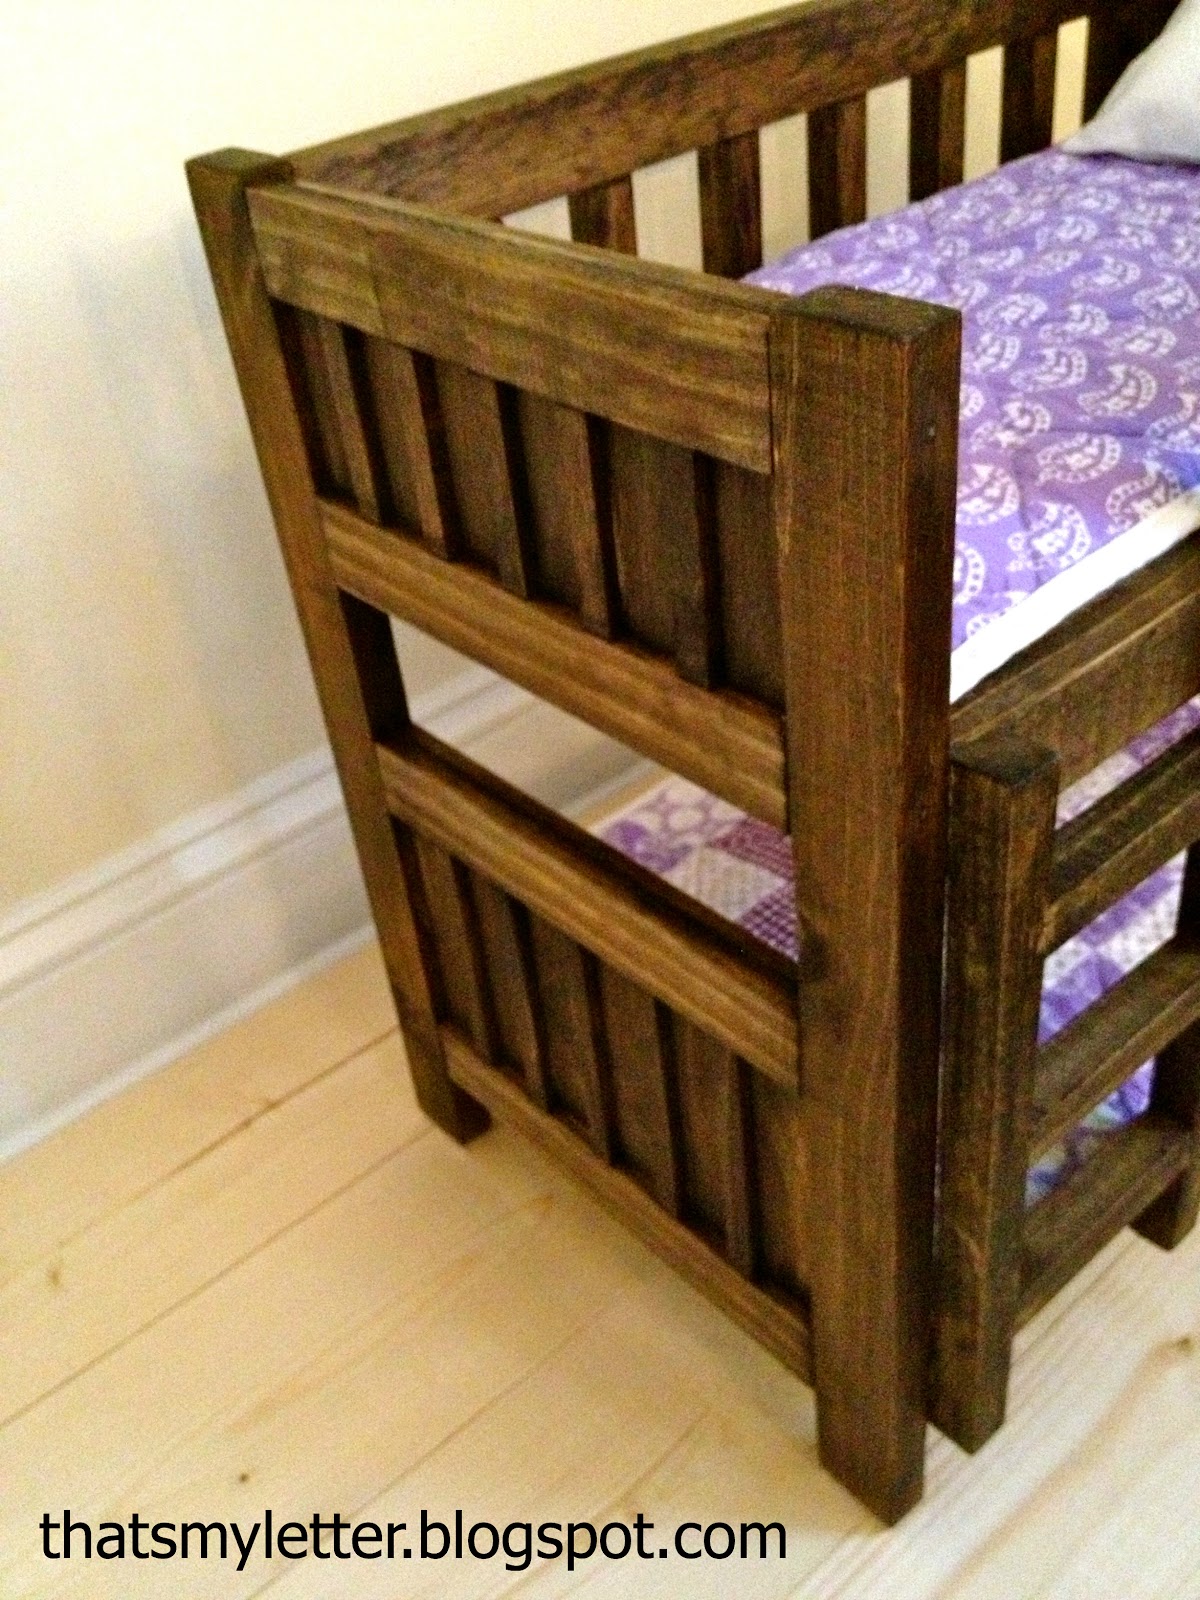
4. To add the decorative raised vertical slats cut 1/2″ lattice as noted above in #1.

5. Adhere center piece first (measure to center) with wood glue then add two side pieces for a total of 5:
6. Apply Minwax pre-stain conditioner:

7. Stain with Minwax Jacobean and seal with Minwax wipe on poly satin.
8. To make mattress wrap 1/4″ply bunkie board with foam, batting, then cotton fabric:
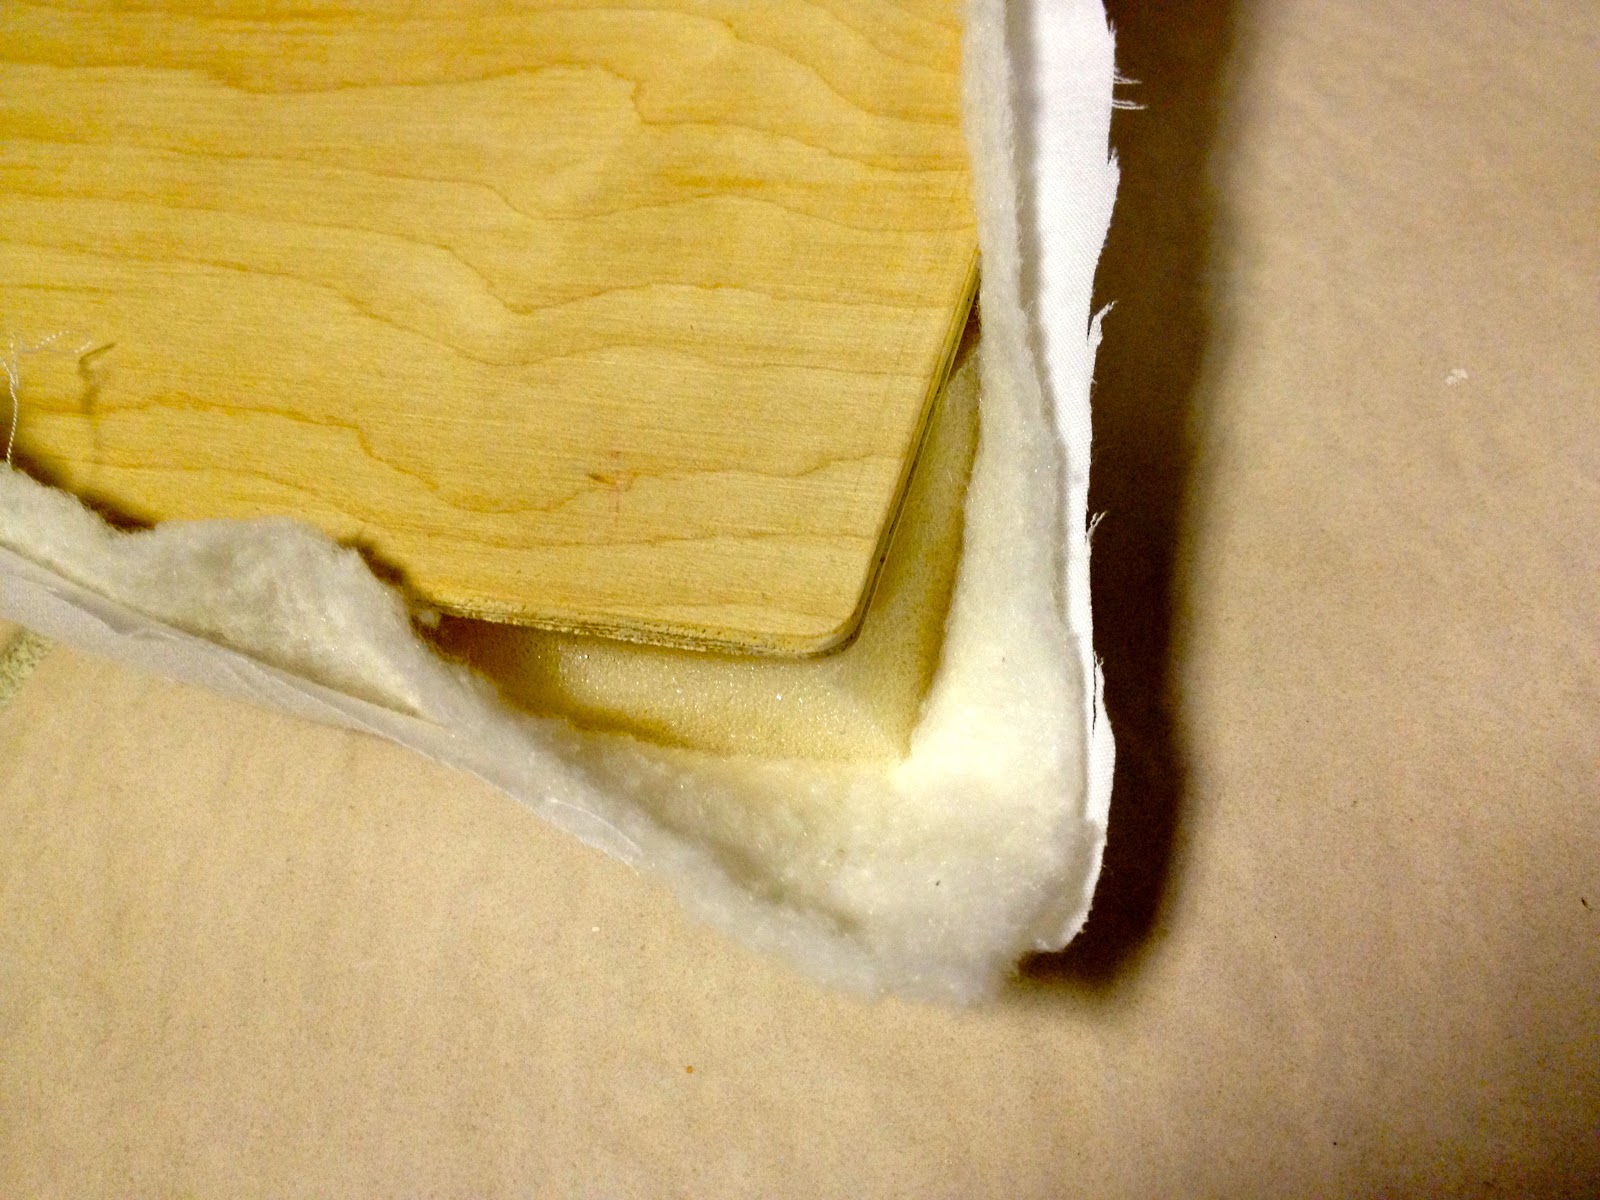
Staple gun in place and trim excess:
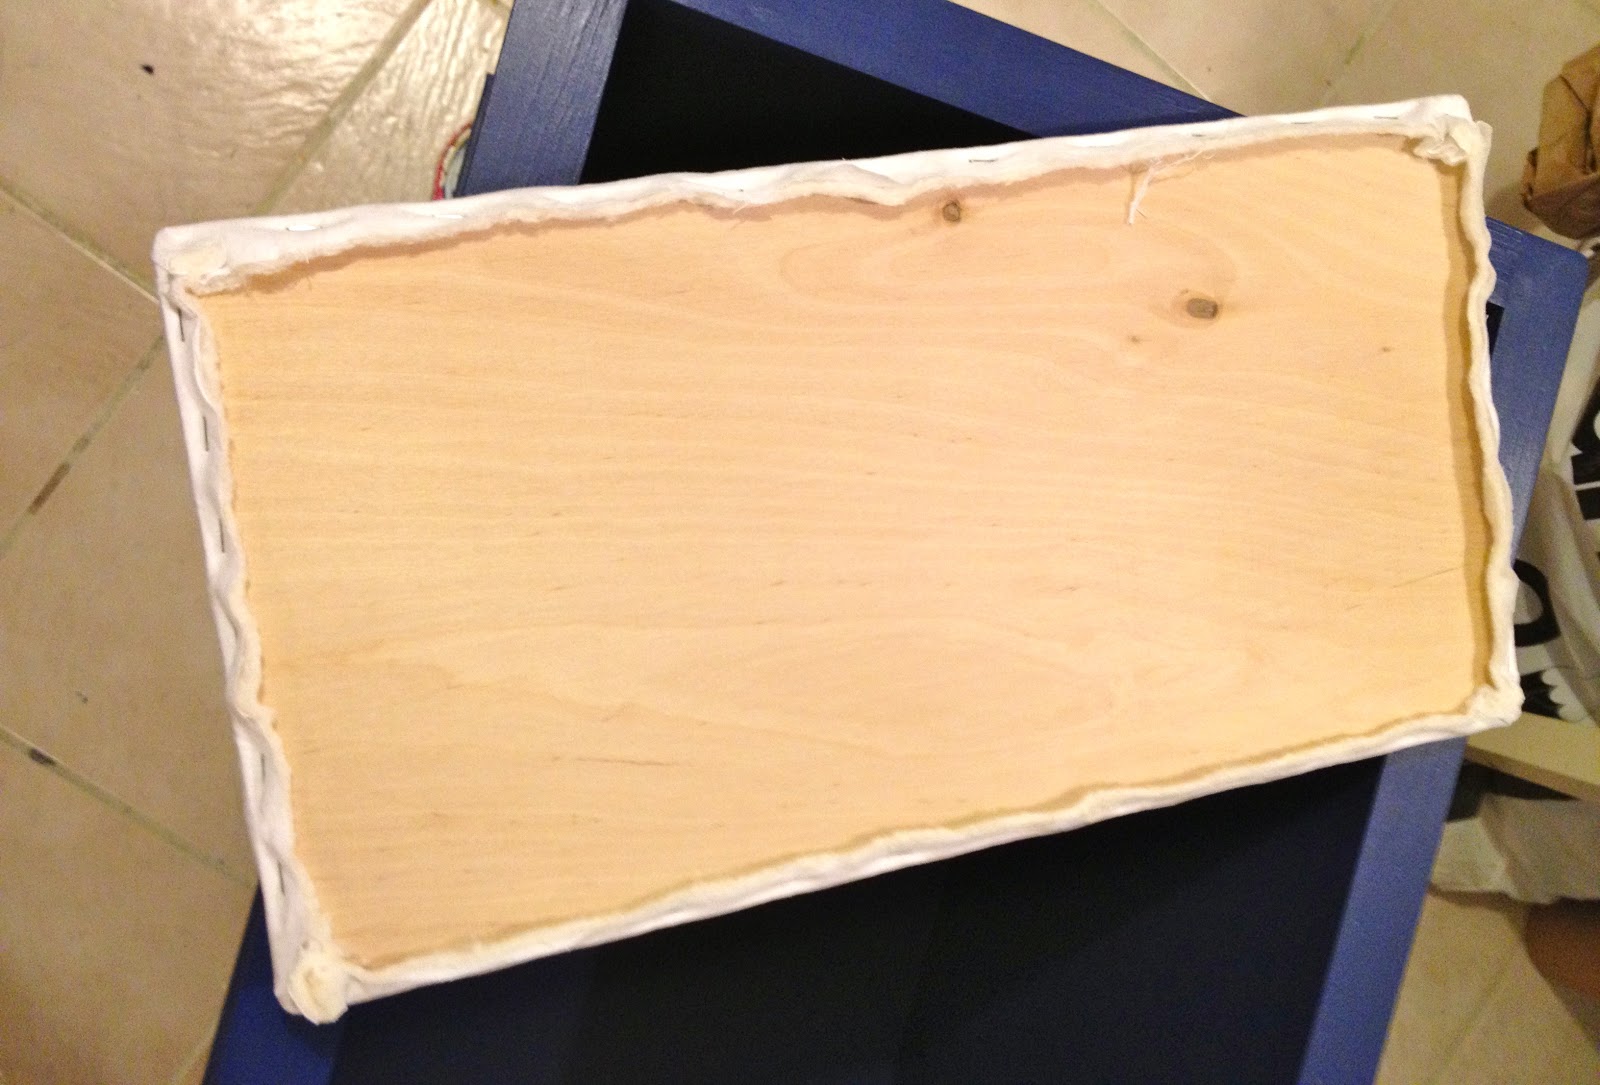
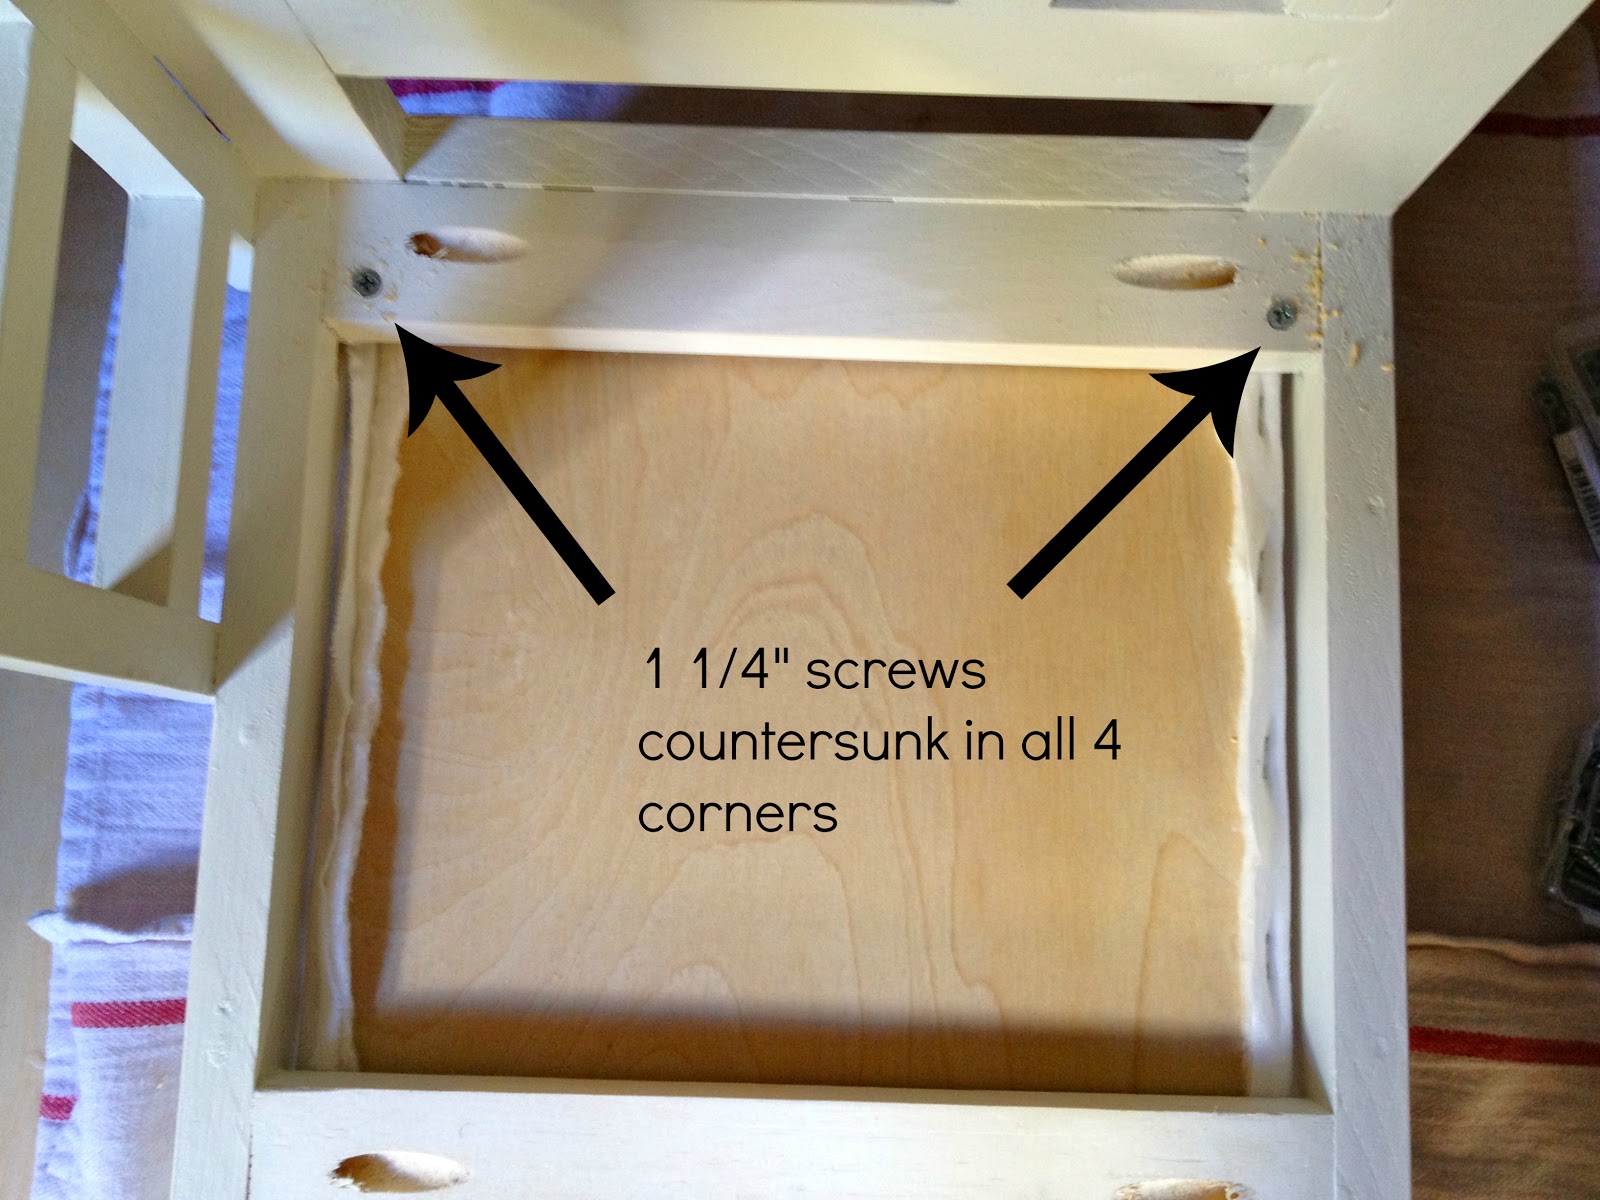
9. Secure to underside of bunk, top bunk first:
Jaime they are so cute!!!! Love the bunks! Happy New Year!
I wish you a ☆ :: * Happy-New-Year * :: ☆ From Japan.!! God bless you during 2013!
Ryoma Sakamoto.
Those are great, Jaime!
Adorable! I'm sure these will be loved by some littler girls and their dolls. 🙂
Visiting from Serenity Now.
~Emily
http://www.huckleberrylove.com
How sweet of you to make them for your friend. They look great! I love the bedding and extra things you were able to make as well.
KC
So darling! I love them! Thanks for linking up to my link party! 🙂
Jaime both bunk beds are so cute!!!! Love the bunks!thanks for sharing click here for more