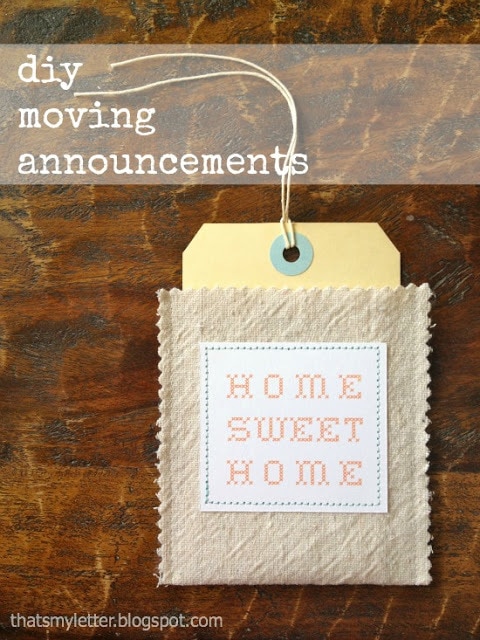
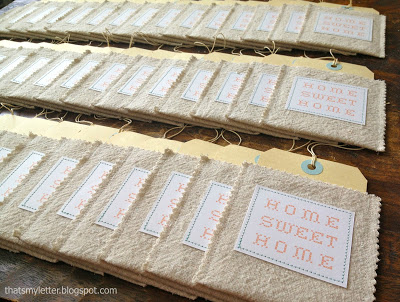
Make your own unique moving announcements with drop cloth pockets and manila shipping tags. This simple project will have your family and friends wanting to come visit asap. A few straight sewing stitches and some printed cardstock and you’ll be sending these custom moving announcements to everyone.
A DIY tutorial to create moving announcements. Sew a simple drop cloth envelope, insert a manila shipping tag and you have the perfect announcement.
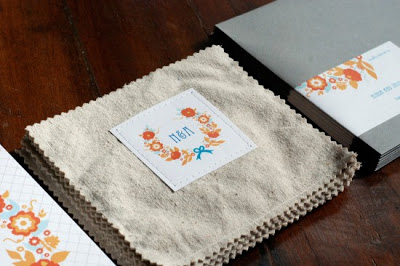
When we made the decision to move into our current primitive farmhouse home I knew I absolutely had to create a moving announcement that was unique and different. After much Pinterest browsing I came across these by moving announcements from oh so beautiful paper. I love the idea of the paper card tucked inside the fabric sleeve so I went about recreating a similar announcement.
If you happen to enjoy drop cloth like I do then chances are you may have some scraps lying around for this project but you could also use a lightweight canvas or really any sturdier cotton to make the sleeve. Drop cloth is super inexpensive, washes up great and it gets even better when you throw it in the dryer.
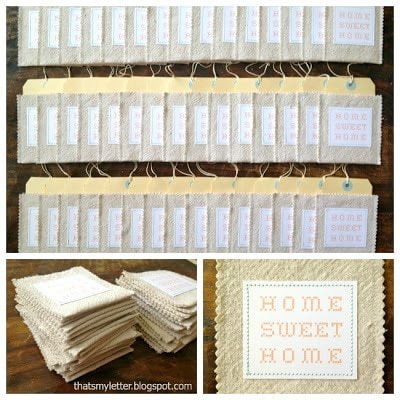
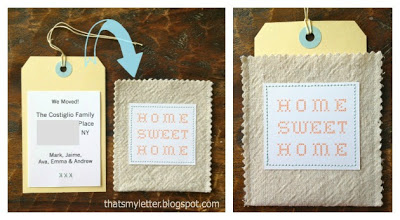
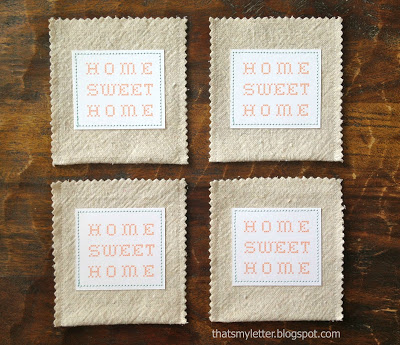
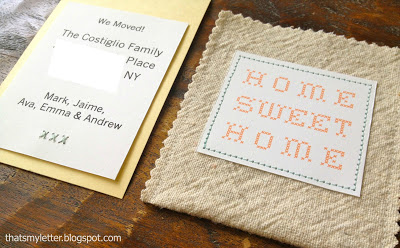
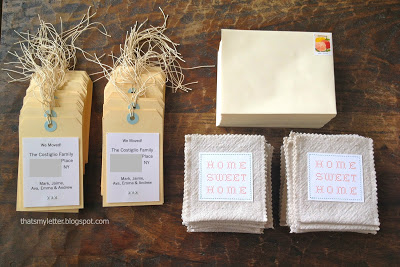
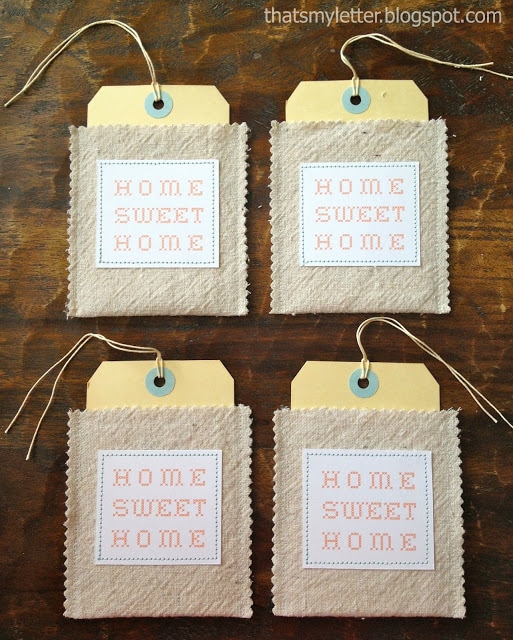
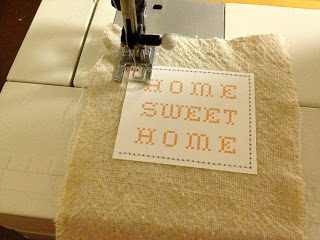
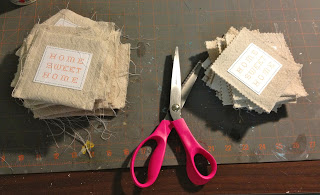
I simply folded a long piece of drop cloth in half and seamed up the two sides. Then trim the edges with pinking shears for a quick finished look and tuck in your printed card. I did embellish the front of the pocket with a printed home sweet home label. If you can sew a straight stitch then you can make these moving announcements. For the card portion I printed the new address information on regular white cardstock and then adhered that piece to a manila shipping tag. Finally tuck the tag inside the drop cloth pocket and you have a completed announcement.
Sewing through paper is actually quite fun just be sure your paper is thick enough to be stable once the needle makes the perforations. I used a basic white cardstock and that worked just swell.
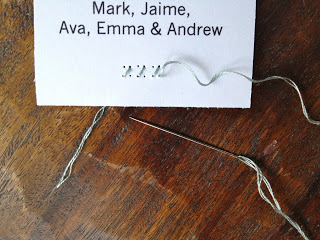
For a finishing touch on the printed announcement I added three hand sewn cross stitches at the bottom of the address card. This cross stitch mimics the home sweet home font on the front of the cloth pocket.
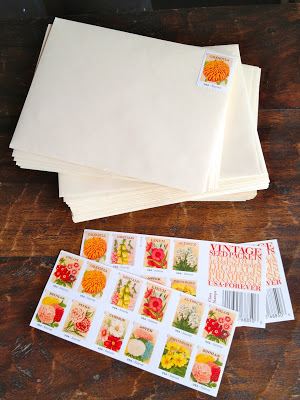
The post office happen to offer coordinating stamps so I used the vintage seed packet forever stamps on my envelopes. Down below I am sharing the step by step tutorial to make these moving announcements.
Supplies:
- sewing machine
- scissors, rotary cutter, clear quilting ruler
- computer & printer
- white cardstock
- manila shipping tags
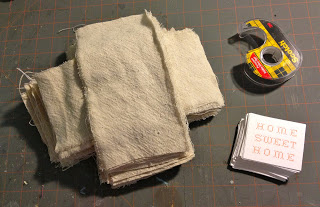
- drop cloth fabric or similar
- paper cutter
- double stick tape
- pinking shears
- thread, needle
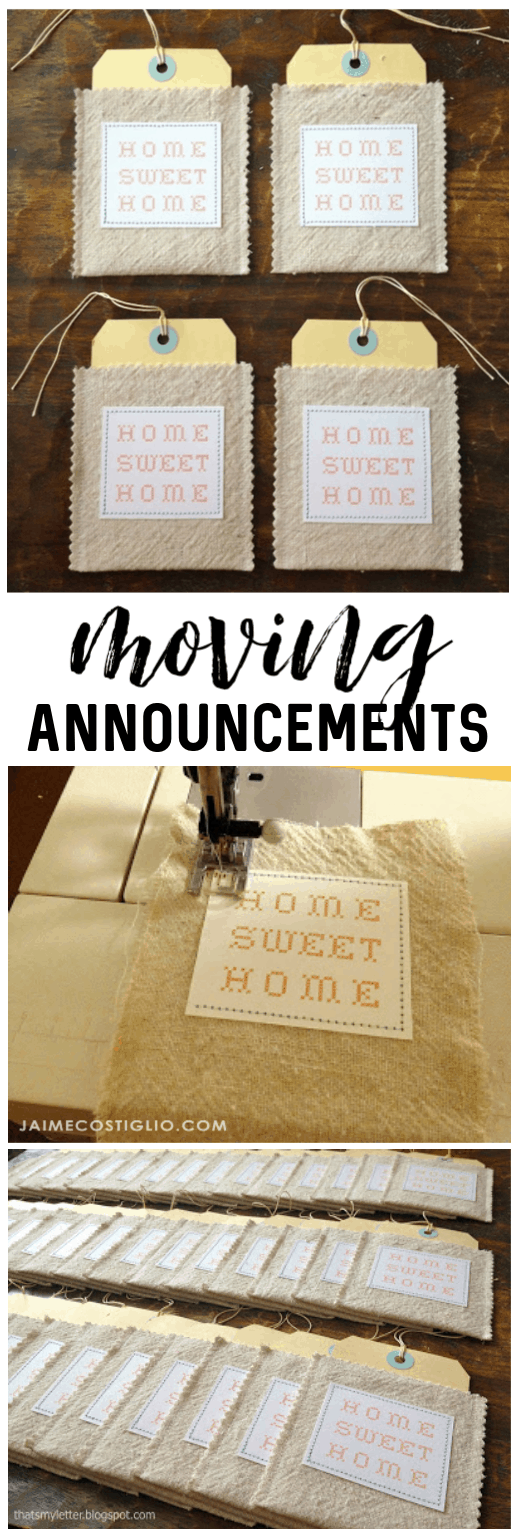
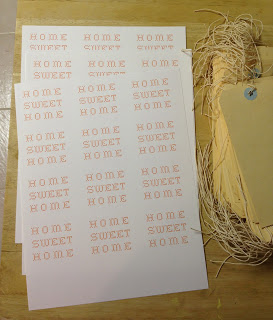
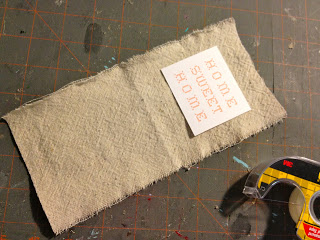
Step 1: Print out ‘home sweet home’ label onto white card stock and trim to size using a paper cutter.
Step 2: Cut drop cloth into 4 1/2″ x 8″ pieces. Be sure to double check the size of your manila shipping tags before cutting the drop cloth.
Step 3: To keep the label from shifting while sewing use a piece of double stick tape to hold in position.
Step 4: Use a long straight stitch to sew the label onto the drop cloth pocket front. Keep the needle down at the corners when pivoting.
Step 5: Fold drop cloth in half to create a pocket and sew side seams shut.
Step 6: Trim sides and top edge of the drop cloth pocket using pinking shears.
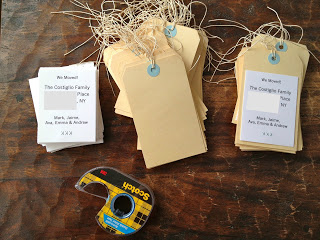
Step 7: Print out the new address information onto white cardstock to fit your manila tags. For the X cross stitch detail print 3 faint X’s slightly lighter than the color of your embroidery floss. This will be your pattern and ensures each X will be the same size.
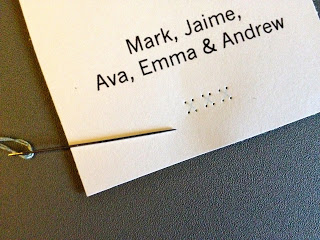
Step 8: Use your needle to prepunch the corners of the X.
Step 9: Start from the back of the cardstock leaving a 2″ tail and begin sewing the cross stitches in one direction. Then come back in the opposite direction for the other side of the X. Tie the floss in a knot at the back of the cardstock.
Step 10: Use double stick tape to adhere the white cardstock onto the manila tag. Slide the tag into the drop cloth envelope and your announcements are ready to mail!
SHOP THIS PROJECT:


They turned out fantastic! I love that you found another unique way to use a drop cloth.
How absolutely adorable! So creative and unique! Love it!
You are amazing!! Moving and making the cutest announcements! Unbelievable!
I hope your new place has a craft room for you! Congratulations on the new house! 🙂
These are wonderful, just like your new home! Your detailed work is really beautiful 🙂
Wow, I LOVE these! So adorable!! You're so crafty. I’d love it if you could link this up to our party, Give Me The Goods Monday! {1 party, 4 blogs}
http://www.somuchbetterwithage.com/2013/06/give-me-goods-party-no14.html
Have a great week!
Jamie @ Better With Age