• Home
  • Blog
  • About
  • Contact
    • Disclosure
    • Privacy Policy
  • SHOP
  • Widget area for main menu

    • Email
    • Facebook
    • Instagram
    • Pinterest
    • Twitter
    • YouTube
  • Skip to primary navigation
  • Skip to main content
  • Skip to primary sidebar

Jaime Costiglio

build - paint - sew

  • BUILD
    • BEDS
    • BENCHES
    • DESKS
    • DRESSERS
    • GAMES & TOYS
    • SCRAP WOOD
    • SHELVES
    • STORAGE
    • TABLES
  • TOOLS
  • PAINT
    • CRAFTS
    • FURNITURE
    • HOME DECOR
  • SEW
    • GIFTS
    • HOME DECOR
    • POUCHES
  • HANDBUILT HOLIDAY
    • 2021
    • 2019
    • 2018
    • 2017
    • 2016
    • 2015
    • 2014
    • 2013
  • GIFTS
    • BABIES
    • KIDS
    • FOR HER
    • FOR HIM
    • TEACHERS
    • WEDDINGS
  • SEASONAL
    • 4TH OF JULY
    • FALL
    • HALLOWEEN
    • CHRISTMAS
    • SUMMER
    • SPRING
    • ST. PATRICK’S DAY
    • THANKSGIVING
    • VALENTINE’S DAY
    • WINTER
  • SALTBOX PROJECT
    • BATHROOMS
    • DINING ROOM
    • EXTERIOR
    • FAMILY ROOM
    • FOYER / MUDROOM
    • KIDS BEDROOMS
    • KITCHEN
    • LIVING ROOM
    • MASTER BEDROOM
    • PLAYROOM
  • SCROLL SAW

“D” is for Drop Cloth Coasters

May 30, 2013

Sew: personalized drop cloth coasters

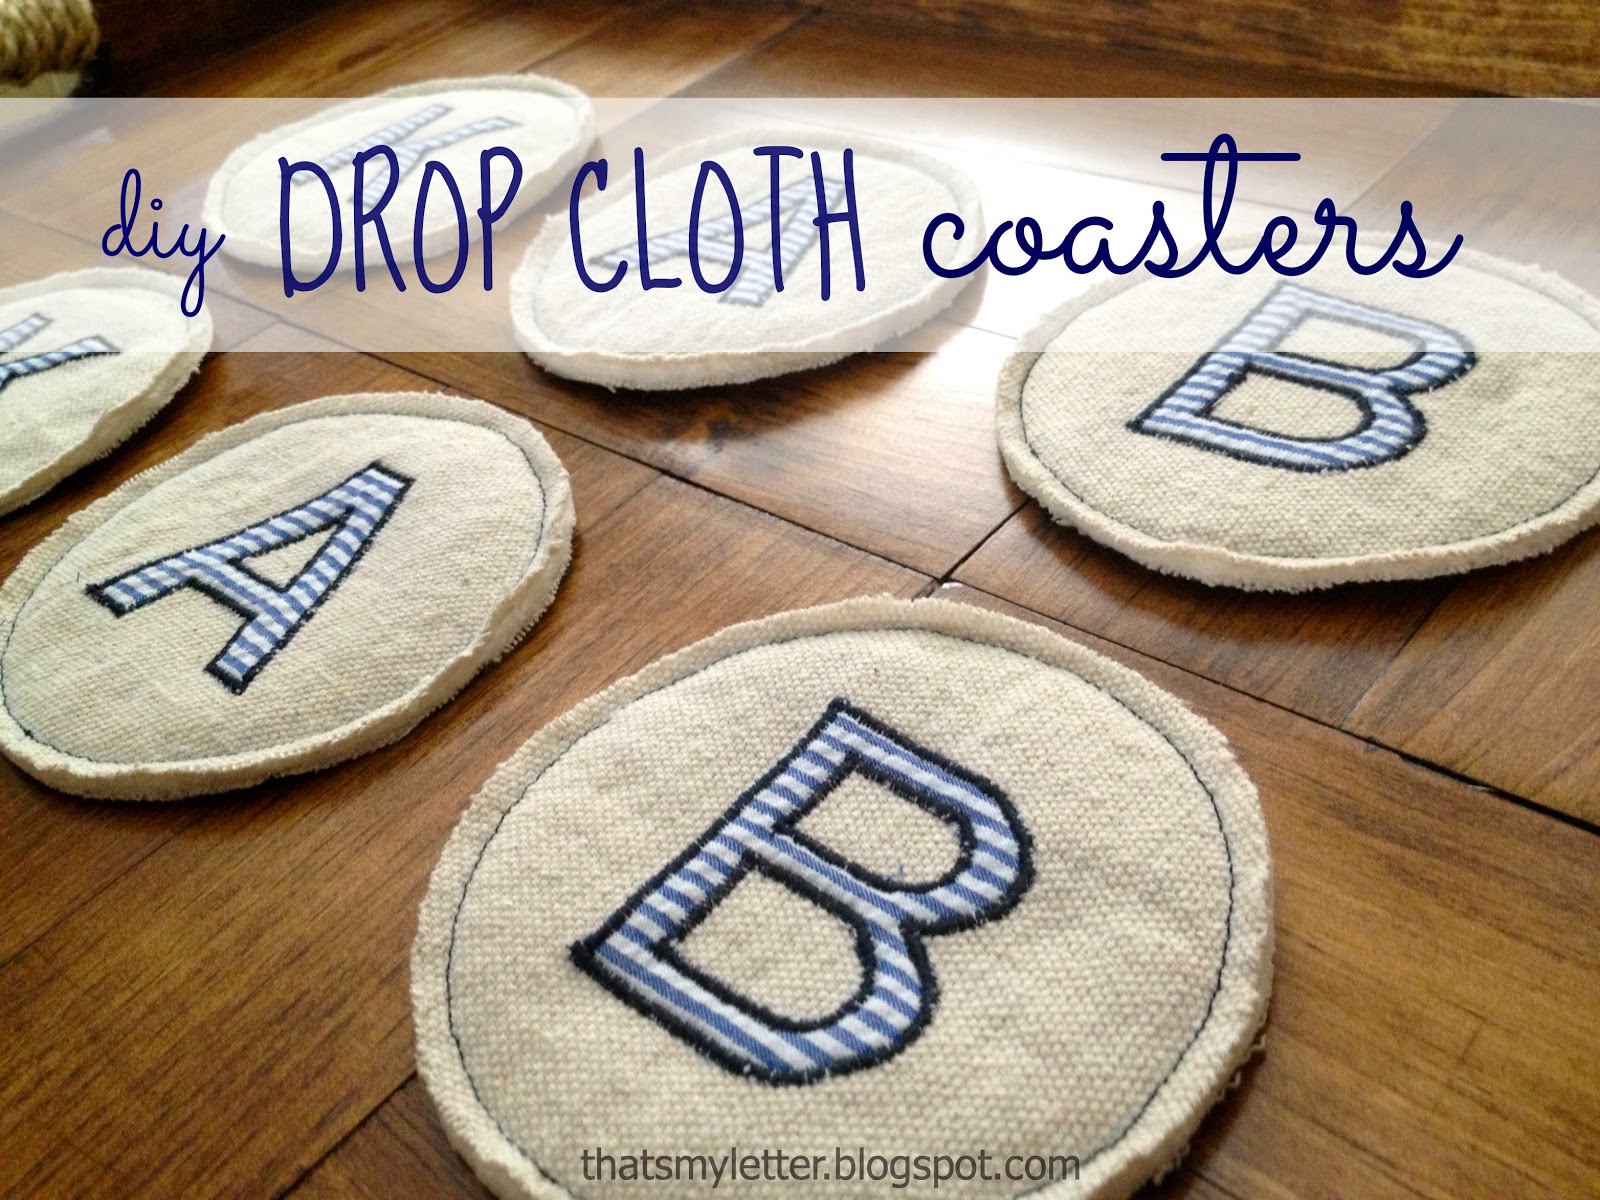
Make quick personalized coasters using drop cloth scraps.

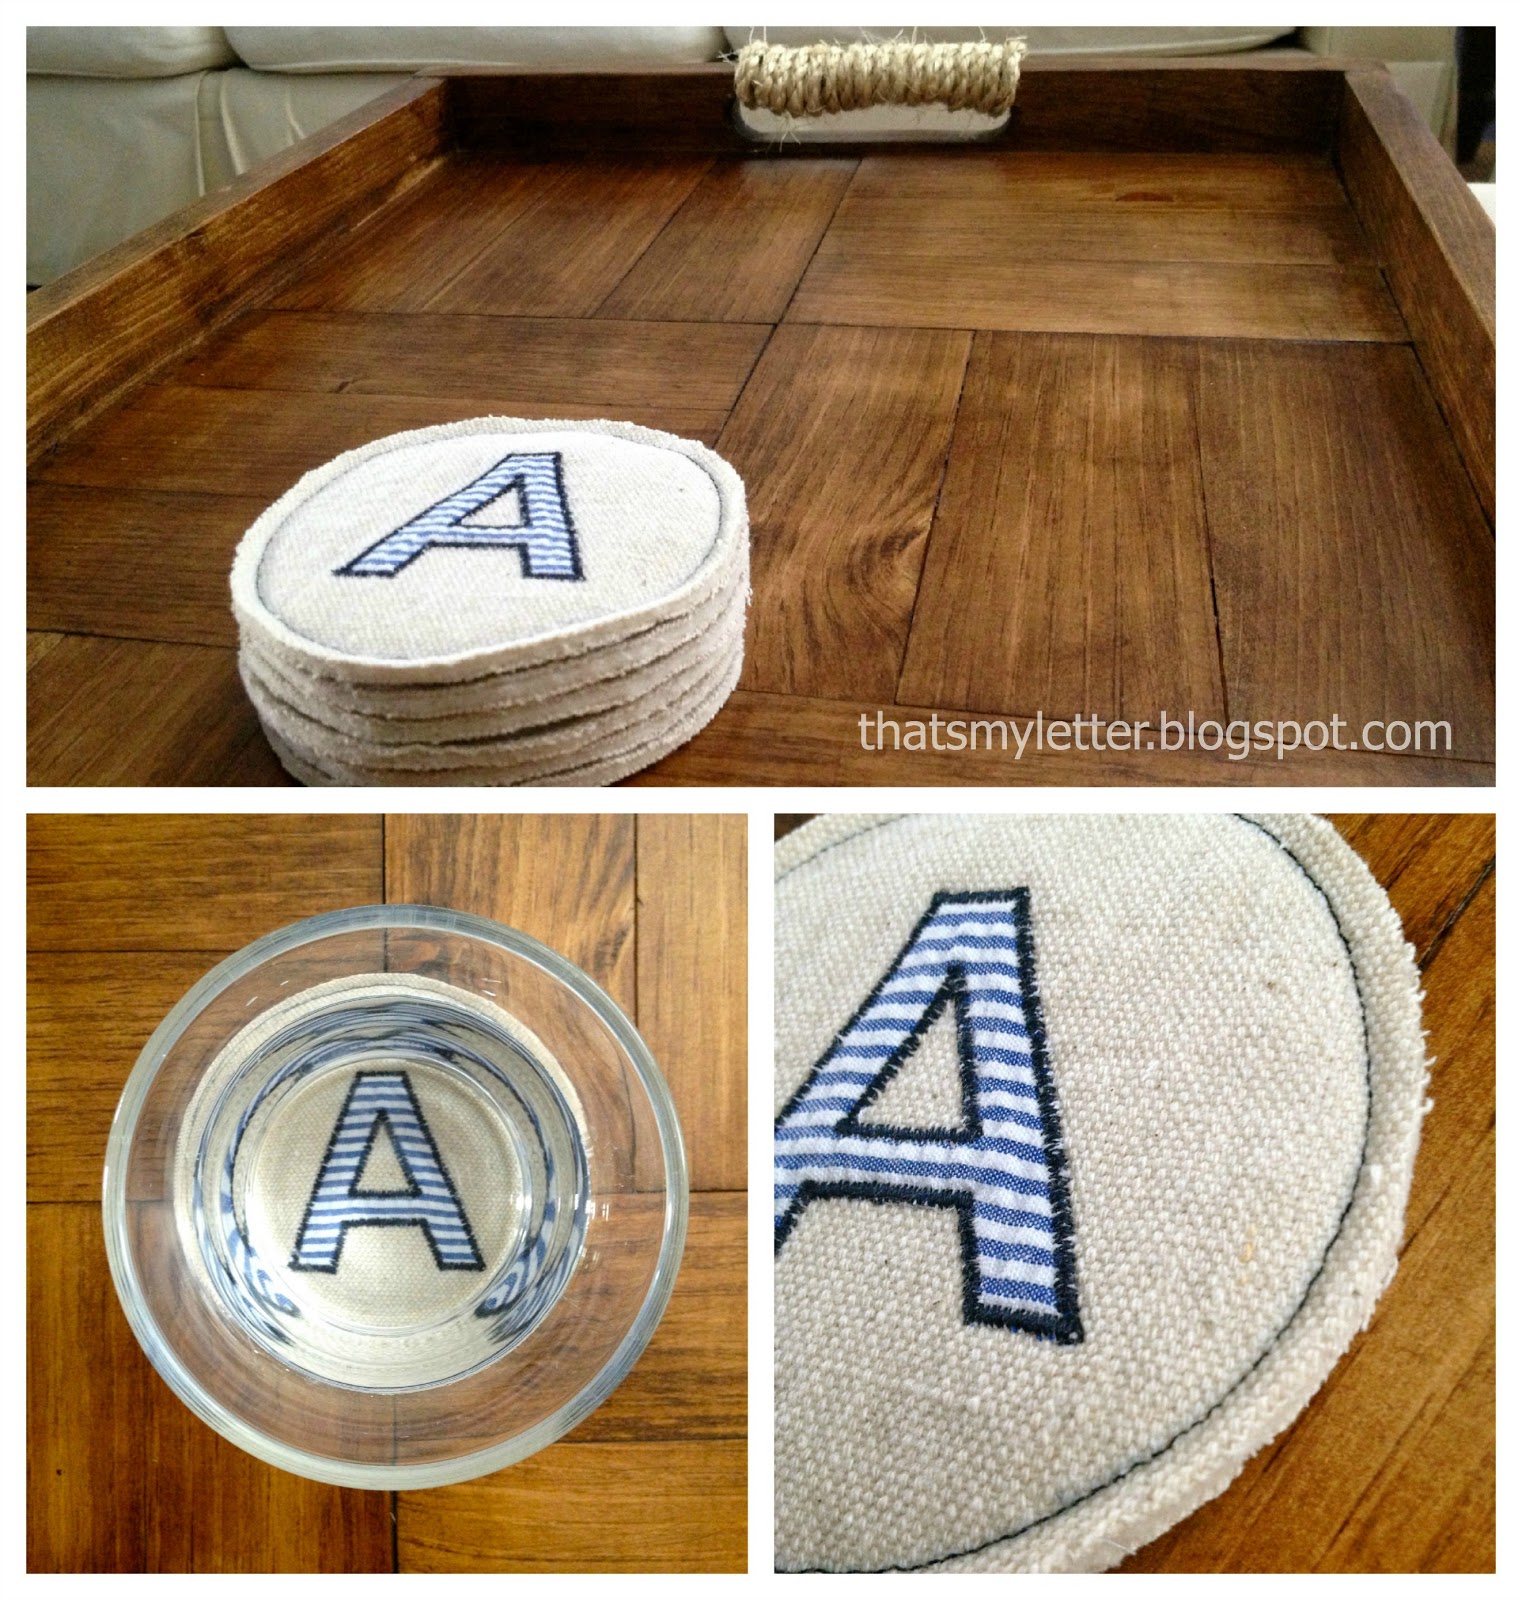
The drop cloth canvas will absorb any condensation from ‘sweating’ glasses.

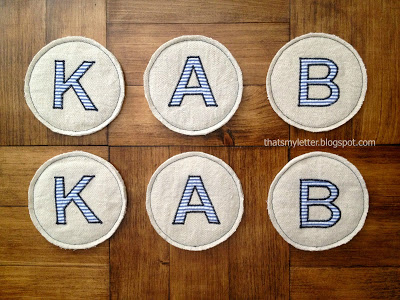
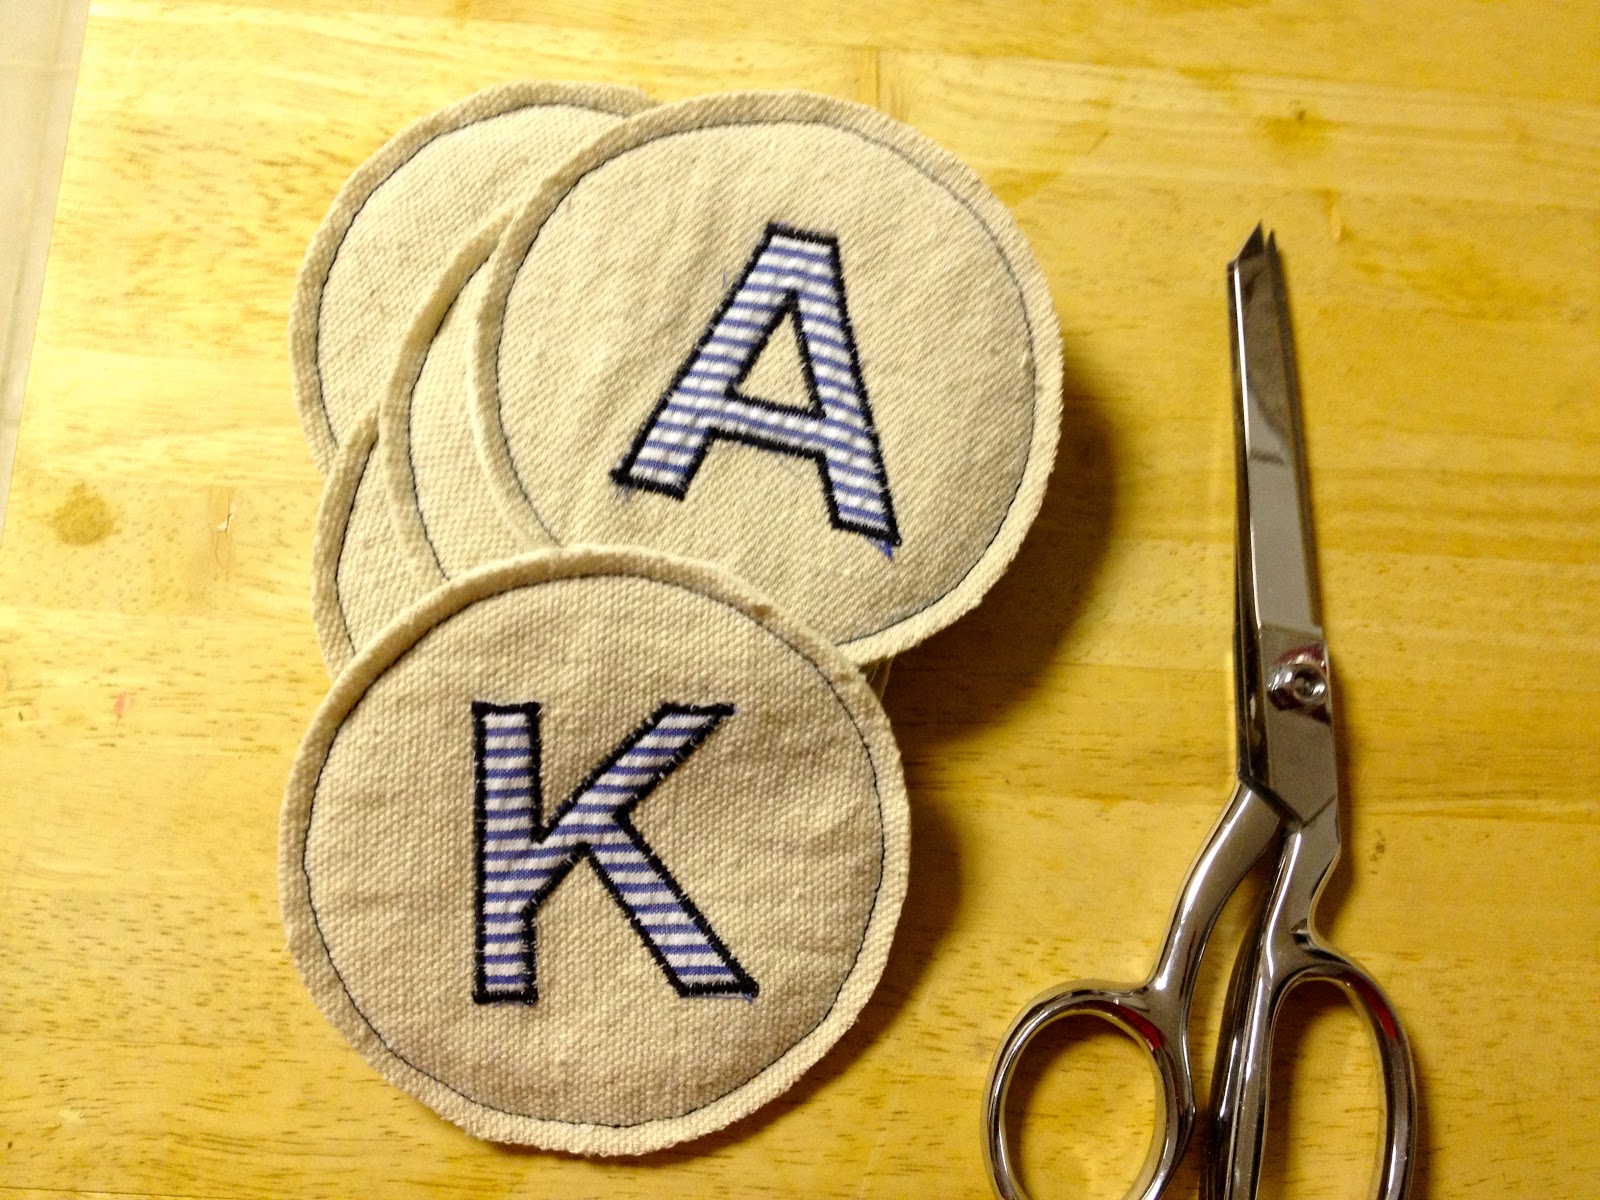
Here I used blue seersucker for the letters but the possibilities are endless, pick any color, pattern or print to match your theme or occasion:

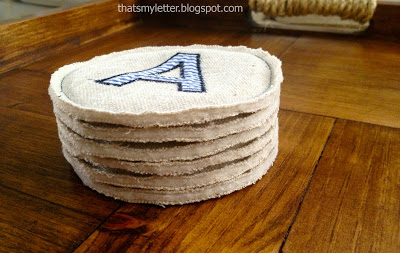
These coasters have a raw edge which will fray a tiny bit over time but only up to the stitched seam.
And the batting is visible on the sides but I actually like that raw look of construction:

I made these drop cloth coasters as a gift to coordinate with the parquet pattern ottoman tray.
Here’s how to make drop cloth coasters:

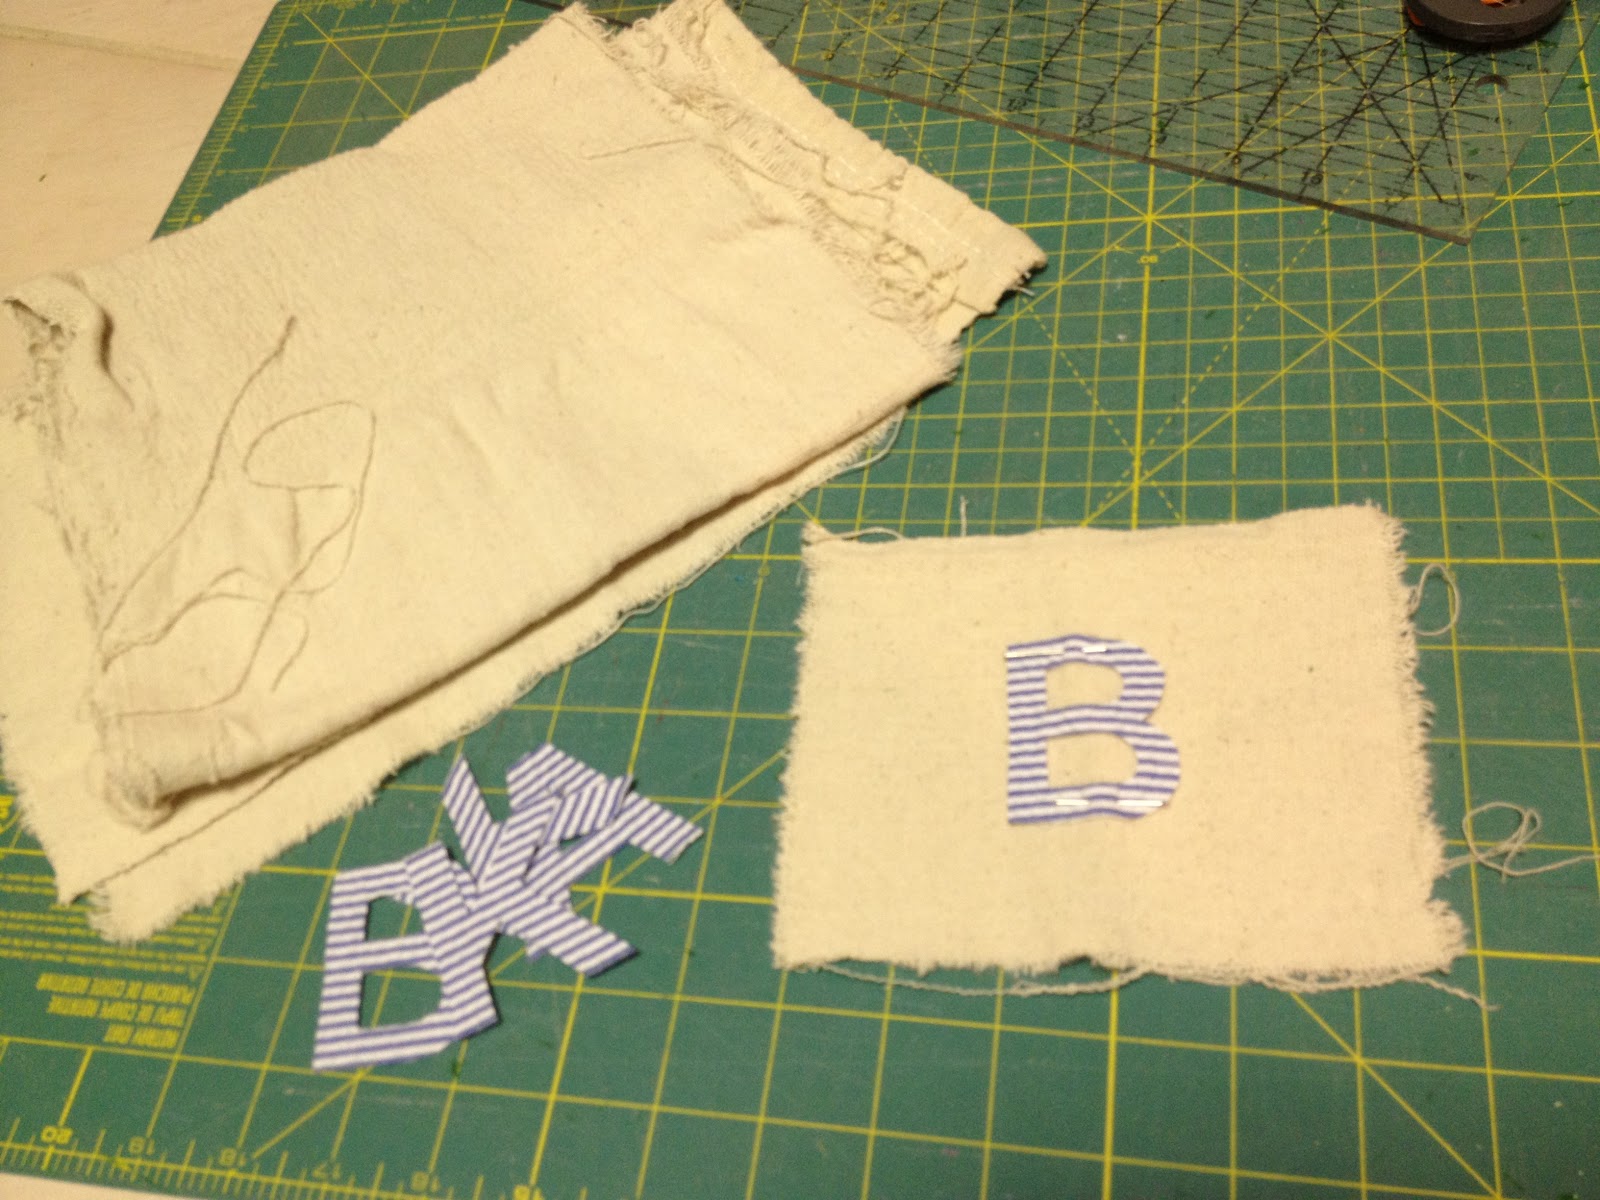
1. Cut 6″ squares from drop cloth scraps.
Make fabric letters using my tutorial here.
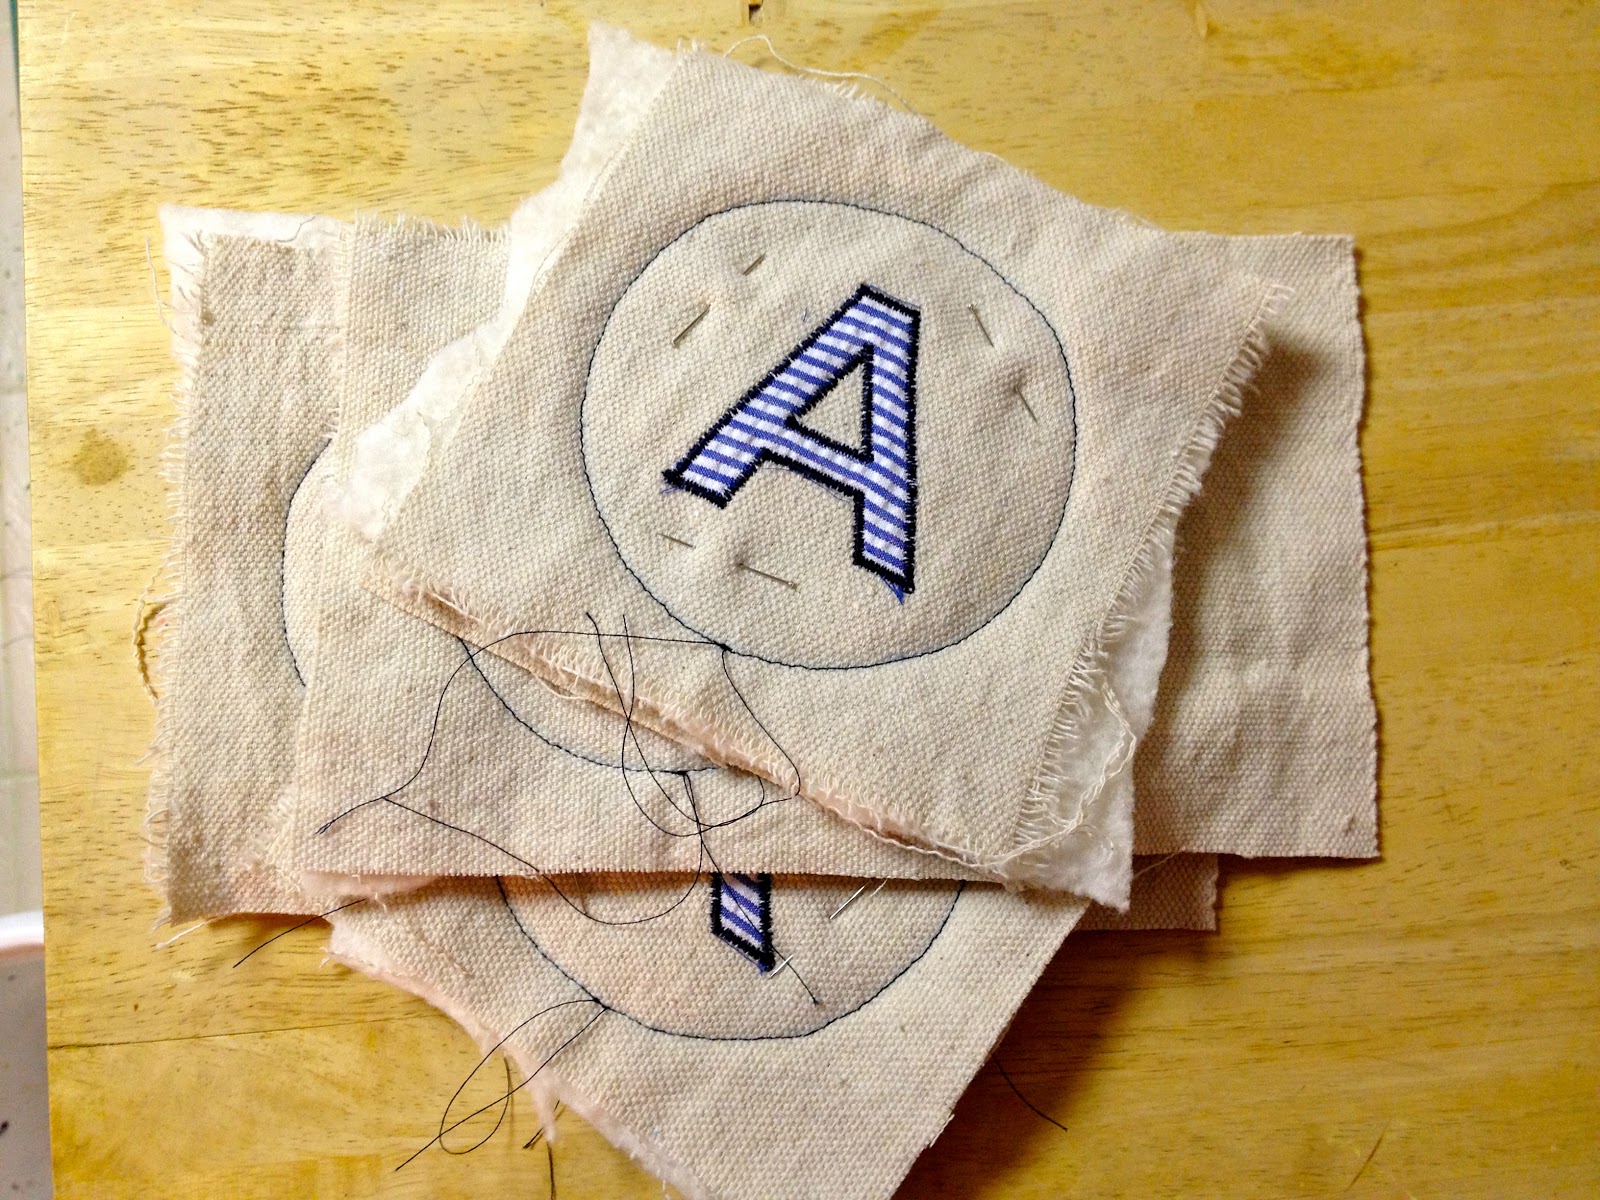
Pin letter in center of drop cloth scrap:
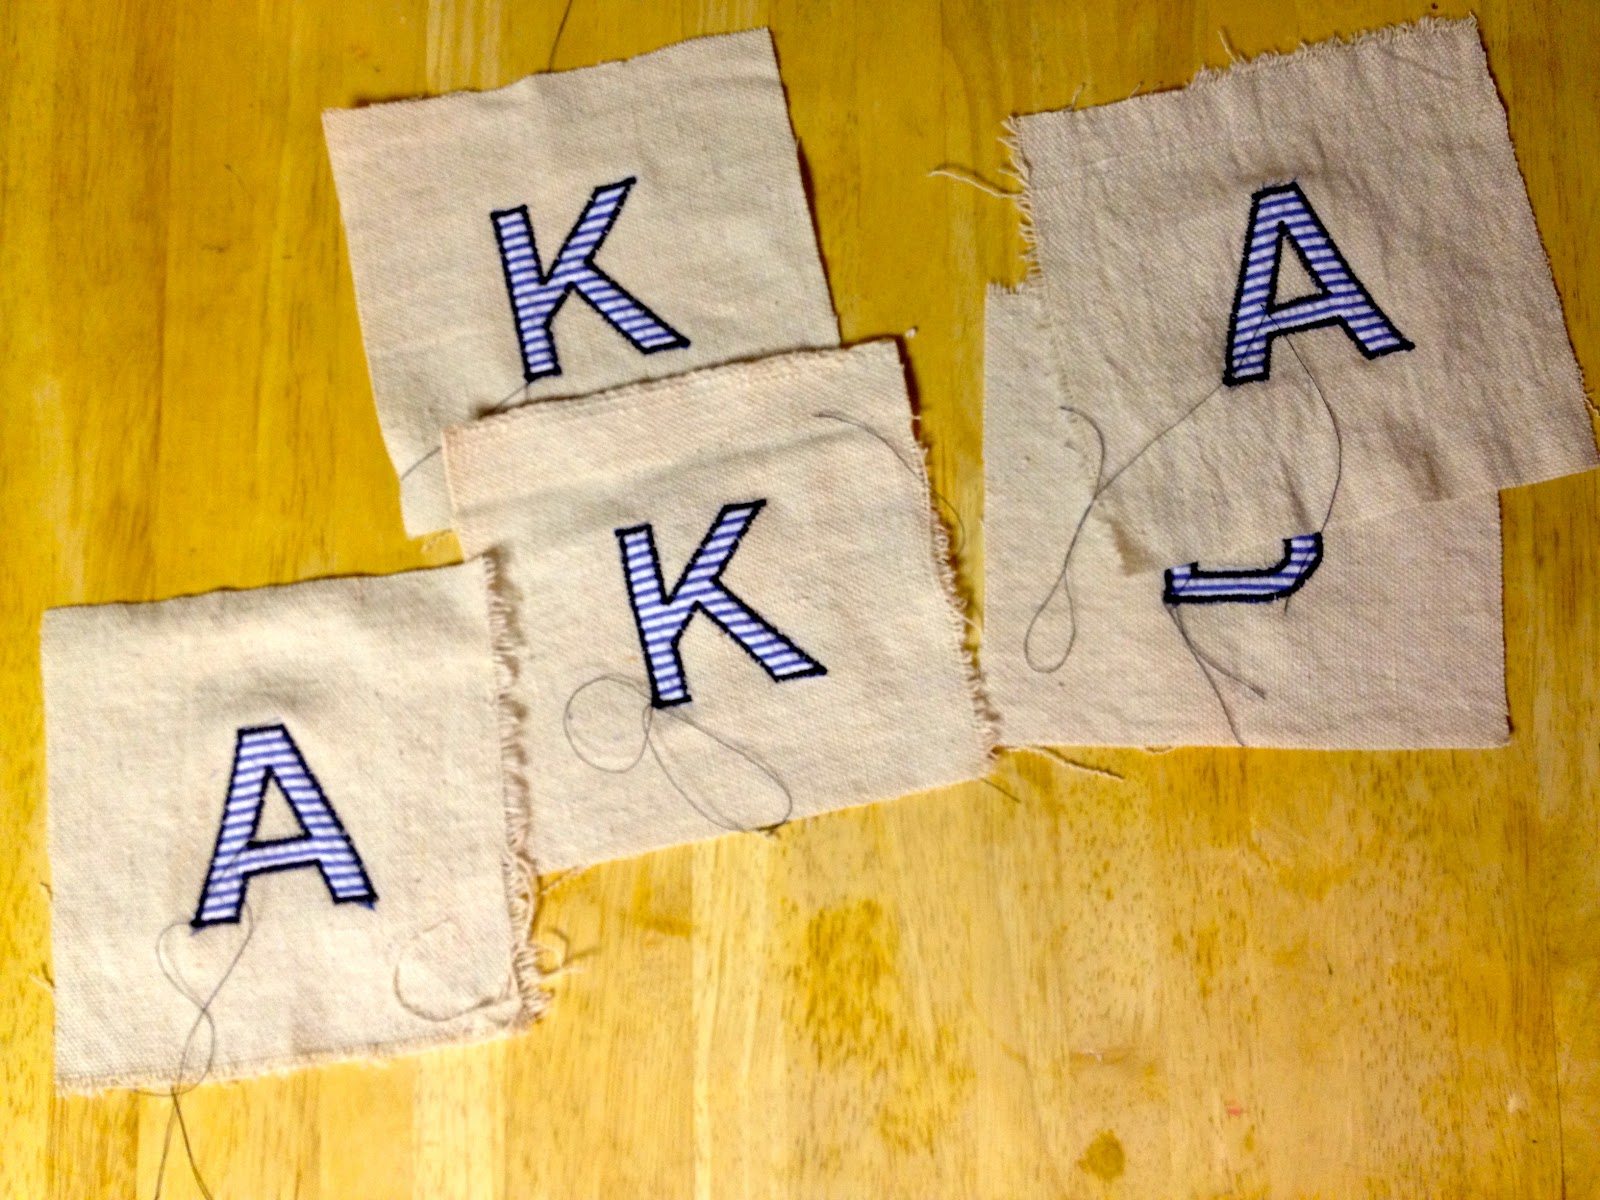
2. Sew letter in place with tight zig zag stitch:

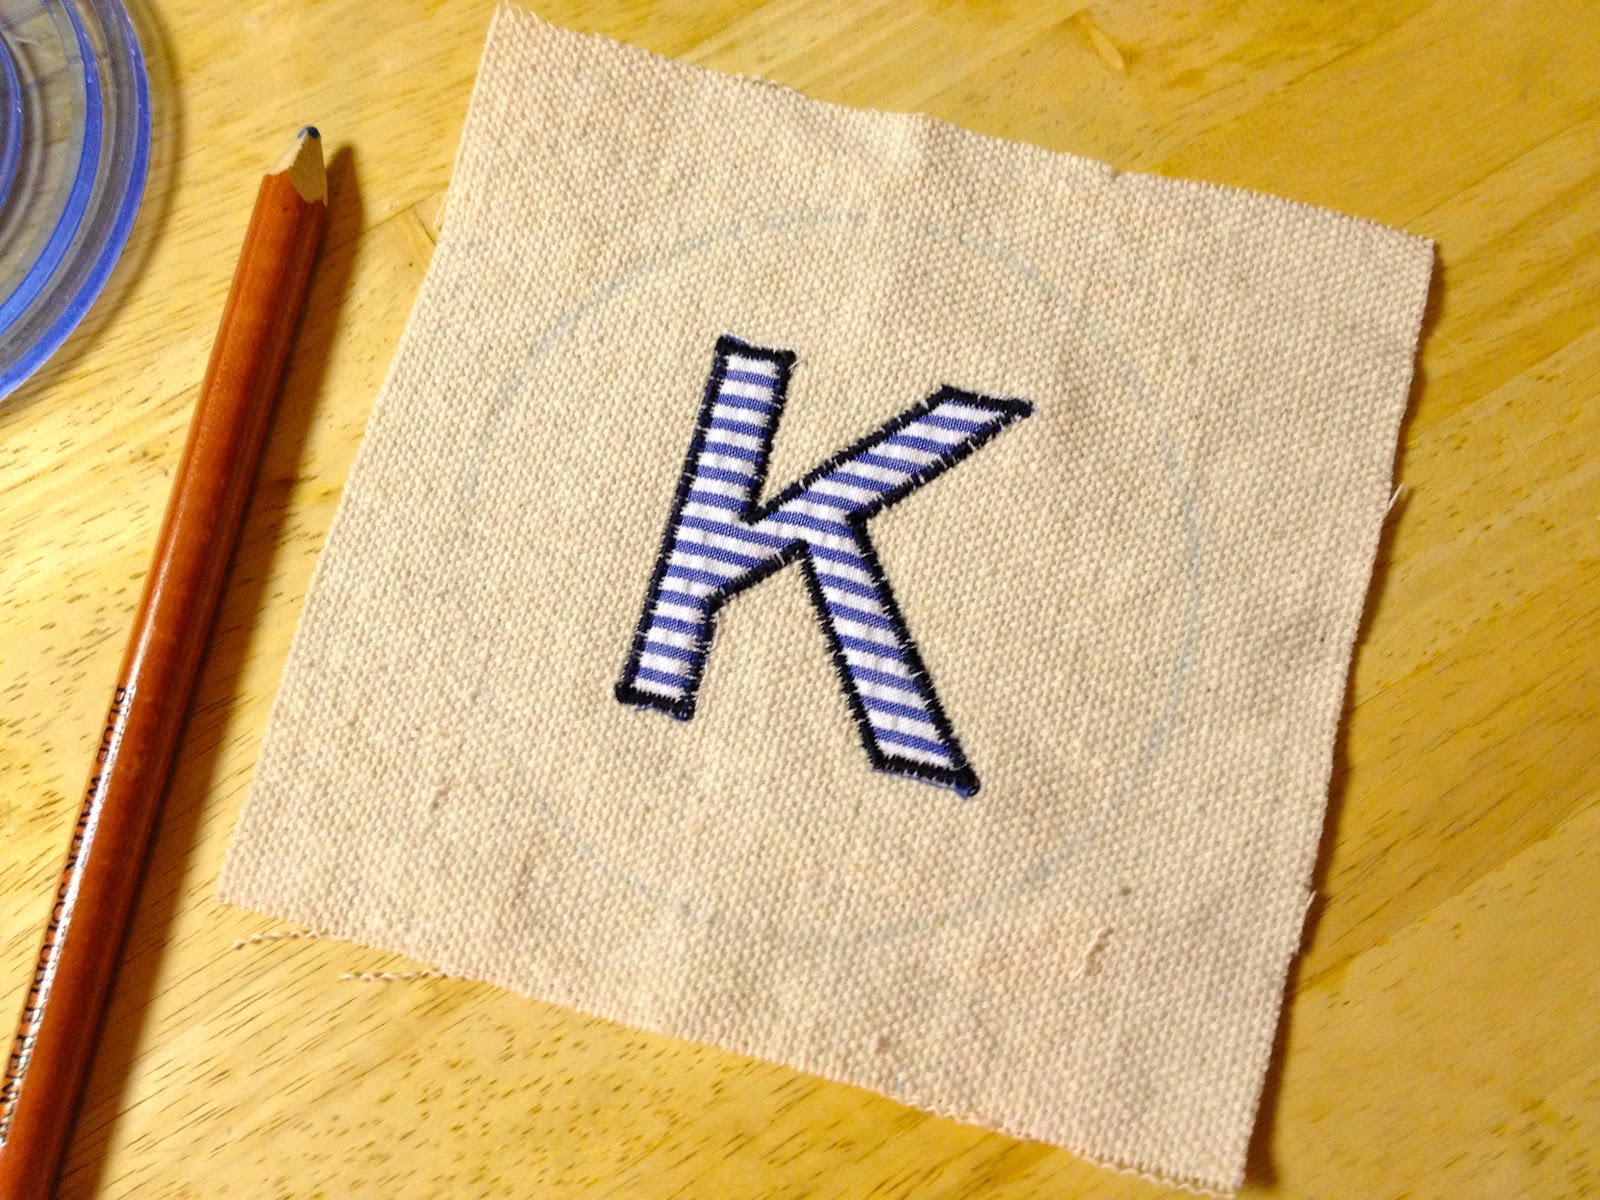
3. Using a circular object about 4″ round and a quilters marking pencil, trace around the edge of the circle:

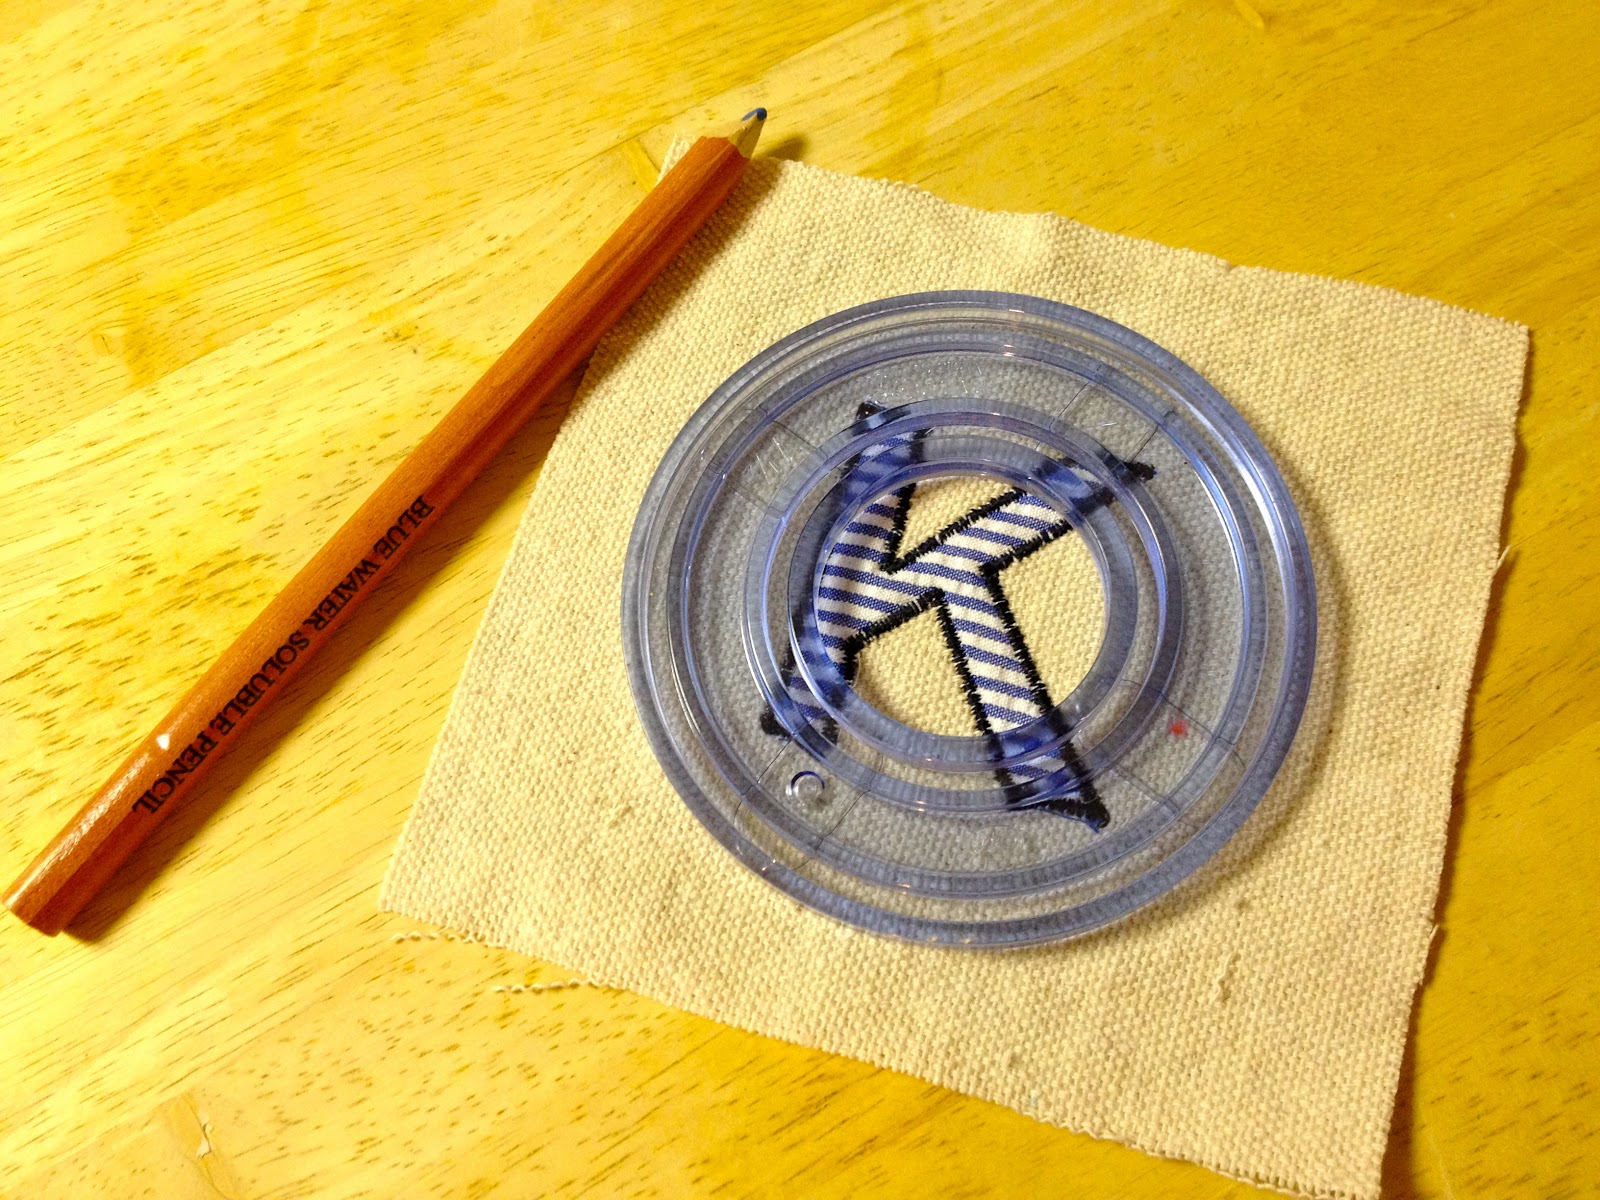
The pencil leaves a faint line to sew on and it also washes out if necessary:

4. Make a quilt sandwich:
drop cloth, batting, drop cloth

5. Pin sandwich together and sew all layers using the pencil line as your guide:

6. Trim excess less than 1/4″ from seam:

I’m linking up to:
SAS @ Funky Junk
Nifty Thrifty Sunday @ Nifty Thrifty Things
That DIY Showoff @ The DIY Showoff
Tutorials & Tips Tuesday @ Home Stories A to Z
The Scoop @ Lolly Jane
Strut Your Stuff @ Somewhat Simple
Transformation Thursday @ The Shabby Creek Cottage
Share Awesomeness Thur @ The 36th Avenue
Pretty Things Thursday @ Scissors & Spatulas
Flaunt it Friday @ Chic on a Shoestring
Frugal Friday @ The Shabby Nest
Furniture Feature Friday @ Miss Mustard Seed
SAS @ Just a Girl
Remodelaholics Anonymous @ Remodelaholic
inspiration board @ Carolyns Homework
Sunday Showcase Party @ Under the Table & Dreaming
Weekend Bloggy Reading @ Serenity Now

You may also like...

  • Cross Stitch Monogram Ornament PlacecardCross Stitch Monogram Ornament Placecard
  • DIY Embellished Monogram PouchDIY Embellished Monogram Pouch
  • “P” is for Painted Zipper Pouch“P” is for Painted Zipper Pouch
  • “R” is for Rugby Stripe Pouch“R” is for Rugby Stripe Pouch
Share this post:

Filed Under: DIY, FOR HER, FOR HIM, GIFTS, GIFTS, HOME DECOR, HOME DECOR, SEW, SEWING, WEDDINGS5 Comments

Reader Interactions

Comments

  1. Vickie @ Ranger 911 says

    May 30, 2013 at 11:14 AM

    I need coasters desperately and this is just the ticket! I've already got everything I need to make them. Thanks for sharing the tutorial, Jaime!

    Reply
  2. Megan Vaughn says

    May 30, 2013 at 11:52 AM

    These are fantastic! I love how you used a drop cloth.

    Reply
  3. DaiseyJayne.com says

    May 31, 2013 at 11:12 AM

    These coasters are sharp, love the seersucker, so Summery! And cloth coasters actually soak up condensation 🙂

    Reply
  4. Erin says

    June 2, 2013 at 4:55 PM

    Love! I'm really into monograms and I'm tired of the stone coasters we have from our wedding (12 years ago!).

    Visiting from That DIY Party. http://sometimes-homemade.com

    Reply
  5. ketz says

    November 26, 2013 at 7:11 AM

    Beautiful personalized coasters! I would love to also create something like this for my family. I hope my kids would help me. By the way, consider stone coaster projects.

    Reply

Leave a Reply Cancel reply

Your email address will not be published. Required fields are marked *

Primary Sidebar

Hi! I’m Jaime

Jaime Costiglio

Hello!

Thank you for stopping by.
Join me for lots of DIY.

Read more

Get new posts via email

Handbuilt Holiday: Gift Project Plans

handbuilt holiday gift project plans

Collection of DIY gift project plans to build.

The Home Depot Tool Prospective

THD Prospective

Tools to consider for the DIYer.

Archives

The Home Depot Logo
Copyright © 2026 Jaime Costiglio · Custom site by Moonsteam Design

Privacy Policy