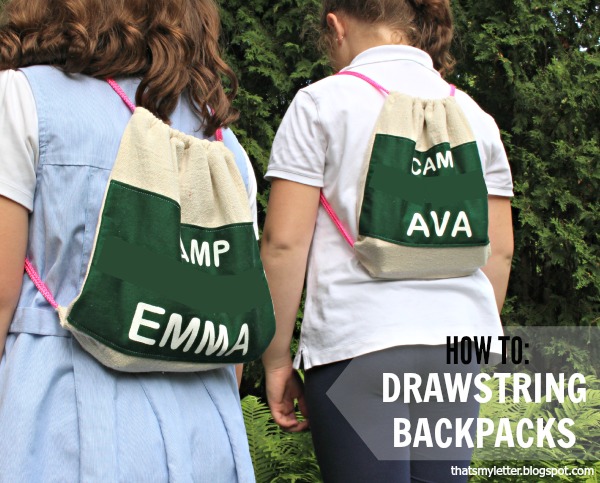
Who’s ready for summer and camp season? I’m sharing a fairly simple sewing project today: drawstring backpacks. I made these for my girls to take to camp this summer (I have blocked out the camp name for safety reasons) just so they have something to tote around small necessities when going down to the lake, taking a day trip, etc.

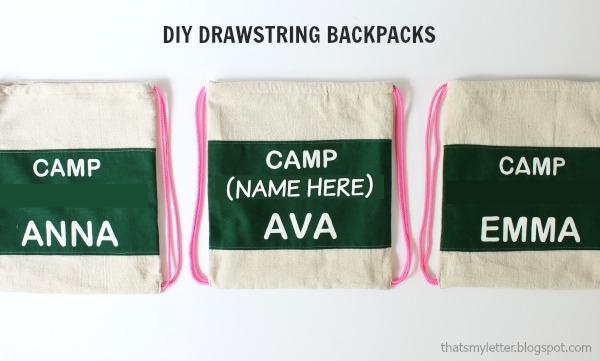
There are lots of drawstring backpack tutorials out there so this is nothing new but I thought I’d share how I made this version along with the personalization tutorial. (I followed the Purl Bee tutorial here as a starting point.)
Also I used drop cloth canvas on the exterior and cotton gingham for the lining. The pink drawstring poly rope can be found at Home Depot.
The finish size you see my girls (ages 9 and 10) wearing above is:
11 1/2″w x 13 1/2″h
This is the medium size from the Purl Bee tutorial.
If I were to make these again in the future I would definitely make them bigger.
Below are the materials and step by step instructions:
Materials:
– 2 – exterior fabric @ 12 1/2″ x 15″ (drop cloth canvas)
– 2 – lining fabric @ 12 1/2″ x 15″ (cotton gingham)
– 1 – panel for personalization @ 12 1/2″w x 8″h (dark green cotton)
– 2 – pieces poly cord @ 50″l each
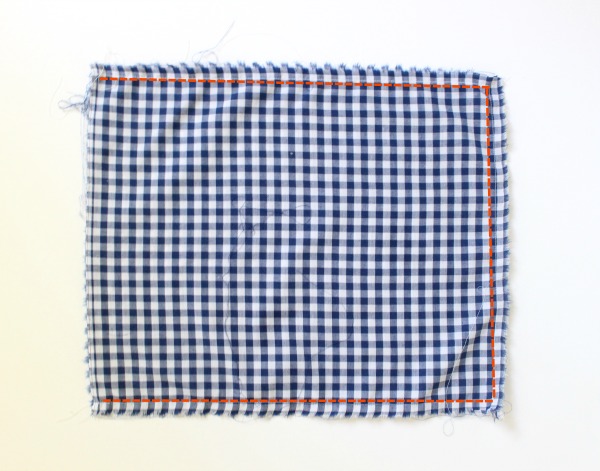
Step 1: Place 2 lining pieces wrong sides together and sew around 3 edges leaving 1 short side open. NOTE: Use 1/2″ seam allowances throughout.
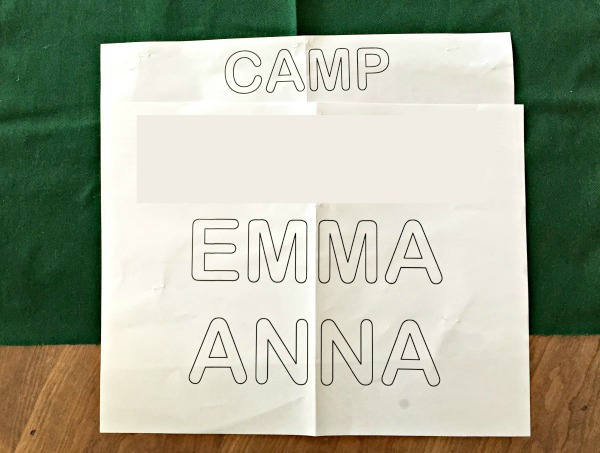
Step 2: Print out desired name. I used Ariel Rounded at 160 point.
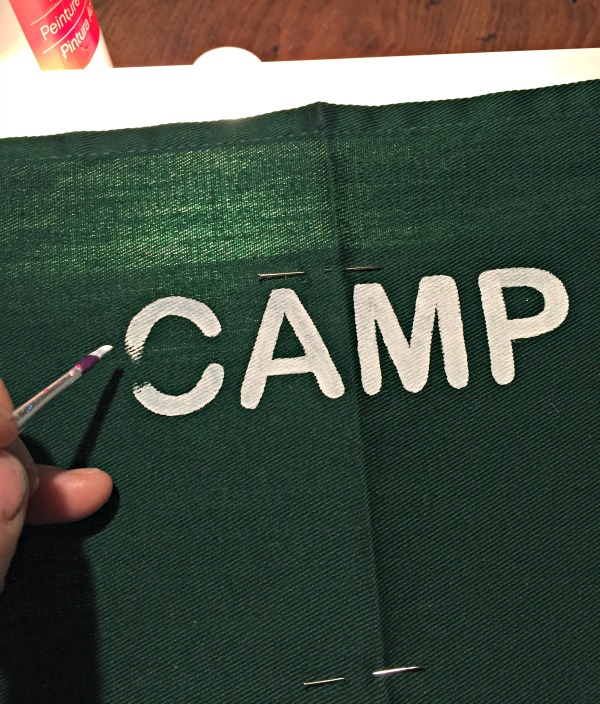
Step 3: Find center of printout and center of green panel then pin printout to back side of panel. Place everything over a lightbox and paint inside the lettering. It’s hard to see in the above photo but you can see the printed letters through the green panel, turn off any overhead lighting to help see the letters better. I used white acrylic craft paint.
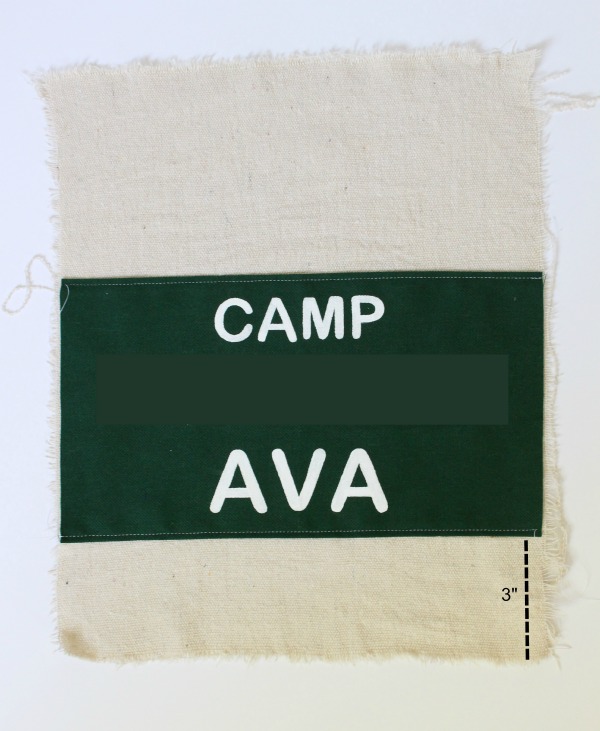
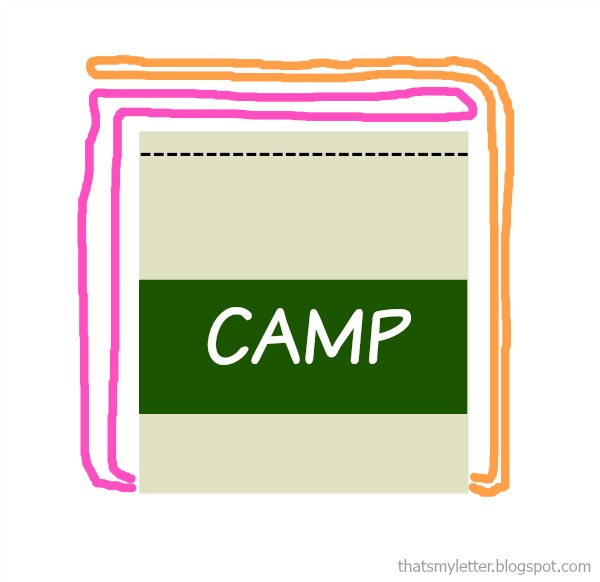
Step 4: Press under scant 1/2″ of top and bottom raw edges on green panel. Pin in place on front exterior fabric about 3″ from bottom edge. Top stitch in place.

Step 5: Place wrong sides together of exterior pieces and sew seams as indicated above. Be sure to leave open 1/2″ at bottom corners of long sides, this is where you will insert drawstring ends later.

Step 6: Turn right side out. Press side seams open.
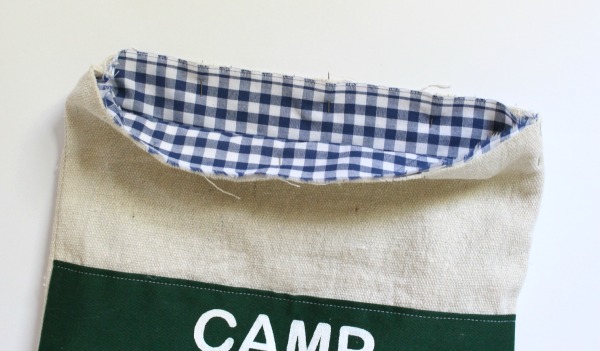
Step 7: Insert lining down into backpack keeping wrong sides together. Pin around top edge and BE CERTAIN SIDE SEAMS ARE PRESSED OPEN ON BOTH LINING AND EXTERIOR. If not this will hinder your drawstring insertion and operation later.
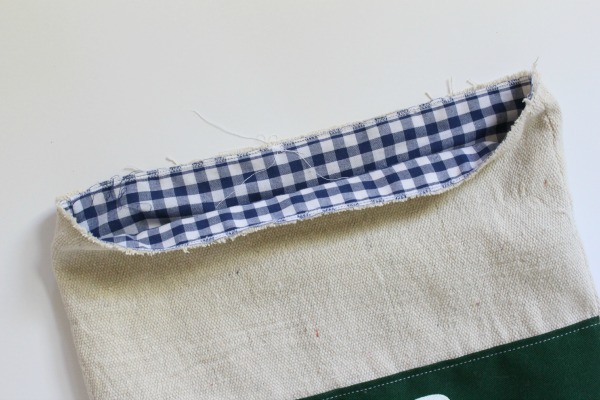
Step 8: Optional but I zig zag stitched the top raw edge to keep lining and exterior together.

Step 9: Fold under raw edge generous 1/4″ inch and then fold again 3/4″ to make drawstring pocket. Pin and top stitch around.
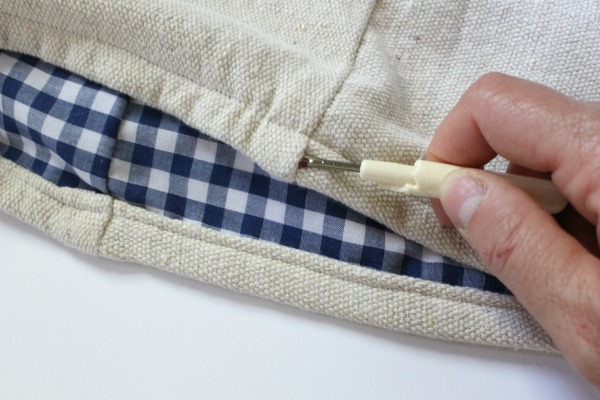
Step 10: VERY CAREFULLY open side seams only at exterior portion of drawstring pocket. Not pictured make a tight zigzag stop stitch at very top edge to prevent seam from opening further.
Step 11: Use a safety pin and insert poly rope through side openings and around on each side. The illustration above shows the path of each rope piece. Once in place melt cut ends with a match to prevent further fraying and insert both cut ends into opening at base of backpack. Top stitch in place.


Leave a Reply