I thought I would share my experience building a conference booth from scratch. It’s a bit out of the ordinary but it was such a fun challenge. Most importantly it was a true test of perseverance and overcoming lots of little hurdles along the way. But even if you’re not building a conference booth or trade show display this project post may be useful for other decor or display situations.
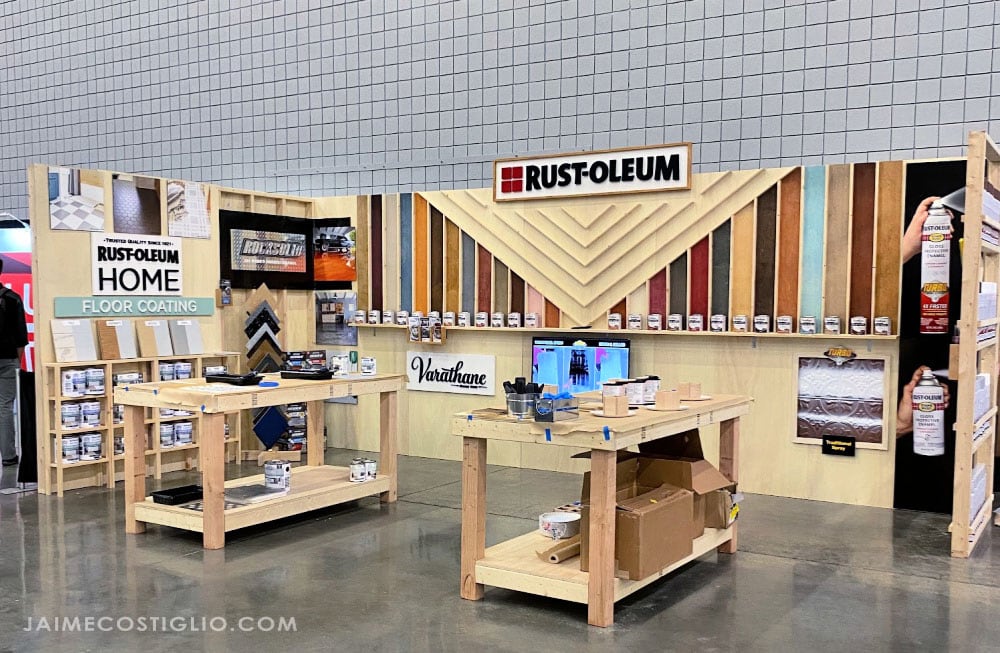
A behind the scenes look at how to build a conference booth from scratch. Create a stunning trade show or conference booth with these tips.
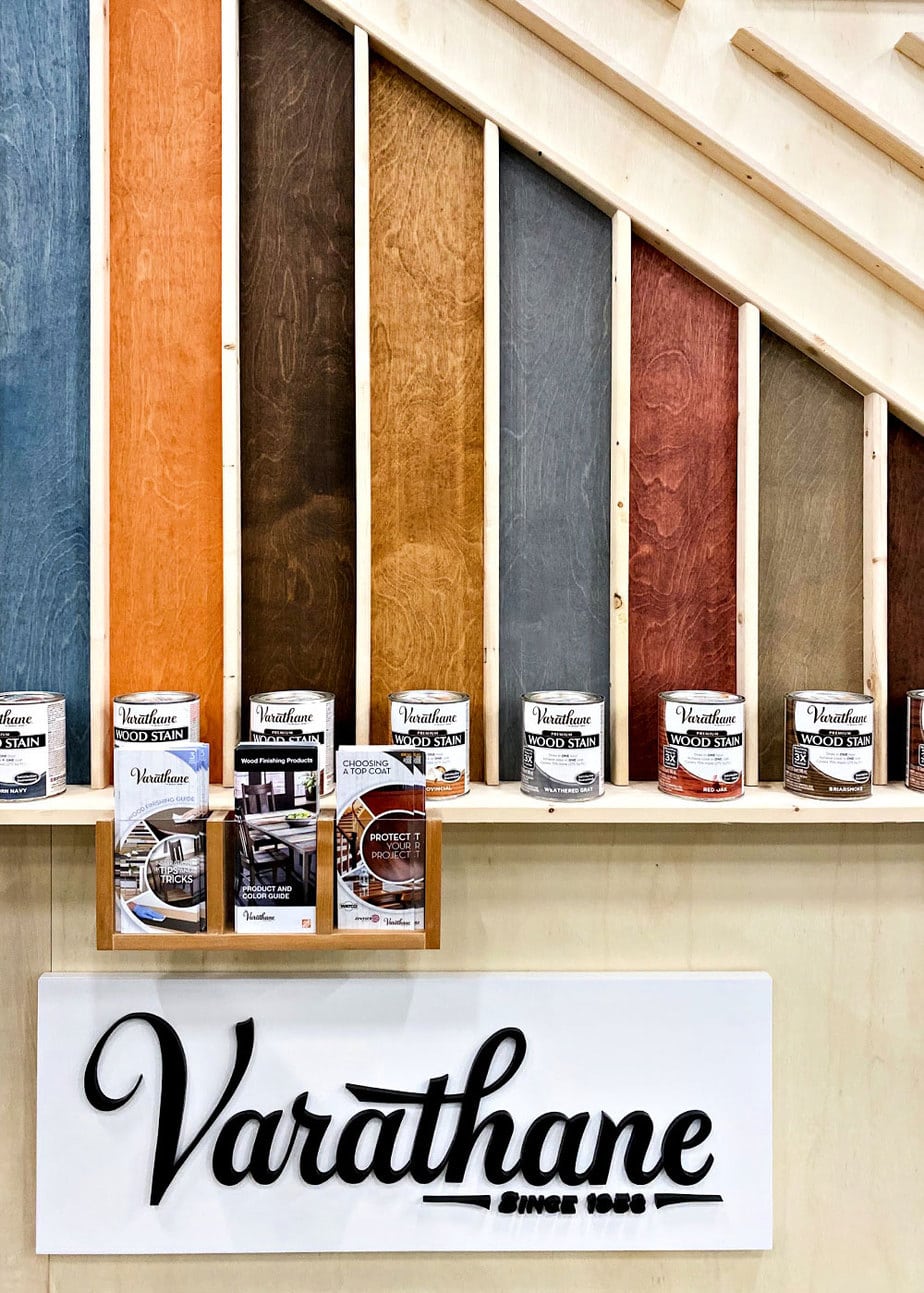
This conference booth was built specifically for Rust-Oleum for the WorkbenchCon 2020 conference in Atlanta, GA. Naturally we started planning and scheming many months before the actual conference so we went in with a solid plan. Also did you know Rust-Oleum Varathane wood stain comes in 24 colors?!!
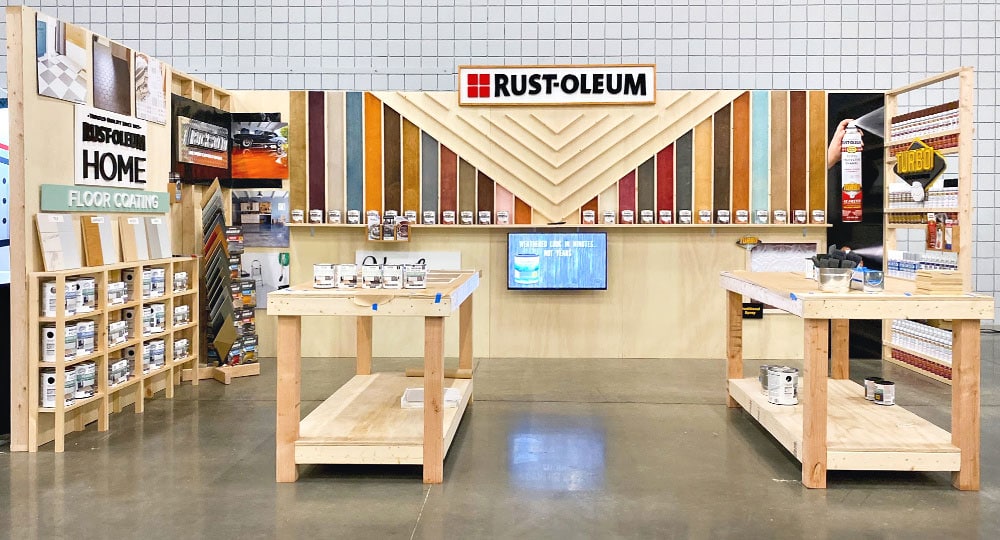
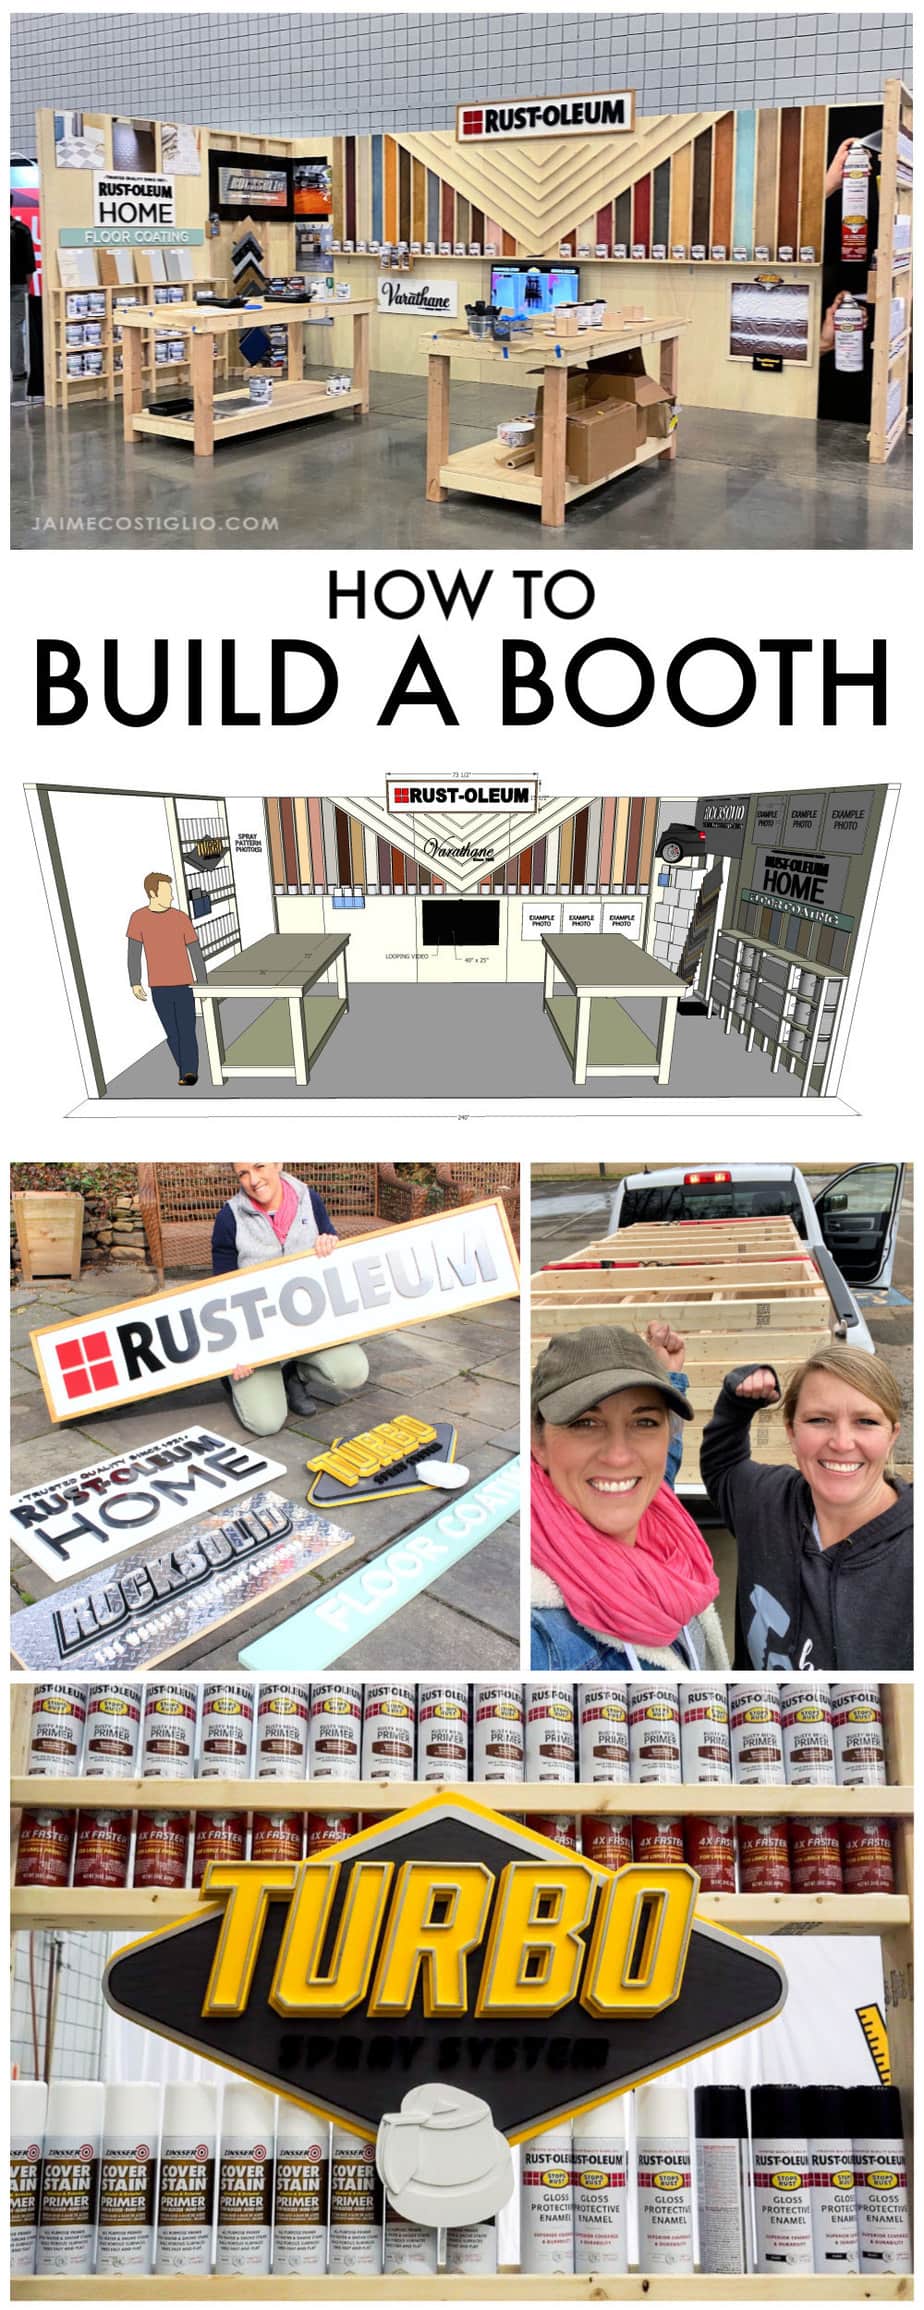
Given the booth dimensions (our space was 10′ x 20′) and the products which Rust-Oleum desired to feature, I went to work creating a digital sketch of the space. As a result I came up with this design out of nowhere in order to accommodate the following:
- wood stain feature wall
- 4 product focus areas
- two workbench tables for demos
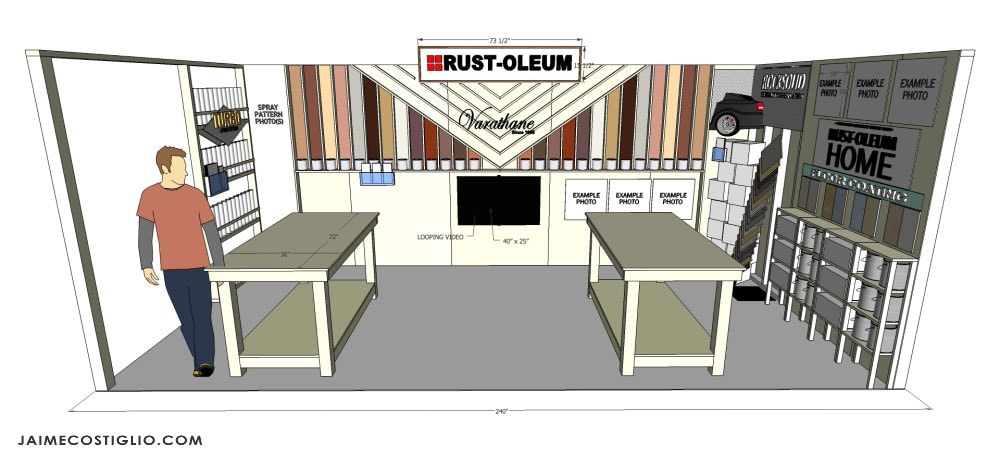
I use Sketch-Up to create all my furniture plans but it also works great for whole room situations as well. Whatever tool you use it’s good to be able to visualize the space, proportions and dimensions before you actually build anything. This allows you to edit without spending money on supplies and make the best use of your booth space.
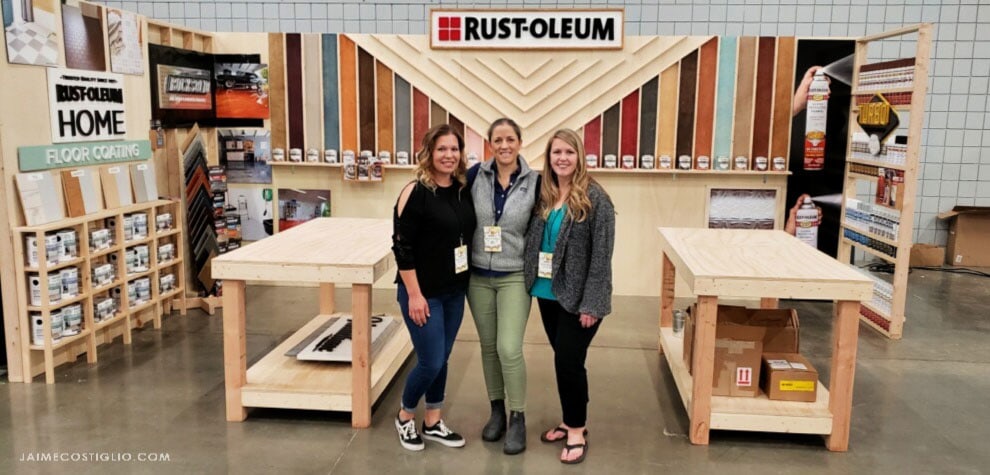
Down below you can see our actual booth ended up almost exactly like the sketch. We did flip the two side walls because of our position in the conference hall but otherwise almost everything is as we planned. And I could not have built this space without the help of my beautiful building friends, Katie from Addicted 2 DIY and Amy from Her Tool Belt. These ladies are capable of anything and I would do it all over again with them given the chance.
Now for the specifics on this conference booth.
- long back wall is 5 – 4′ x 8′ panels
- one short side wall – 4′ x 8′
- one long side wall is 2.5 panels
That’s it. Hence there is NO support at the back. But having the side walls keeps the back wall in position and nothing was at risk of falling. I wouldn’t go hanging something super heavy with this setup unless you add back support. But we did install a ledge with lots of quarts of stain and hung a tv and everything was safe and sound.
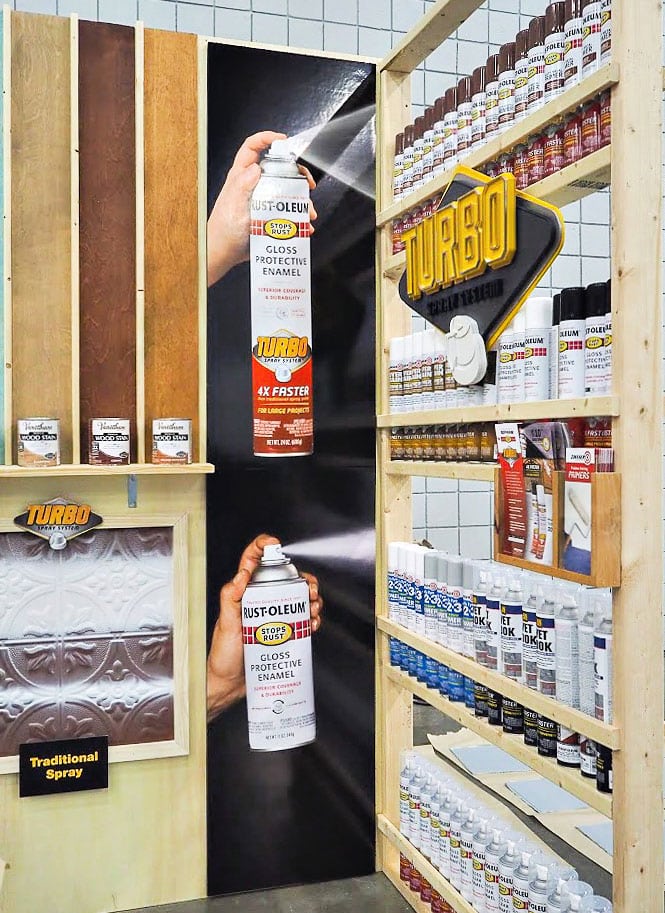
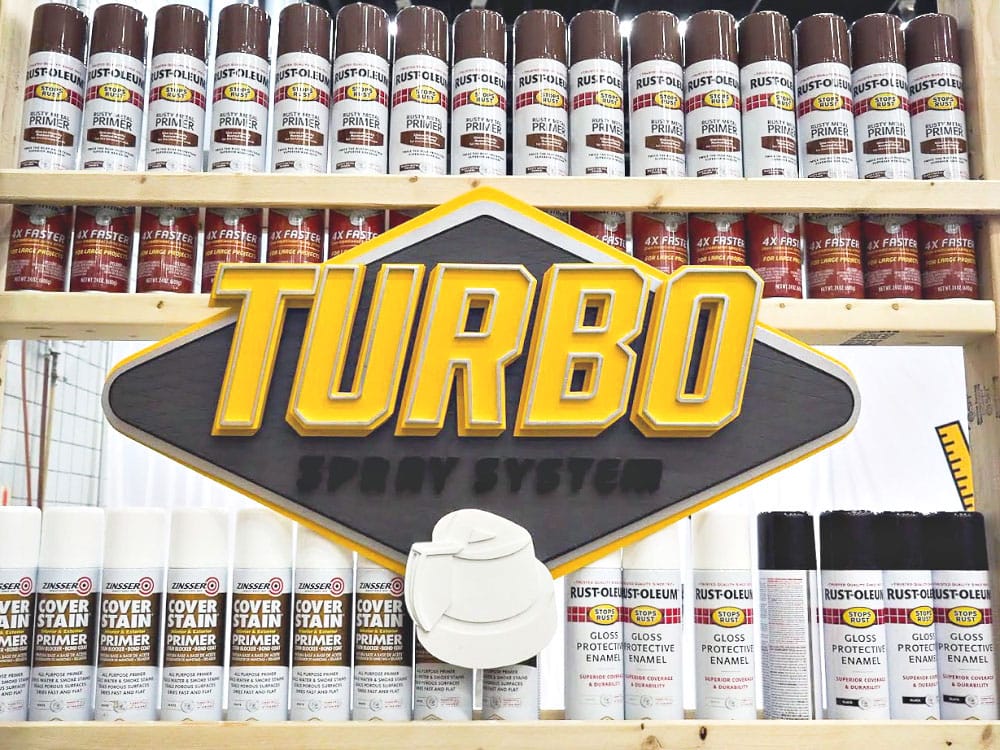
The one short side wall featured Rust-Oleum Turbo spray paint in a two-sided open frame built to fit the cans. Ironically the turbo spray can fits perfectly on a 2×4 shelf and we added trim to keep the cans in position. I highly suggest an open style wall which makes the booth feel less confining but still provides support to the back wall.
If you follow me on Instagram then you know I spent quite a bit of time before the conference making all of the sign logos on my scroll saw.
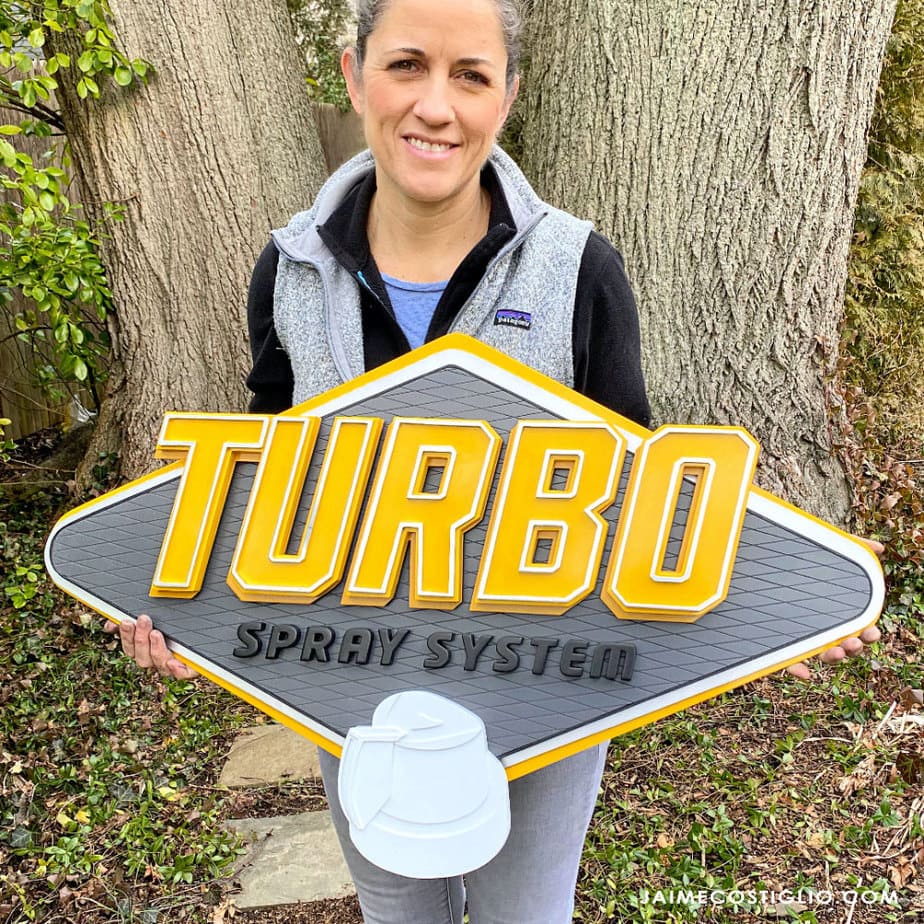
Turbo Spray System Logo
- seven layers
- 1/4″ spacers
- cross hatched backer
- giant nozzle
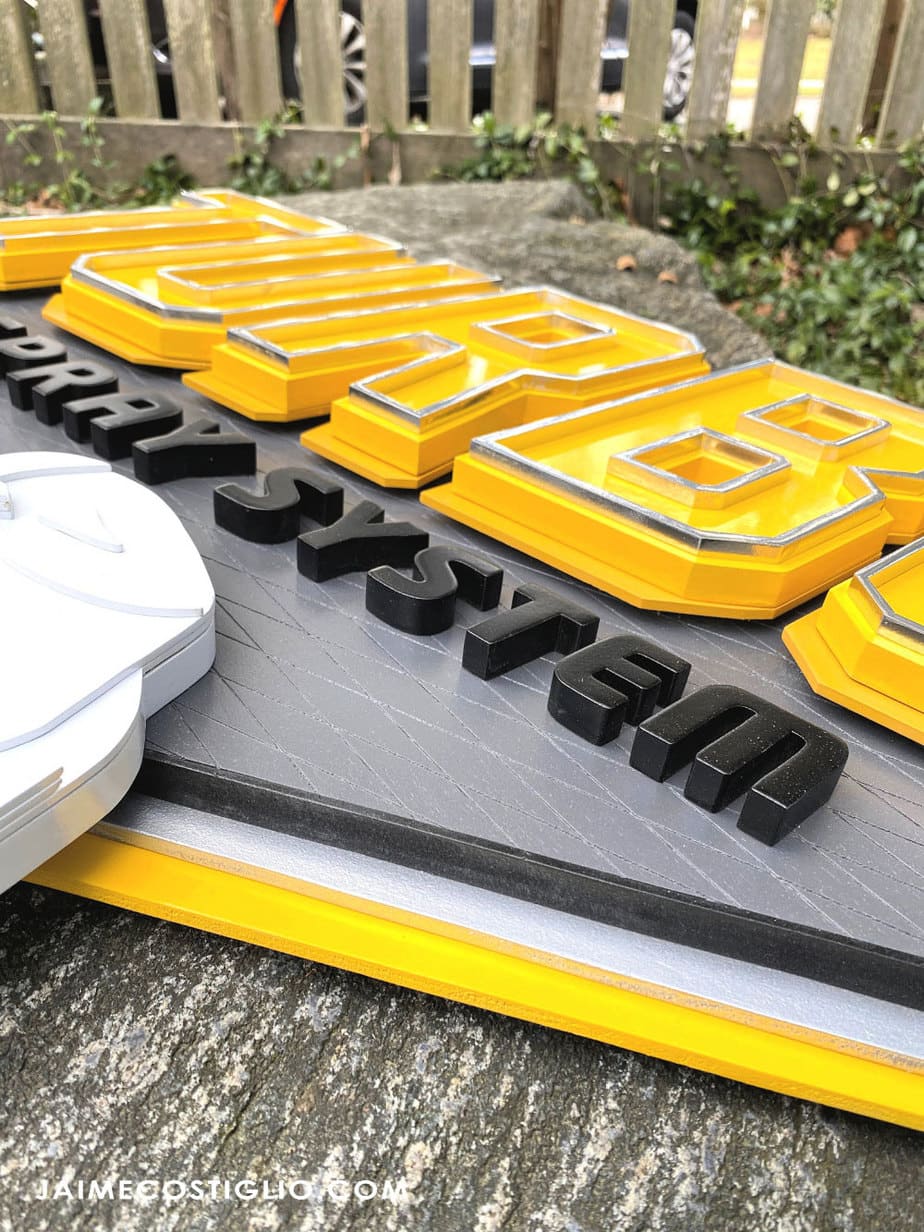
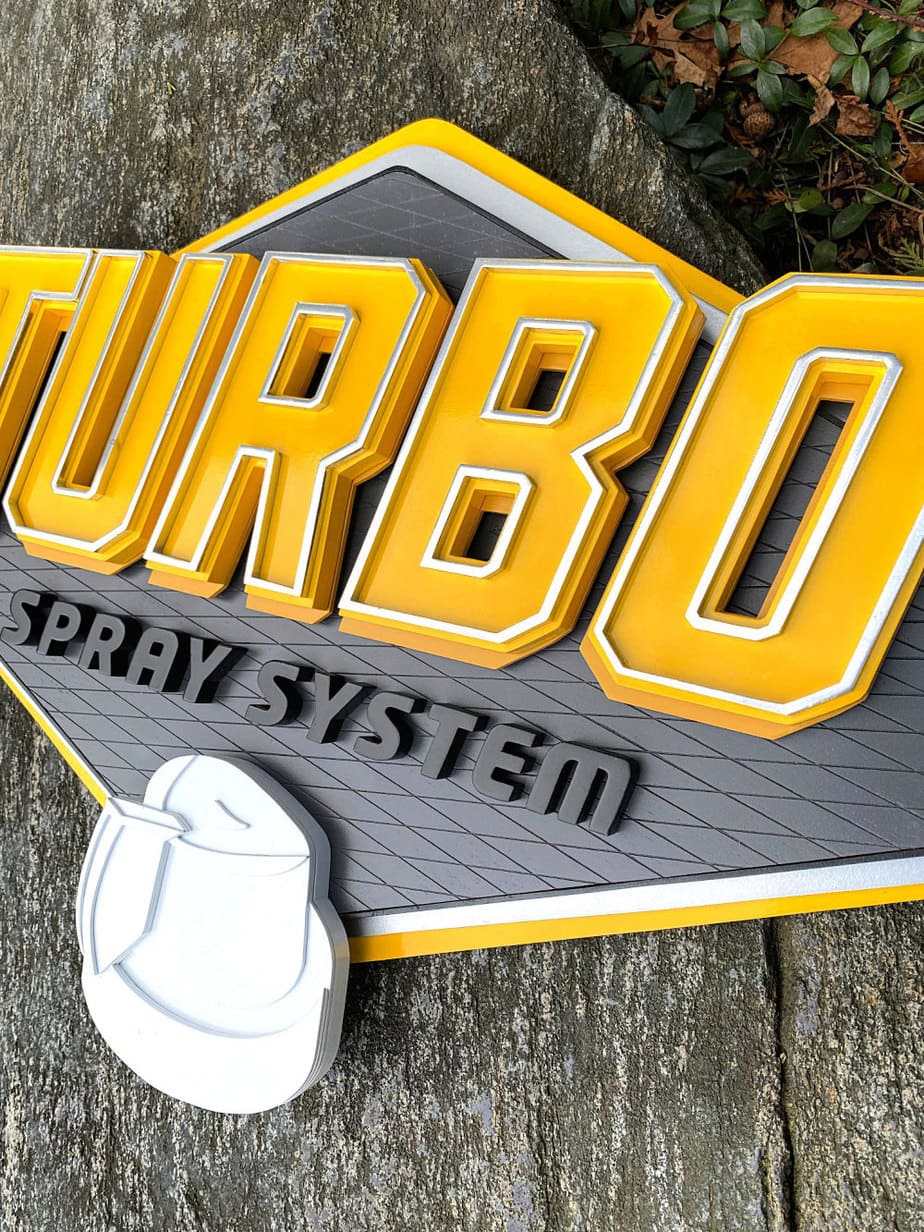
One of the most challenging and fun logos I have made to date. So many layers, finishes and textures make this sign extremely unique.
Unfortunately the trim we added for the turbo spray cans covered up the logo on the cans! But that was a minor oversight.
Having the signage really helped define each area of the booth. I used the exact logos from the products to create the signs so they would match perfectly. Consider your product focus and whether having signage is a distraction or helps create focus and becomes a visual reminder of the product.
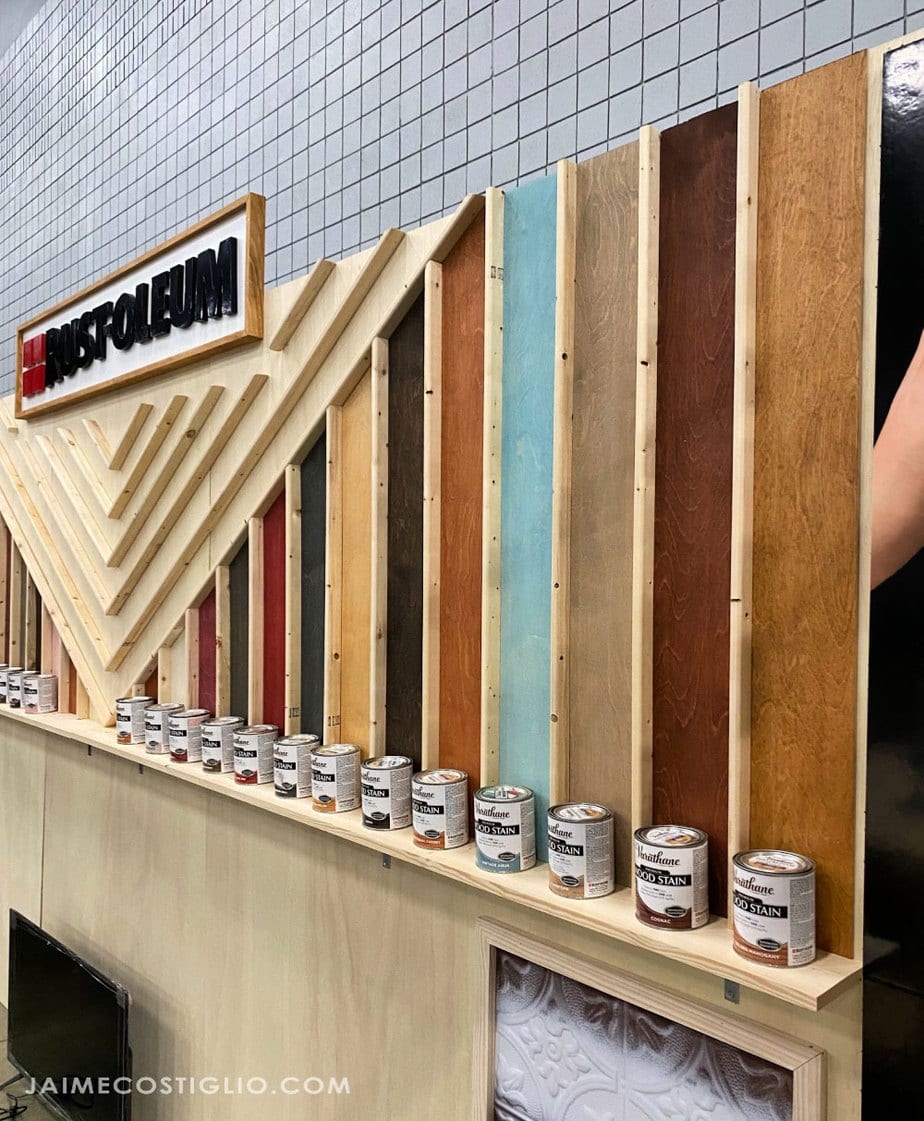
Amy from Her Tool Belt made all those 35 degree miter cuts with a circular saw!!!! Such a beautiful job creating this focal wall with limited tools, she really killed it. For the ledge we used a 1×6 and a few L brackets underneath for support.
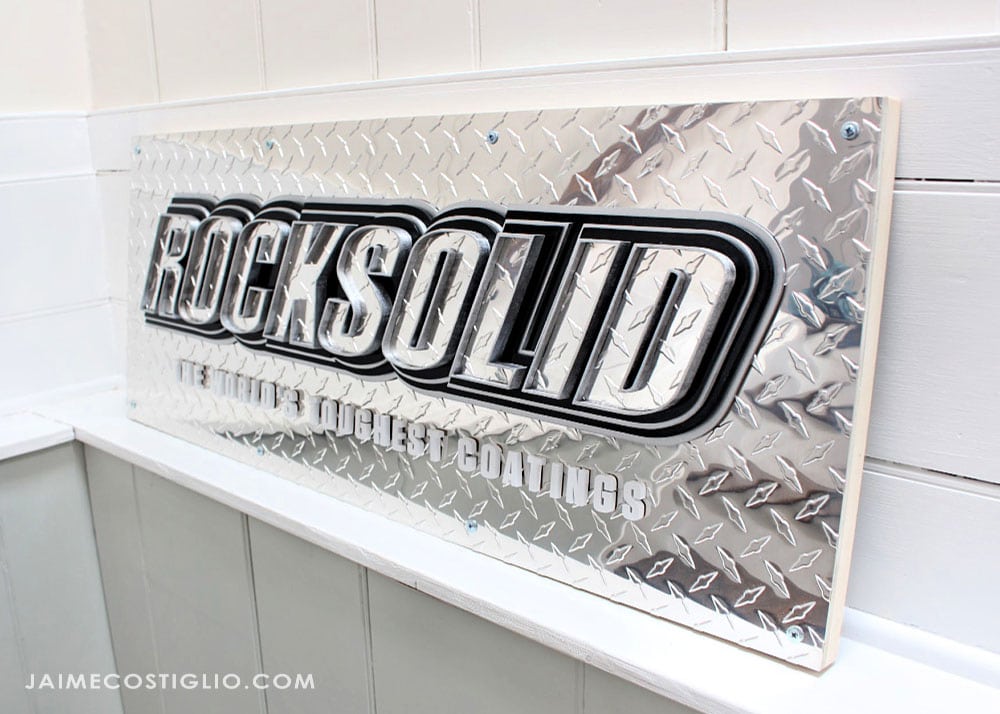
Moving along to the other corner we highlighted the Rocksolid garage floor coating. It’s a favorite among this crowd and pretty well known so we figured placing it in the corner was fine. Also you can see we turned the wall around so the studs were visible, much like you would see in an actual garage.
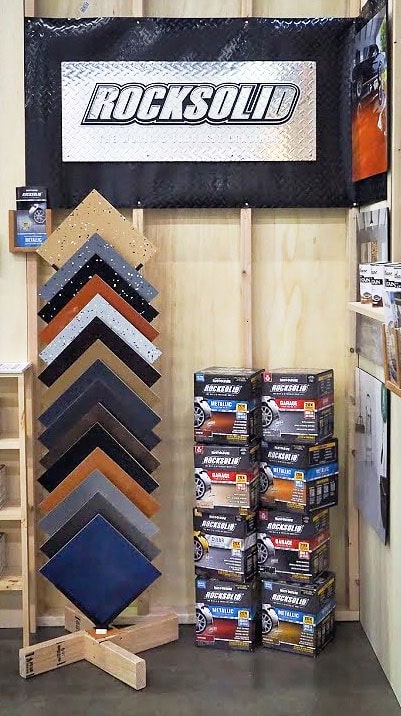
And a first for me scrolling textured metal! This sign is an all-time favorite and I definitely will be scrolling metal again sometime soon.
Home Floor Coating:
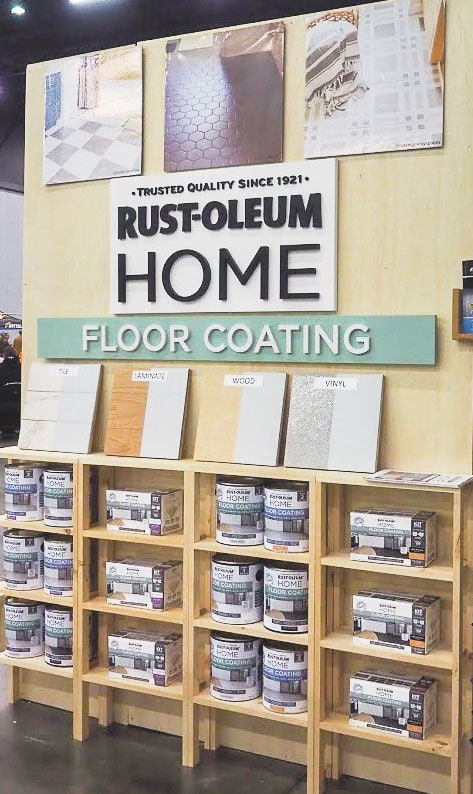
The final product area was the Rust-Oleum Home floor coating. This is a relatively newer product so we wanted to give it a little more attention. We built cutie 1×2 shelves on site made to fit the product exactly. In this instance having the product visible really helps attendees know what to look for in store. Also we used actual project photos to explain what the product is and the possible uses.
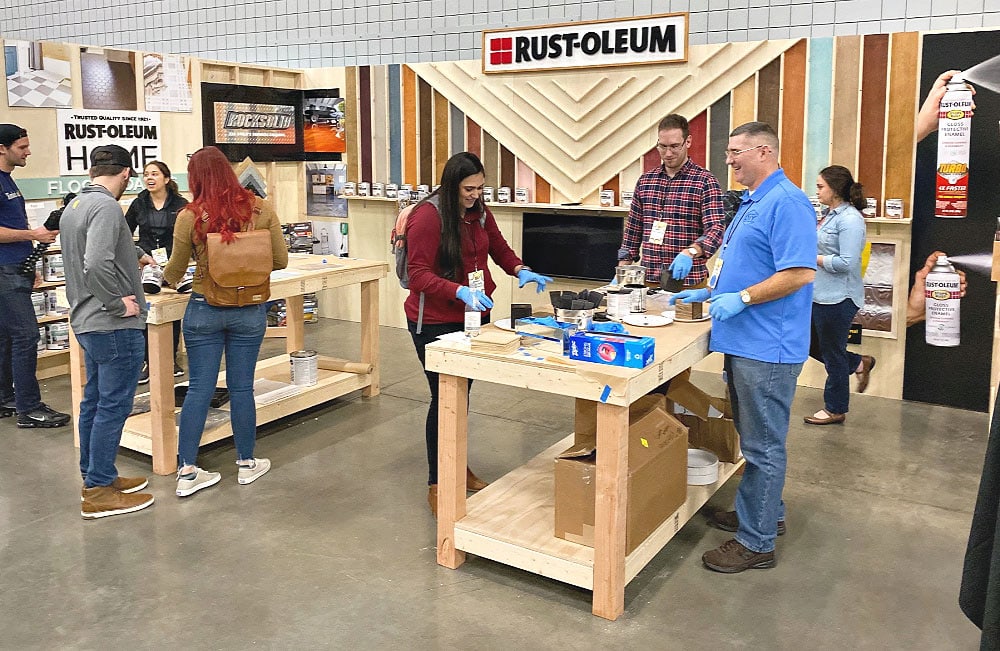
Work Tables:
Last but not least we built two large workbench style tables for demonstrations. They are extremely simple, sturdy and provide counter space for product demonstrations. I will put together plans for these specific workbenches very soon!
Does your conference booth need a worktable? Is a counter a necessity or does it just take up space? Also, consider how it makes the attendees move in space around your booth. So we turned the workbenches the long way as not to block the booth. You want to invite attendees into the space and not block them out with a long counter.
Signage:
I created all the signage for this conference booth at home in New York on my scroll saw prior to the event.
- Rust-Oleum main logo
- Turbo spray system sign
- Rust-Oleum Home + floor coating
- Rocksolid garage floor coating
- Varathane (not pictured)
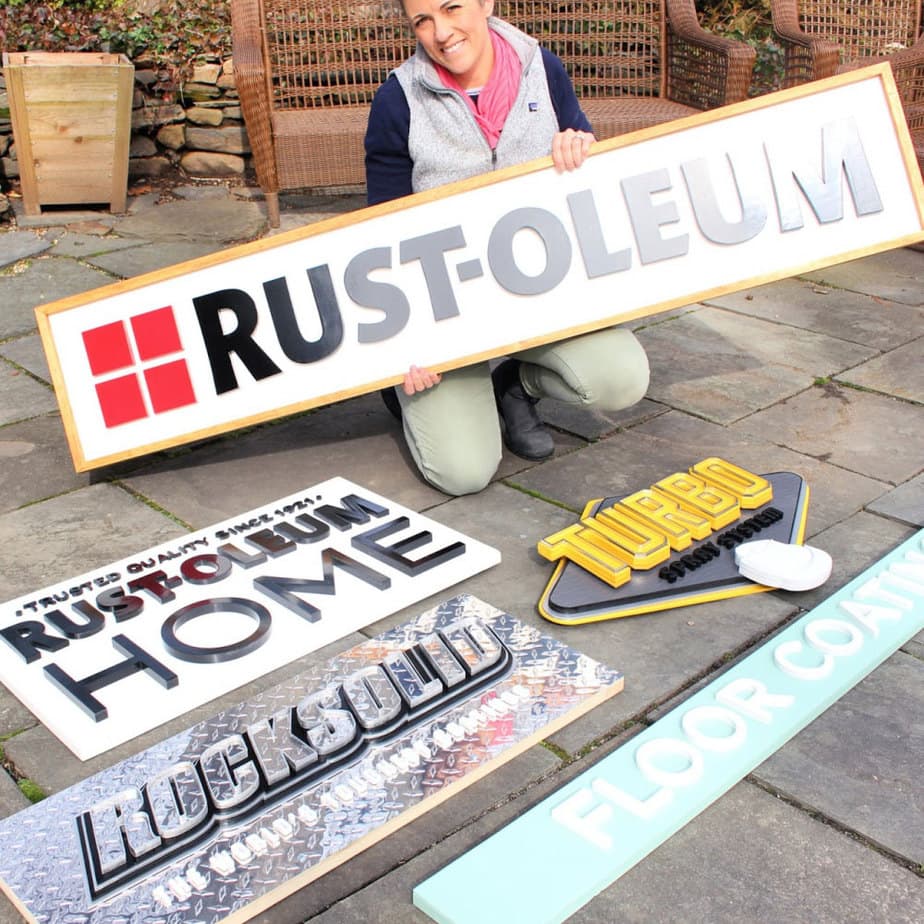
I absolutely love to scroll and making these logos is extremely therapeutic and fun. But because I also had to get them all to Atlanta unharmed I built two shipping crates.
Shipping Crates:
- perfect for shipping freight
- use OSB and rip down 2x4s
- 3″ screws at corners
- handles for mobility
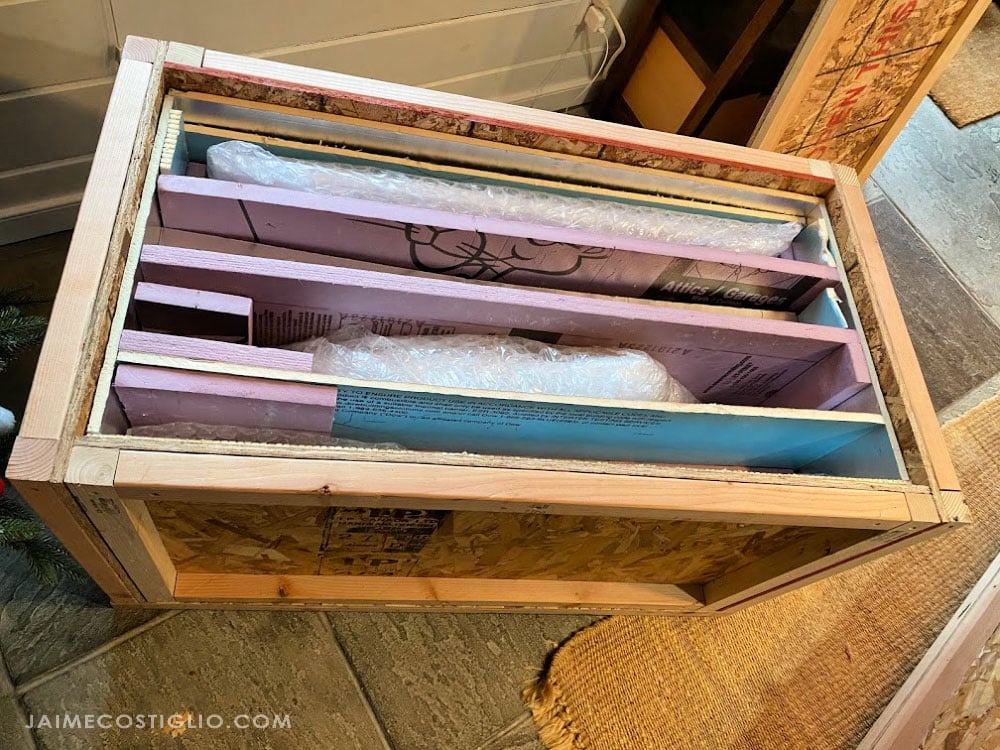
- foam for interior cushioning
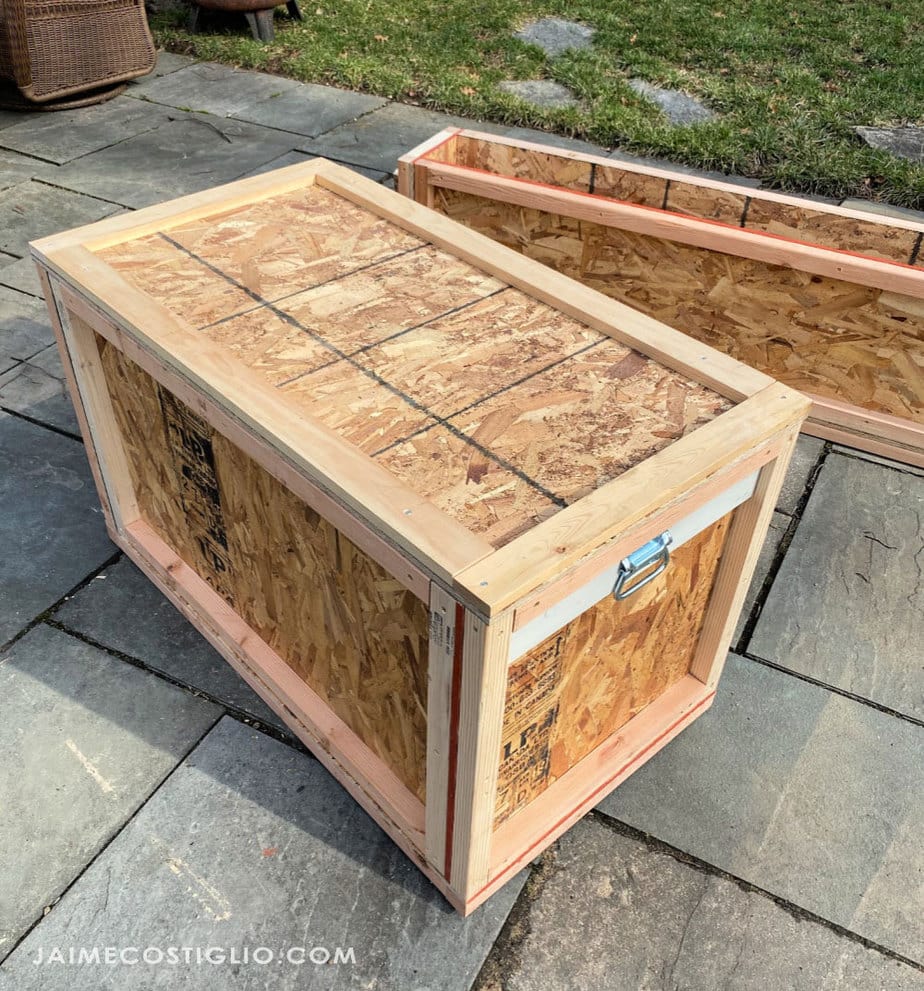
One longer crate for the two long signs and one for the remaining signs. However each crate weighed about 100 pounds so having the handles to move them was a great idea. First I lined the interior with foam sheets and also placed foam in between each sign. Then every sign is wrapped in foam underlayment and then bubble wrap. And each slot was secured snug with more foam pieces on the sides.
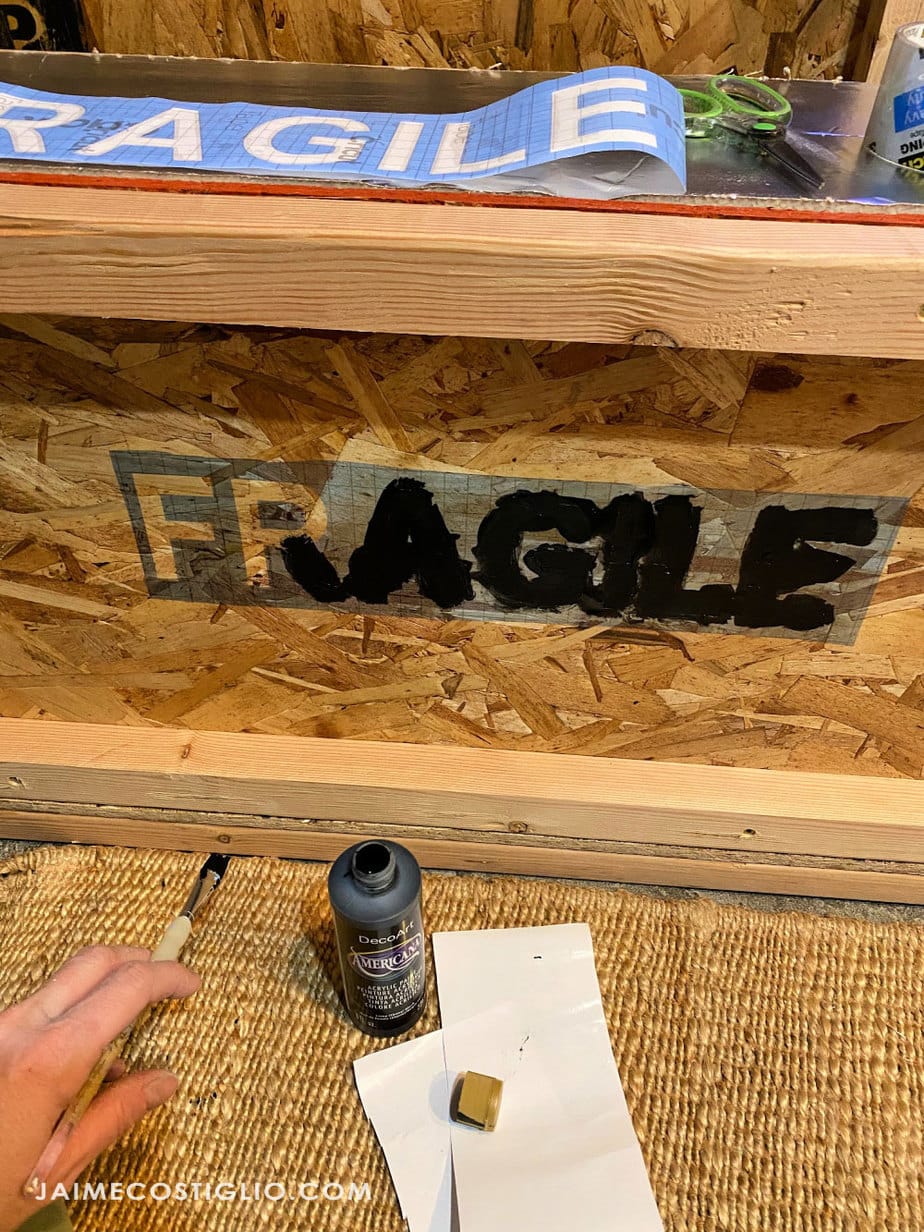
Lastly I made stencils for the Rust-Oleum logo, fragile, open this end, and arrows. You can purchase ready made crates but they cost quite a bit and I knew I could make them myself to fit my signs.
FedEx Freight was amazing and if I ever have to ship freight again you can bet I will be using them. You can schedule a residential pick-up for a specific day. You will need lift gate service and have two copies of the bill of lading ready to go. I highly suggest labeling the crates with the shipping information as well. Then FedEx will attach tracking stickers on the crates but it can’t hurt to have the information printed on the crates.
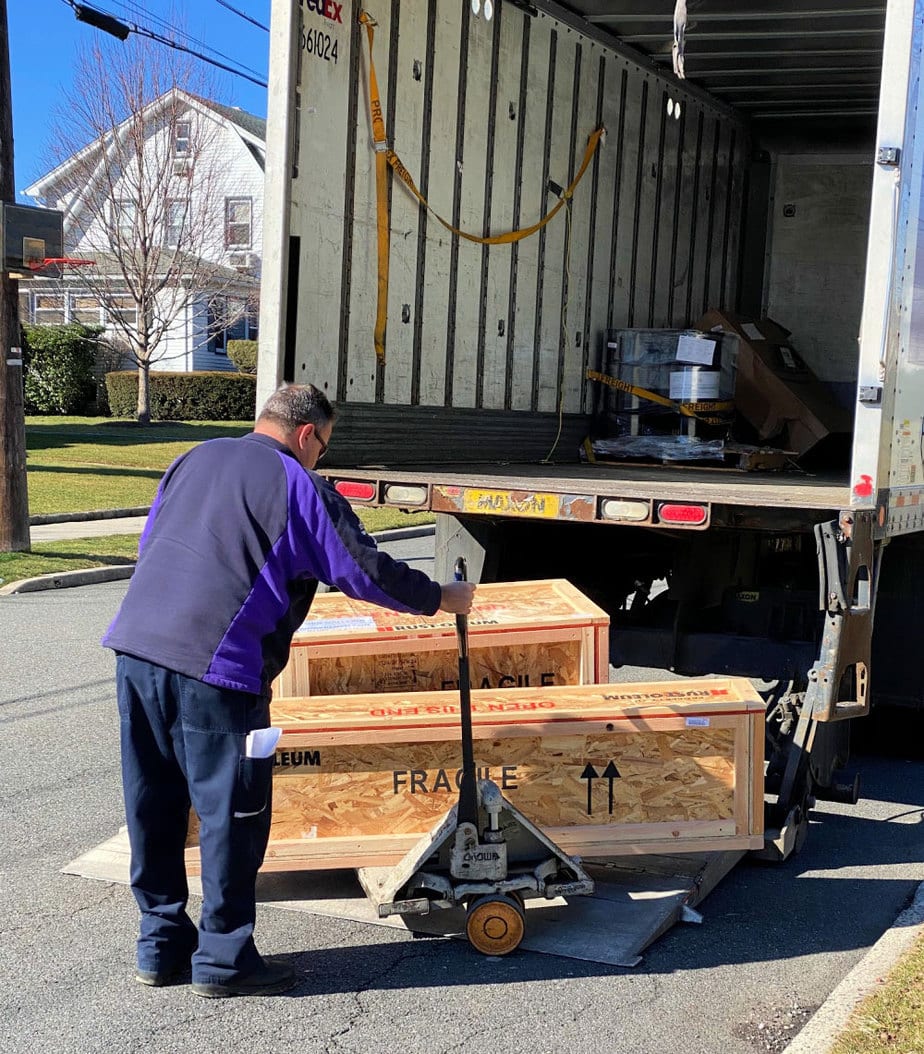
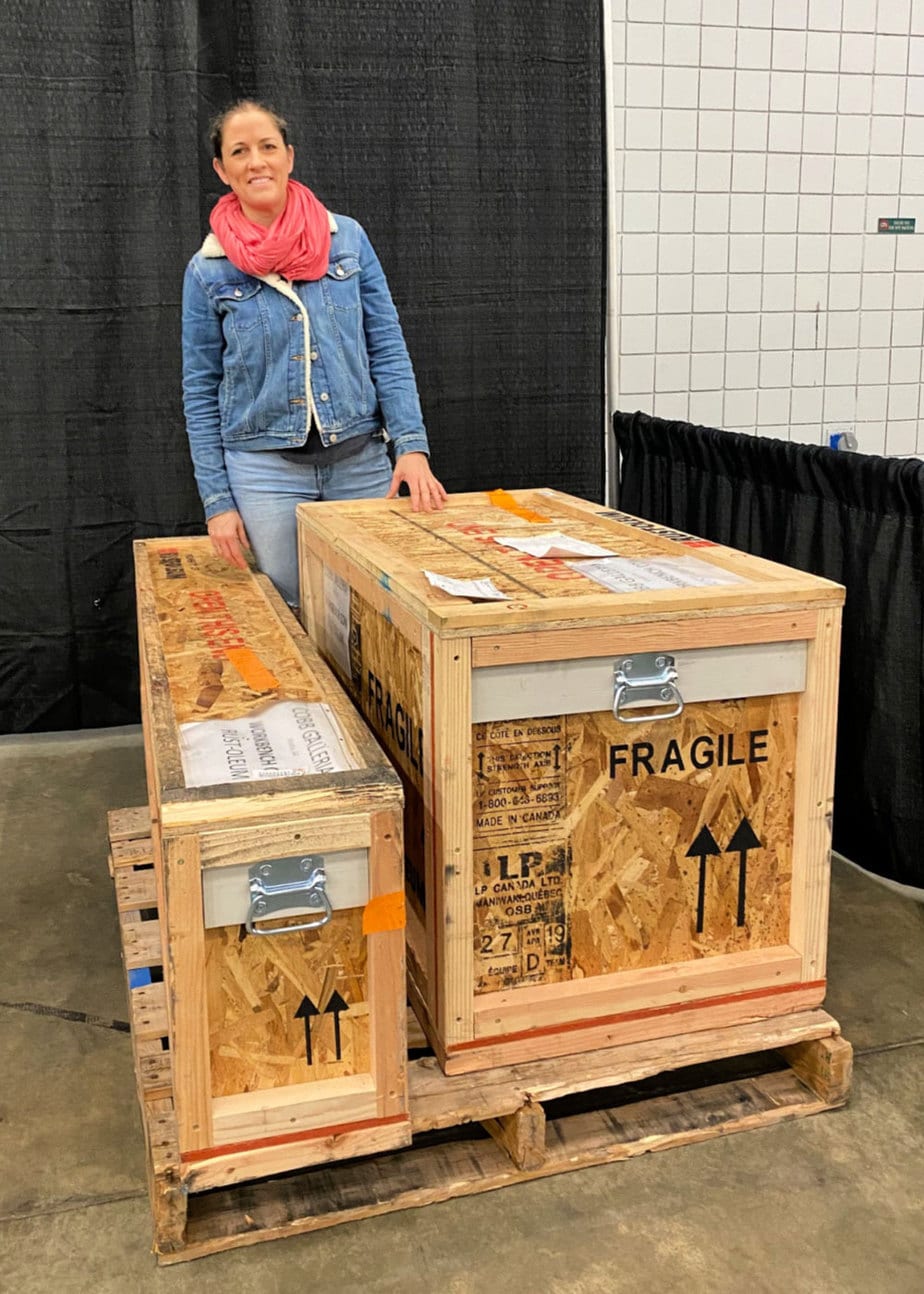
And here are the crates in Atlanta safe and sound! I still can’t believe I built these crates from scratch and all the signs inside and they made it all in one piece. And you know I was worried about this for DAYS!!!
Booth Building On Site:
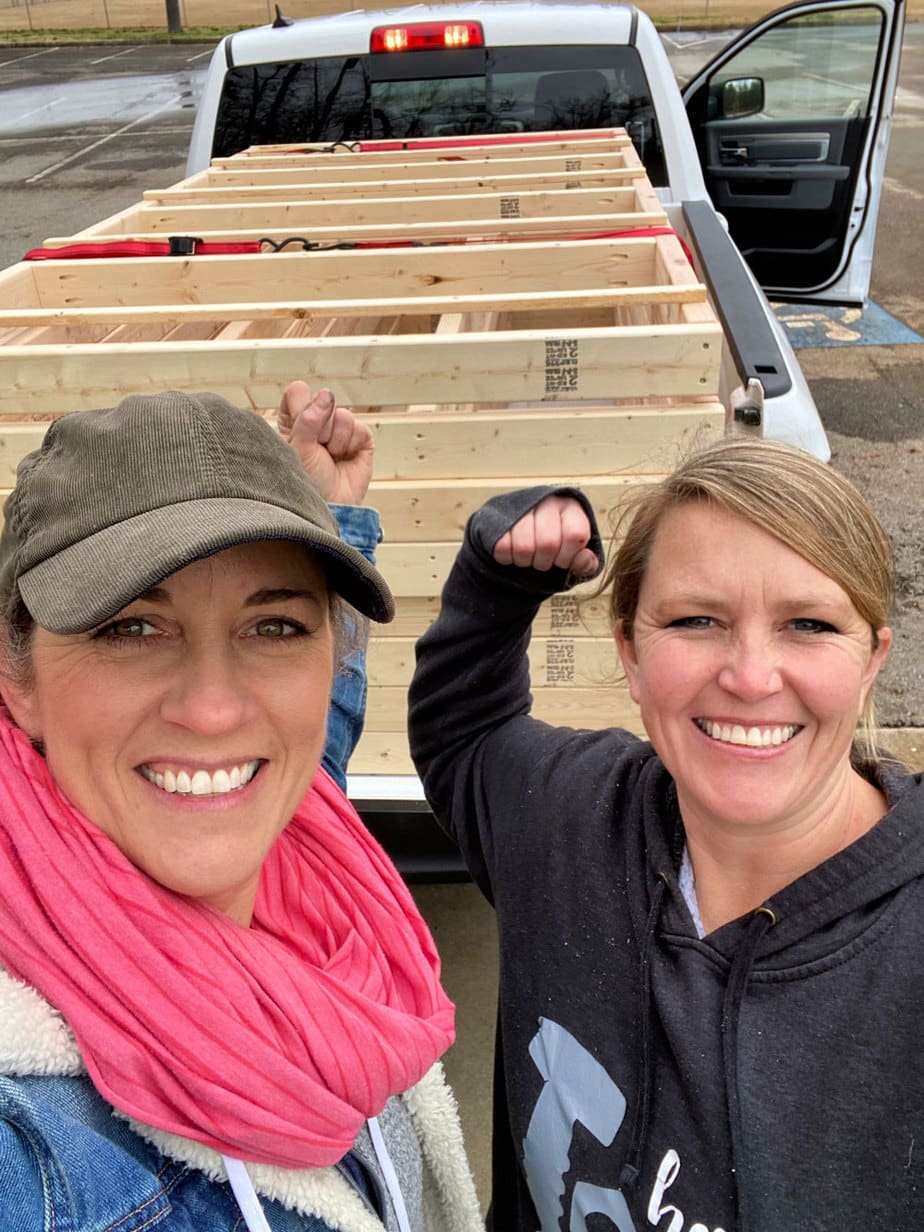
Amy and I flew in to Atlanta two days ahead of the conference and stayed off site. We rented a truck, found a sports complex and built everything we could prior to arriving at the conference. Luckily the eight wall panels fit perfectly in the pick up! We dealt with terrible weather conditions and we even had visitors from the county jail! Most noteworthy the sheriff’s work detail just happened to show up while we were building away, they were extremely intrigued by us ladies but we just carried on.
Tools We Packed:
You can travel with almost any tool (check the FAA website for specifics) that will fit in your luggage with the exception of BATTERIES!! You must carry on the batteries. So we each brought the following:
- circular saw (Makita makes a great 6 1/2″ circular saw, we used it for every cut on this conference booth.)
- impact driver
- pneumatic nail gun
- batteries & chargers
- pocket hole jig
- bits
- square
- measuring tape
- safety glasses & ear protection
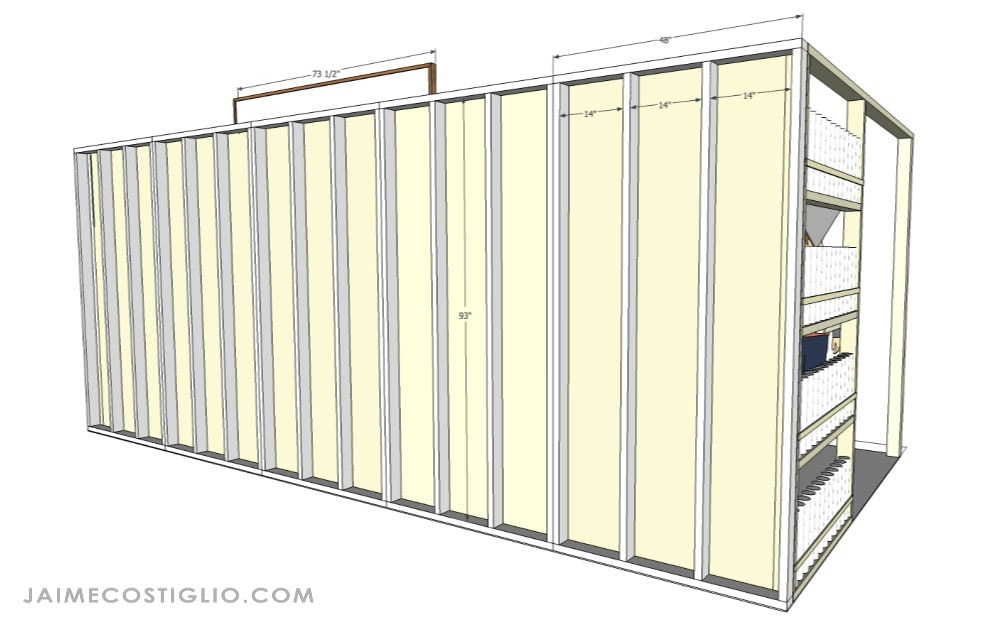
The walls were basic 2×4 stud construction made to fit the 4′ x 8′ – 1/4″ plywood sheets. Therefore five panels across make up the 20′ span. And we purchased all of the hardware and lumber in Atlanta (only 3 trips to Home Depot total!). Thankfully we did find a home for everything after the conference was over. I hate to see good lumber and sturdy workbenches go to waste.
Lastly a huge thank you to my friends at Rust-Oleum for letting us build this booth and entrusting us to create a space that represents their brand. Above all I’m honored and so very proud.
Thanks for joining me for this conference booth project. Please leave any questions in the comments below and be sure to follow me on social media for sneak peeks, tools and project inspiration:
Instagram / Pinterest / Facebook / Youtube / Twitter
SHOP THIS PROJECT:

Wow, that is amazing!
Thank you Vicki, so much work all compiled into one 10 x 20 space for just a few fleeting hours. But it’s the most fun!
Please tell me a Rust-Oleum is going to use this booth over and over again?! It is spectacular! One of the best I e ever seen at any conference!
Thanks Shelly. Sadly only the signs will be used again. The workbenches went to a local maker space and another local woodworker took all the lumber and sheets. At least everything will be used again just in a different format :). It was fleeting but such a great experience.
what a lot of work and wonderful result, congratulations