• Home
  • Blog
  • About
  • Contact
    • Disclosure
    • Privacy Policy
  • SHOP
  • Widget area for main menu

    • Email
    • Facebook
    • Instagram
    • Pinterest
    • Twitter
    • YouTube
  • Skip to primary navigation
  • Skip to main content
  • Skip to primary sidebar

Jaime Costiglio

build - paint - sew

  • BUILD
    • BEDS
    • BENCHES
    • DESKS
    • DRESSERS
    • GAMES & TOYS
    • SCRAP WOOD
    • SHELVES
    • STORAGE
    • TABLES
  • TOOLS
  • PAINT
    • CRAFTS
    • FURNITURE
    • HOME DECOR
  • SEW
    • GIFTS
    • HOME DECOR
    • POUCHES
  • HANDBUILT HOLIDAY
    • 2021
    • 2019
    • 2018
    • 2017
    • 2016
    • 2015
    • 2014
    • 2013
  • GIFTS
    • BABIES
    • KIDS
    • FOR HER
    • FOR HIM
    • TEACHERS
    • WEDDINGS
  • SEASONAL
    • 4TH OF JULY
    • FALL
    • HALLOWEEN
    • CHRISTMAS
    • SUMMER
    • SPRING
    • ST. PATRICK’S DAY
    • THANKSGIVING
    • VALENTINE’S DAY
    • WINTER
  • SALTBOX PROJECT
    • BATHROOMS
    • DINING ROOM
    • EXTERIOR
    • FAMILY ROOM
    • FOYER / MUDROOM
    • KIDS BEDROOMS
    • KITCHEN
    • LIVING ROOM
    • MASTER BEDROOM
    • PLAYROOM
  • SCROLL SAW

DIY Hardware Cloth Containers

March 4, 2013

Craft: hardware cloth containers

I finally found a solution for all those leftover small scrap pieces of hardware cloth.

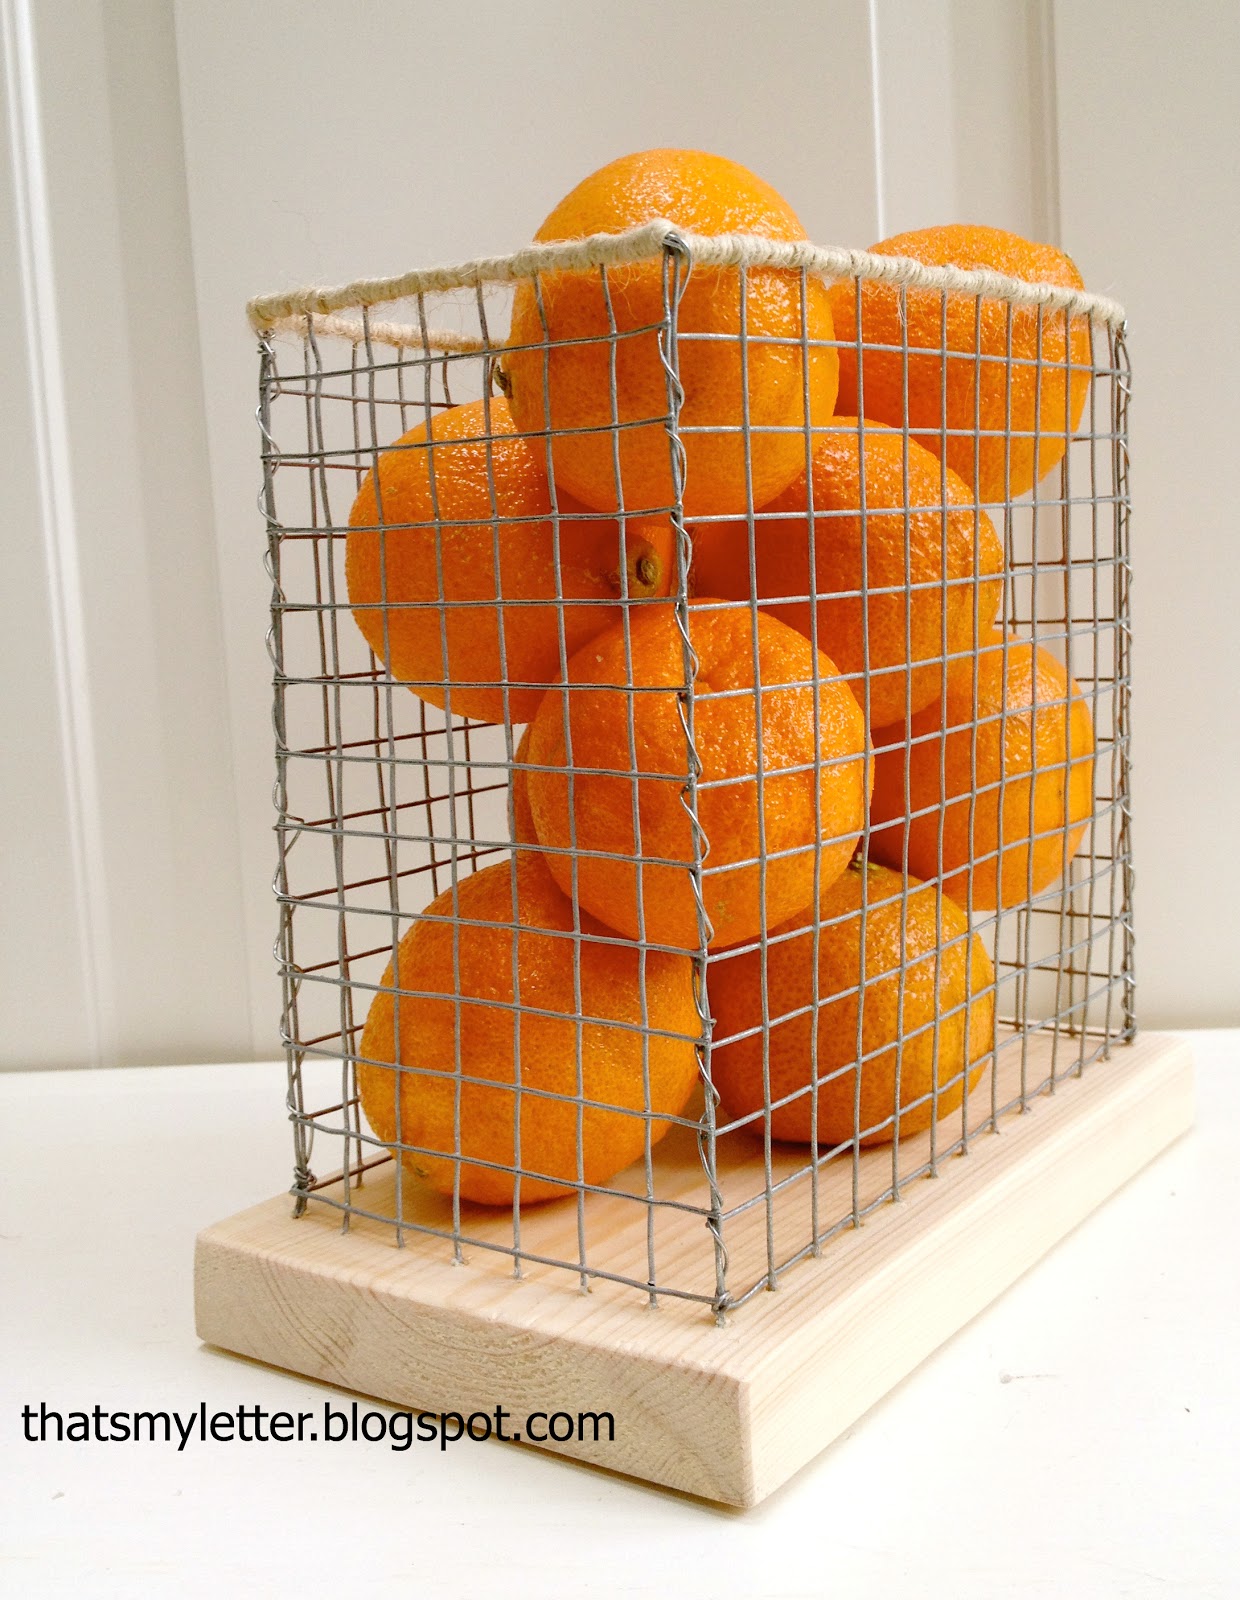
And even better I was able to mix hardware cloth, wire, wood and jute string all in one project!

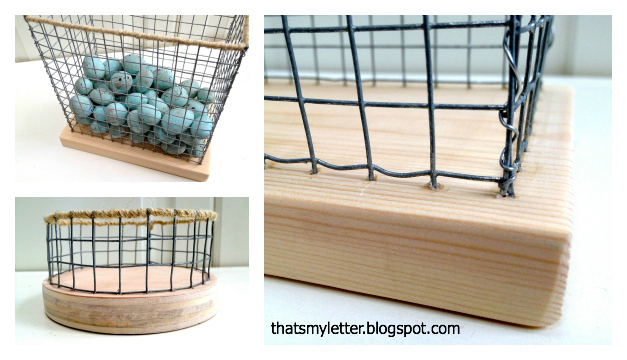
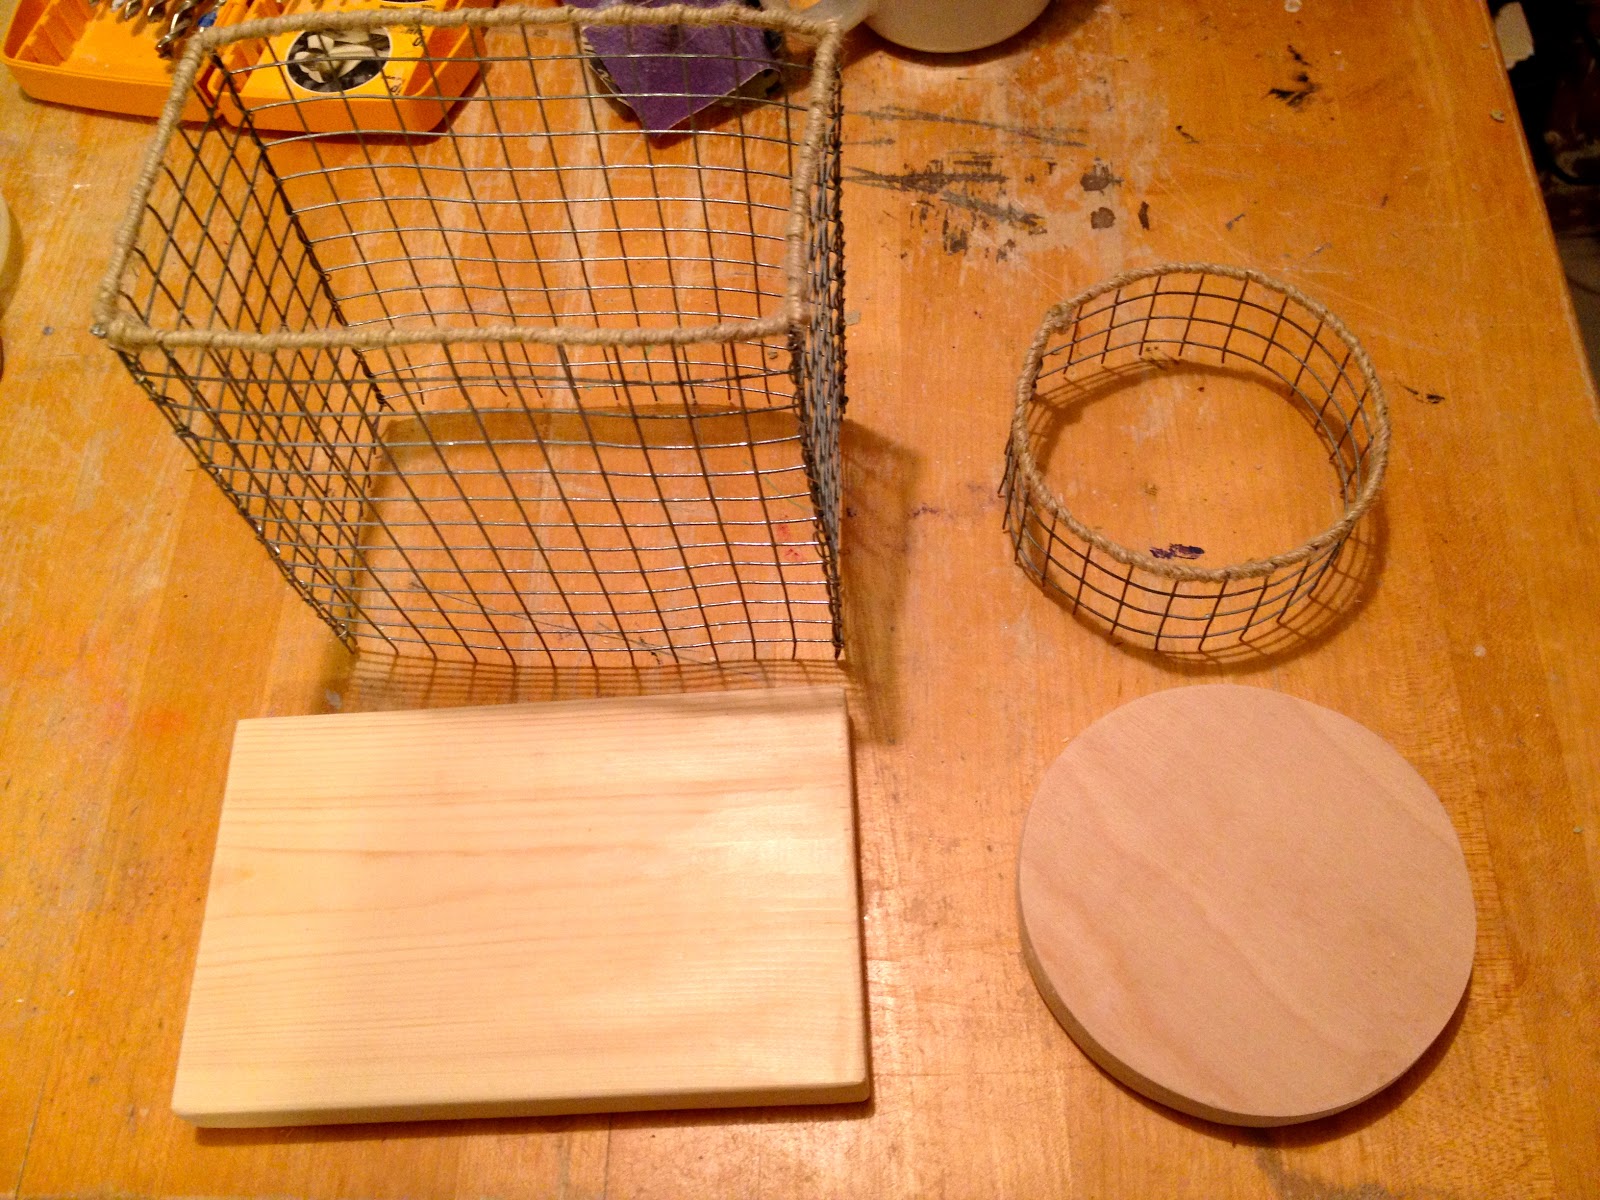
The wood base keep the shape form solid and provides weight and stability.
Here’s how to make hardware cloth containers:
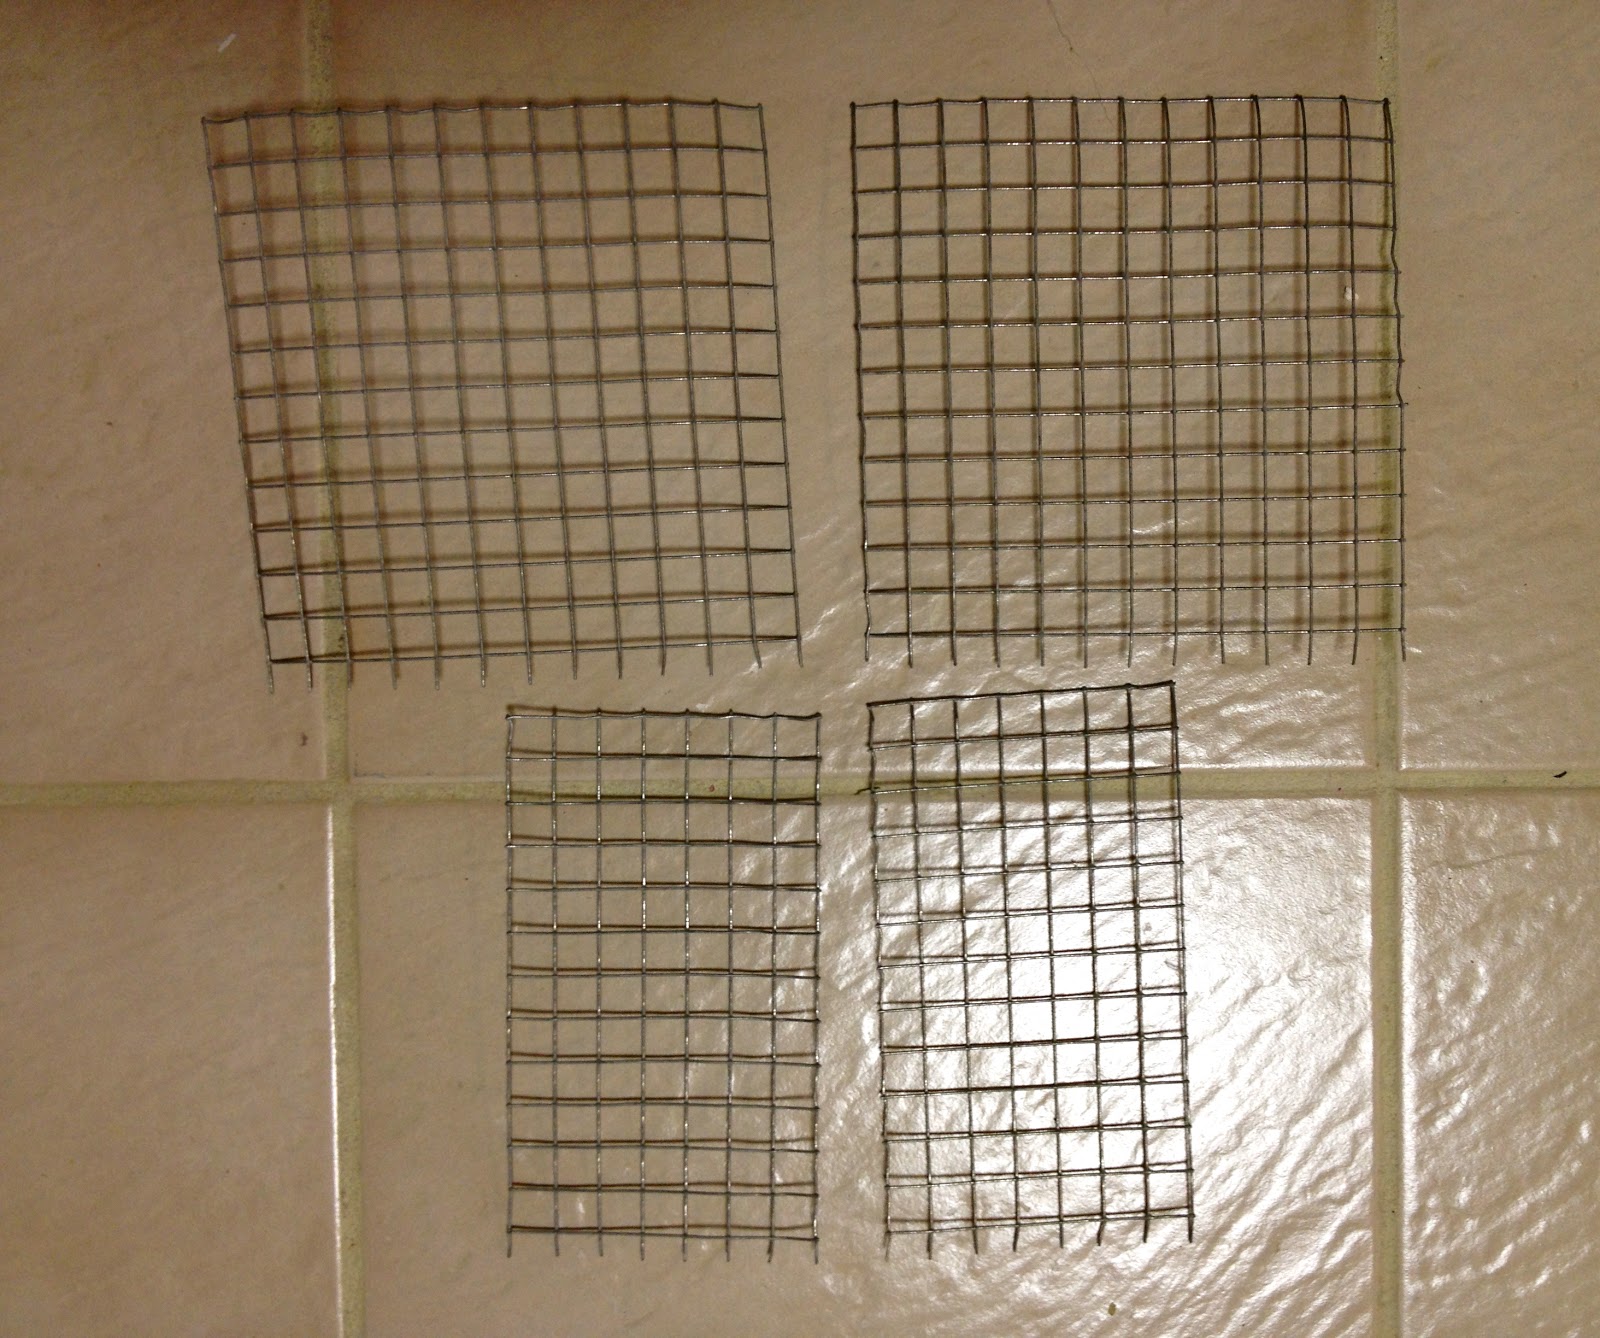
1. Gather scrap pieces of 1/2″ hardware cloth:
2. Cut 4 pieces of equal height (2 pairs must be equal width as well).
**LEAVE THE PRONGS ON ONE SIDE**
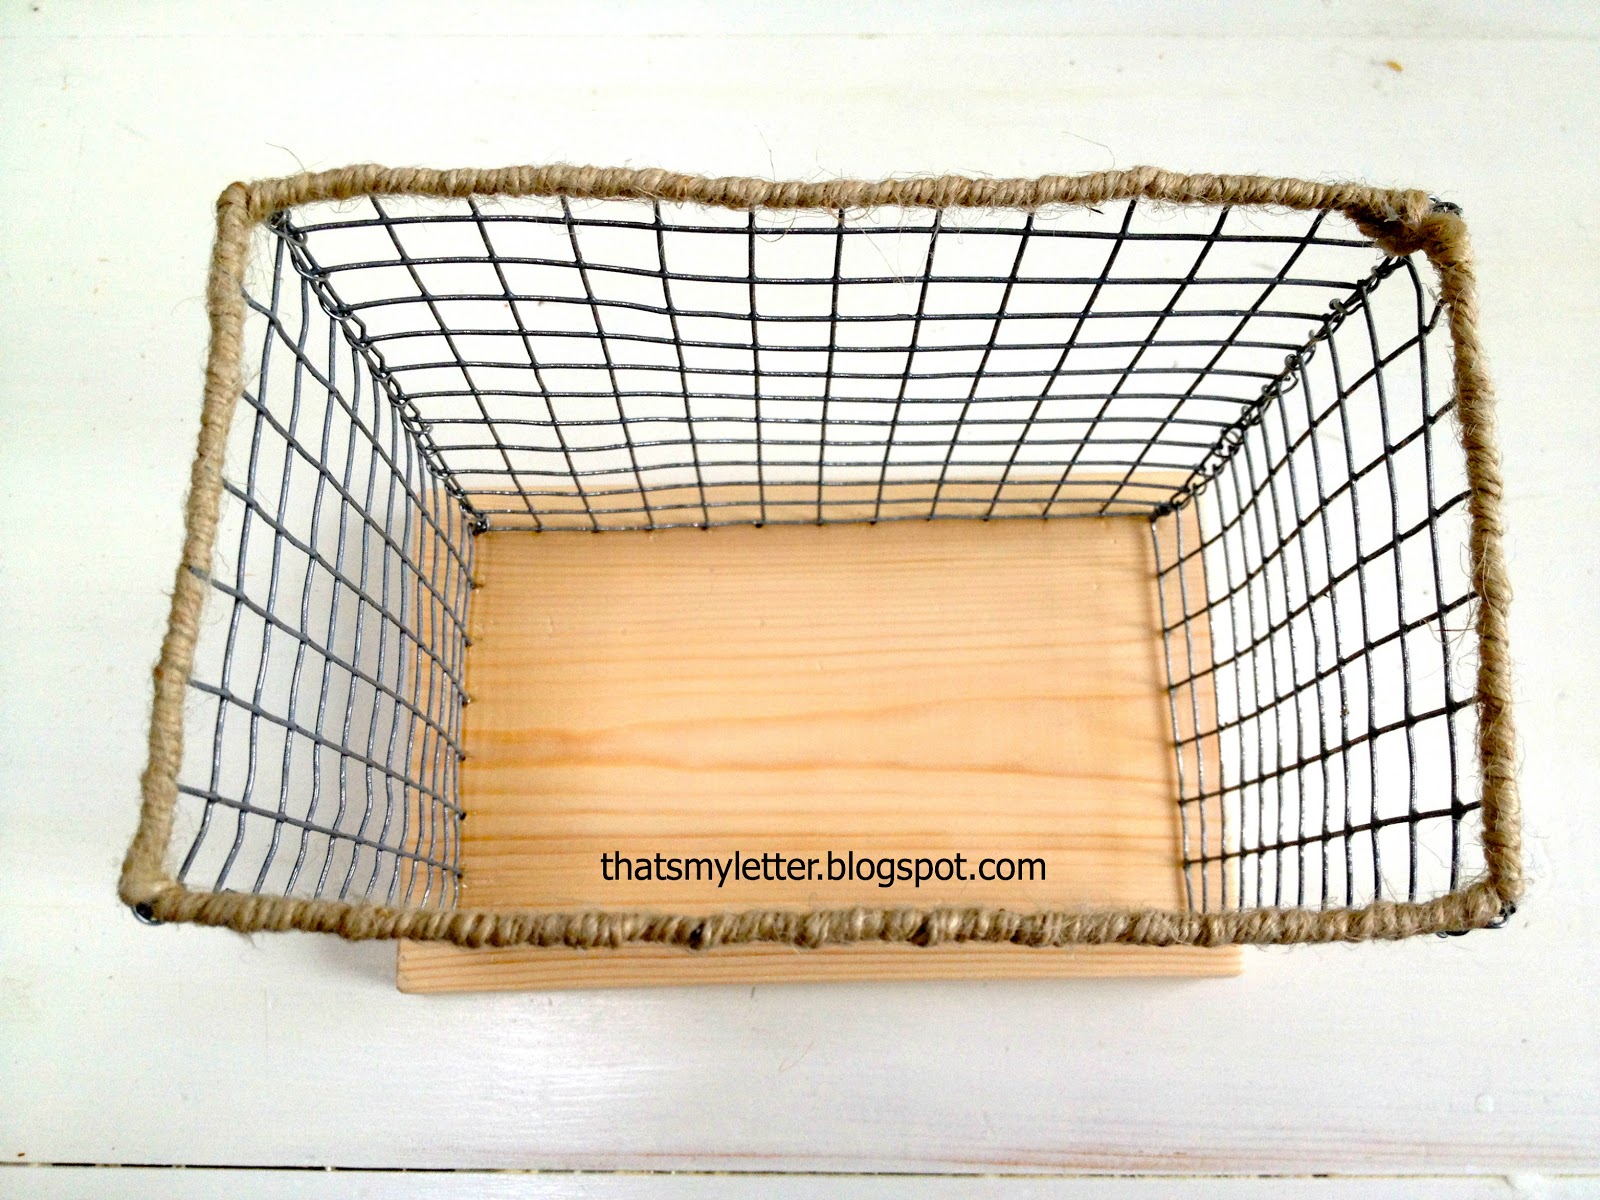
3. To make rectangle shape simply ‘sew’ edges together with wire:

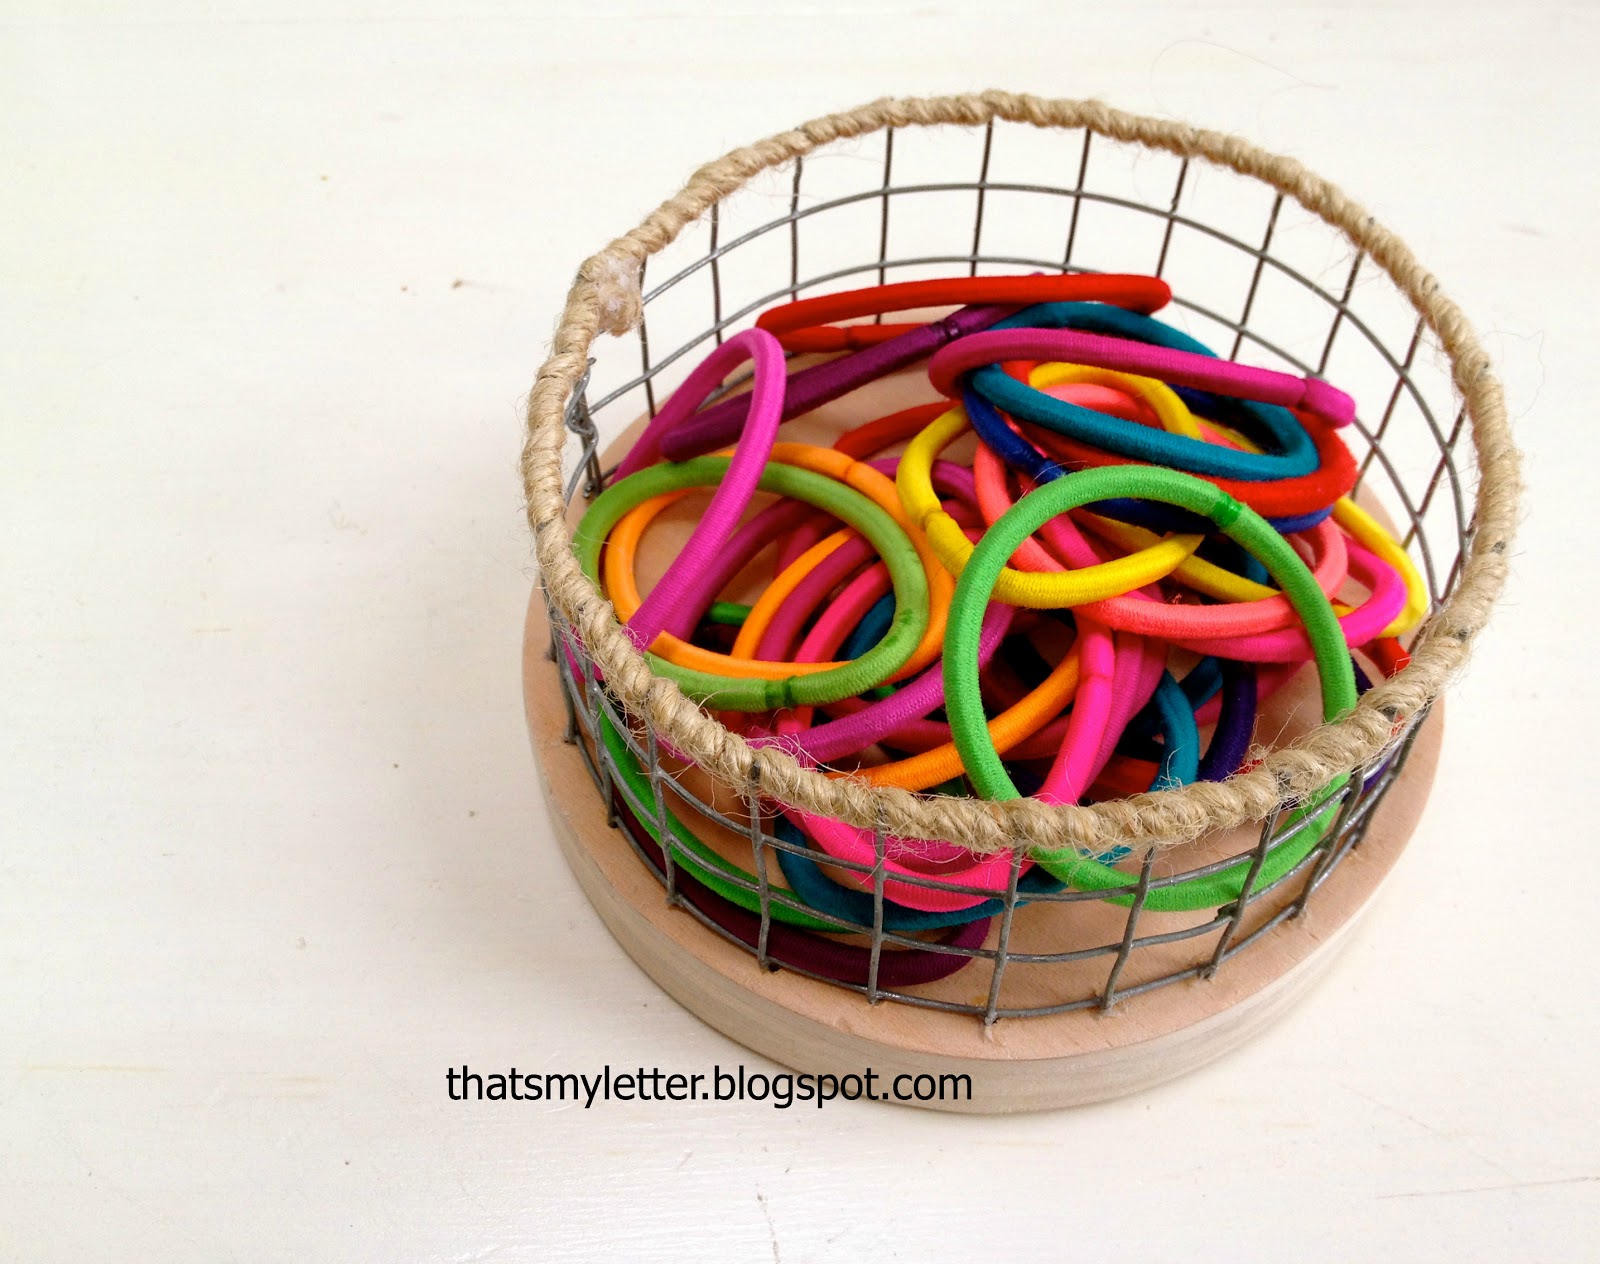
4. Then wrap top edge with jute string to cover rough wire:

5. Find 1/2″ or 3/4″ wood scrap and draw shape desired, I added 1/4″ to the outside edge of each wire shape:

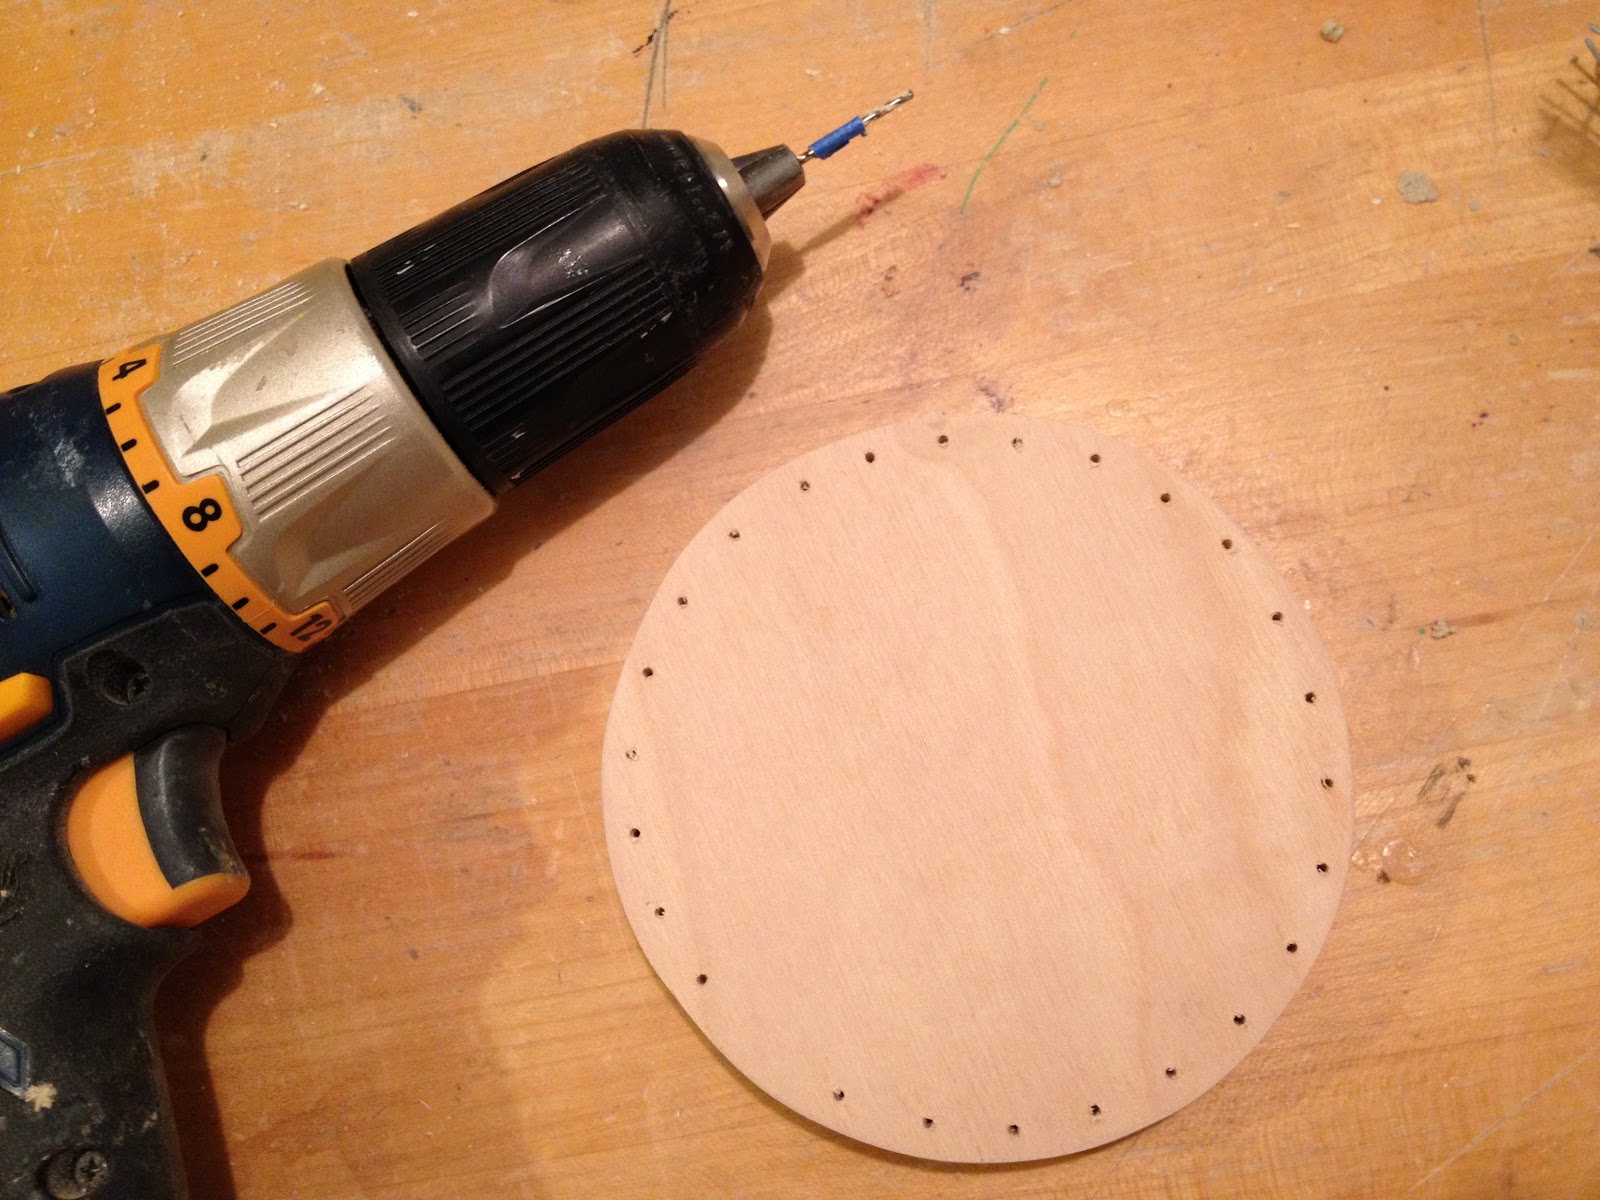
6. Cut out wood bases and sand smooth:

7. Mark wood bases for holes by placing hardware cloth shape on top of base and gently tapping with hammer.  This gives a slight indentation of where holes need to be and from there you can estimate every 1/2″.
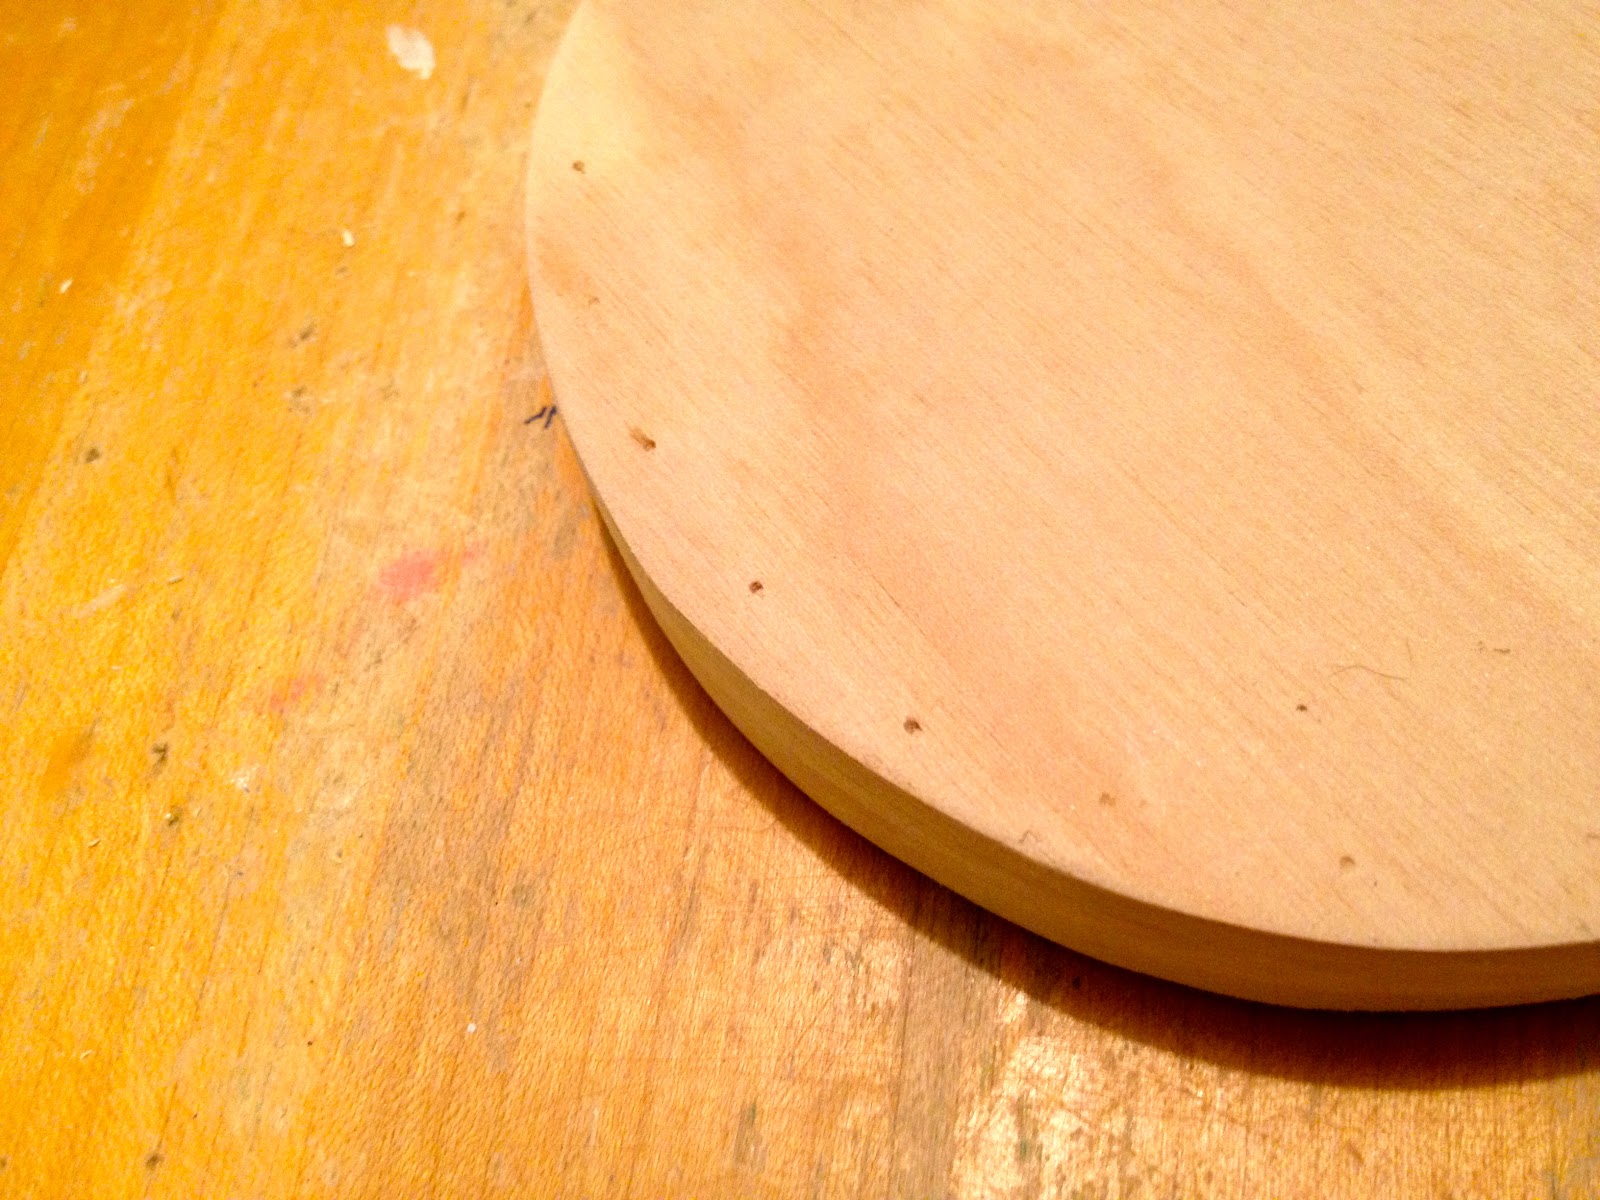
8. Mark 1/8″ drill bit at 1/2″ deep with painters tape:
9. Drill holes for prongs:

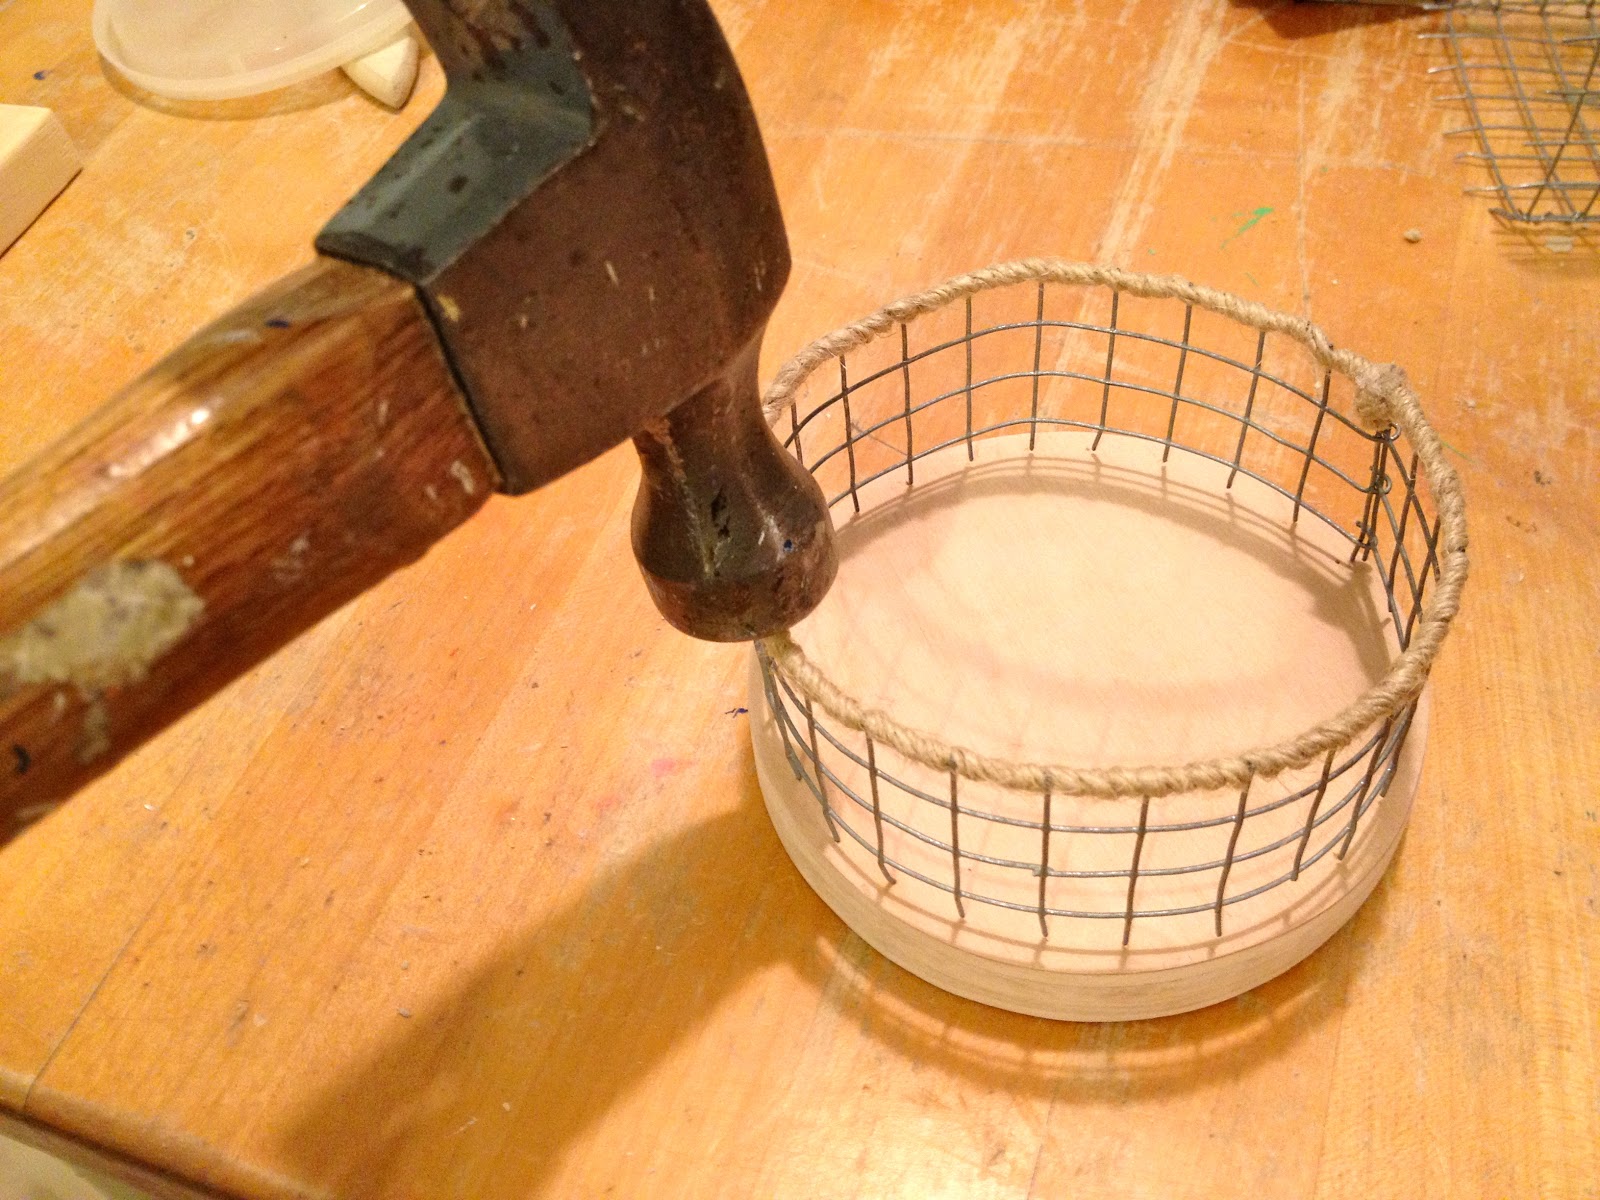
10. Place container on top of holes and gently guide prongs down into holes with wire cutters:

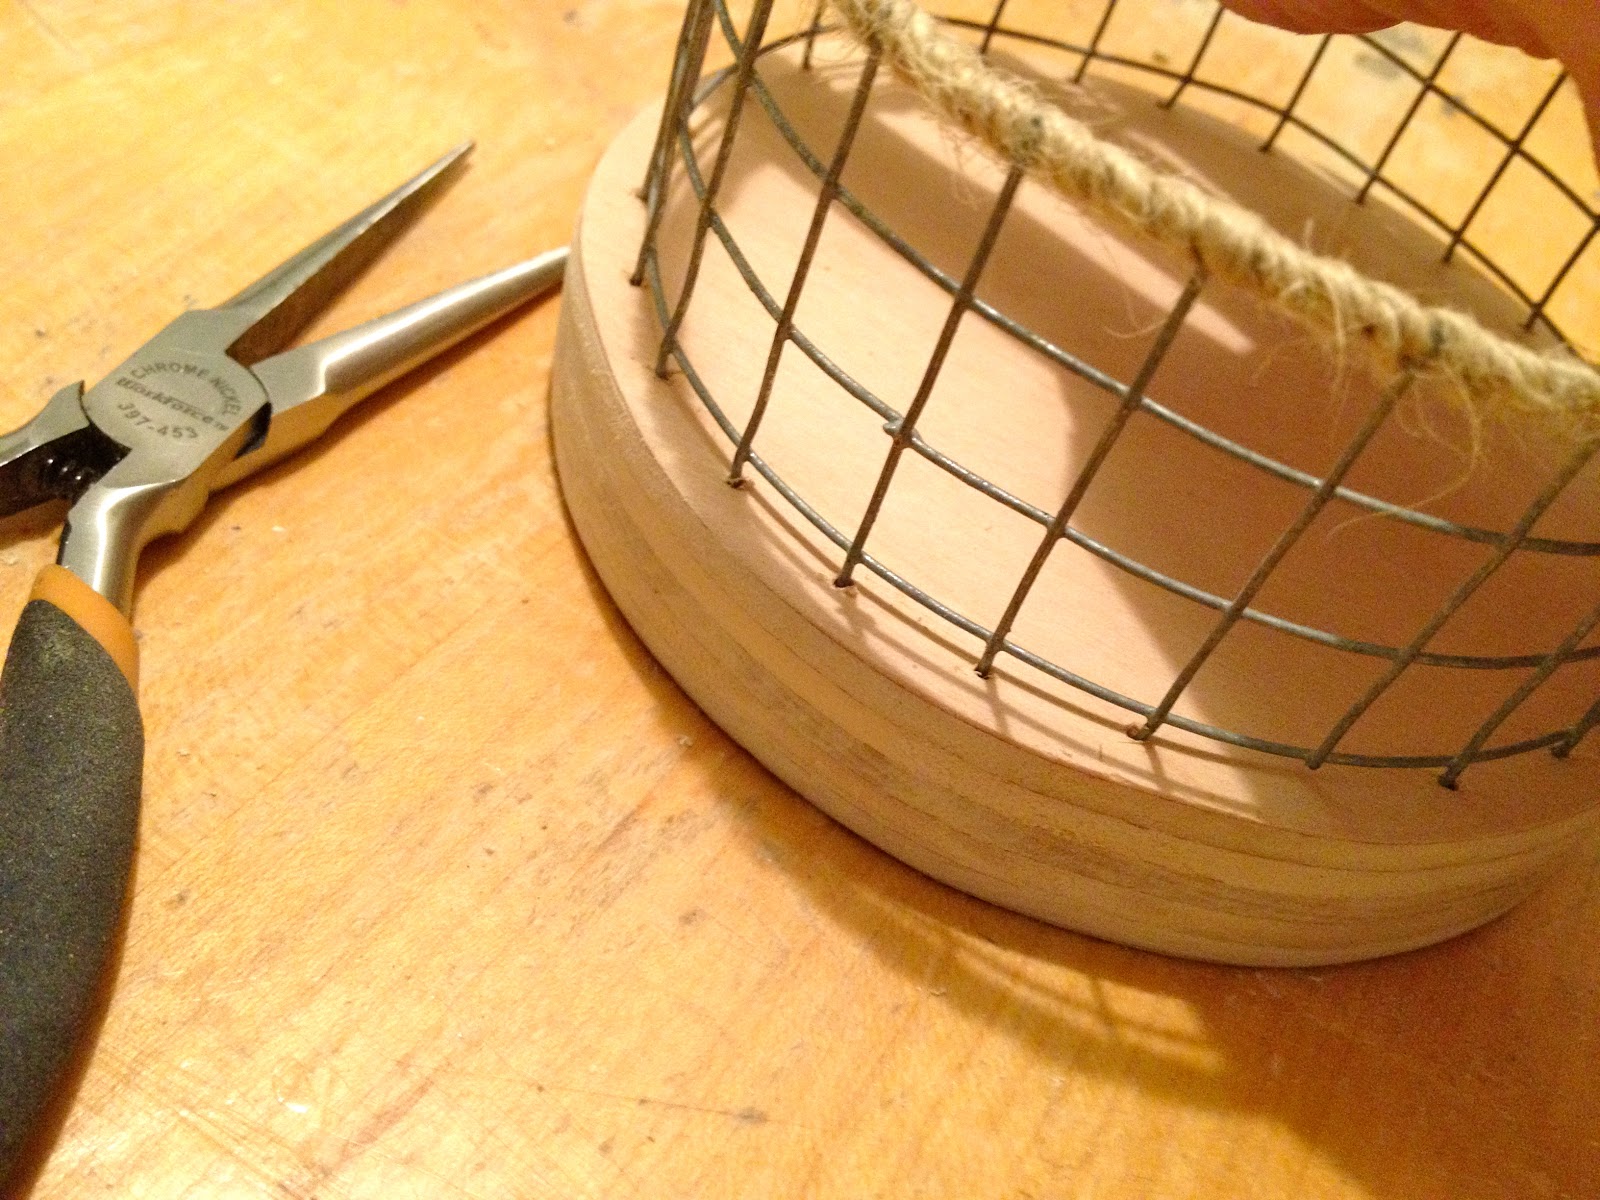
11. Once all prongs are in place give gently hammer to secure.
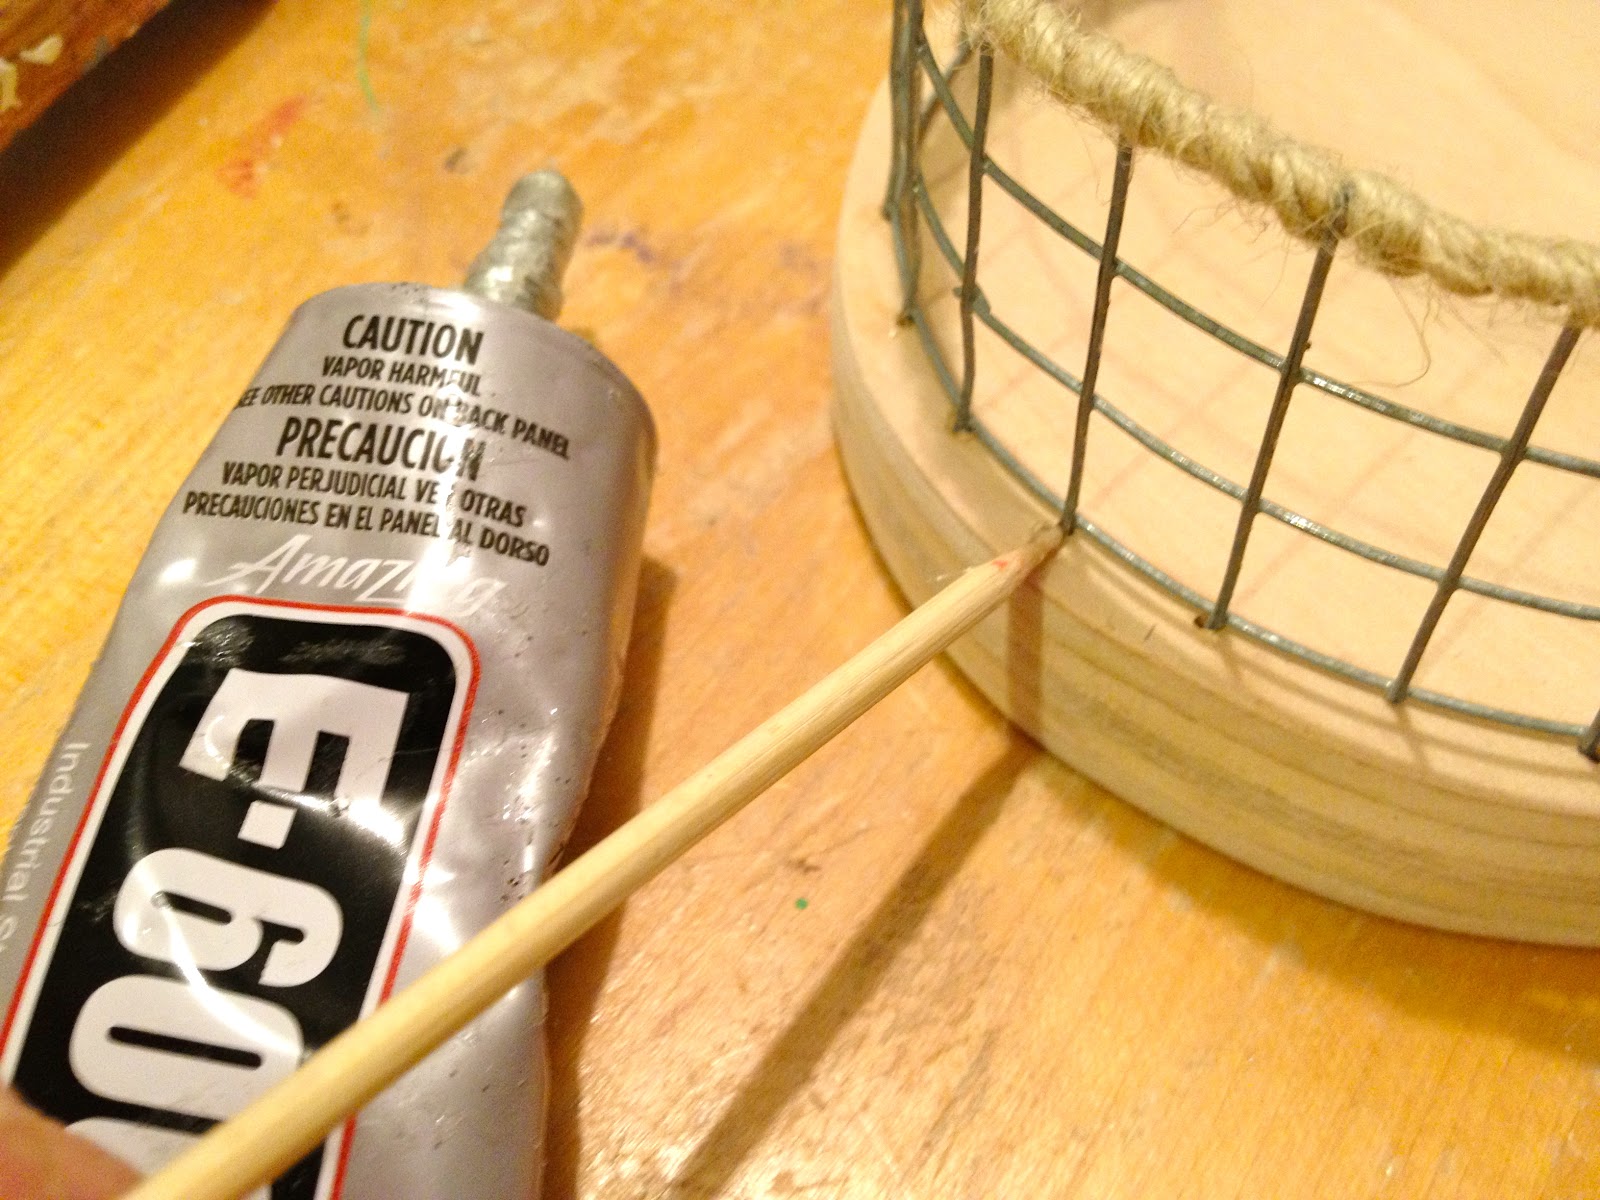
12. Apply a tiny dab of glue at prong hole to further secure.

You may also like...

  • DIY Charcuterie BoardDIY Charcuterie Board
  • DIY Wall Mirror with StorageDIY Wall Mirror with Storage
  • DIY 18 Inch Doll Cot BedDIY 18 Inch Doll Cot Bed
  • DIY Marquee NumbersDIY Marquee Numbers
Share this post:

Filed Under: CRAFTS, DIY13 Comments

Reader Interactions

Comments

  1. reFresh reStyle says

    March 4, 2013 at 11:53 AM

    These are awesome, so many things you could do with them!
    Debbie

    Reply
  2. Korrie@RedHenHome says

    March 4, 2013 at 2:56 PM

    These are fabulous! Love the little round one especially.

    Reply
  3. Jenny Piirto says

    March 4, 2013 at 3:02 PM

    too cool. these look great.

    Reply
  4. Desiree Ferdig says

    March 4, 2013 at 8:07 PM

    Creatively quirky. Such a great idea. Had to pin it for sure.

    Reply
  5. Vicky says

    March 4, 2013 at 8:12 PM

    beautiful. You always have amazing ideas.

    Reply
  6. Danielle Bartran says

    March 4, 2013 at 9:37 PM

    Great idea! These are awesome!

    Reply
  7. Tammy @ A Walk in the Countryside says

    March 5, 2013 at 2:01 PM

    Very clever! You go, girl!

    Reply
  8. ashley rachelle says

    March 8, 2013 at 12:07 AM

    what a genius idea! i really love these! thanks so much for sharing your great tutorial. xo

    -ashley
    ashleyrachelle.com

    Reply
  9. ✯StaceyAnne✯@Rendition Road says

    March 9, 2013 at 3:37 AM

    I absolutely have a thing for these hardware cloth baskets & this tutorial means a few are going to be showing up in my house. Thanks for sharing such a creative idea!

    Reply
  10. decoratewithalittlebit.com says

    March 10, 2013 at 3:56 PM

    What a great idea! I'm pinning this one! Little Bit from http://www.DecorateWithaLittleBit.com

    Reply
  11. Jenna LaFevor says

    March 11, 2013 at 1:06 AM

    SUPER Cute! Love em! Pinning!

    Jenna @ http://rainonatinroof.com

    Reply
  12. Donna Wilkes says

    March 11, 2013 at 11:25 PM

    This is so great! I love to use hardware cloth to make plant containers and always have scraps left over. This is a wonderful way to use every little piece. Thanks for the cleat tutorial.

    Reply
  13. Shelly Dolen says

    March 12, 2013 at 4:17 AM

    These are AWESOME! Can't wait to give this a try!

    Reply

Leave a Reply Cancel reply

Your email address will not be published. Required fields are marked *

Primary Sidebar

Hi! I’m Jaime

Jaime Costiglio

Hello!

Thank you for stopping by.
Join me for lots of DIY.

Read more

Get new posts via email

Handbuilt Holiday: Gift Project Plans

handbuilt holiday gift project plans

Collection of DIY gift project plans to build.

The Home Depot Tool Prospective

THD Prospective

Tools to consider for the DIYer.

Archives

The Home Depot Logo
Copyright © 2026 Jaime Costiglio · Custom site by Moonsteam Design

Privacy Policy