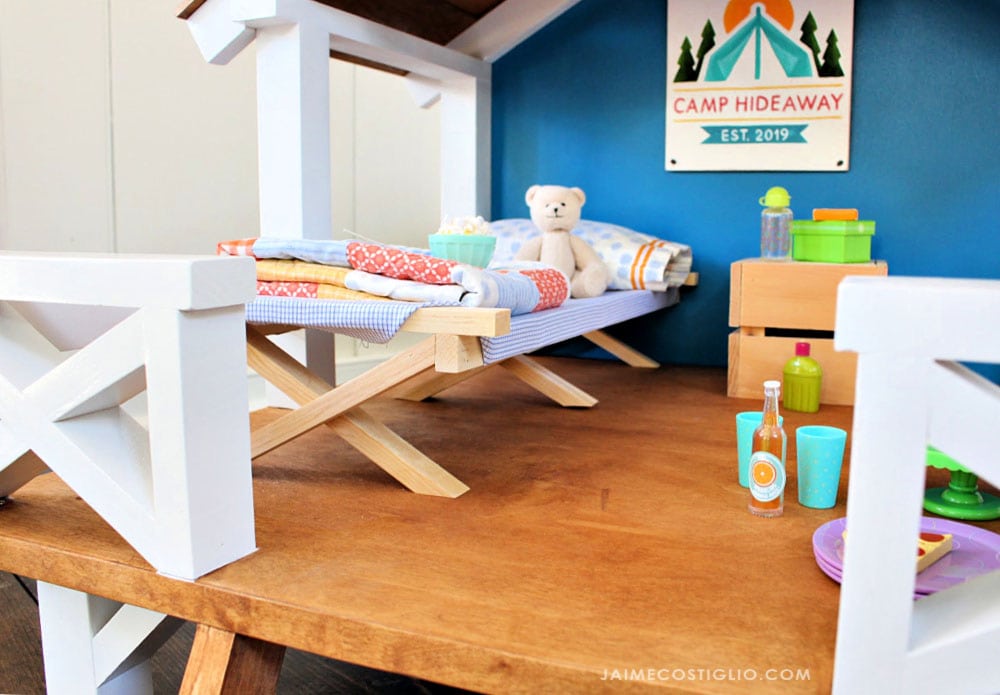
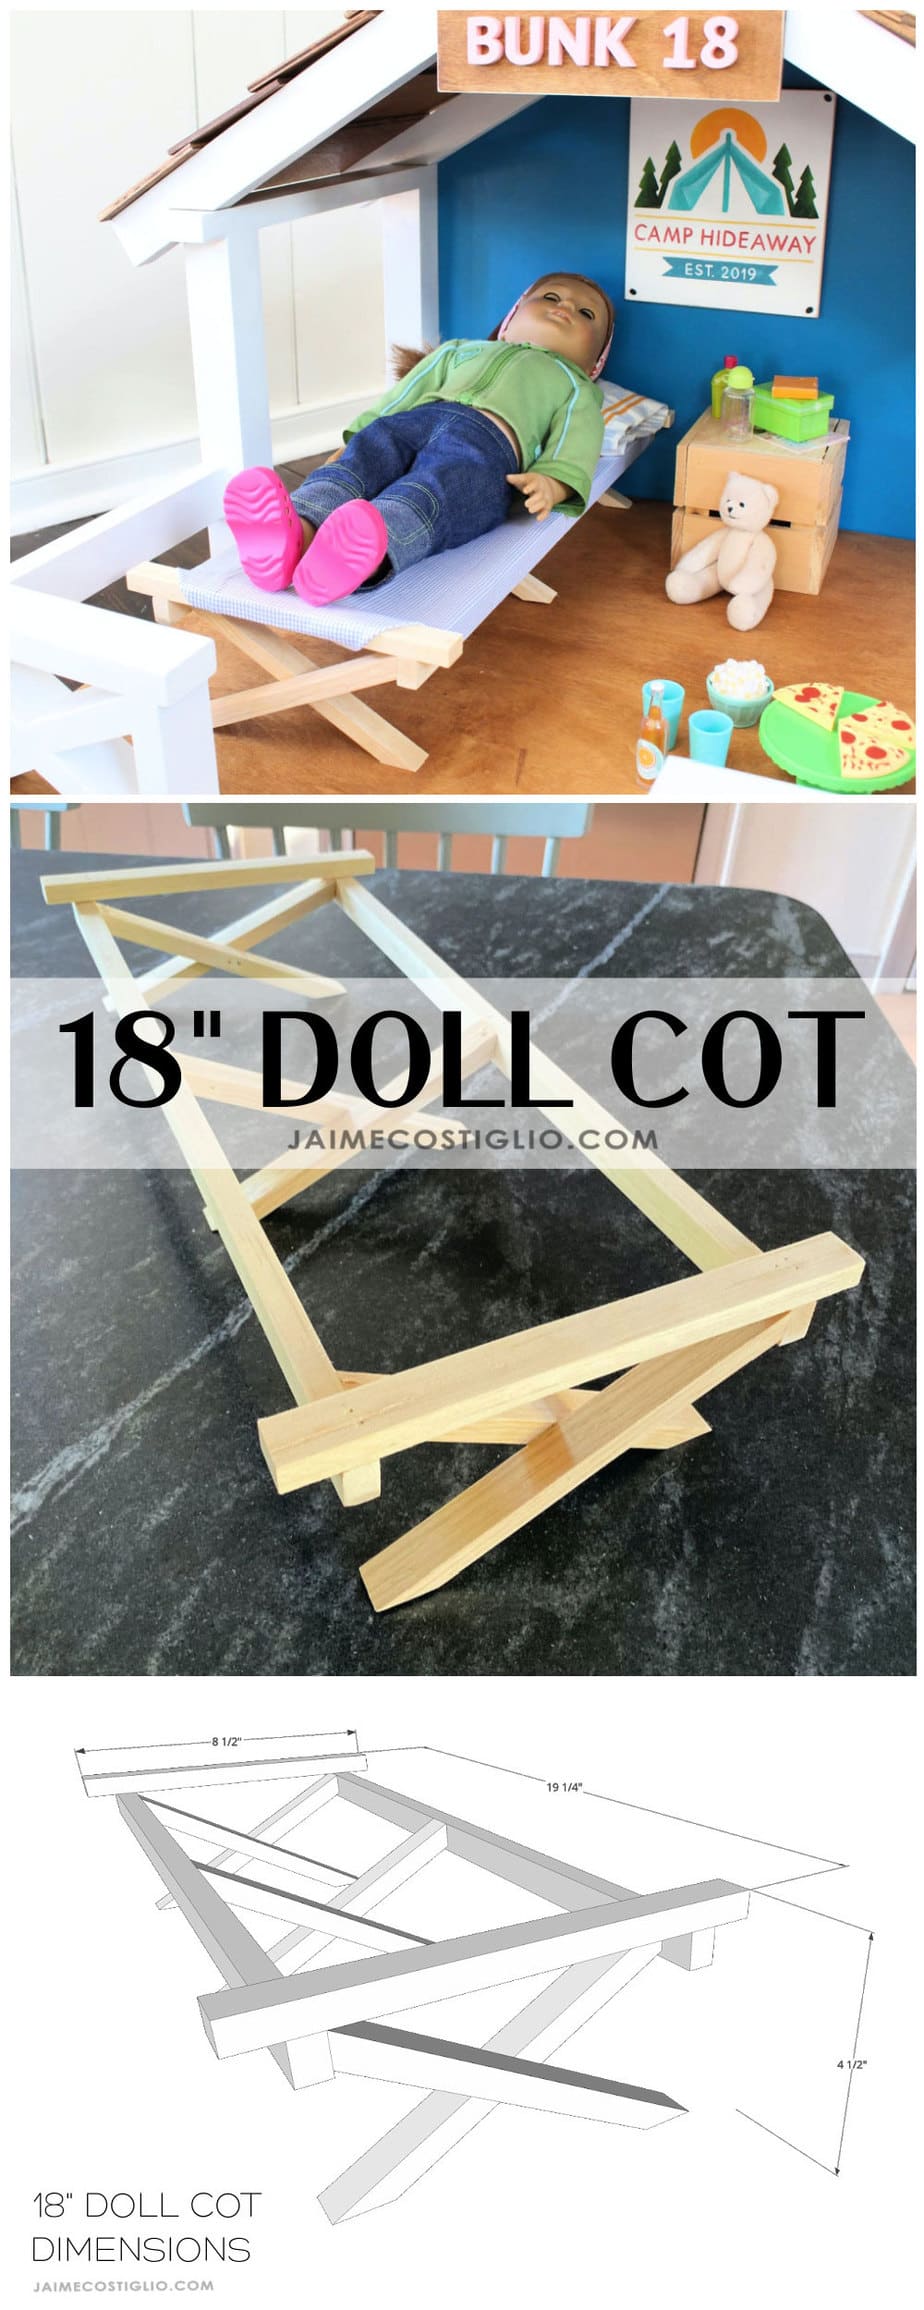
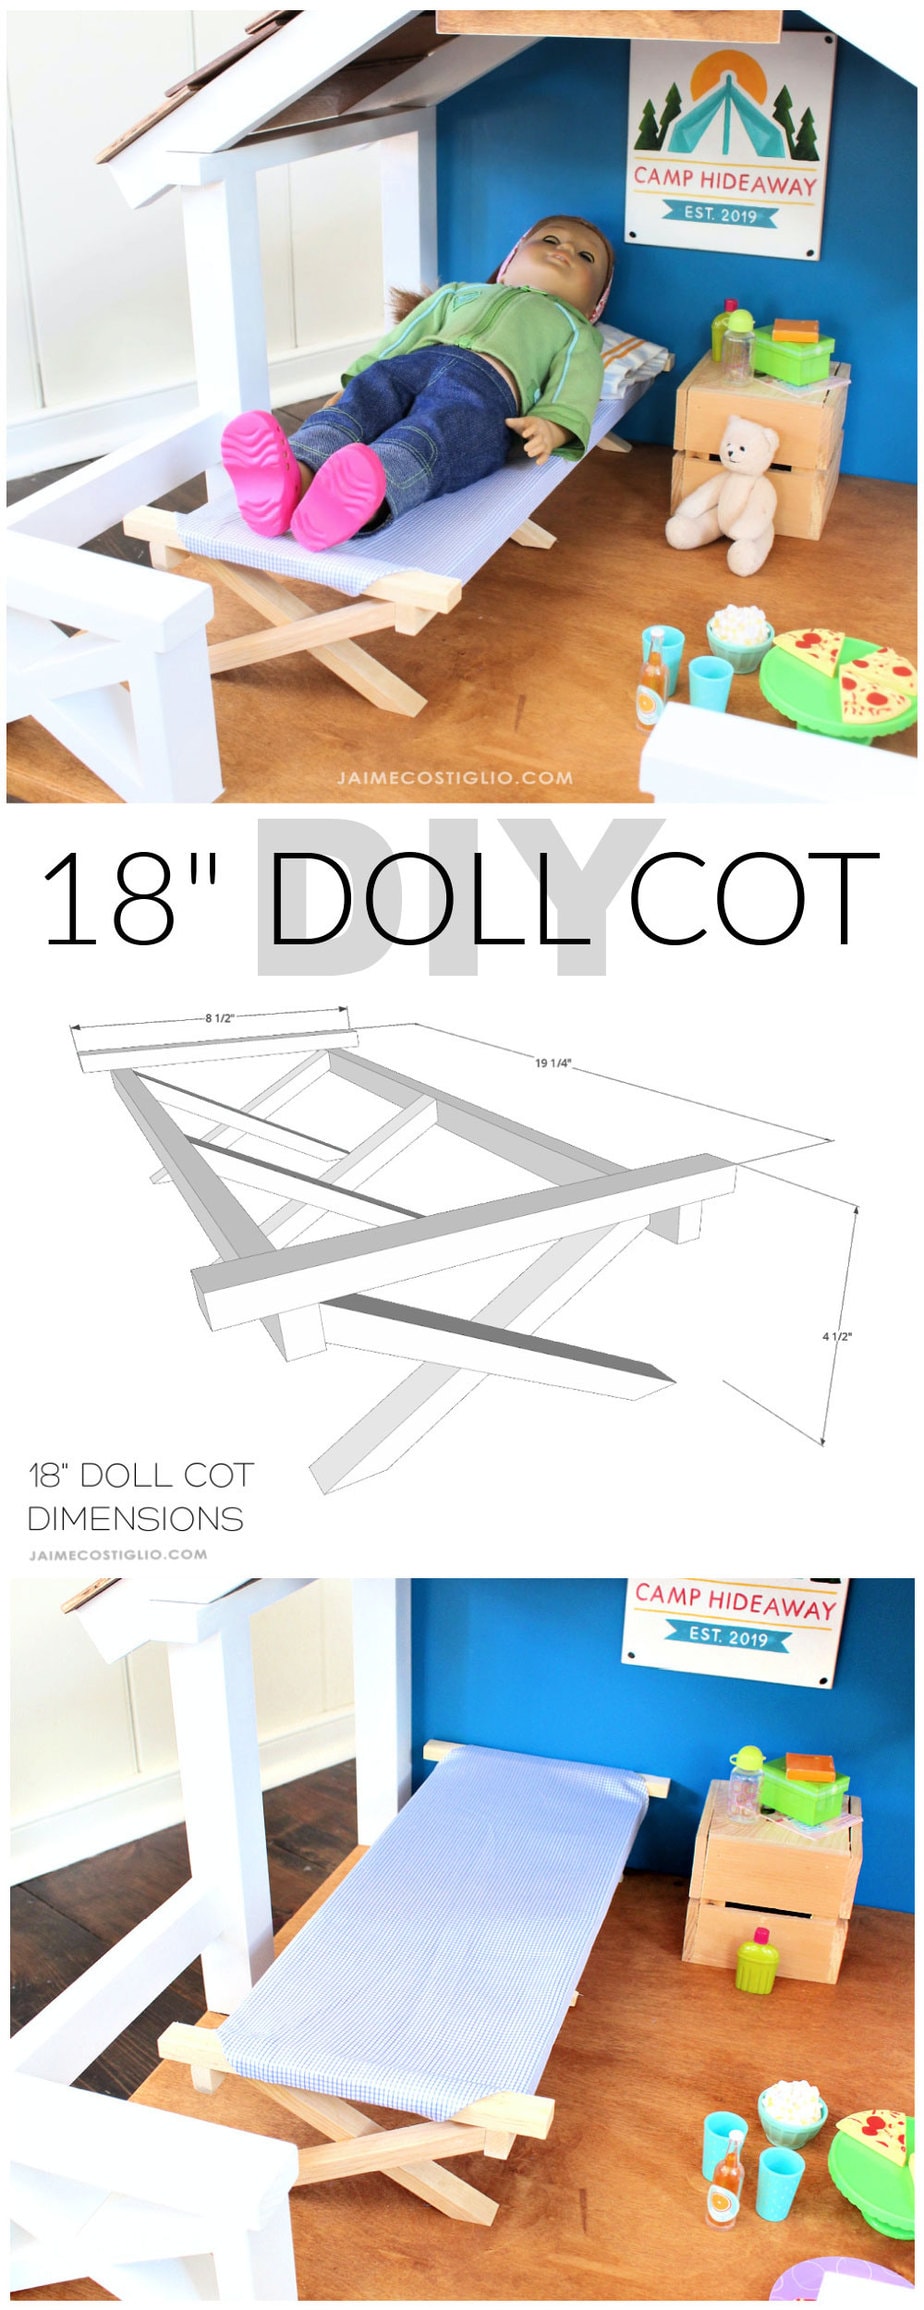
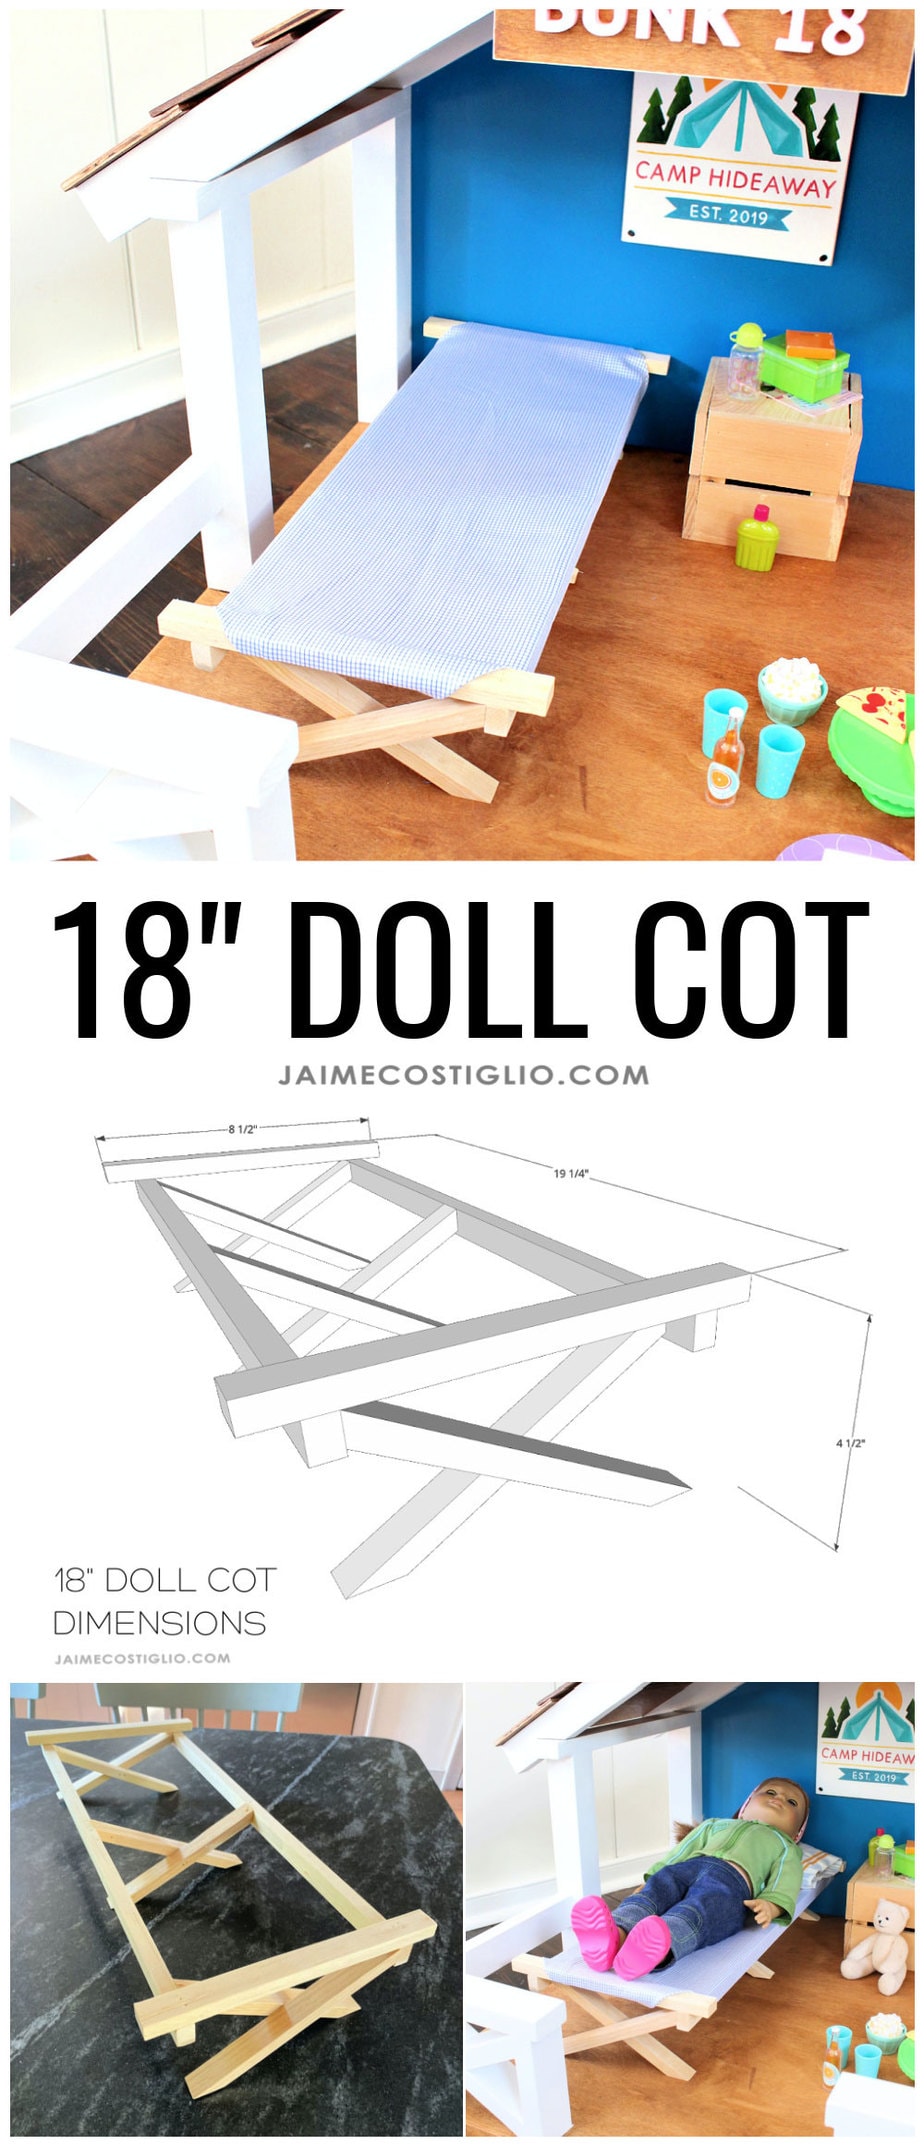
Camp Hideaway would not be complete without the DIY 18″ doll cot bed. And I’m here to share the plans so you can make the doll cot too!
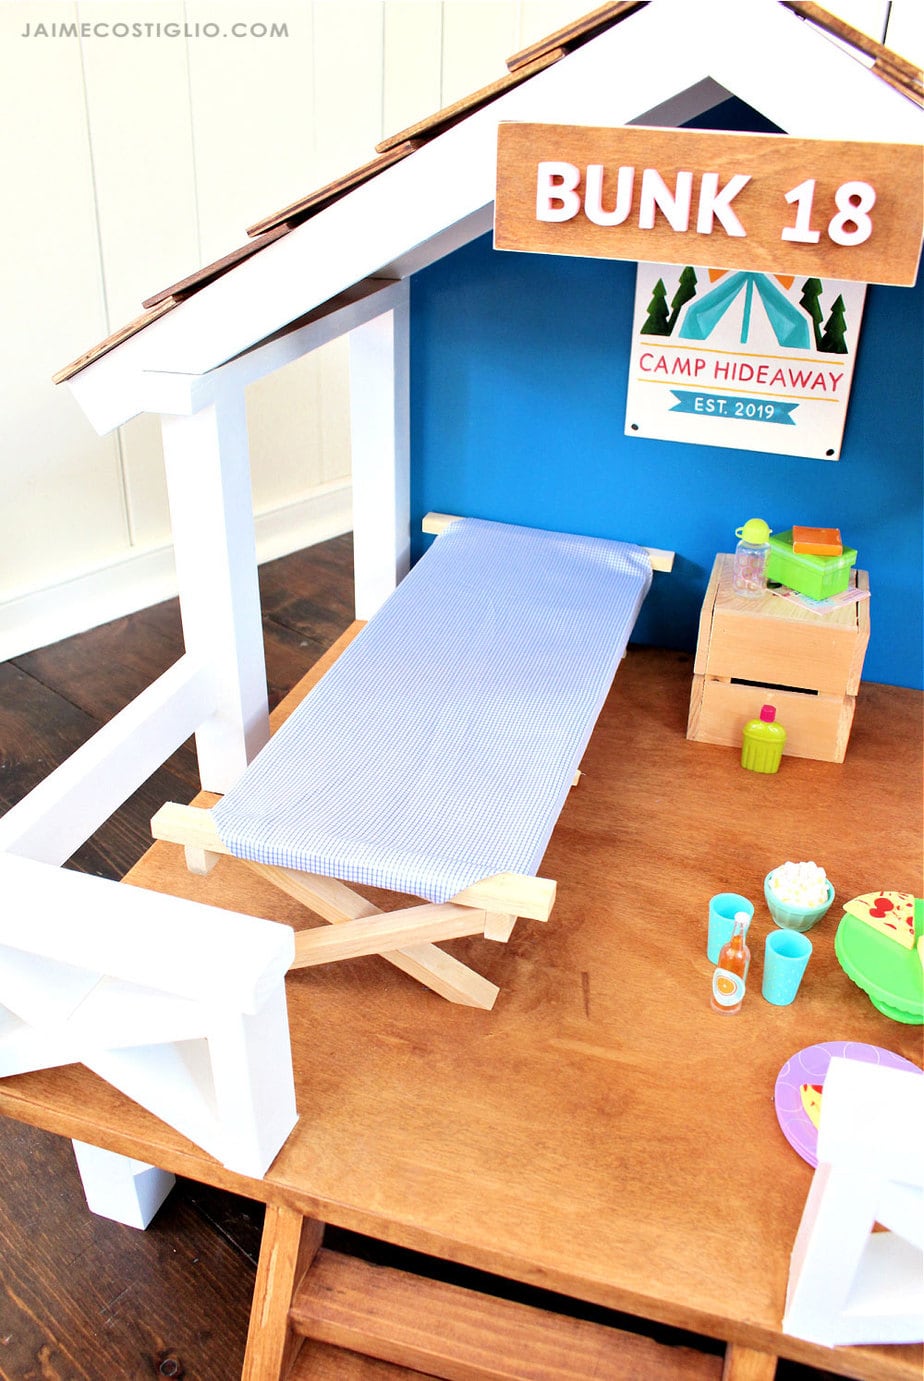
A DIY tutorial to build an 18 inch doll size cot bed. Fits perfectly in the doll camp hideaway. Every doll needs a cot bed!
Every Fall as the holiday season approaches Ana White and I share gift build ideas in a series called Handbuilt Holiday. In 2019 we built the cutest Camp Hideaway for dolls and I added the necessary cot bed but failed to make plans for you at the time. Today is your lucky day because the plans are here!
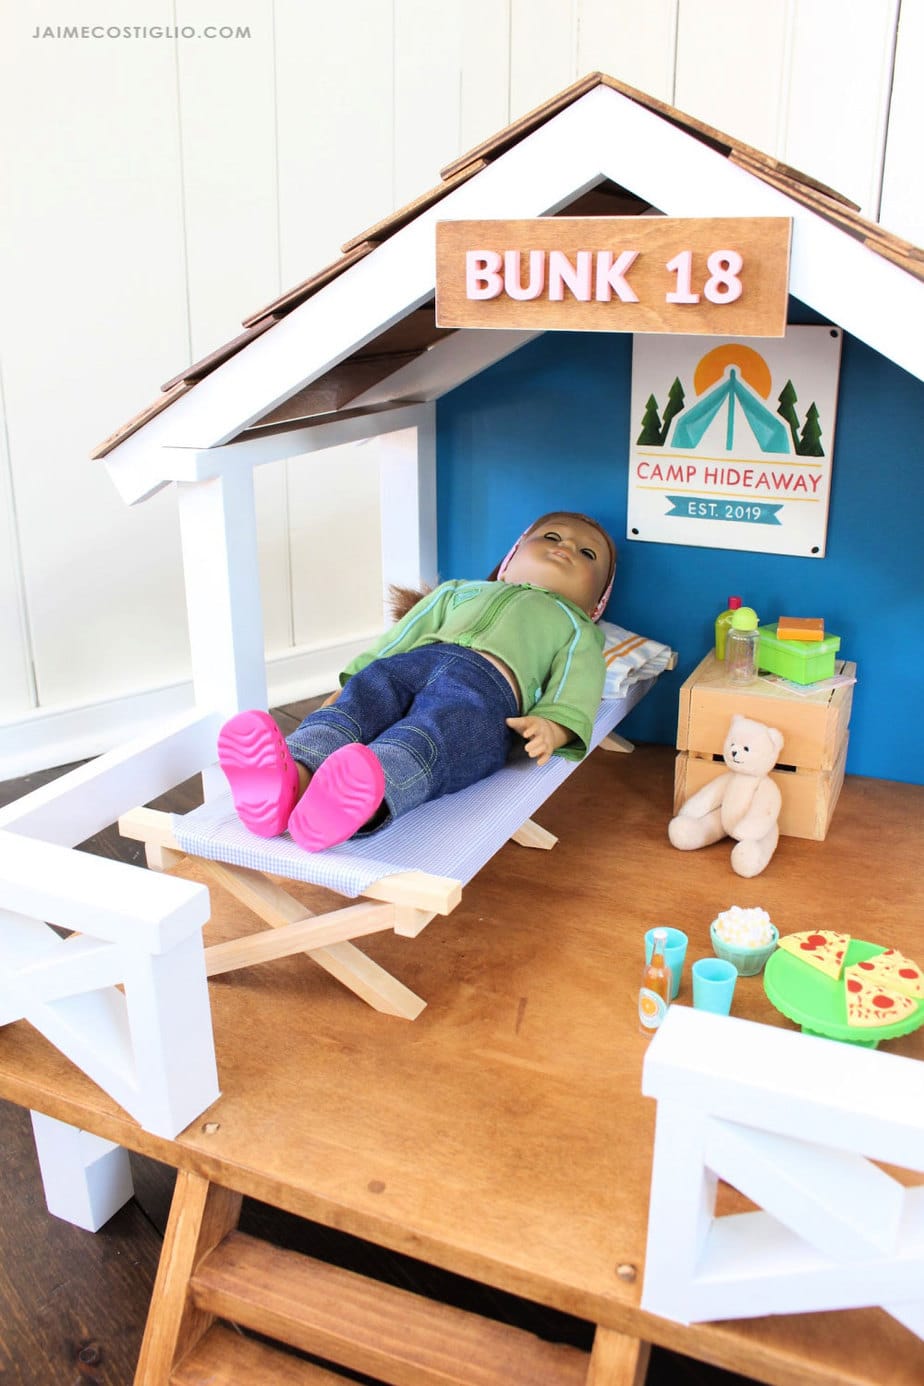
Doll Camp Hideaway
Naturally any doll set up would have all the proper accessories including a cot bed (or two!). I scavenged my girls stash to find just the right camp essentials:
- drinks and snacks
- bug lotion
- water bottle
- books and games
- stuffed animals
- bedding
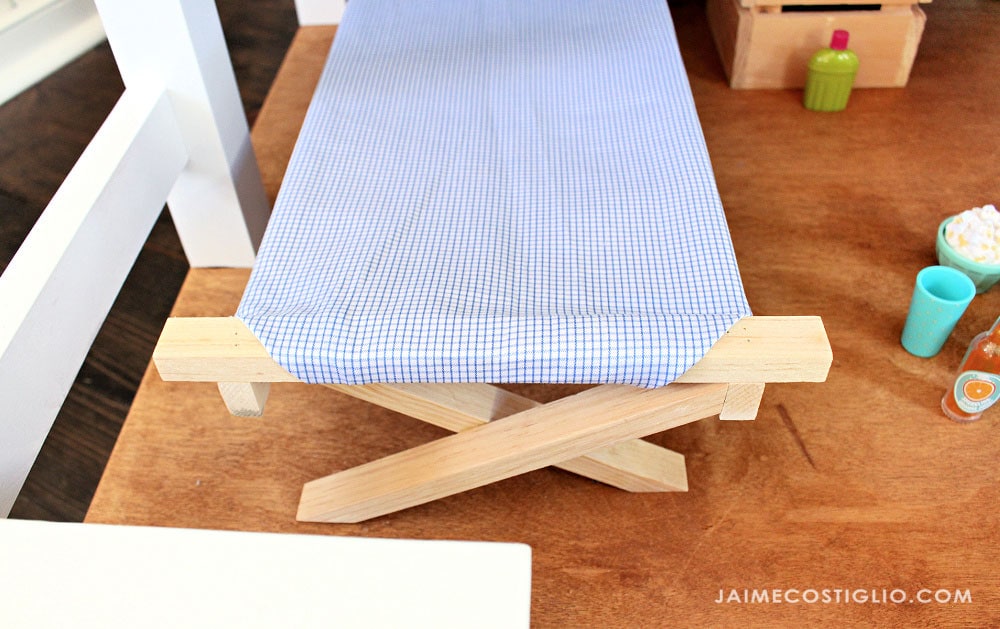
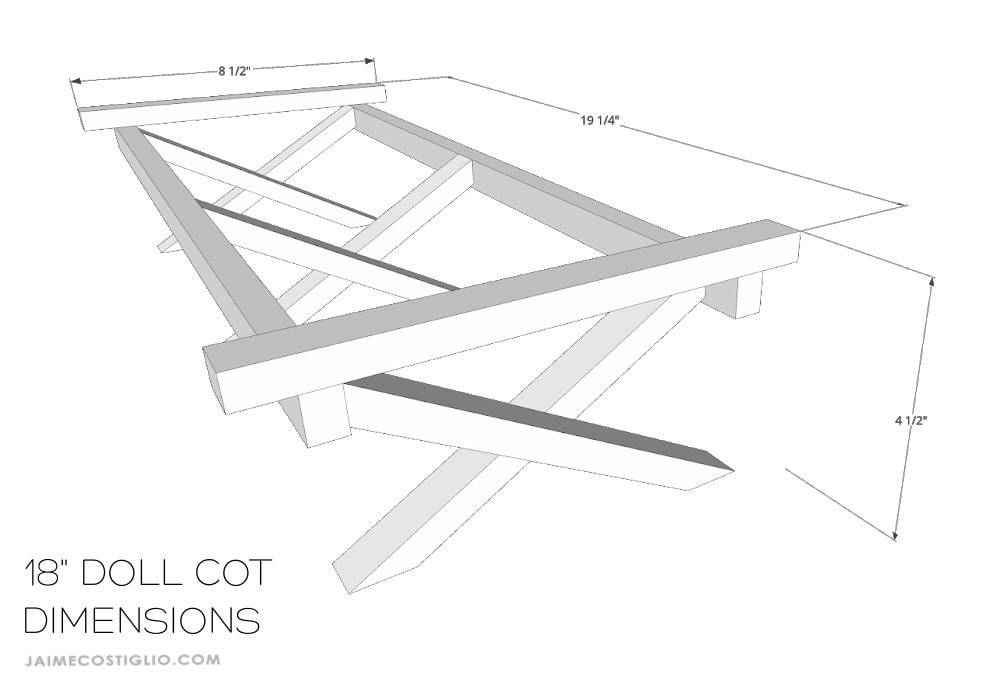
The 18″ doll cot bed is a simple frame with X brace legs. A few angled cuts on those legs make the cot work. And of course you can pick any fabric to coordinate with your camp hideaway decor.
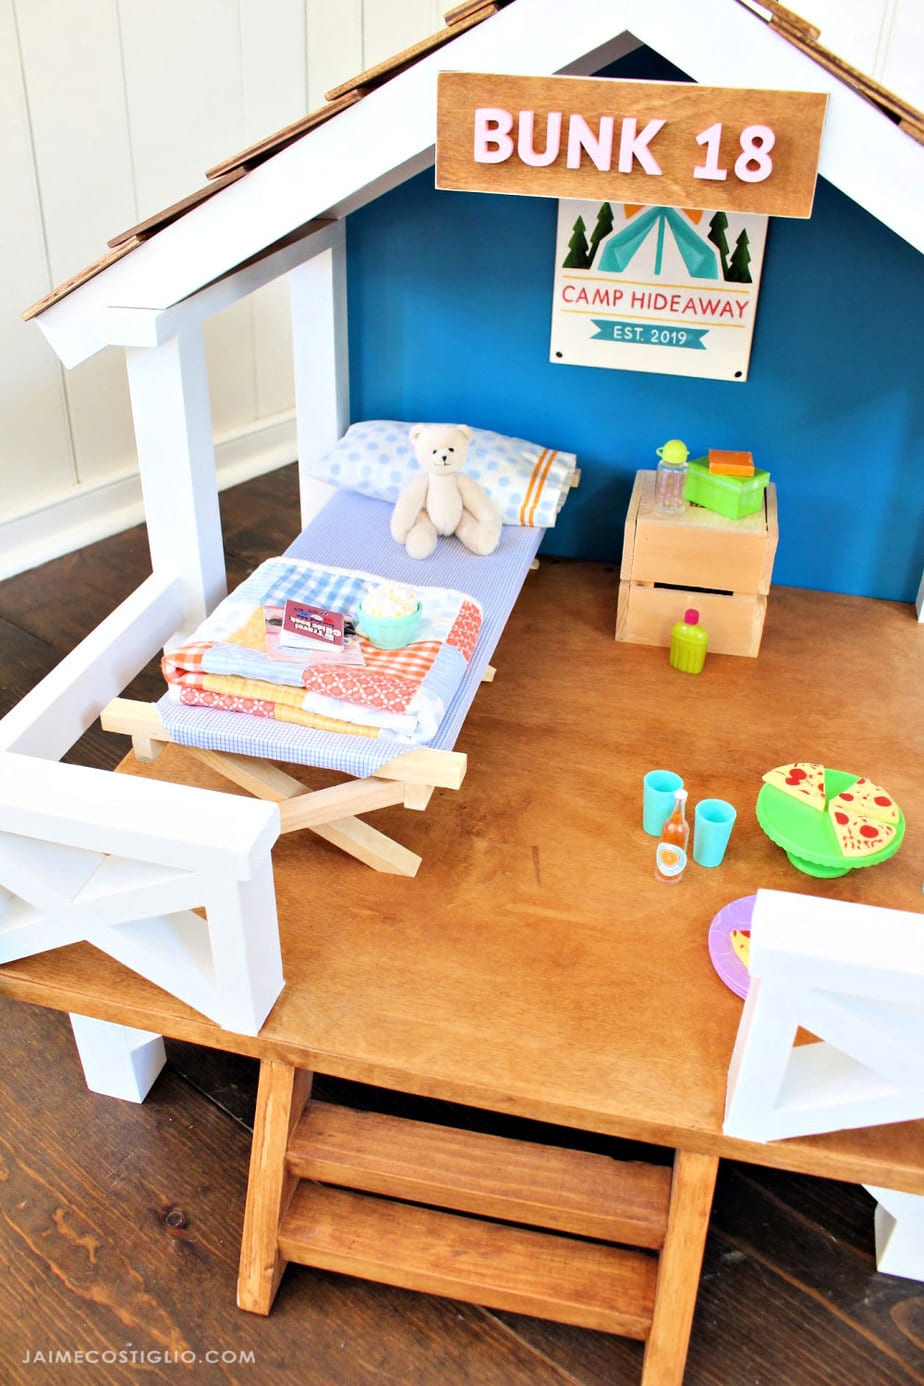
Cot Bed
If this doesn’t make you want to camp out then I don’t know what does, it’s the most fun! You can get all the details and plans for the Doll Camp Hideaway here but stay here if you want the plans for the cot bed.
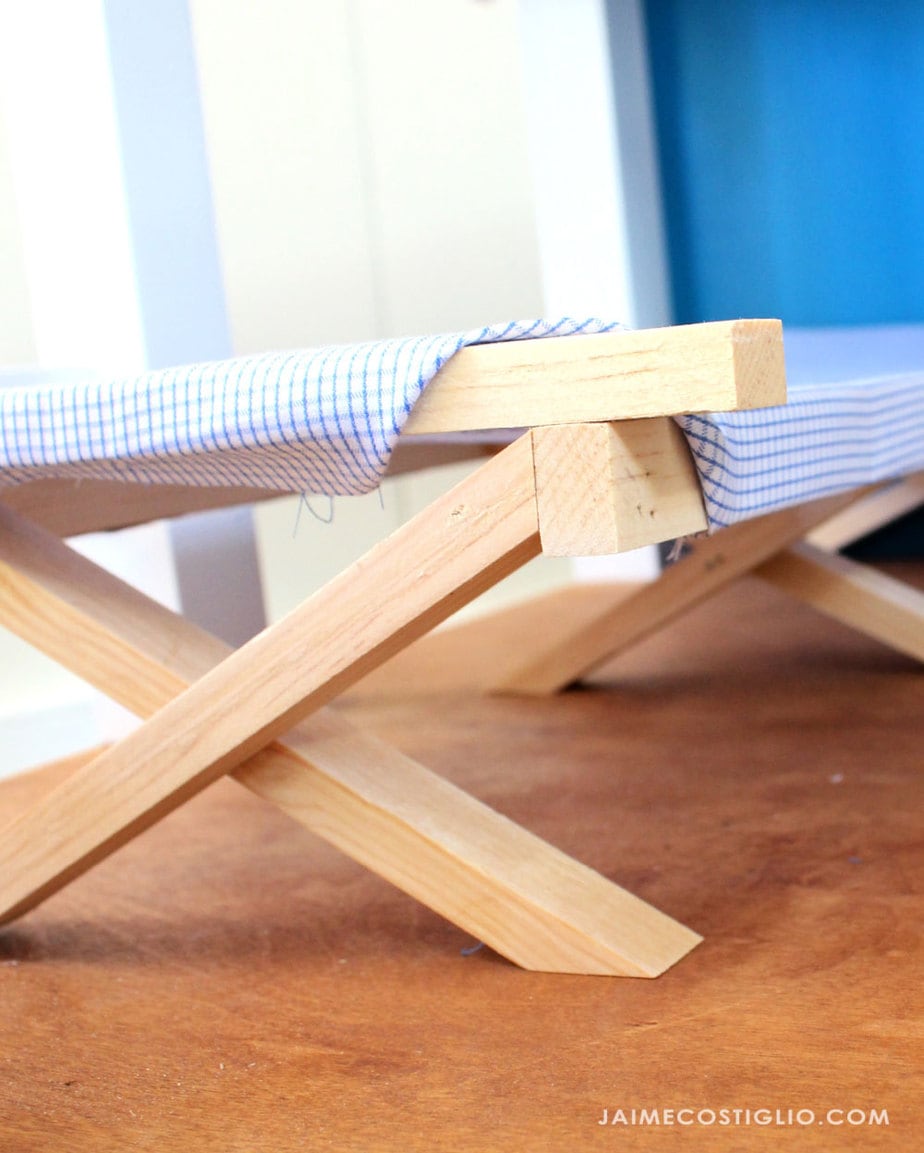
Click here for printable PDF version of the plans.
Supplies:
- 8’ – ½” x ¾” flat wood molding
- ¾” pin nails (23 gauge)
- 5/8” pin nails (23 gauge)
- wood glue
- 24” x 12” cotton fabric
- stapler
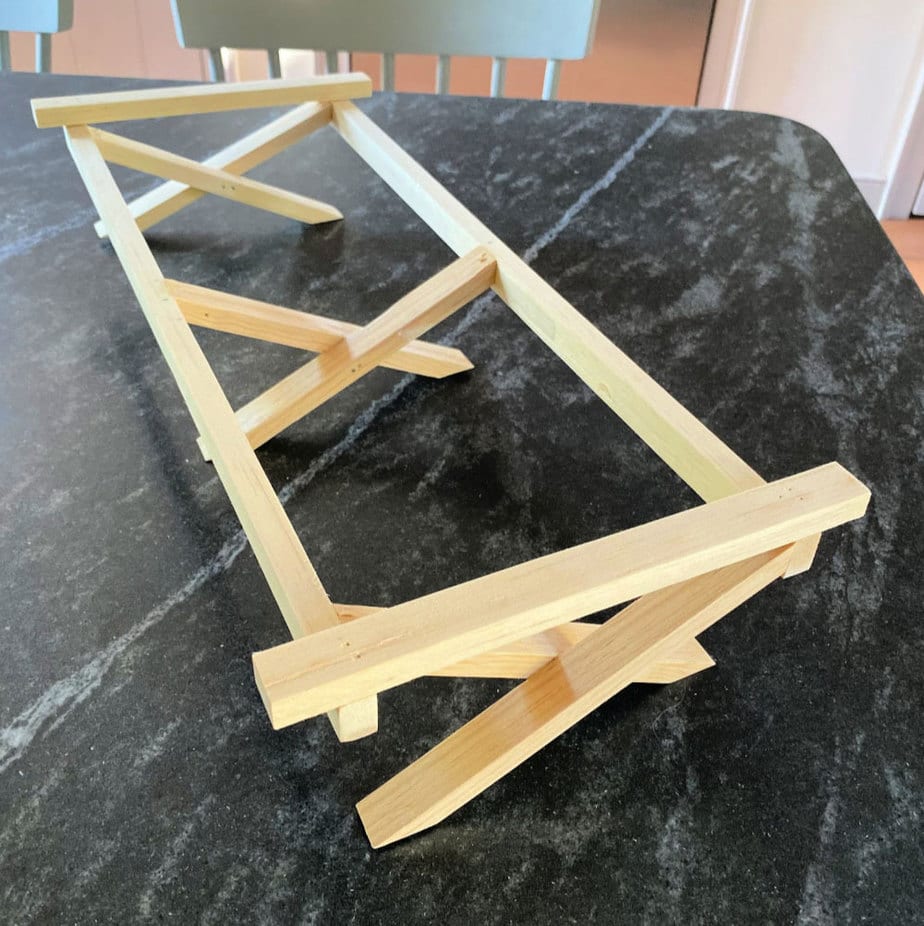
Cot Frame
Build the cot frame as per the plans here. Be sure to let the wood glue dry completely after constructing the leg braces before proceeding to the next step. And definitely consider filling a pin head holes with wood filler then give everything a good sanding.
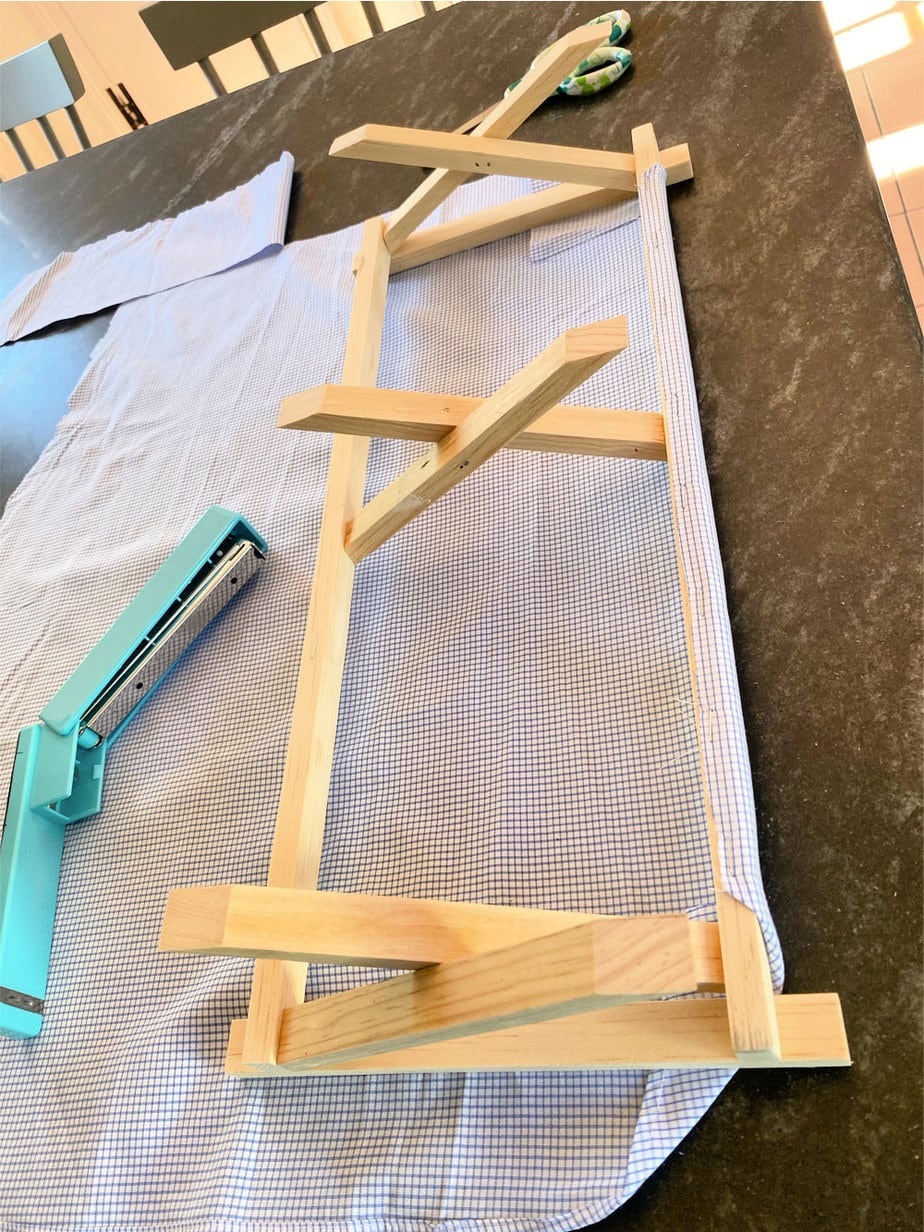
Cotton Cot Camp Bed
To complete the cot I attached a piece of cotton fabric onto the frame. Give yourself about 1 1/2″ extra fabric on all four sides to work with while securing to the wood frame. Start on the long side and staple one edge to the underside of the frame as per the photo above. When you get to the corners fold under the fabric to make a 45 degree angle.
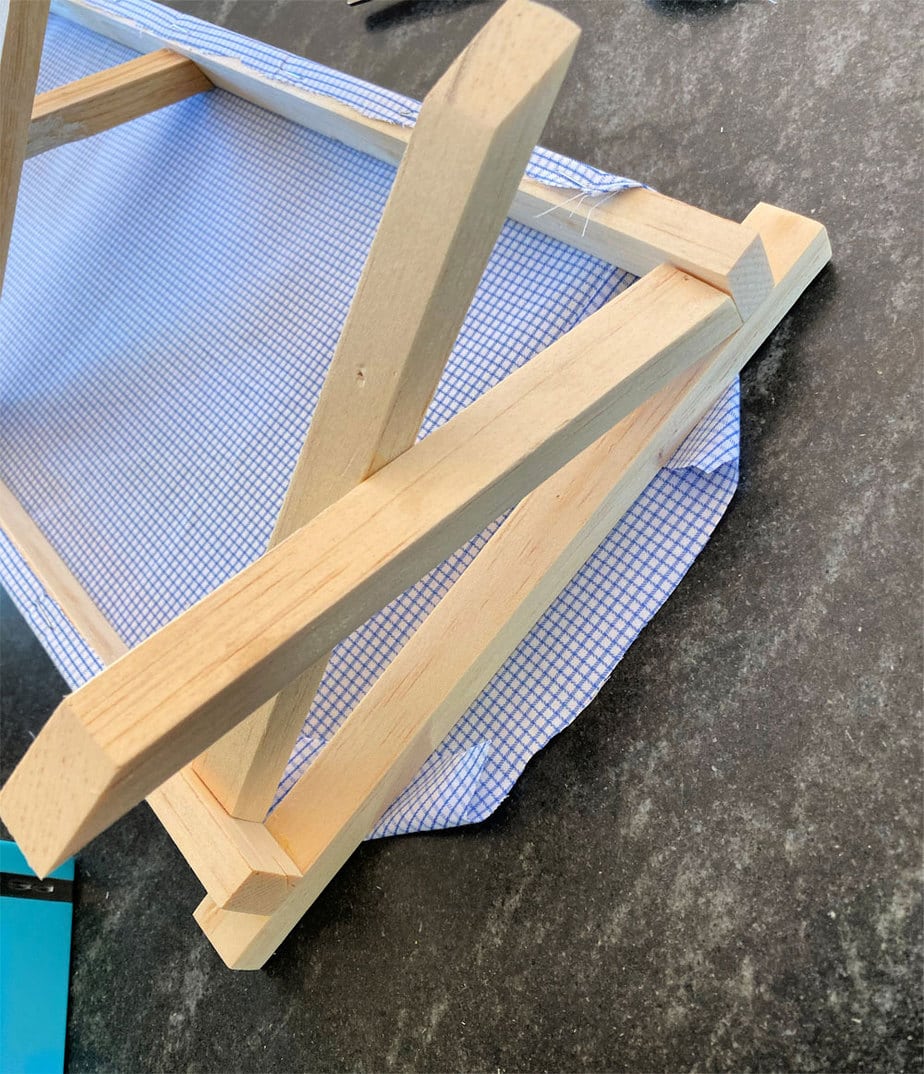
Then repeat that process for the other long side. Lastly attach the short ends. It can be tricky getting the staple gun in there between the legs but you could also use hot glue.
Thanks for joining me for this doll cot build. Please leave any questions in the comments below and be sure to follow me on social media for sneak peeks, tools and project inspiration:



Leave a Reply