• Home
  • Blog
  • About
  • Contact
    • Disclosure
    • Privacy Policy
  • SHOP
  • Widget area for main menu

    • Email
    • Facebook
    • Instagram
    • Pinterest
    • Twitter
    • YouTube
  • Skip to primary navigation
  • Skip to main content
  • Skip to primary sidebar

Jaime Costiglio

build - paint - sew

  • BUILD
    • BEDS
    • BENCHES
    • DESKS
    • DRESSERS
    • GAMES & TOYS
    • SCRAP WOOD
    • SHELVES
    • STORAGE
    • TABLES
  • TOOLS
  • PAINT
    • CRAFTS
    • FURNITURE
    • HOME DECOR
  • SEW
    • GIFTS
    • HOME DECOR
    • POUCHES
  • HANDBUILT HOLIDAY
    • 2021
    • 2019
    • 2018
    • 2017
    • 2016
    • 2015
    • 2014
    • 2013
  • GIFTS
    • BABIES
    • KIDS
    • FOR HER
    • FOR HIM
    • TEACHERS
    • WEDDINGS
  • SEASONAL
    • 4TH OF JULY
    • FALL
    • HALLOWEEN
    • CHRISTMAS
    • SUMMER
    • SPRING
    • ST. PATRICK’S DAY
    • THANKSGIVING
    • VALENTINE’S DAY
    • WINTER
  • SALTBOX PROJECT
    • BATHROOMS
    • DINING ROOM
    • EXTERIOR
    • FAMILY ROOM
    • FOYER / MUDROOM
    • KIDS BEDROOMS
    • KITCHEN
    • LIVING ROOM
    • MASTER BEDROOM
    • PLAYROOM
  • SCROLL SAW

DIY Stocking Post

November 14, 2016

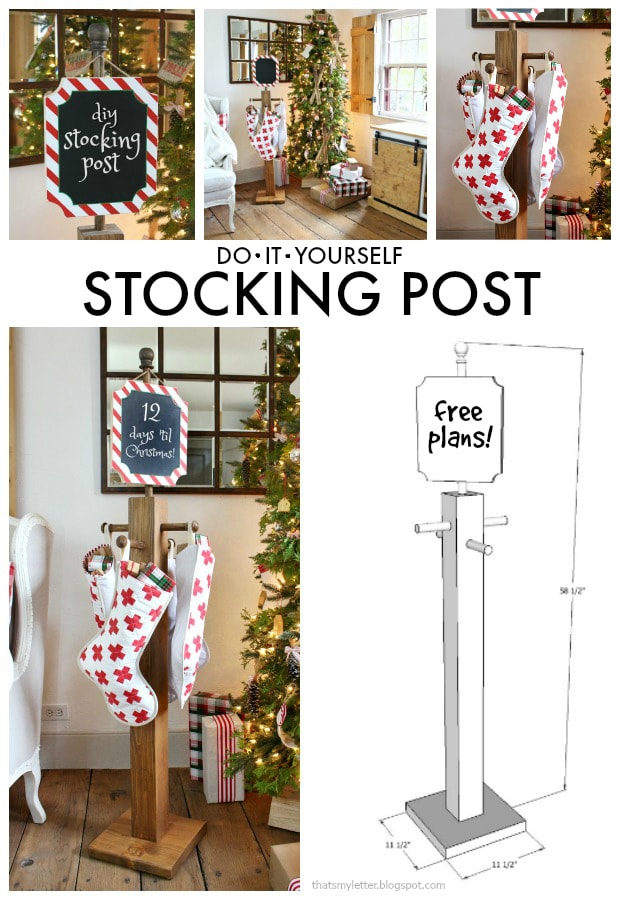
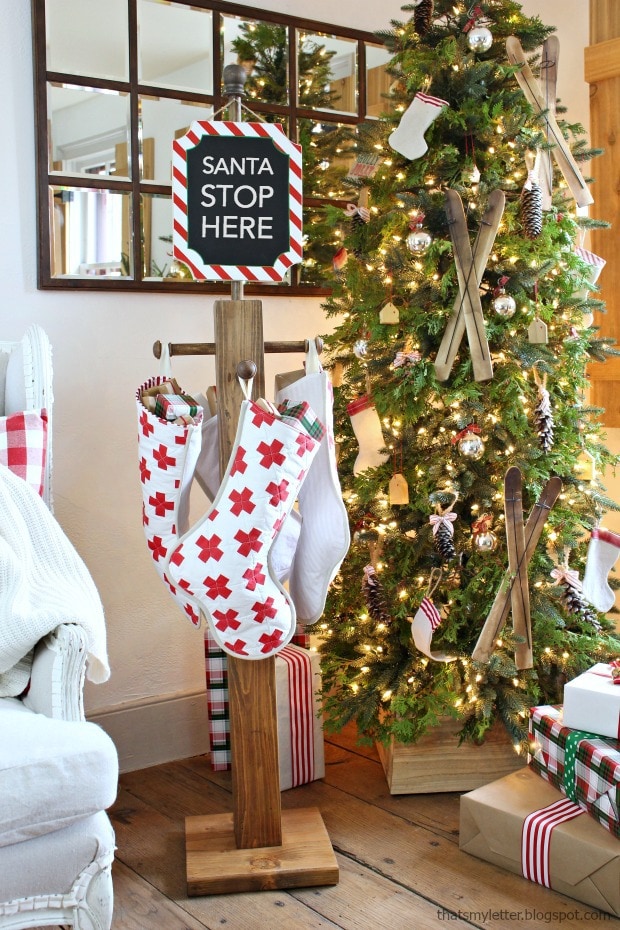
No mantel to hang your stockings?  A stocking post makes the perfect solution and it’s easy to build yourself.  Today I’m sharing how to DIY this stocking post along with a virtual stocking post party.  We have 25+ bloggers sharing their DIY holiday stocking posts!  Come see the inspiration and then make a stocking post for your family.
diy stocking post christmas decor

A DIY tutorial to build a self standing stocking post. No mantel for stockings? This is the perfect place to hang your Christmas stockings.

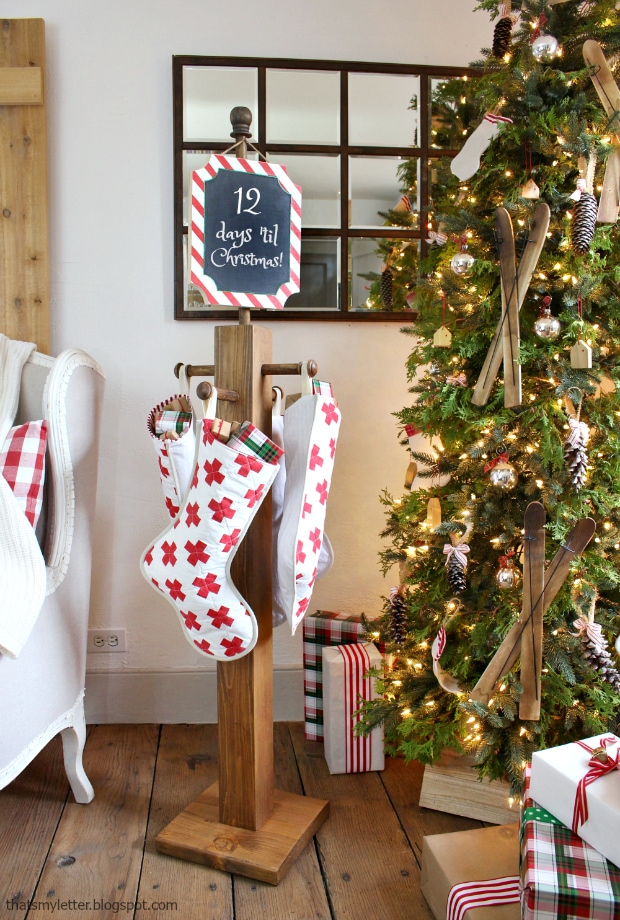
My version of the stocking post is a classic wood post with peg knobs and a chalkboard sign up top.  All the details on how to make my version are down below but first please be sure to stop by these blogger friends of mine to see their beautiful stocking posts!
stocking post virtual party

Virtual Party Bloggers

  • Brenna – Domestic Charm
  • Leslie – Deeply Southern Home
  • Liz – Smart Girls DIY
  • Pauline – My Altered State

Amazing how each person injects their creativity to make their stocking post so different and unique!

diy stocking holder by Christmas tree

DIY Workshop at The Home Depot

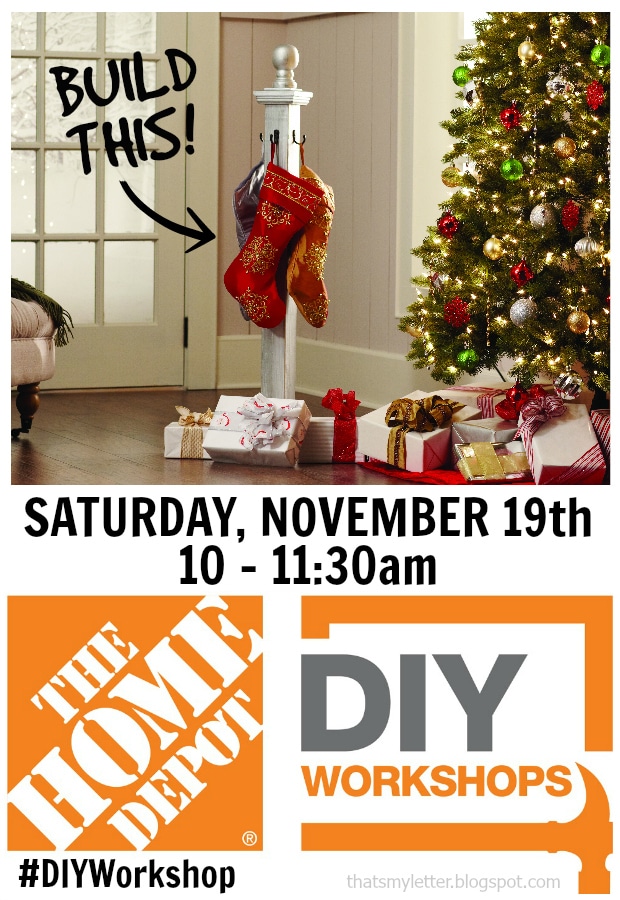
If you want to learn how to build the basic stocking post don’t forget to sign up for The Home Depot DIY Workshop Saturday, November 19th, 2016 at 10am.  Click here to find the store nearest to you offering the workshop.diy workshop at The Home Depot
DIY Stocking Post

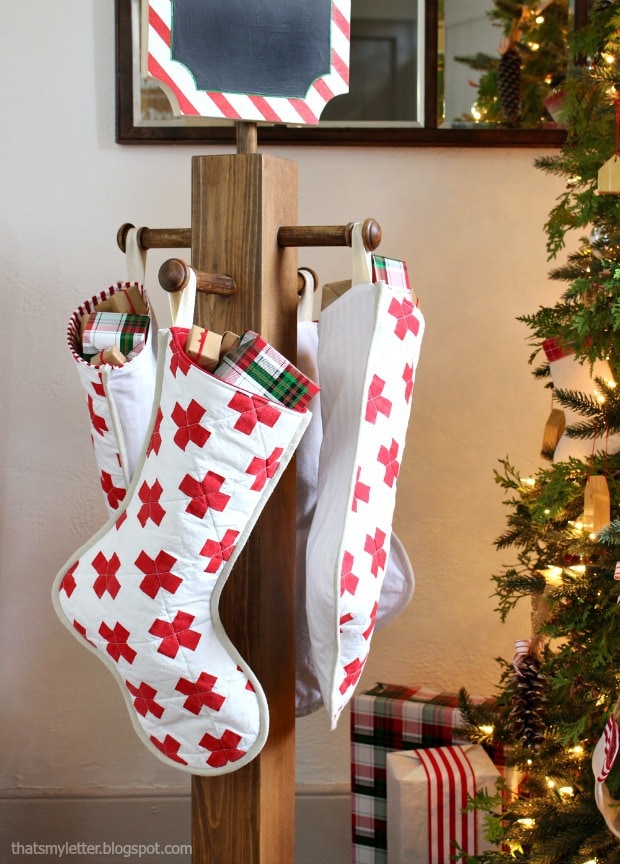
I took the basic stocking post, added wood dowel peg hooks with simple wood knobs on the ends and hung our swiss cross stockings for a classic red and white Christmas vibe.

swiss cross stockings on holder

And now I’m thinking after the holidays I might just move this post up to my son’s bedroom to hang all his hoodies and zips!  But for now this stocking post fits perfectly next to our skinny living room tree.
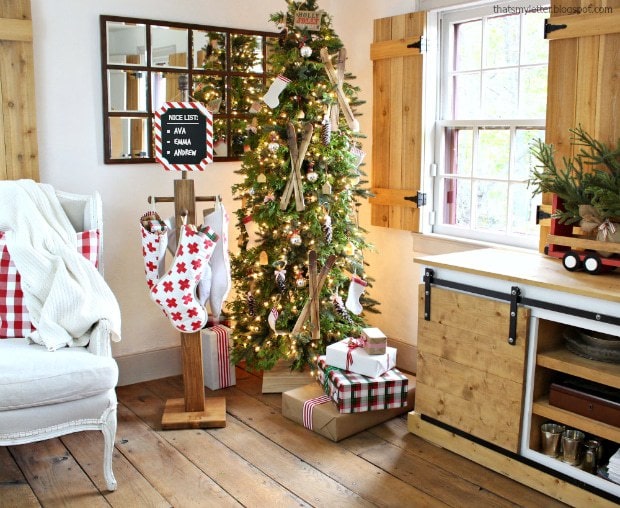
skinny christmas tree and stocking post

Chalkboard Sign

And having the chalkboard sign up top lets us change up the message as we like.  So maybe a family monogram would be cute too or any holiday message.
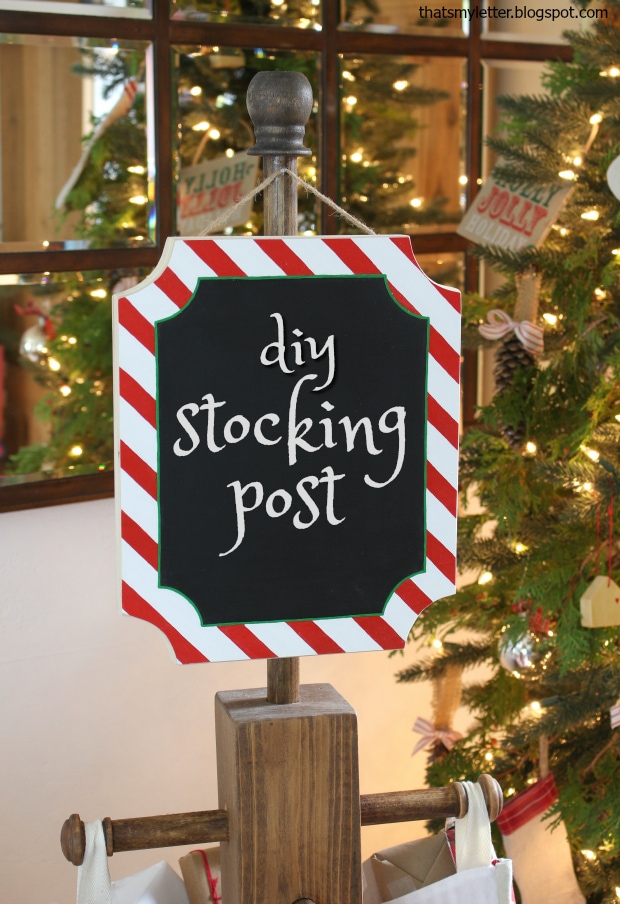
christmas chalkboard sign

Check out all the virtual party stocking posts below for more inspiration and amazing holiday decor ideas:

  • House of Wood
  • The Handmade Home
  • Just a Girl and Her Blog
  • Cherished Bliss
  • Ella Claire Inspired


  • Fix This Build That
  • Lazy Guy DIY
  • Her Toolbelt
  • Uncookie Cutter
  • Shades of Blue Interiors


  • Build Basic
  • Homemade By Carmona
  • Ciburbanity
  • The Chronicles of Home
  • Sawdust 2 Stitches


  • Remodelando La Casa
  • Chaotically Creative
  • Designer Trapped
  • Shine Your Light Blog
  • The Heathered Nest

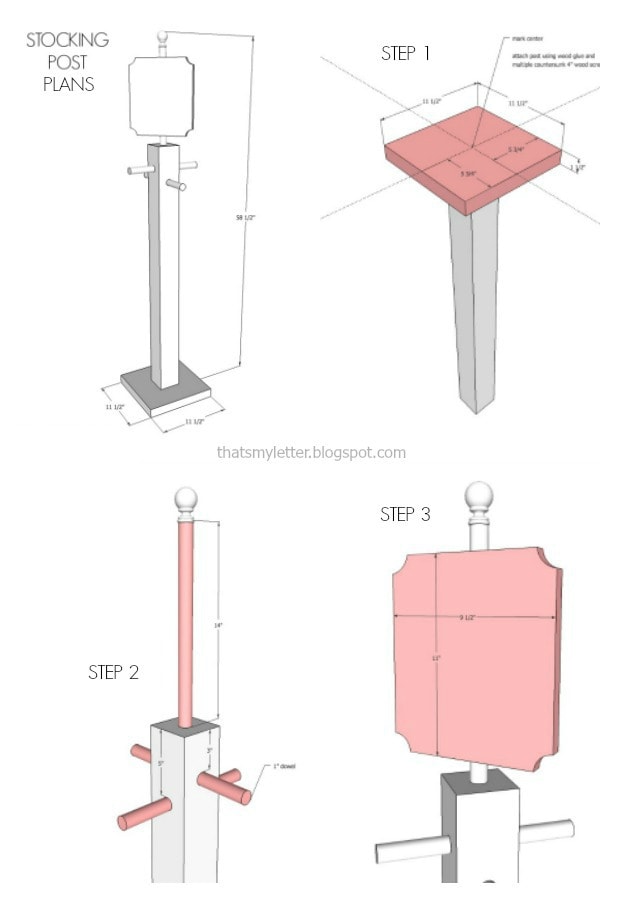
Below are the step to build the holiday stocking post.  Follow my printable plans here and be sure to read down below for tips and real life process photos.

stocking post step by step plans

Click here for a printable PDF version of the plans.


Materials:                                                    

  • 1 – 4x4x8 post                                                                     
  • 5 – 4” wood screws
  • 1 – 2×12 @ 11 ½” board                                                    
  • forstner bit – 1″
  • 1 – 1” wood dowel                                                              
  • wood glue
  • 4 – wood knobs                                                                  
  • 1 – wood finial                                                                     
  • 1 – ¾” plywood scrap @ 11” x 9 ½”                                                                     

Cut List:

  • 1 – 4×4 @ 41” (post)
  • 1 – 2×12 @ 11 ½” (base)
  • 4 – 1” dowel @ 4” (hooks)
  • 1 – 1” dowel @ 15” (sign post)
  • 1 – ¾” plywood @ 11” x 9 1/2” (sign)

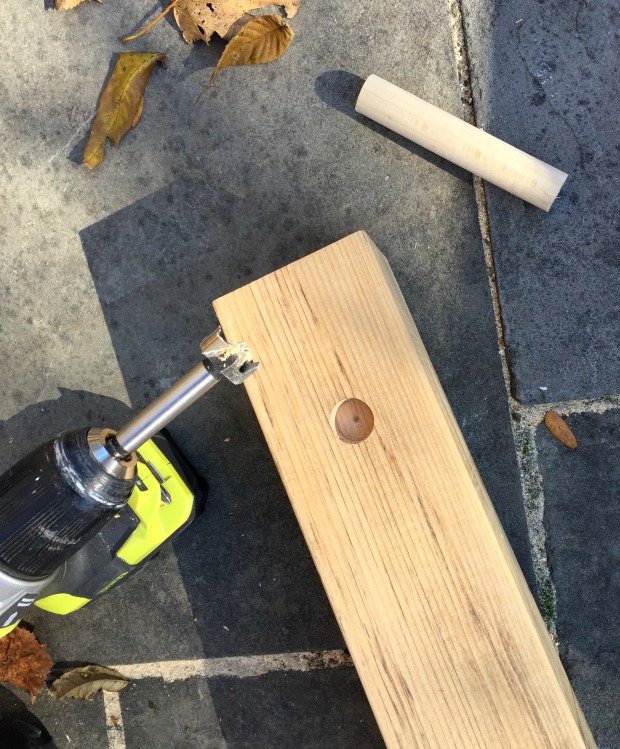
making a hole with a forstner bit

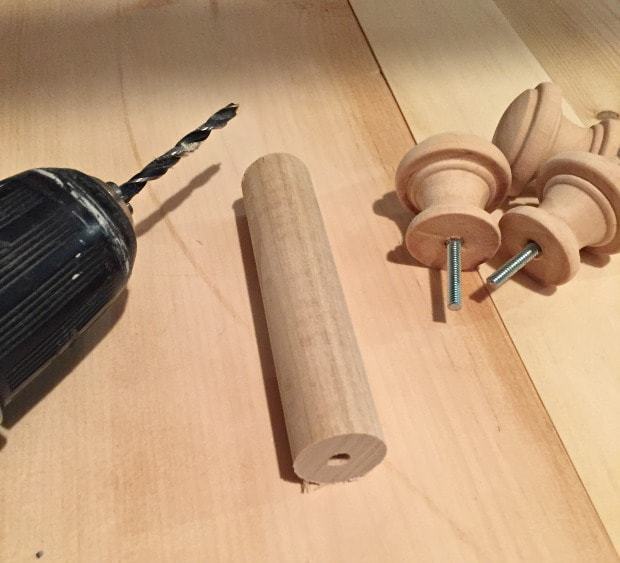
In Step 2 use a 1″ forstner bit to drill holes for your dowel pegs.  Go about 1″ deep for a secure fit.

attaching knobs to wood dowels

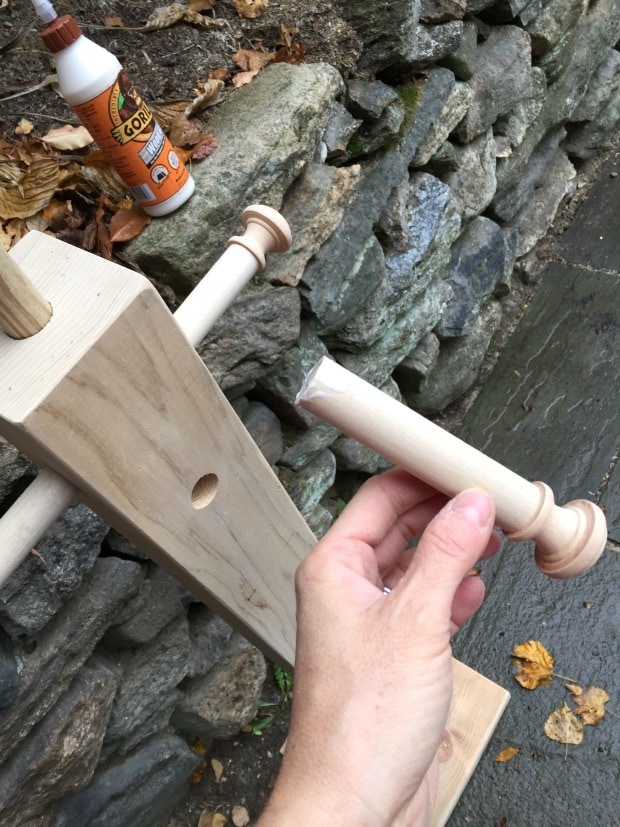
To make the peg hooks predrill a hole in one end of the 4″ long dowel then use wood glue and screw in the wood knobs until snug.

gluing wood dowels into post

Then generously apply wood glue on the dowel and insert into the predrilled hole and let dry.

I purposely DID NOT glue the top dowel in place for two reasons:

  1. it will be much easier to store without the top dowel in place
  2. without the top dowel we can repurpose this post for hats, jackets, etc.

Finishing

Finally to finish I stained this stocking post using Minwax Early American and then sealed with Minwax Wipe-On Polyureathane in satin finish.

clear quilting ruler to draw angled lines

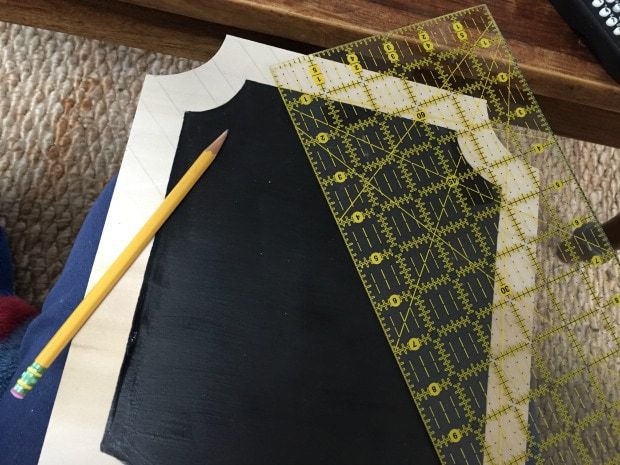
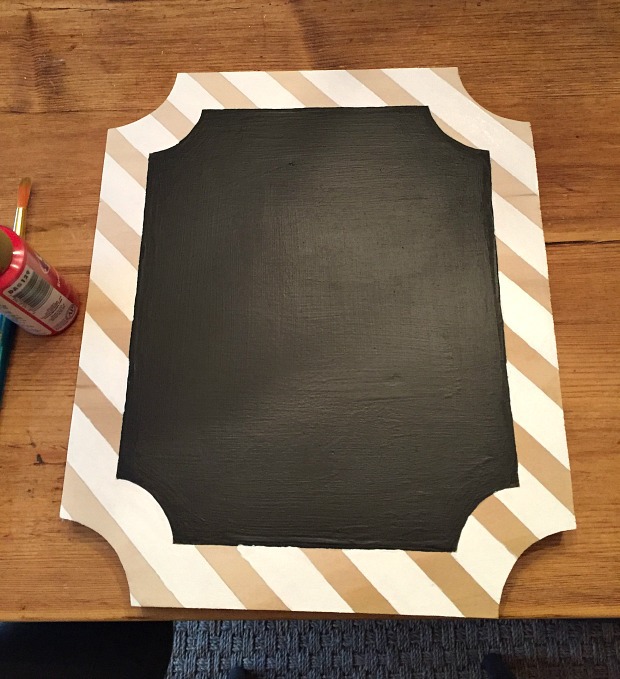
To make the chalkboard sign draw and 1″ border inset from the plywood edge then paint with chalkboard paint.  Then to add the stripes use a clear quilting ruler.  The strips are on 45 degree angle and the ruler is premarked with various angles.  Line up the 45 degree angle draw the stripes with a pencil.

chalkboard sign

Then paint the red and white stripes using acrylic craft paint.  Once dry add a thin green border to finish it off.  Lastly the chalkboard sign is hung using jute rope stapled to the back with a small nail in the post just below the finial.

Thanks for joining me for this stocking post project.  And please leave any questions in the comments below and be sure to follow me on social media for sneak peeks, tools and project inspiration:

Instagram / Pinterest / Facebook / Youtube / Twitter

SHOP THIS PROJECT:

diy stocking post free plans

Disclaimer: The Home Depot partners with bloggers such as me for DIH Workshop program.  As part of this program, I received compensation for my time.  The Home Depot believes that consumers and bloggers are to form their own opinions and share them in their own words. The Home Depot’s policies align with WOMMA Ethics Code, FTC guidelines and social media engagement recommendations.

SOURCE LIST:

  • stockings
  • tree
  • tree stand cover
  • mirror
  • tree ornaments
  • wing chair
  • wood shutters
  • sliding barn door console
  • wood truck shelfSaveSave

You may also like...

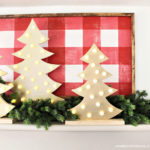
  • DIY Christmas Wreath Trio: Ho Ho HoDIY Christmas Wreath Trio: Ho Ho Ho
  • DIY Metallic Light Up TreesDIY Metallic Light Up Trees
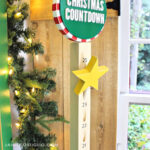
  • DIY Advent CalendarDIY Advent Calendar
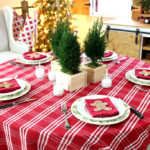
  • DIY Holiday Tablescape TourDIY Holiday Tablescape Tour
Share this post:

Filed Under: BUILD, CHRISTMAS, DIY, HOME DECOR, SEASONAL7 Comments

Reader Interactions

Comments

  1. ChaoticallyCreative says

    November 14, 2016 at 6:10 PM

    Love this great job! So cute!

    Reply
  2. Brenna Morgan says

    November 14, 2016 at 7:09 PM

    So stinking cute! This looks amazing! Let the countdown to Christmas begin!

    Reply
  3. Lisa @ Shine Your Light says

    November 15, 2016 at 5:44 AM

    I love the sign you added and the pegs instead of hooks! It is the perfect size next to your pretty tree!

    Reply
  4. Cristina Garay says

    November 15, 2016 at 6:40 PM

    I love how you designed it to complement the tree and the decor in the room. Perfect for any occasion. The chalkboard sign and those stocking are adorable!

    Reply

Leave a Reply Cancel reply

Your email address will not be published. Required fields are marked *

Primary Sidebar

Hi! I’m Jaime

Jaime Costiglio

Hello!

Thank you for stopping by.
Join me for lots of DIY.

Read more

Get new posts via email

Handbuilt Holiday: Gift Project Plans

handbuilt holiday gift project plans

Collection of DIY gift project plans to build.

The Home Depot Tool Prospective

THD Prospective

Tools to consider for the DIYer.

Archives

The Home Depot Logo
Copyright © 2023 Jaime Costiglio · Custom site by Moonsteam Design

Privacy Policy