• Home
  • Blog
  • About
  • Contact
    • Disclosure
    • Privacy Policy
  • SHOP
  • Widget area for main menu

    • Email
    • Facebook
    • Instagram
    • Pinterest
    • Twitter
    • YouTube
  • Skip to primary navigation
  • Skip to main content
  • Skip to primary sidebar

Jaime Costiglio

build - paint - sew

  • BUILD
    • BEDS
    • BENCHES
    • DESKS
    • DRESSERS
    • GAMES & TOYS
    • SCRAP WOOD
    • SHELVES
    • STORAGE
    • TABLES
  • TOOLS
  • PAINT
    • CRAFTS
    • FURNITURE
    • HOME DECOR
  • SEW
    • GIFTS
    • HOME DECOR
    • POUCHES
  • HANDBUILT HOLIDAY
    • 2021
    • 2019
    • 2018
    • 2017
    • 2016
    • 2015
    • 2014
    • 2013
  • GIFTS
    • BABIES
    • KIDS
    • FOR HER
    • FOR HIM
    • TEACHERS
    • WEDDINGS
  • SEASONAL
    • 4TH OF JULY
    • FALL
    • HALLOWEEN
    • CHRISTMAS
    • SUMMER
    • SPRING
    • ST. PATRICK’S DAY
    • THANKSGIVING
    • VALENTINE’S DAY
    • WINTER
  • SALTBOX PROJECT
    • BATHROOMS
    • DINING ROOM
    • EXTERIOR
    • FAMILY ROOM
    • FOYER / MUDROOM
    • KIDS BEDROOMS
    • KITCHEN
    • LIVING ROOM
    • MASTER BEDROOM
    • PLAYROOM
  • SCROLL SAW

DIY Metallic Light Up Trees

November 7, 2018

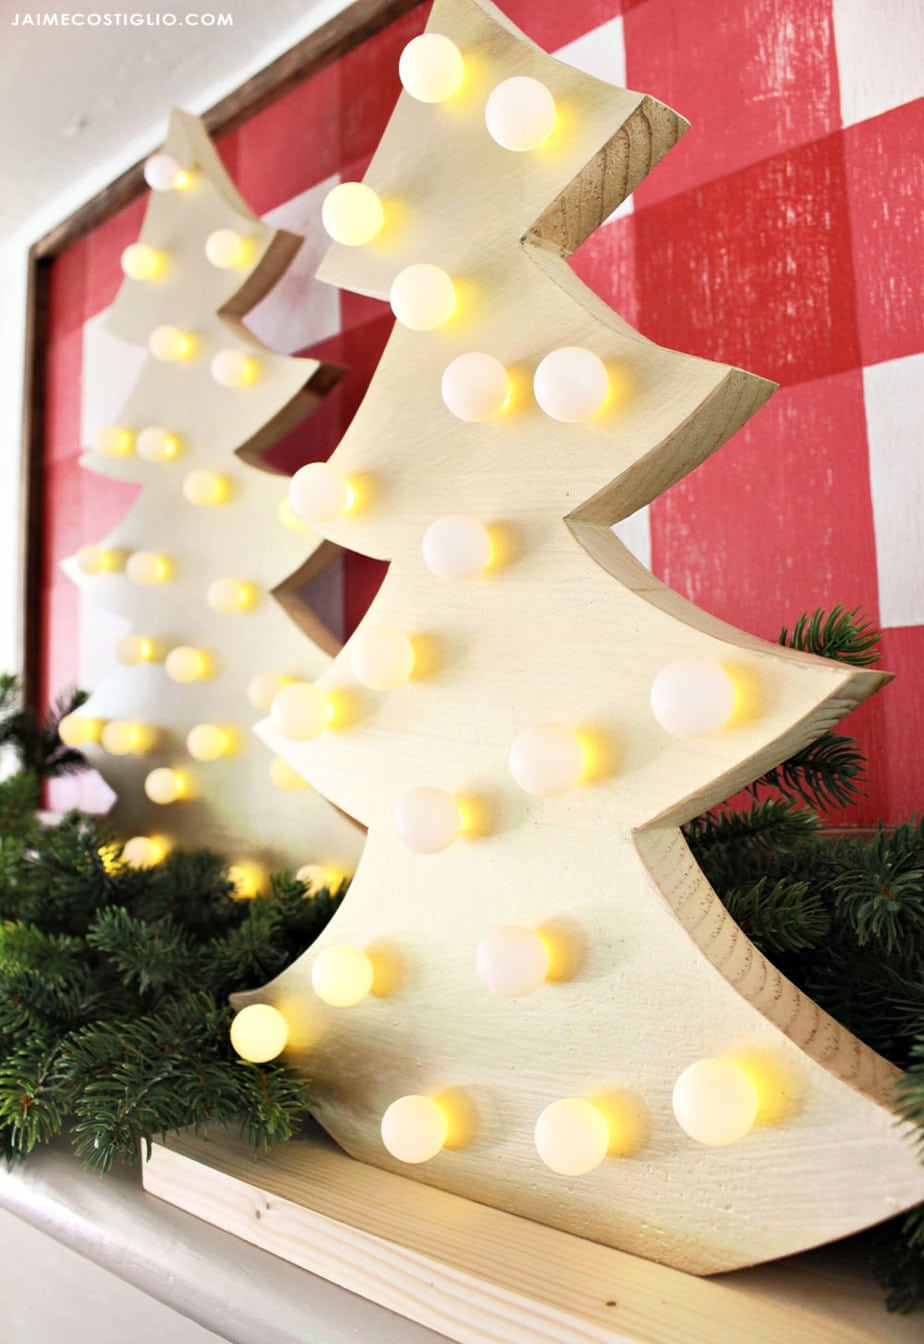
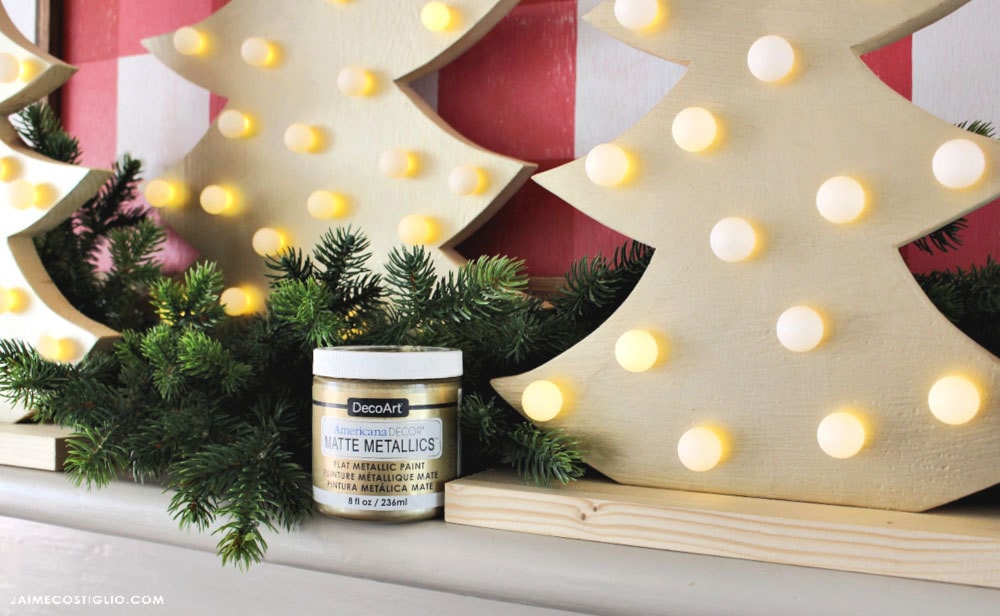
This post about metallic light up tress is sponsored by DecoArt.  Make your holiday decor shine this year with all things metallic!  Family and friends will delight in the warm glow of these DIY metallic light up trees you can make from wood and paint and I’ll show you how easy.
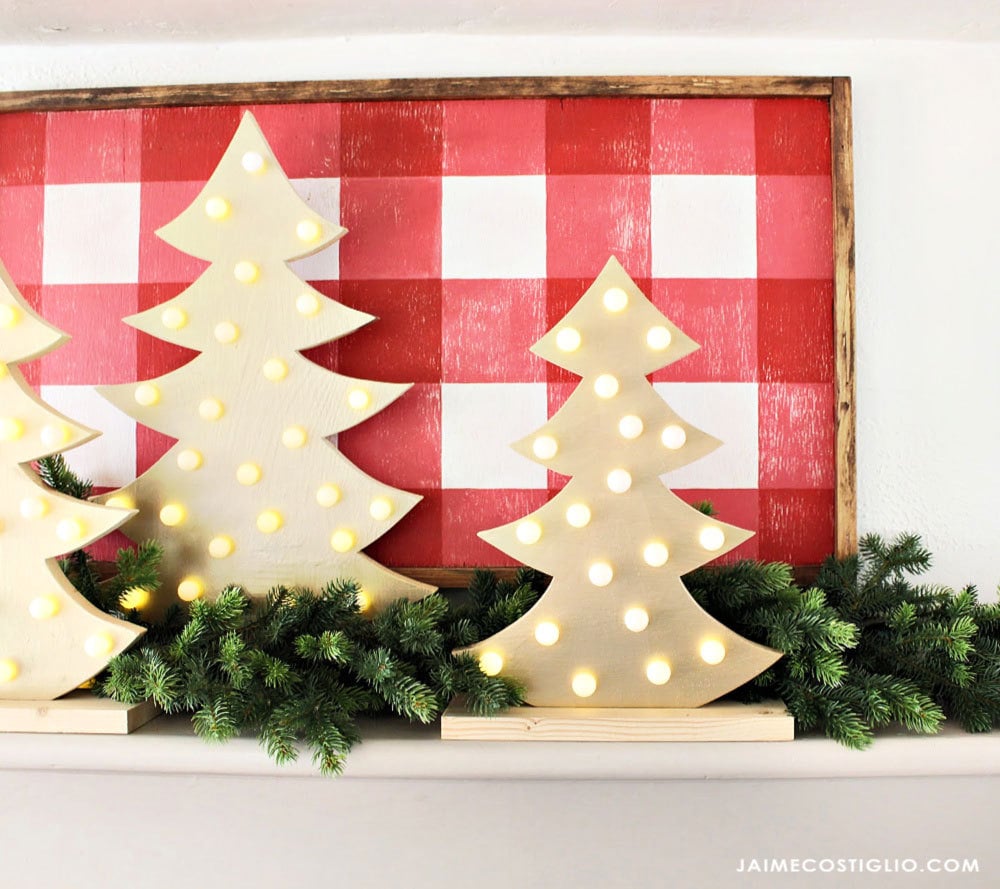
metallic wood light up trees

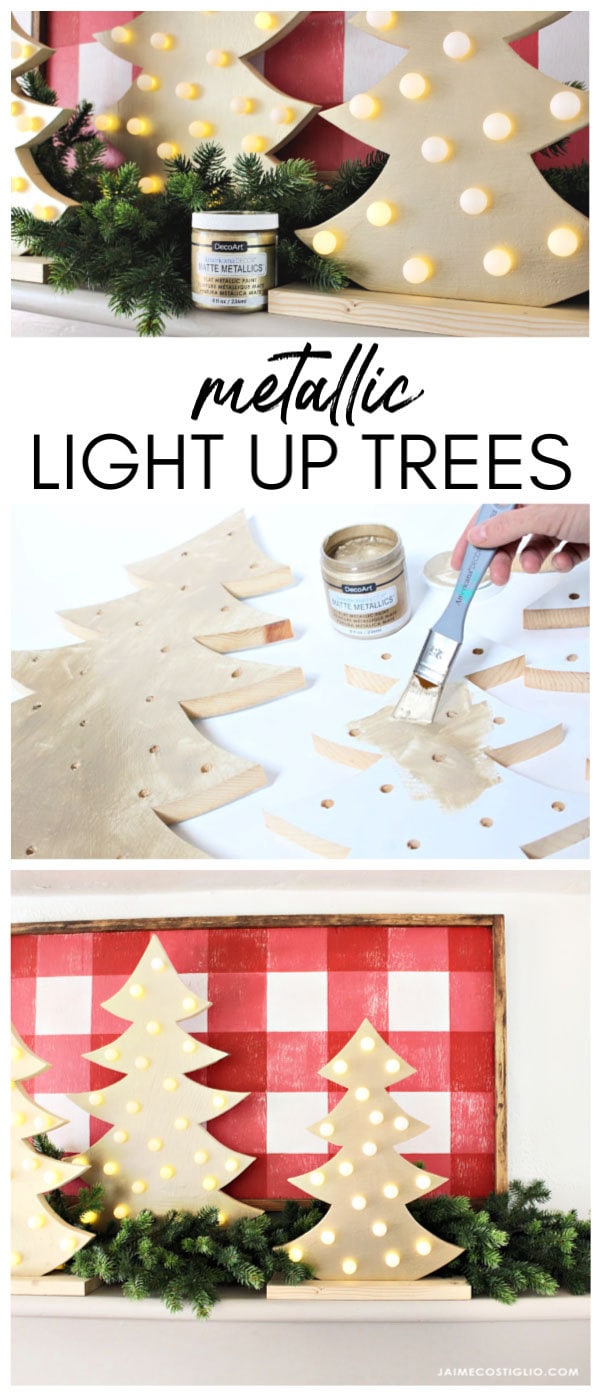
A DIY tutorial to make metallic light up wood trees. Cut tree shapes from wood, paint with DecoArt metallics and insert fairy lights.

It’s just that easy and you can make the metallic trees as big or as small as you like to fit your space.  They add so much charm, dimension and light to our living room mantel.

decoart americana metallic paint

The DecoArt metallic paint goes on like butter with a nice thick layer.  Truly a test of my photography skills because these metallic trees are much more shiny in person, you have to see it to believe it.

I used the champagne gold color here but DecoArt has 14 metallic colors and they are all just beautiful!
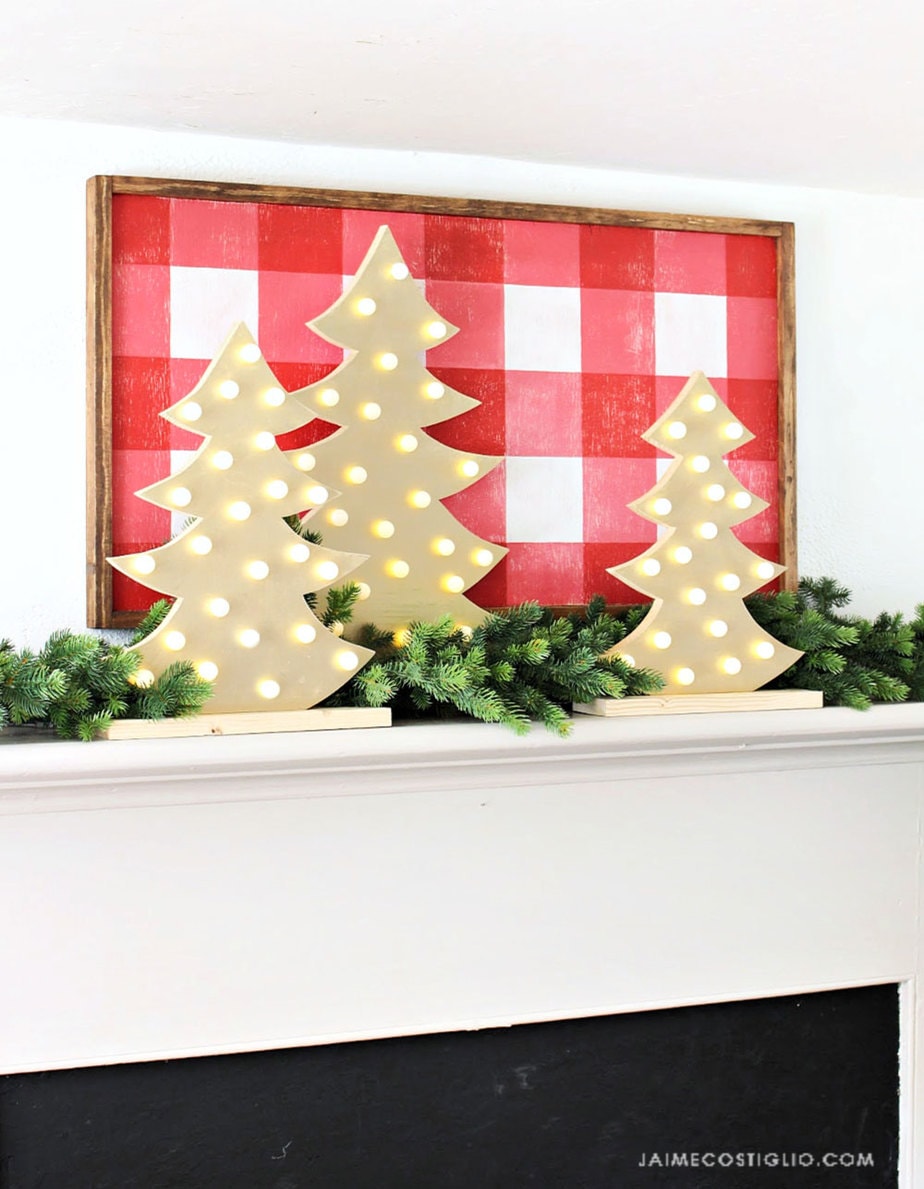
diy light up trees on mantel

Supplies:

  • ¾” plywood pieces (approx. 18″ x 15″)
  • 1×4 scrap wood board pieces (about 12” long)
  • kraft paper
  • pencil
  • scissors
  • jig saw
  • sander
  • drill and drill bits
  • 1 ¼” wood screws
  • DecoArt Americana Décor metallics paint in champagne gold
  • paintbrush
  • fairy lights
  • staple gun & staples

fairy lights on wood trees

Get all the step by step details and instructions to make these metallic trees over at DecoArt’s blog here.  And be sure to leave any questions in the comment section below.

Thanks for joining me for this metallic trees project.  Please leave any questions in the comments below and be sure to follow me on social media for sneak peeks, tools and project inspiration:

Instagram / Pinterest / Facebook / Youtube / Twitter

SHOP THIS PROJECT:
diy metallic light up trees tutorial

You may also like...

  • DIY Christmas Wreath Trio: Ho Ho HoDIY Christmas Wreath Trio: Ho Ho Ho
  • Christmas Holiday TourChristmas Holiday Tour
  • Fancy Frame with Matte Metallic PaintFancy Frame with Matte Metallic Paint
  • DIY Number Marquee SignDIY Number Marquee Sign
Share this post:

Filed Under: CHRISTMAS, CRAFTS, HOME DECOR, HOME DECOR, PAINT, SEASONAL6 Comments

Reader Interactions

Comments

  1. Ellen from Ask Away Blog says

    November 7, 2018 at 8:17 AM

    Ok so those are seriously way cuter than any I’ve seen in stores! nice work!

    Reply
    • Jaime says

      November 7, 2018 at 10:12 AM

      Thanks Ellen, and I only purchased the fairy lights so cheaper too! And you can make any size you like.

      Reply
  2. Sarah says

    November 11, 2018 at 4:03 PM

    These are cute! How is the tree attached to the base? I couldn’t figure out in the instructions. It looks like the base of the tree is set in the 1×4? If so, how is that done? With a jigsaw cutout?

    Reply
    • Jaime says

      November 12, 2018 at 1:57 PM

      Thanks Sarah. To attach the tree to the base center the tree on the base and insert screws from the underside of the base up into the tree. Use 2″ countersink wood screws. Hope that helps.

      Reply
  3. Kylo says

    January 26, 2019 at 1:06 PM

    Where are the templates for the tree project

    Reply
    • Jaime says

      January 27, 2019 at 7:23 AM

      Hi Kylo, I drew the tree pattern free hand on kraft pattern (folded in half lengthwise) starting with the largest tree and making it smaller. I don’t have a template but you could google search for free tree clip art graphics and print a template. Hope that helps.

      Reply

Leave a Reply Cancel reply

Your email address will not be published. Required fields are marked *

Primary Sidebar

Hi! I’m Jaime

Jaime Costiglio

Hello!

Thank you for stopping by.
Join me for lots of DIY.

Read more

Get new posts via email

Handbuilt Holiday: Gift Project Plans

handbuilt holiday gift project plans

Collection of DIY gift project plans to build.

The Home Depot Tool Prospective

THD Prospective

Tools to consider for the DIYer.

Archives

The Home Depot Logo
Copyright © 2023 Jaime Costiglio · Custom site by Moonsteam Design

Privacy Policy