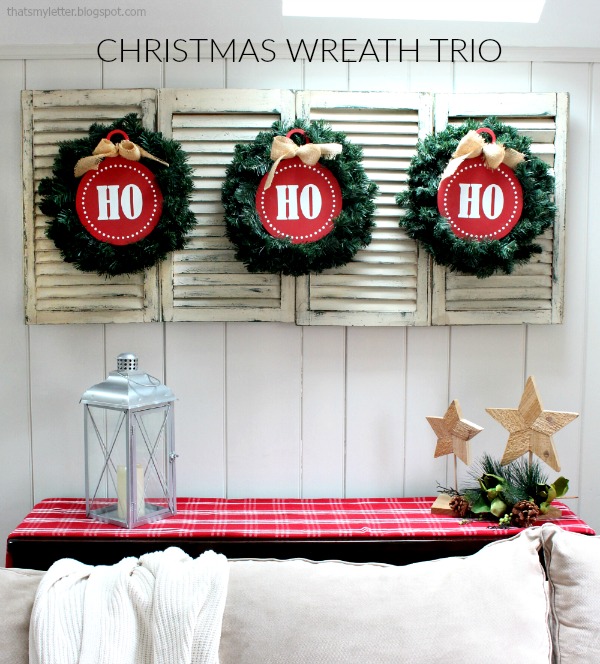
The season is upon us and what better way to decorate than with wreaths! And not just one wreath but how about a trio? Today I’ll show you how I made this Christmas wreath trio with giant cut-out ornaments that say ho, ho, ho. You could easily change out the lettering to J-O-Y, merry & bright or even a monogram too!
Above is my custom version of the Christmas wreath trio we will be making next Saturday at The Home Depot DIY Workshop:
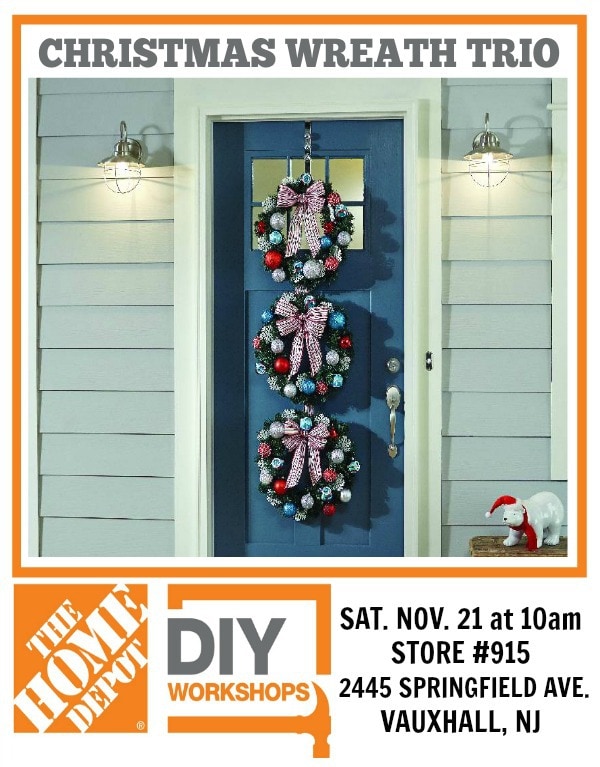
I’ll be at The Home Depot in Vauxhall, NJ making this Christmas wreath trio and you can join me! Saturday, November 21st at 10am we start, no worries if you aren’t in New Jersey, click the registration link and enter your zip code to find the nearest Home Depot offering this workshop.
The Home Depot offers free workshops for DIYers of all ages and experience levels on Saturdays and Sundays every month. These DIY Workshops cover a range of projects from how-to tile, gardening, deck staining and more. They are great for anyone who wants to learn how to take on more of their home projects and upgrades.

My version is horizontal and makes the perfect backdrop behind our sectional.

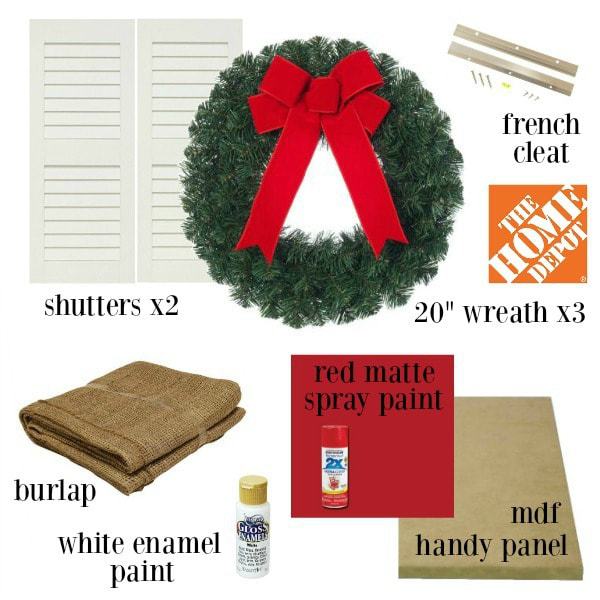
I used 3 – 20″ wreaths and inserted a giant cut-out ornament. The wreaths themselves are only $8 each so you can make quite a statement for under $25 in wreaths.

I hung the wreaths on a shutter backdrop but you could easily hang them straight onto the wall as well.

Add a little burlap bow and the look is complete.

All of the supplies for this project can be found at The Home Depot:
Tools:
- jigsaw
- pencil & ballpoint pen
- 9″ dinner plate
- sandpaper
- “HO” lettering print out (click here for PDF version)
- small paintbrush
- drill & drill bits
- 1″ wood screws
- command hooks
- scissors

Step 1: Trace around a 9″ plate to make ornament shape. For the hook portion trace around the spray paint can and I used my phone for the rectangular portion (see next photo).
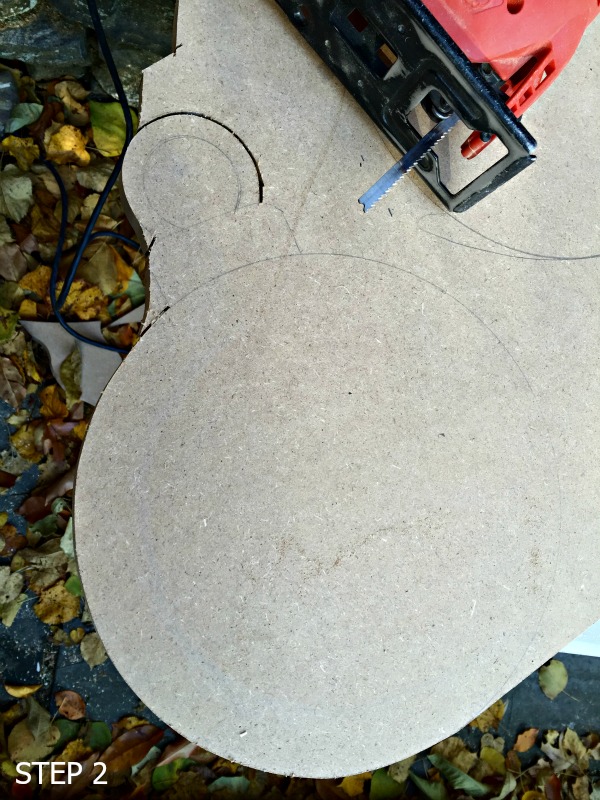
Step 2: Use a jigsaw to carefully cut out the ornament shape.
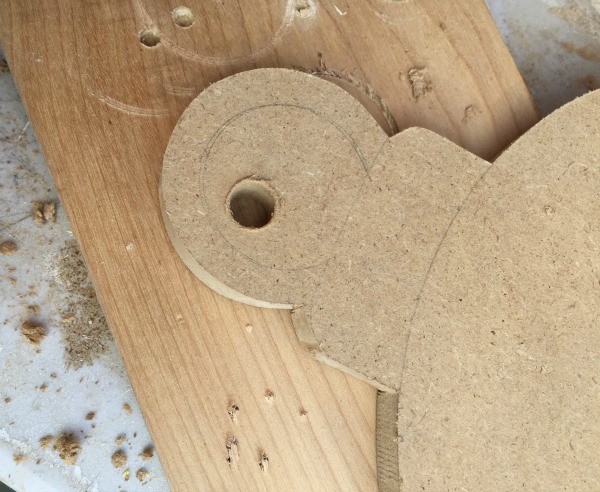
To get inside the hook first drill a hole wide enough for the jigsaw blade then insert the blade and cut out that middle portion.

Step 3: Sand edges smooth and spray paint matte red.

Step 4: Print out lettering (free printable here). Center on ornament and using a ballpoint pen with heavy pressure trace around letters and dot border. If you have a vinyl cutting machine you could use that in place of this step.
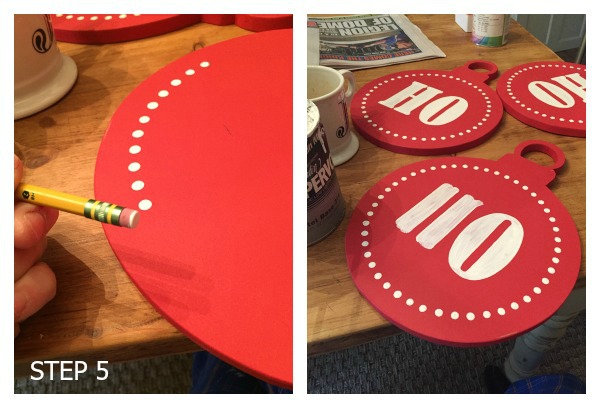
Step 5: Paint the lettering and dots using white gloss enamel. I used the end of an eraser to keep the dots uniform in size.
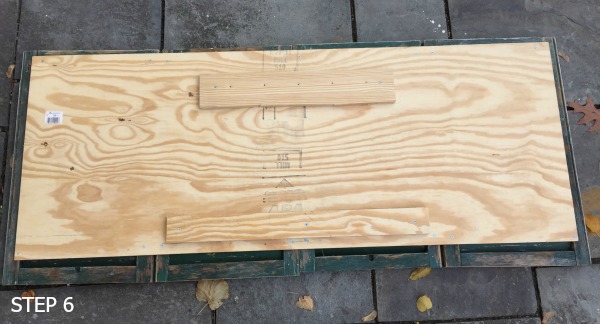
Step 6: Prepare the shutters. Line up four shutters and screw 1/2″ plywood onto the back of the shutters. This keeps all the shutter stable and together and also provides a place to attach the hanging cleat.

Step 7: Attach one piece of the french cleat to the center top back of the shutters.

Step 8: Remove the red velvet ribbons from the wreaths and SAVE the wire, we will reuse it.
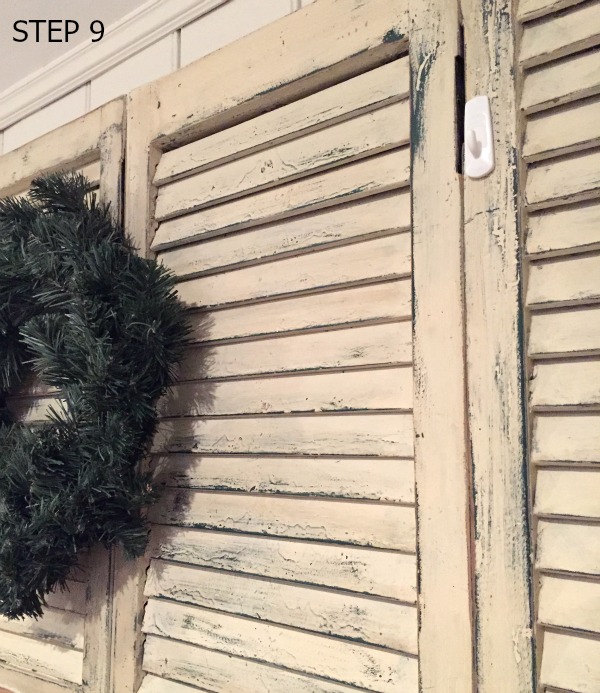
Step 9: Install wall portion of cleat to wall then hang shutters. Use command hooks or nails to position wreaths.

Step 10: Cut the burlap into 2″ wide strips x 20″l then fold over both cut ends about 8″ and cinch in the middle with the wire from the original ribbon. Wrap wire around ornament and place on wreath wrapping the wire to hold it in place.
For more Christmas wreath trio inspiration and project ideas be sure to stop by the blogs below:
That’s My Letter (you’re here!)

Disclaimer: The Home Depot partners with bloggers such as me for DIY Workshop program. As part of this program, I received compensation for my time. They did not tell me what to purchase or what to say about any product mentioned in these posts. The Home Depot believes that consumers and bloggers are to form their own opinions and share them in their own words. The Home Depot’s policies align with WOMMA Ethics Code, FTC guidelines and social media engagement recommendations.


Super cute Jaime, love those oversized ornaments!
Jaime, I love the HO HO HO ornament shapes you made, together with the wreaths they make quite a statement, beautiful!
I'm so happy to be Christmas crafting with you this year!
These are adorable! I love the HO HO HO ornaments – I sort of just want a bunch of these to put all over my house this Christmas.
So cute, looks so pretty!! Love the wood ornaments 🙂
Adorable. But I expected nothing less.
And I'm with Kim. Let's deck the entire house with ornaments!
Love it! I have a wreath addiction as it is, and this sort of thing just adds fuel to the fire!
Those ornaments are beautiful!! Super creative trio!
Wow – I always wondered how this was done!! I love it!
Mariz
You want to check out Belden Automation Cable